Michelle G Brown | Mixed Media Art

Mixed Media Artist: Joy Bathie

Our Mixed Media Art community is a diverse bunch; from all around the world, with different interests and reasons why we create and a wide range of skills. This week Joy Bathie shares her passion for mixed media painting and handmade books.

~*~*~*~*~*~*~*~*~*~*~*~*~*~*~*~*~*~*~*~*~*~*~*~*~

I live in Australia, on the northern headland of beautiful Port Stephens, north of Sydney. From childhood I have always loved arts and crafts of all descriptions, and over the years have worked with papers and fabrics, machine and hand embroidery, stained glasswork, metalwork, sculpting, painting – you name it!

For many years I painted in both oils and acrylics, mainly abstracts and contemporary art, which I enjoyed enormously.  Then for a while I was absorbed with scrapbooking techniques with an online group in the United States, long before the craft became known in Australia or even mainline in America.  There were no scrapbook stores back then, so we used to gather and recycle scraps of anything and everything.  I guess this was my first real introduction to “mixed media” as an art form. I later continued gathering, altering, and recycling materials to use in collage and altered books for a number of years.
Upcycling crafts is easy as Joy Bathie shows with her ATC

This ATC (Artist Trading Card) uses recycled corrugated cardboard, and a piece of clear acrylic from a chocolate box.

Apart from recycling what used to be considered as ‘junque’ I like to use handmade paper to create texture, along with beads and scraps of lace etc. I also love to stencil texture with impasto medium, and tend to use gesso quite a lot too.  Over the years it’s been great fun to share my experiences with different techniques at workshops around the country.

Over the past few months my interest has moved back and forth between making textured covers for notebooks etc. and also miniature books – the latter being something I never thought I would be able to create. A recent miniature medieval-style book of quotations, measuring 18mmH x 18mmW x 12mm deep (¾” x ¾” x ½”) and safely protected in its little box is to be included in a new publication by North Light Books, titled “Incite: The Best of Mixed Media – Dreams Realized”, which is being released later this year.
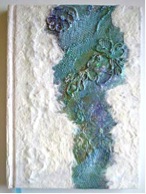
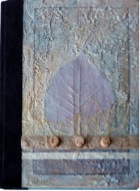
This lovely notebook has a textured cover

This lovely notebook has a textured cover with nature elements

This lovely cover was inspired from medieval texts

One of the pages originally created for a Little Fat Book, but I was so happy with the result that I re-created the entire book in miniature, as mentioned above. But for the foreseeable future I am sure I will be creating and decorating books, books, and more books!

~*~*~*~*~*~*~*~*~*~*~*~*~*~*~*~*~*~*~*~*~*~*~*~*~

Joy Bathie lives in Port Stephens, NSW, Australia. You can see what Joy is up to over on her Facebook page.

~*~*~*~*~*~*~*~*~*~*~*~*~*~*~*~*~*~*~*~*~*~*~*~*~
.

.
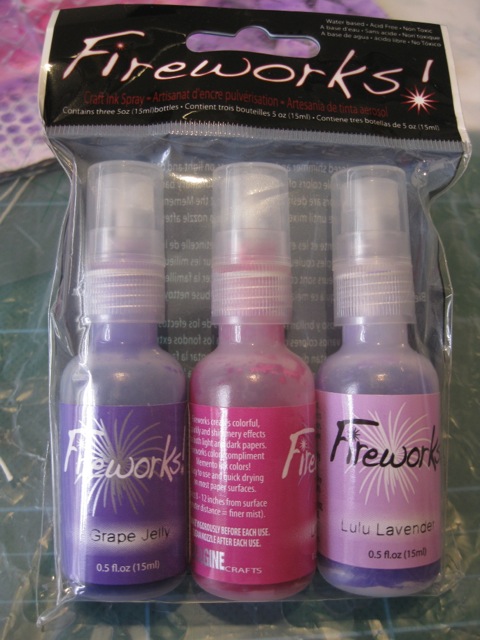
Fireworks by Imagine Crafts

Imagine Crafts distribute craft products and the Tsukineko products across the USA and when I was approach to review some of their products, I jumped at the chance! The first products put to use are the Fireworks sparkly sprays.

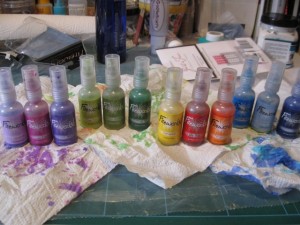
sparkly spray inks

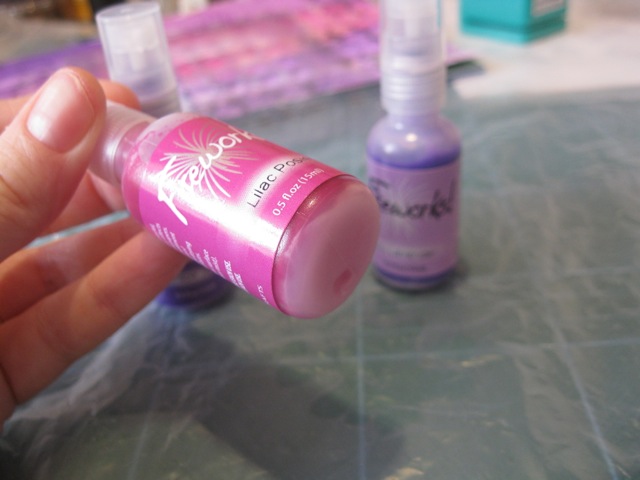
Each set of three comes in a range of colours that work well together. The purples and pinks fought my eye first; this is called the “Juicy Purples” set.

lilac posies, grape jelly and lulu lavender

The sparkle settle in the bottom of the bottles, so they need a good shake to get them mixed properly.

Imagine crafts spray need shaking before use

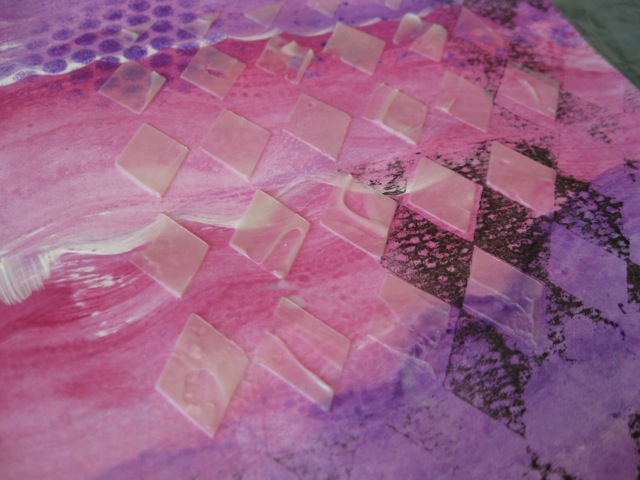
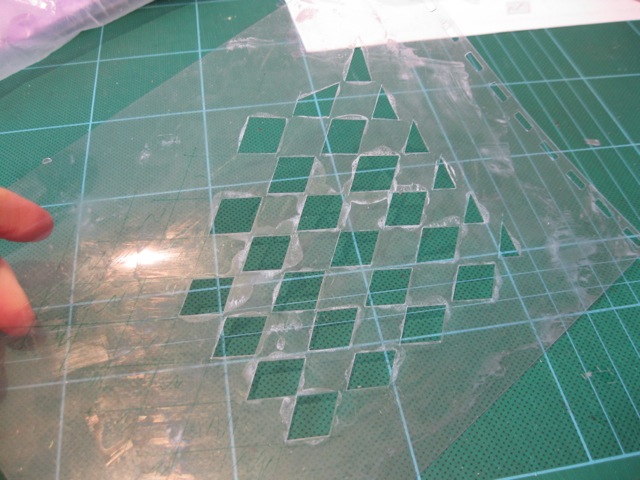
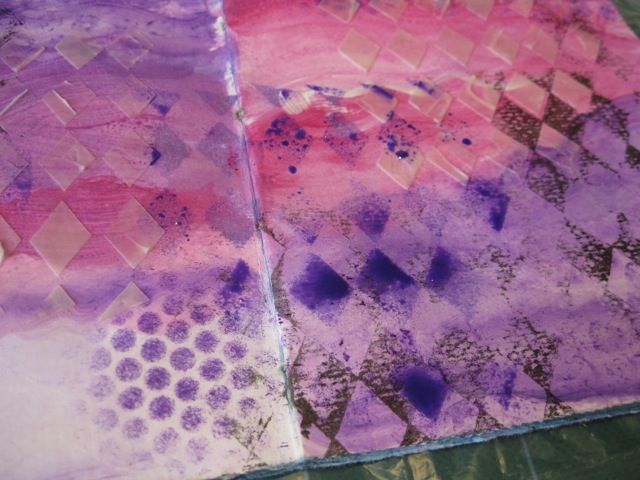
I had an art journal layout already prepared in pinks and purples (with left over paints from the Creating Layers tutorial canvases). I added some stamping in Jet Black Stazon and impasto medium through a handmade stencil.

art journal painted with acrylic paints

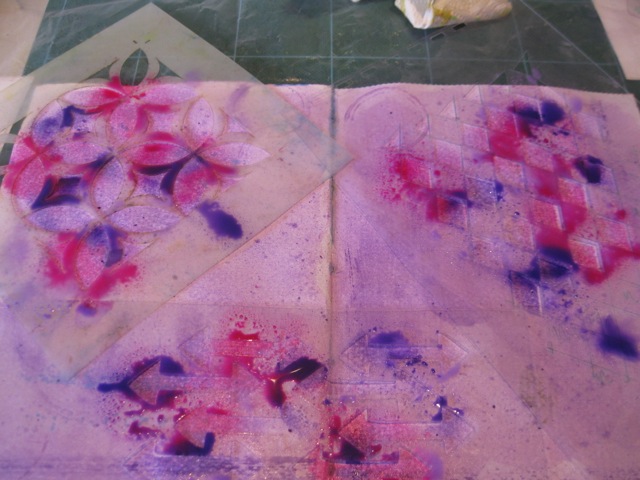
Firstly I sprayed the dark purple, then the light purple and then the pink. I lifted the stencil carefully and let the spray dry. I “mopped” the extra ink from the stencil onto a sheet of watercolour paper.

first layer with grape jelly

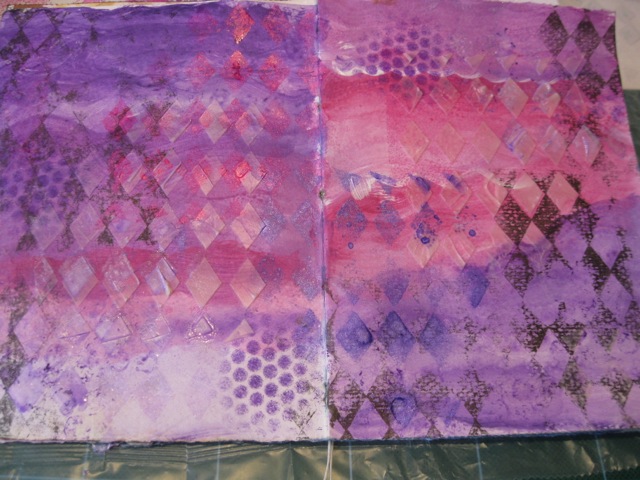
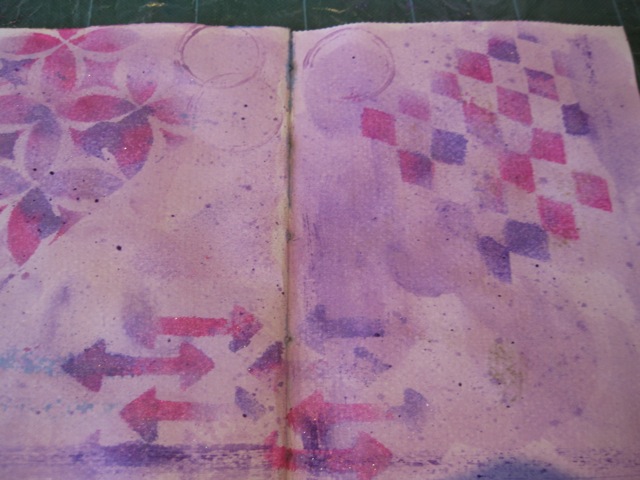
Here is the final  art journal background, with the three colours used separately.

Art journal spread

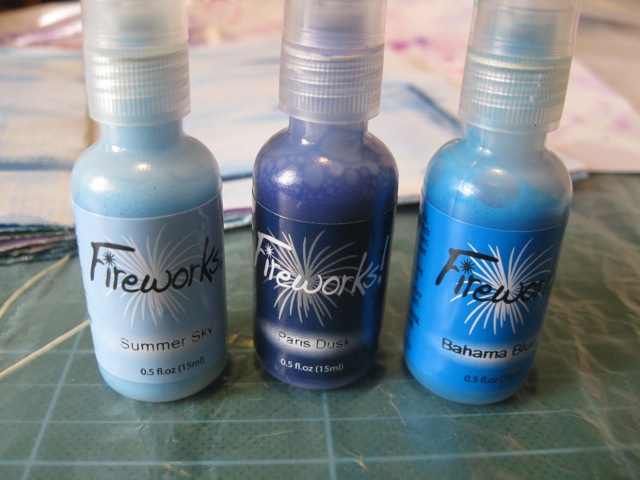
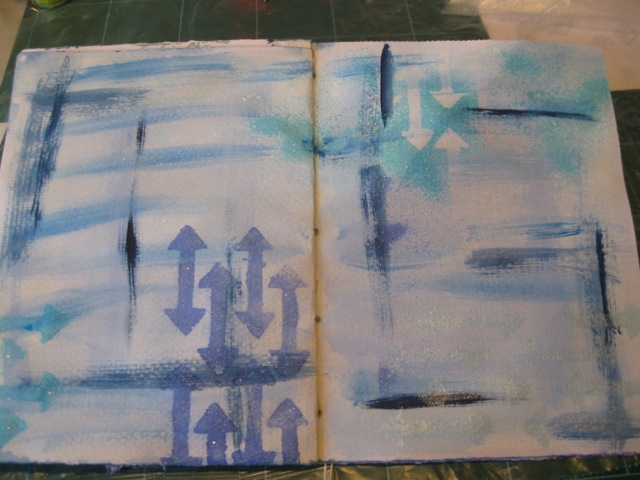
Next I got out the blues from the Ocean set and used another handmade stencil with arrows, on a prepainted art journal layout.

fireworks sprays also come in a range of blues

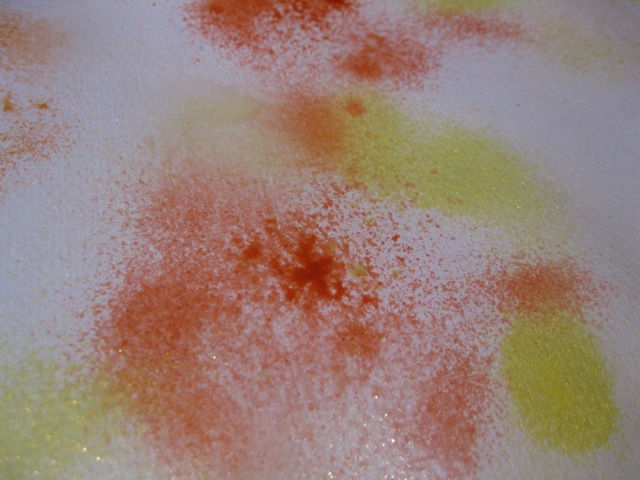
The warm colours got sprayed randomly on a sheet of water colour paper

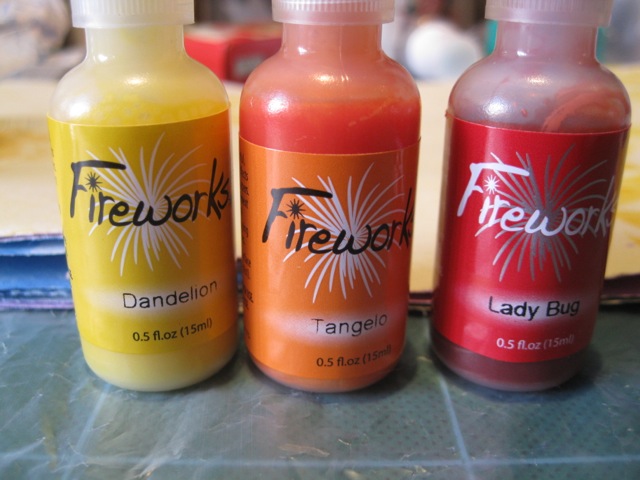
Dandelion, Tangelo and Lady bug fireworks sprays

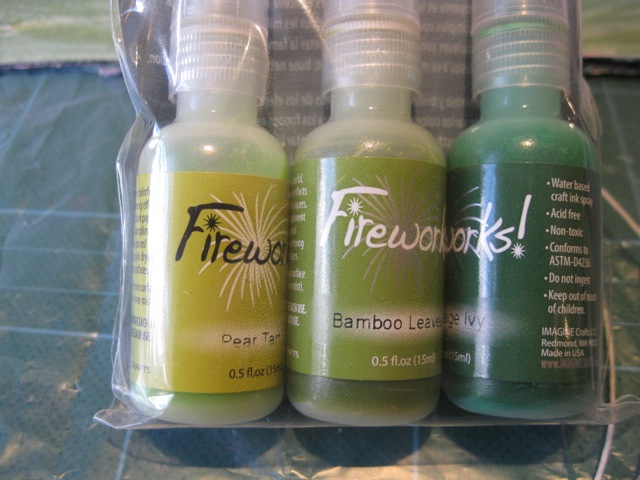
By this time I had lots of messy stencils and art journal, open and drying, and I still hadn’t tried the greens.

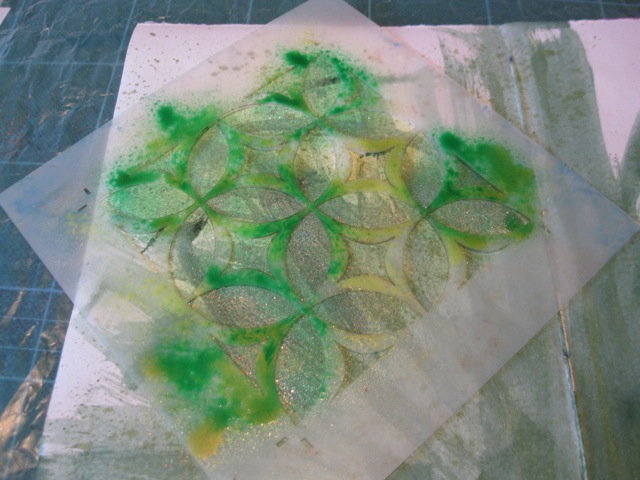
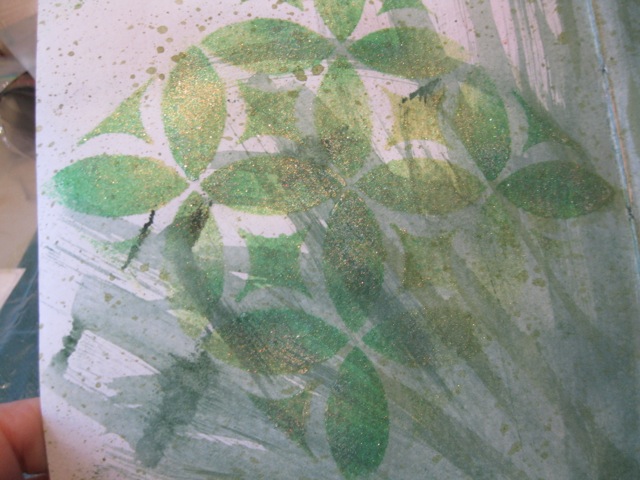
I wasn’t really happy with the spray results so far; a little glitter goes a long way in my books. So I decided to go all out and use all three colours together over a bought stencil.

And guess what!!! I really liked the results!

It brought back memories from the GPP Street Crusade days, when Michelle Ward helped us realise that one colour is boring! You think I would remember such a simple lesson like that, but I am always so cautious when it comes to mixing colours that I often forget until I “accidentally” do something like this and see the results really come to life!

So now my enthusiasm was renewed and I returned to another art journal page with the purples to see what I could create with more abandon than originally used.

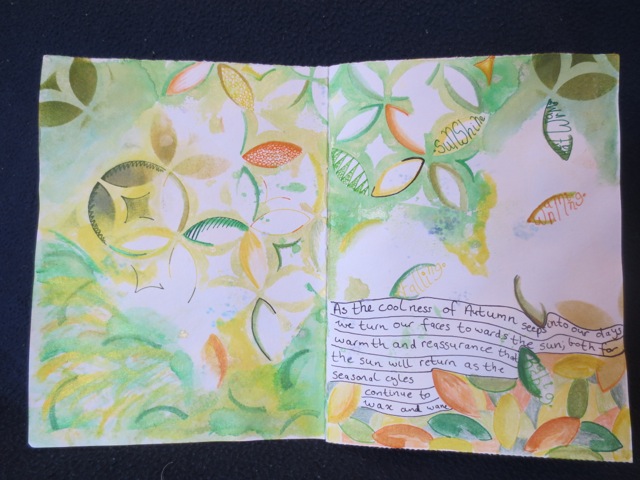
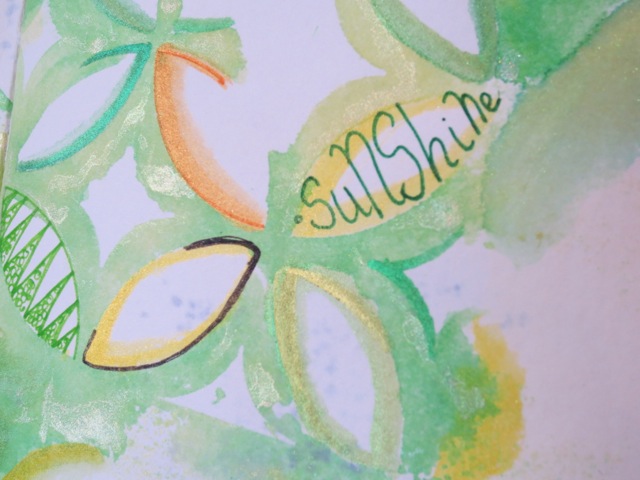
With the “mopped” water colour paper sheets, I made them into another art journal. On one page I coloured over the sprays with Twinkling H2Os and the colour didn’t run or loose it’s sparkle. I added shapes and words with markers, as well.

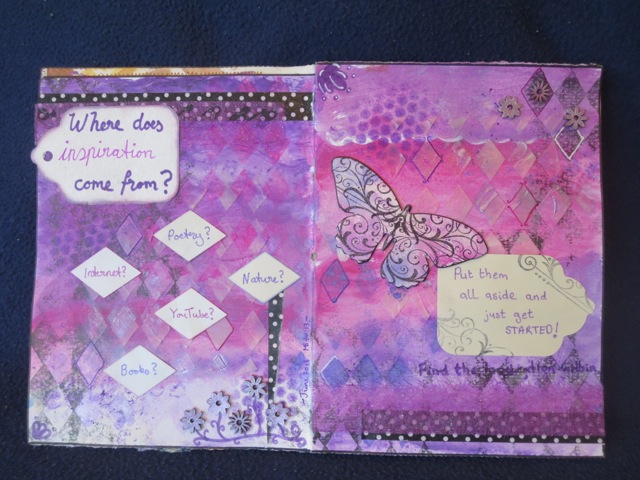
Here’s what I did with the original purples layout

mixed media art journal layout

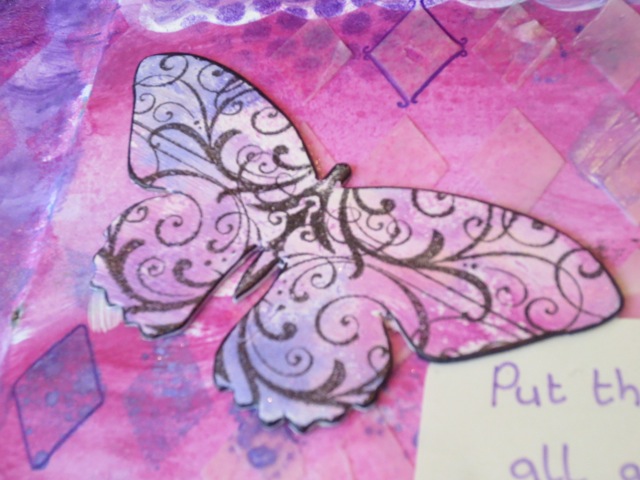
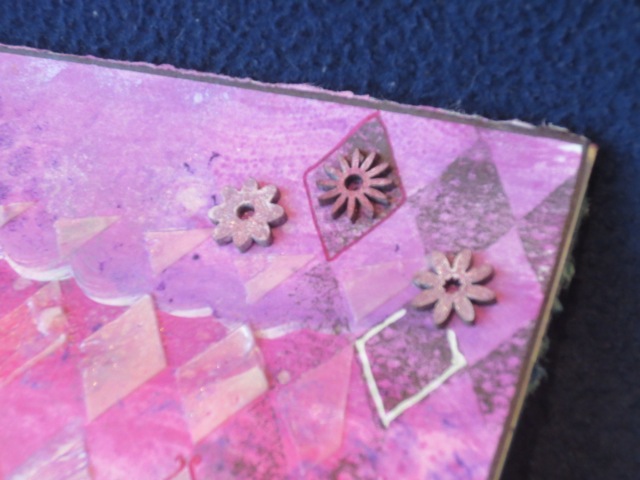
I had a chipboard butterfly that I then sprayed with the purples, as well as some raw chipboard flowers.

What I liked about the products:

Loved the colour sets and their ease of use, especially with stencils. They dried within a few minutes and dried on impasto medium and varnish. Once they were dry, they could be written on with markers or coloured over with pencils or Twinkling H2Os.

What I didn’t like about the products:

As with most sprays, it tends to cover a big area, so make sure you mask any area you don’t want to get sparkles on. Also the packet said to “clean the nozzle” but I didn’t want to run the whole bottle under water and I could’t remove the top bit,so I hope they don’t clog!

I also sprayed samples into my Art Journal and they went through the paper, onto the page underneath, so take care with that. Some scrap paper underneath would have helped!

~ * ~ * ~ * ~ * ~ * ~ * ~ * ~ * ~ * ~ * ~ * ~ * ~

Disclosure: These products have been provided by Imagine Crafts  for the purpose of review. All opinions are that of the MixedMediaArt team. The links on this page are affiliate links and any purchases help to support the ongoing work by MixedMediaArt.

Mini Mixed Media Canvas

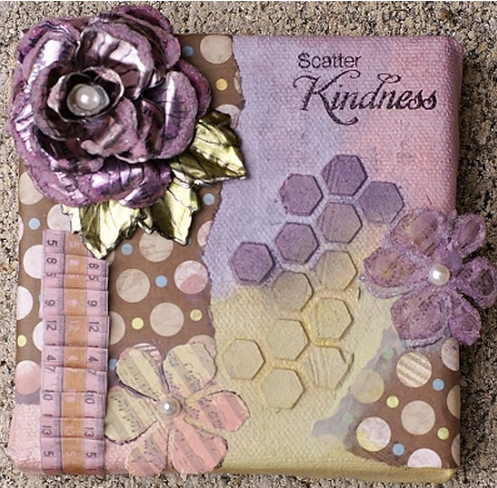
Kina, from The Stamp Room, has made this cute little mixed media collage on a 4″ x 4″ canvas. She shares her process with us.

~*~*~*~*~*~*~*~*~*~*~*~*~*~*~*~*~*~*~*~*~*~*~*~*~

This little 4×4 canvas was gessoed, I then took my new Hexagon 6×6 stencil from the Crafters Workshop and a little embossing paste.

While this was all drying, my Prickley Pear Rubber Stamp large Hibiscus die came out. I punched out 4 flowers in metal, used Copic RV93 and RV95 to color them, and made the large flower by cutting and gluing it.

Next I stamped with Archival ink, I used both of the PPRS Hibiscus Clear Stamp sets. I also used the smaller Hibiscus die and cut out 3 paper flowers using BoBunny’s “C’est La Vie” paper pad.

Time to paint!! I used my new Art Anthology Inc. Colorations Vineyard Spray as well as Distress Victorian Velvet and Bundled Sage. Glued down paper, again from BoBunny’s  C’est La Vie paper collection, and a strip of folded washi tape from Prima’s Sunrise Sunset collection.

My big metal flower and one of the little ones got tiny orchid colored glassbeads glued to the edges and I added a white “pearl” to the middle of each flower, glued the big flower in place and stamped my Sentiment from the PPRS Hibiscus Set 2 in Archival ink.

mixed media collage in purple

I sure hope you enjoy it as much as I enjoyed making it!

~*~*~*~*~*~*~*~*~*~*~*~*~*~*~*~*~*~*~*~*~*~*~*~*~

Kina can be found, hanging out in her Stamp Room in Florida, USA.

~*~*~*~*~*~*~*~*~*~*~*~*~*~*~*~*~*~*~*~*~*~*~*~*~

.

.
Mixed Media Mermaid Painting

This article was written by Michelle Brown

I’ve signed up for a tip-in page round robin with one of the groups I belong to over the internet. We are to create a layout of 2 pages each month to send to another on our list.

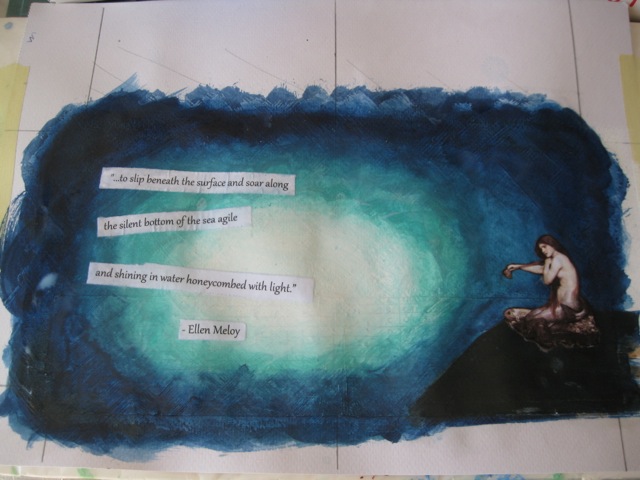
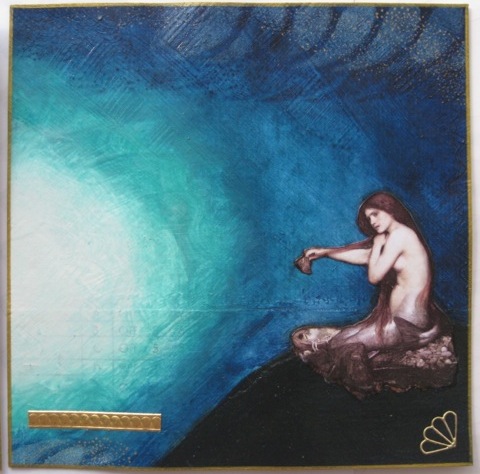
Last month the assignment theme was mermaids and sea creatures and I had heaps of fun creating this layout. I also love the method and formula that seems to be developing for this project and that’s what I wanted to share with you today.

mixed media art with mermaids

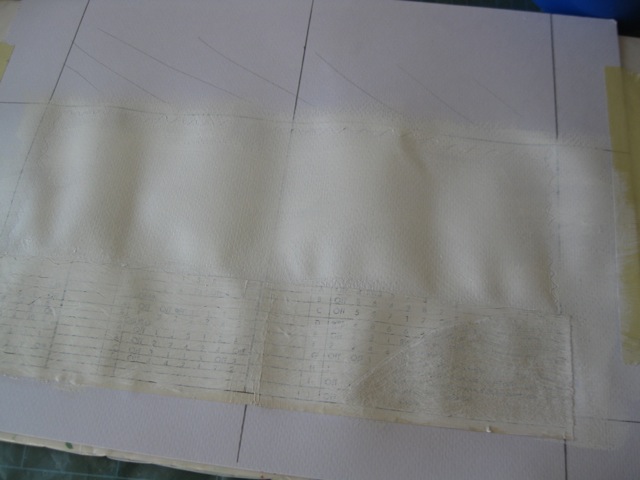
Firstly I take a piece of water colour paper and tape it to a backing sheet, covered in cereal box plastic (as shown in MMA Tips Video #1), add some ephemera with PVA glue then cover with a layer of gesso.

ephemera and gesso base

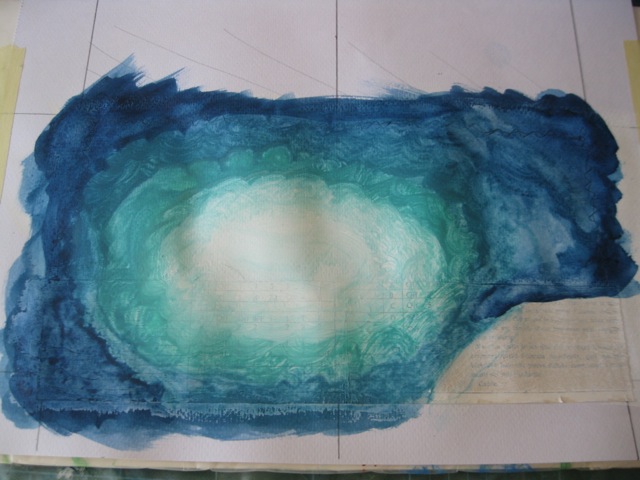
Then I started adding acrylic paints. I was after an effect of looking up into the sunlight from depth of the ocean, so I wanted to use teals and blues and phase them into white. I build up each layer, blending al title between colours and allowing it to dry a little before I add another layer.

white, blue and greens paints

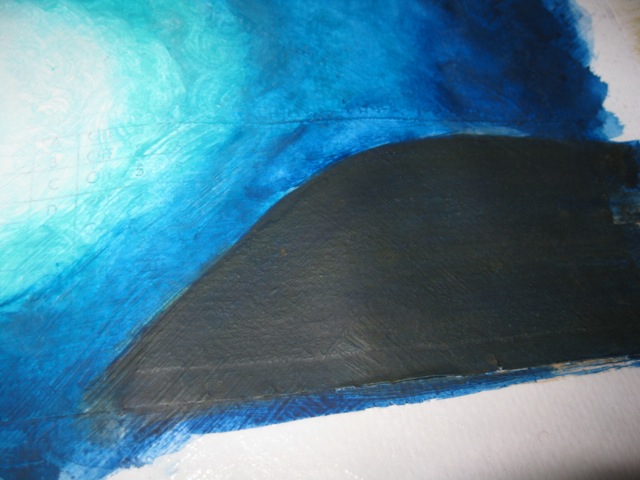
I painted the rock for the mermaid with  a little brown and dark blue. I avoided using black as I wanted it to be dark but not too solid, so the brown and navy washes worked well.

blues and browns for rock

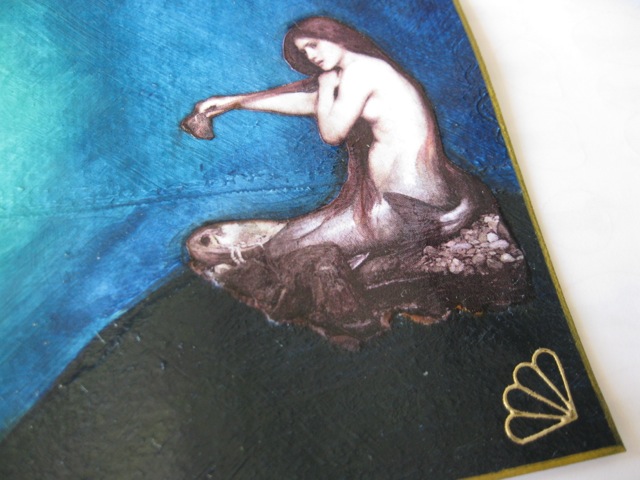
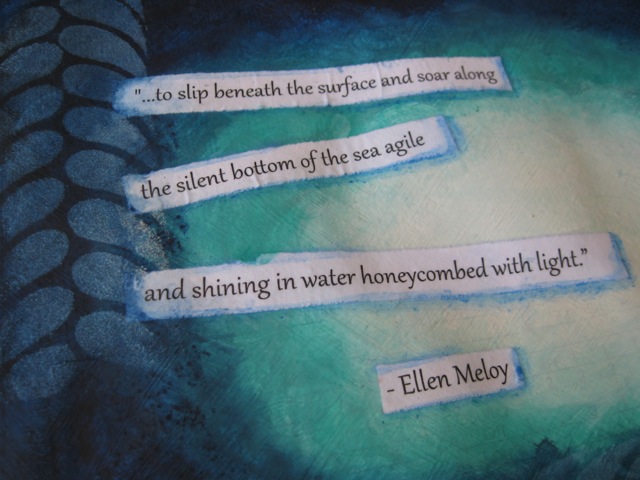
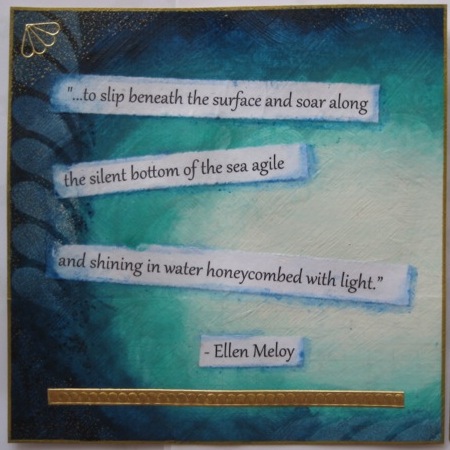
I found a great quote via Google and typed in up in nice font, printed it out then for it into strips. These got stuck onto the background along with the mermaid, with gel medium. The mermaid image was found over at Paper Street Supplies (no longer available.)

computer generated text to add to the story

Then some more blues were added to make the border darker and stencilling, with white paint, and highlighting words, with water coloured pencils, were added.

paints and pastels

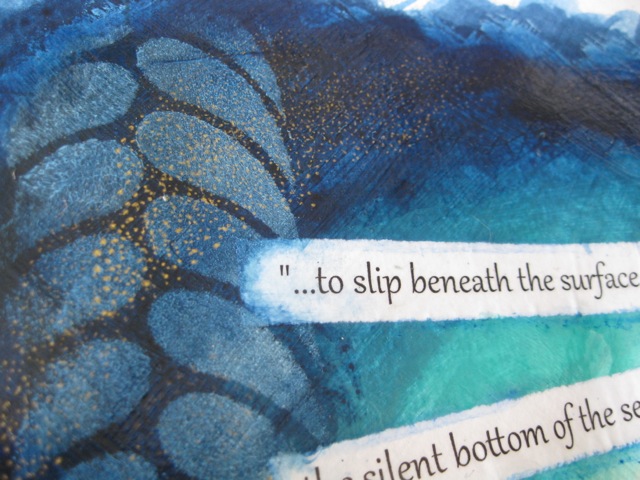
After varnishing the layout, I realised it needed a few highlights, Since I couldn’t find my gold thread to add hand stitching, I chose to use a textured stamp and add a free area with Gold Brilliance ink. I heat set the stamping  with a heat gun as I was worried it may not dry properly over the varnish (and I was in a hurry!)

gold highlights added

Then I cut out the pages with a cart knife and metal ruler, added gold edging with metallic pens. i also added a few little gold sticker and some german scrap to finish it off.

right side of layout

left side of layout

~*~*~*~*~*~*~*~*~*~*~*~*~*~*~*~*~*~*~*~*~*~*~*~*~

Michelle Brown is passionate about mixed media art and enjoys sharing her knowledge and techniques with you to allow you to express your own creativity. Michelle understands that many of us have an inner need to create. By learning a few basic techniques the amazing world of mixed media art is accessible to everyone! You can see more of her work at Mixed Media Art.

~*~*~*~*~*~*~*~*~*~*~*~*~*~*~*~*~*~*~*~*~*~*~*~*~
.

.