Michelle G Brown | Mixed Media Art

Rainbow Grunge Backgrounds

~ * ~

This article is written by Kate Palmer (aka Sparkle Tart)

Today I’m going to show you all how to create a vibrant Rainbow Grunge Background suitable for cards, pages, journal backgrounds and even canvas!  This background style is particularly useful for low mojo days as it is low stress, uses up extra paint, when finished can be used as a base for many different projects and of course, it can be created in any colours you like!
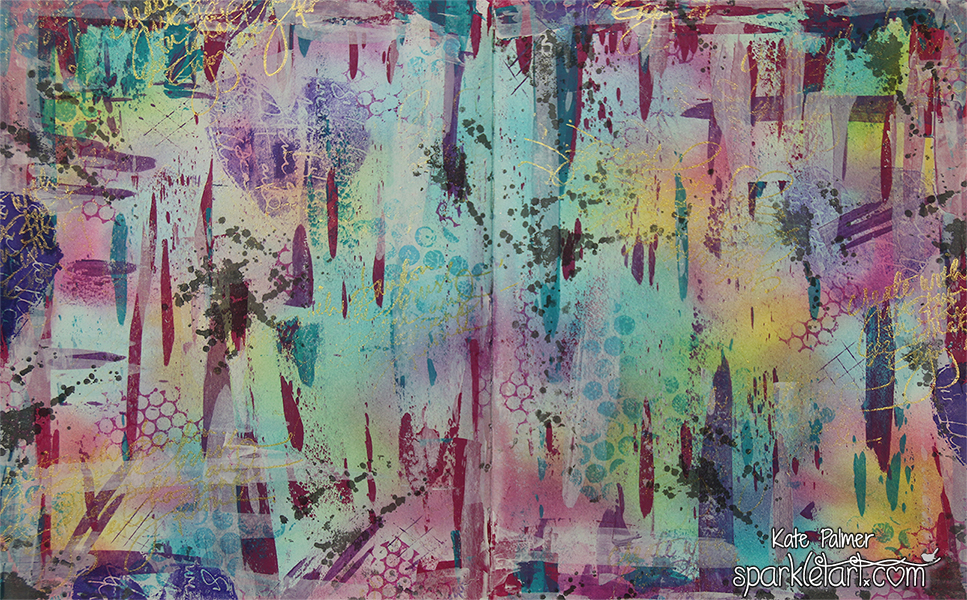
Finished background using Rainbow Grunge Technique

Journal Background

To create a page similar to mine you will need:

  • Lindy’s Stamp Gang Starburst Spray: Time Travel Teal and Flat Fabios: Summer Lovin’ Sun, Ocean Breeze Blue, Hibiscus Rose and T-bird Turquoise
  • Delta Ceramcoat Acrylic Paint:  Seashell White, Royal Fuchsia, Deep Lilac and Laguna Blue
  • Ranger Archival Ink Pads: Deep Purple, Aquamarine, Magenta Hue and Watering Can
  • Delicata Ink Pad – Golden Glitz

Stamps:

  • Dina Wakely & Stampington – Create with Abandon & Script Heart
  • Stampers Anonymous – Spills & Splatters
  • Pam Carriker – Honeycomb
  • Kaisercraft – Bubble Wrap
  • Old credit card or paint scraper

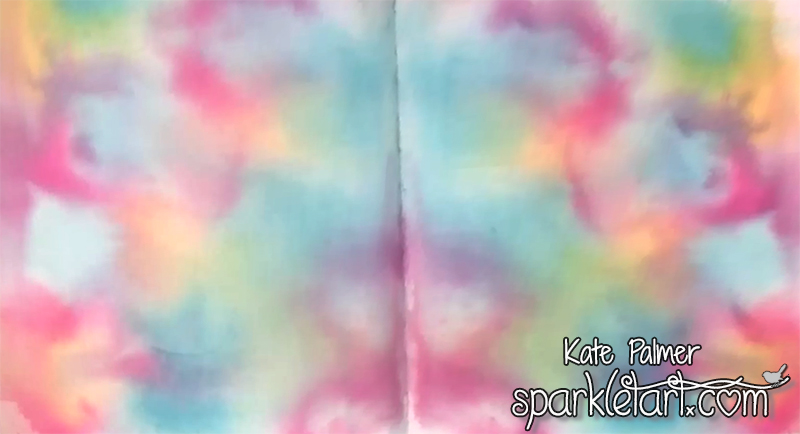
Step One – randomly spray paper or canvas with a variety of Lindy’s Stamp Gang Sprays and allow to dry.
Rainbow Grunge Step 1

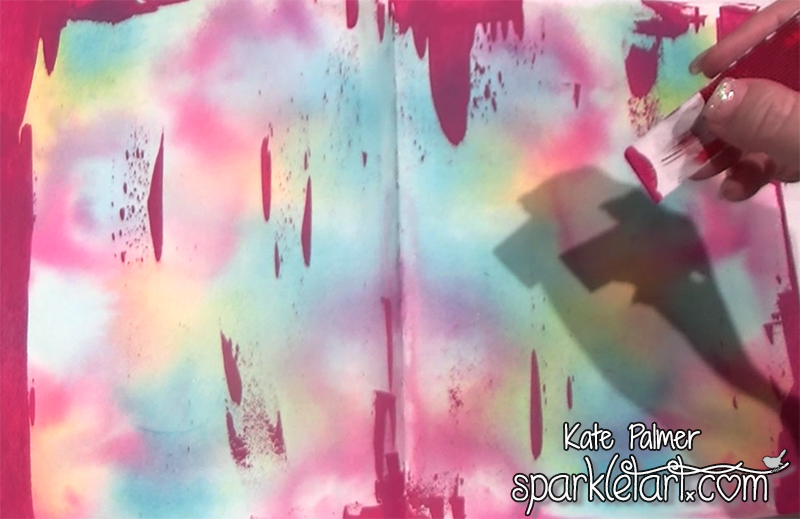
Step Two – using a credit card and Ceramcoat Royal Fuchsia paint, add a little paint to the background by dipping an edge into the paint (I squeeze a little onto my work surface to make this easier) and then scraping the edge along the paper.  Make sure you only add a tiny amount of paint to the credit card otherwise you will end up covering far too much of the background, less is more definitely applies with this technique.
Rainbow Grunge Step 2

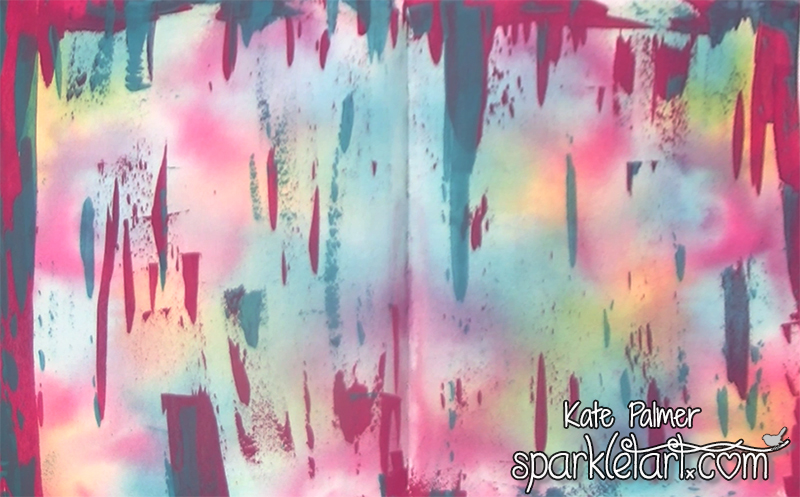
Step Three – using this same scraping technique add a little of the Laguna Blue – I like to overlap the colours a little – notice how they appear translucent and you can see one colour behind the other – this can only be achieved by scraping very thin layers of paint – add too much and you lose this effect.
Rainbow Grunge Step 3

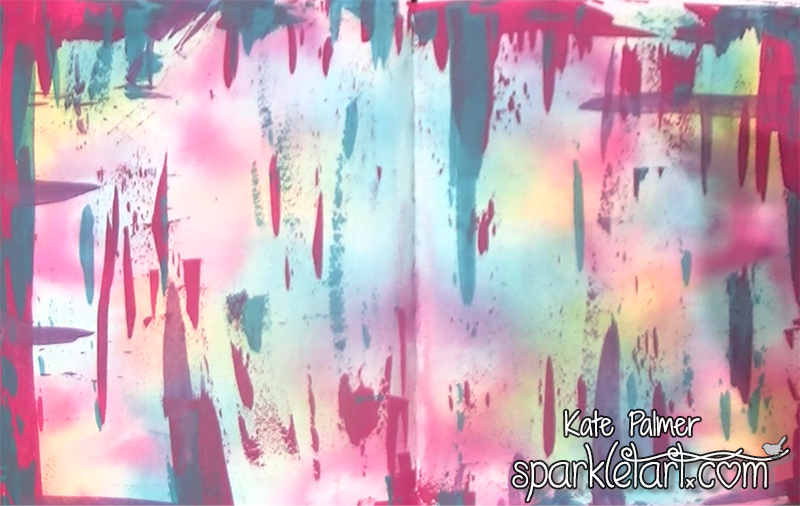
Step Four – is a little more subtle as a result of the colour of paint I used – Deep Lilac.  In this step continue to scrape paint onto the background, but add a few horizontal elements.  I like to make sure there is still uncovered background so the whole thing doesn’t end up looking too busy.
Rainbow Grunge Step 4

Step Five – time to tone it down a bit by adding some of the Seashell White (you could a watered down gesso for this if you need to).  Add the white over roughly 1/3 of your paint in both horizontal and vertical directions – it helps to break up the paint streaks and tone down the colours a little.
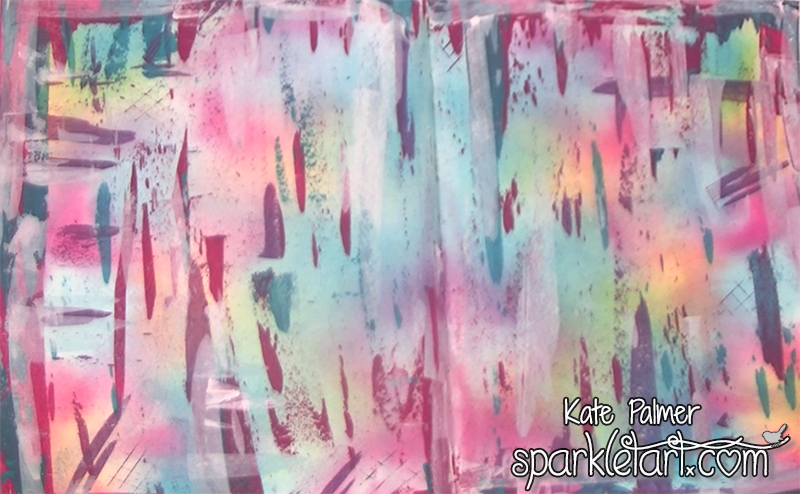
Rainbow Grunge Step 5

After you paint has dried it’s time to add some stamped images, using Ranger’s Archival Inks.
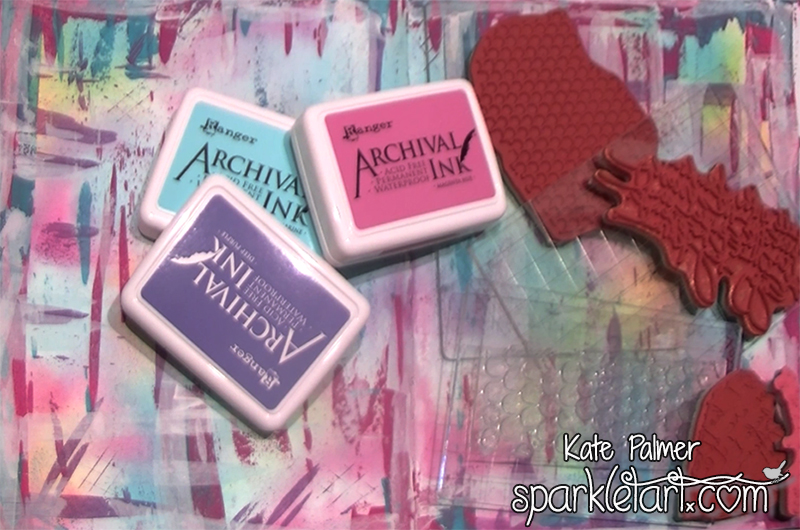
Stamping on Rainbow Grunge Background

Step Six – using Aquamarine ink add some Bubble Wrap impressions, I like to hold the unmounted stamp in my hand to create these marks as you get a more random and less perfect impression.
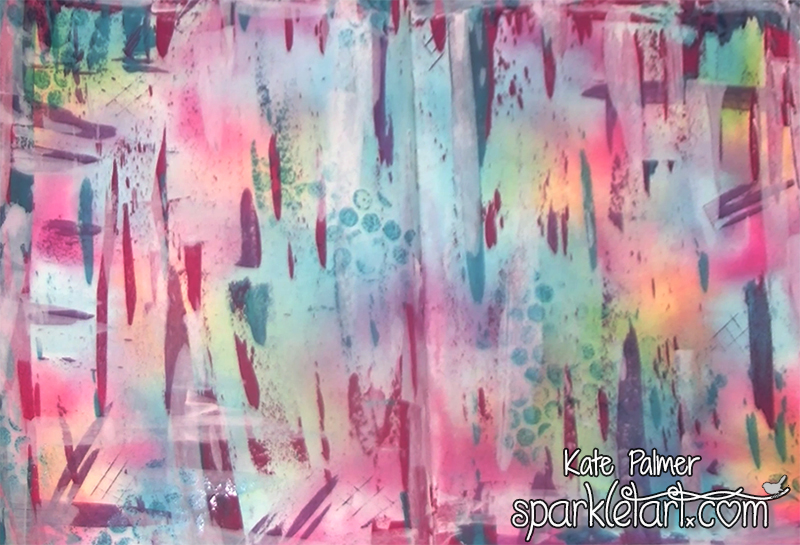
Stamping on Rainbow Grunge Background Step 6

Step Seven – using Magenta Hue ink add some Honeycomb stamped images, notice how I’ve echoed the colours used on the first background layer in both the paint and ink layers – this helps to keep the background unified and stops it looking to overwhelming.
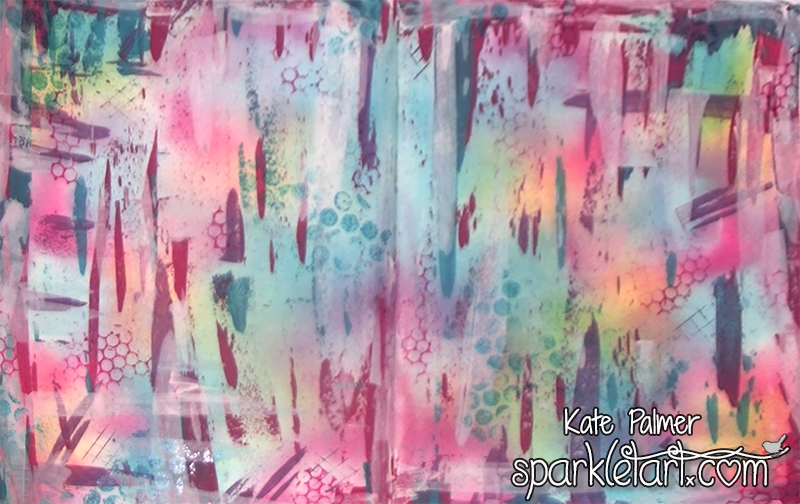
Stamping on Rainbow Grunge Background Step 7

Step Eight – time to add a little darkness to the background – but be careful not to overwhelm the more delicately coloured layers underneath.  I’ve used Deep Purple ink and the Script Heart stamp, but to keep it soft, for several of the stamped images I have inked my stamp then stamped lightly on scrap paper before stamping onto my project.  This creates a lighter coloured impression.
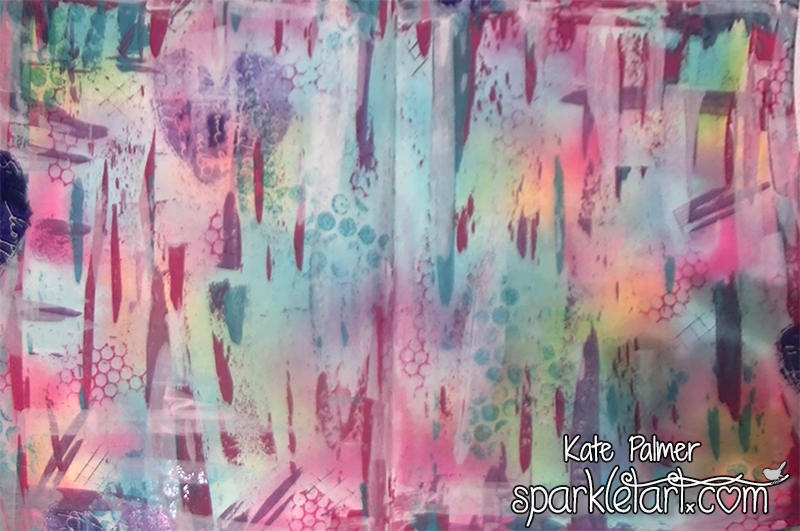
Stamping on Rainbow Grunge Background Step 8

Step Nine – this is my favourite part, I’ve added the beautiful text stamp Create with Abandon using Gold ink – while it may not add any additional colour it adds a textural element to the page and catches the light.
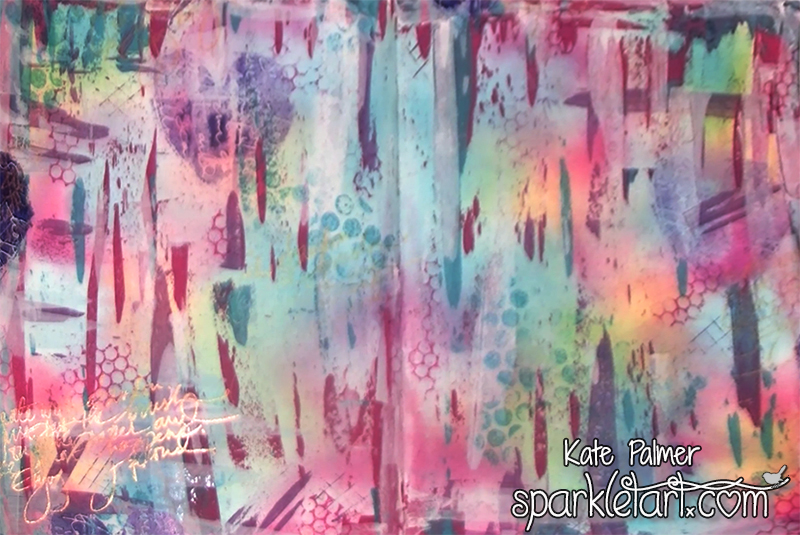
Stamping on Rainbow Grunge Background Step 9

Step 10 – this is the final background element and is the only additional colour I have used – Watering Can – a wonderful grey.  I’ve used one of the Spills & Splatters stamps to add a little extra grunge to the background and tone it down a little more.
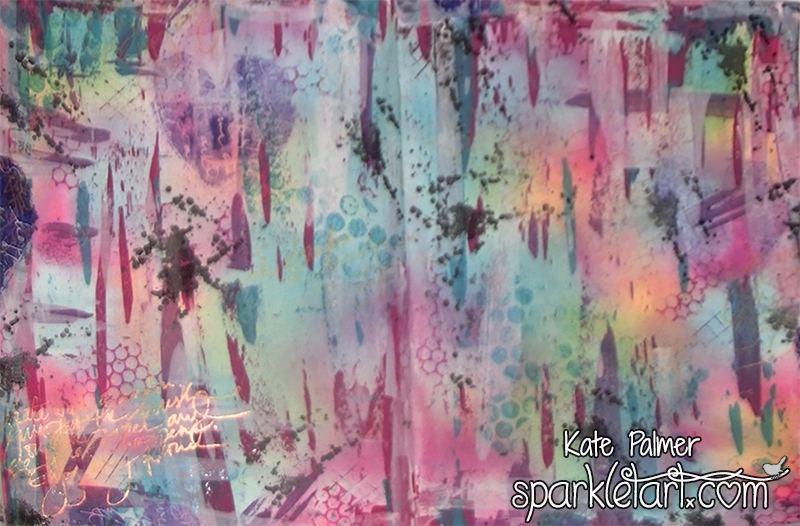
Stamping on Rainbow Grunge Background Step 10

Now for a few close-ups so you can see the background elements.

It’s important to have a little bit of ‘something’ everywhere on the page as you never know which bits will be seen in the final piece.  You can see all of the layers and elements – the translucent images and paint marks, really help to bring this background together.
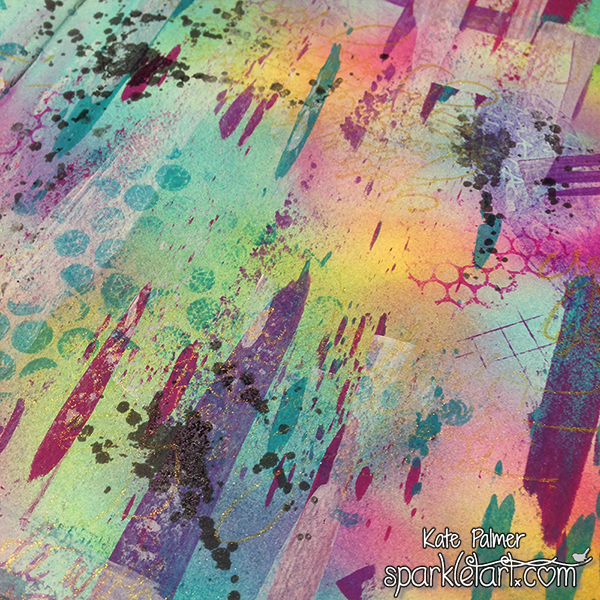
Rainbow Grunge Background Close Up 1

Just a little touch of gold can really lift the colours around it.
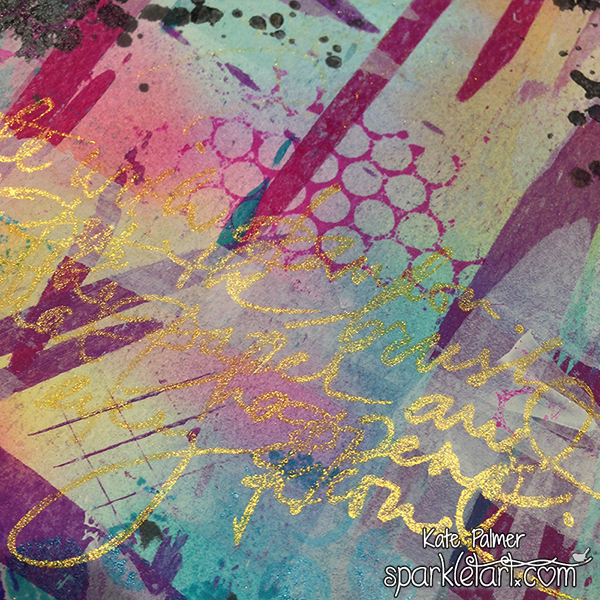
Rainbow Grunge Background Close Up 2

While I created this page in one session, the fantastic thing about this background is you could easily create it overtime with the leftovers from other projects.  You could create the first layer from over sprayed liquid, the paint scrapings could be left over paint that you add as you need to (rather than waste it) and the stamped images could easily be added whenever you have ink left over on a stamp – you could even play with the order that each item is added to the page, eg: stamps then ink then paint, as each layer is translucent you will still see each element.  Cool huh!

Challenge and Give-Away Winners

Now I’d like to issue a little challenge – I want to know how YOU would use this background – now that you’ve created it what would YOU use it for, what comes next? THANK YOU for all of your comments and inspiration – it is amazing what can be done with a wonderful background!

And the winners are:

Carole Furlong and Joan McAlpine

Carole Furlong says:
“I love this – the lovely warm yellow survives to the last layer – gorgeous. I would use as a background in my art journal. I think I’s do something like a technical drawing over the top – scaffolding, pipes, conveyor belts and that sort of thing – would be a great contrast to the prettiness of the background”

Joan McAlpine says:
What a beautiful, bright background. More like spring than dull and dark winter in Melbourne.
Firstly, I’d photocopy the original and then play to my hearts content with such things like a small Banksy stencil or a silhouette stamp in black archival ink on the top. Of course I could decorate my studio wall (only one with the window as it might be too much if I did more) and use it as wallpaper, then the colours are there all the time to remind me what works. This would be more interesting than the two colour wheels that hang there (obviously one is not enough as colour is sooo… important).” I love the idea or a living color wheel wall!

Ladies – please email Michelle [Michelle @ MixedMediaArt.net] and we will con-ordinate with Kate to get your prizes posted to you!

Plus a HUGE “thank you” to Kate for offering the give aways!

~*~*~*~*~*~*~*~*~*~*~*~*~*~*~*~*~*~*~*~*~*~*~*~*~

Kate Palmer though perhaps better known as Sparkle Tart loved playing with mixed media and techniques.  Most of her work incorporates sparkly media of some sort, which is used on journal pages, canvases, scrapbooks or hand made cards.

You can see more of Kate’s work at Sparkle Tart or via Facebook – Keep It Simply Sparkly

~*~*~*~*~*~*~*~*~*~*~*~*~*~*~*~*~*~*~*~*~*~*~*~*~

.

.
New Beginnings

~ * ~

This article is written by Deb Middleton-Hope

Recently retired from a hectic 30-year career and celebrating my 60th birthday, I committed to discovering my artistic soul, who has patiently waited her turn in my busy, busy life.  It was going to be a new beginning, a new adventure.  So true to my corporate working habits, I set my goal to be an artist, developed my strategic artist plan, created my perfect studio, bought tons of art supplies, signed up for courses, bought the videos and gave myself a one year time line.  I was set. I had my new beginnings journey all mapped out.

using background papers for mixed media art ideas

New beginnings? What has that been like?

With all the strategic process steps complete, the actual creating of art became a daily struggle as I made becoming an artist my new job to replace the working habits I had left behind. I soon realized I was not having fun and wanted to quit. I was afraid of the empty page and I struggled to put art to paper. Three months into the new beginnings my ego wanted to quit and I was ready to give up on my artist dream.  But my artist soul was not ready to give up on me and through the reading of a book by Natalie Goldberg called Writing Down the Bones, I was able to discover a whole new creative world.  Ms. Goldberg addresses the art of creativity through writing and talks of practice, patience and perseverance. With her encouraging words, I began exploring practical art exercises adapted from her suggested writing exercises to free the artist within. Little did I realize a book about writing would help me gain perspective on creativity. It taught me to have an open mind, listen to your inner voice and trust the process.

using background papers for mixed media art ideas

I incorporated two of her practical exercises to help me through the hurdle of putting paint to the empty page.  The first exercise focuses on  “keeping the hand moving,” by setting a timer and just let the hand be free; no logic, no control of the brush, just paint and when the timer goes, flip the page and start again.  I continue to do this exercise until I have a sense of freedom , deep feelings and a soul of satisfaction.  The second exercise I tried involved creating a list of topics to use for creative adventures.  I devised a list of art techniques I wanted to learn, placing them on sticky notes and putting them into my Art Jar, my version of the To Do List Job Jar.  Then on a day I need inspiration, I reach into the jar, grab a topic and make the topic the center of my creative piece.  The practice takes me out of my comfort zone and pushes me to learn about principles and elements of design, color theory, mediums and products, etc.

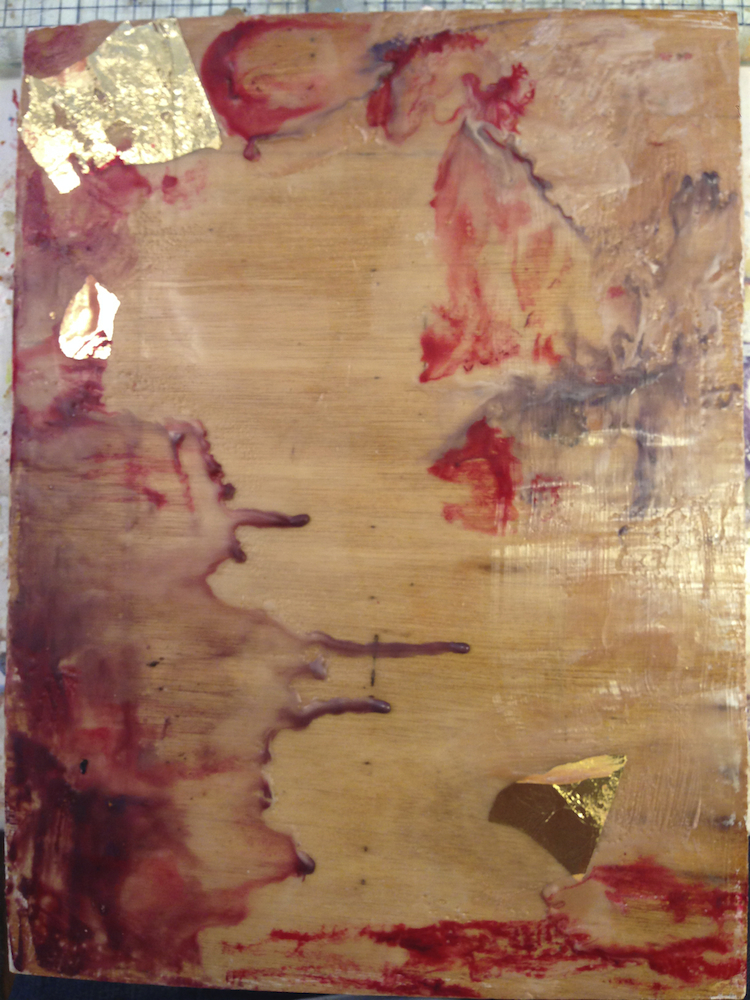
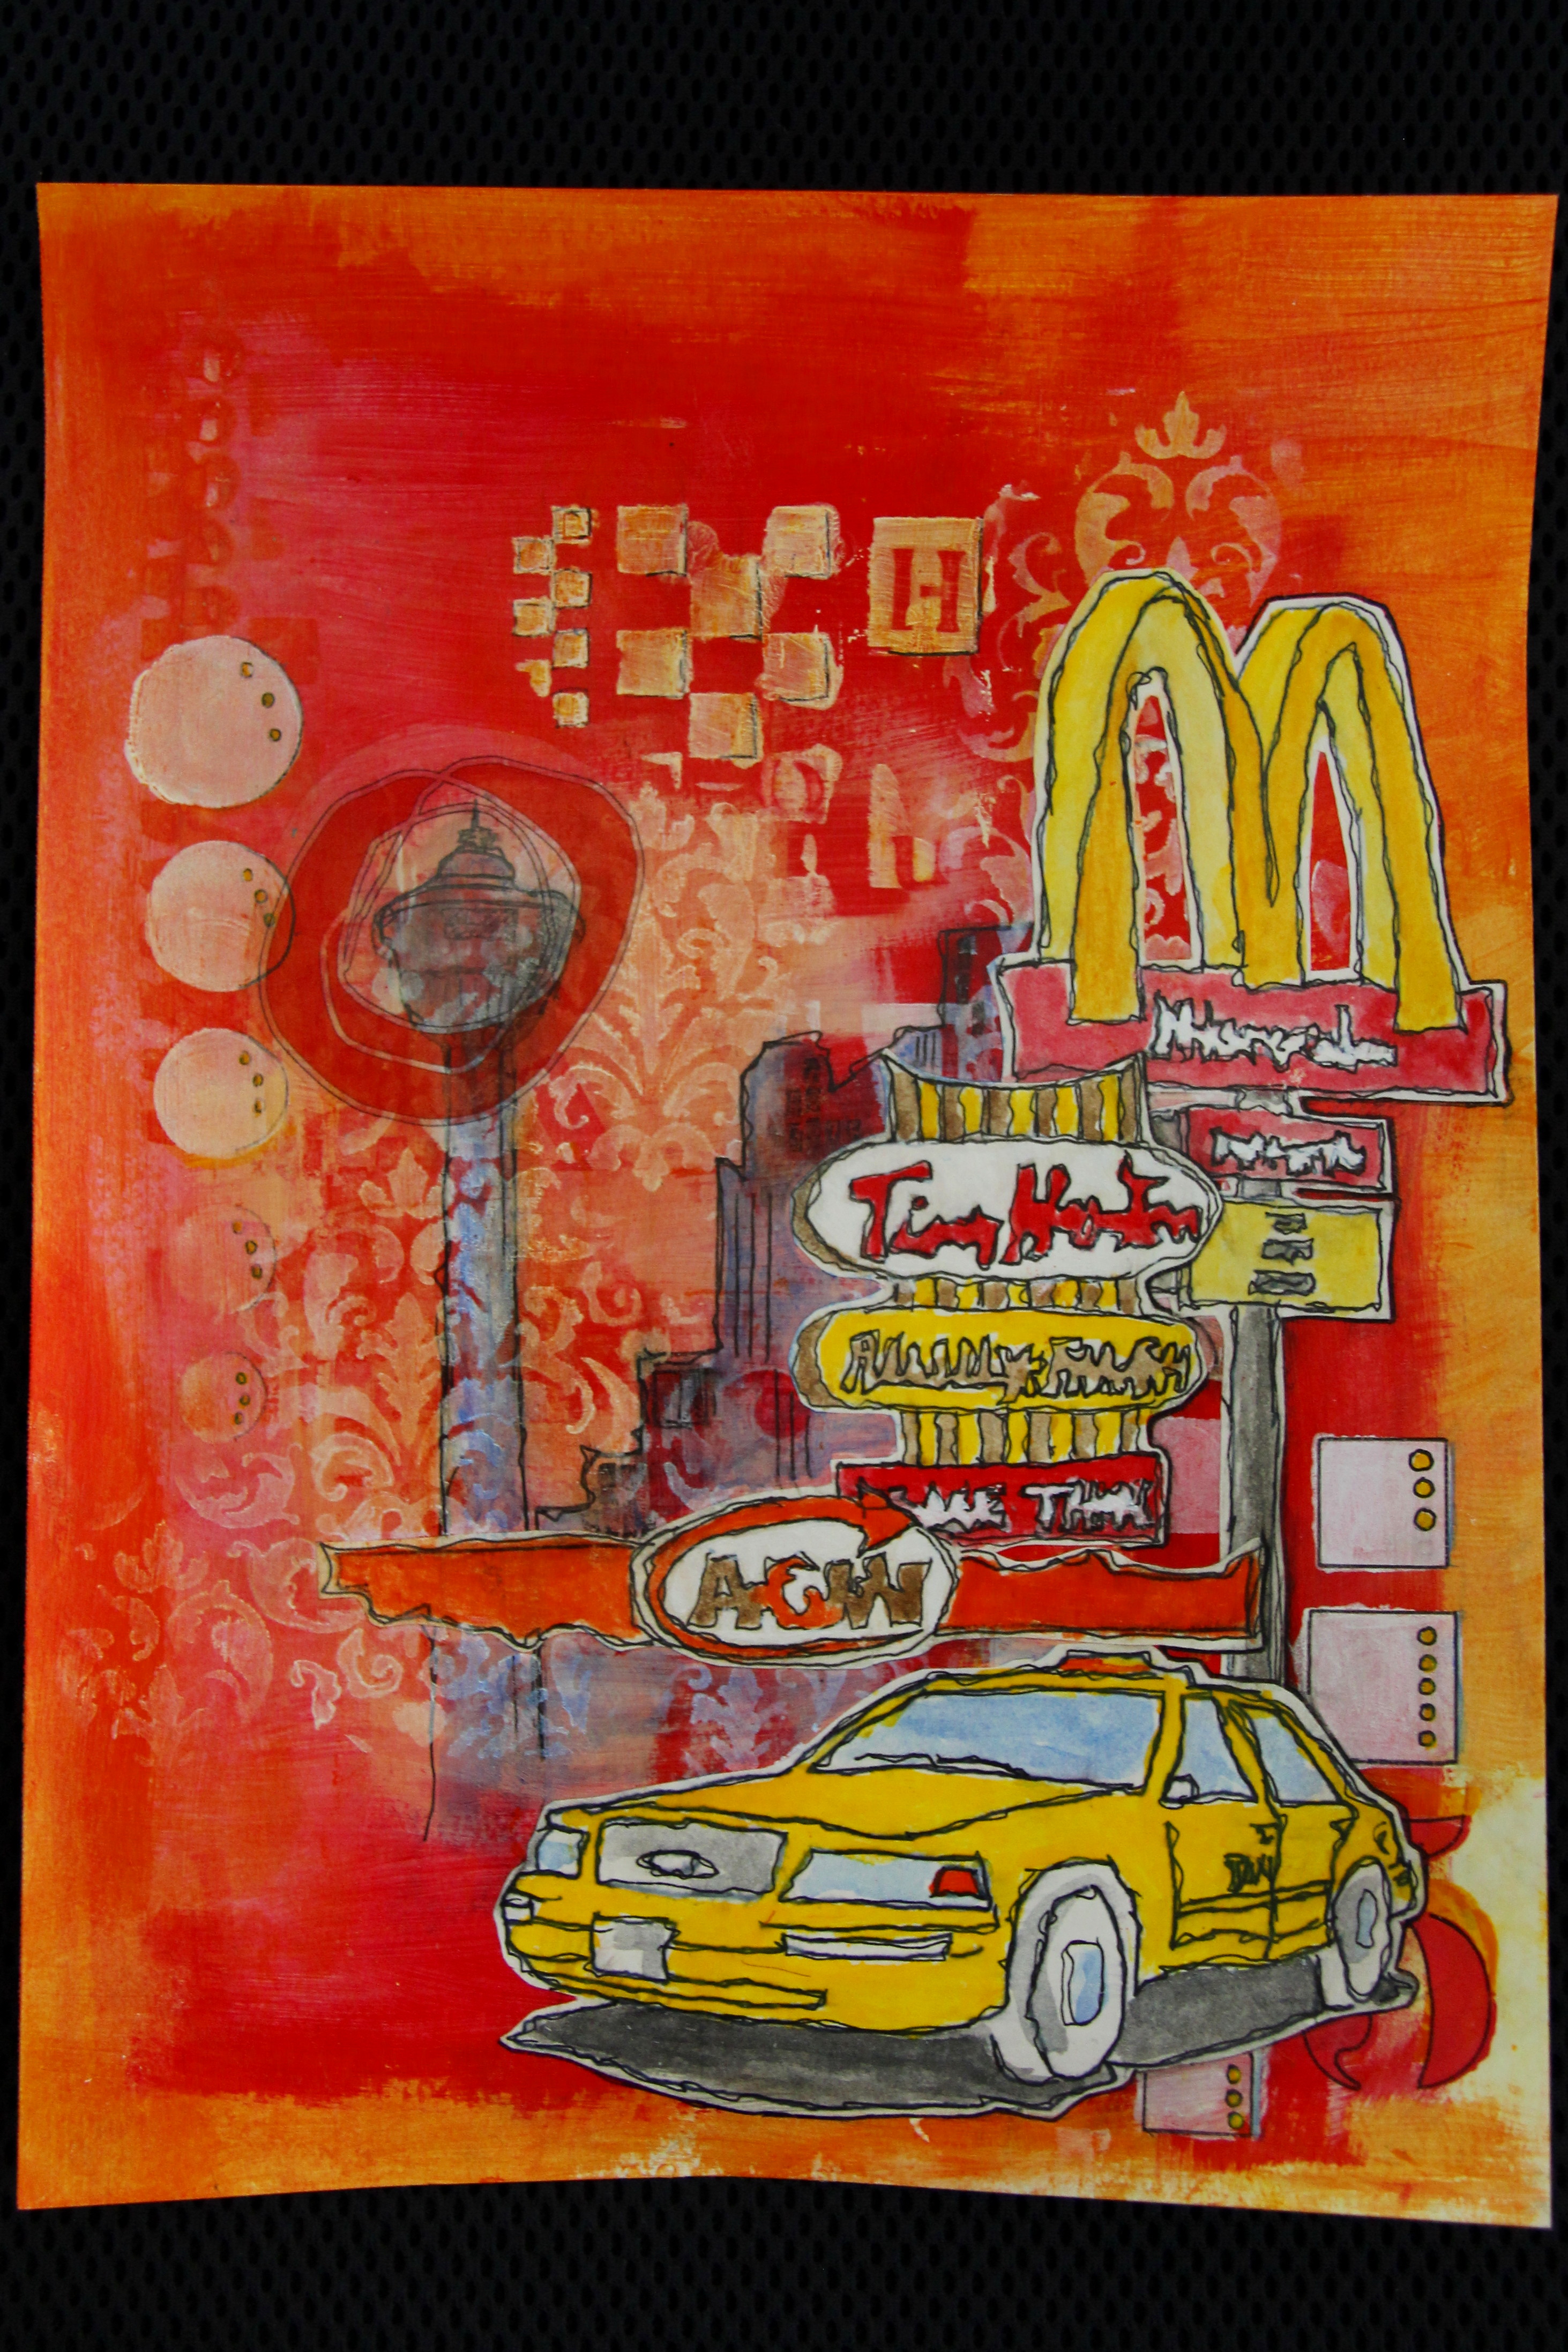
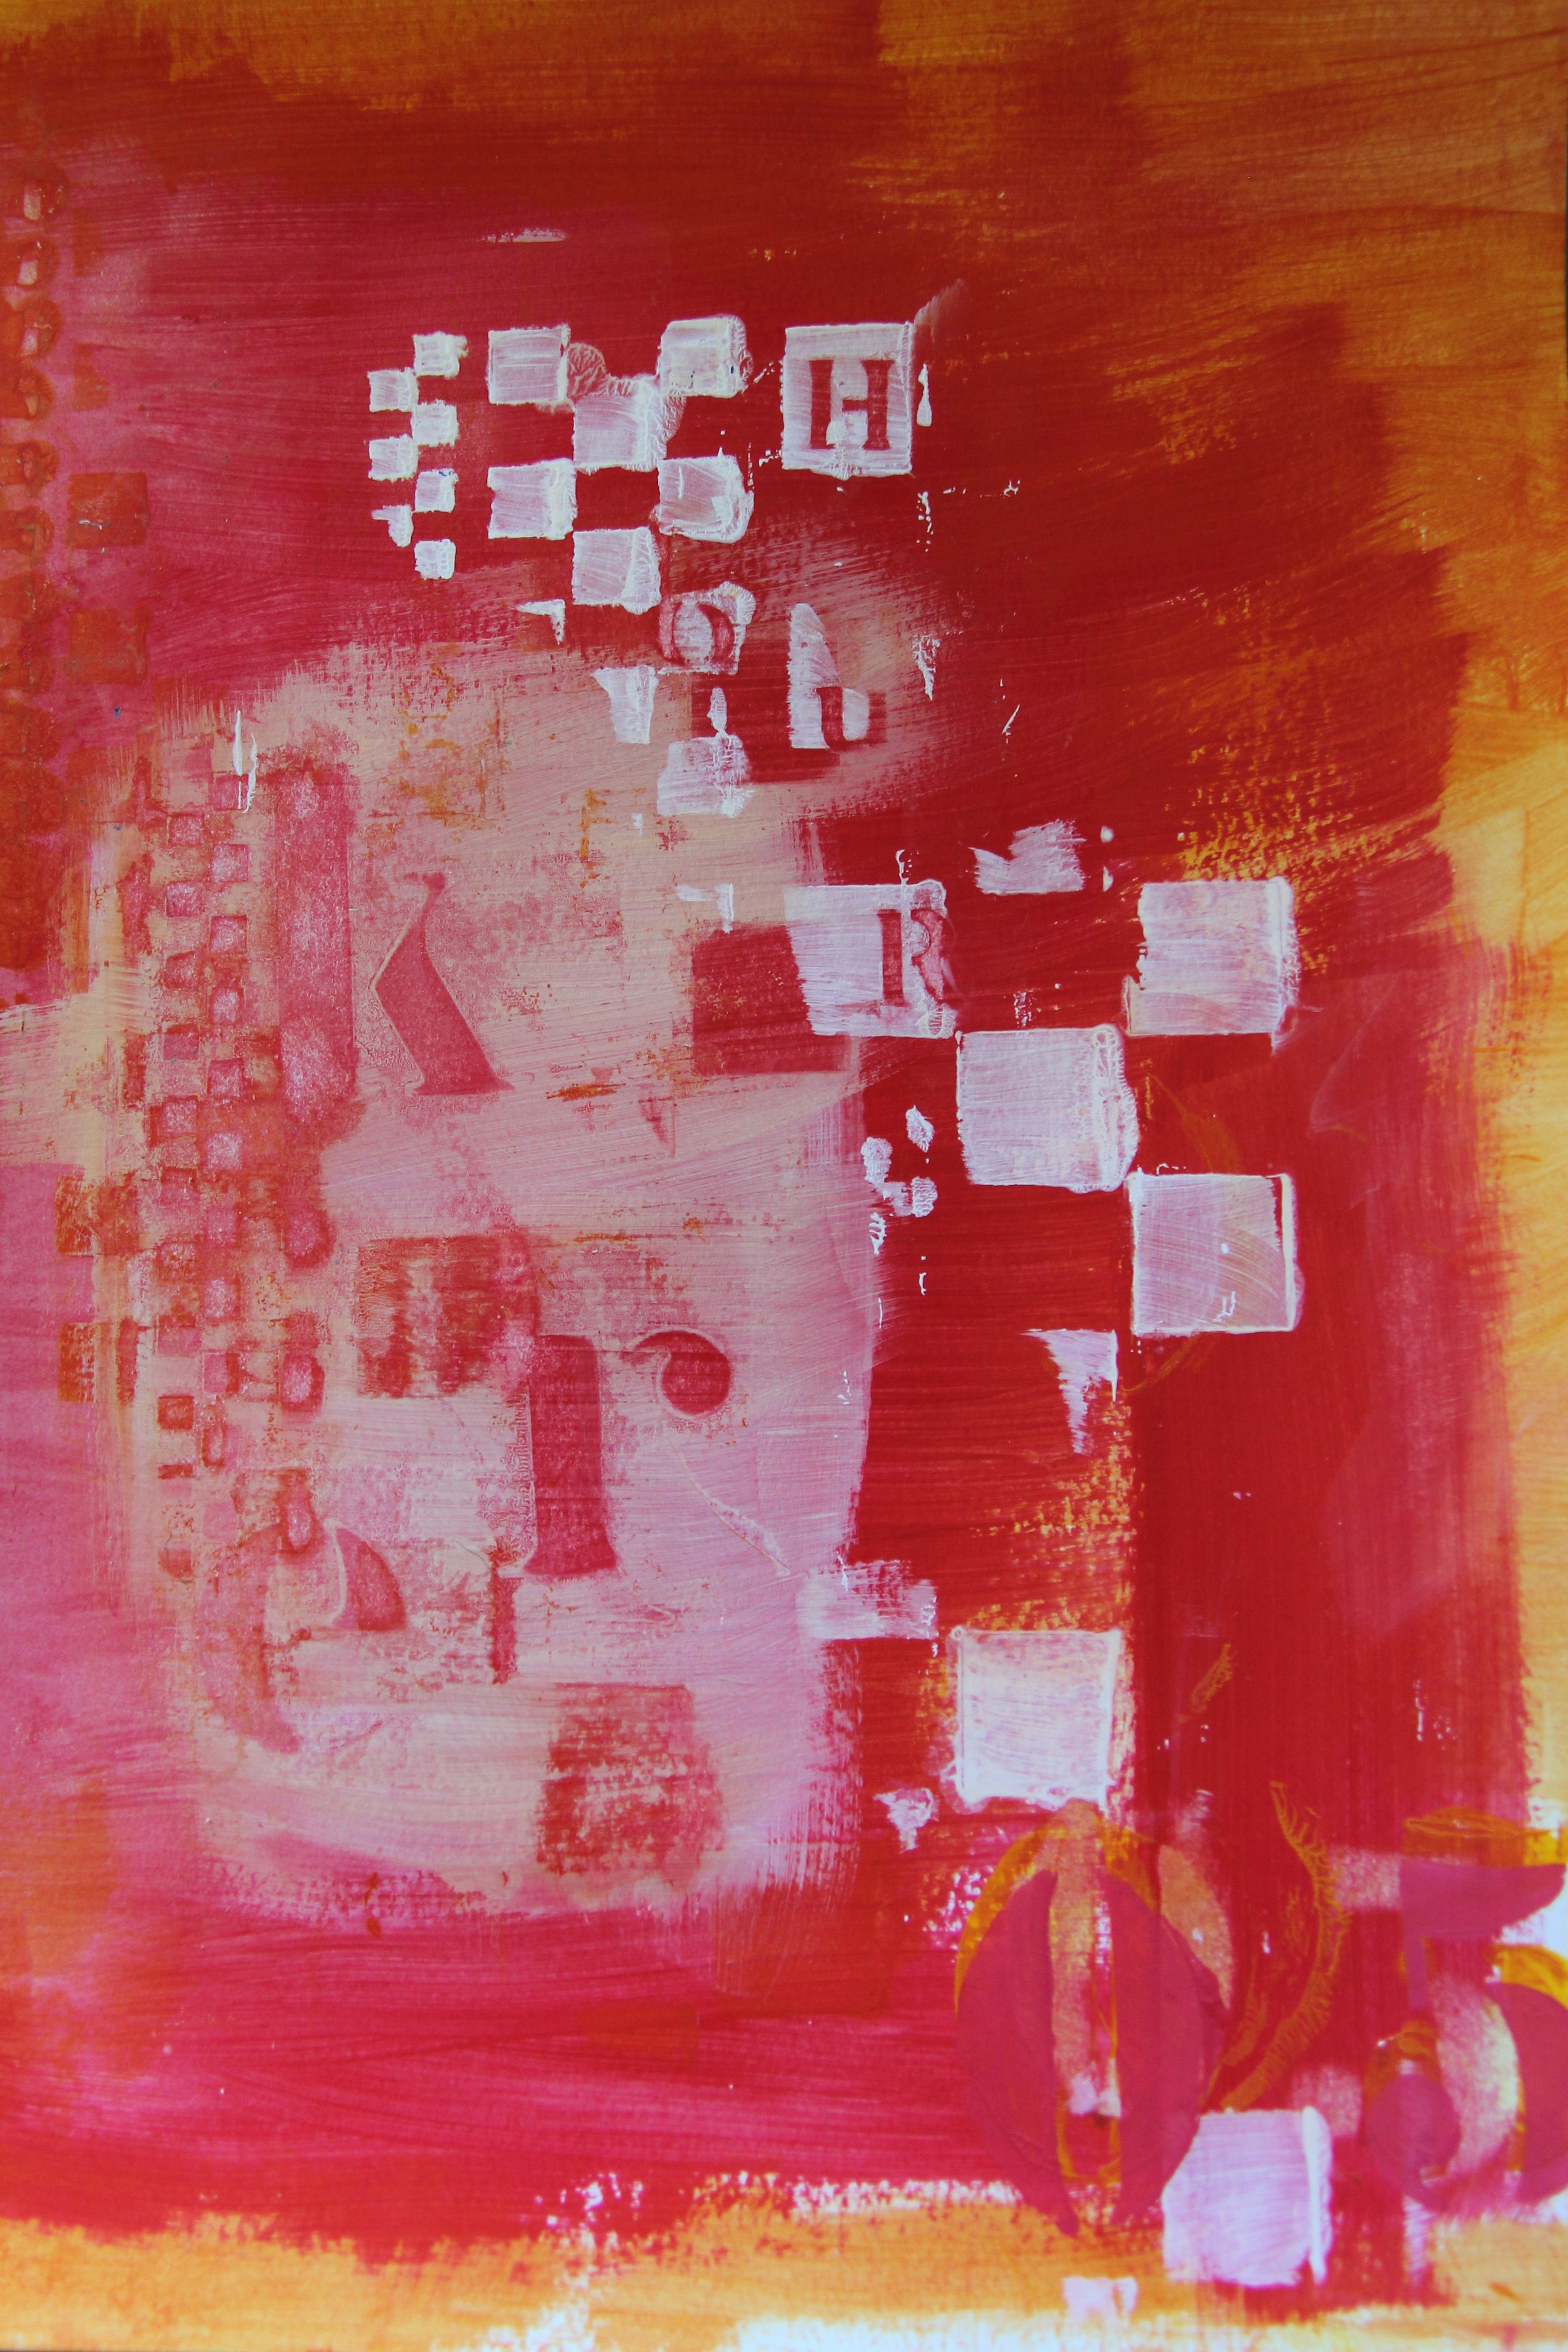
By incorporating these two simple practical exercises, I have depleted my fear of the empty page, the directional decision is made by the Art Jar and the original strategic plan is filed away in the draw as my artist soul shows up ready to play, create and have fun.  The following piece was created using the above exercises.  The red background in the 2nd picture was a result from the hand moving exercise and the topic I had selected was Tertiary color: primary and secondary: yellow/orange.  The red background gave me a feeling of movement, and when I started adding orange paint, I got a feeling of business, like a city rush hour.  Trusting my inner voice, I stayed with the theme and composed a piece called “Rush Hour Temptations”.

~*~*~*~*~*~*~*~*~*~*~*~*~*~*~*~*~*~*~*~*~*~*~*~*~

Deb Middleton-Hope is discovering her artistic soul through mixed media and pushes herself to try new adventures as a learning tool.  As a beginner she seeks inspiration with an open mind and trusts her inner voice to guide her along the journey.  Deb can be reached at dm-h@shaw.ca.

~*~*~*~*~*~*~*~*~*~*~*~*~*~*~*~*~*~*~*~*~*~*~*~*~


Artistic Healing Anyone Can Do

~ * ~

This article is written by Laura Shelton Thykeson

art journals as healing art

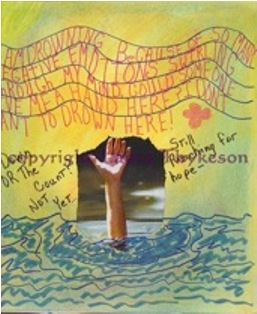
Anyone who knows me hardly at all knows that I have spent a LOT of time in the hospital, having heart attacks, surgeries, tests, observations, etc…now, make no mistake – I am so definitely not here to whine. I am here to encourage others, faced with similar and worse circumstances, learn to channel that pain, frustration, and sometimes even depression into something clean and pure and healing-Art! It is such a simple concept, yet so many shy away from it because they “don’t have the supplies”,  “have no talent” (that’s the one that drives me crazy, lol!),  “don’t feel like it” and any other excuse the human brain can conjure up to stop us from having fun. Just because we are ill doesn’t mean we stop being human. This is actually the time of your life when you are the MOST human! All of those emotions, right there on the surface, just screaming to be expressed and gotten out in some constructive, healthy way. Well, here is my best suggestion, and I only push this because it has gotten me through so much and made everything so much easier in the process. I honestly feel this process has helped to save my life and helped keep me alive so far

art journals as healing art

What I am suggesting is SIMPLE, Expressive Art Journaling. Not in a fancy expensive journal, or with expensive, professional art supplies, and it doesn’t matter if you have “talent” or not, because this type of art journal is not for “show and tell” unless you want it to be…this is a place for you to escape to when the going gets tough, the pain won’t stop, and you are so tired and exhausted and weak that you can barely hold a marker, but still can’t sleep and can‘t lay there another minute.

art journals as healing art

art journals as healing art

Picture this scenario: You are laying in your hospital bed, or at home. You have some sort of medical procedure scheduled for tomorrow. Do YOU think you are going to be able to sleep? Then why not take that time you would have spent worrying, and spend it playing with vibrant colors, various shapes, blobs and drips and splatters of paints or inks, scribbling with pens and markers, and whatever else you decide to use.

Don’t worry, you will soon find your own way, your own path through the pain and insanity that has seemingly taken over everything in your life, and suddenly-YOU are back in control of your life again! You will lose track of time, maybe just a few moments, any is a relief, and that means you aren’t experiencing the pains of being ill during that time! Worth a shot, now isn’t it?

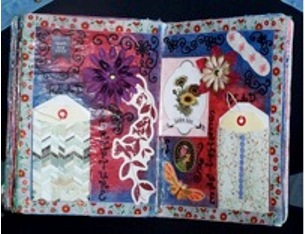
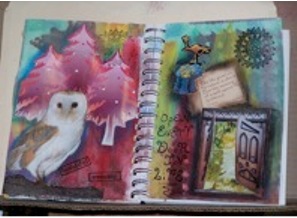
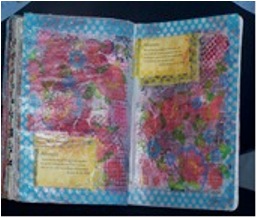
Maybe you just scribble with a set of colored felt tip markers…maybe splash around some children’s watercolors. What you use and how “artistically” that you do it DOES NOT MATTER. What matters is you got through it again, and now, each time it happens, you have a refuge to go to, always waiting for you to begin. And while some of my pages look more complicated, that is just because it is my style…I haI would sit in my hospital bed for hours, just swishing paint, sometimes making designs, sometimes just watching the color spill across the pages, and rarely did I ever actually “journal” on these pages. No words could explain, so I let the colors and the shapes do the talking for me. Plus I had some pre-printed Scripture cards that I added to most of the pages and they worked perfectly for what I wanted.. Some of the pages are just paint, or just napkins decopauged on, or collage from magazines or colored Sharpies

art journals as healing art

art journals as healing art

art journals as healing art

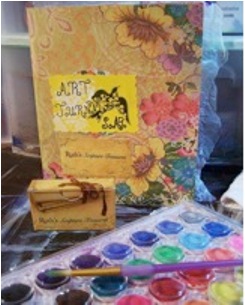
Now, here is the easy part…here is a suggested list of basic supplies to get you started, and you can get them all at the Dollar Store!

Some type of tote bag to hold everything and tote back and forth to hospital and doctors appointments.

Sewn Spine Composition Notebook to use as journal – (stock up during back to school sales!)

Set of children’s pan watercolors

Set of colored felt tip markers (optional)

School glue

Glue stick

Small set scissors

Pencil and eraser

Black marker and black ink pen

Couple old magazines for collage (optional)

Maybe some cheap craft paint (optional)

Couple of decent paintbrushes

This is more than enough to get you started, and believe me, as you go, you are going to start accumulating more and more supplies and odds and ends for your journal pages…glue in snips of papers, hospital bracelets, discharge papers, anything that was a part of your day. It all matters…I can’t really explain why, but somehow it validates that you were there, you struggled through it, and you survived it all! When looking back months or years later, these things will touch you deeply in ways only you can understand. We enter those surgical rooms and go through those tests ALONE, and ALONE we find the courage to come back out, face the future and begin the sometimes long and painful journey toward being as healthy as we can be again. Oh yes…those little snippets you stuck in that journal that day are gonna mean more and more to you as time passes

art journals as healing art

art journals as healing art

art journals as healing art

One last note I would like to add:

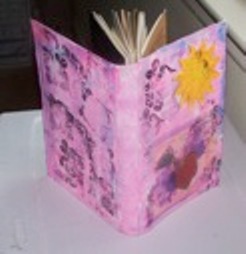
Take the time to decorate, paint, collage or otherwise embellish your composition notebook/art journal and give it a name. Something that means something to you personally. It makes that book really “belong” to you, and it becomes a part of you in the process. Whether fancy or plain, it is no longer “just” a notebook. It is your story, and it is just waiting to be told by the only one who truly can – YOU!

~*~*~*~*~*~*~*~*~*~*~*~*~*~*~*~*~*~*~*~*~*~*~*~*~

Laura Thykeson has been totally immersed in mixed media art for many years. She discovered altered books and art journals about a year ago and have been hooked ever since! She has always loved mixed media art because of the variety and the “no rules” aspect! Laura lives in Granbury, Texas USA.

You can see more of Laura’s work at Taz’s Corner

~*~*~*~*~*~*~*~*~*~*~*~*~*~*~*~*~*~*~*~*~*~*~*~*~

.

.
Soft Pastel, Collage and Encaustic

This article has been written by Vicki Ross

After months of studying and researching encaustic techniques, collecting the supplies, and setting up a workstation in my studio, I was ready to ease into some serious play! Being an analytic person by nature, I always work from information to play, rather than play and learn-as-you-go. I made my first batch of encaustic medium (beeswax + damar resin) and ended up with 20 or so mini-muffin shaped cakes of medium. Won’t do that again in a mini-crock pot because it had three legs and was full- wax all over my counter. Miss Brain did everything right, down to micro-managing the measurements, but forgot a piece of newspaper on top of the counter. DUH! Did a few small 7″x7″ experimental pieces on watercolor paper mounted on foam core (materials on hand). A few got scraped off, and the used medium saved into a ball for later use…too precious to waste.

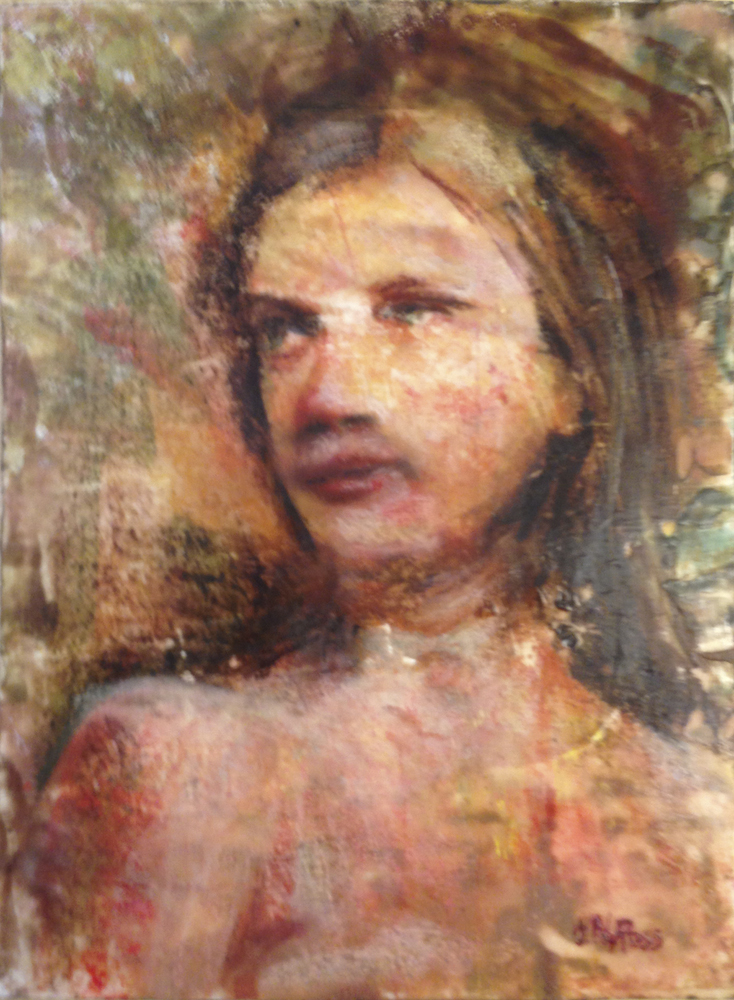
Encaustic and Pastel 12” x 9”

Encaustic, Pastel, Collage, and Gold Leaf

Now I felt like something larger…

Materials:

  • 12″x 9″ Luan panel
  • R&F encaustic gesso
  • Deli Paper (thank you mixed media artists)
  • soft pastels
  • gold leaf
  • encaustic medium
  • Razor Blade
  • Ranger Tacking Iron
  • Heat Gun

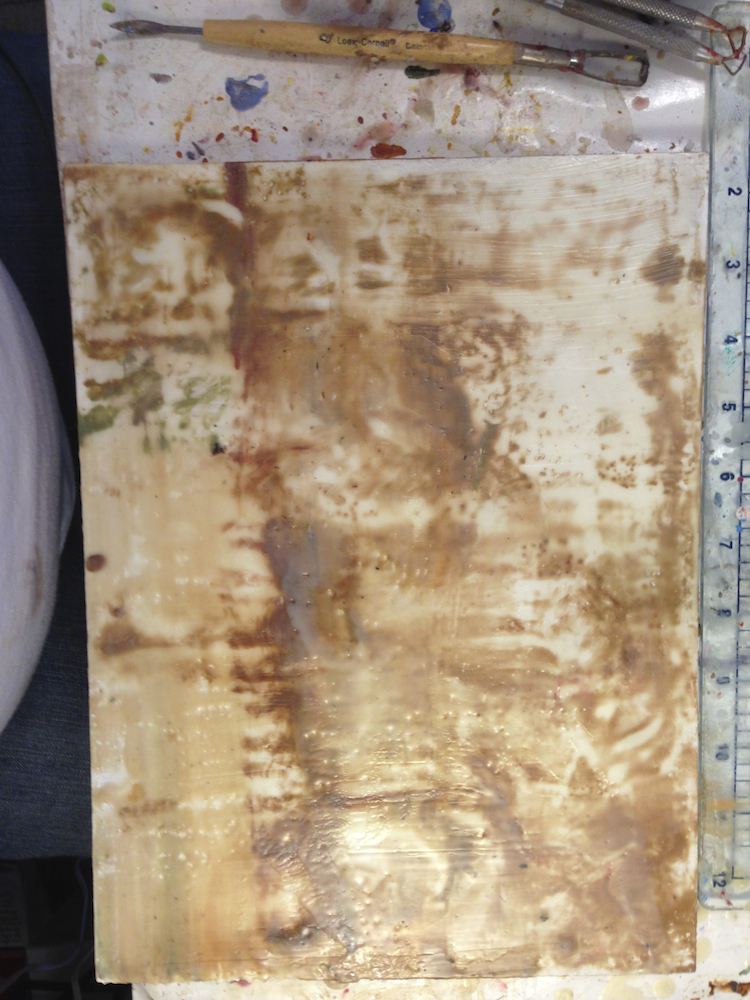
Prime the panel with two coats of clear medium, fusing each with heat gun. To get the surface as smooth as possible, alternate a Ranger tacking iron, scraping with a razor blade, and fusing with the heat gun. Next, I laid on a layer of tinted medium (melted with scrapings from the early pieces. To achieve an aged look, I  placed the panel on the heated surface of the griddle until the wax was moving.

Preparing the panel

Preparing the panel

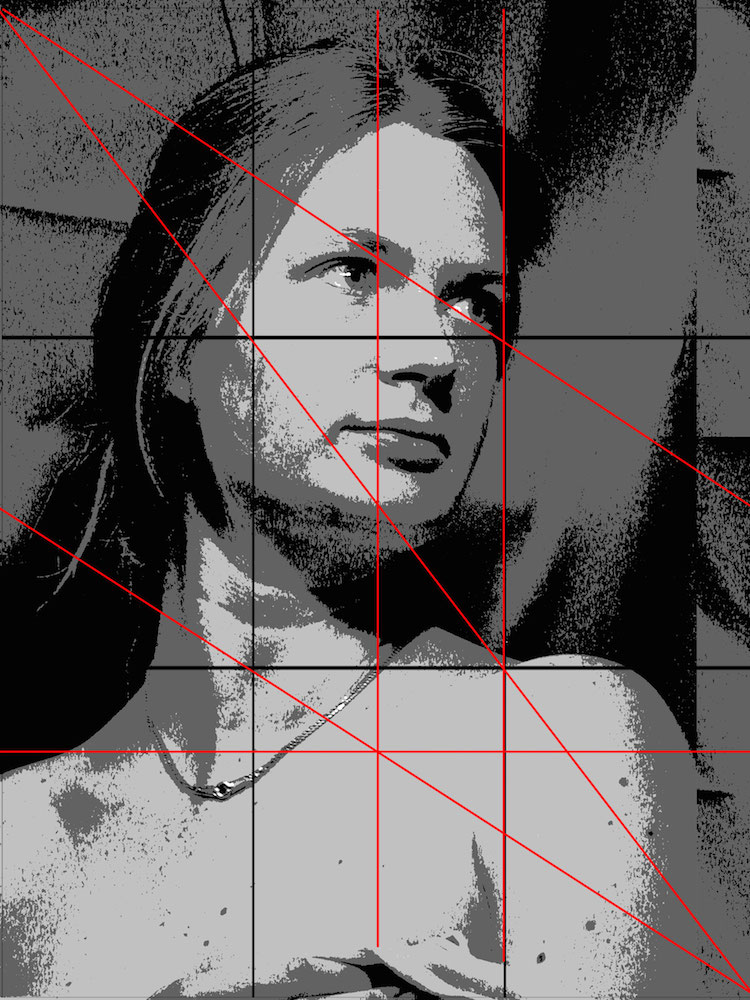
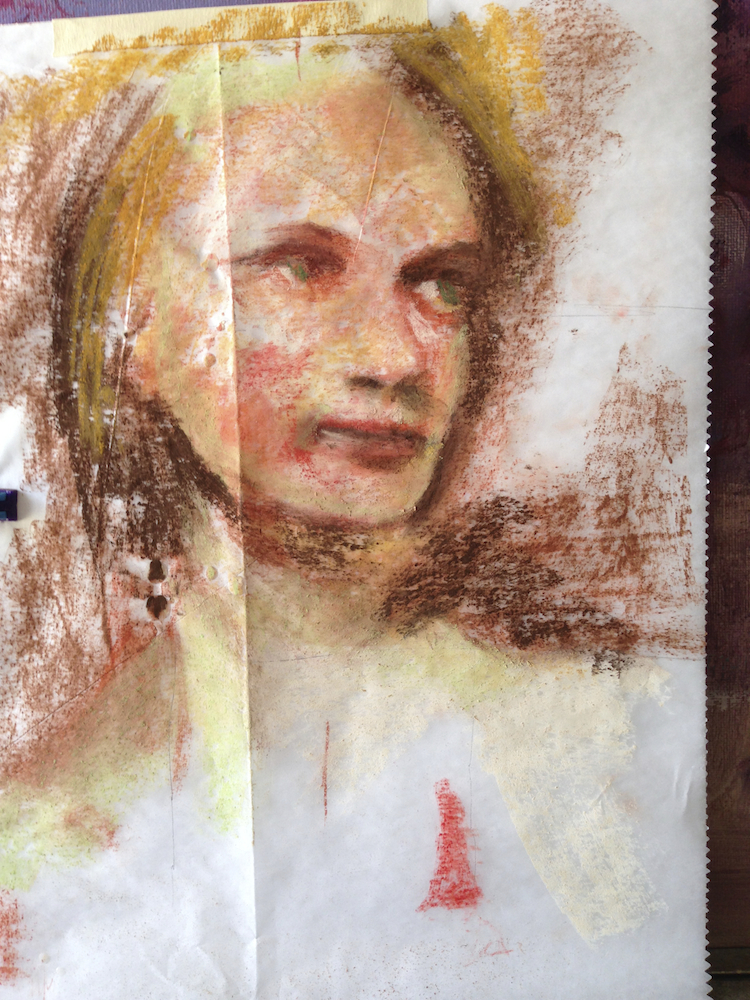
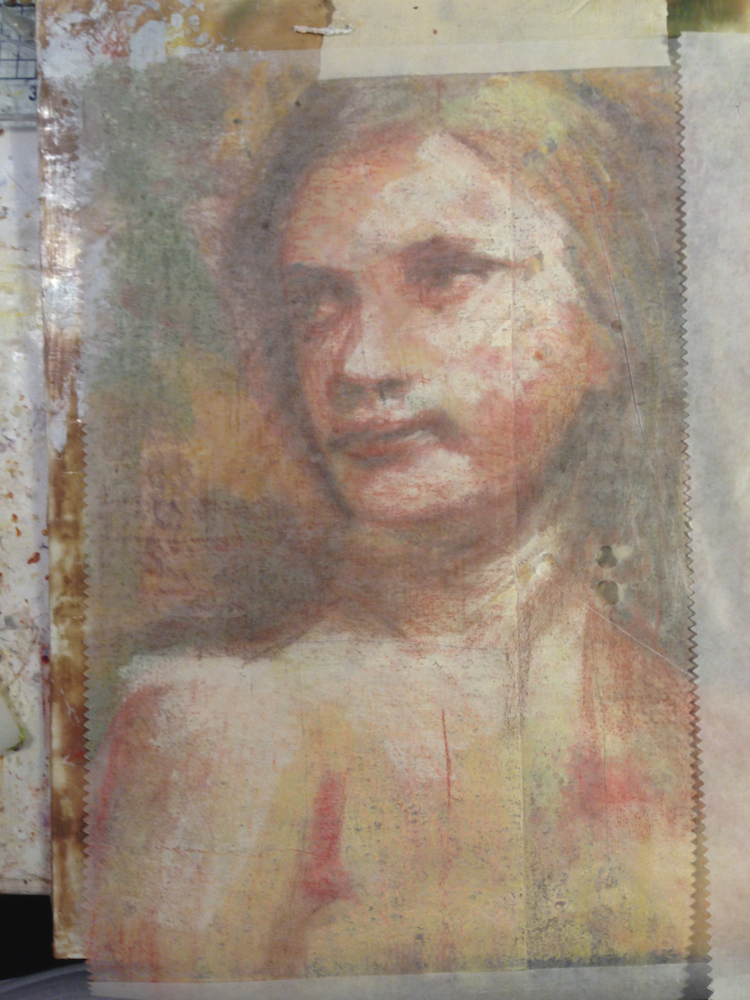
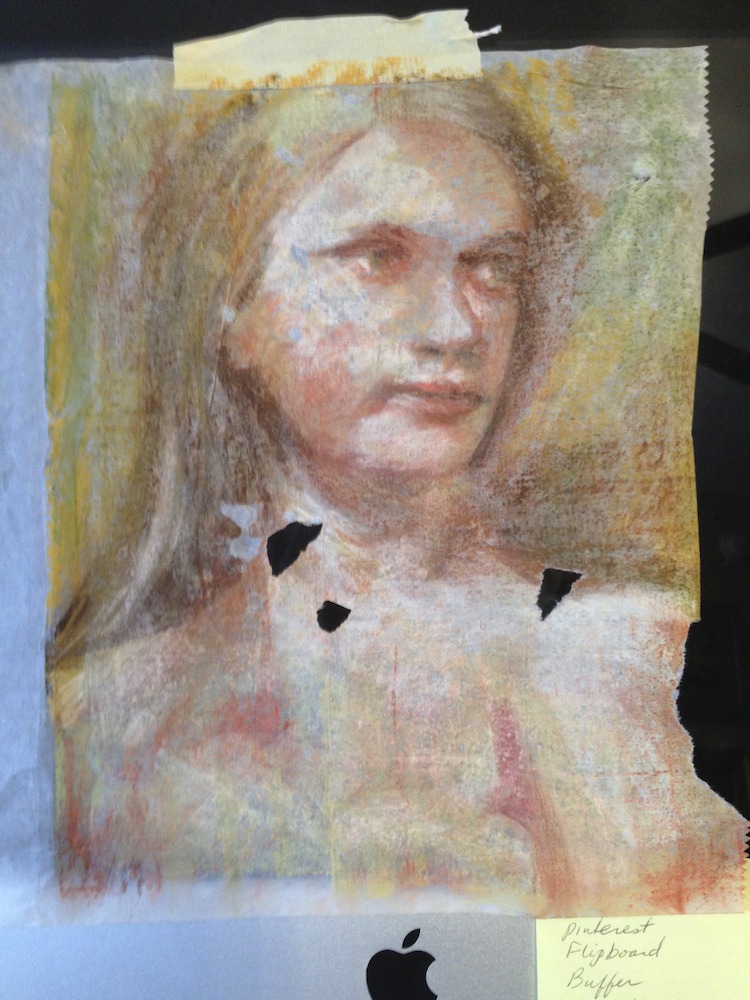
In photoshop, I planned the position of my portrait (reversed), and made the same composition lines onto a piece of deli paper. With soft pastels, I painted the portrait on the paper, continuously checking my drawing.

positioning of the portrait

Painting the portrait

Gently heating the prepared panel with the heat gun, align and place the deli paper pastel side down, and burnish it carefully and thoroughly.

Polishing the portrait on panel one

Carefully remove the deli paper from the panel. If any non-burnished areas show, lay paper back over that spot and re-burnish. If the paper tears, begin peeling it from another direction.

Remove the deli paper from the panel

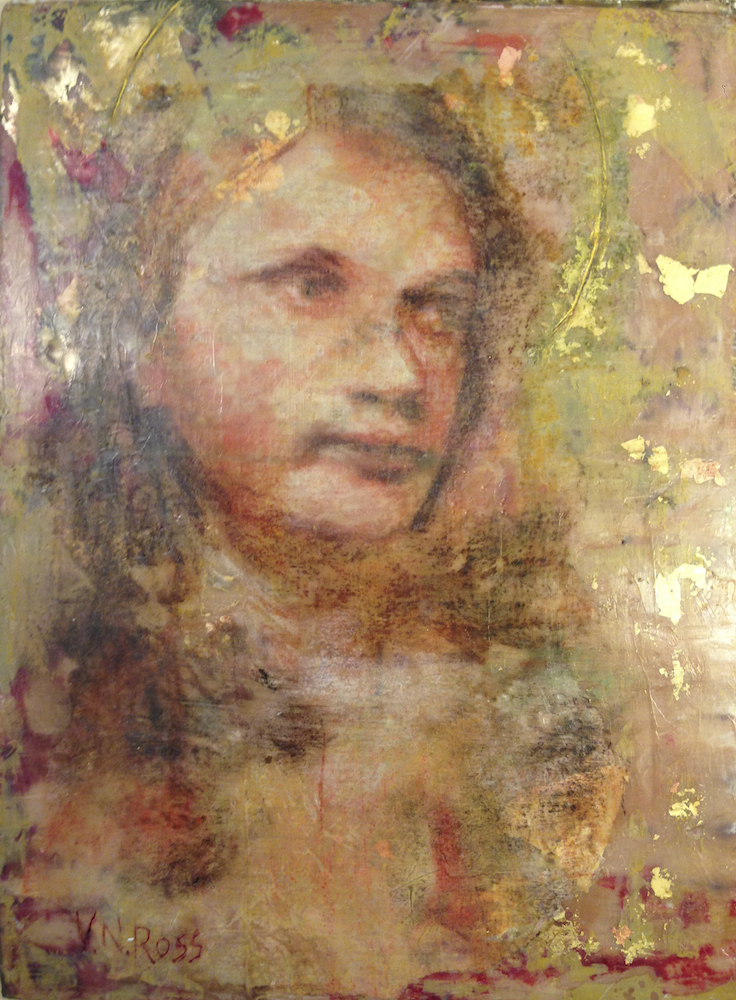
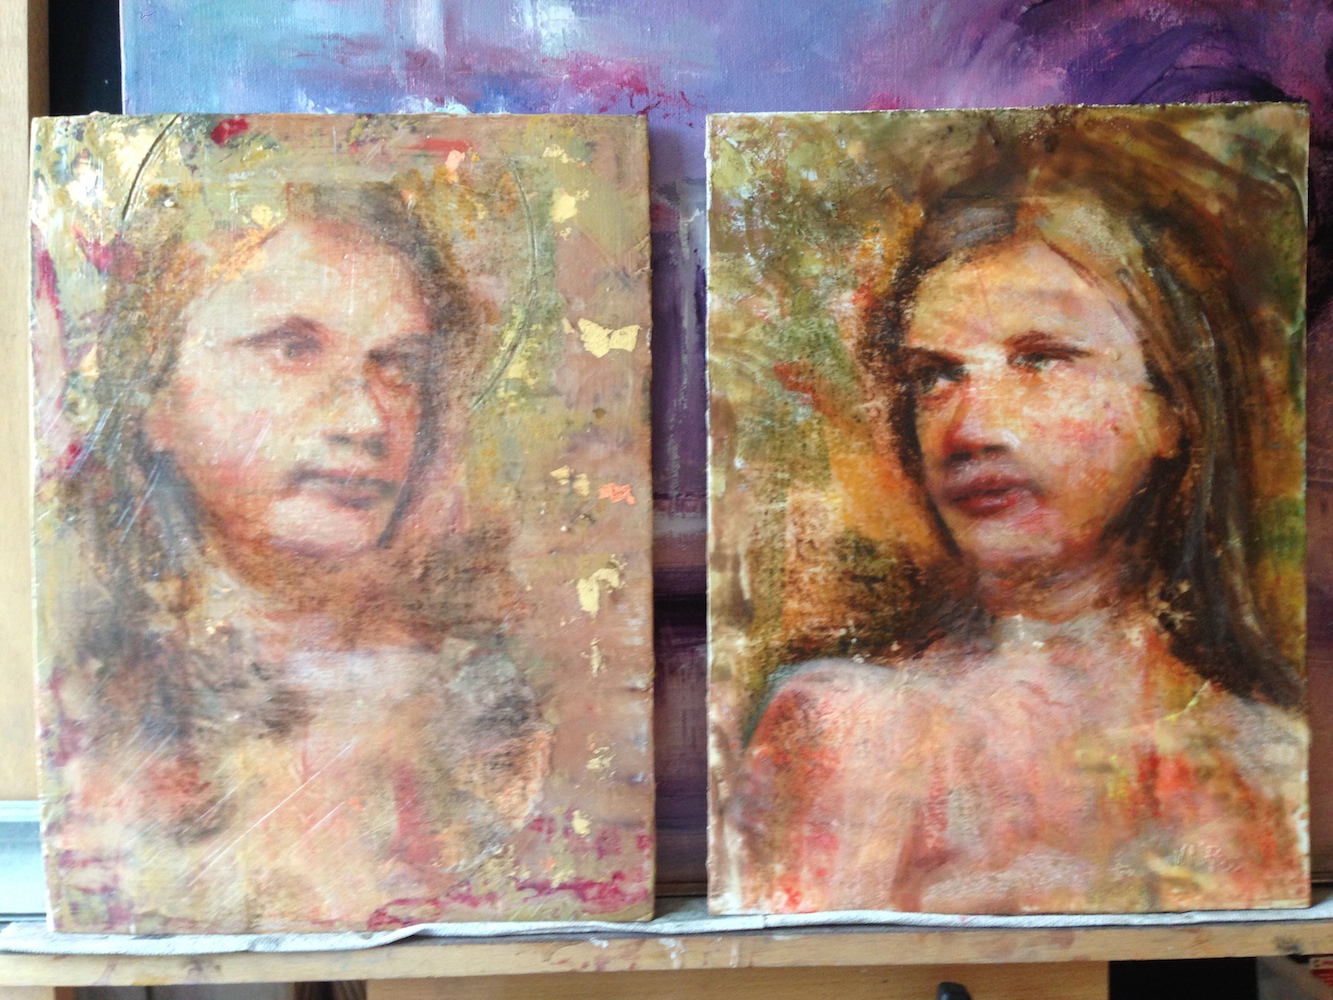
As with the first panel, gently warm the surface with the heat gun. Carefully position the deli paper with the ghost image pastel side up this time, creating a mirror image. With the heat gun again, warm the paper. The underlying layers of encaustic medium will encapsulate the paper, rendering it almost invisible. Carve a circular halo, add more touches of gold leaf, and voilå! Katherine and Katherine Reflected.

Katherine and Katherine reflected image

~*~*~*~*~*~*~*~*~*~*~*~*~*~*~*~*~*~*~*~*~*~*~*~*~

Vicki Ross is focused on sharing her journey to art and how life events can shape us through creativity www.Axully.com. Vicki has always been involved deeply in the creative arts, from professional soft crafts publications (knitting/crochet/needlework) to French Hand-sewing, stenciling to macramé, oil painting to encaustics. Whatever your leaning, she believes in the healing power of creating.

You can see more of Vicki’s work at VickiRossArt or via blog posts at Axully – Solid. Useful. Beautiful

~*~*~*~*~*~*~*~*~*~*~*~*~*~*~*~*~*~*~*~*~*~*~*~*~

.

.