~ * ~
This article is written by Vicki Ross
Please note: any snarkiness is directed toward Wicki…not Mixed Media 🙂
I am by nature a studious sort. I seem to get more pleasure out of figuring out all the ins and outs of a subject long before I experiment with it. Used to purchase software books and manuals (back before information was available online) and attack them page by page before I ever loaded the corresponding software.
I’ve done the same thing with art. Even though I am a retired graphic design professional, I knew nothing about the application of “Fine Art” materials back in 2002 when I made serious life changes that pushed me to learning to paint.
SO, instead of experimenting with watercolors, I studied the chemical formulas and what made some pigments play nice together and that some made mud. THEN I went to the studio (after collecting the vast array of materials I thought I HAD to have). Same with pastels, acrylics, oils, and encaustics. Now, thanks to sites like Mixed Media Art, videos by Terri Sproul, Carolyn Dube, and my fellow writers here, I’m doing the same thing with ‘journaling’. Lurking around, soaking up the wisdom and tutorials, and maybe, just maybe…ya never know where Wicki will be next!
Coming to the conclusion a week or so ago that I really hadn’t crossed over to the dark side of crafting (not that there is anything wrong with that), I could start art journaling as a means of technique experimentation for implementation in my ‘real’ art pieces. Then, one morning a couple of days ago, I remembered a journal I created back in 2004-ish that was intended to be filled with artwork from members of a critique group I was in. Some were happy with a simple spiral bound notebook, but not Wicki!
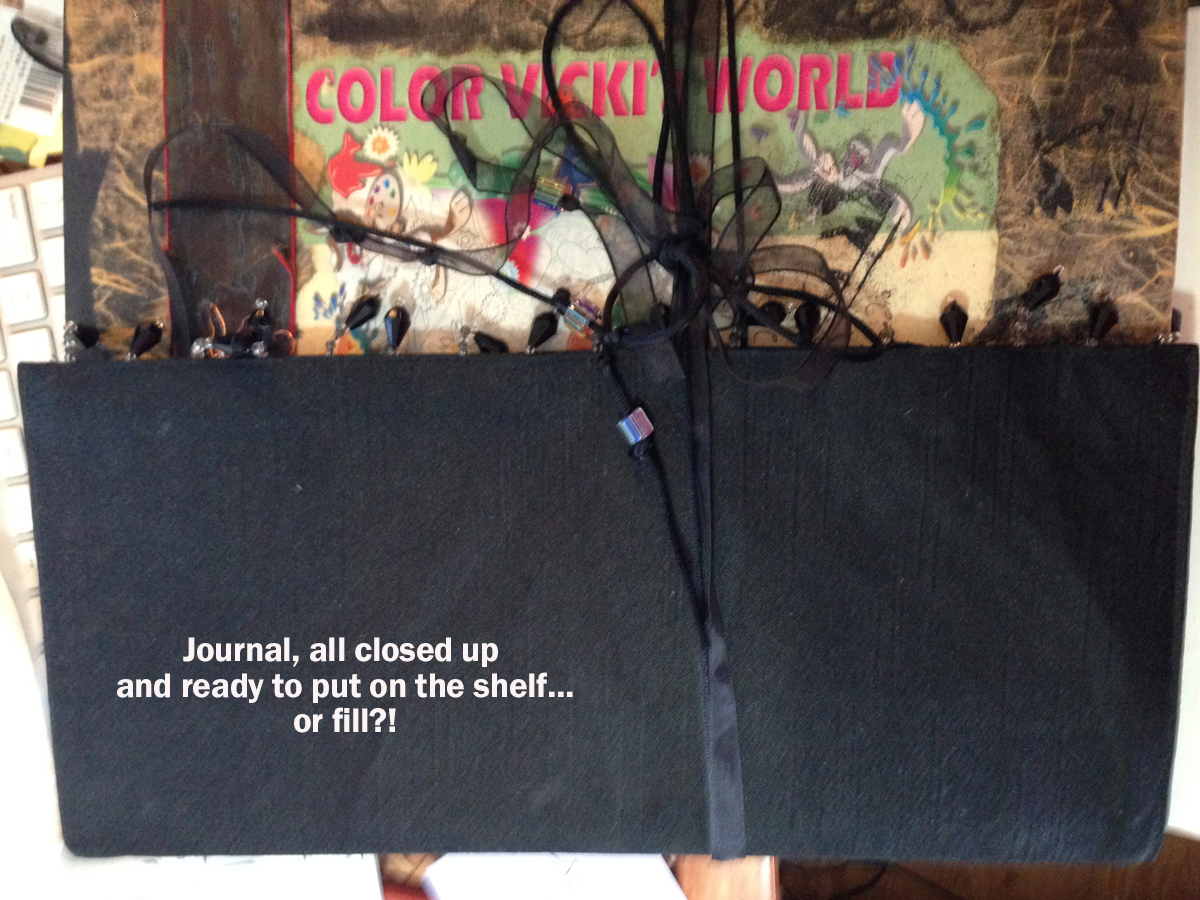
Would you just look at this? I spent hours making the journal! Now I’m considering re-purposing/finishing out the pages as an art journal.
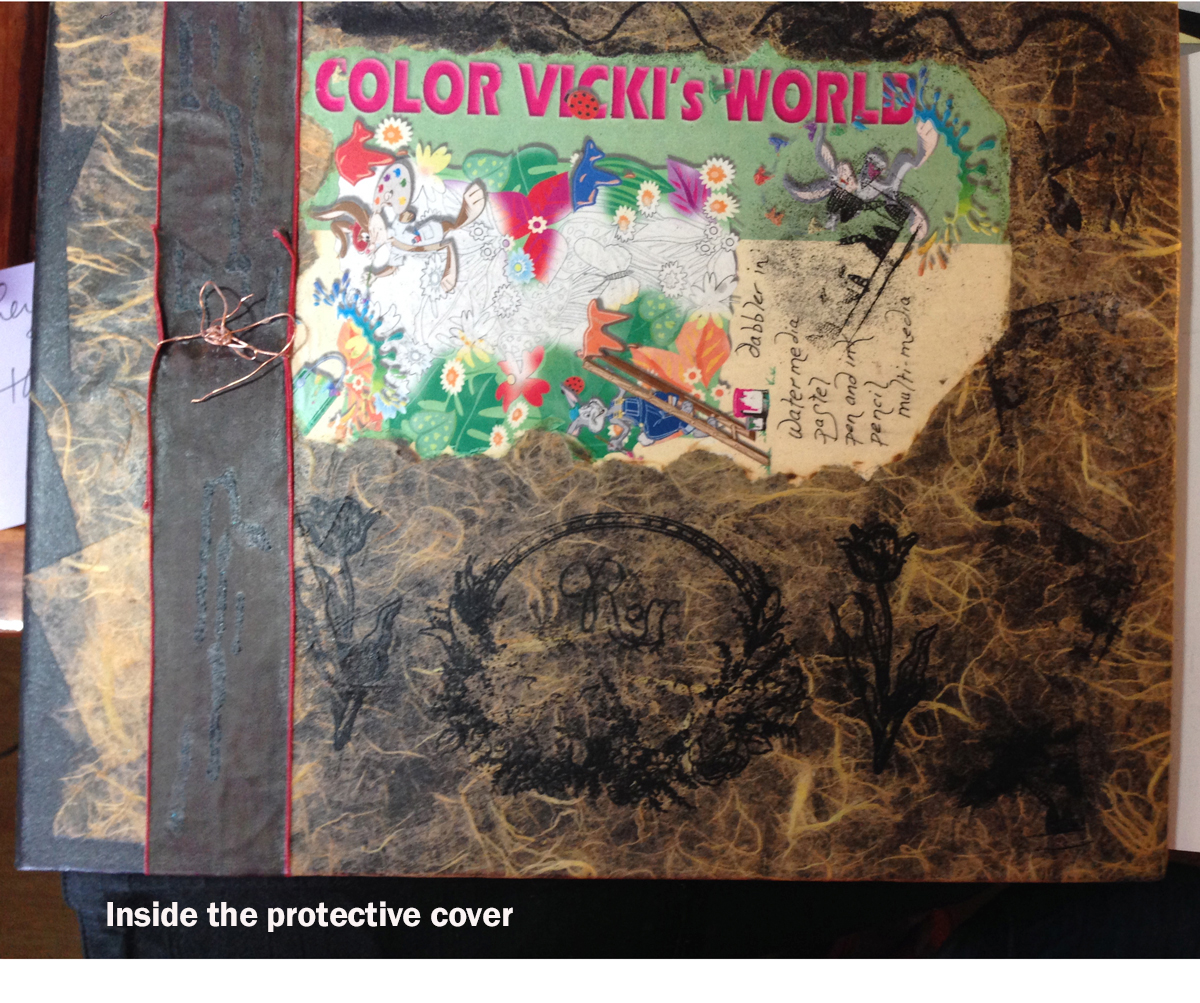
The book was a post system binder filled with handmade paper. I carefully took it apart and added a sheet of glassine between each page.
The cover looks like tissue paper attached with mat medium. I don’t think I used stamps (didn’t have any). A laser print of one of my graphics projects was collaged on, then a ribbon and wad of copper wire.The inside covers are collaged with mulberry paper.
To add to the obsession, I took a placemat with beaded trim and attached it to the back of the book. Add ribbons and beads and it folds and ties over the cover to protect it.
 Now the fun part! Switching the books between the artists in the group, the idea was to get it filled. The group drifted apart as these experienced artists transitioned into senior centers and they lost touch with their art experimentation. My train took a dirt road about that time as I ventured into soft pastels.
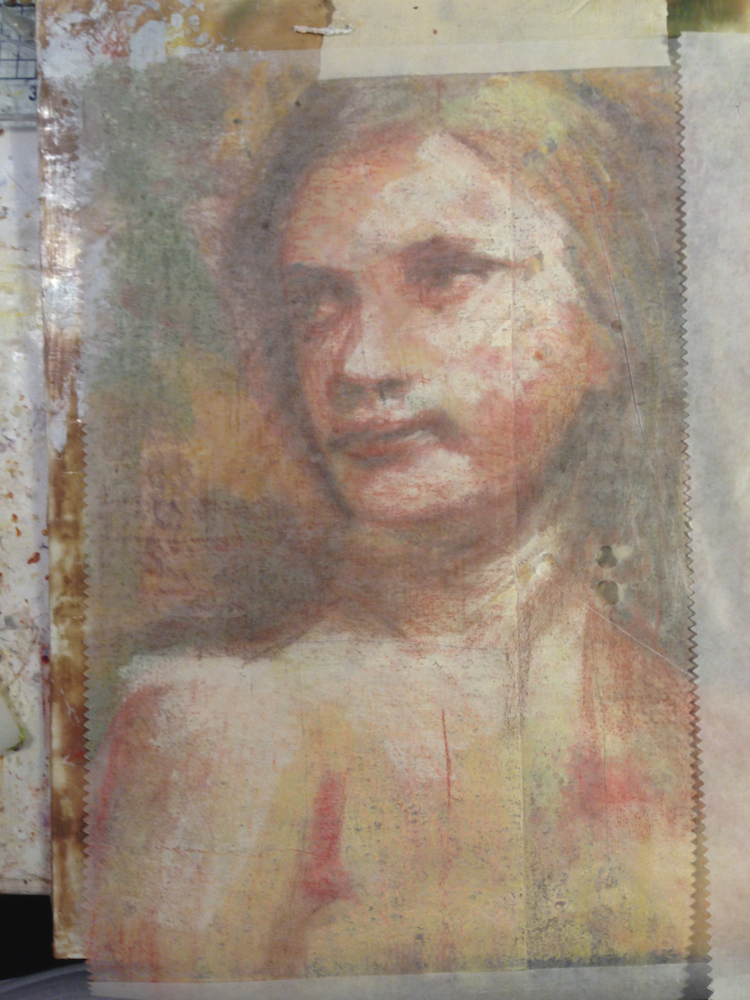
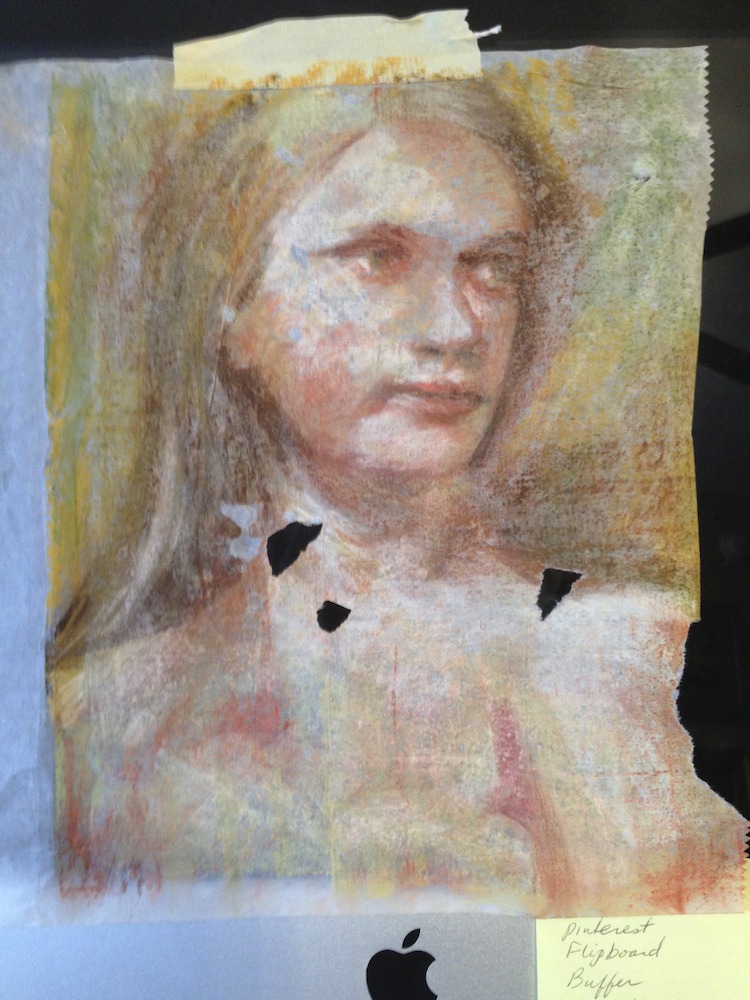
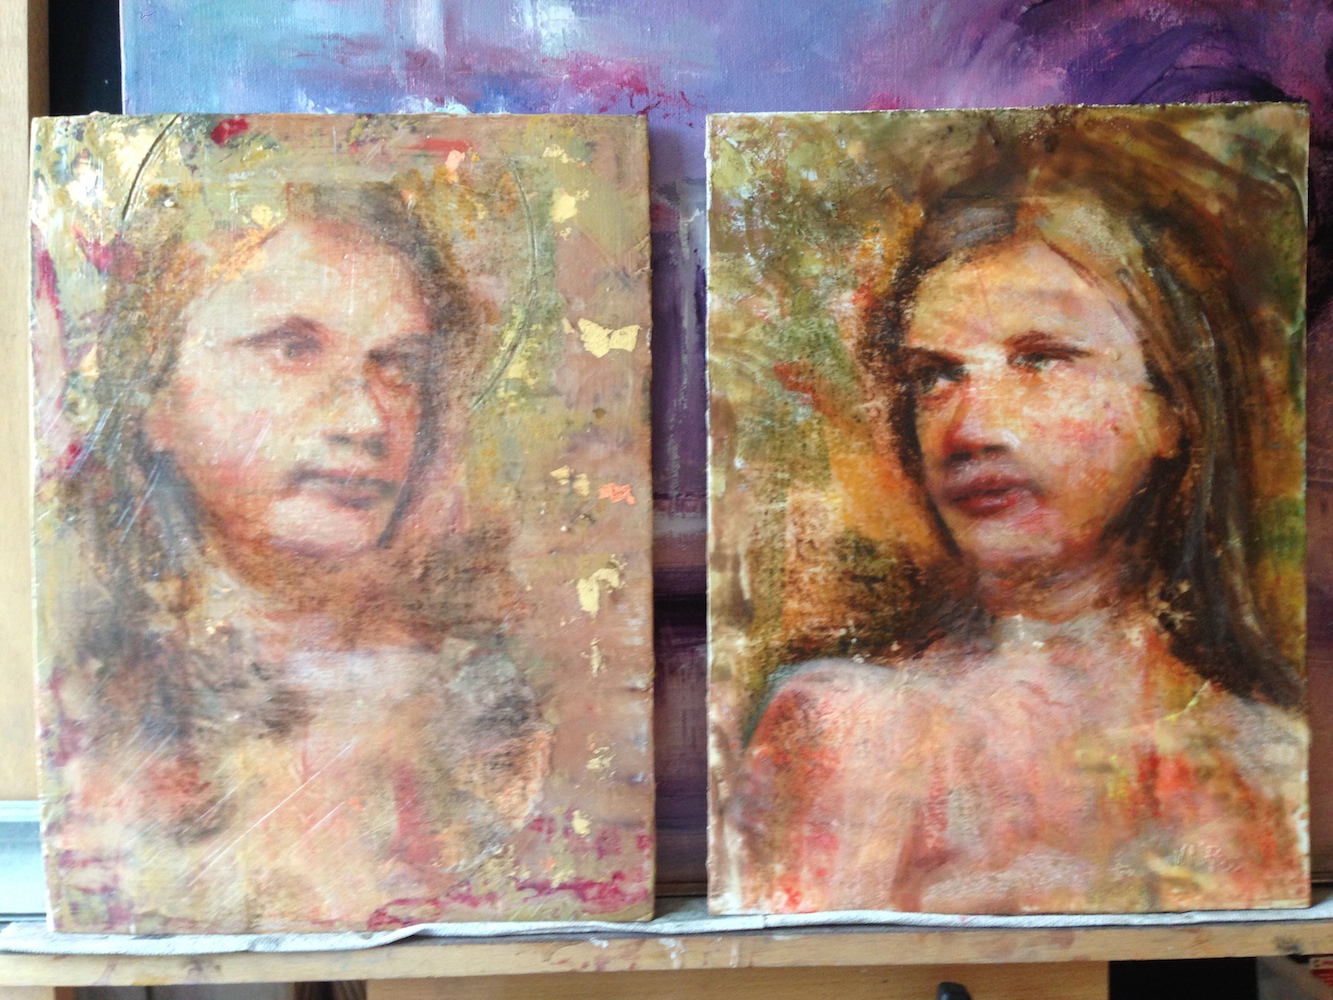
Imagine my pleasure as I opened the book and out fell some cards from art friends…one from Anita from Germany we met on a watercolor workshop with Charles Reid in Salzburg and Prague in 2006. A delightful original watercolor with a note on the back from Jan in Australia. Another card from a good friend, Jodie from Texas. Then a few pages from the critique group…and an ATC card from friend, Erika from Bentonville. Another page revealed a detailed pencil drawing of a design I was working out for a painting. I was experimenting with pencil as an art form, not pencil for sketching or guide for painting.
So, what do you think? Should I throw caution and frugality to the side and pick this bad boy up for art journaling? OR, put it back on the shelf and save it?
~*~*~*~*~*~*~*~*~*~*~*~*~*~*~*~*~*~*~*~*~*~*~*~*~
Vicki Ross is focused on sharing her journey to art and how life events can shape us through creativity www.Axully.com. Vicki has always been involved deeply in the creative arts, from professional soft crafts publications (knitting/crochet/needlework) to French Hand-sewing, stenciling to macramé, oil painting to encaustics. Whatever your leaning, she believes in the healing power of creating.
You can see more of Vicki’s work at VickiRossArt or via blog posts at Axully – Solid. Useful. Beautiful
~*~*~*~*~*~*~*~*~*~*~*~*~*~*~*~*~*~*~*~*~*~*~*~*~
.
.


Recent Comments