~ * ~
This article was written by Vicki Ross
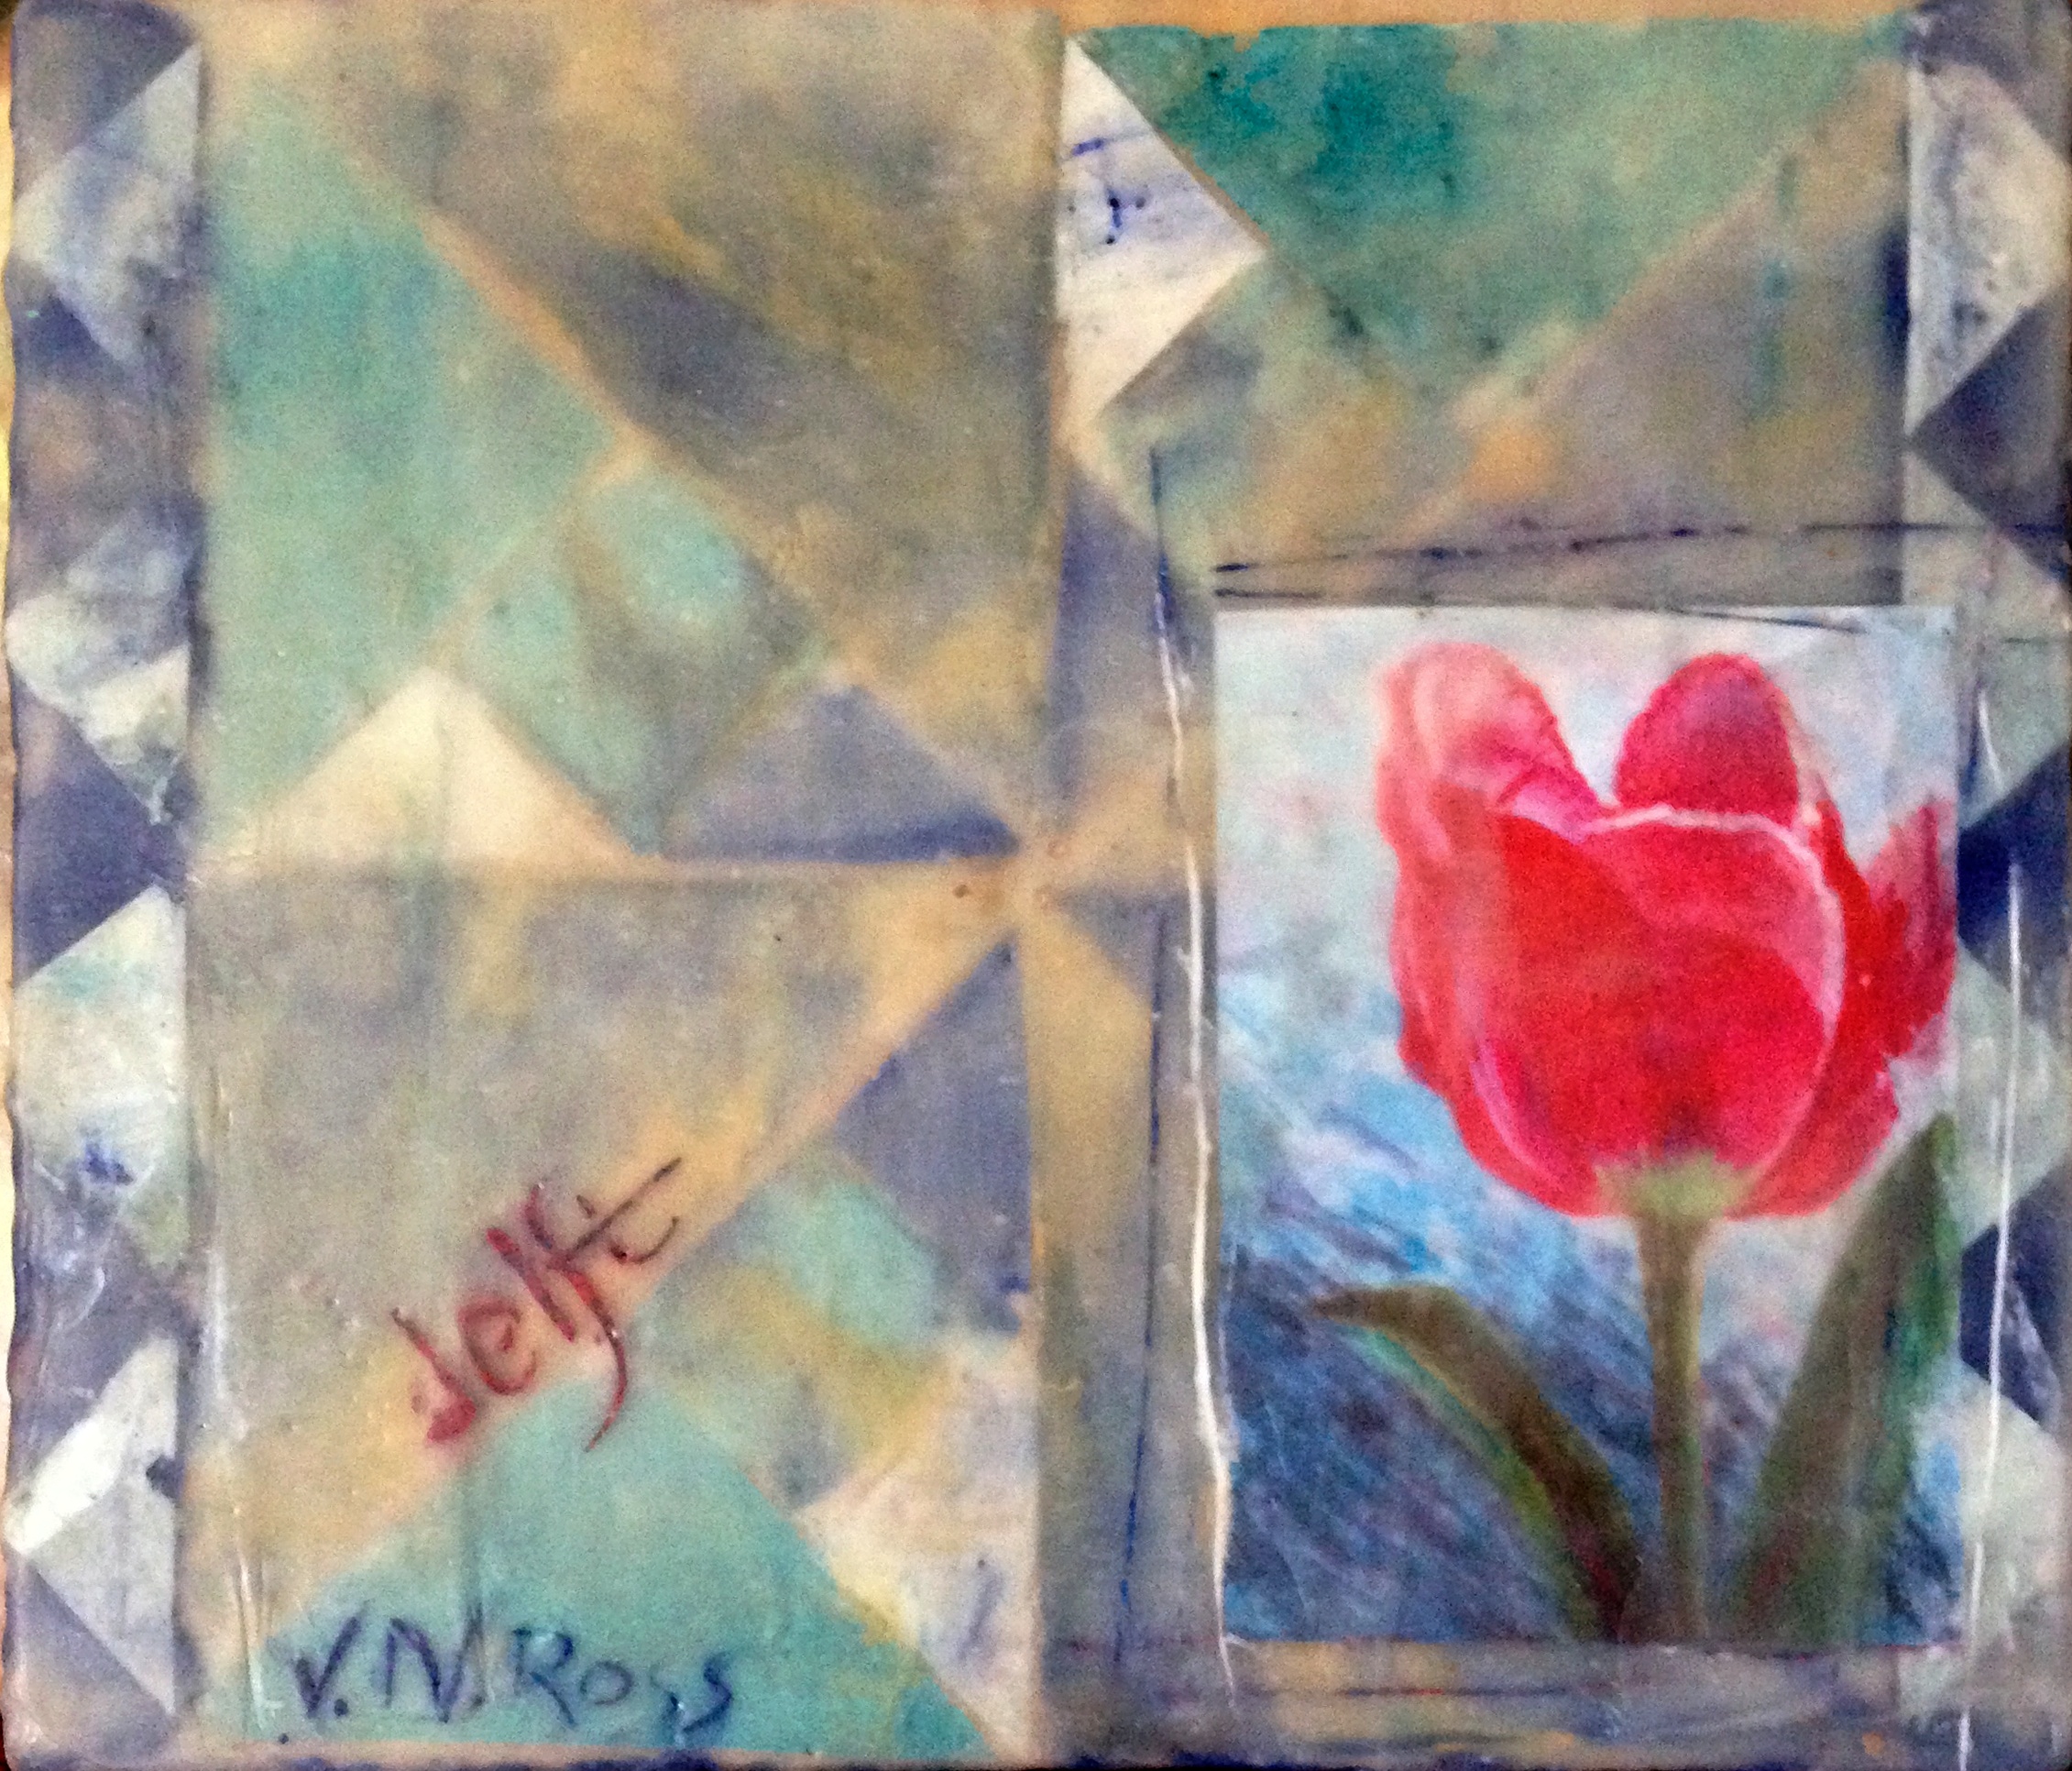
Once a fiber artist, always a fiber artist. Although I worked with silk thread and the smallest silk gauze for needlepoint (40 stitches per inch), this is a quilt pattern created in deli paper and encaustic.
Materials:
- 6″x 7″ Luan panel
- Deli Paper (thank you mixed media artists)
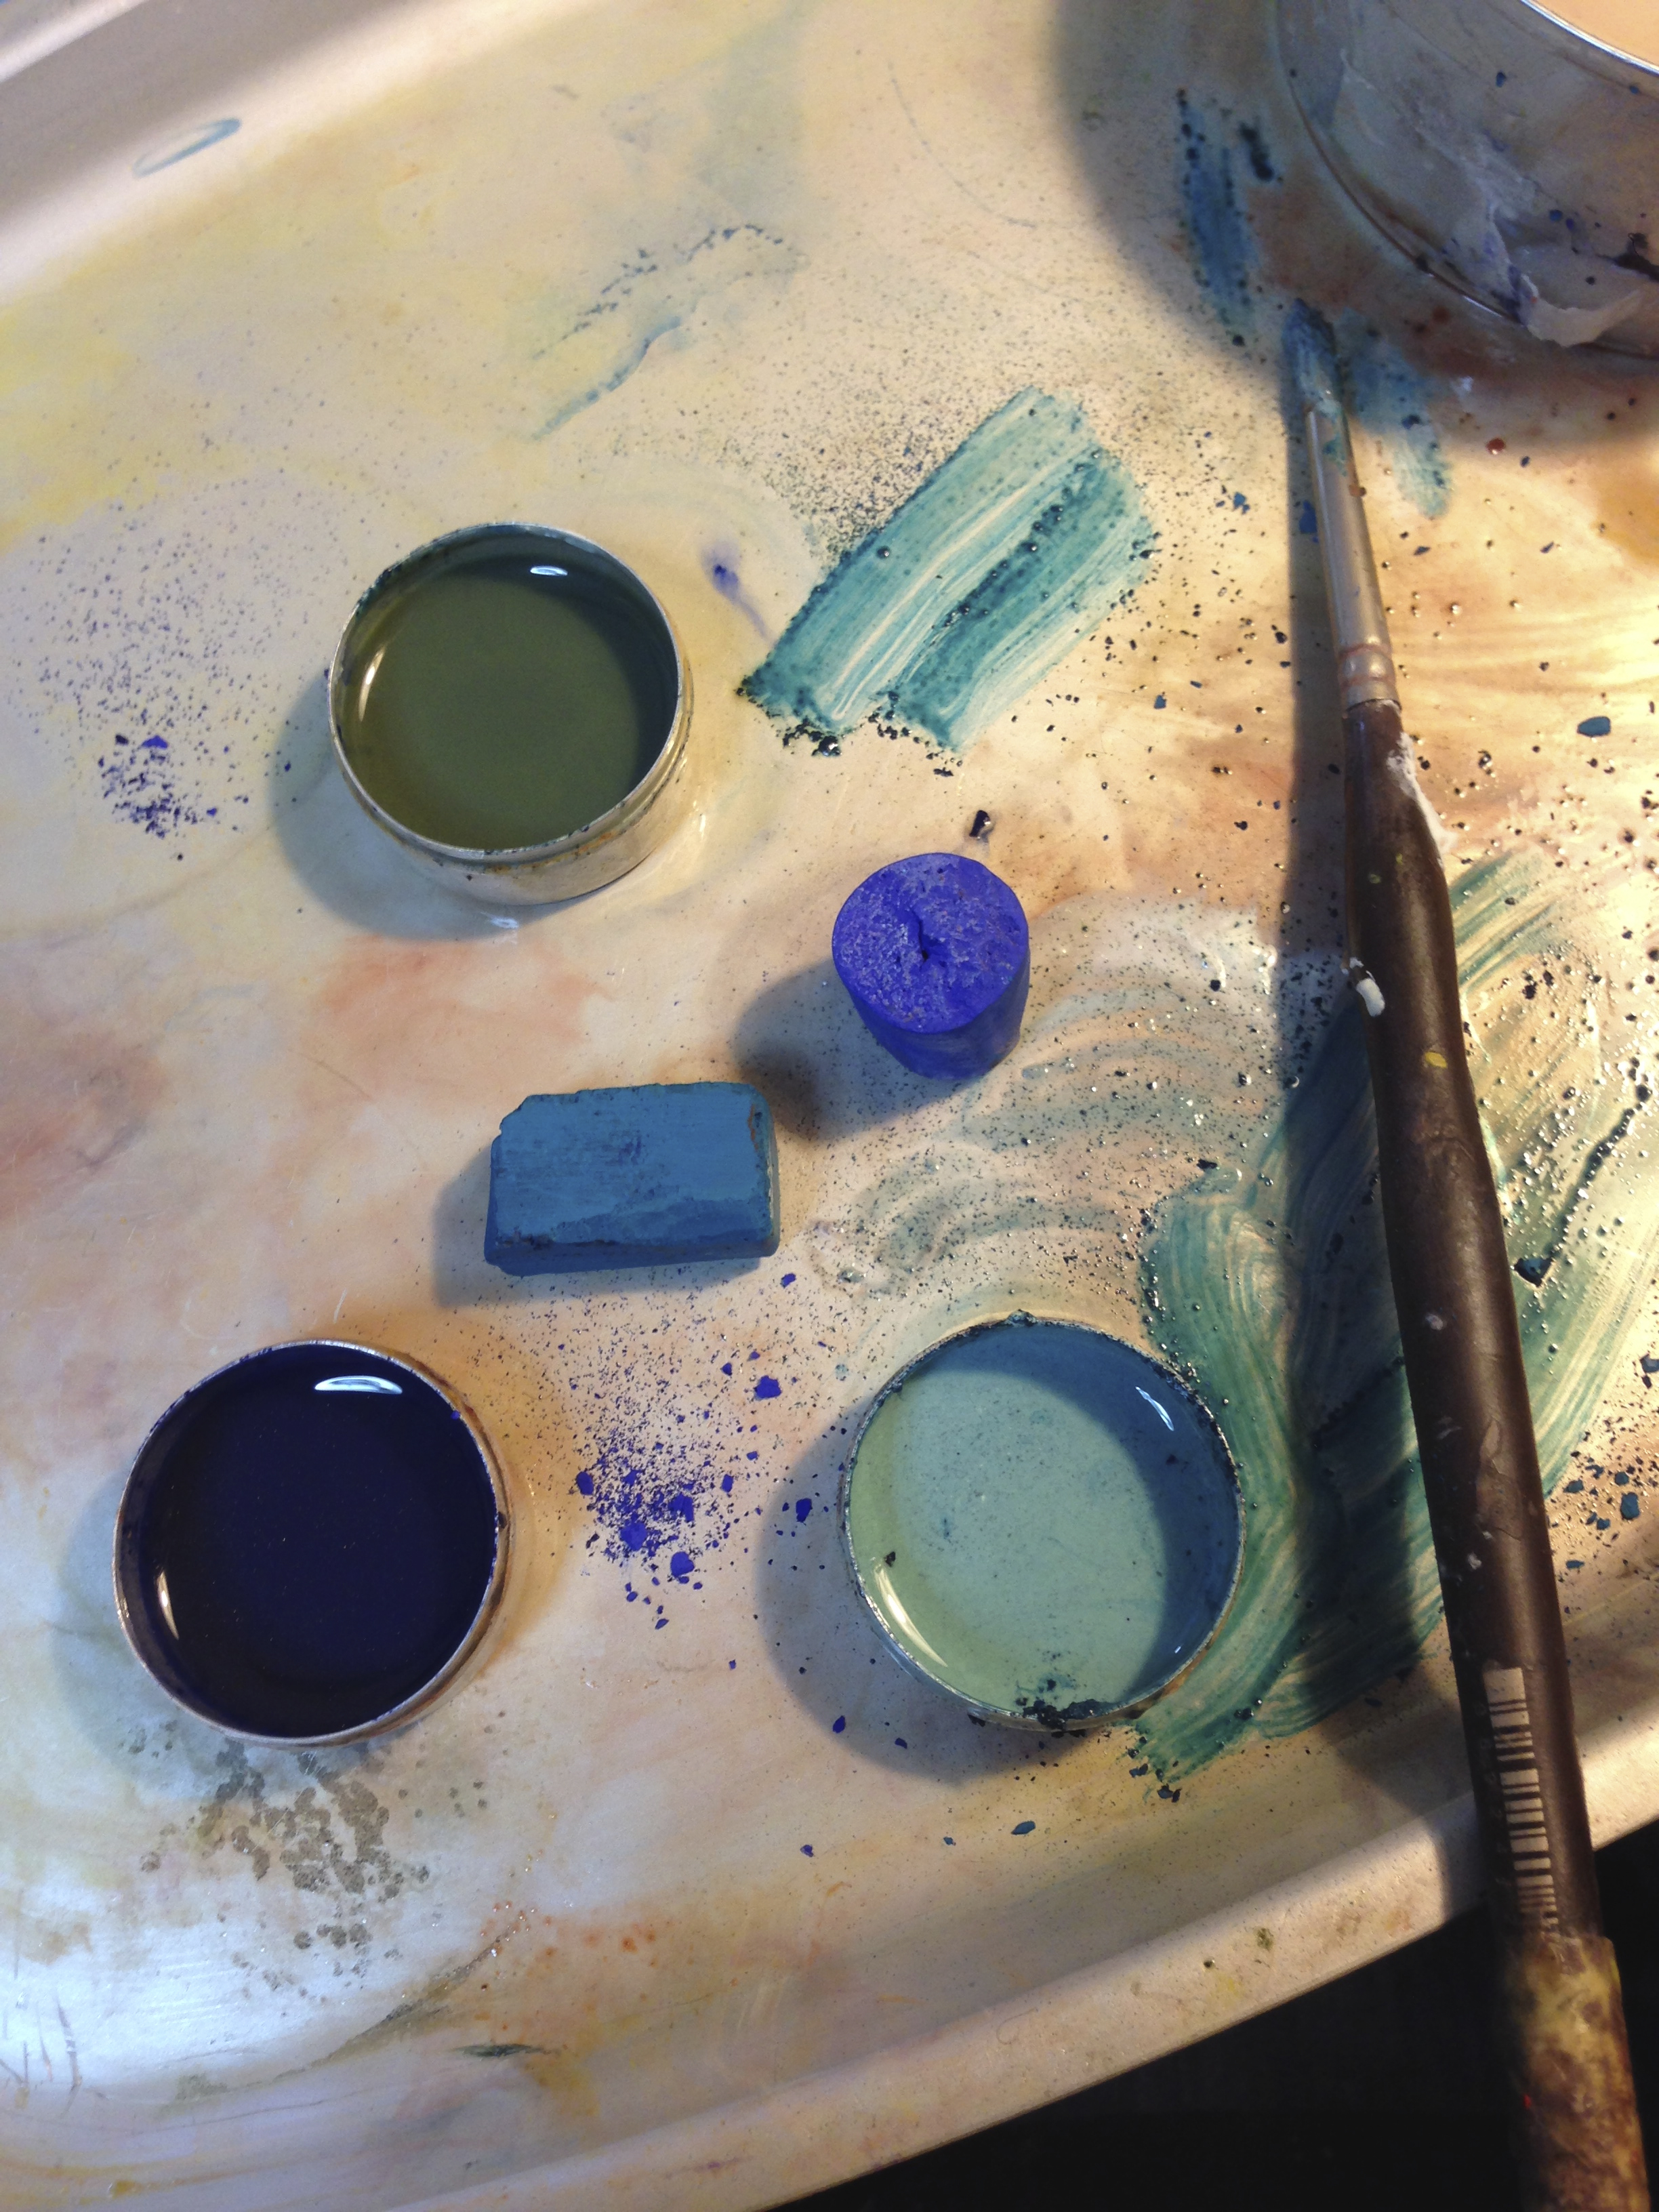
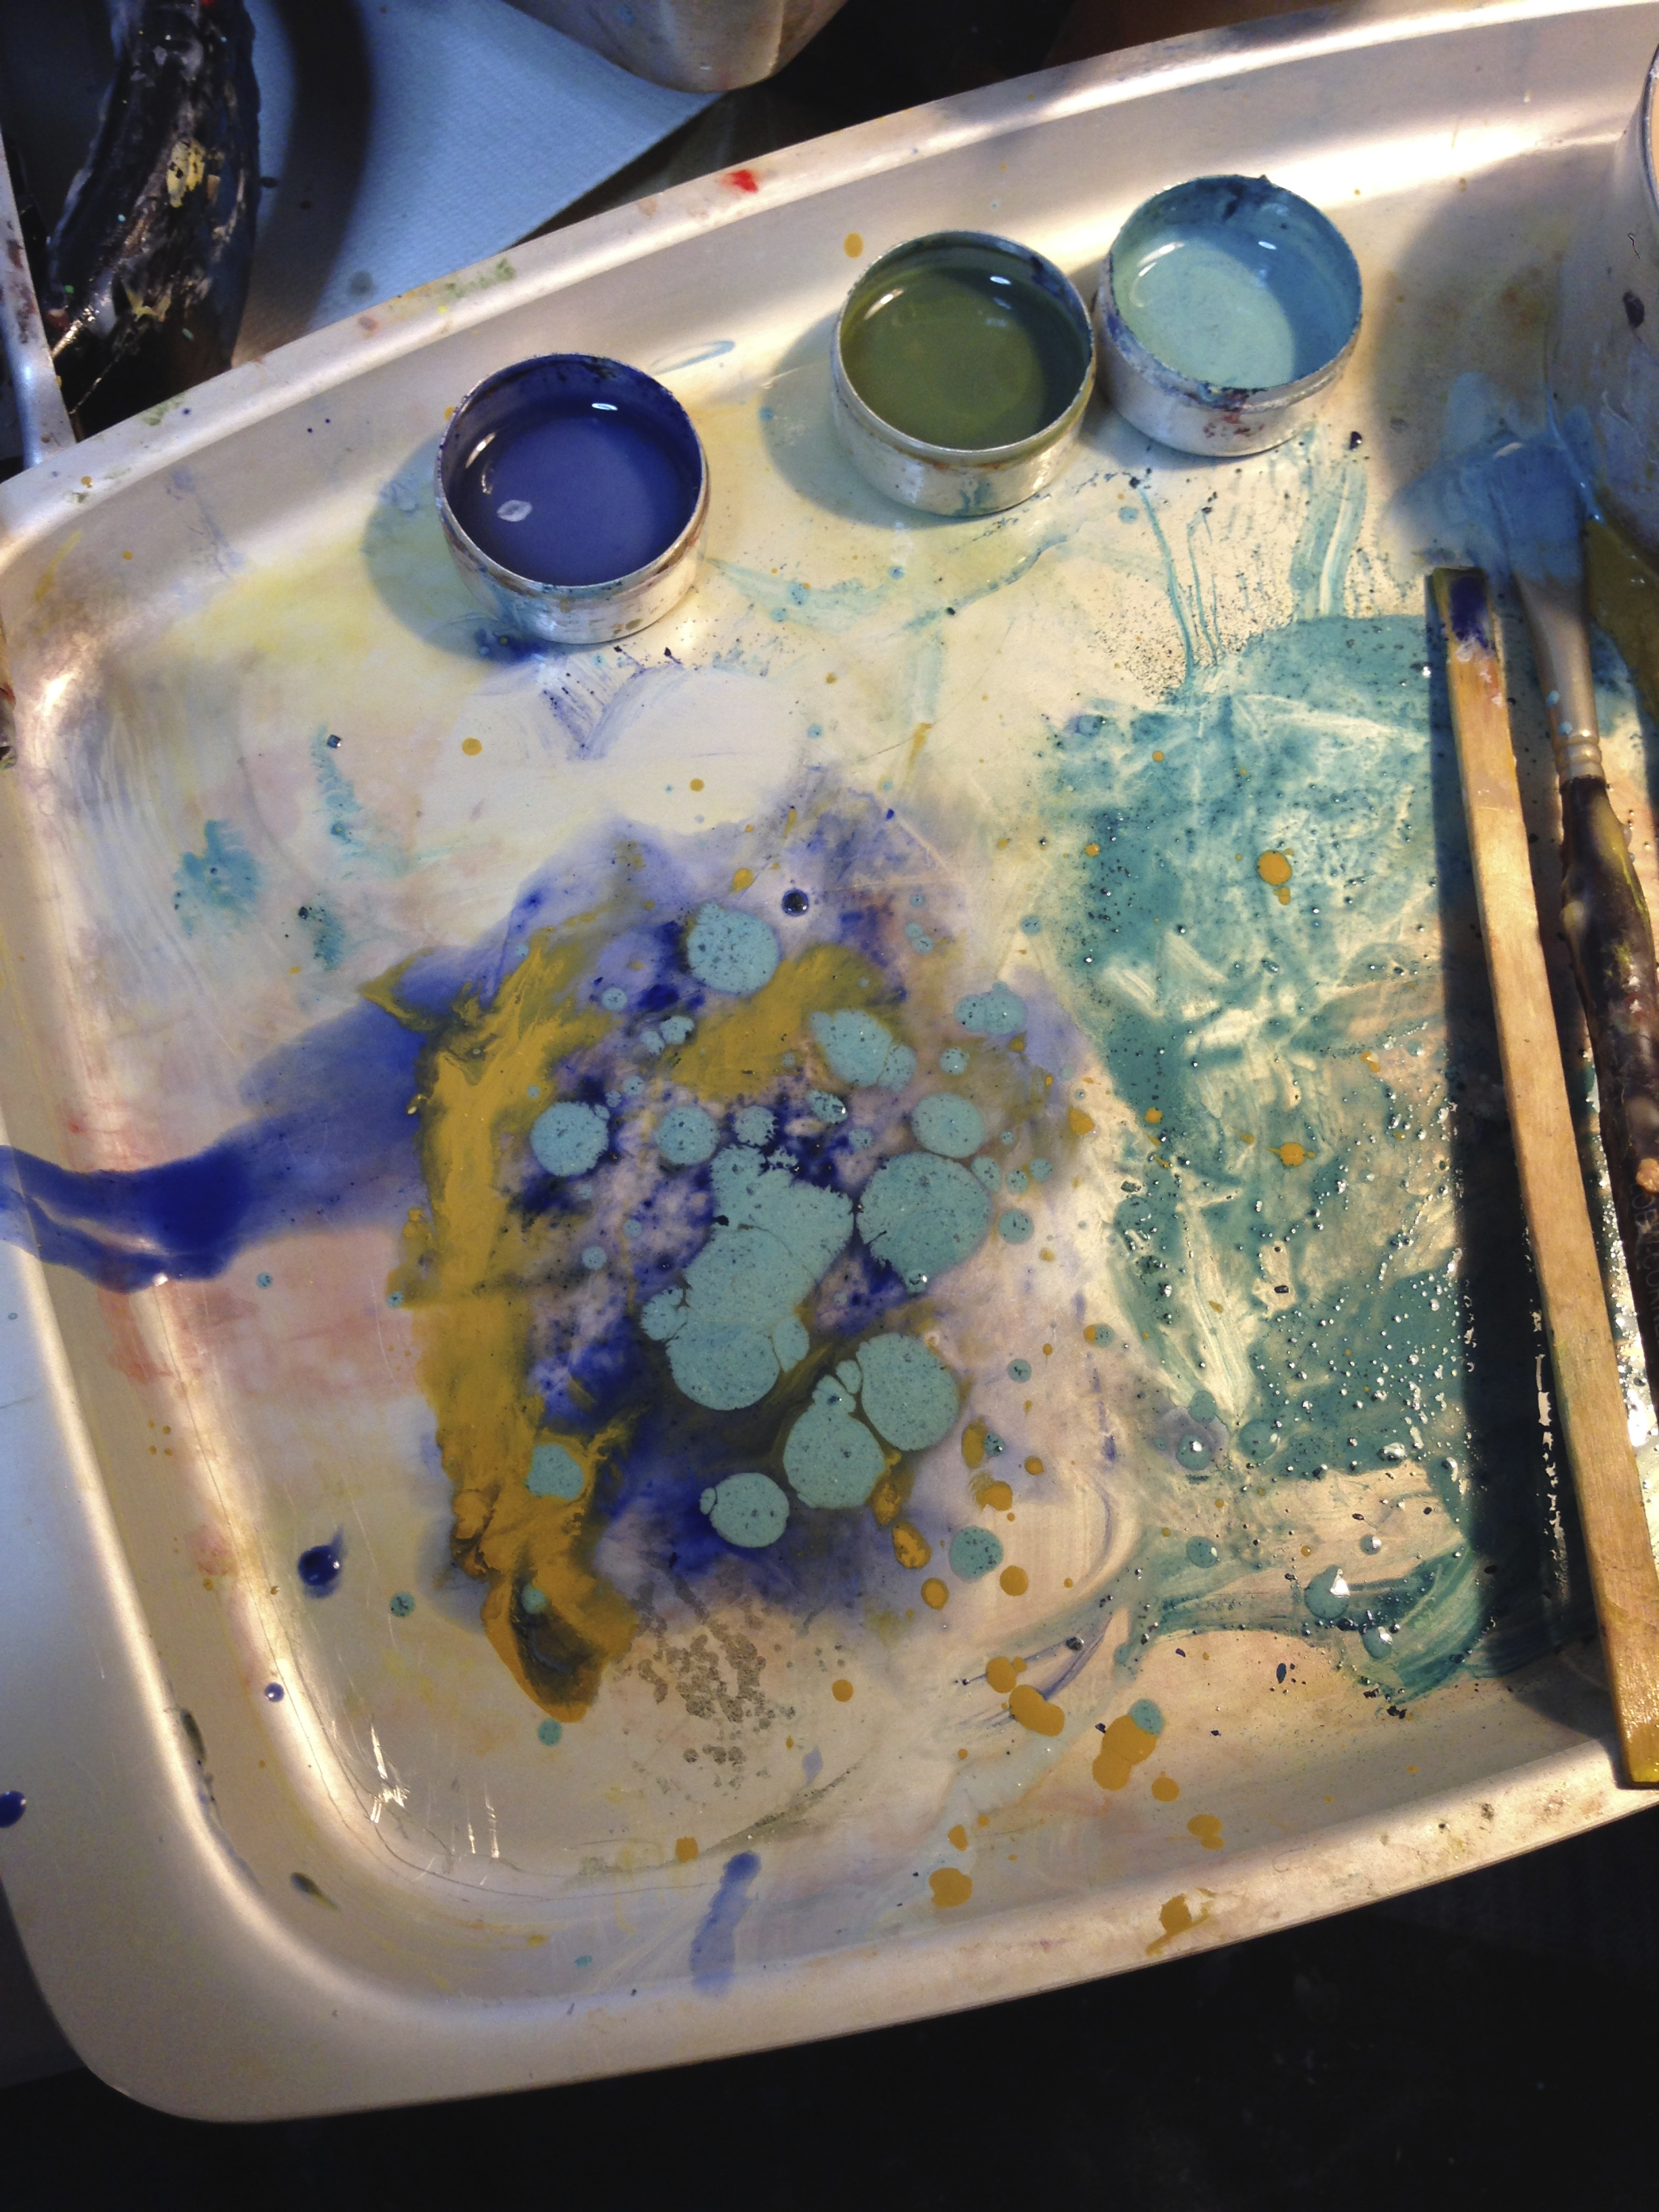
- encaustic medium (I used a few scrapes off a soft pastel to get my colors)
- Razor Blade
- Ranger Tacking Iron
- Heat Gun
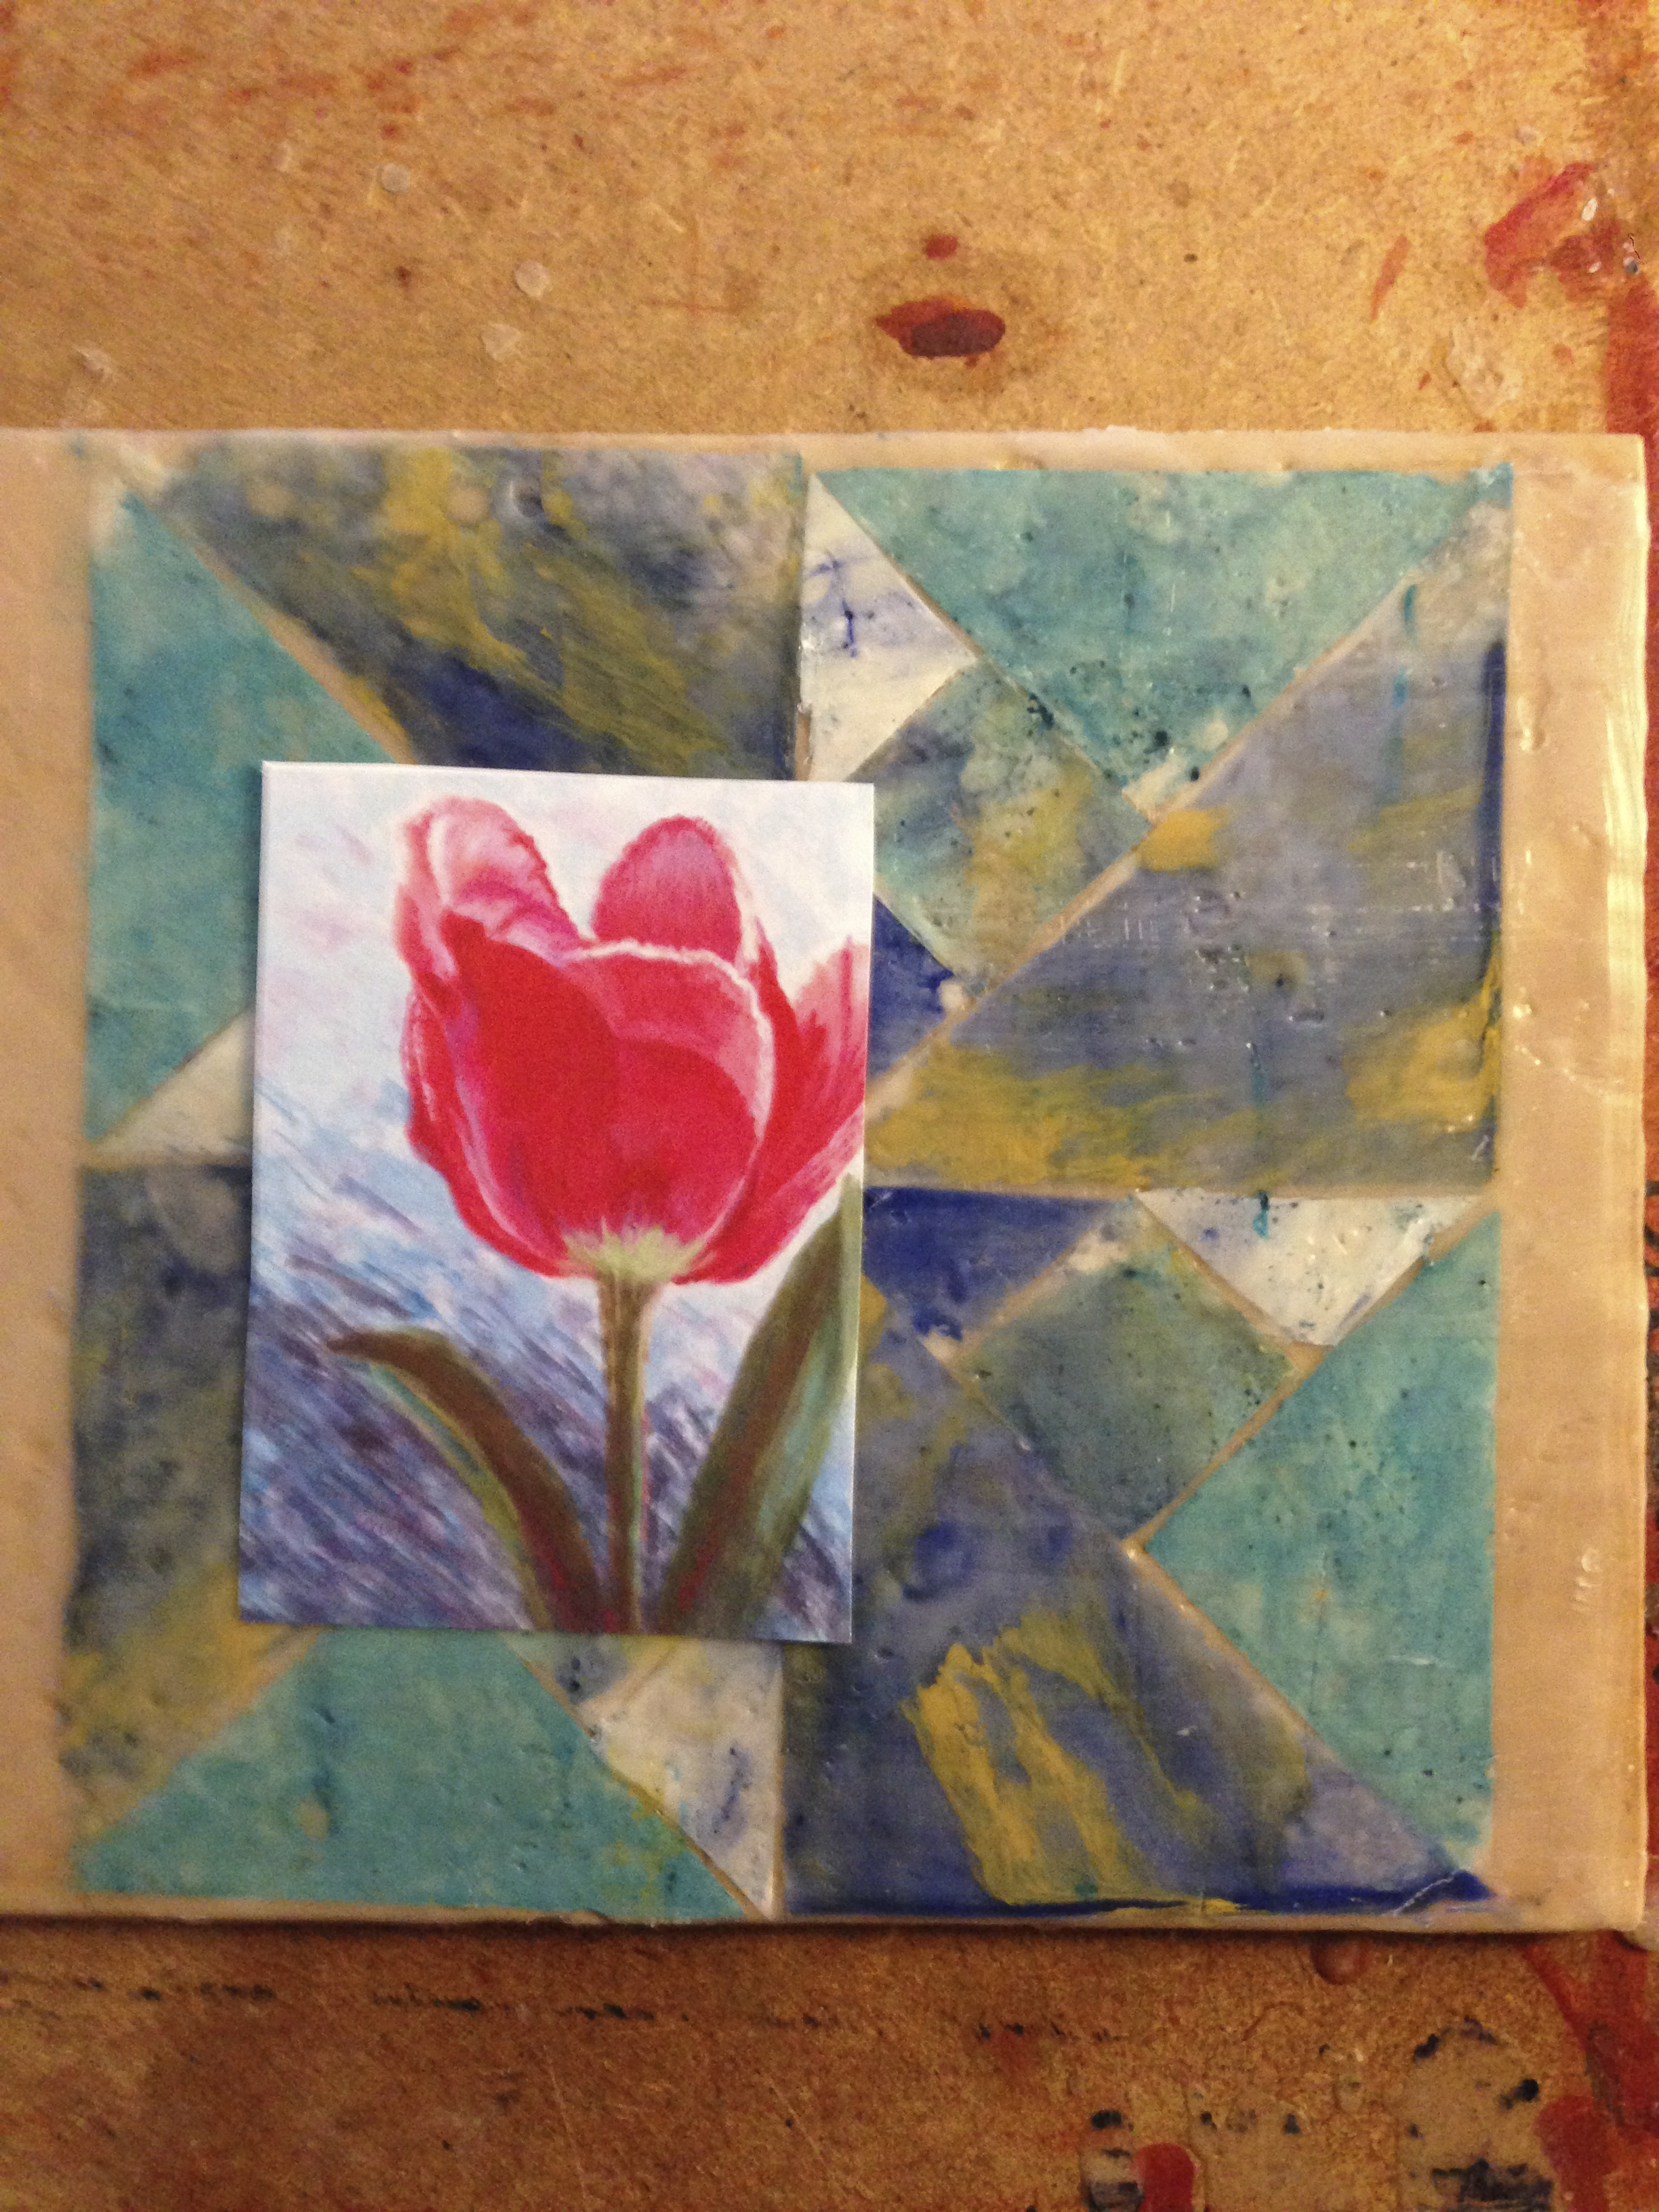
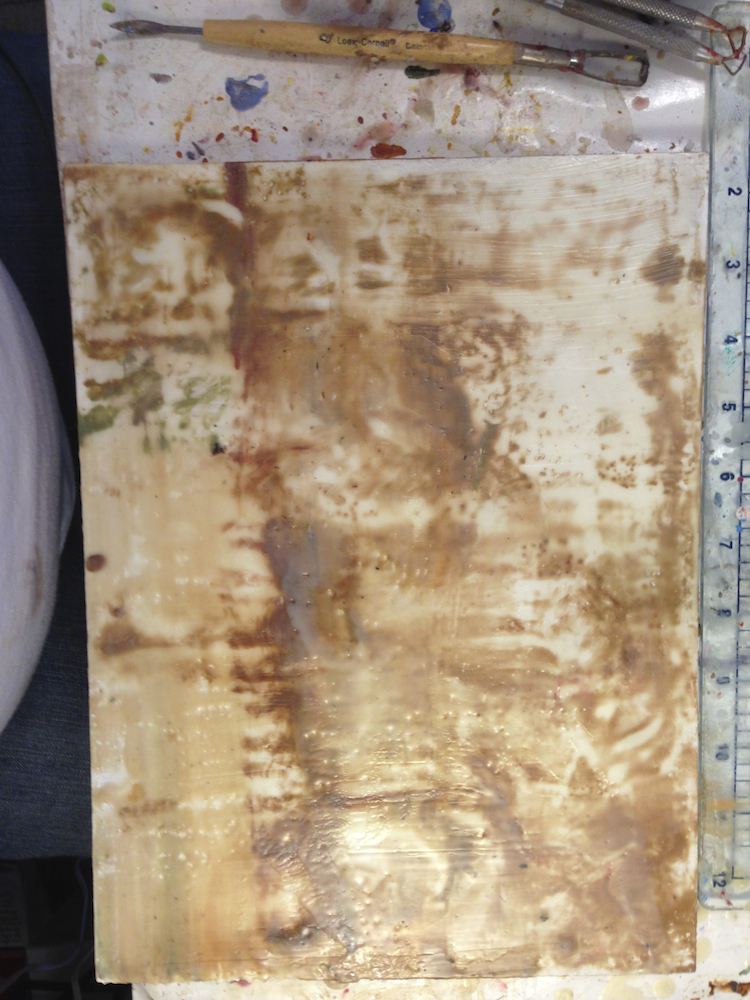
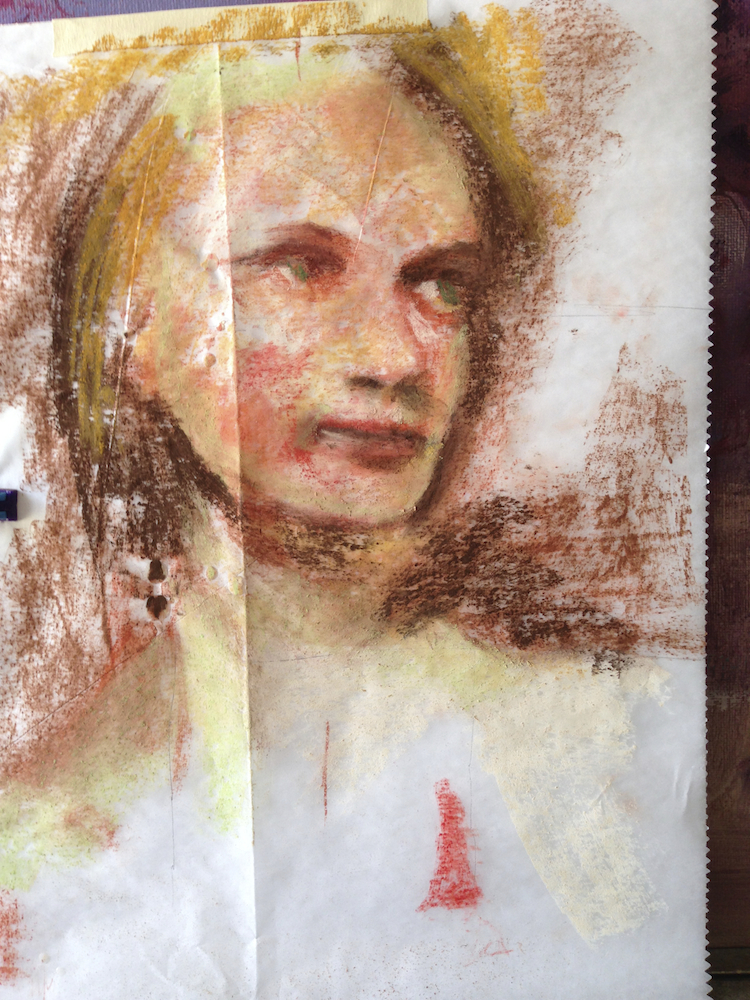
Prime the panel with two coats of clear medium, fusing each with heat gun. To get the surface as smooth as possible, alternate a Ranger tacking iron, scraping with a razor blade, and fusing with the heat gun. I searched through my painting archive and found a painting of a tulip that had nice bright colors. The original is 12” x 9”, soft pastel.

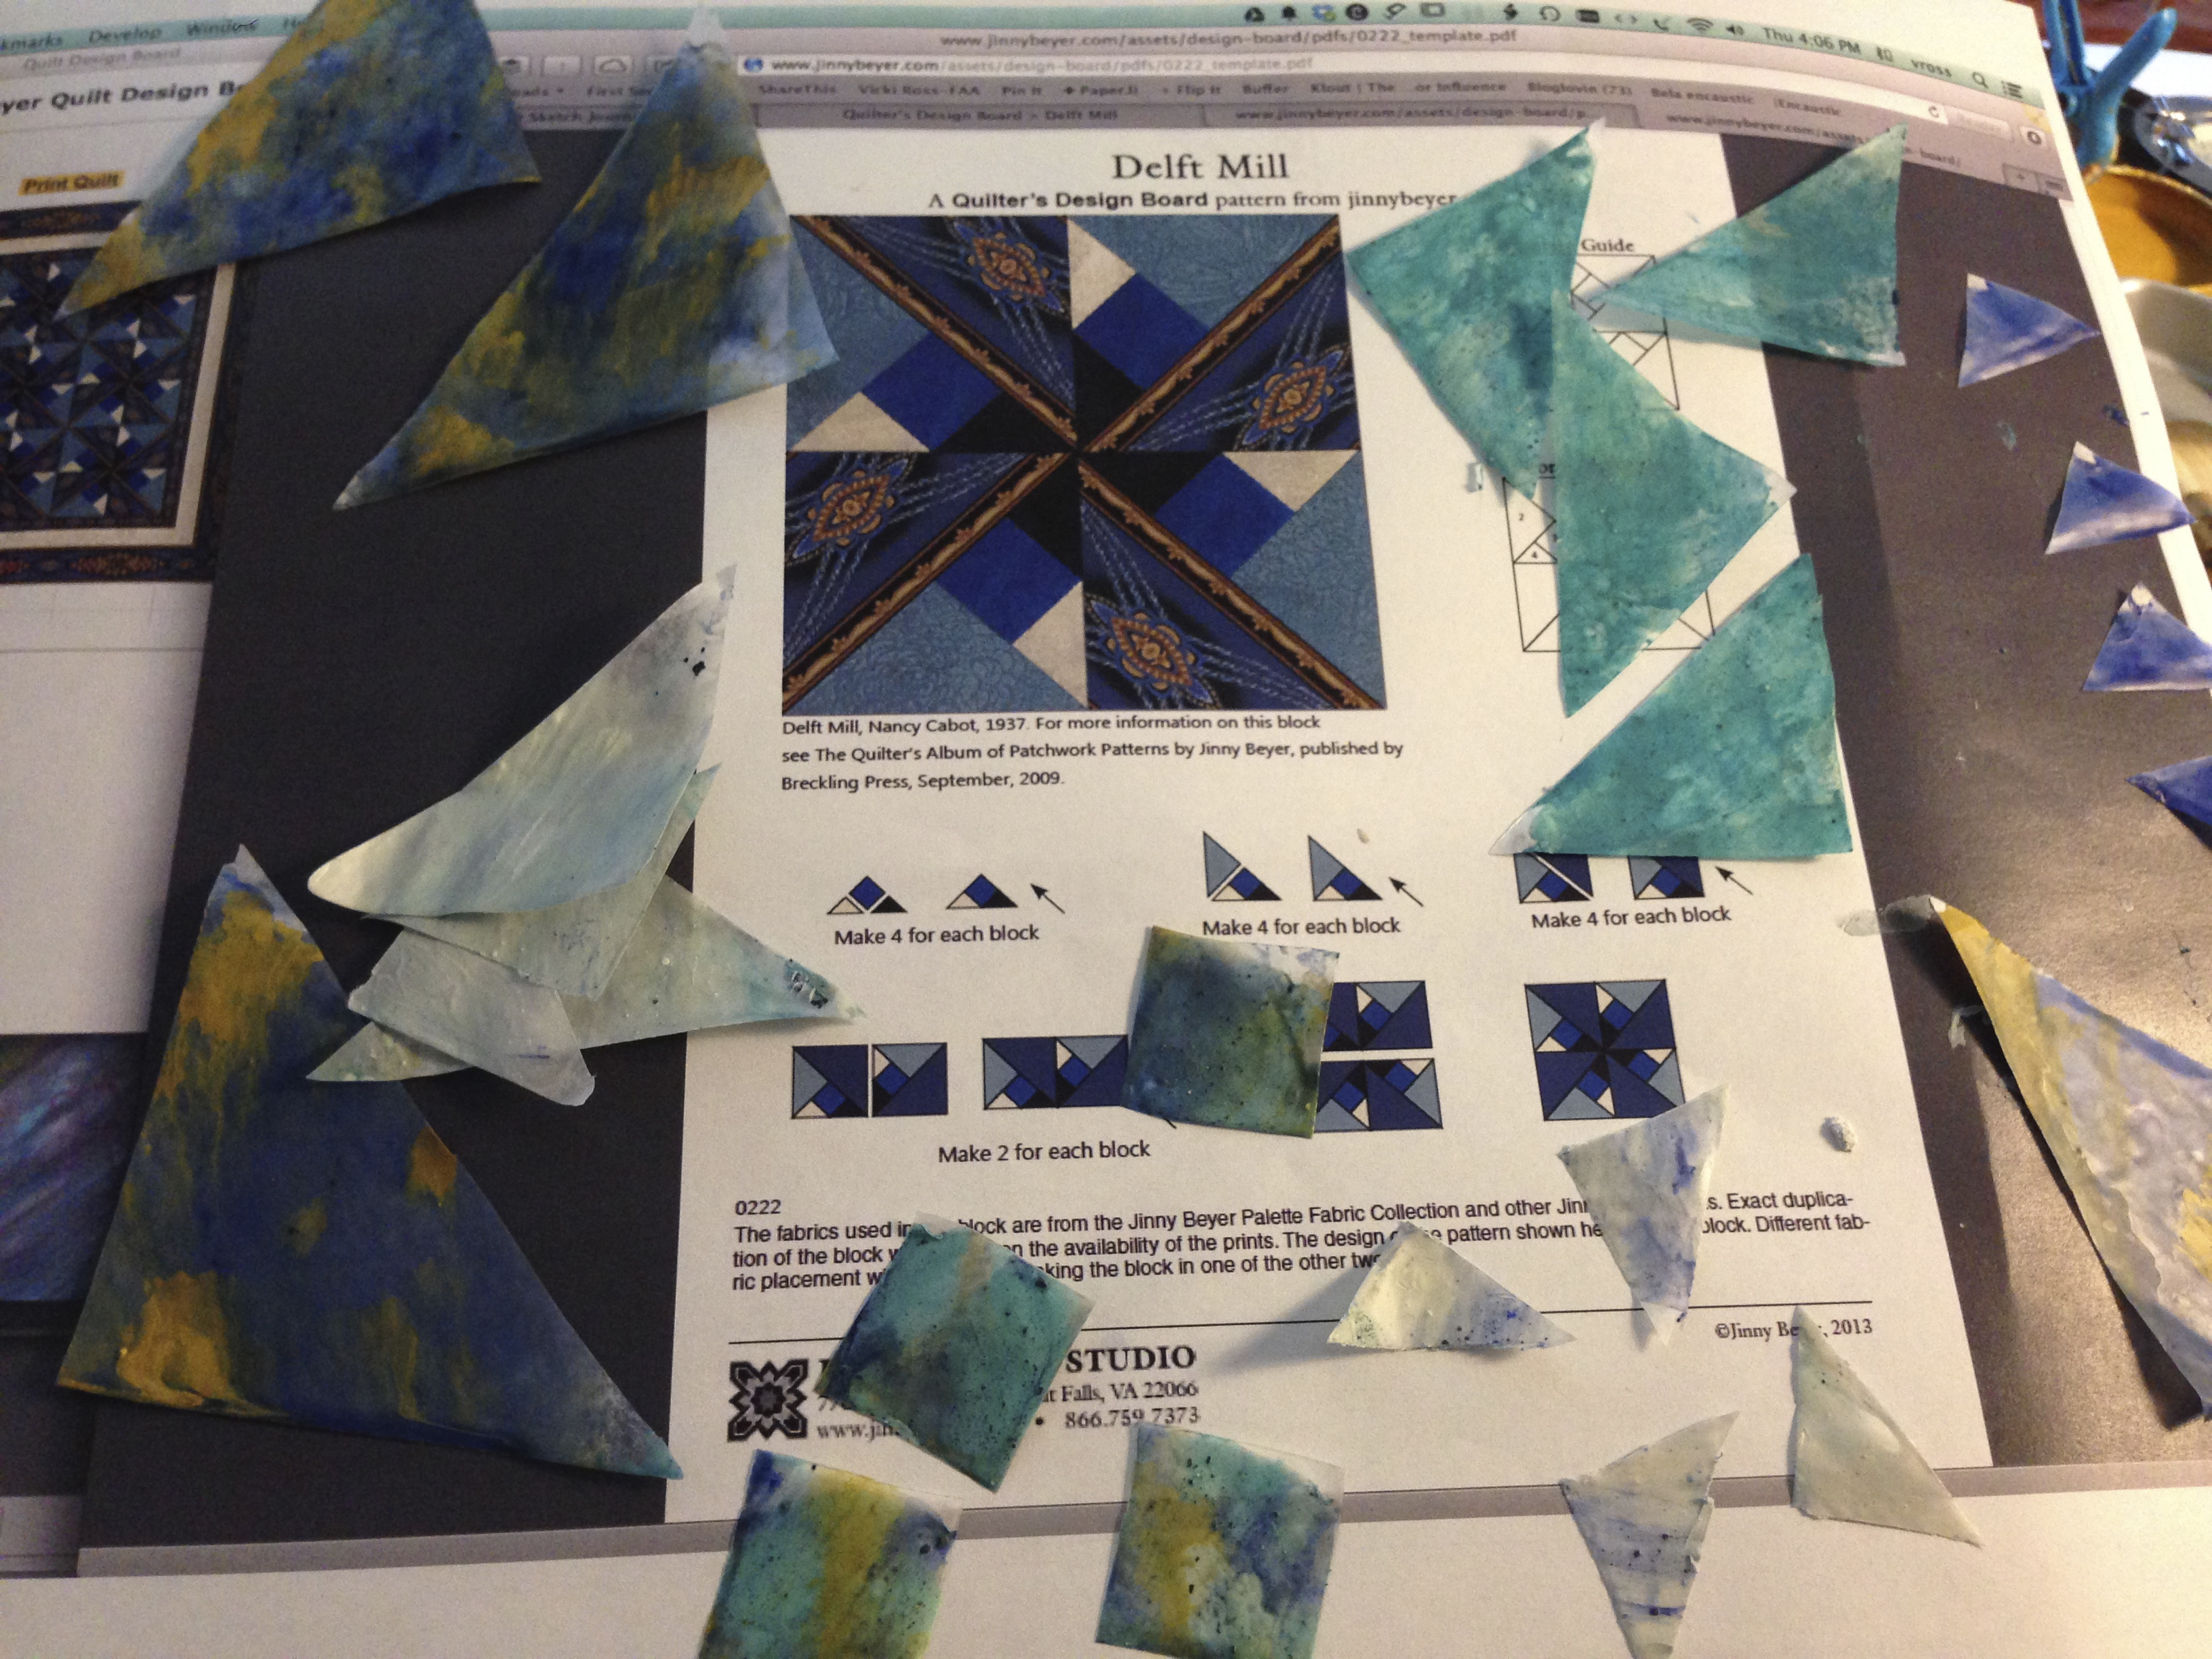
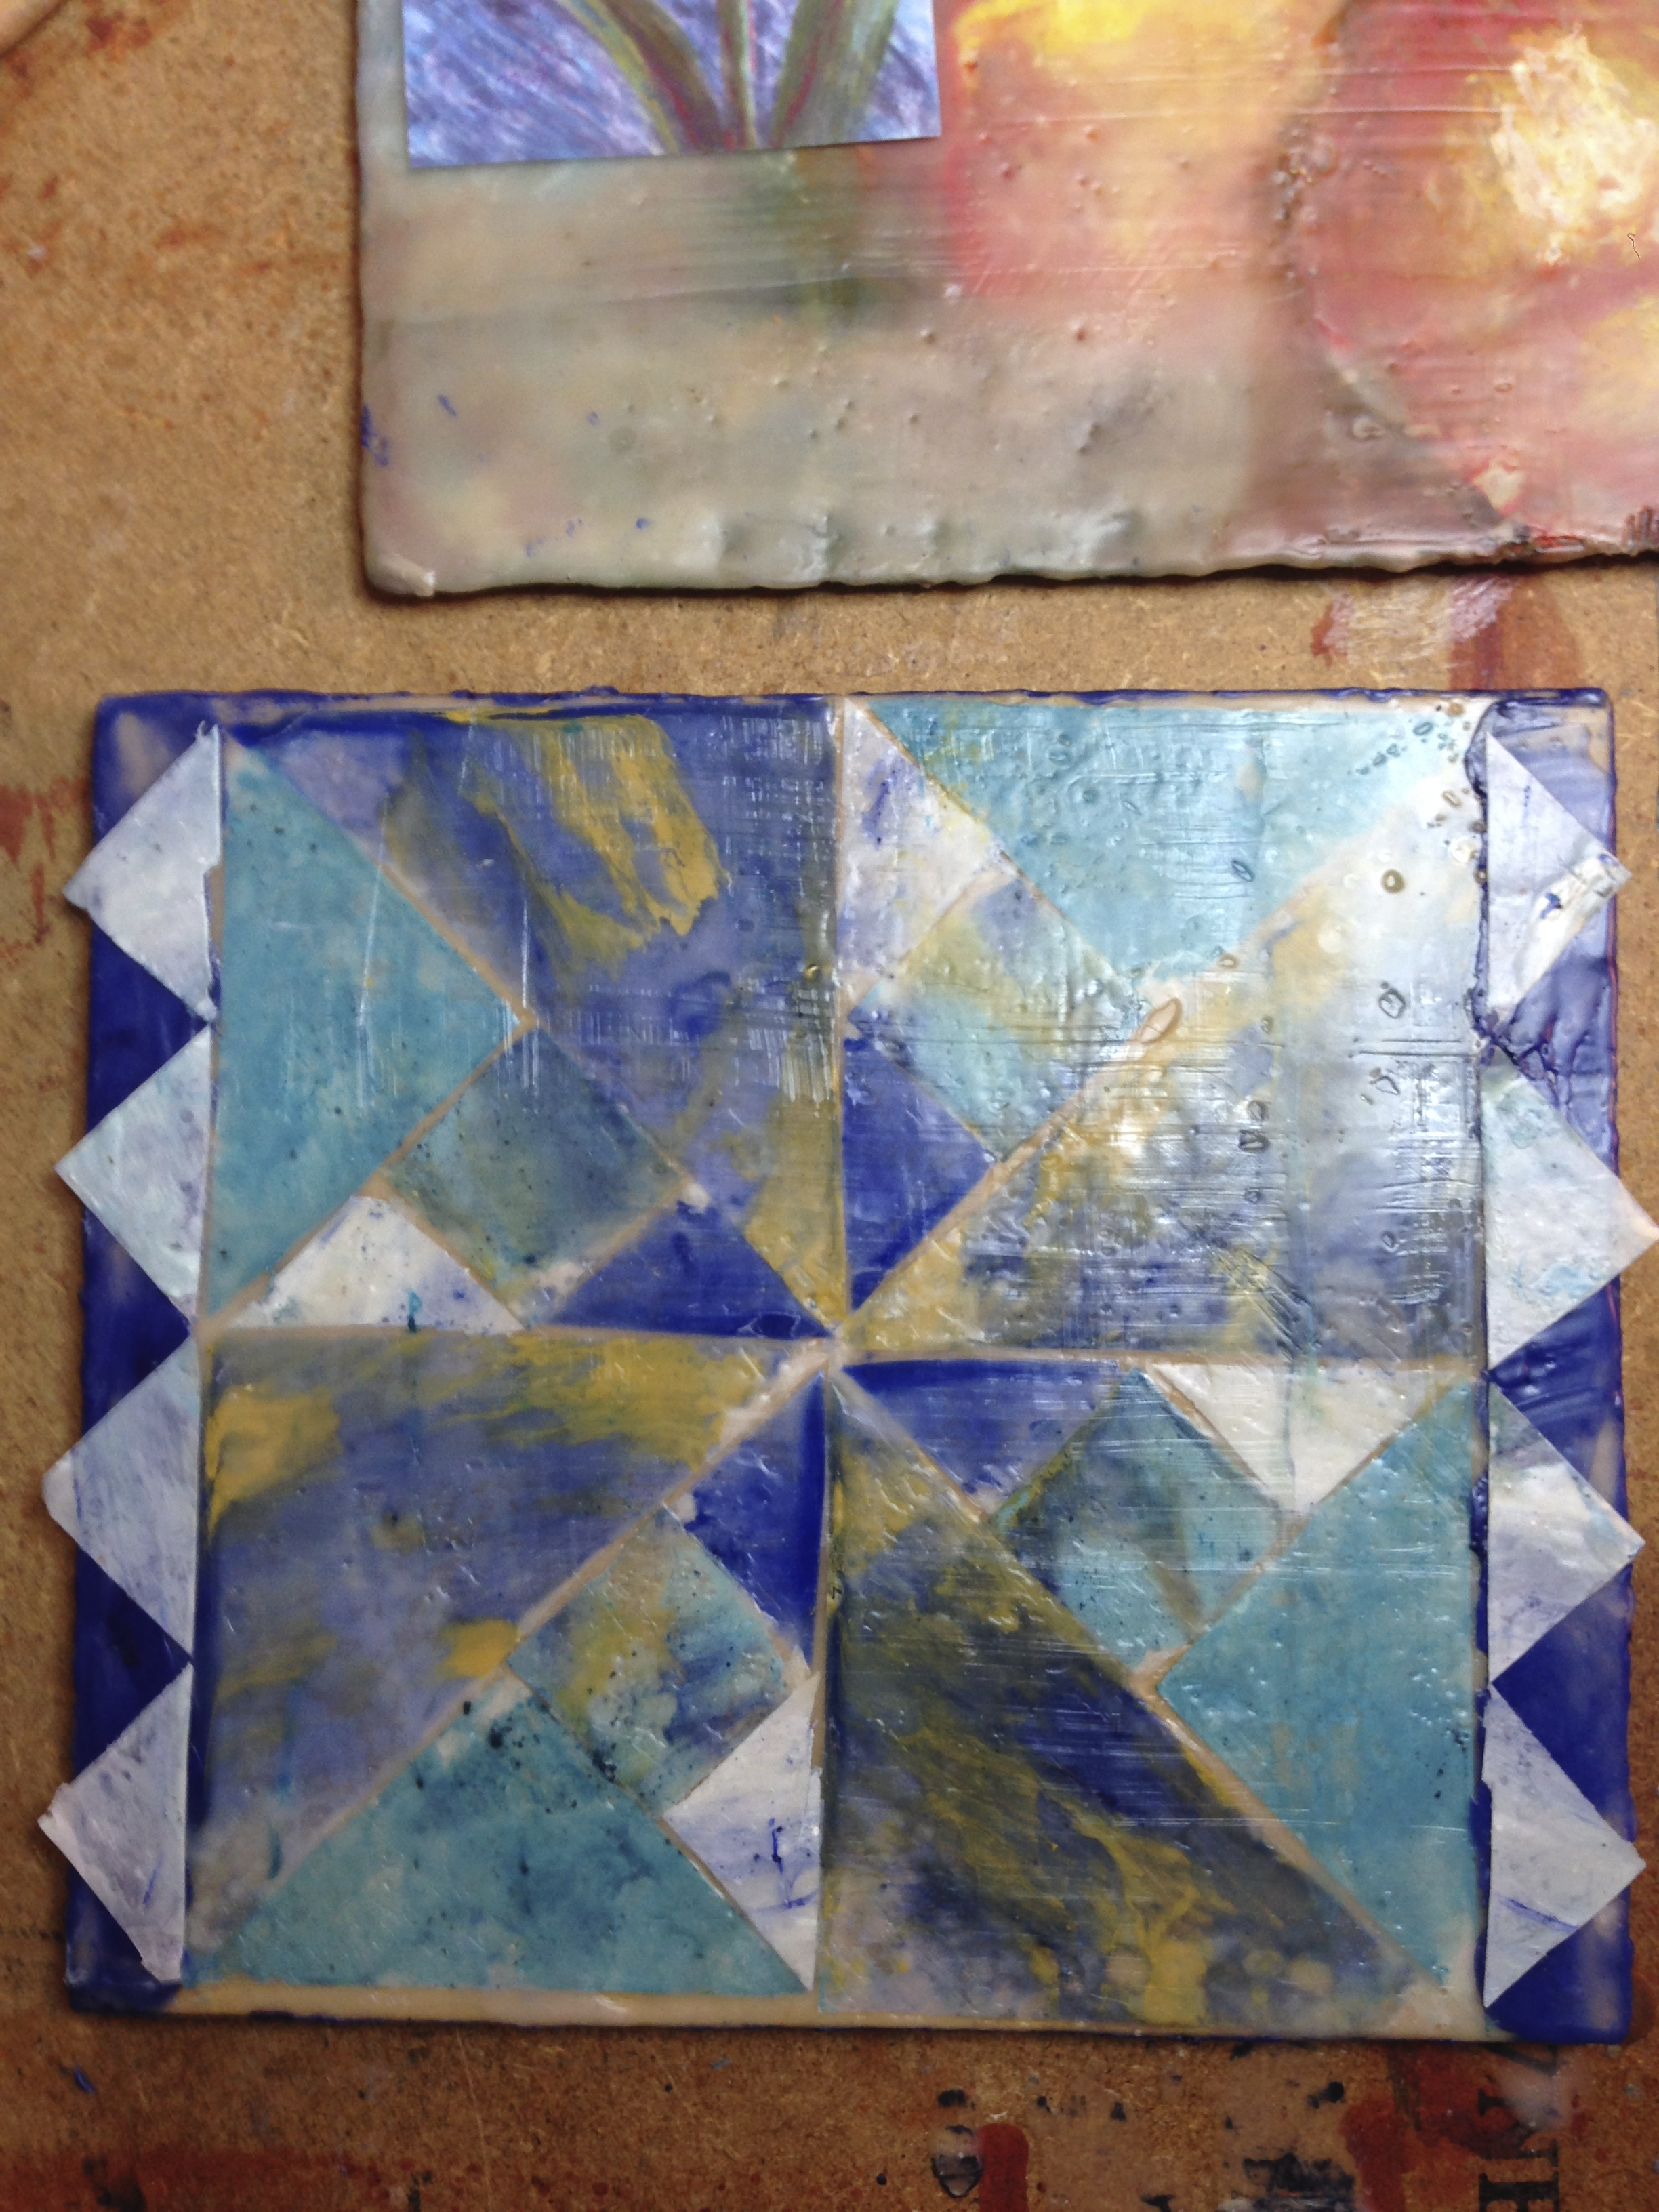
A quilt square named Delft Mill fit with the Tulip. Color scheme? Used Robert Burridge’s Goof Proof Color Wheel. I have the app, and it is a great tool! Working with plain encaustic medium, I scraped a bit from soft pastel sticks to get my color quickly. Sometimes you don’t need much, and it is easier than mixing. Worked great and I like the faint granulation.
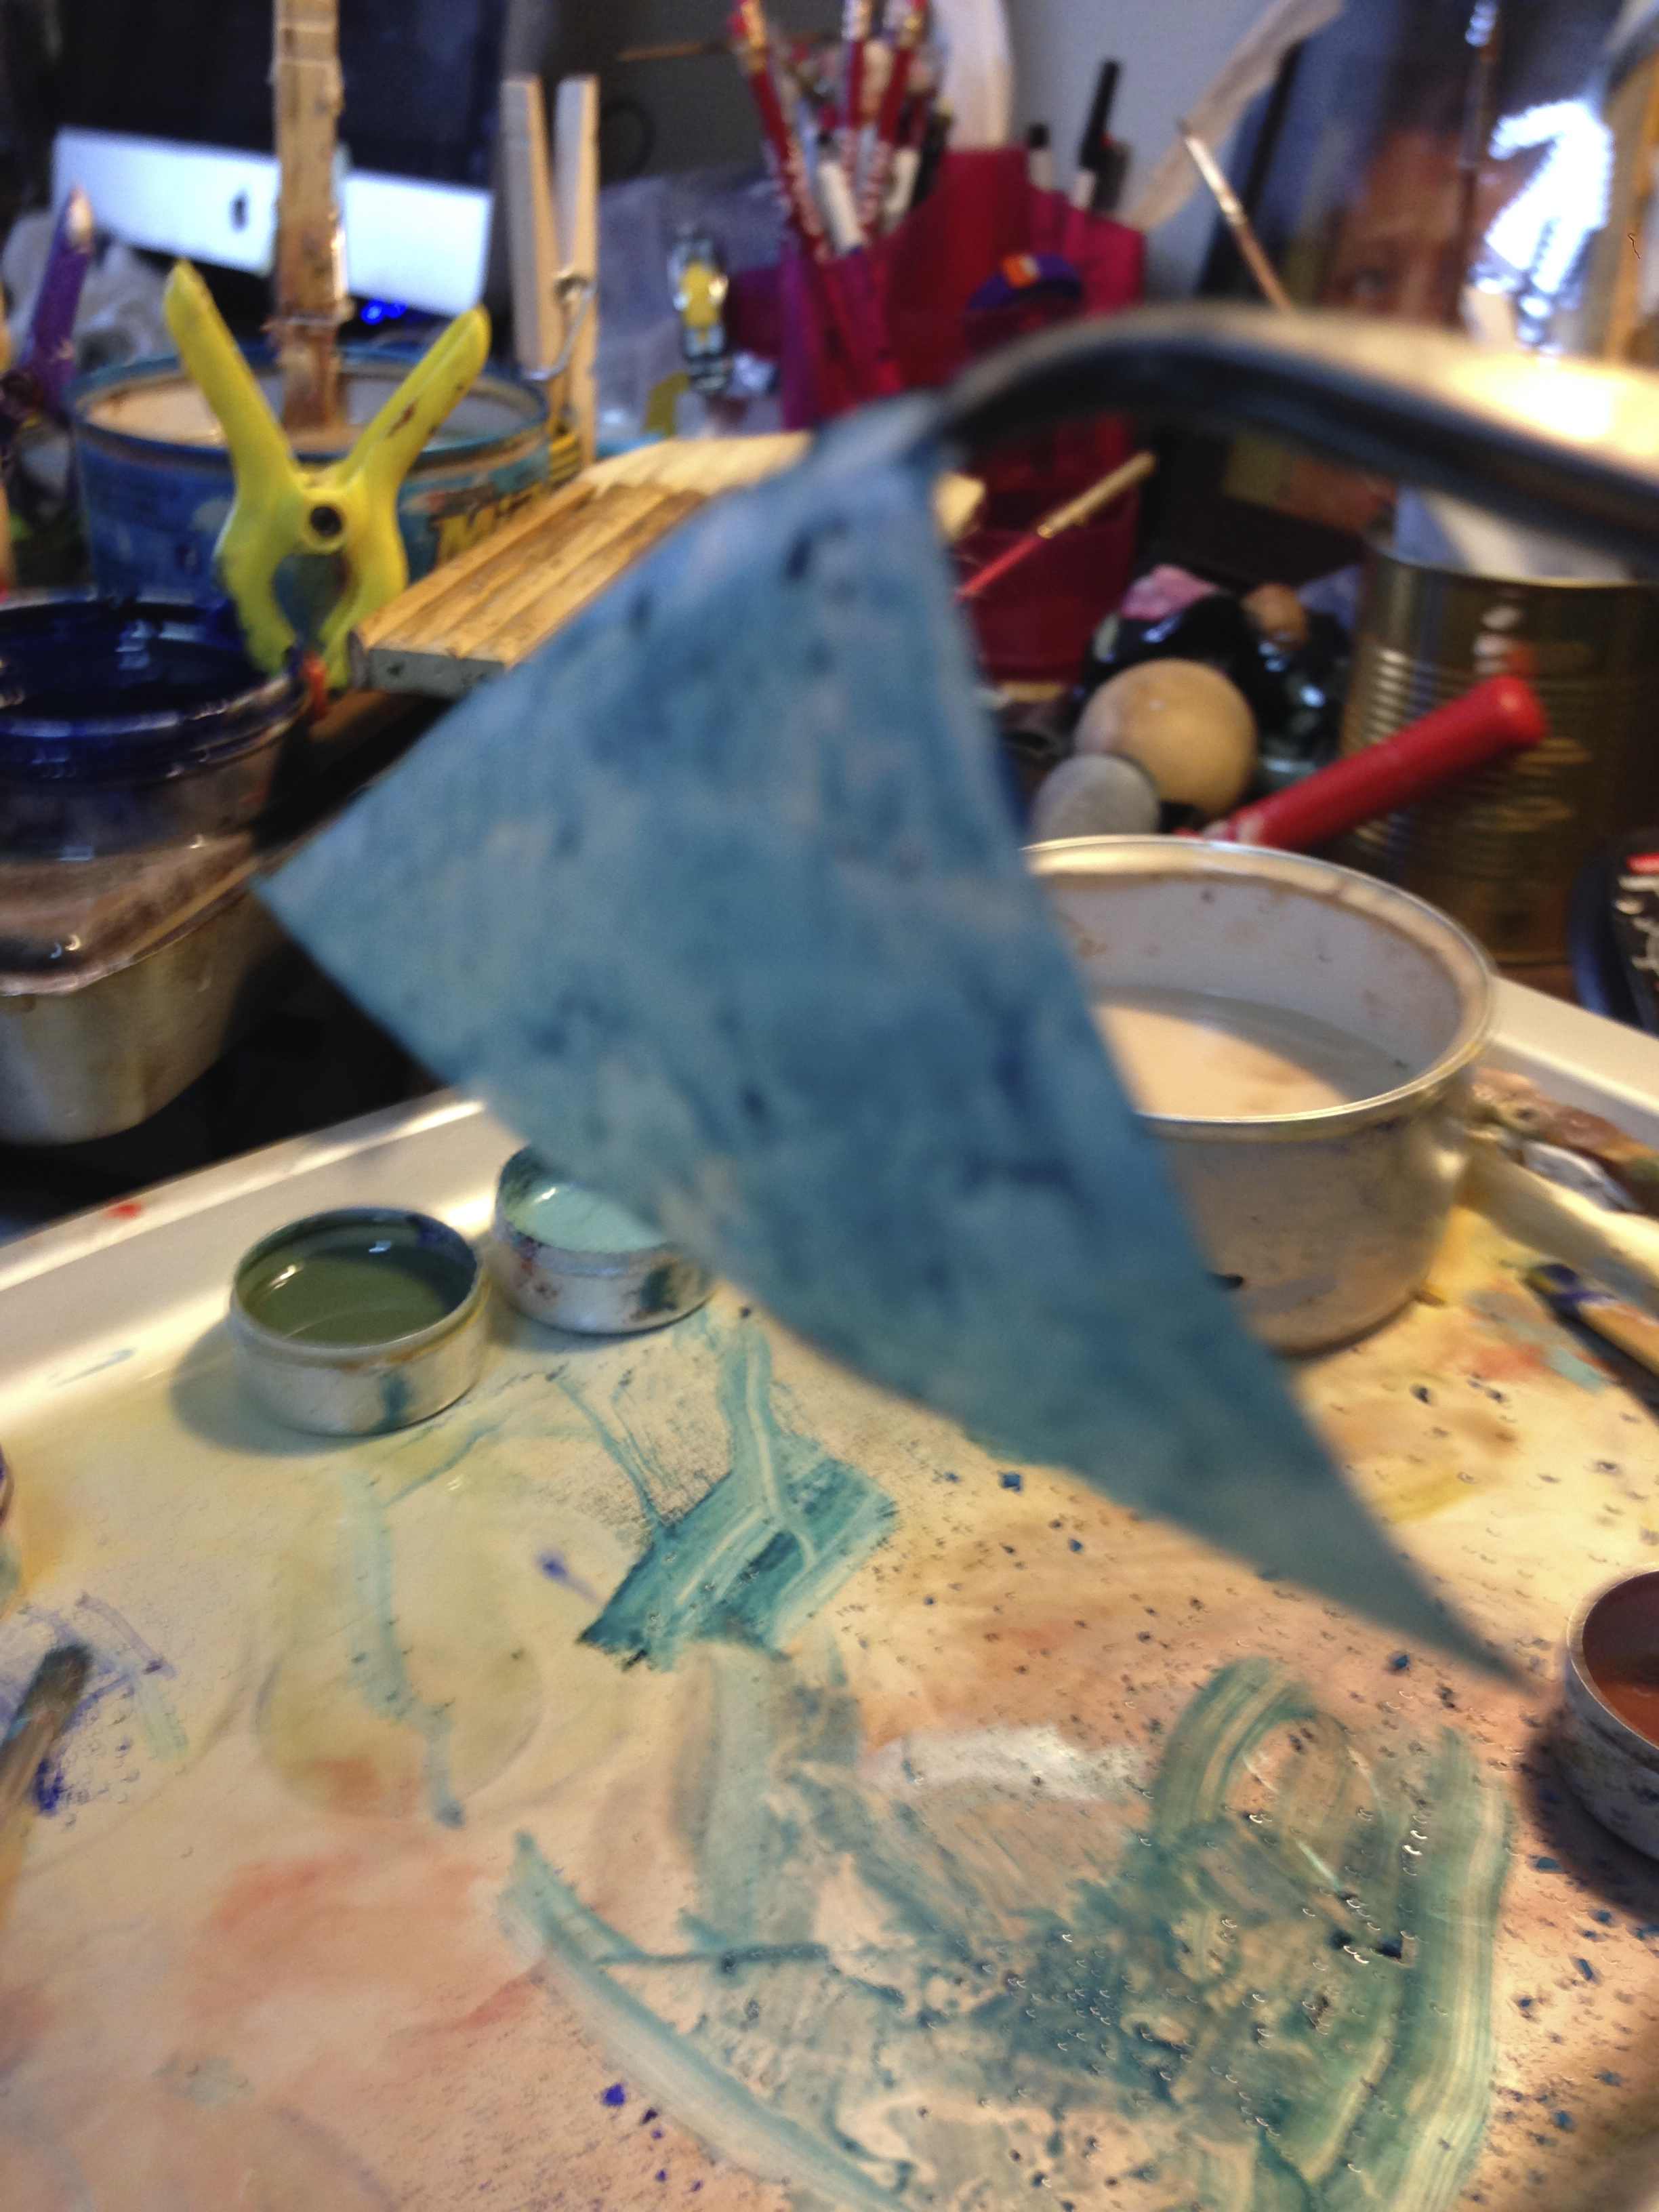
Next, I experimented with the template pieces cut direct from thin encaustic medium. Nothing I did worked, and it made a mess on my Cuttlebug plates! I rolled it in pasta roller, put it in the freezer, and still had a mess. This was a simple pattern, so I took another path: Deli Paper to the rescue! I precut the pieces (minus the seam allowance), and dipped the required number of pieces into the same color mixture so it would resemble print fabric. Using tweezers, I mono-printed each piece on both sides.
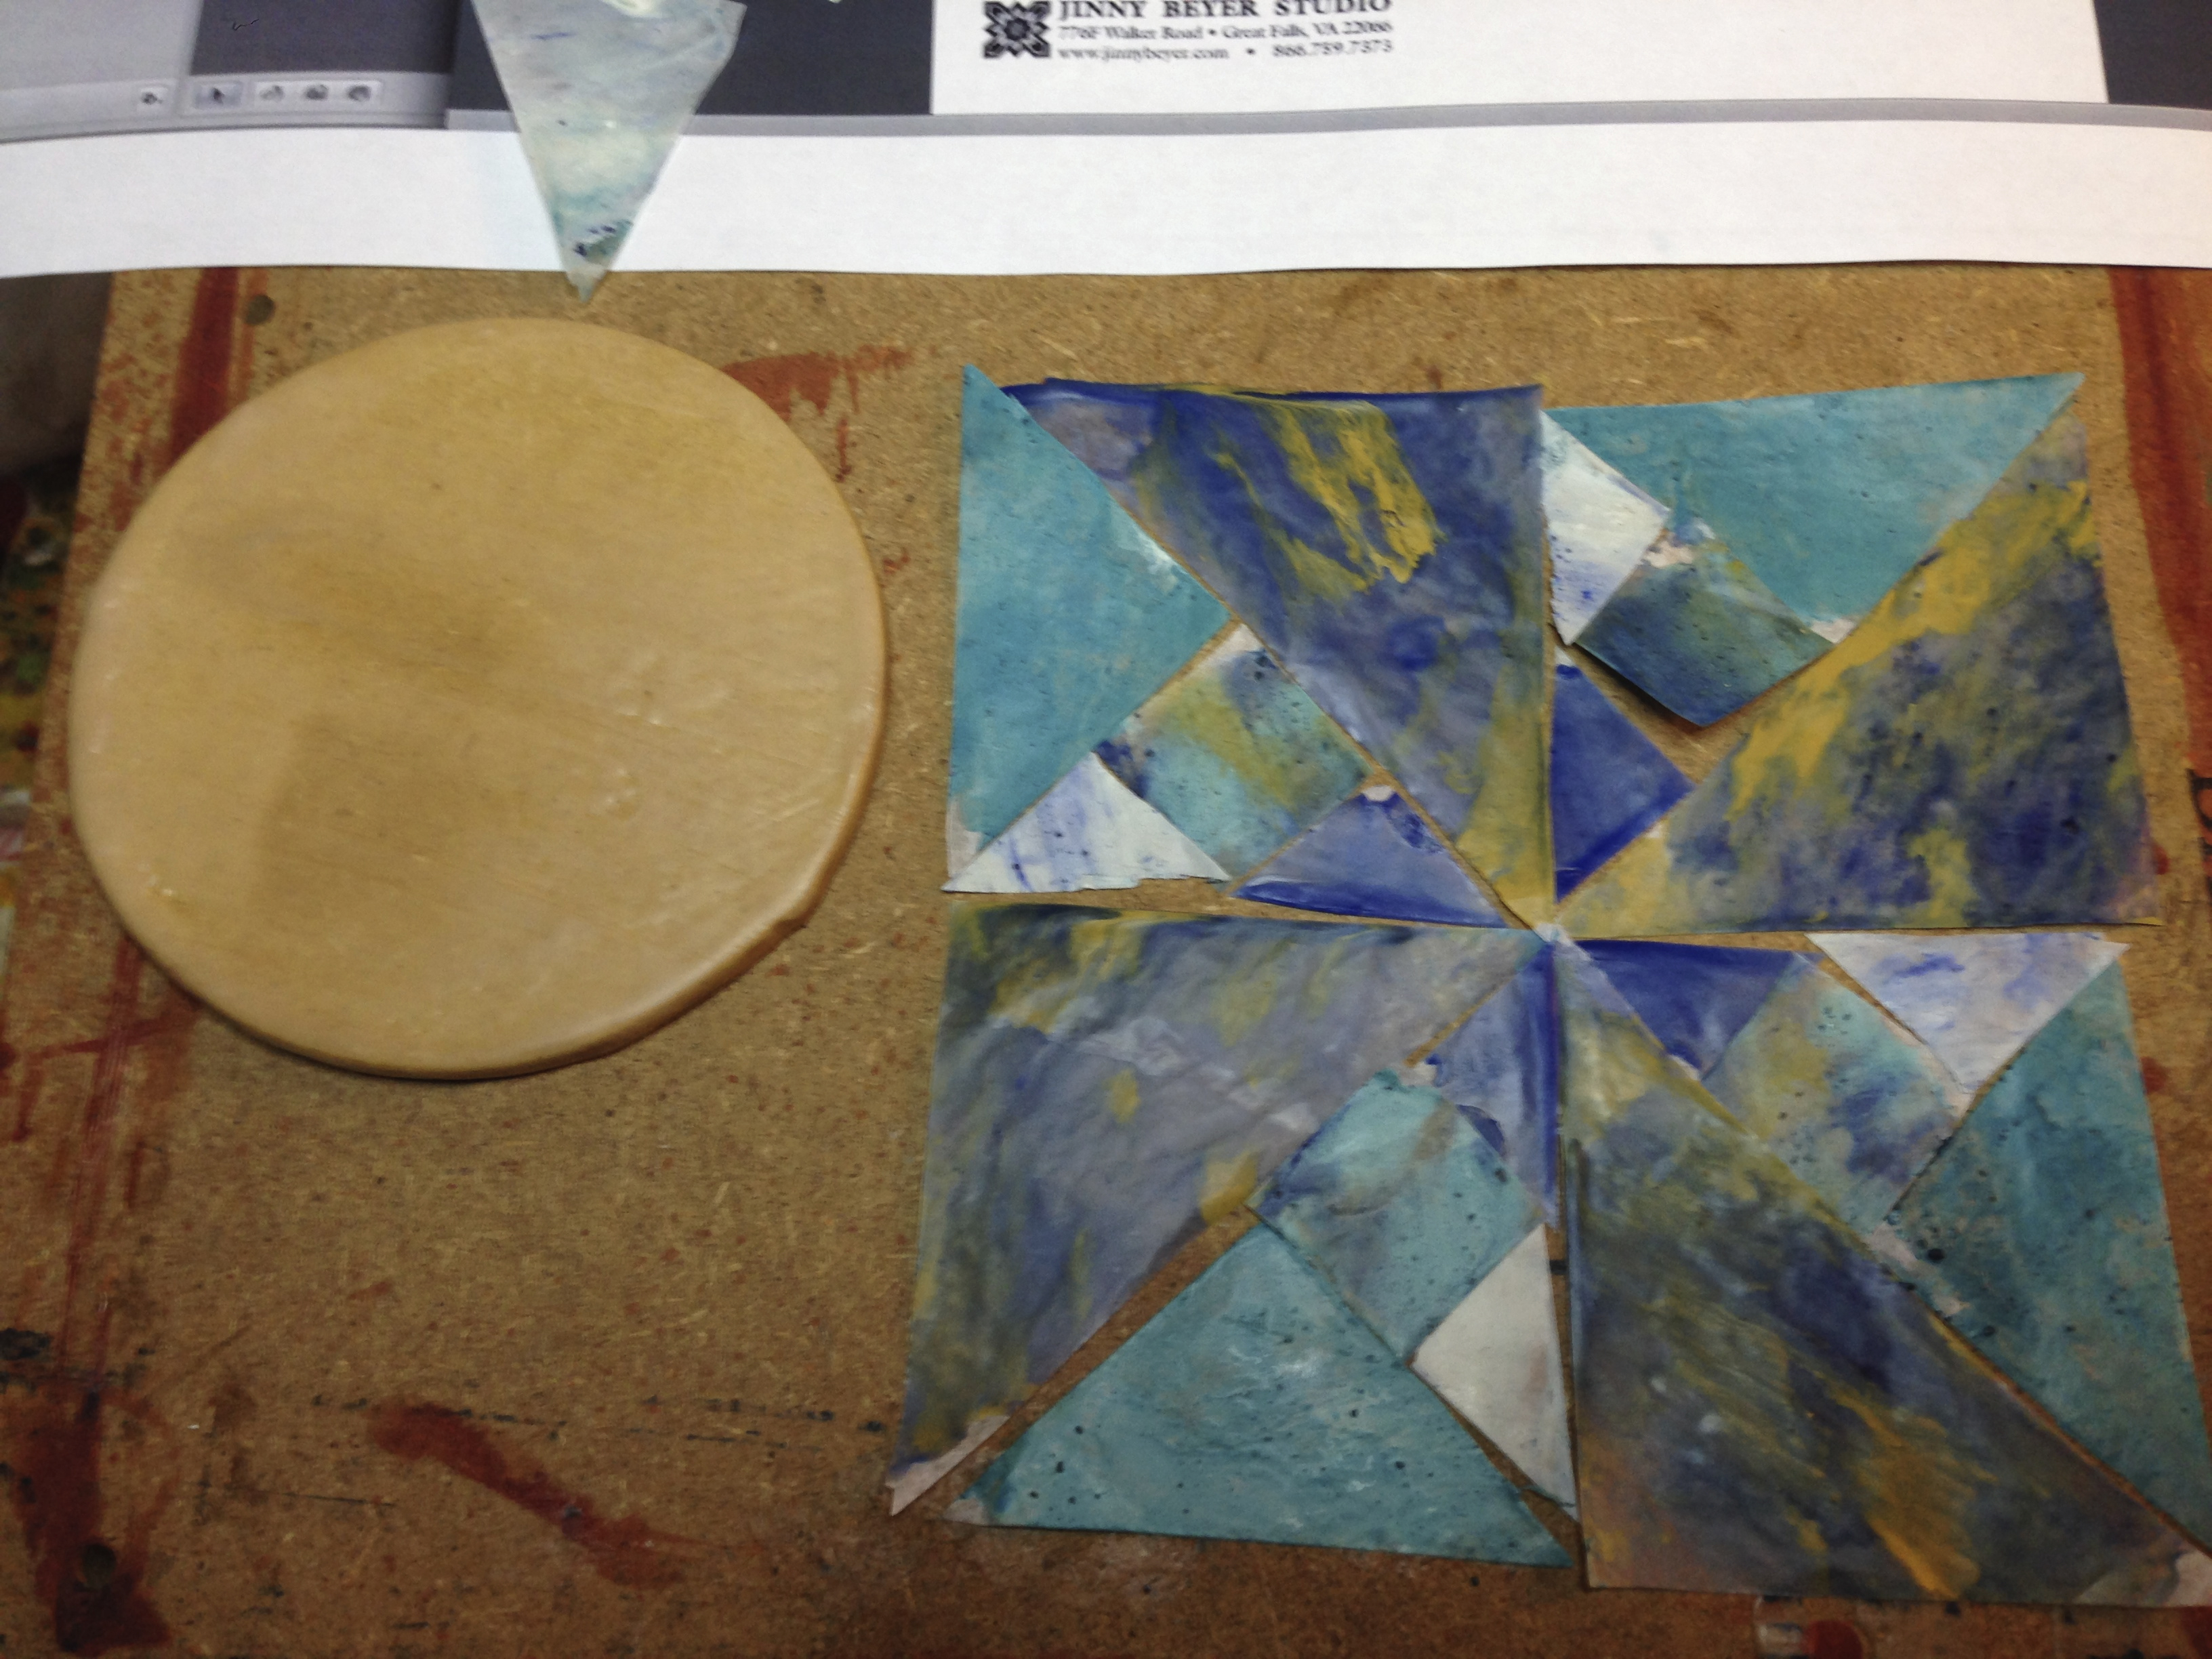
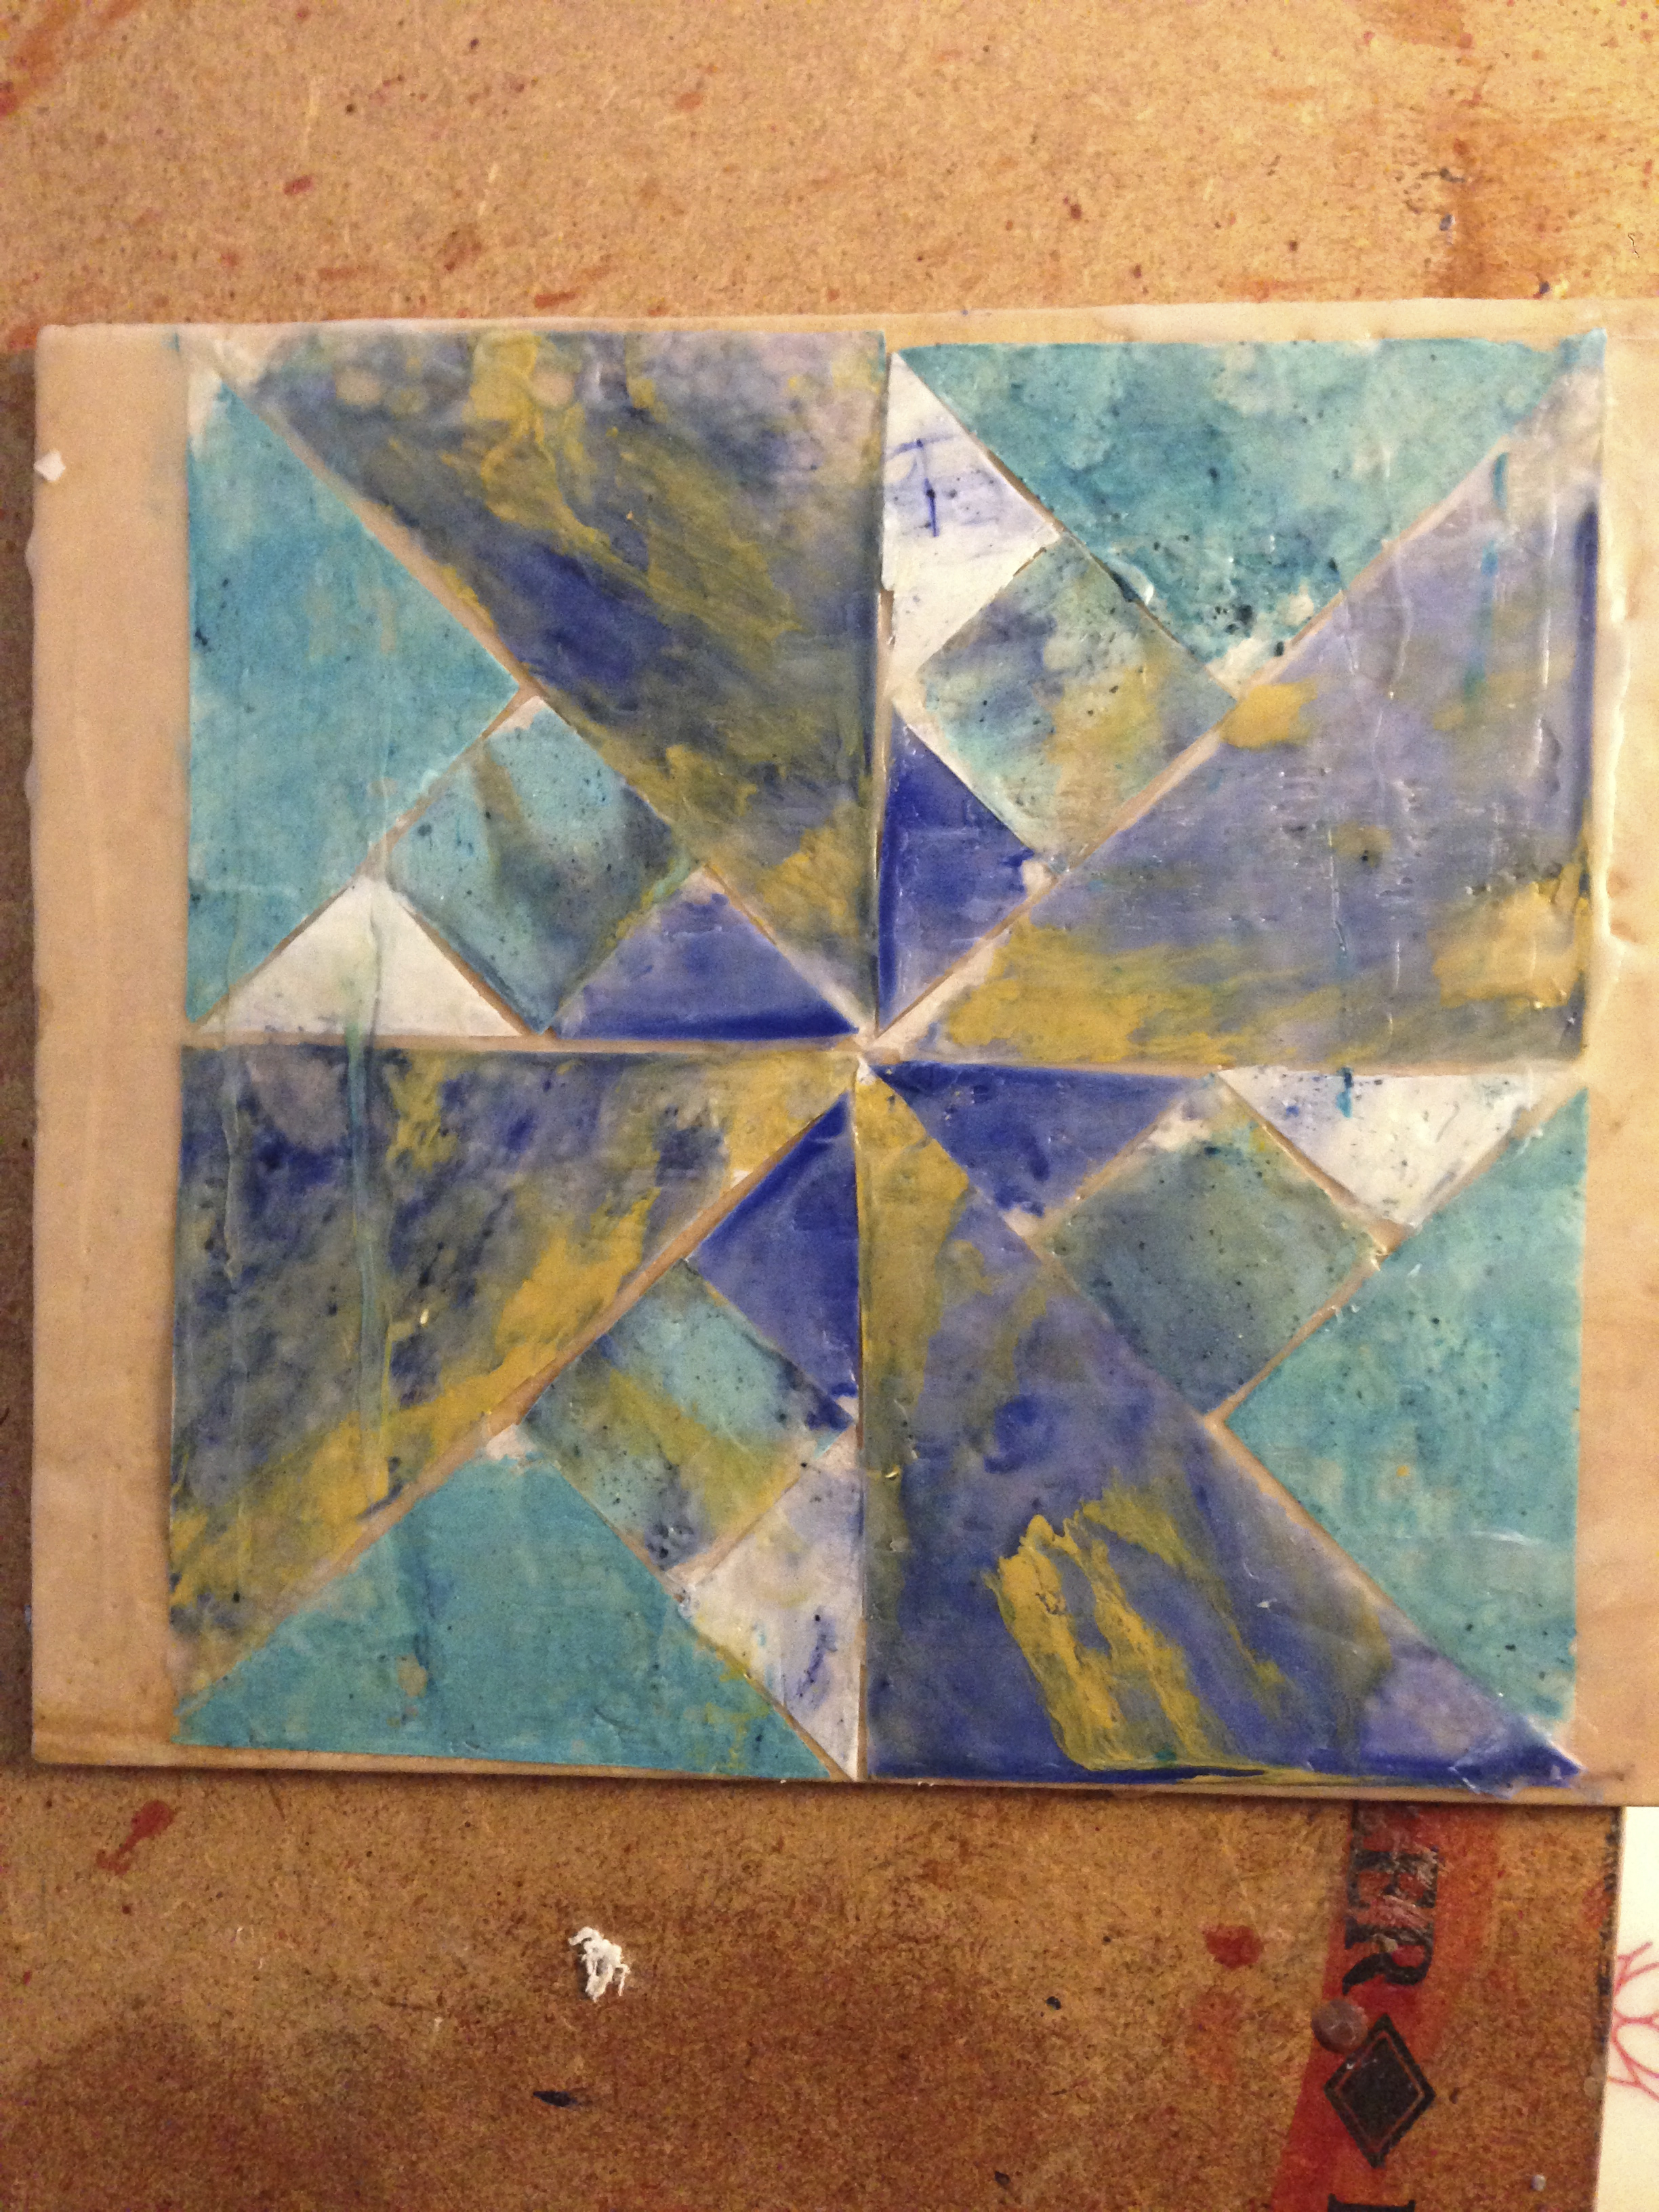
Here you can see the pieces all ready for “quilting” onto the prepped board, and a trial piecing. Then I moved them to the board in position.
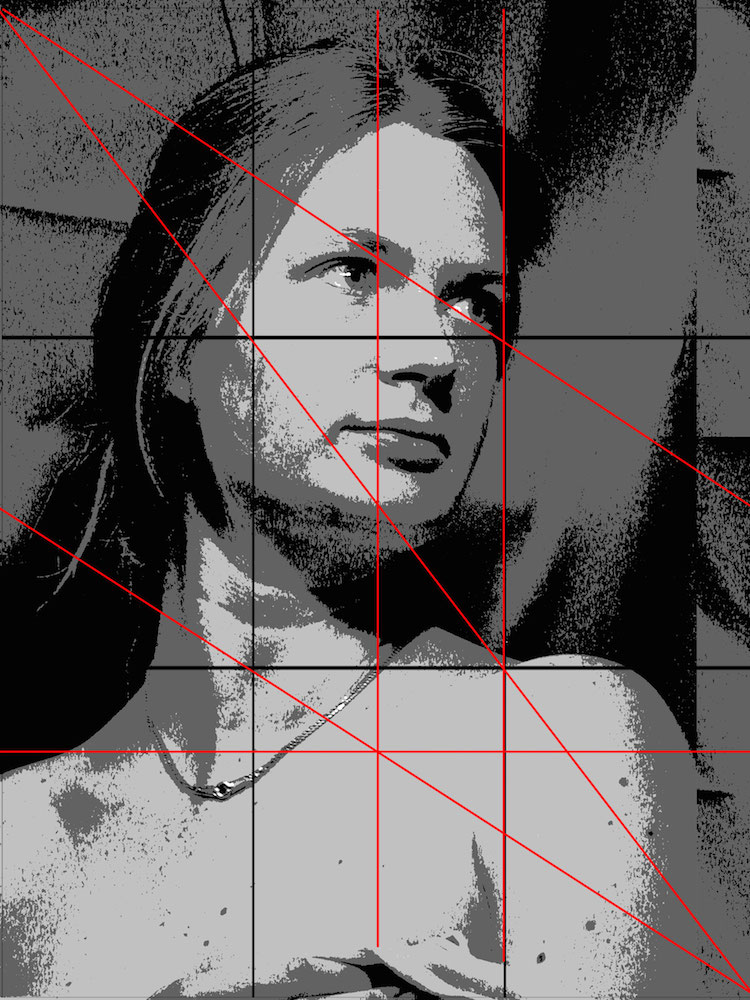
I decided what size laser print I wanted for the collage, then auditioned it for its just right position on the quilt.
This is how I resolved the extra space on the board since it was not a square proportion. Made some more triangle shapes and there you go!
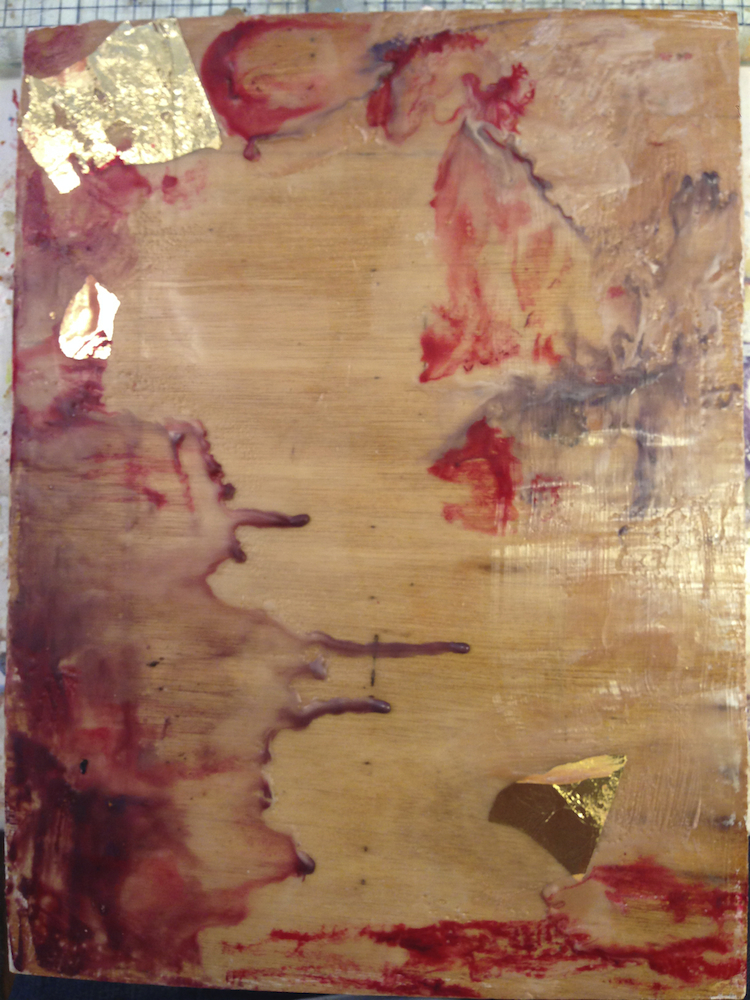
First of many coats of clear medium.
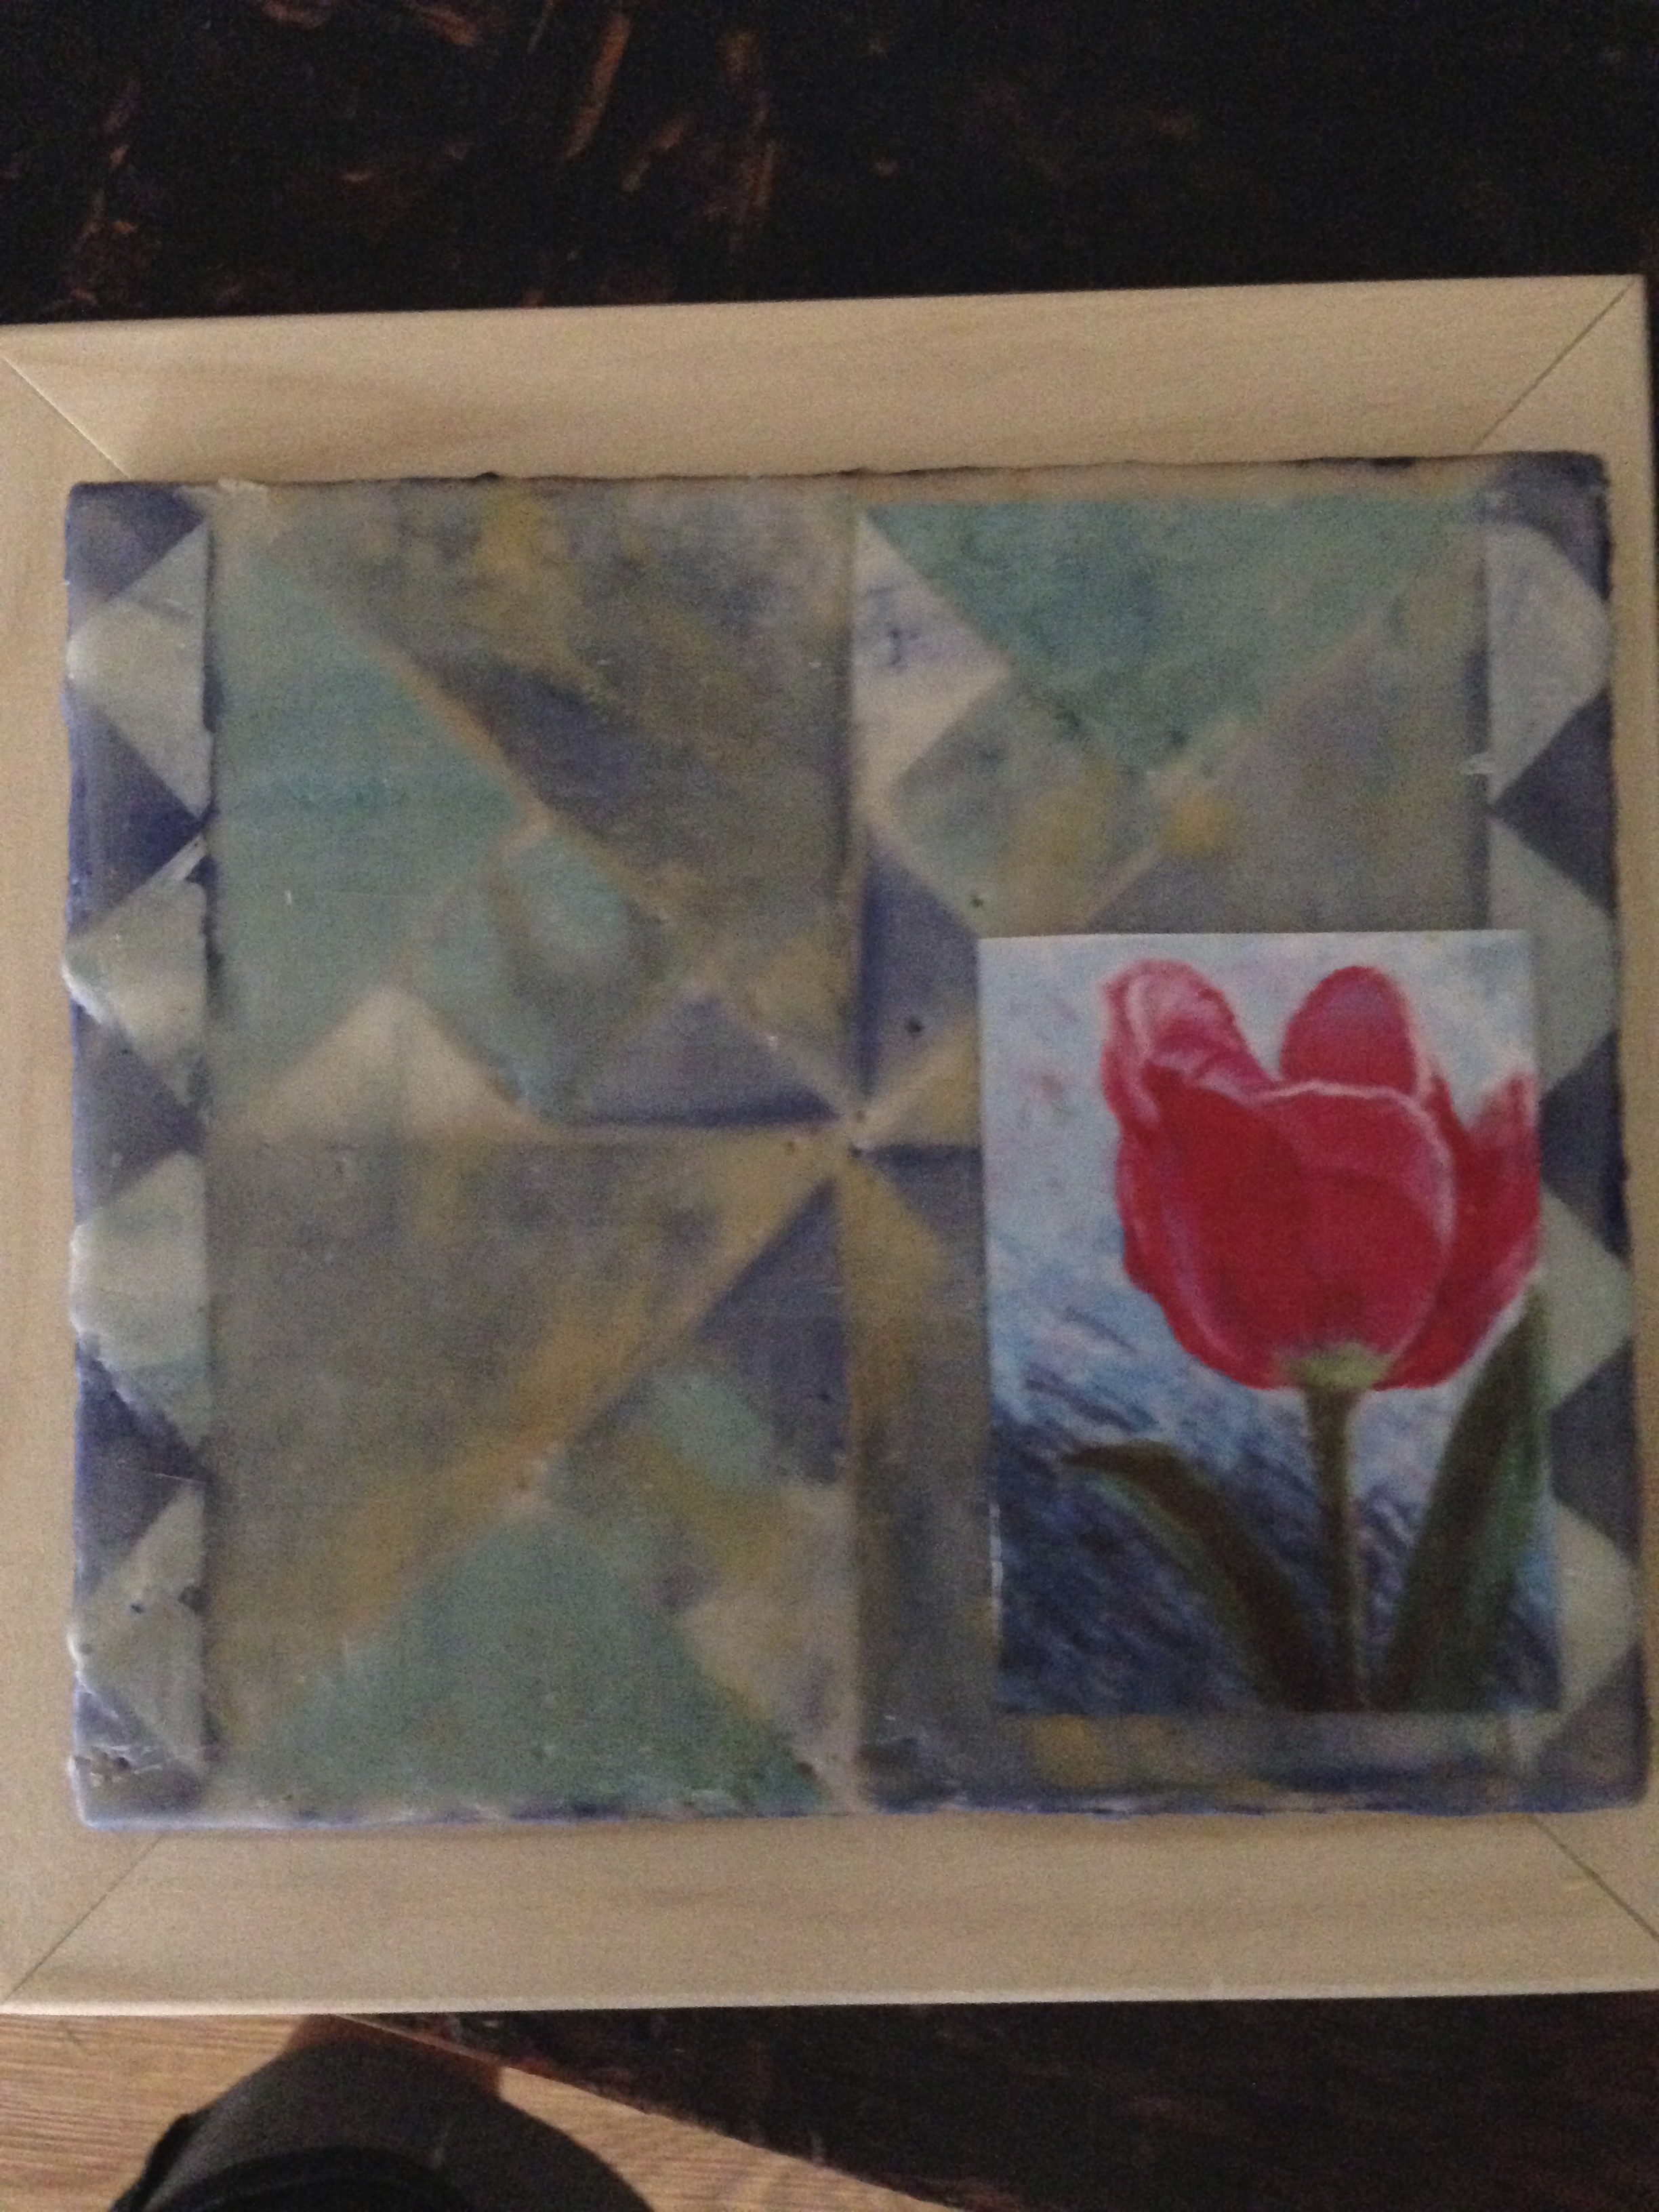
I really enjoy the layering, scraping, and mark making. A couple freeform lines for a casual framing of the collage, carved and filled with contrasting color, carve the name “delft” and sign it (carve and fill) and victory declared! Encaustic is not an instant gratification medium for me…I love the process and will keep working as long as the piece has something new to say.
~*~*~*~*~*~*~*~*~*~*~*~*~*~*~*~*~*~*~*~*~*~*~*~*~
Author bio:
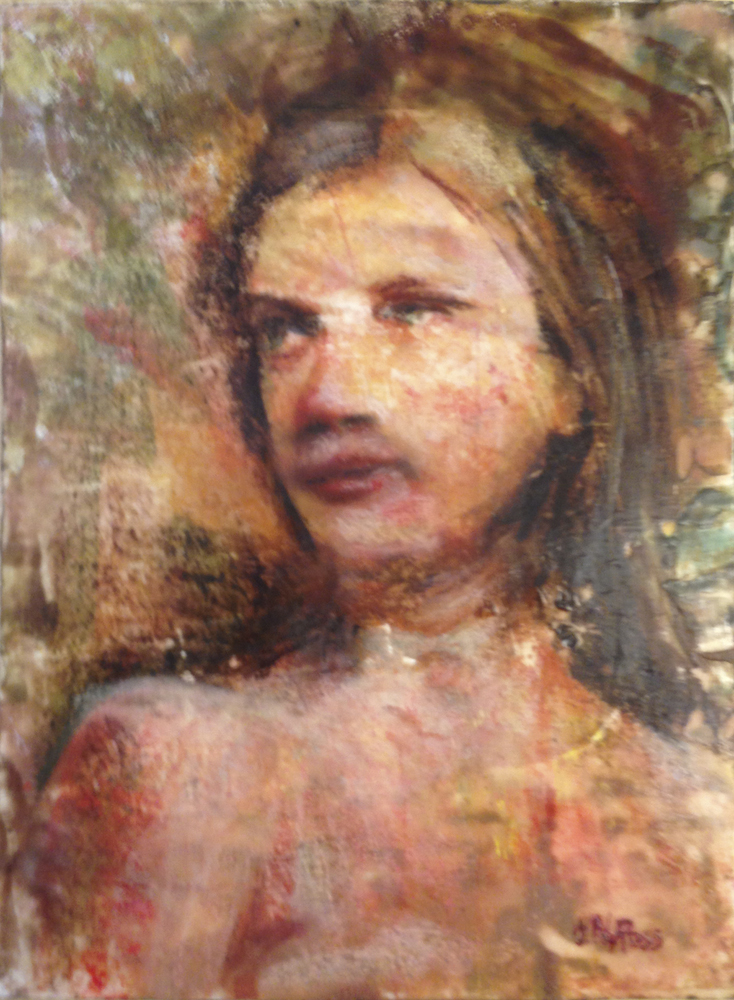
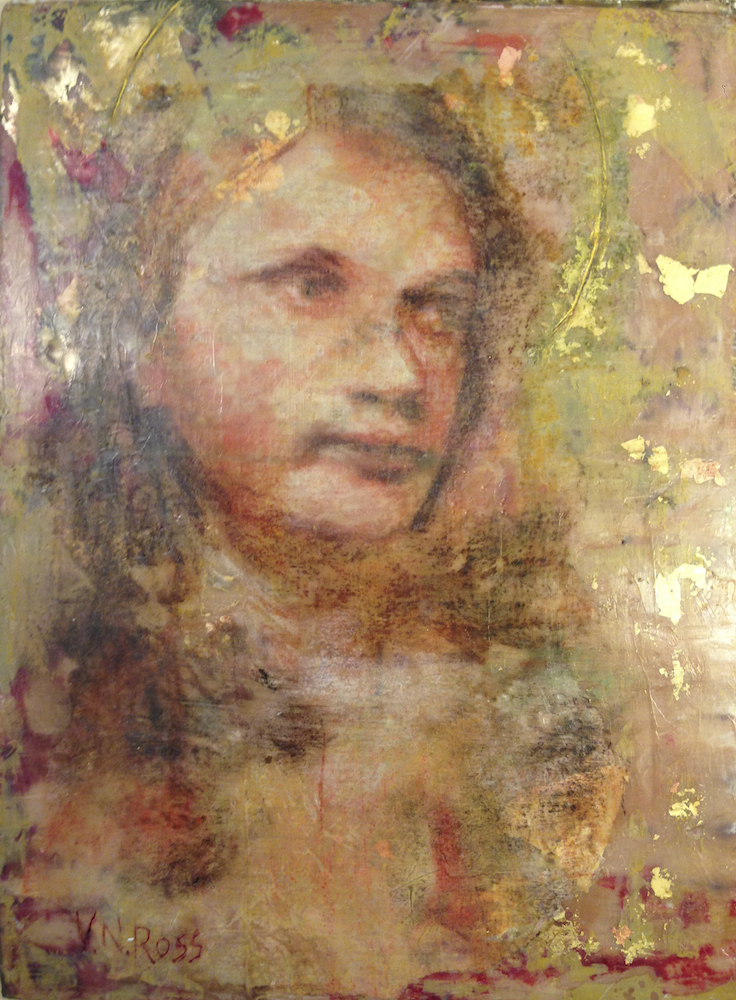
Vicki Ross is focused on sharing her journey to art and how life events can shape us through creativity www.Axully.com. Vicki has always been involved deeply in the creative arts, from professional soft crafts publications (knitting/crochet/needlework) to French Hand-sewing, stenciling to macramé, oil painting to encaustics. Whatever your leaning, she believes in the healing power of creating.
You can see more of Vicki’s work at VickiRossArt or via blog posts at Axully – Solid. Useful. Beautiful
~*~*~*~*~*~*~*~*~*~*~*~*~*~*~*~*~*~*~*~*~*~*~*~*~
.
.
.


Recent Comments