Michelle G Brown | Mixed Media Art

Canvas Pen and Wash: Zentangle Style

~ * ~

This article is written by Jean Mullins (Stevenson)

Supplies Required

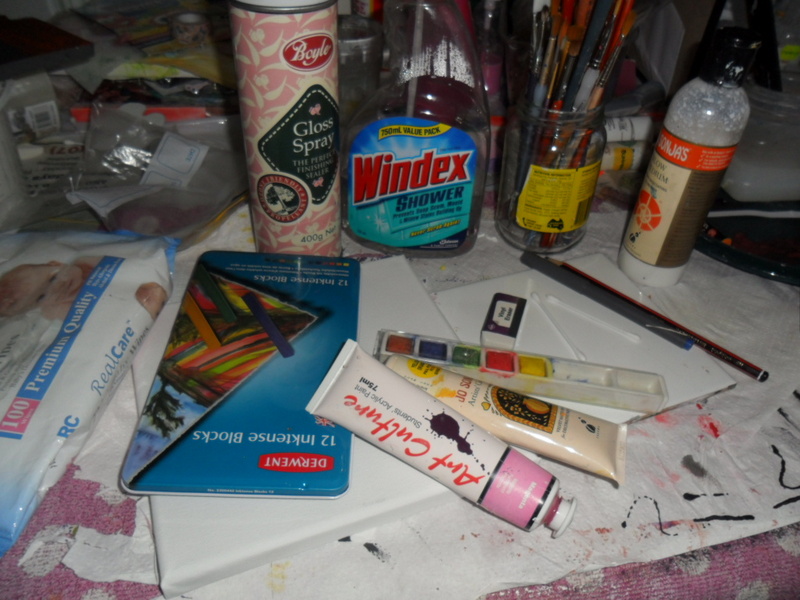
  • Small canvas
  • Pencil
  • Fine liner permanent marking pen, Small paint brushes
  • Paints, can be whatever you wish. I used acrylics and
  • inktense sticks
  • Spray sealer or hair spray

If you make a mistake, wet a cotton bud with windex and rub gently.

I love doing pen and wash designs, I started out many years ago, painting pen and wash designs on china that were then fired in a kiln between each wash of paint  lots and lots of hours work.  Since then I have created paintings pen and wash style using both oils and acrylics. (separately, as we all know oil paint cannot be used over acrylics.) The technique remains the same, draw or pencil design, go over with a permanent fine line pen, spray seal the design, then add subsequent washes of paint.

Don’t gesso the canvas or you will find the paint will clog your pen, as well as change the ink colour slightly.

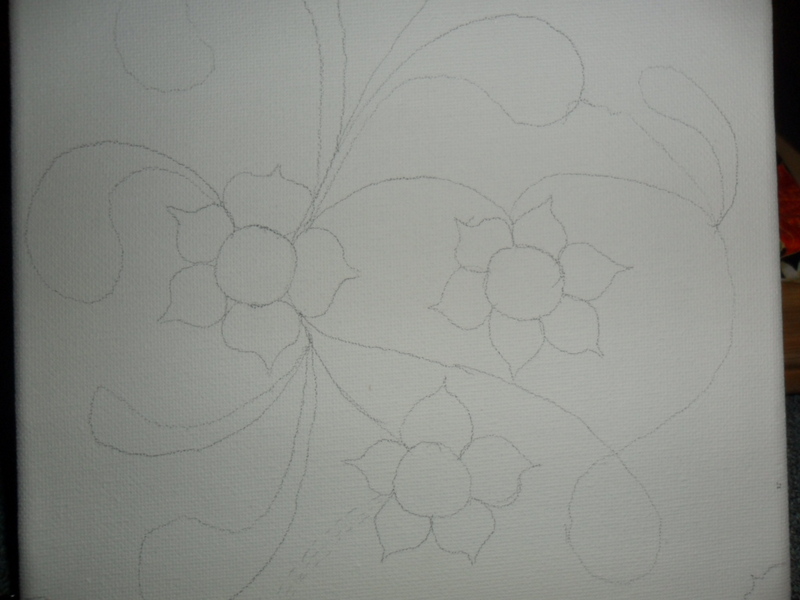
Draw your design on the canvas using a pencil very lightly.

If you aren’t a confident drawer you can always trace a design.
Painting a pen and wash painting, drawn and inked with a tangle pattern

Painting a pen and wash painting, drawn and inked with a tangle pattern

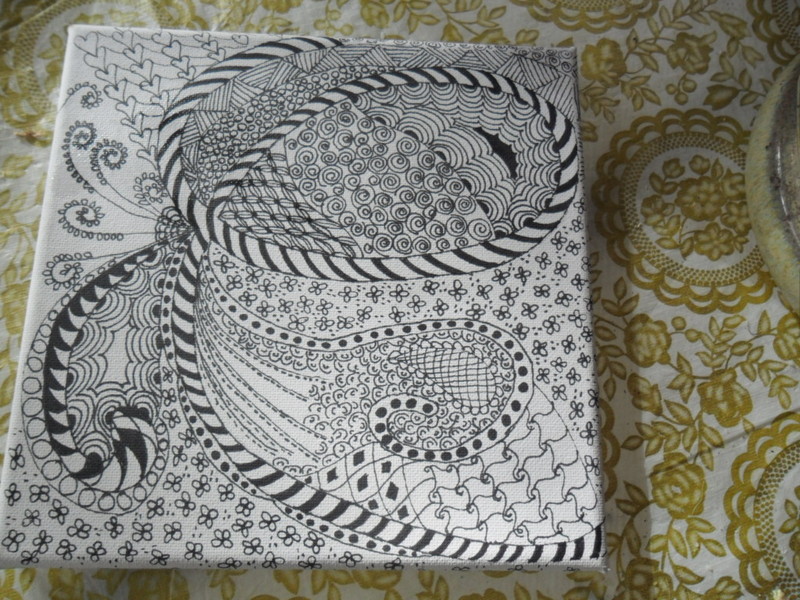
Using the permanent pen draw over your design, alter the pressure for thicker, thinner or lighter, darker areas. If you rest your hand on a tissue this will save ink marks being transferred where you don’t want them onto the canvas.

Tip: Pen all the main design lines in first and let it dry before you fill in the tangle patterns.

When you are happy with your canvas, Let it dry for a couple of hours or overnight if possible then spray thoroughly with hair spray or a sealer. Give it 3 coats drying between each one. Drying time will depend on the weather but generally it dries quickly. Suggest you do this outside as sealer is pretty smelly.
Painting a pen and wash painting, drawn and inked with a tangle pattern

For the painting, use liner brushes or small rounds for applying the paint, the ribbon areas are best painted with a small angle shader.

Definition of a “wash”is a very pale watery mix of paint, to achieve this, rather than using too much water I used a “flow medium” which I loaded onto my brush before loading with paint. Too much water changes the paints “sticking” formula.
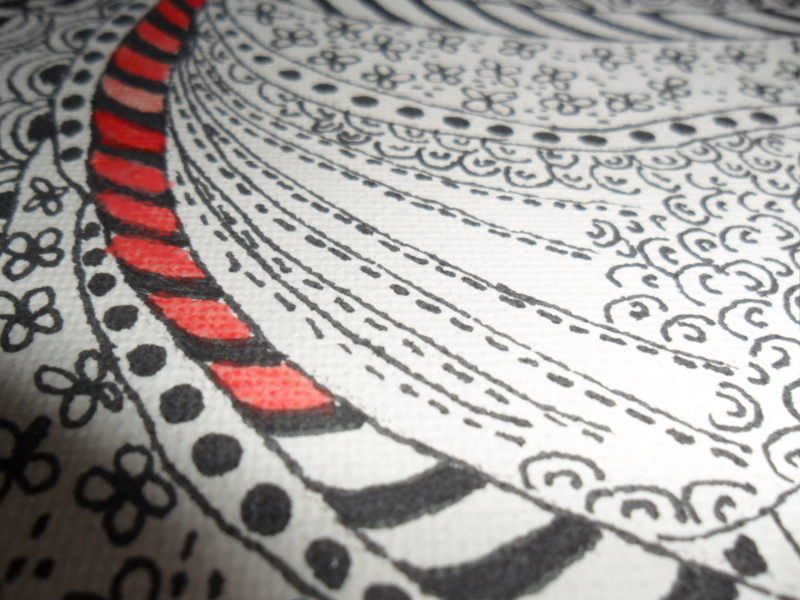
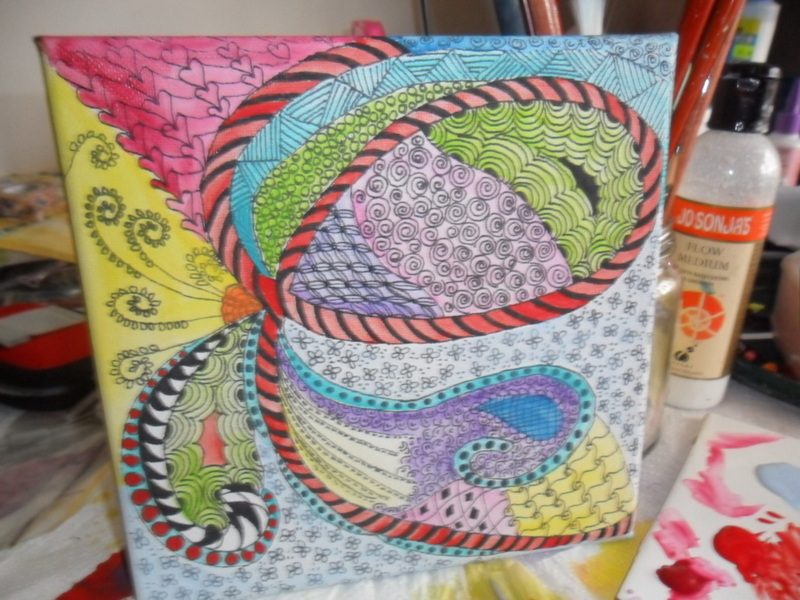
Painting a pen and wash painting, drawn and inked with a tangle pattern

Painting a pen and wash painting, drawn and inked with a tangle pattern

The idea is “no stressing, just have fun and create a pretty painting”.

Zentangles (trademark Zentanglesinc.) or tangles is all about meditation or attaining a meditative state of mind while “tangling or doodling”. I facilitate a meditation group for U3A where I am a volunteer tutor. Any form of meditation is a wonderful stress reliever.
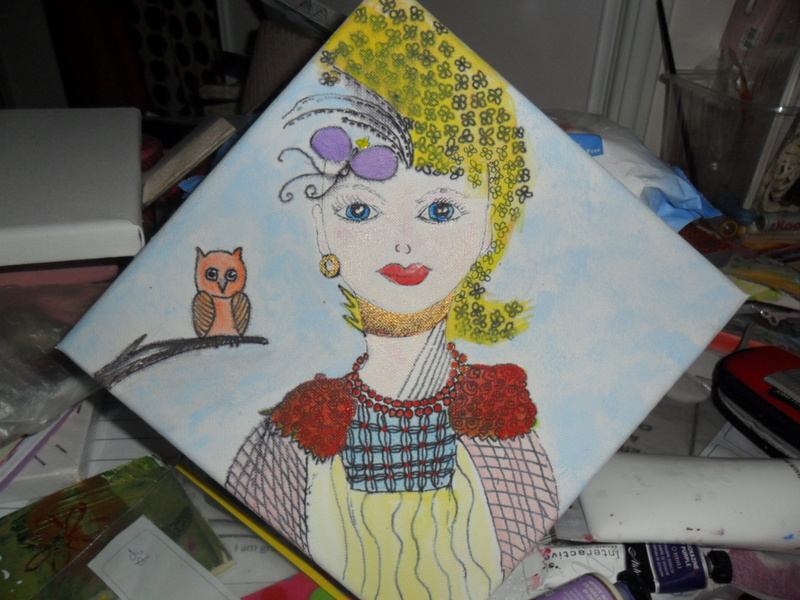
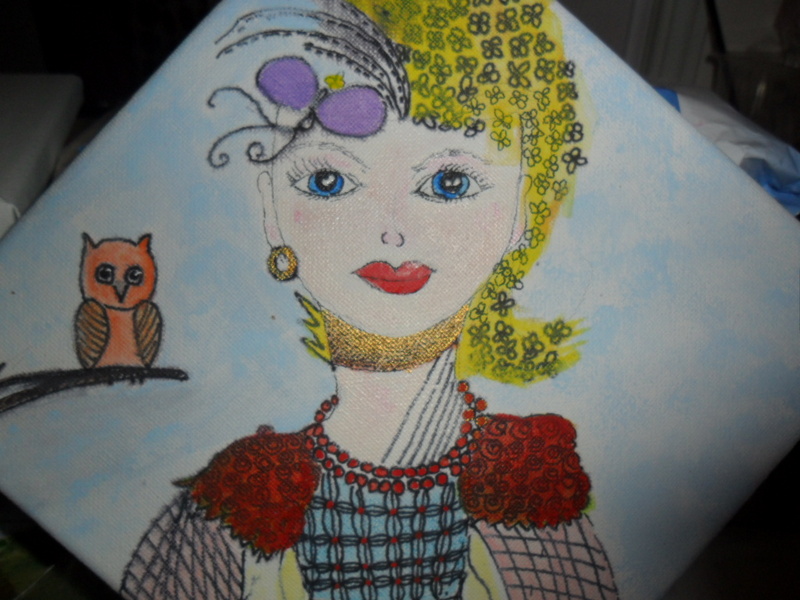
Painting a pen and wash painting, drawn and inked with a tangle pattern

Painting a pen and wash painting, drawn and inked with a tangle pattern

What happened with my little painting of Athena. Looking closely at the pictures, particularly Athenas hair, you can see that the pen has bled when I used the sealer spray. This is interesting as the same spray, same pen but maybe not the same brand canvas was used. If you want to test your canvas, pen something, your name, title of your painting, anything on the back of the canvas where it’s secured to the frame, then spray with your sealer. See what happens

~*~*~*~*~*~*~*~*~*~*~*~*~*~*~*~*~*~*~*~*~*~*~*~*~

Author bio:

Jean Mullins lives in Caboolture, Queensland close to beautiful Bribie Island. Not only a mixed media artist, Jean is also a craft teacher, teaching many different mediums, including book making, crochet, patchwork and quilting, ceramics, porcelain doll making, sculpting in clay and mold making. Pattern designer and author of the books, “Dolls Clothes in crochet”.With a lot of knowledge gathered over the years she considers it a pleasure and privilege to share. Being a member of the Caboolture Artisans Guild, Bribie island Community Arts Centre as well as a tutor for U3A and a pet rescue foster “mum” life is busy and fun.

~*~*~*~*~*~*~*~*~*~*~*~*~*~*~*~*~*~*~*~*~*~*~*~*~

More about Jean can be found at:

www.jeaniesartyplace.blogspot.com and www.nannasworkroom-stitcheriesandsuch.blogspot.com

.

.
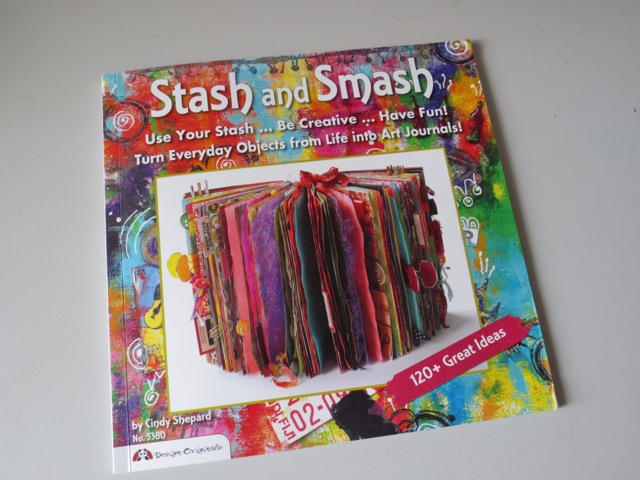
“Stash and Smash” by Cindy Shepard

~ * ~

This article is written by Michelle G. Brown

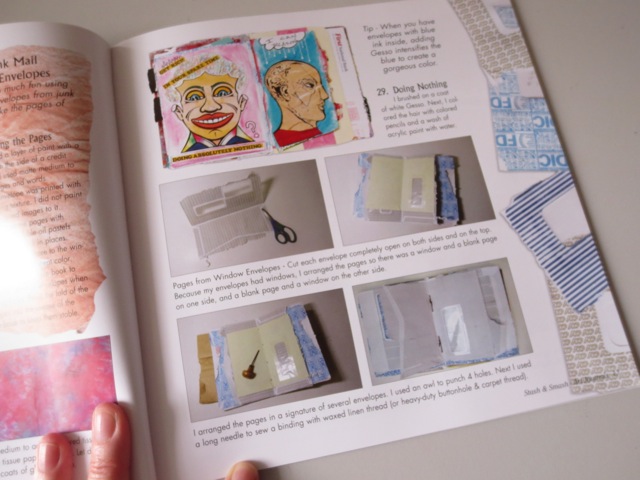
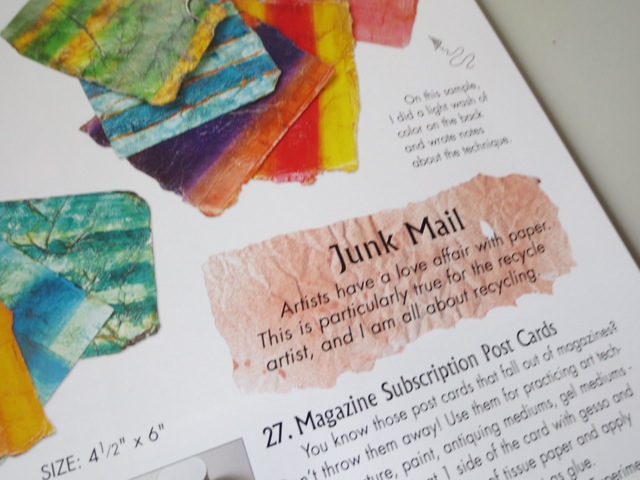
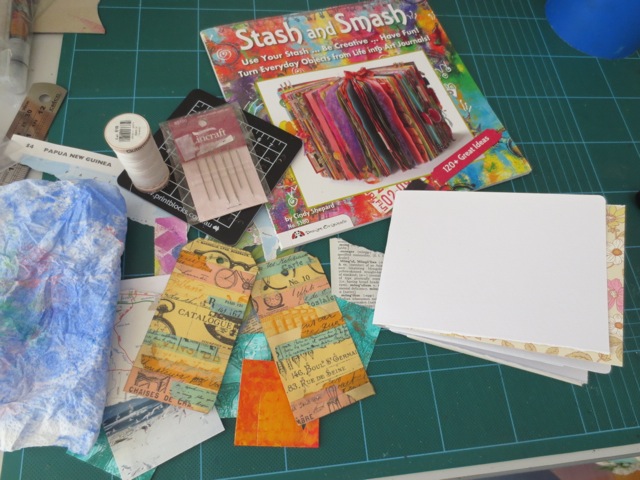
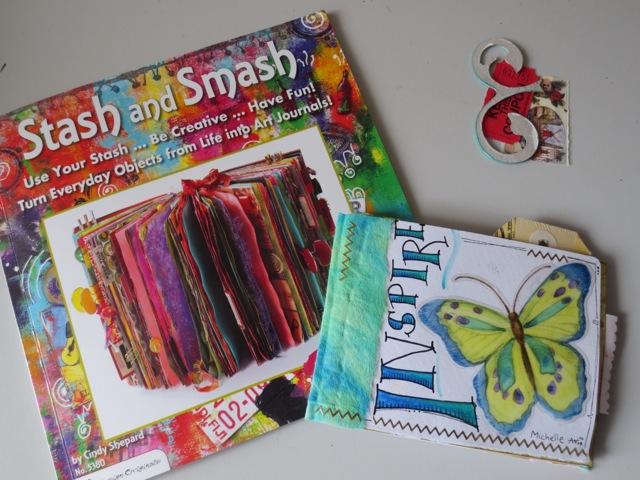
Cindy Shepard has created a fun little book called “Stash and Smash”, published by Design Originals, 2011.

“Stash and Smash”, published by Design Originals, 2011

Cindy encourages us to get out our stash of ephemera and bits and pieces and turn them into a work of art. “It’s time to rescue your memorabilia and present it in a manner that pays due homage to the emotion of the memory”, she says in her introduction. This book leads us through a series of inspiring techniques to help us to just that!

“Stash and Smash”, published by Design Originals, 2011

“Stash and Smash” includes over 120 individual techniques, grouped into 19 categories, with a few step-by-step photos, where needed, and a simple overview for the creative prompts that are self-explanatory

“Stash and Smash”, published by Design Originals, 2011

I created by own Stash book with a few sheets of water-colour paper, a few sheets of scrapbooking paper and a pile of ephemera I had lying around.

“Stash and Smash”, published by Design Originals, 2011

Close up of a few pages:

“Stash and Smash”, published by Design Originals, 2011

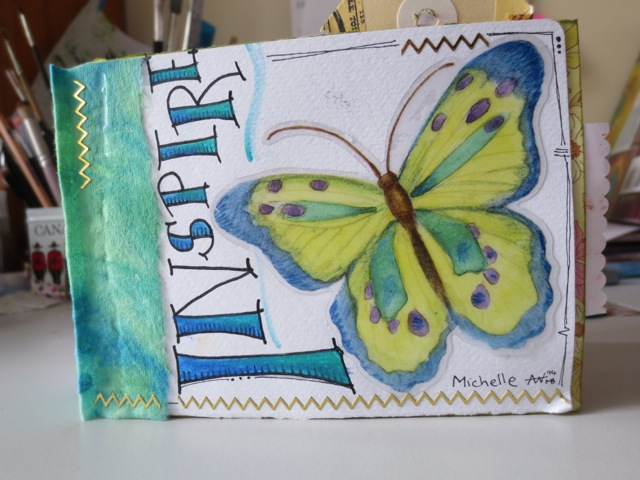
Cover with dried baby wipe, butterfly and doodling. Letters coloured with Derwent Inktense Block and gold sticker trim

“Stash and Smash”, published by Design Originals, 2011

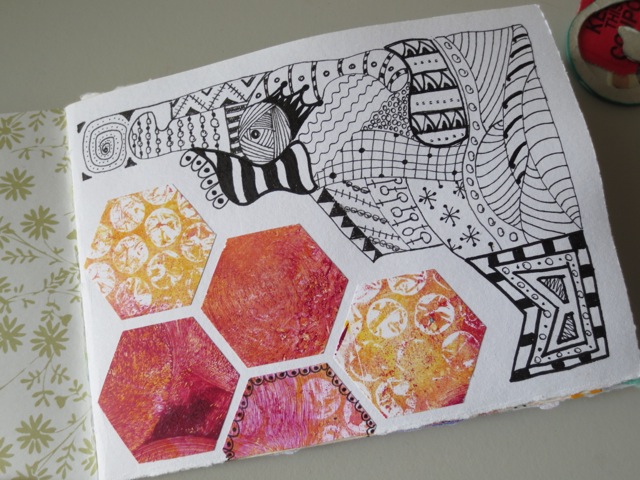
Punched out left over Gelli Prints with a touch of Zentangling

“Stash and Smash”, published by Design Originals, 2011

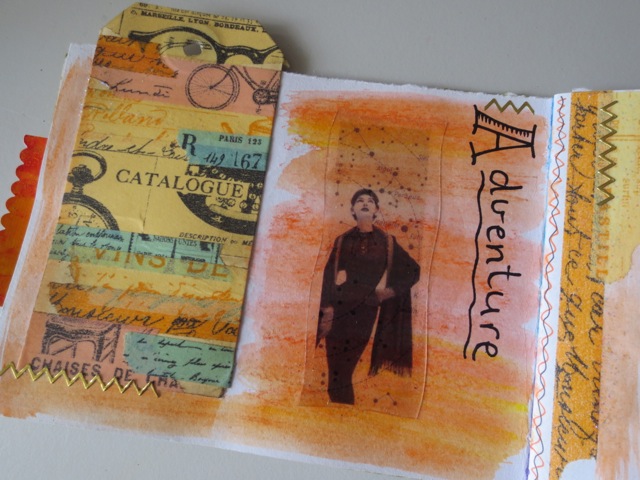
Tag covered with wash tape, background with Derwent Inktense Blocks, with slide transparency and gold sticker trim

“Stash and Smash”, published by Design Originals, 2011

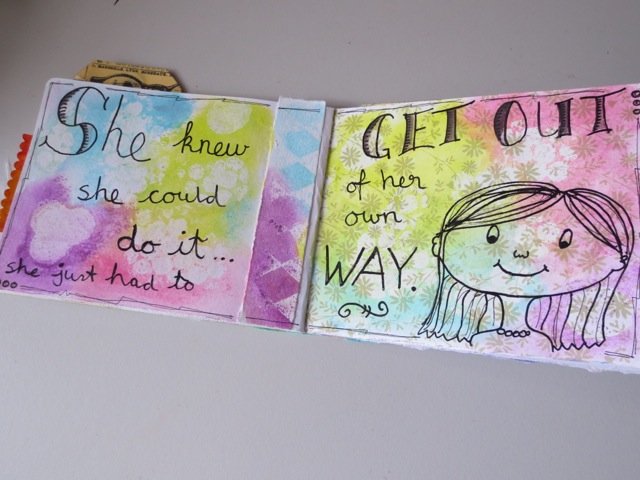
Background with Goosebumps resistance with Gelatoes and quote.

Overall, this is a fun and colourful book that definitely sparked my creativity!

You can see more of Cindy’s work at her blog – Cyndali

“Stash and Smash”, published by Design Originals, 2011

~*~*~*~*~*~*~*~*~*~*~*~*~*~*~*~*~*~*~*~*~*~*~*~*~

Michelle G. Brown is passionate about mixed media art and enjoys sharing her knowledge and techniques with you to allow you to express your own creativity. Michelle understands that many of us have an inner need to create. By learning a few basic techniques the amazing world of mixed media art is accessible to everyone!

Michelle lives with her husband and two boys in Melbourne, Australia.

~*~*~*~*~*~*~*~*~*~*~*~*~*~*~*~*~*~*~*~*~*~*~*~*~

Disclosure: This book was provided by Design Originals for the purpose of review. All opinions are that of the MixedMediaArt team. The links on this page are affiliate links and any purchases help to support the ongoing work by MixedMediaArt.
.

.

Making Mixed Media Mini Books

~ * ~

This article is written by Laura Shelton Thykeson

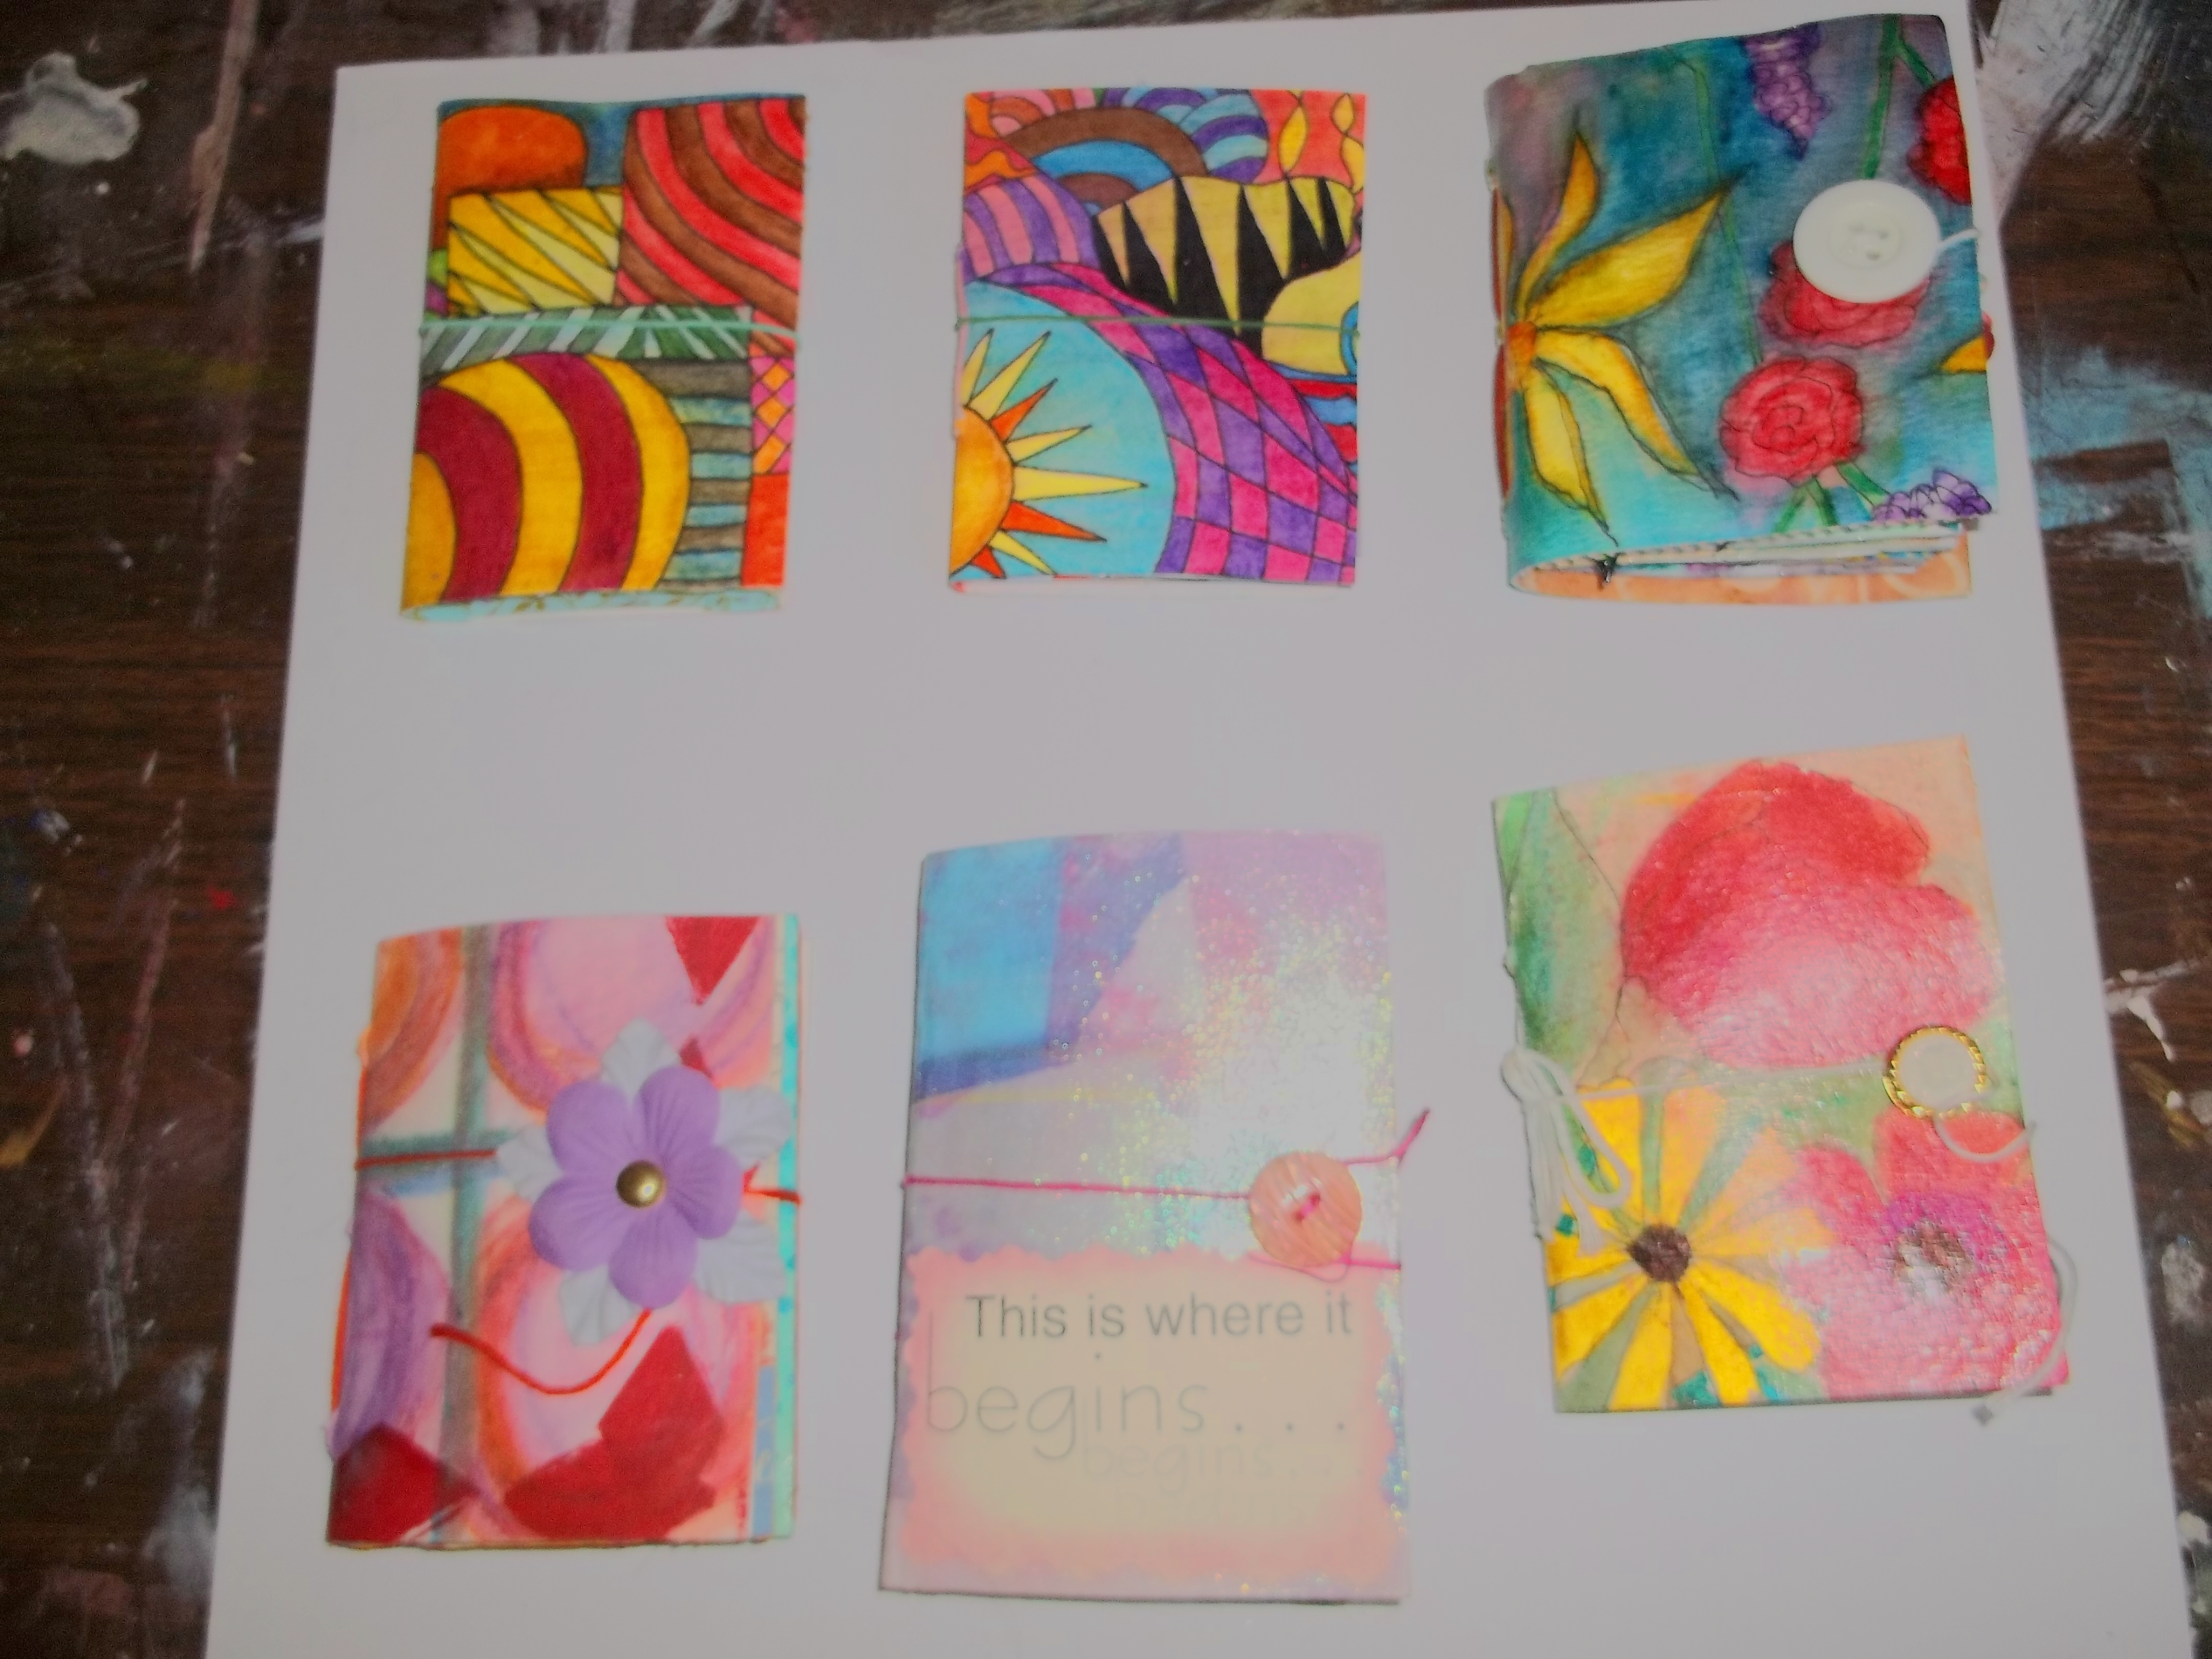
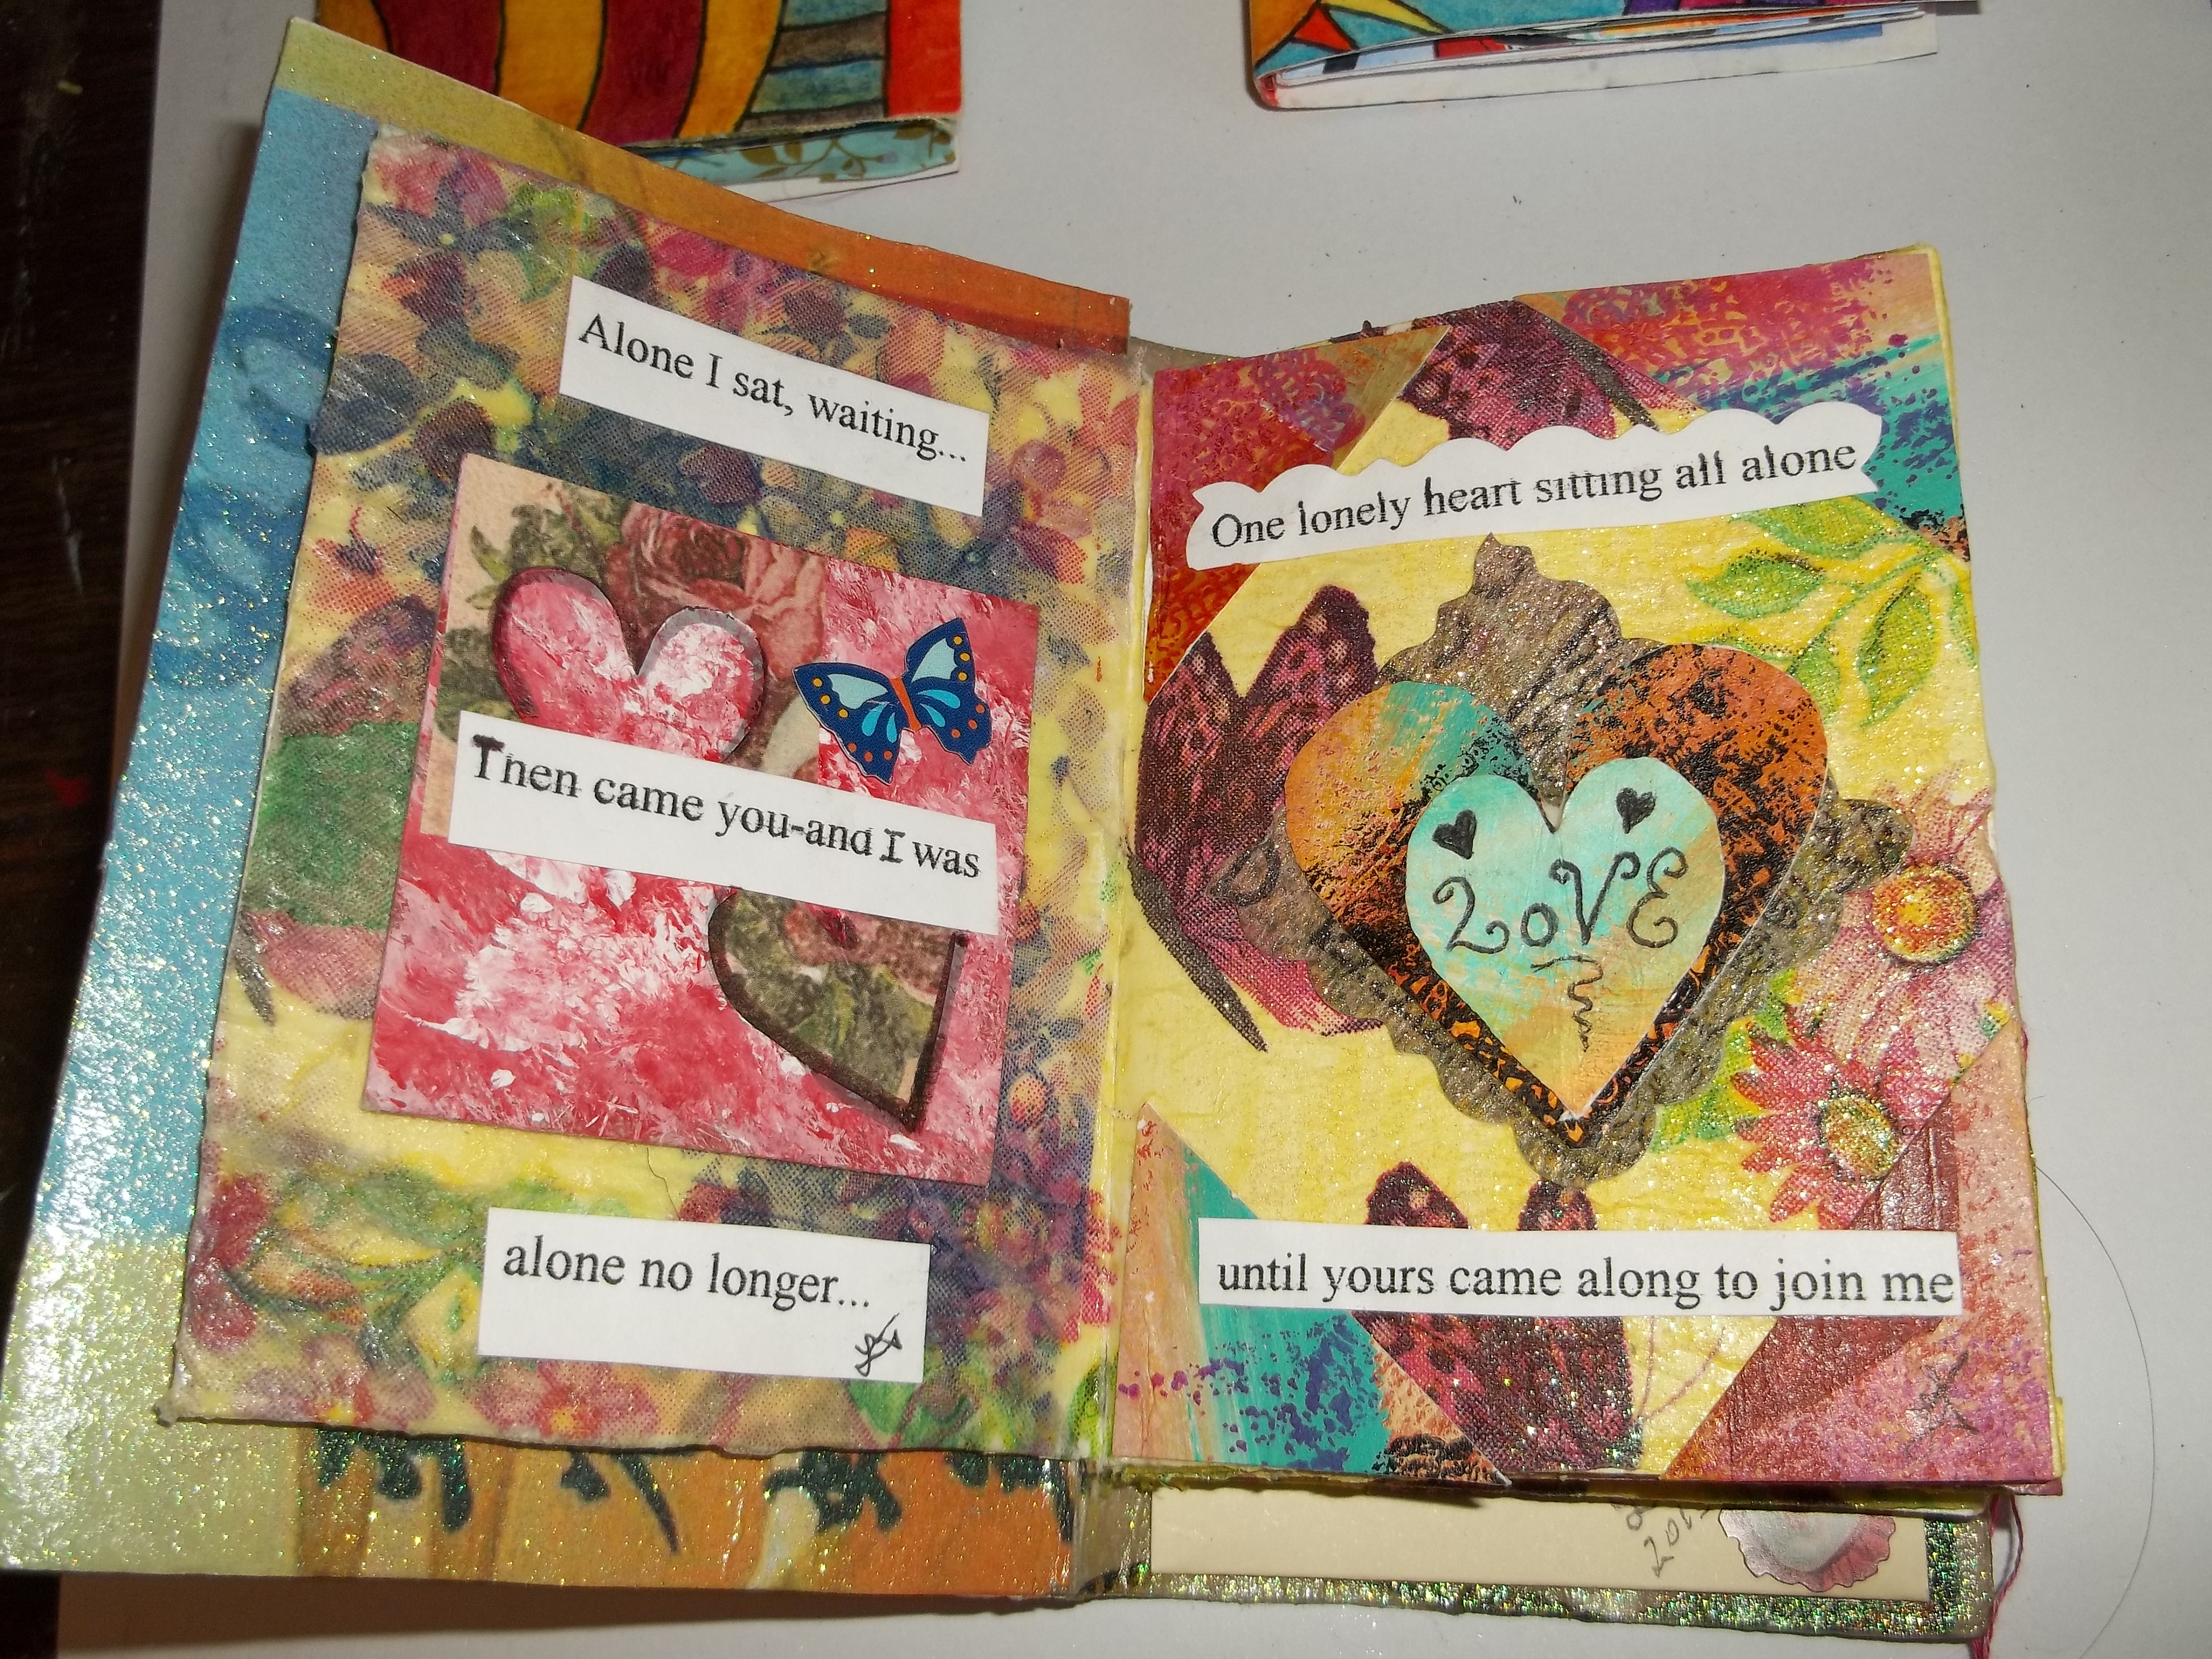
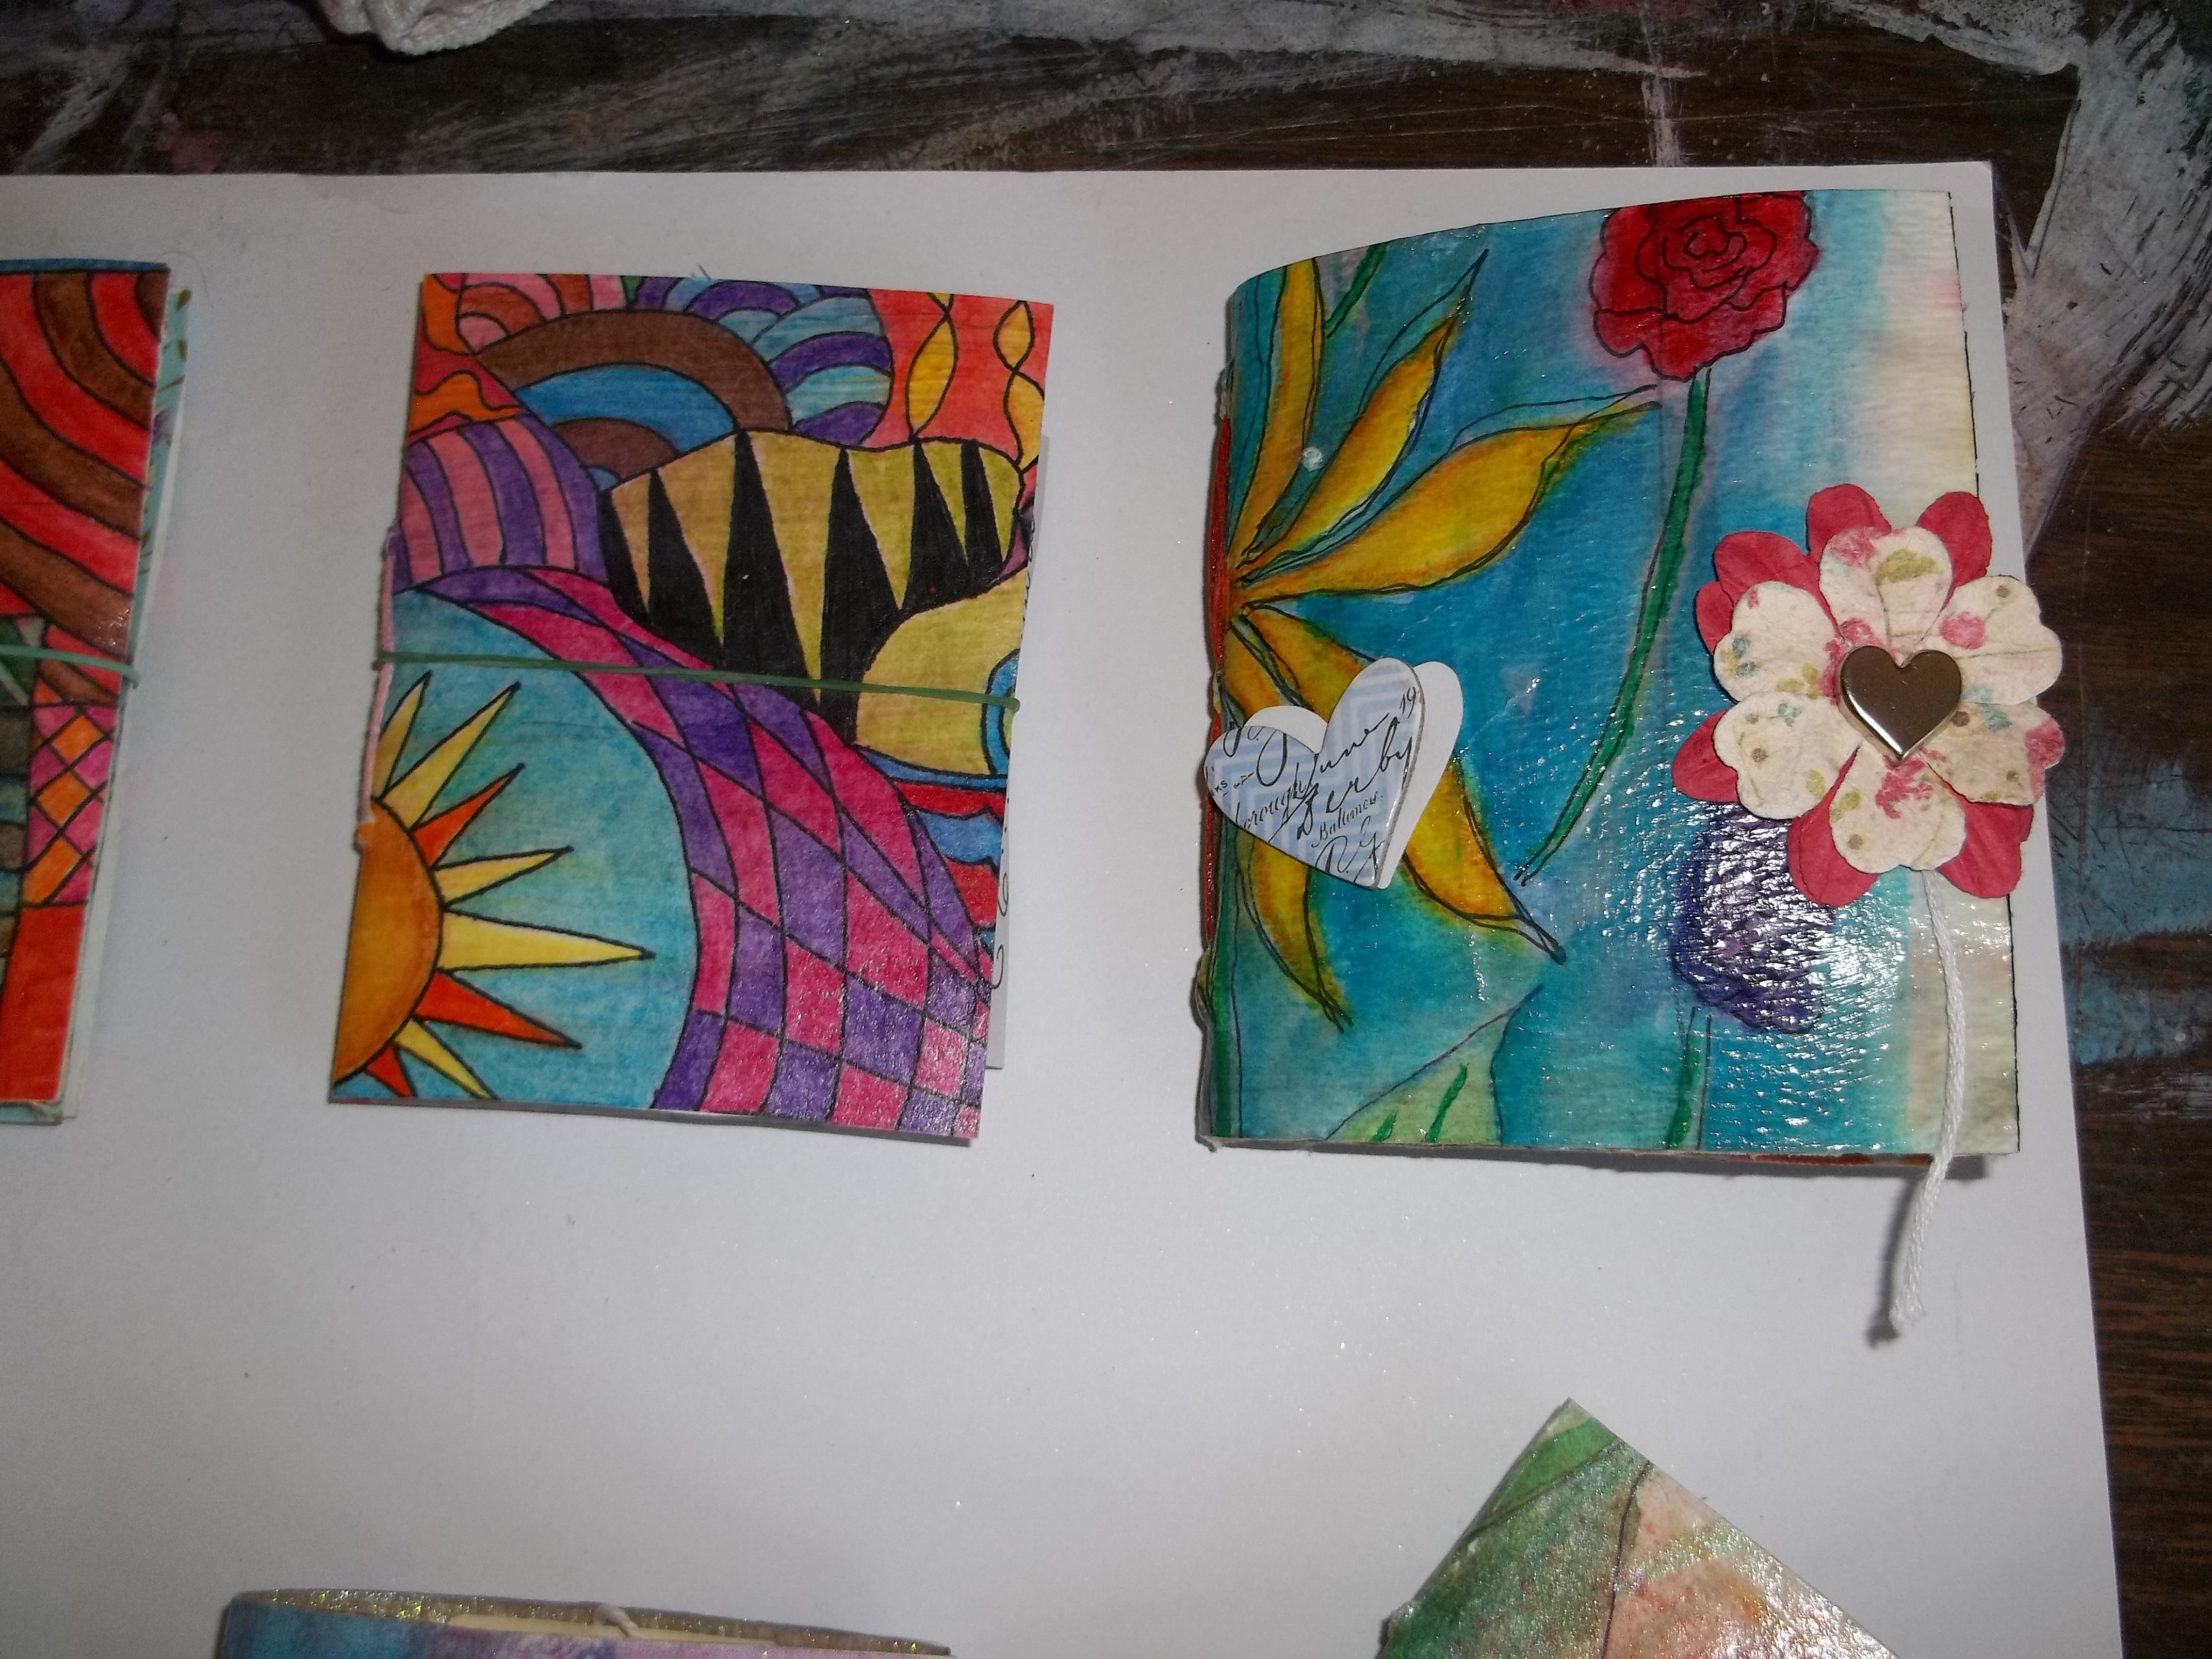
I just love everything about books, and when I started making these mini books, or as I call them, my “Teeny Tiny Books”, I absolutely got hooked on them!

handmade books with mixed media art

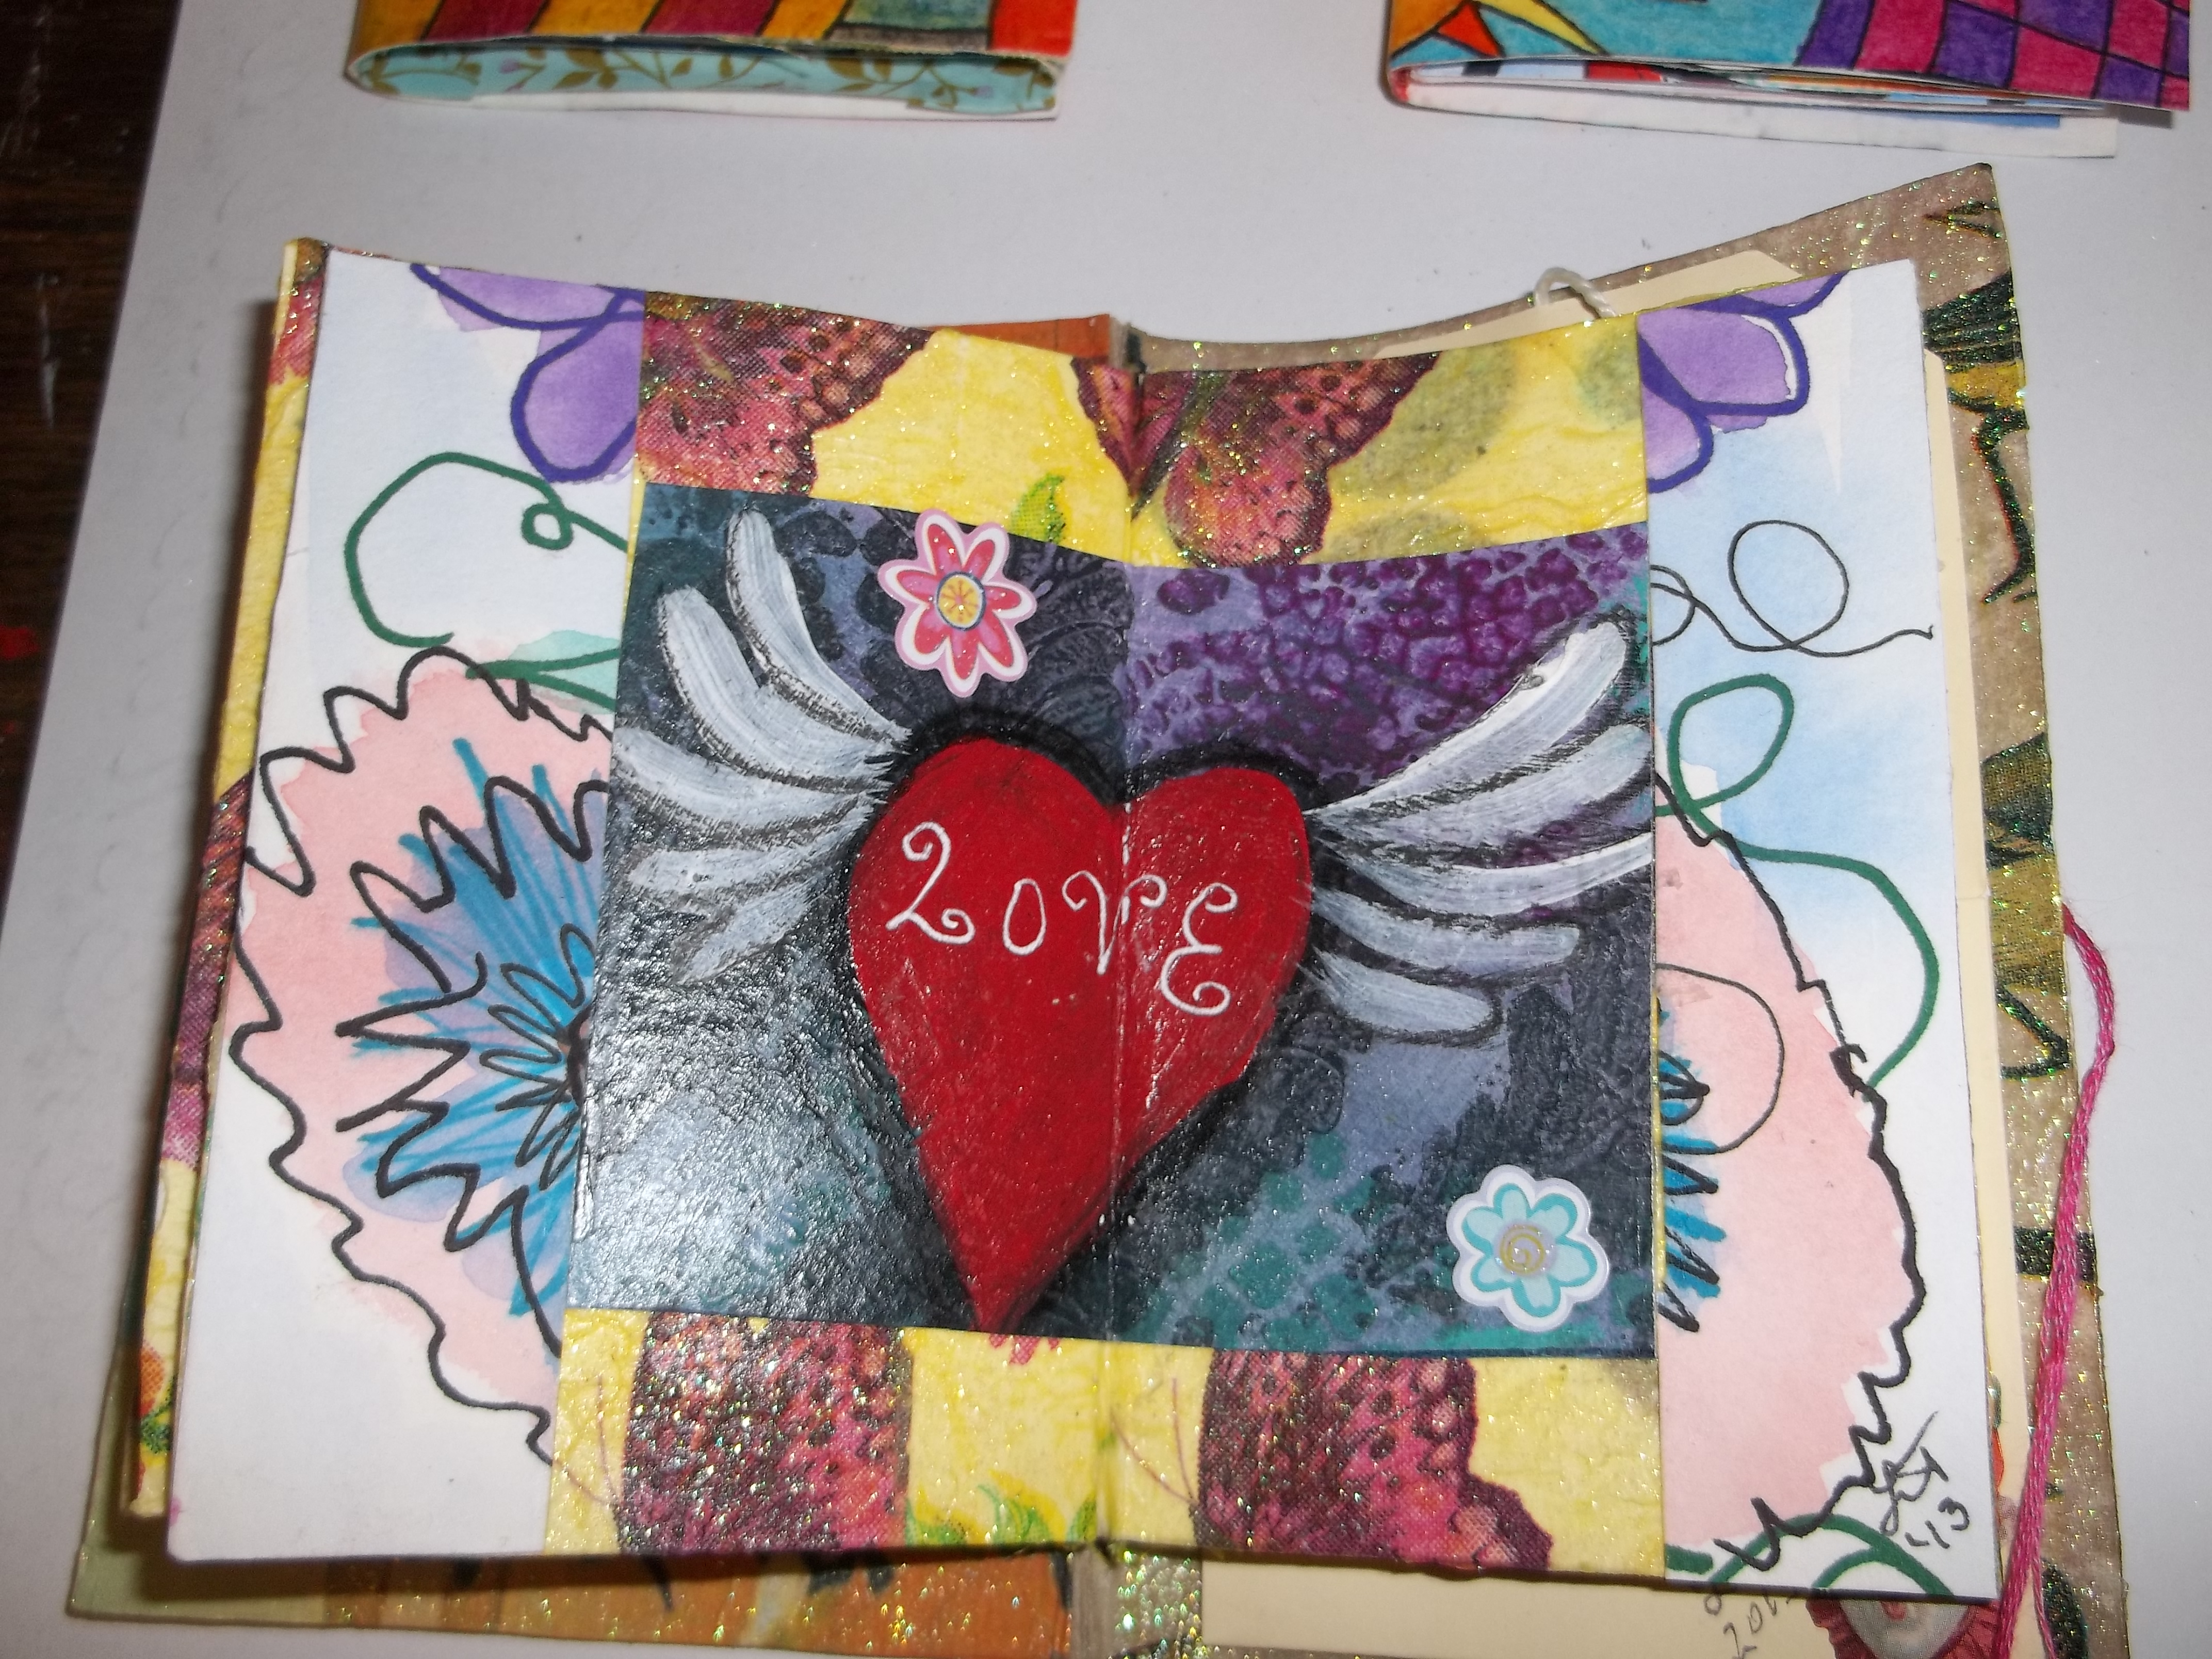
I love working in such small detail, and some of my books have only measured 1” x 1”. But, I usually enjoy working with a 4 x 6” piece of cardstock or recycled watercolor paper art for making the cover, and then add a signature of 5 pieces of folded paper on the inside for the pages I am going to embellish. I usually sew the spines using colorful embroidery thread, but if the book is small enough, I sometimes also just staple them together in the fold.

handmade books with mixed media art

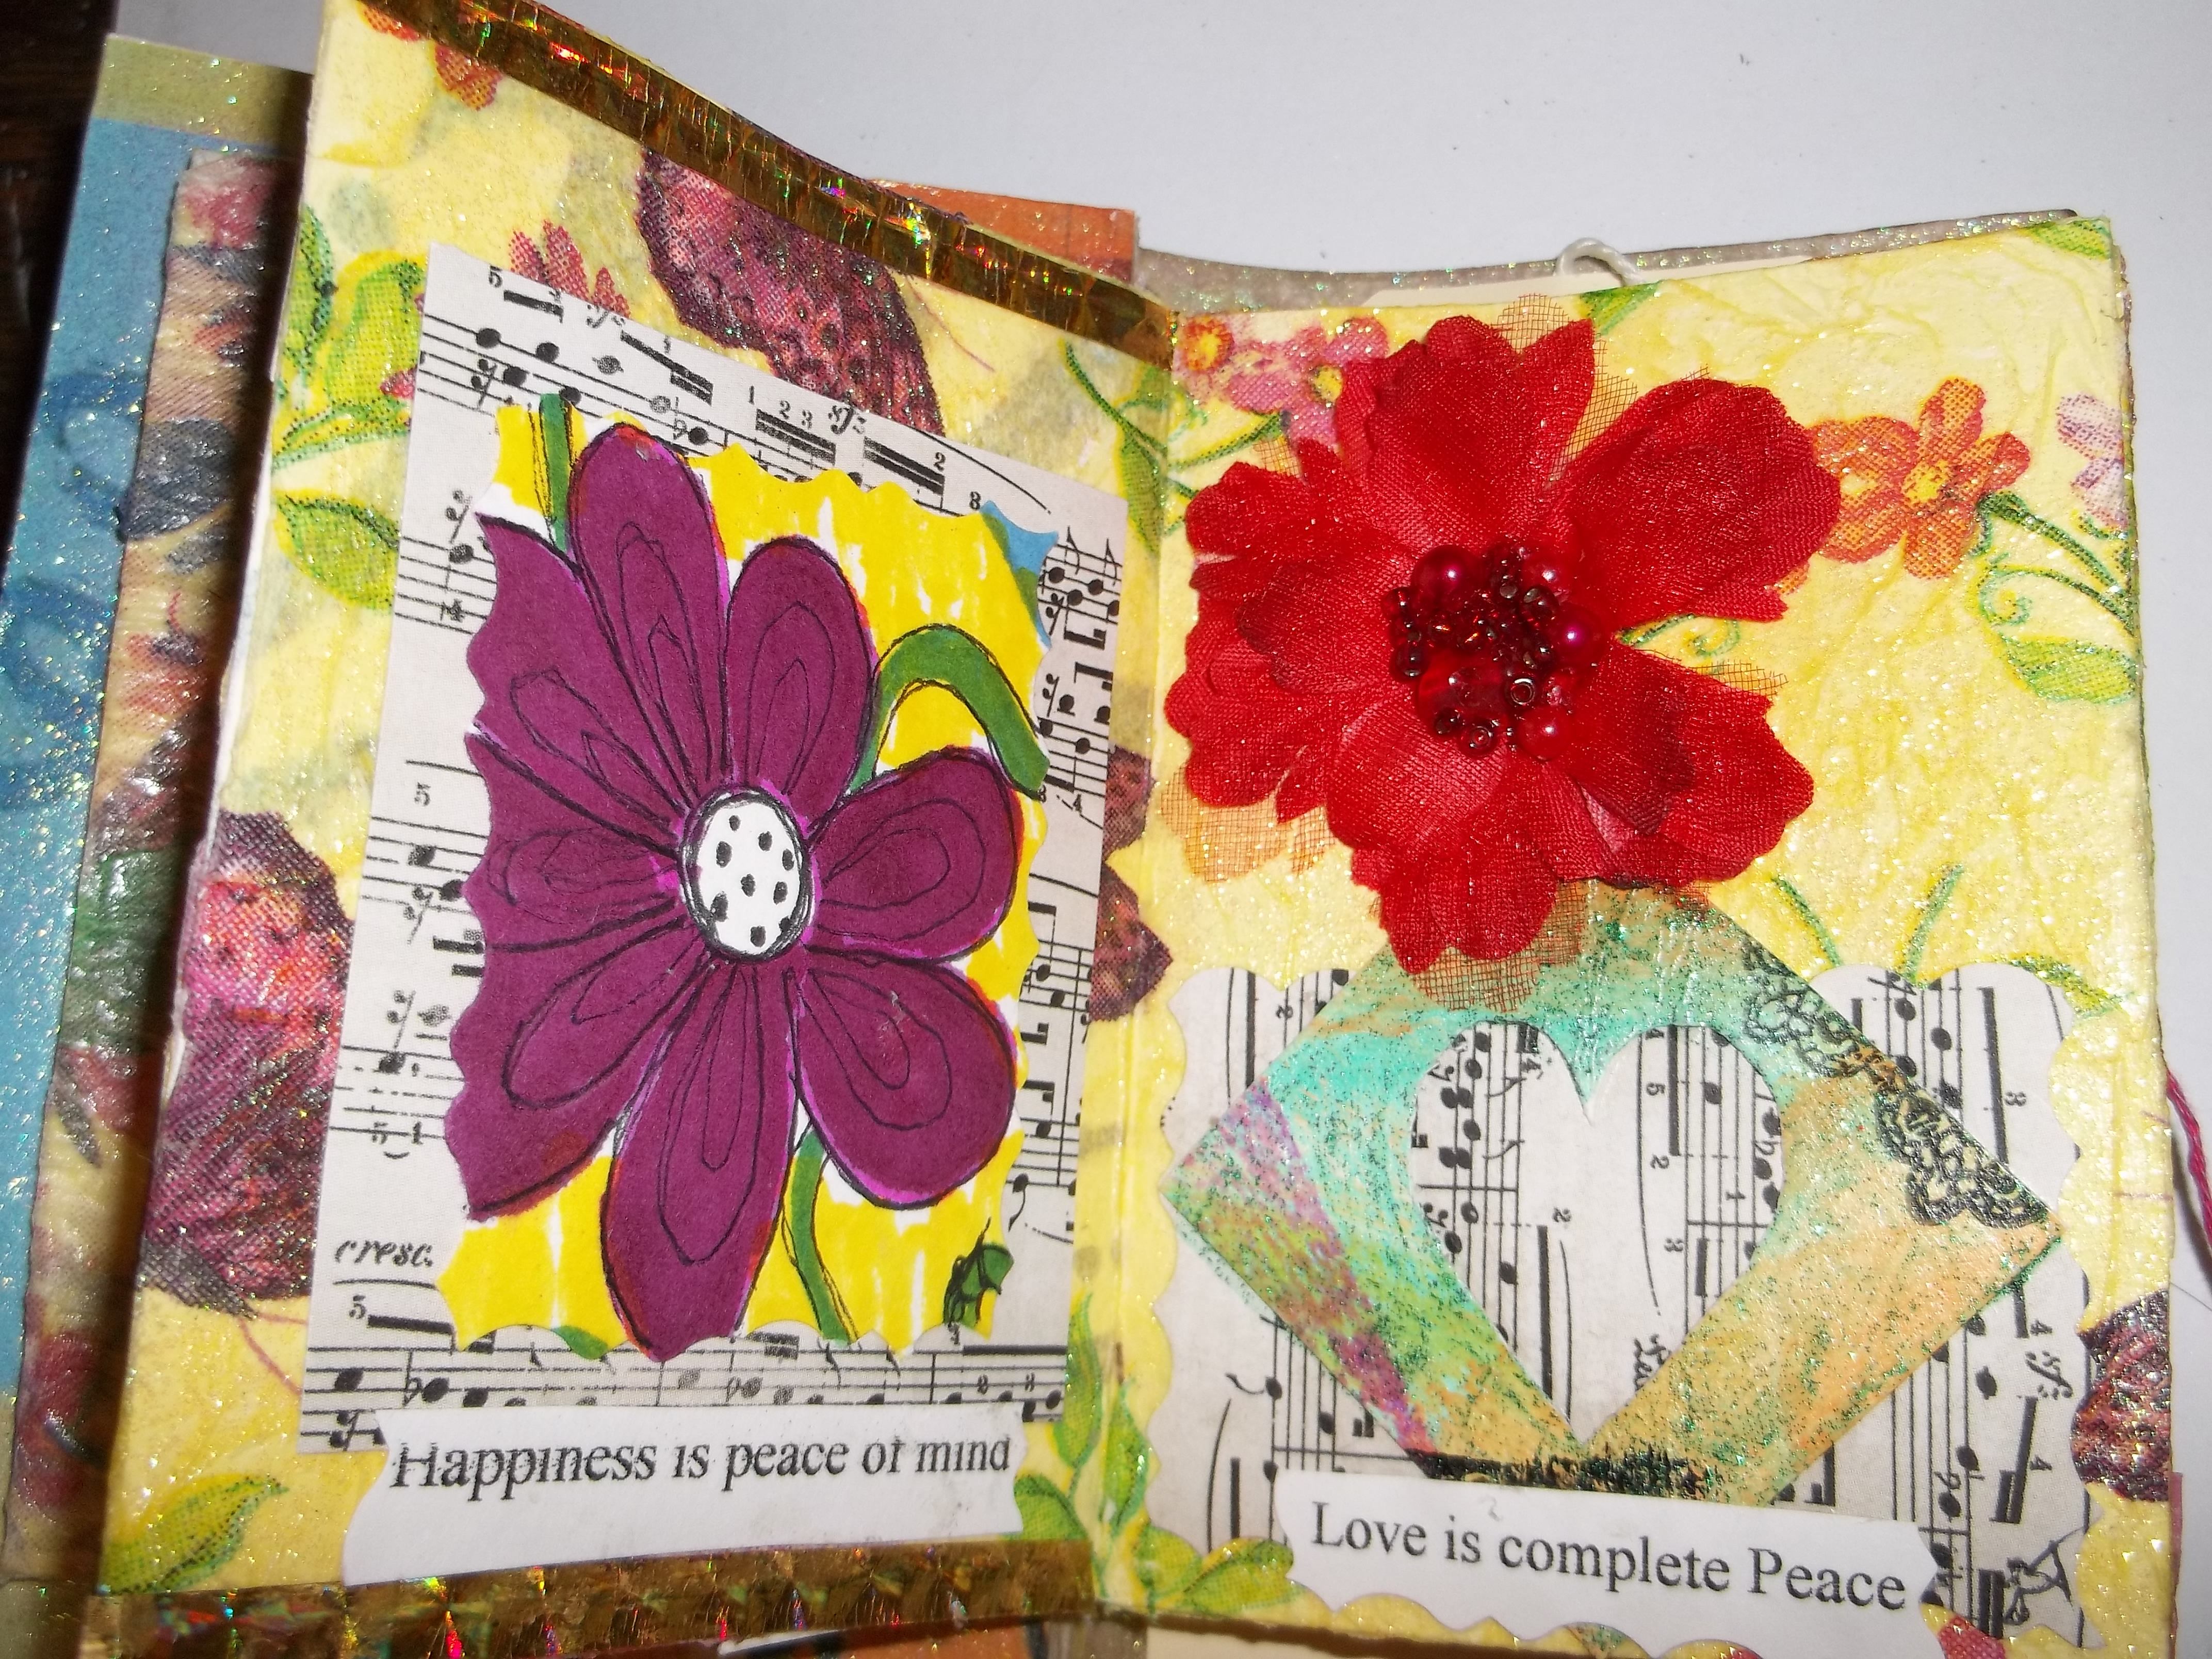
I really love embellishing the pages in these little books, and often give them to others as little gifts. They are great tucked into a card, or tied to a tag on a present, and gives the new owner a wonderful collection of designs and textures and even some of your own poetry, etc. on each page that you made just for them! These little books are also fantastic for using bits and pieces of your recycled art, tiny pieces from old journal pages, lace and fabrics, buttons, brads, anything you can think of.

handmade books with mixed media art

When I am finished embellishing, I usually coat each page with a clear gloss varnish that helps to protect and seal the pages. I just use an inexpensive acrylic varnish made by Sargent, and it works just fine. Just put a nice thicker coat on and let the pages dry completely before you close the book. One other trick I use is to use just a dab of Turtle Wax (yes for cars, lol) and buff the pages, which helps to keep them from sticking together.

handmade books with mixed media art

If you love books, and like working in miniature, these are a great project for both adults and kids!

handmade books with mixed media art

~*~*~*~*~*~*~*~*~*~*~*~*~*~*~*~*~*~*~*~*~*~*~*~*~

Laura Thykeson has been totally immersed in mixed media art for many years. She discovered altered books and art journals about a year ago and have been hooked ever since! She has always loved mixed media art because of the variety and the “no rules” aspect! Laura lives in Granbury, Texas USA.

You can see more of Laura’s work at Taz’s Corner

~*~*~*~*~*~*~*~*~*~*~*~*~*~*~*~*~*~*~*~*~*~*~*~*~

.

.

Graffiti Charm Bracelet

This article was written by Martice Smith II

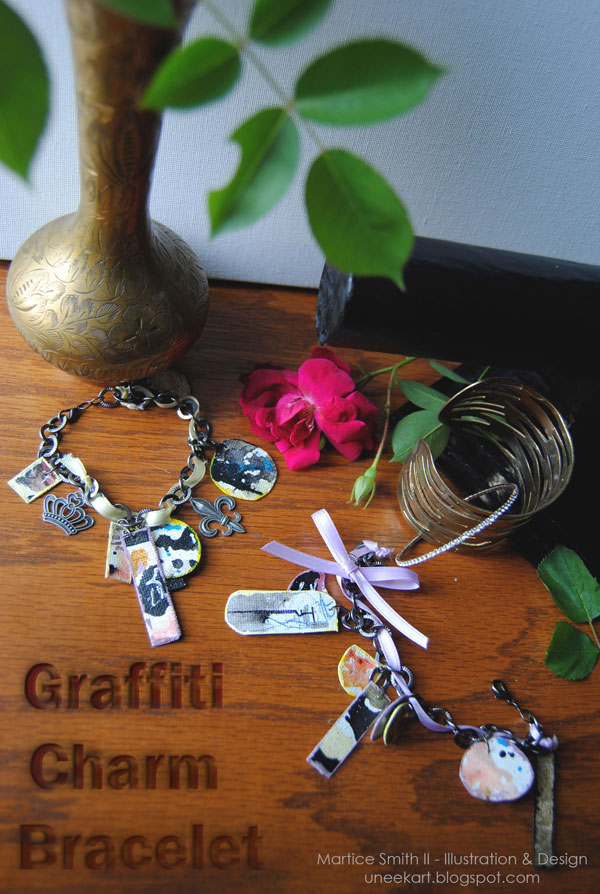
Martice Smith II demonstrates how to make graffiti charm bracelets ATC canvas sheets

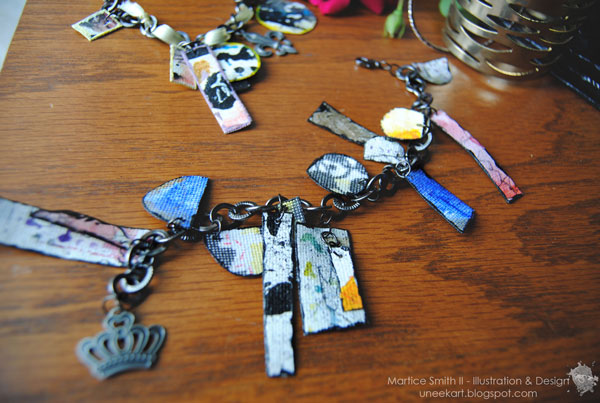
Lately, I’ve been experimenting with creative ways to incorporate more color into my wardrobe and accessories. I shopped around my local art store’s jewelry section and I had a serendipitous moment: why not transform my art into ‘wearable art’? I grabbed up some fun-sized, canvas ATCs and some basic jewelry making supplies and imagined infusing them with my own, signature style…vibrant splashes of color and of course, graffiti flair!

Simply put, this tutorial is the perfect way to show off your artistic side when you’re on the go! I’m sure your Graffiti Charm Bracelet will serve as a unique statement piece and will strike up a conversation in no time…let’s get started!

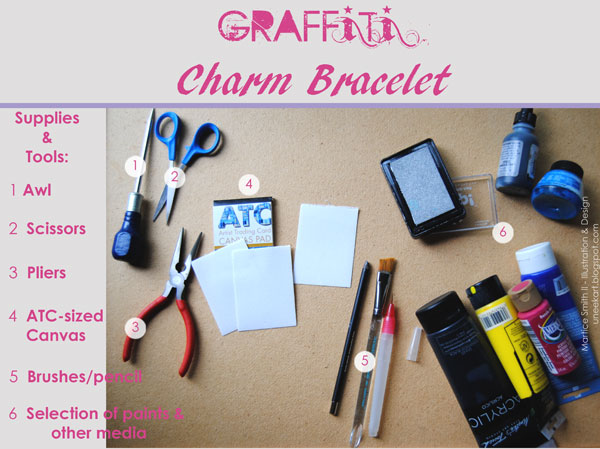
Gather supplies and tools of your choice

Gather supplies and tools of your choice.

Note: ATC Canvas sheets measure 2.5 inches by 3.5 inches

**Not pictured: 12″ chain ; makes approx. 2 chains

Jump rings; start with 10-15 pieces

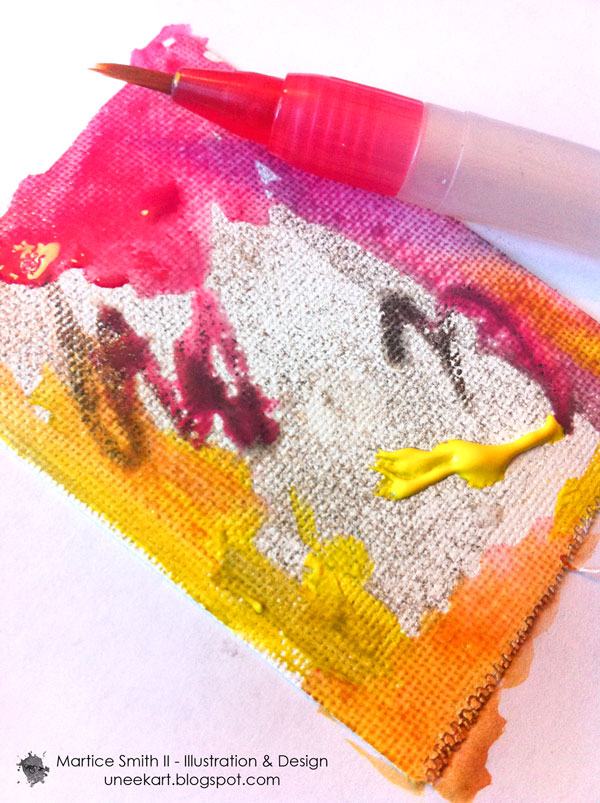
Paint and draw on the ATC canvas

1. Paint the front and back of the canvas ATCs with your favorite media.

Set aside to dry.

TIP: If you used any water-soluble media, make sure to varnish!

These canvas ATCs will be very light. For my bracelet, I glued two sheets together for a little more sturdiness.

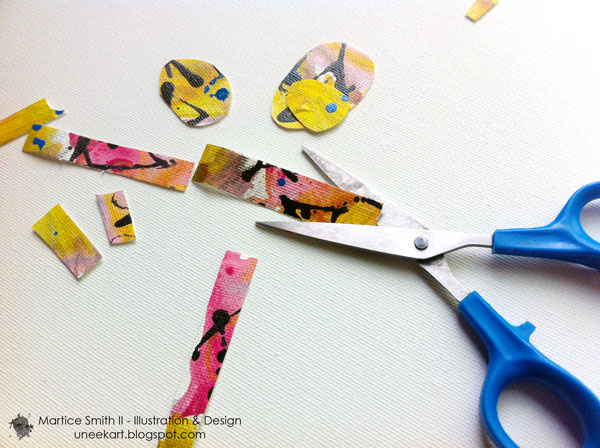
Cut the ATC canvas into different shapes

2. Cut canvas into pieces.

Narrow shapes, squares, ovals, and irregular shapes will add more interest and variety to your design. These will be our “charms”.

Feel free to add extra layers of handwriting to some of the charms.

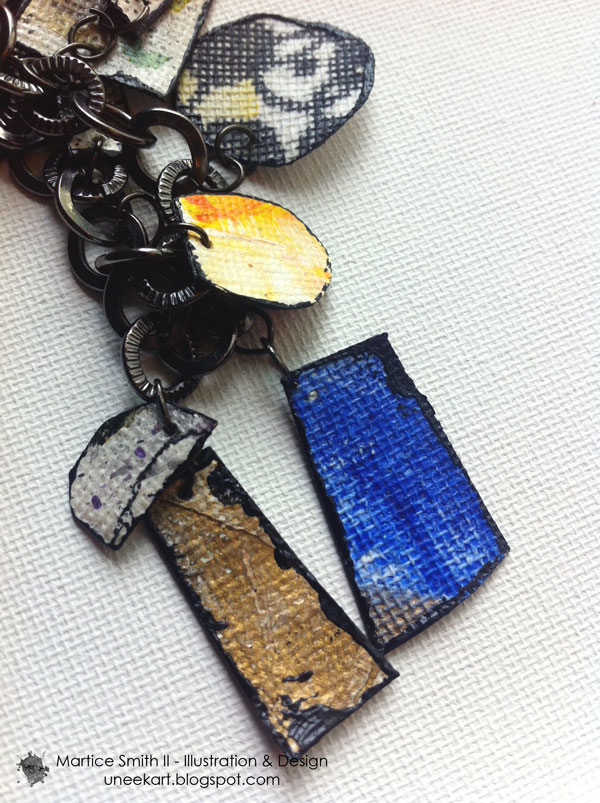
Paint the edges with black acrylic paint

3. Seal the edges with black acrylic paint or a gold leafing pen.

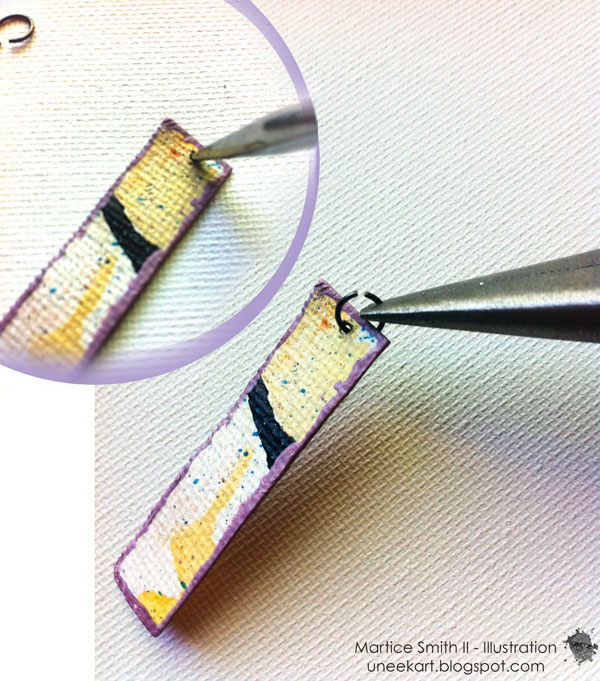
Pierce and attach jump rings

4. Using an awl, pierce through each piece of canvas, 1/4″ from the edge.

5. Insert jump rings.

Use needle-nose pliers to slowly open the jump rings.

Attach a jump ring through each of the holes in the cut out canvas pieces, using the pliers.

TIP: Try layering several pieces of canvas shapes together.

Also, think about pairing up a few complementary colors to give your bracelet’s color palette more contrast.

6. Measure around your wrist with a flexible tape measure or a piece of string, add 3/4″ to that measurement, and then cut the chain to that length.

Next, take your chain and attach the jump rings, however you wish.

I found that skipping every other link accommodated the number of canvas pieces I had without being too overwhelming.

7. Finally, attach a small lobster clasp closure to finish the graffiti charm bracelet.

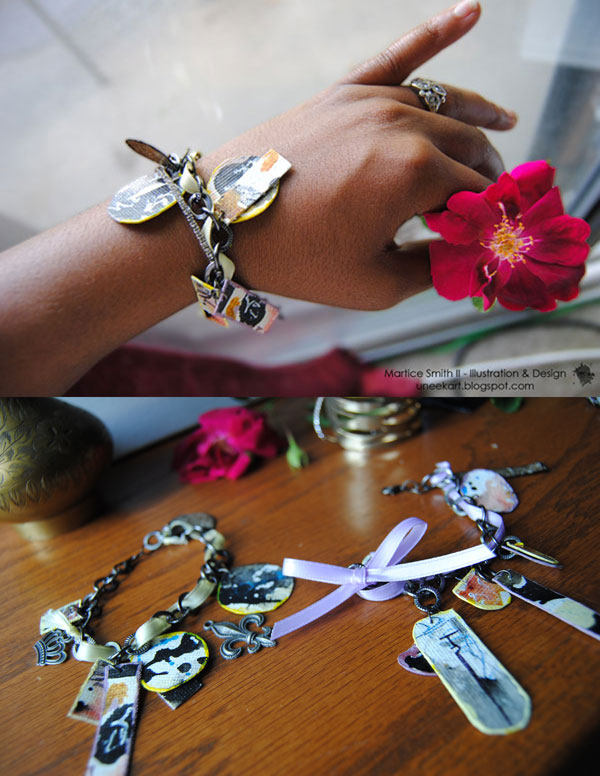
Here's the finished graffiti charm bracelet!

Other variations to try:

More variety- Add ribbon

For a more feminine look, weave a silk ribbon through every other link in the chain. Secure ends with a double knot.

I rarely throw away leftover paper or fabric scraps from my previous projects. To clear the stash, I could also glue those bits onto the ATC canvas, before cutting. Got washi tape scraps? Use them for this project, too- they’d be perfect!

Have fun and don’t be shy to strut your beautiful artwork!

~*~*~*~*~*~*~*~*~*~*~*~*~*~*~*~*~*~*~*~*~*~*~*~*~

Author bio:

Mixed-media illustrator and designer Martice Smith II

Martice Smith II is creative director of Martice Smith II – Illustration & Design Studio, based in Kansas City, Missouri and owner of Uneek Art Boutique. She established herself as a freelance Illustrator and graphic designer after receiving her Bachelor of Arts Degree.

Martice also contributes as an article writer for the Creating Mixed Media Art website.

You can see more of her work via her Facebook page or her blog. She invites you to join her monthly newsletter, Uneek Art Letter, for art biz tips, advice and free digital goodies!


.

.