Michelle G Brown | Mixed Media Art

Journal Pages for Dummies

~ * ~

This article was written by Vicki Ross

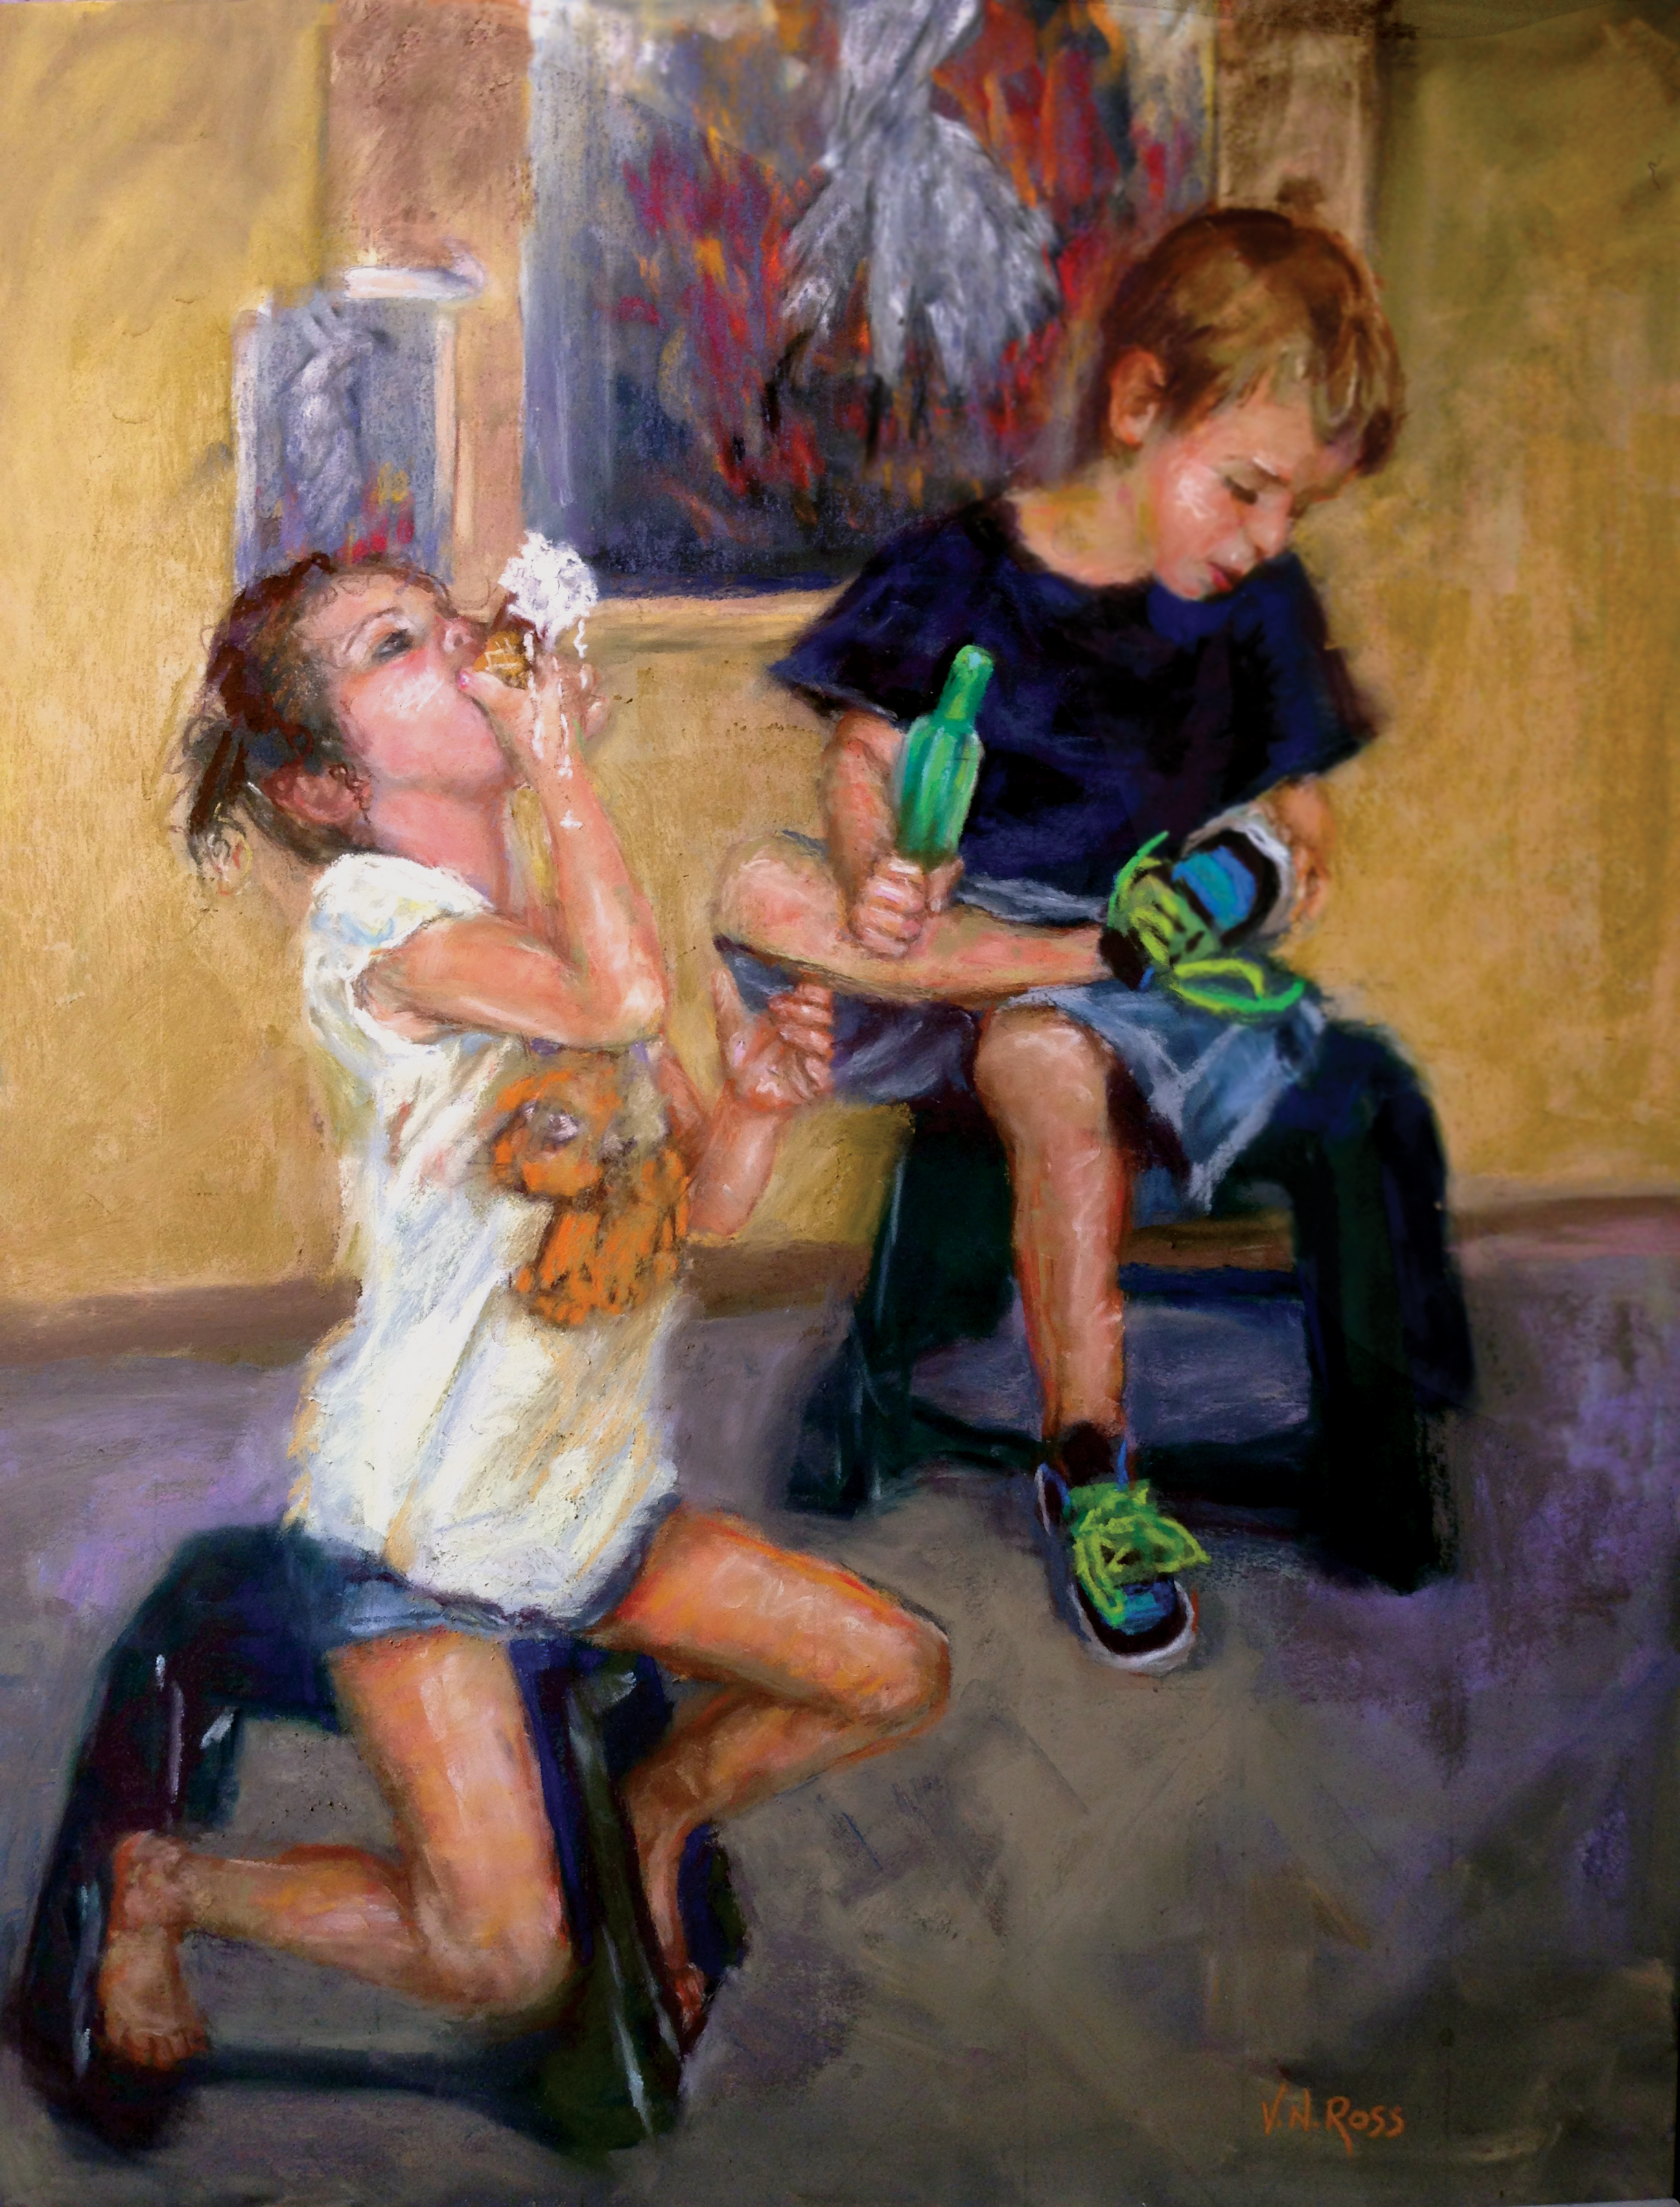
I have achieved some abilities in fine art. I know which end of a brush to use, the quality differences of pigments, softness of pastel brands, how to mix oils…and apply any medium with some success…most of the time. This is the original portrait of Natalie and Blake, more interested in their ice cream and new shoes than what I was doing. The Phoenix painting in the back was a family project that everyone worked on and signed. Their great-grandmother initiated it and supplied the ice cream. Pastel, © V.N.Ross
Journal Dummies

Mixed Media and all the products available for the craft and scrapper market are somewhat familiar to me because I am a child of the 70’s. (ok, 60’s-ish.) I have officially crossed back over! Not regressing back to macaroni on cigar boxes, but I’m learning how to meld new products into my fine art, and having a bit of fun on the way. Didn’t expect the learning curve to be quite what it is, though. Never do.

The subject of this article is about how many ways you can screw up a project and still come out OK in the end. Key take-away is to not give up. Most of these things never turn out like you plan, especially when working with strange new products. Even old traditional media don’t behave exactly like you want and plan, that is why the Muse has to be involved for problem-solving. Same Muse, different project!

Materials:

  • Journal
  • A frame pattern
  • pictures
  • cardstock for frame
  • Golden Matte Medium
  • Foam Brush
  • Silver embossing powder
  • Silver Marker
  • White charcoal pencil
  • Workable Fixative (I used Winsor&Newton)
  • Heat Gun

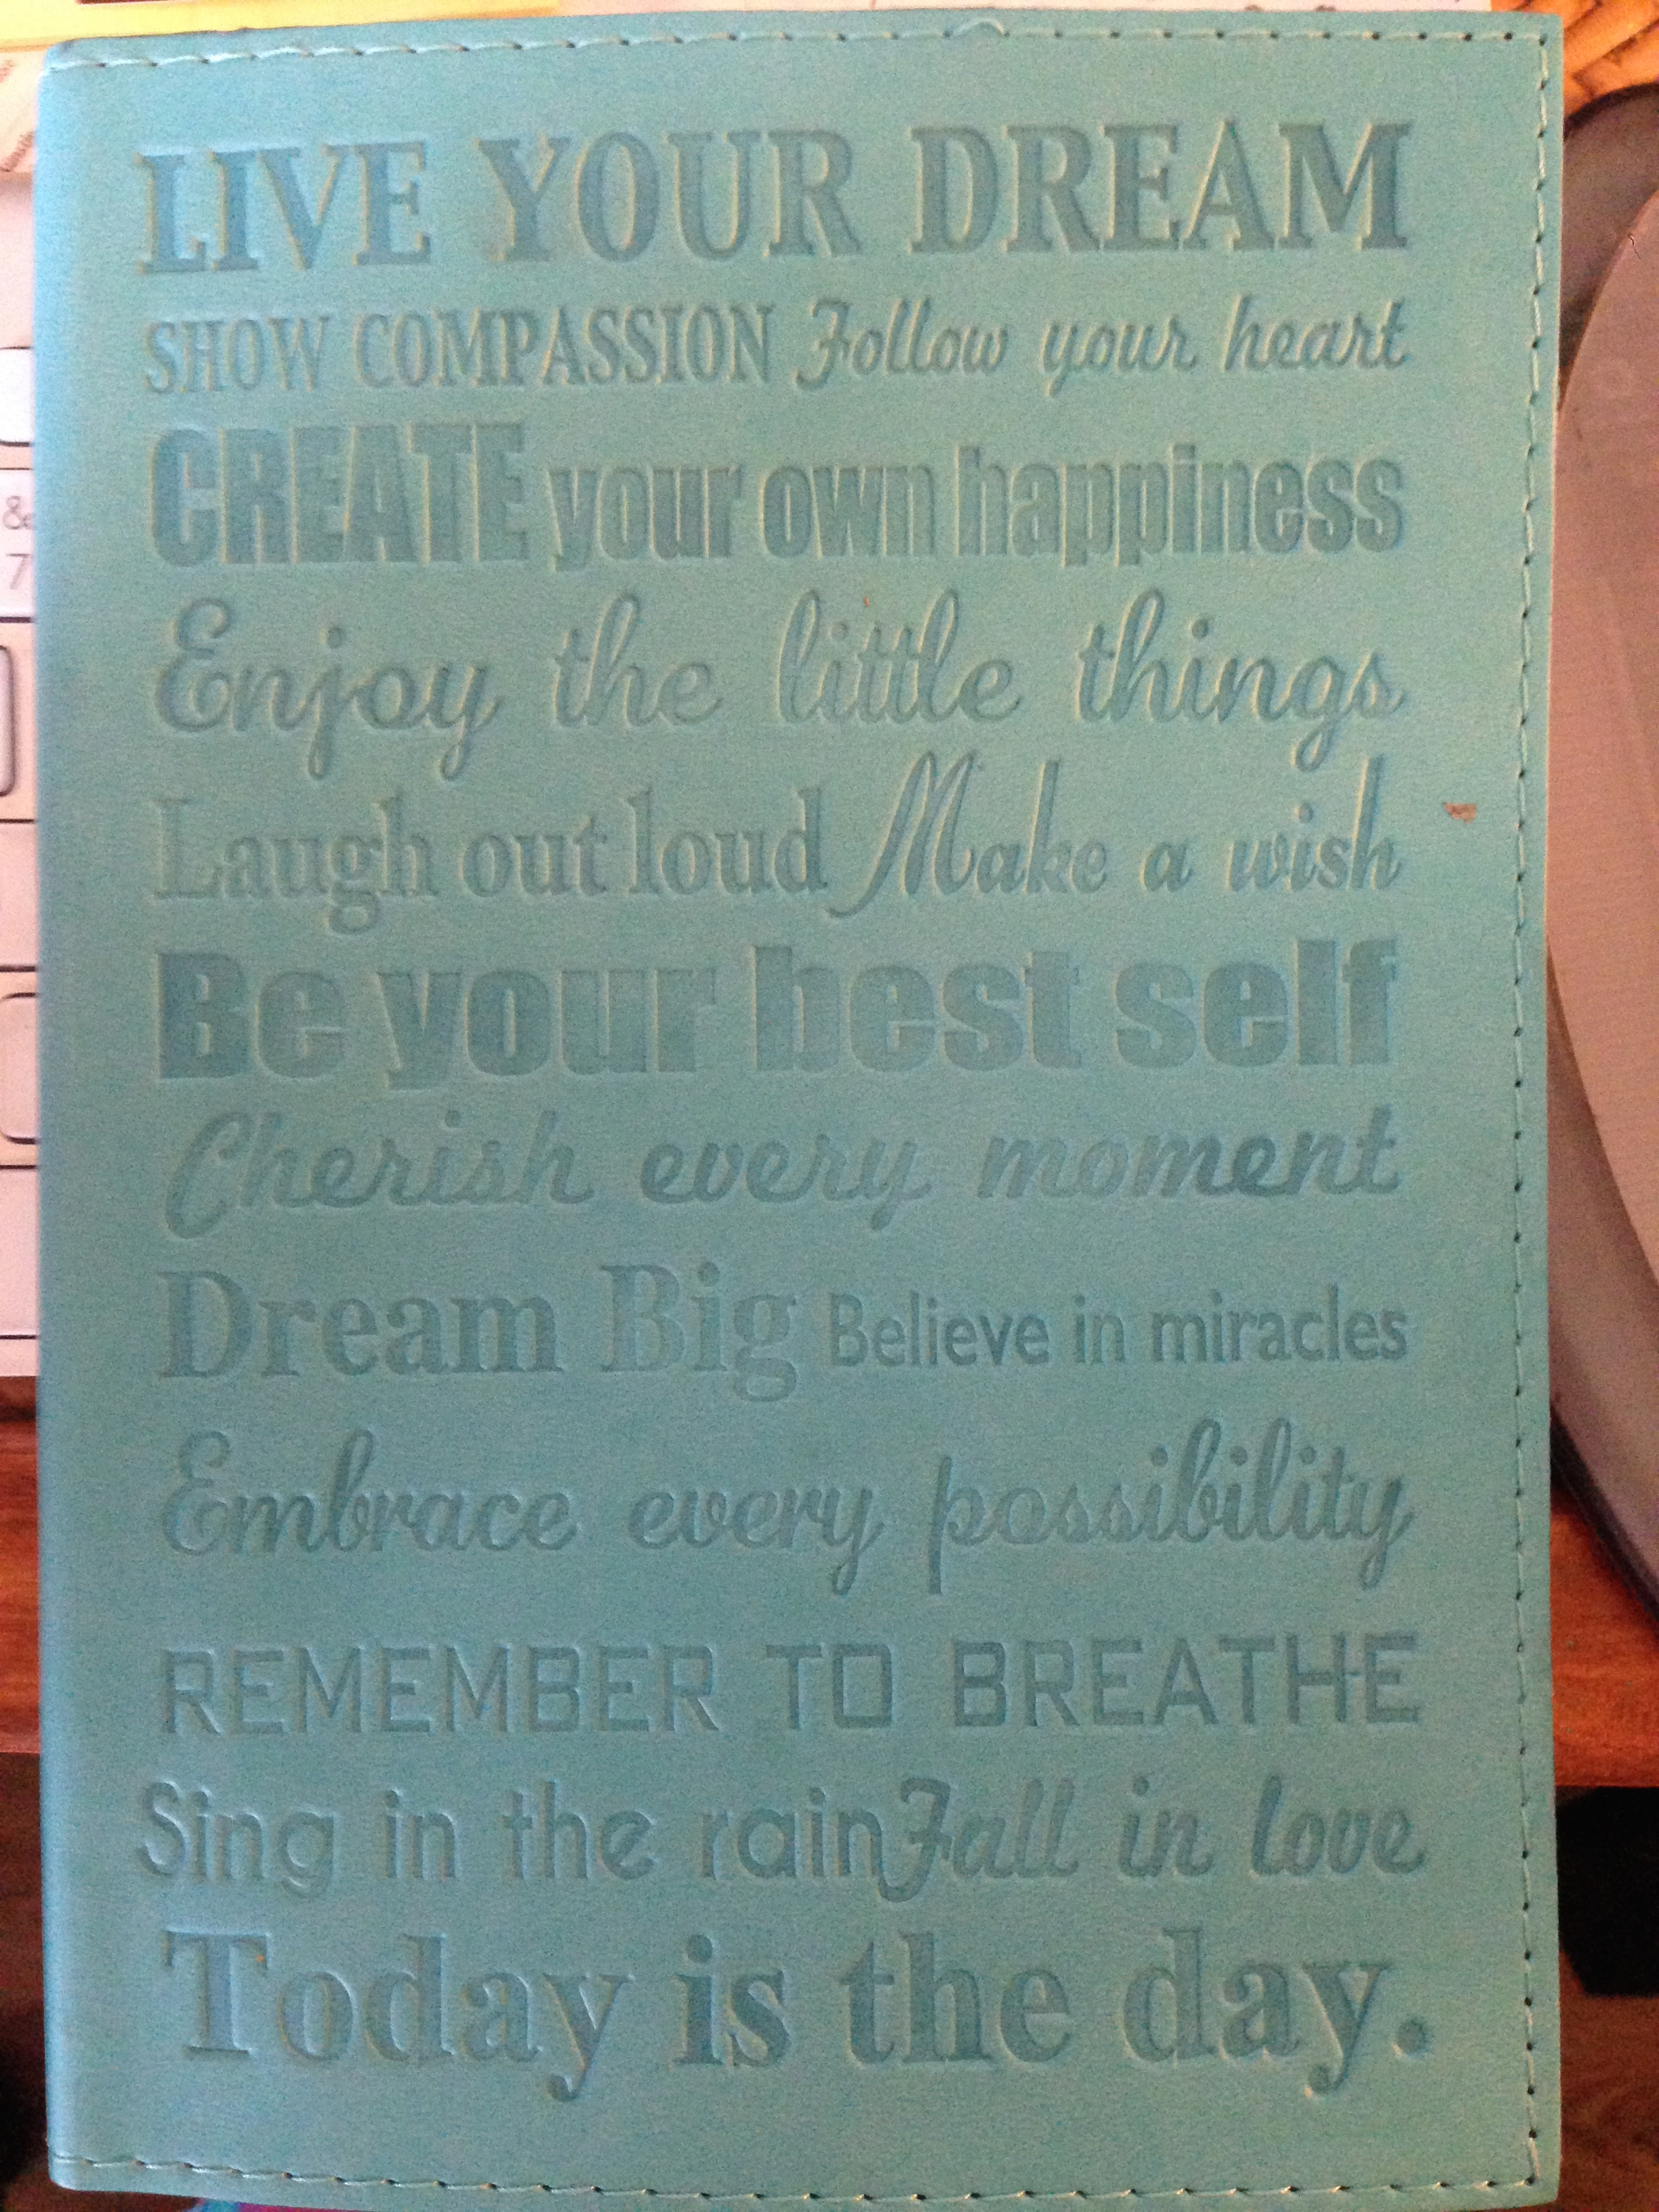
The painting of Natalie and Blake started this project, and would make a neat personalization for a writing journal for their mom, Jennifer. This is how most of my little ideas turn into BIG ones. Just a tiny idea. The Journal I picked out of my stash had a great cover…too nice to cover up (I seem to collect these with the best intentions of using them, but am reluctant to “mess them up”). BUT, the inside cover and fly sheet would provide a nice canvas. I found a photo for the other side.
Journal Dummies

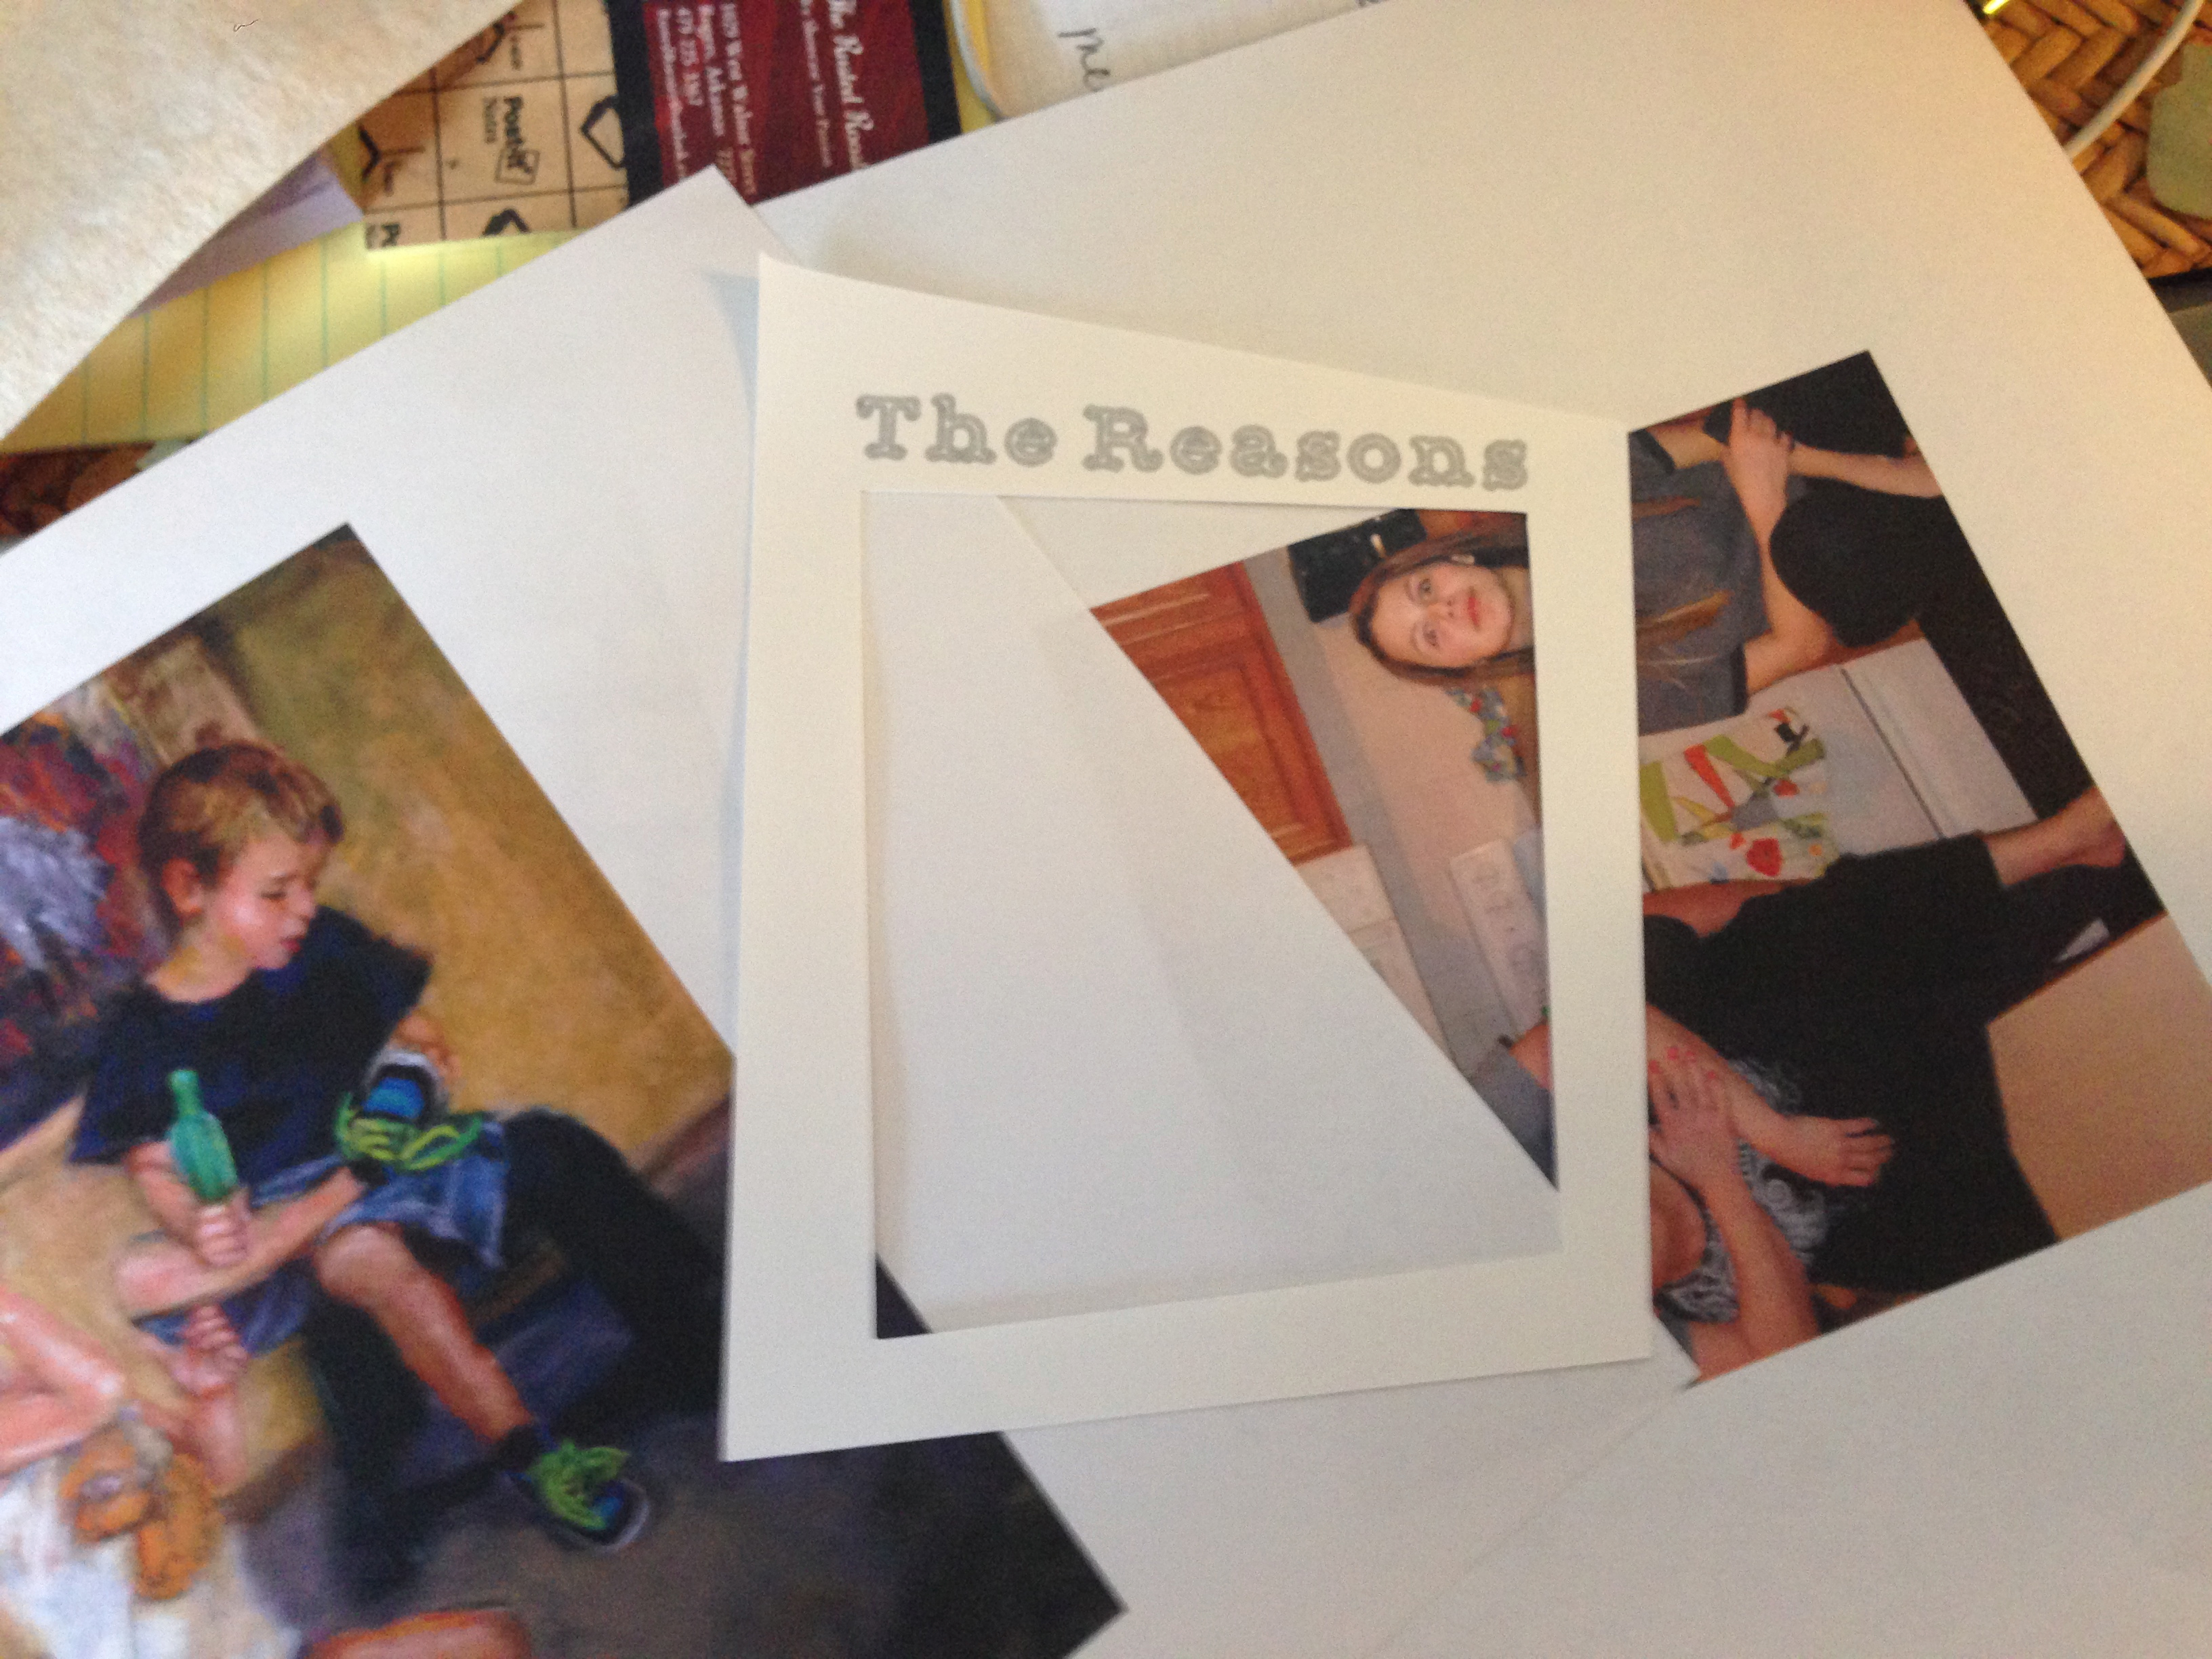
Made several attempts to cut the frames until I got them at just the right size for the book, and laser prints of the images. Must have cut, edited, re-cut, printed, trimmed 6 or 7 sets to finally figure out the Explore quirks and my lack of experience with it.
Journal Dummies

Found a wonderful piece of black cardstock from an advertising book. The Explore barely cut through it…must have had a plasticizer coating or something, and might have been better had I set it to cut several times or had a deep-cut housing. Oh well, an exacto knife is like an extra appendage for me…so I finished the cuts by hand.

Everything fit! Used a wee bit of scotch tape to hold in place, then put the project up a day to “percolate”.

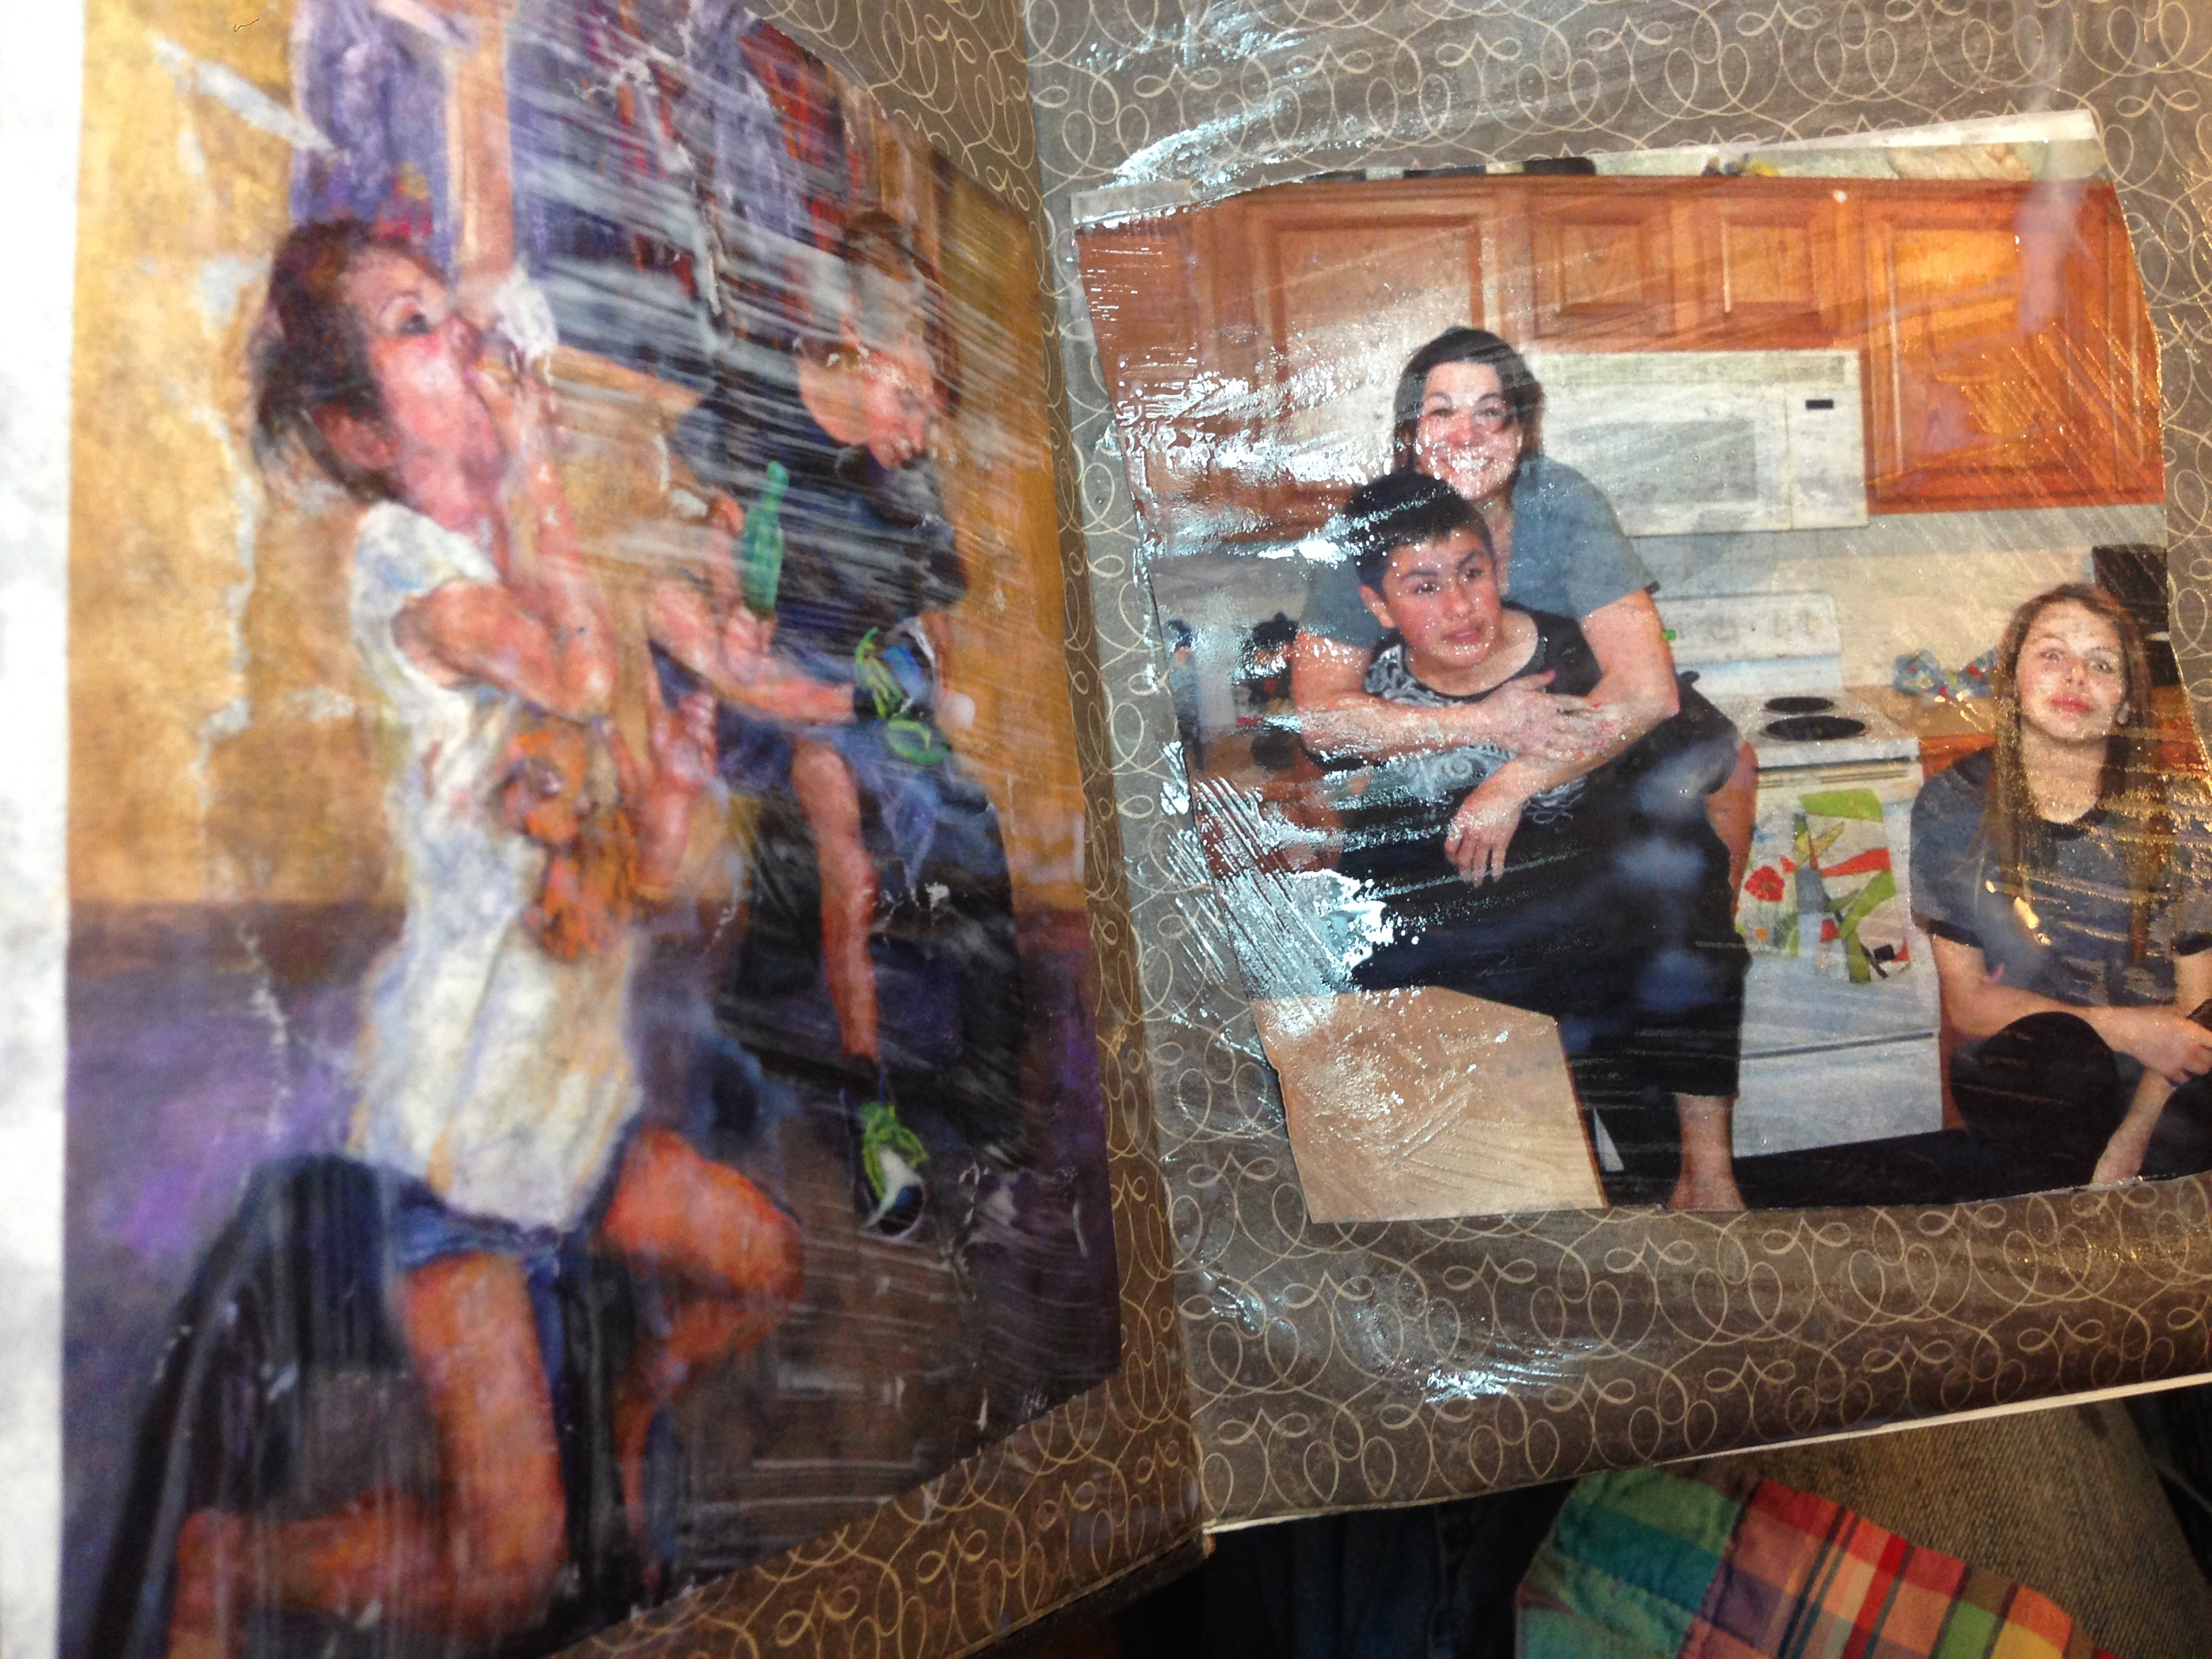
Finishing time!Carefully removed the tape, and the paper stuck to it and left me with a few blemishes. No big deal, right? Marker to the rescue! Got out the Matte Medium and applied a thin coat to the back of the laser print. Of course, the paper curled. No biggie. Just apply it quickly and burnish it down. Ended up with a few minor wrinkles that added an aged crackle look where the color rubbed off. STILL OK.
Journal Dummies

Added the black frame with the Explore silver lettering at the top. Hmmm. Letter Outlines, but OK. I’ll do something with that. Forget being sparing with the Matte Medium (no point in being frugal). Darn! The silver Explore pen wasn’t permanent. Grab a can of fixative and spray the rest of it. Dry. Finish the coat of Matte Medium.

Of course, the pages buckled up nicely. Heat gun to the rescue, and they did begin to behave. Every place I touched to ensure adhesion left a bubble texture. New challenge. No problem, right? Just make more texture to make that blend in. Type still faded. Pick up a white charcoal pencil and re-outline. GREAT! Spray fixative. Charcoal disappears.
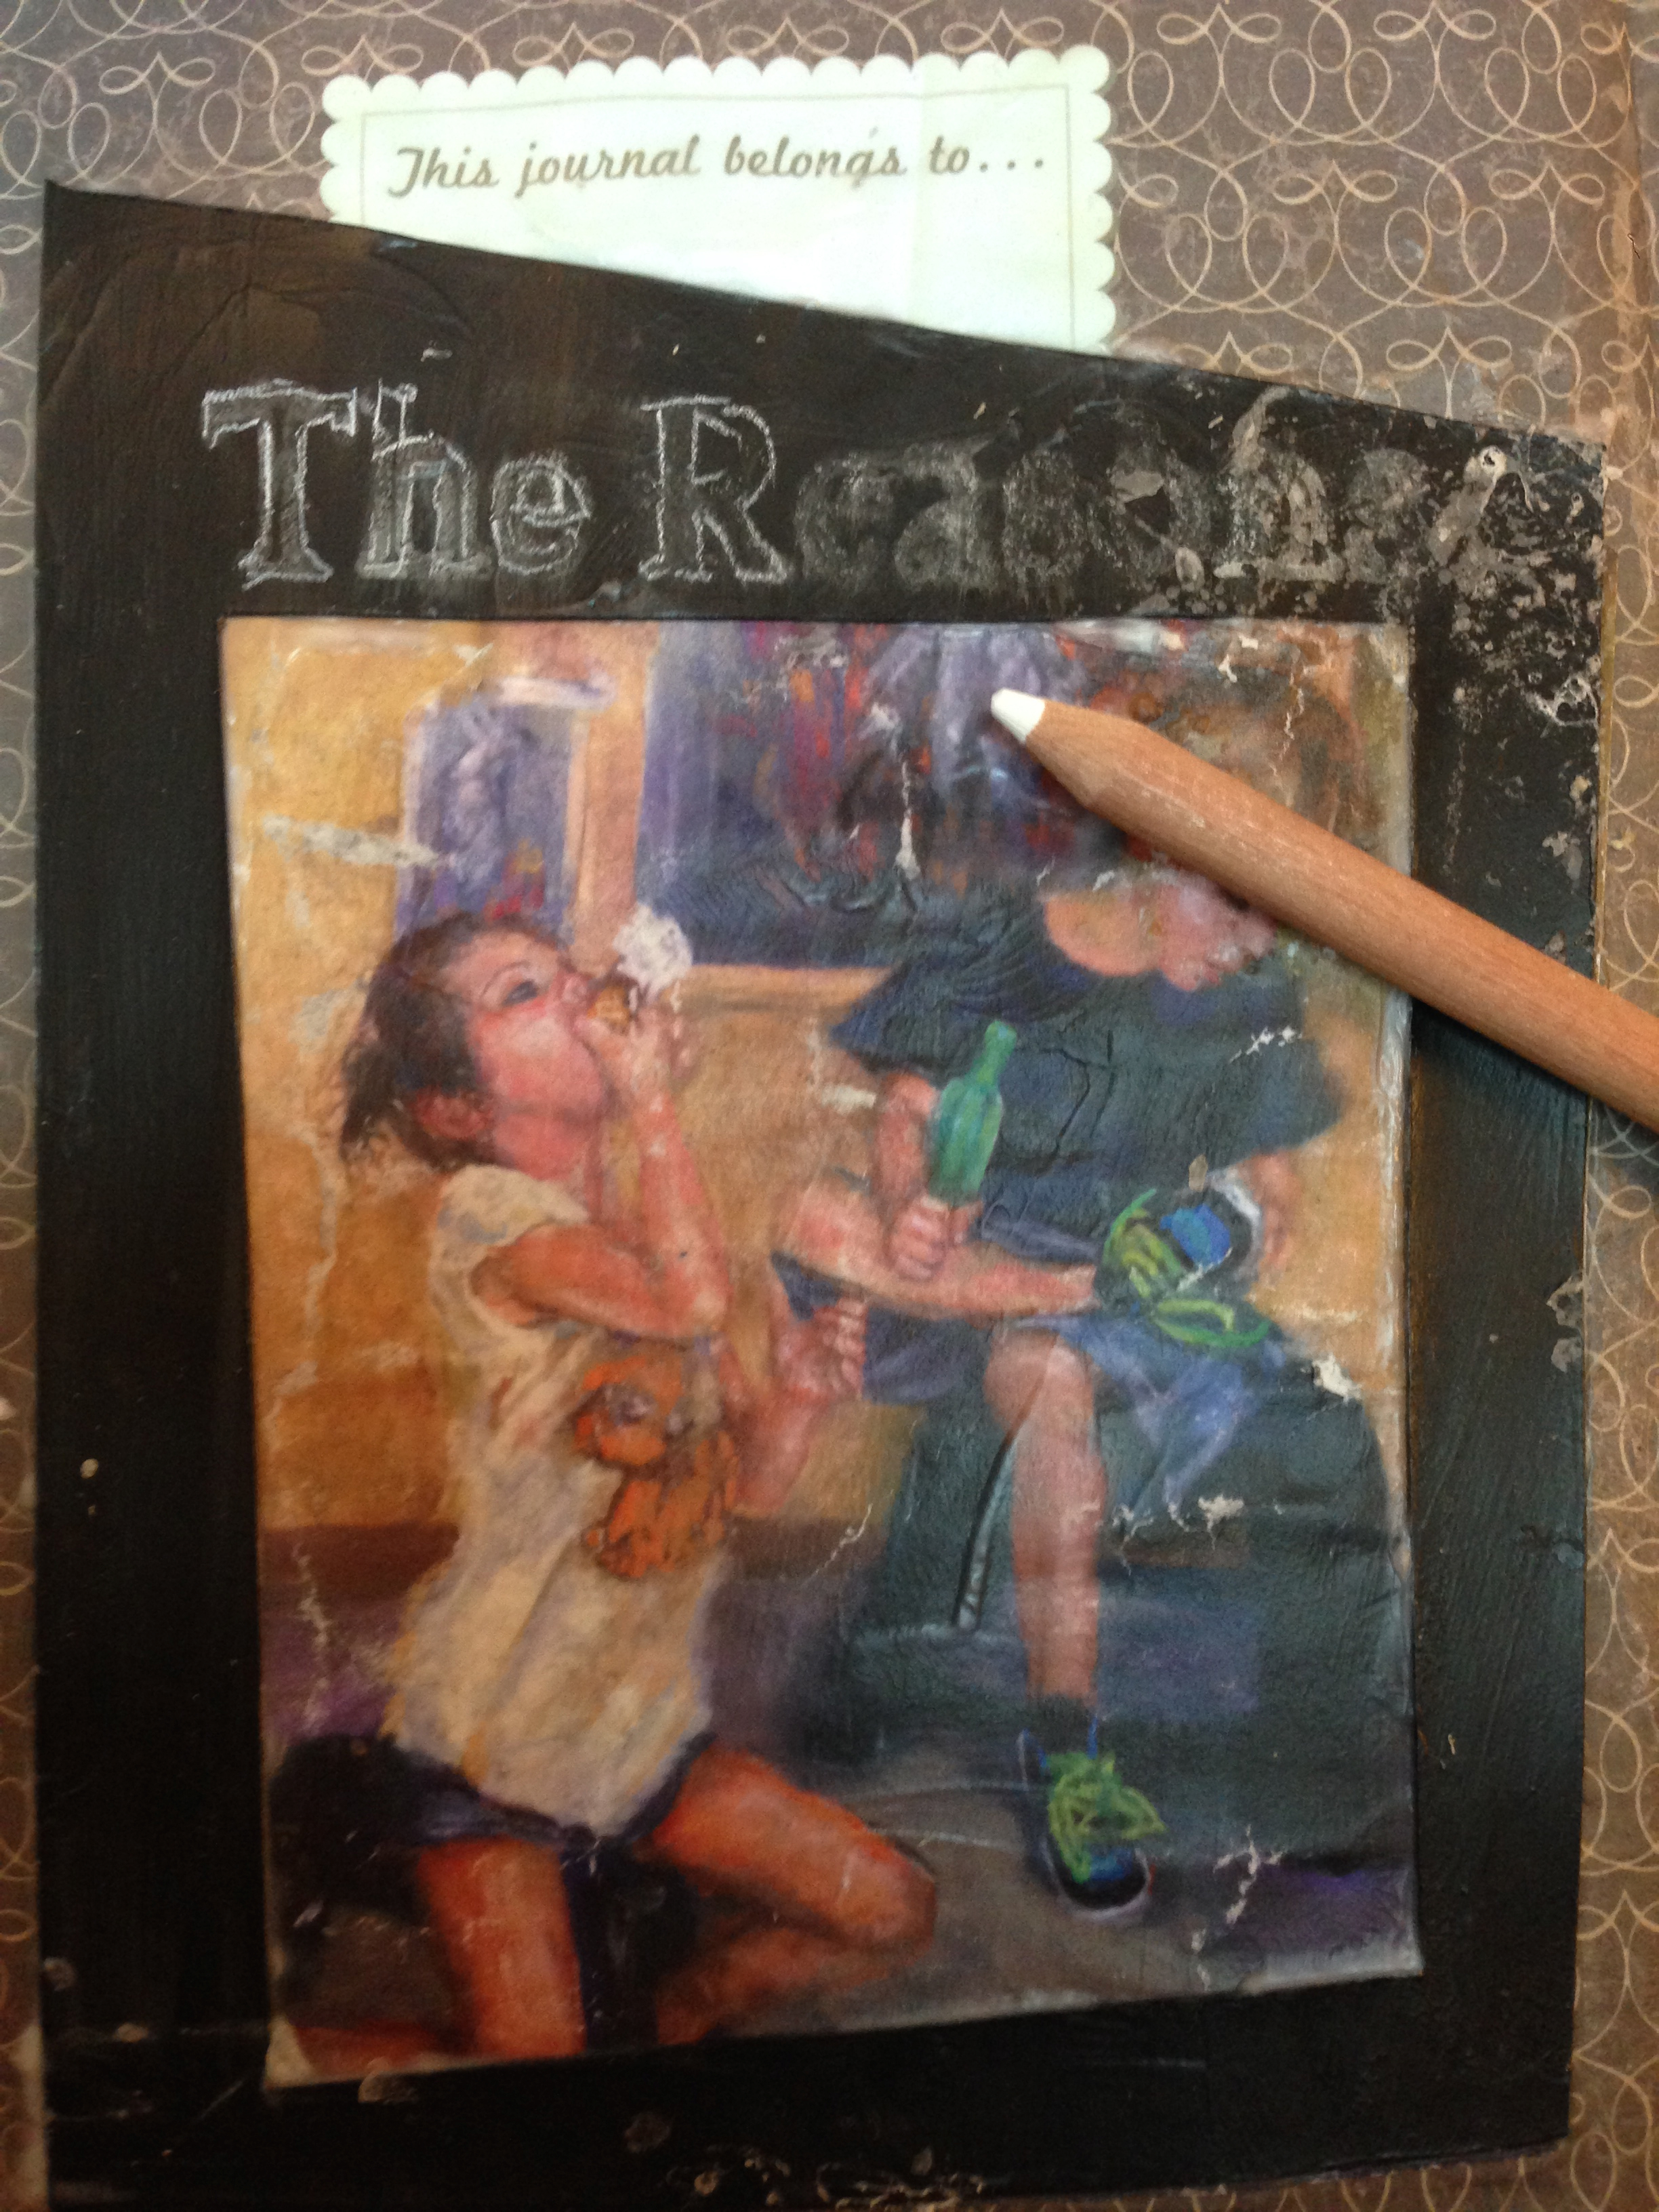
Journal Dummies

Move on to the texture issue. Sprays don’t show up on black paper. Neither did the stamp inks. Picked up some embossing powder, and the grey powder turned silver with heat! Perfect. Squiggles helped hide the texture bubbles. There is a reason video demonstrations show tapping off the excess embossing powder BEFORE you heat. Now we have lots of texture, silver this time!
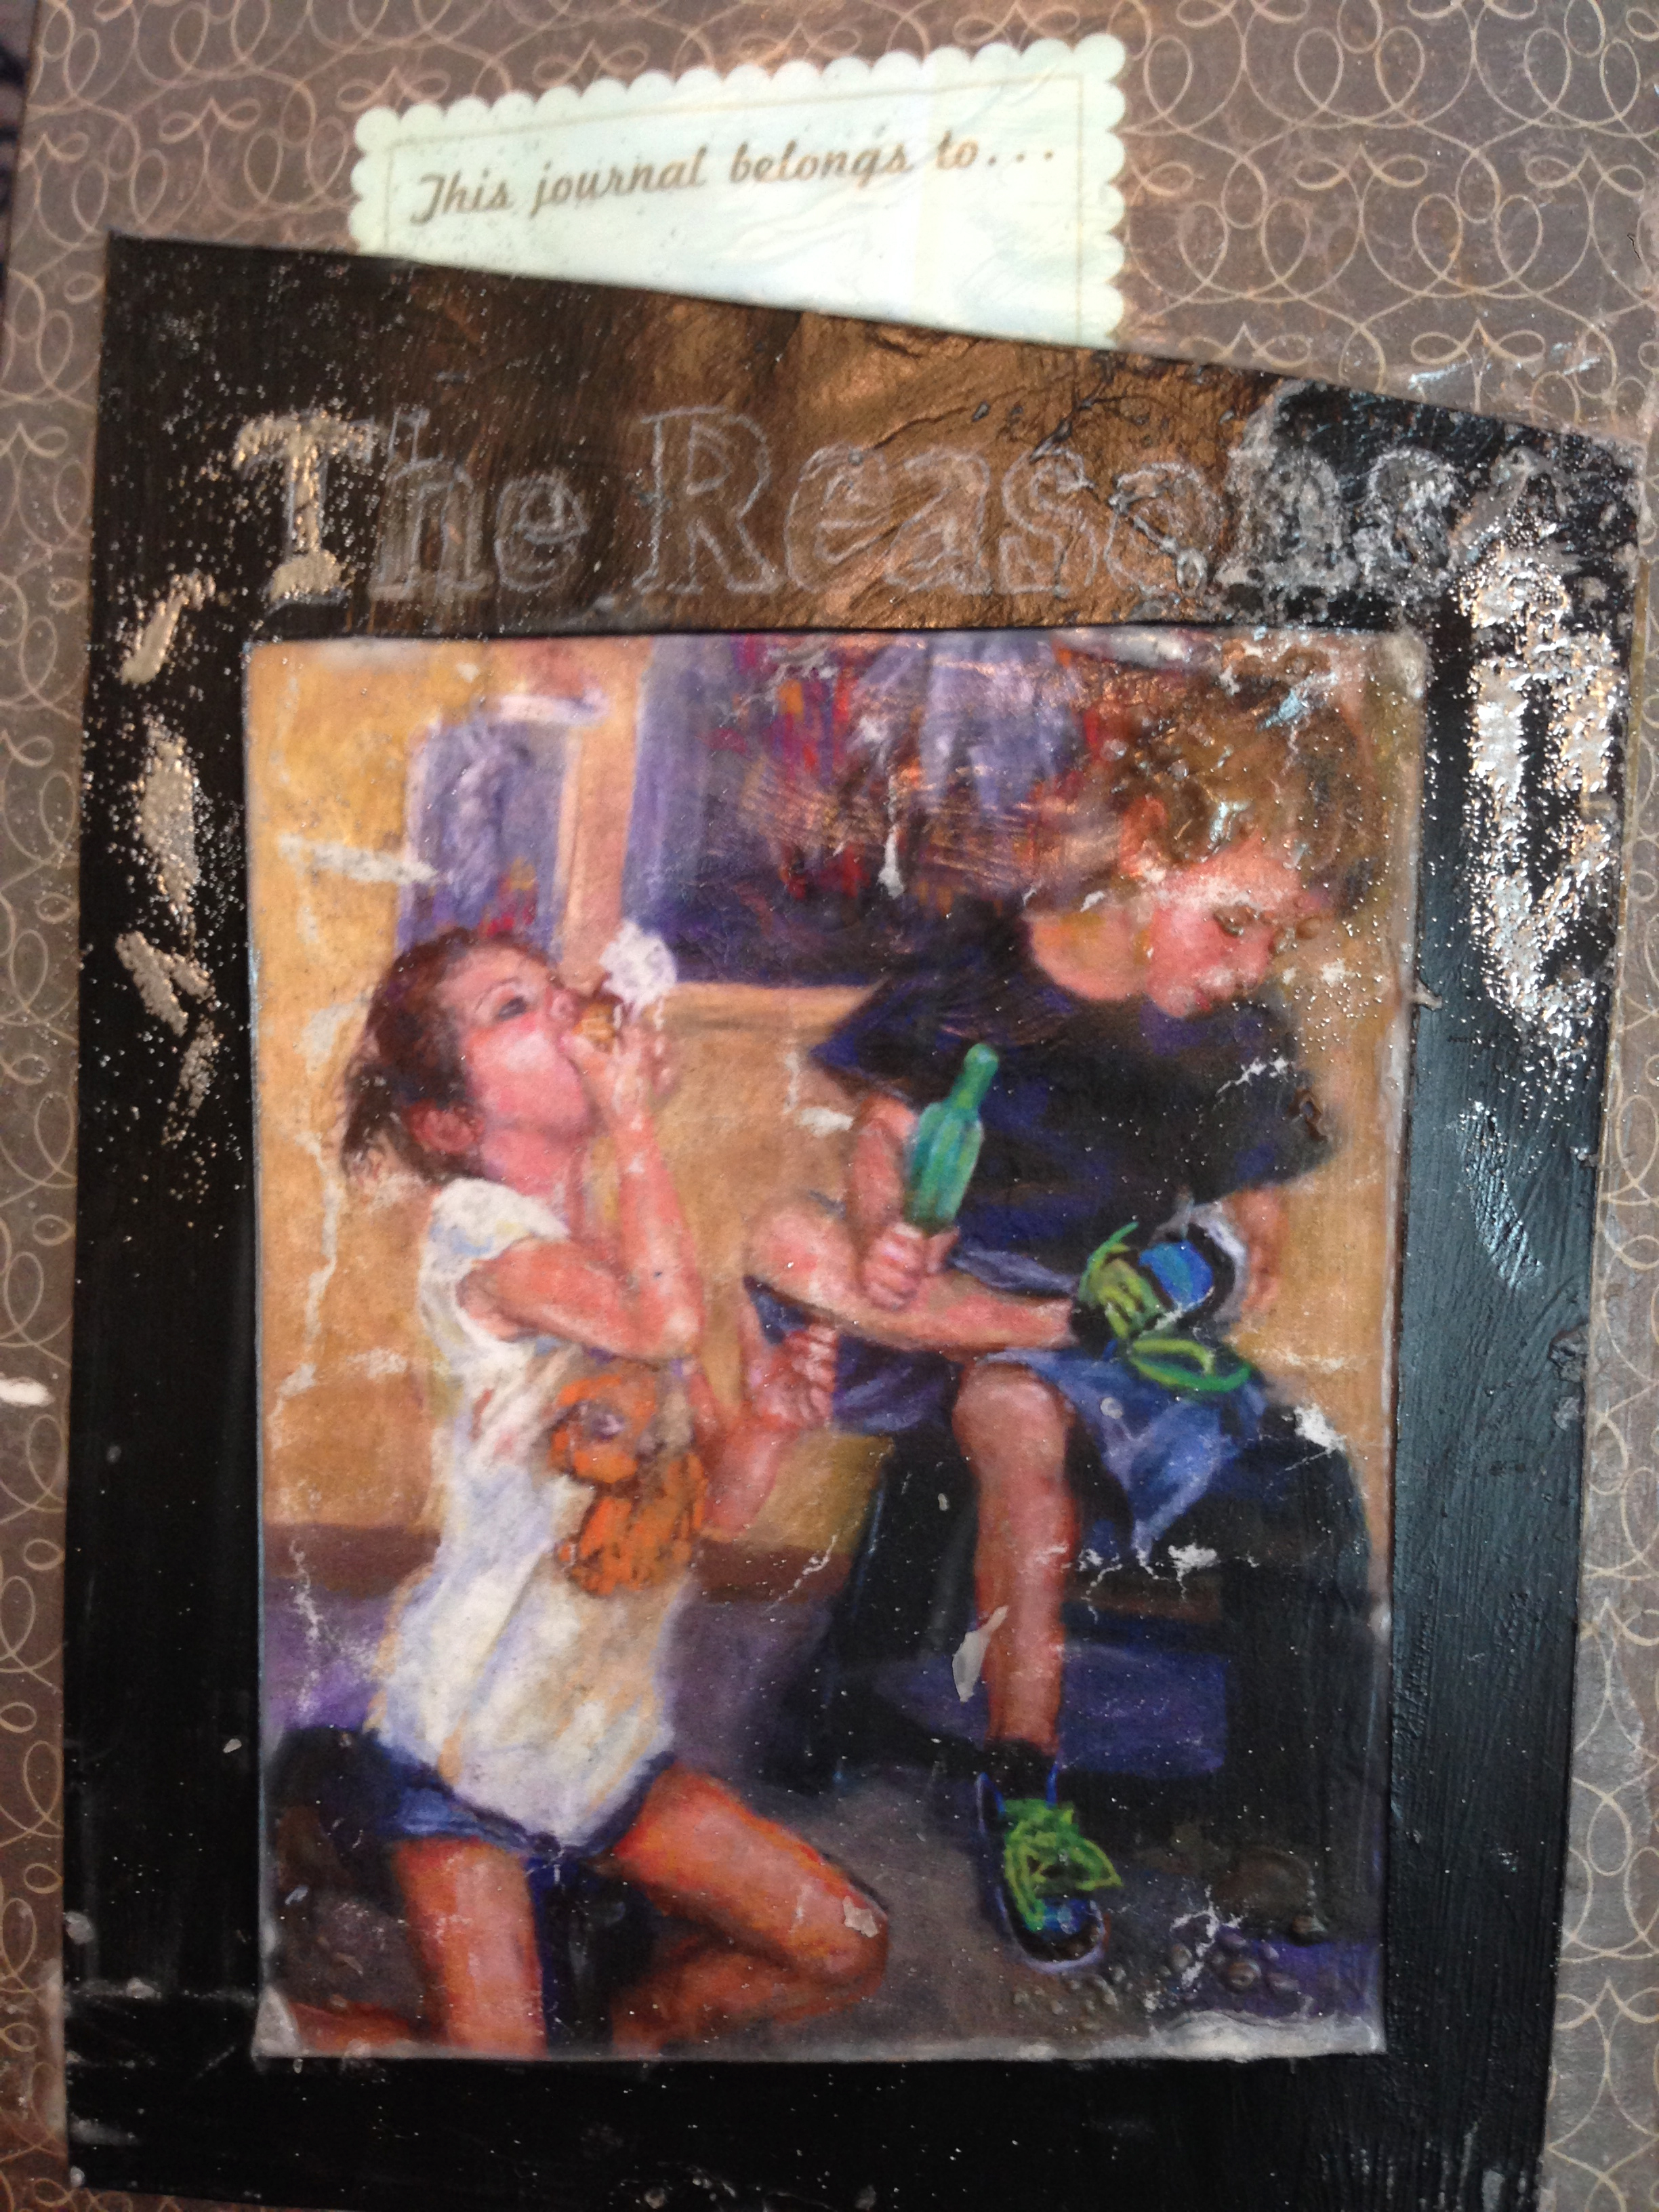
Journal Dummies

Another coat of Matte Medium.The heck with the brush. Pour a glob on and smear it with my fingers. My hands are now covered with drying matte medium and embossing powder. Manage to knock over the embossing powder container. Scrape most of it back into jar and CAP IT.

At this point, seriously thinking about starting over, but thinking about wasting 1/4 of a 16 oz bottle of Golden Matte Medium made me take a break, let everything dry, and come back to it. Remembered some silver markers that helped fill out the letters some.Used a black marker to cover some of the wayward silver embossing. Fixative again, another coat of Matte Medium, and Victory!

Lessons learned, as always! Video demonstrators have used the product several times before the camera starts rolling, trust me!
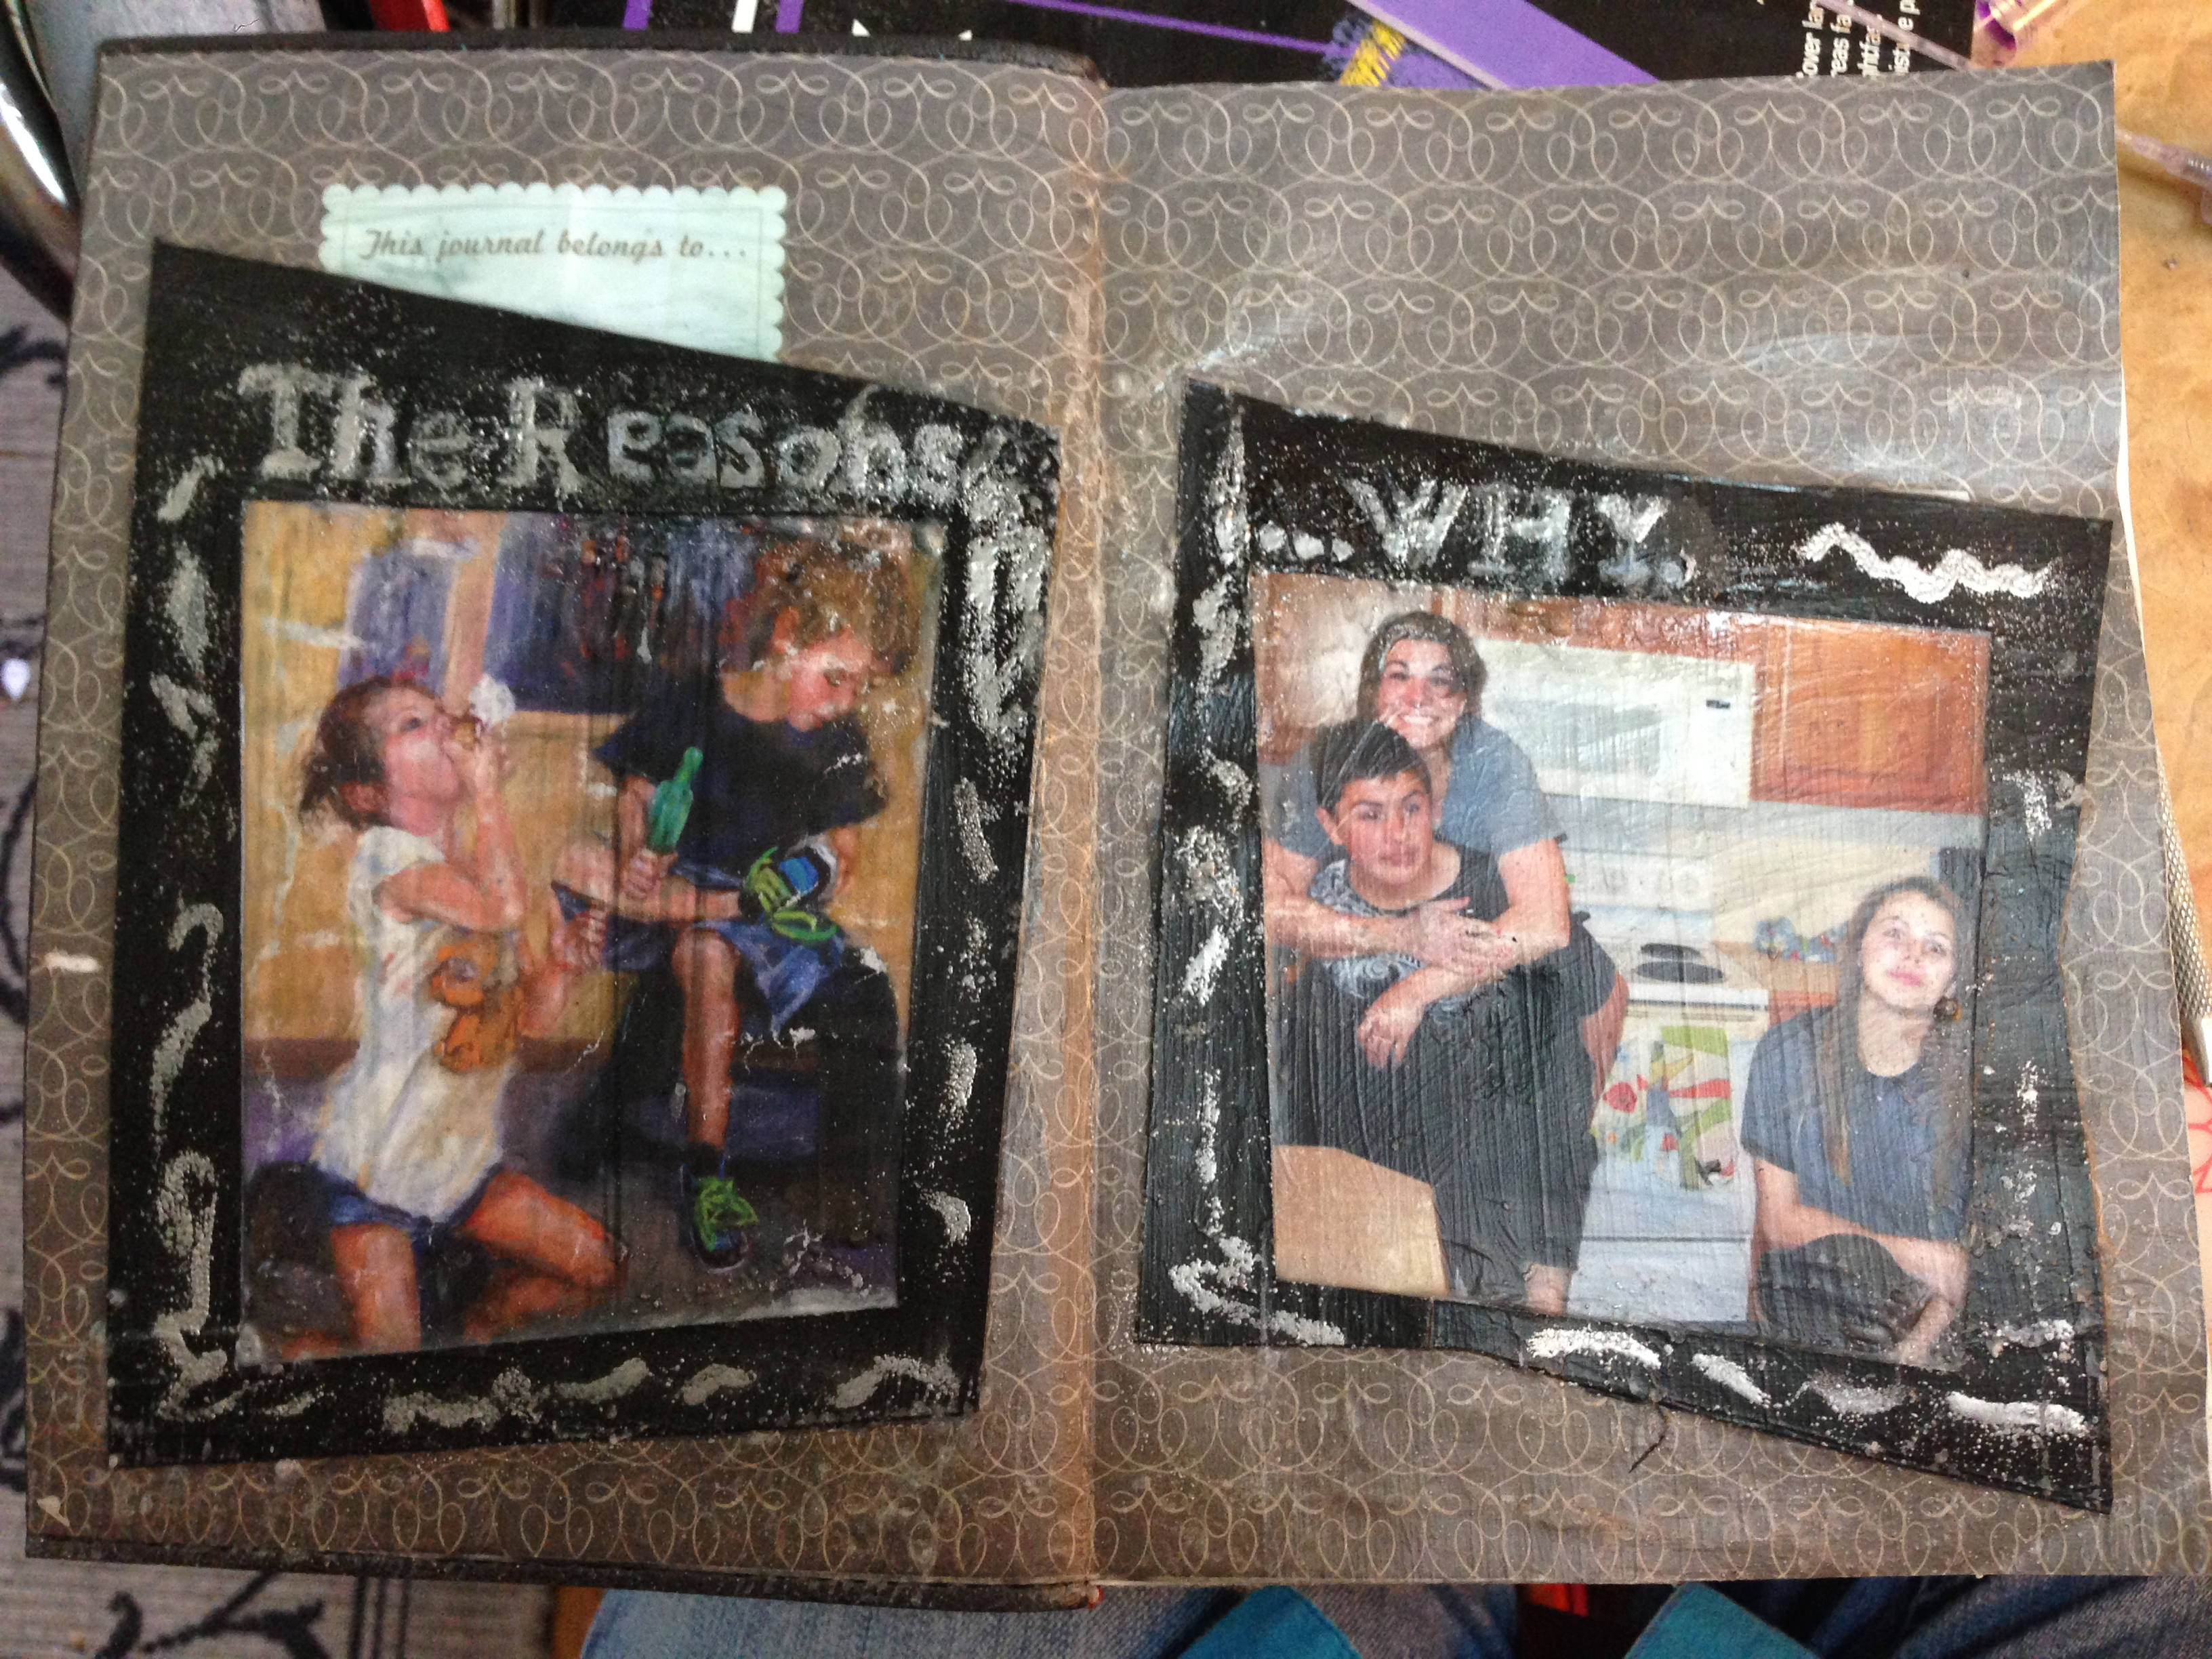
Journal Dummies

 ~*~*~*~*~*~*~*~*~*~*~*~*~*~*~*~*~*~*~*~*~*~*~*~*~

Author bio:

Vicki Ross is focused on sharing her journey to art and how life events can shape us through creativity www.Axully.com. Vicki has always been involved deeply in the creative arts, from professional soft crafts publications (knitting/crochet/needlework) to French Hand-sewing, stenciling to macramé, oil painting to encaustics. Whatever your leaning, she believes in the healing power of creating.

You can see more of Vicki’s work at VickiRossArt or via blog posts at Axully – Solid. Useful. Beautiful

~*~*~*~*~*~*~*~*~*~*~*~*~*~*~*~*~*~*~*~*~*~*~*~*~

.

.
And the Winners are…

~ * ~

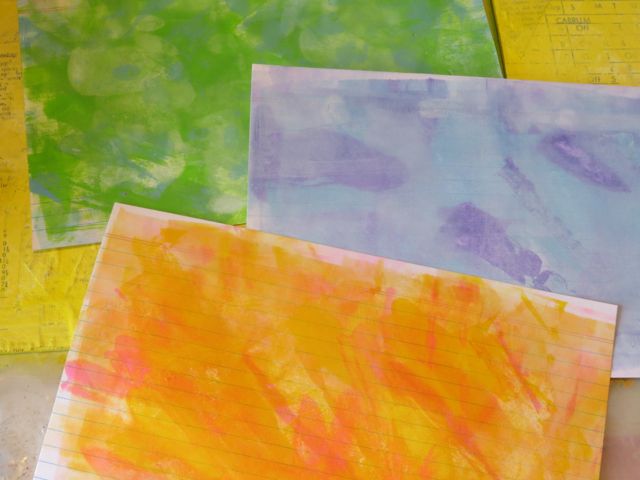
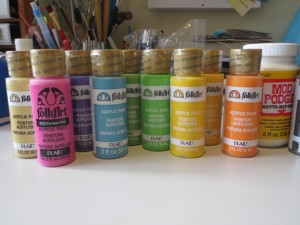
Wow! What a great response to our Gelli Prints give-away as part of our Mixed Media Canvases with Plaid FolkArt paints tutorial. Thank you for all of your comments and good wishes!

Plaid Kit MixedMedia by Michelle Brown

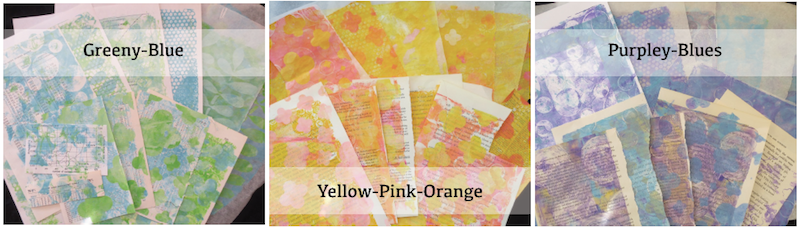
It was great to hear which were your favorite color combinations and what you would to with these fun Gelli plate prints on deli paper and text ephemera. The Pinks and Oranges certainly seems to be the most popular!

Acrylic Paints Folk Art with mixed media collage

It was fun creating these bright color combinations and making the mixed media canvases with these paints.

And the winners are:

ConnieND

Plaid FolkArt give away

Wendy P

Plaid FolkArt give away

Dana

Plaid FolkArt give away

Ladies, please email your postal address to Michelle [CreateMixedMediaArt at gmail dot com] and we will get the kits off to you!

Acrylic Paints Folk Art

Designer Block Puzzle

~ * ~

This article was written by Martice Smith II

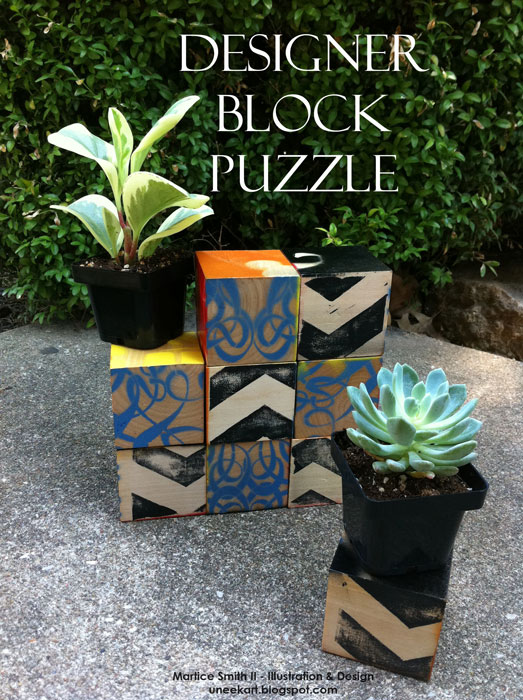
Remember those little A-B-C blocks you may have played with as a child? This tutorial is a spin on that very concept, although, this one is the “grown-up” version! (Well, if you have a baby Einstein on your hands, that’s a different story…) Each side of the wooden block will have a different design. I will demonstrate how to use various techniques from stamping, cut-outs, stenciling and masking to create a beautiful designer block puzzle. Let’s get started!

Create a Designer Block Puzzle

Need to add a bit of visual interest in a corner of your living room, craft space or maybe even a coffee table, this designer block puzzle packs some major punch of creativity! It may look challenging- given that there are 10,077,696 different combinations – but don’t let it fool you. This puzzle is very easy to create yourself.

Gather supplies

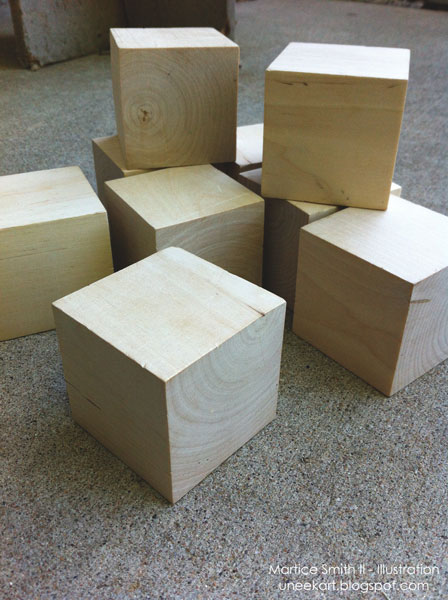
Gather supplies; wooden blocks

Any size blocks will work. For this tutorial, I used nine 7.5 inch wooden blocks.

Gather supplies; stencils and stamps

Stencils, stamps

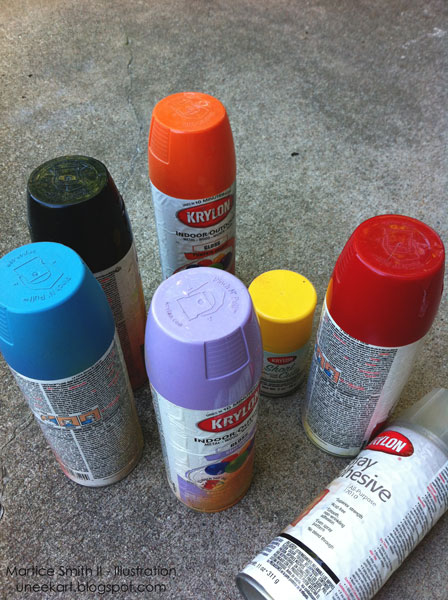
Spray paints (various colors) and a face mask

Masking tape

Prepare the wooden blocks

I love the natural look and feel of the wood, so I let them remain that way.

(Other options to consider: use a clear gesso or wood stain on all six sides of the wooden blocks. This will need to be done in stages to ensure that each side is dry before doing the next side.)

Set up the blocks

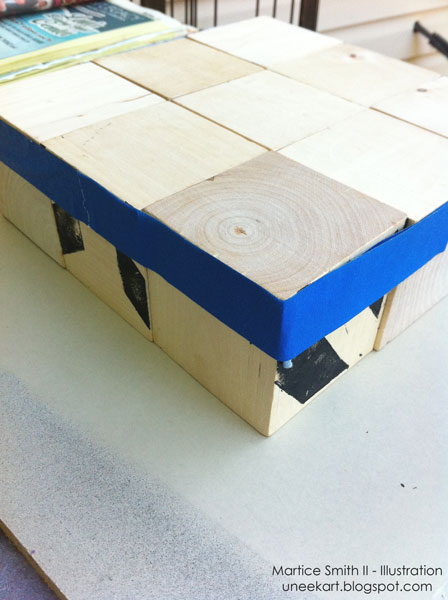
Set up the blocks and mask off sides

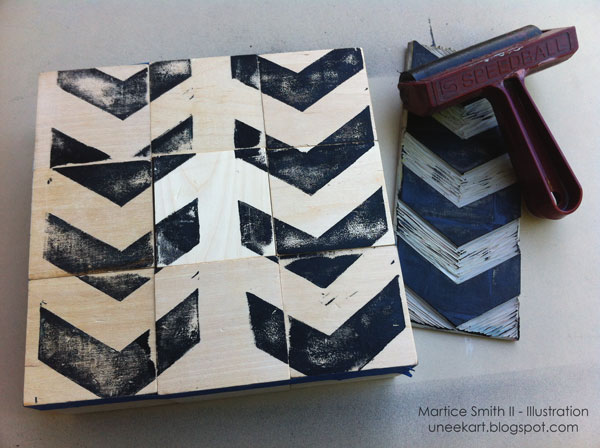
Working on an even surface, set up the blocks three wide by three long.

Use low-tack masking tape around the sides to secure them together, leaving six surfaces facing up together to make a 7.5 inch diameter square surface. (The tape prevents any over-spray from the spray paint.)

Use a stamp to design SIDE 1 

Use a stamp to design SIDE 1

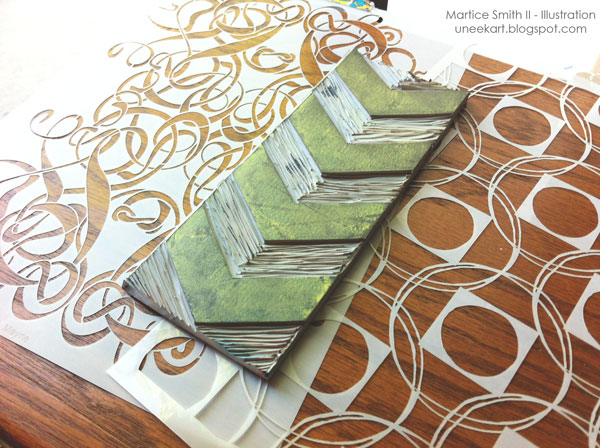
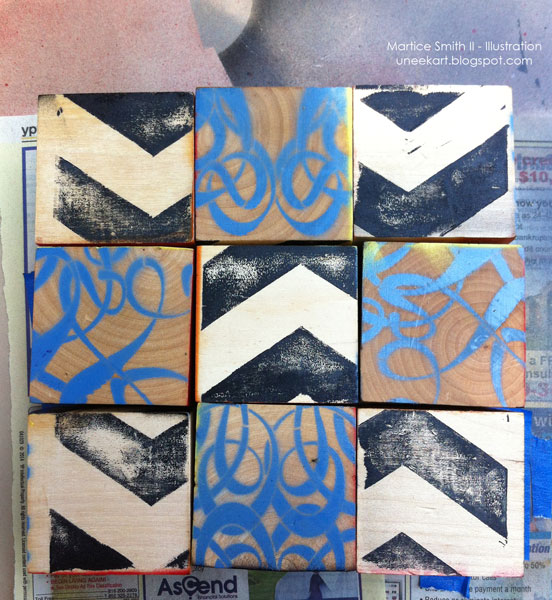
SIDE 1 is designed with my popular chevron stamp (tutorial on how to make your own)

* Let dry and turn each wooden cube to a random side, so that there are 6 blank surfaces on top again. (I will call this step: “Reset the blocks“)

* Re-tape the sides to prevent any over-spray.

Let dry and turn each wooden block to a random side. (Reset the blocks)

Spray paint the cardboard cut-outs and stencils for the remaining sides

Spray paint the cardboard cut-outs and stencils for the remaining sides

Wearing a face mask and working in a well-ventilated area, spray the first color of spray paint over the cut-outs using a steady, consistent motion.

Design SIDE 2 with lightweight cardboard

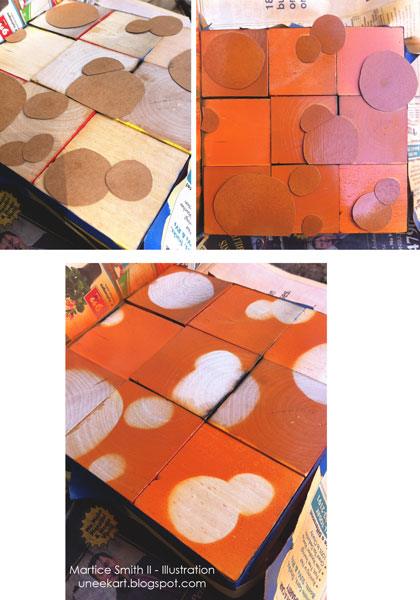
Here’s how cardboard stencils and masks can be used as well. I’ve used circular, hand-cut shapes as masks and my custom made ampersand cardboard as a stencil. (Side note: The ampersand is on SIDE 6).

SIDE 2 shows how I arranged my circular, hand-cut shapes in an interesting pattern. Kind of looks like bokeh from photographs!

Design SIDE 2 with lightweight cardboard using circular, hand-cut shapes

* Apply spray paint. (Note: Spray paint can remain tacky for up to 30 minutes depending on the humidity.)

* Remove the shapes.

* Once the spray paint is completely dry, reset the blocks

Design SIDES 3 and 4 with commercial stencils

A couple of my favorite commercial stencils from StencilGirl!

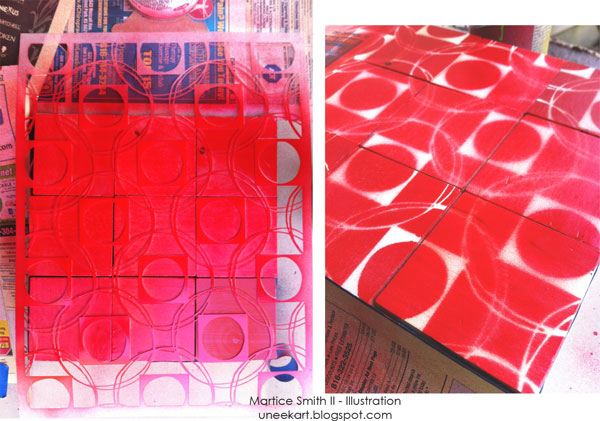
SIDE 3 is designed with Square Dance.

Design SIDE 3 with commercial stencil; Square Dancing by StencilGirl

* Spray the stencil; let dry

* Reset the blocks

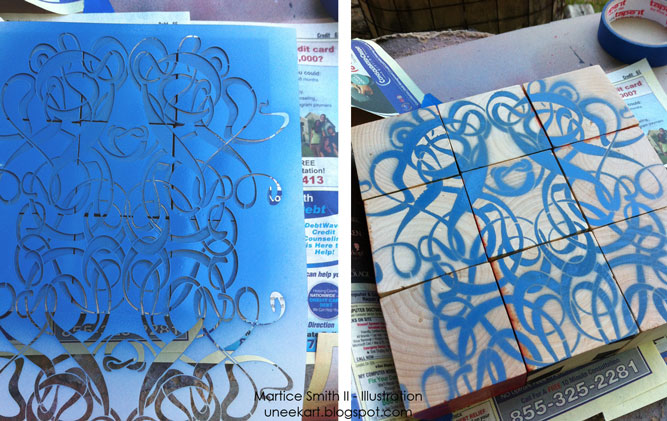
For SIDE 4, I used the Art Nouveau stencil.

Design SIDE 4 with commercial stencil; Art Nouveau by StencilGirl

Design SIDE 5 and 6 with handmade stencils

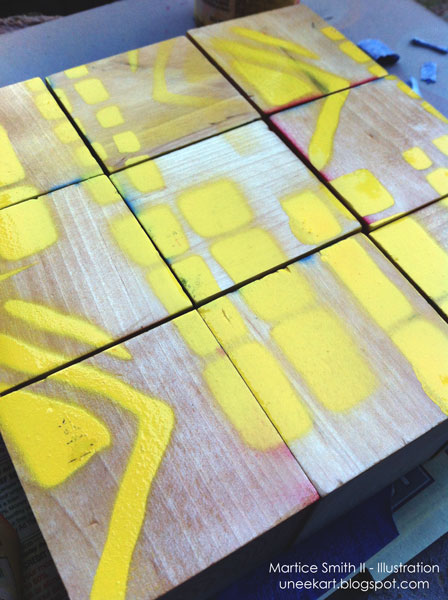
Add more of your own flair to this project! Here are two handmade stencils that I cut out by hand. This one has a tribal and primitive feel, displaying the triangle and rectangular patterns.

Design SIDE 5 with handmade stencil for personalized touch.

Reset the blocks

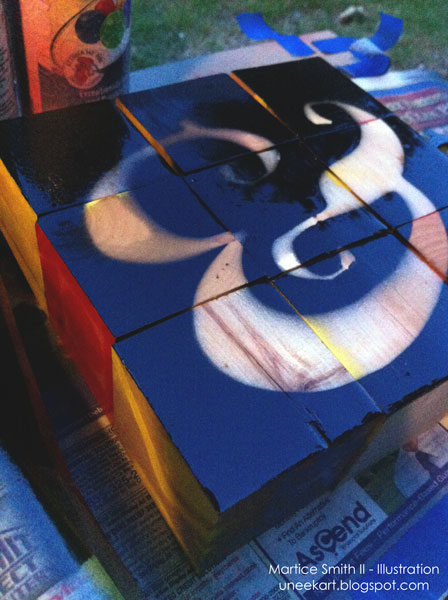
Finally, for SIDE 6, I took a more bold and graphic approach by using the “and” symbol (technically called, the ampersand. Look how much style this has!)

Design SIDE 6 with lightweight cardboard using the "and" symbol.

Now that all sides have been designed, you can create different looks for your visual pleasure! This will keep your imagination fresh and give you a good challenge to recreate your own, unique combinations.

I will use my designer block puzzle as props and a cool backdrop for my product photo shoots!

01Aug_MFS_DesignerBlockPuzzle-Pic12

Try utilizing this puzzle in unexpected ways. Add visual interest in a corner of your living room, craft space or maybe even place them on a coffee table. It’s your choice!

How will you use your Designer Block Puzzle?

~*~*~*~*~*~*~*~*~*~*~*~*~*~*~*~*~*~*~*~*~*~*~*~*~

Author bio:

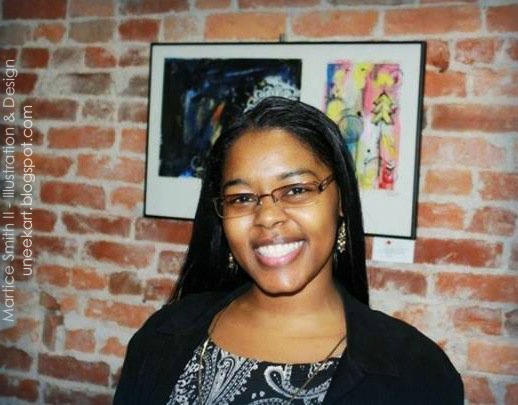
Mixed-media illustrator and designer Martice Smith II

Martice Smith II is creative director of Martice Smith II – Illustration & Design Studio, based in Kansas City, Missouri and owner of Uneek Art Boutique. She established herself as a freelance Illustrator and graphic designer after receiving her Bachelor of Arts Degree. Her stunning illustrations reveals her love for fashion, typography and wildlife- using a combination of analog and digital techniques.

Martice also contributes as an article writer for the Creating Mixed Media Art website.

You can see more of her work via her Facebook page or her blog. She invites you to join her monthly newsletter, Uneek Art Letter, for art biz tips, advice and free digital goodies!

~*~*~*~*~*~*~*~*~*~*~*~*~*~*~*~*~*~*~*~*~*~*~*~*~

.

.

Delft: Encaustic and Collage

~ * ~

This article was written by Vicki Ross

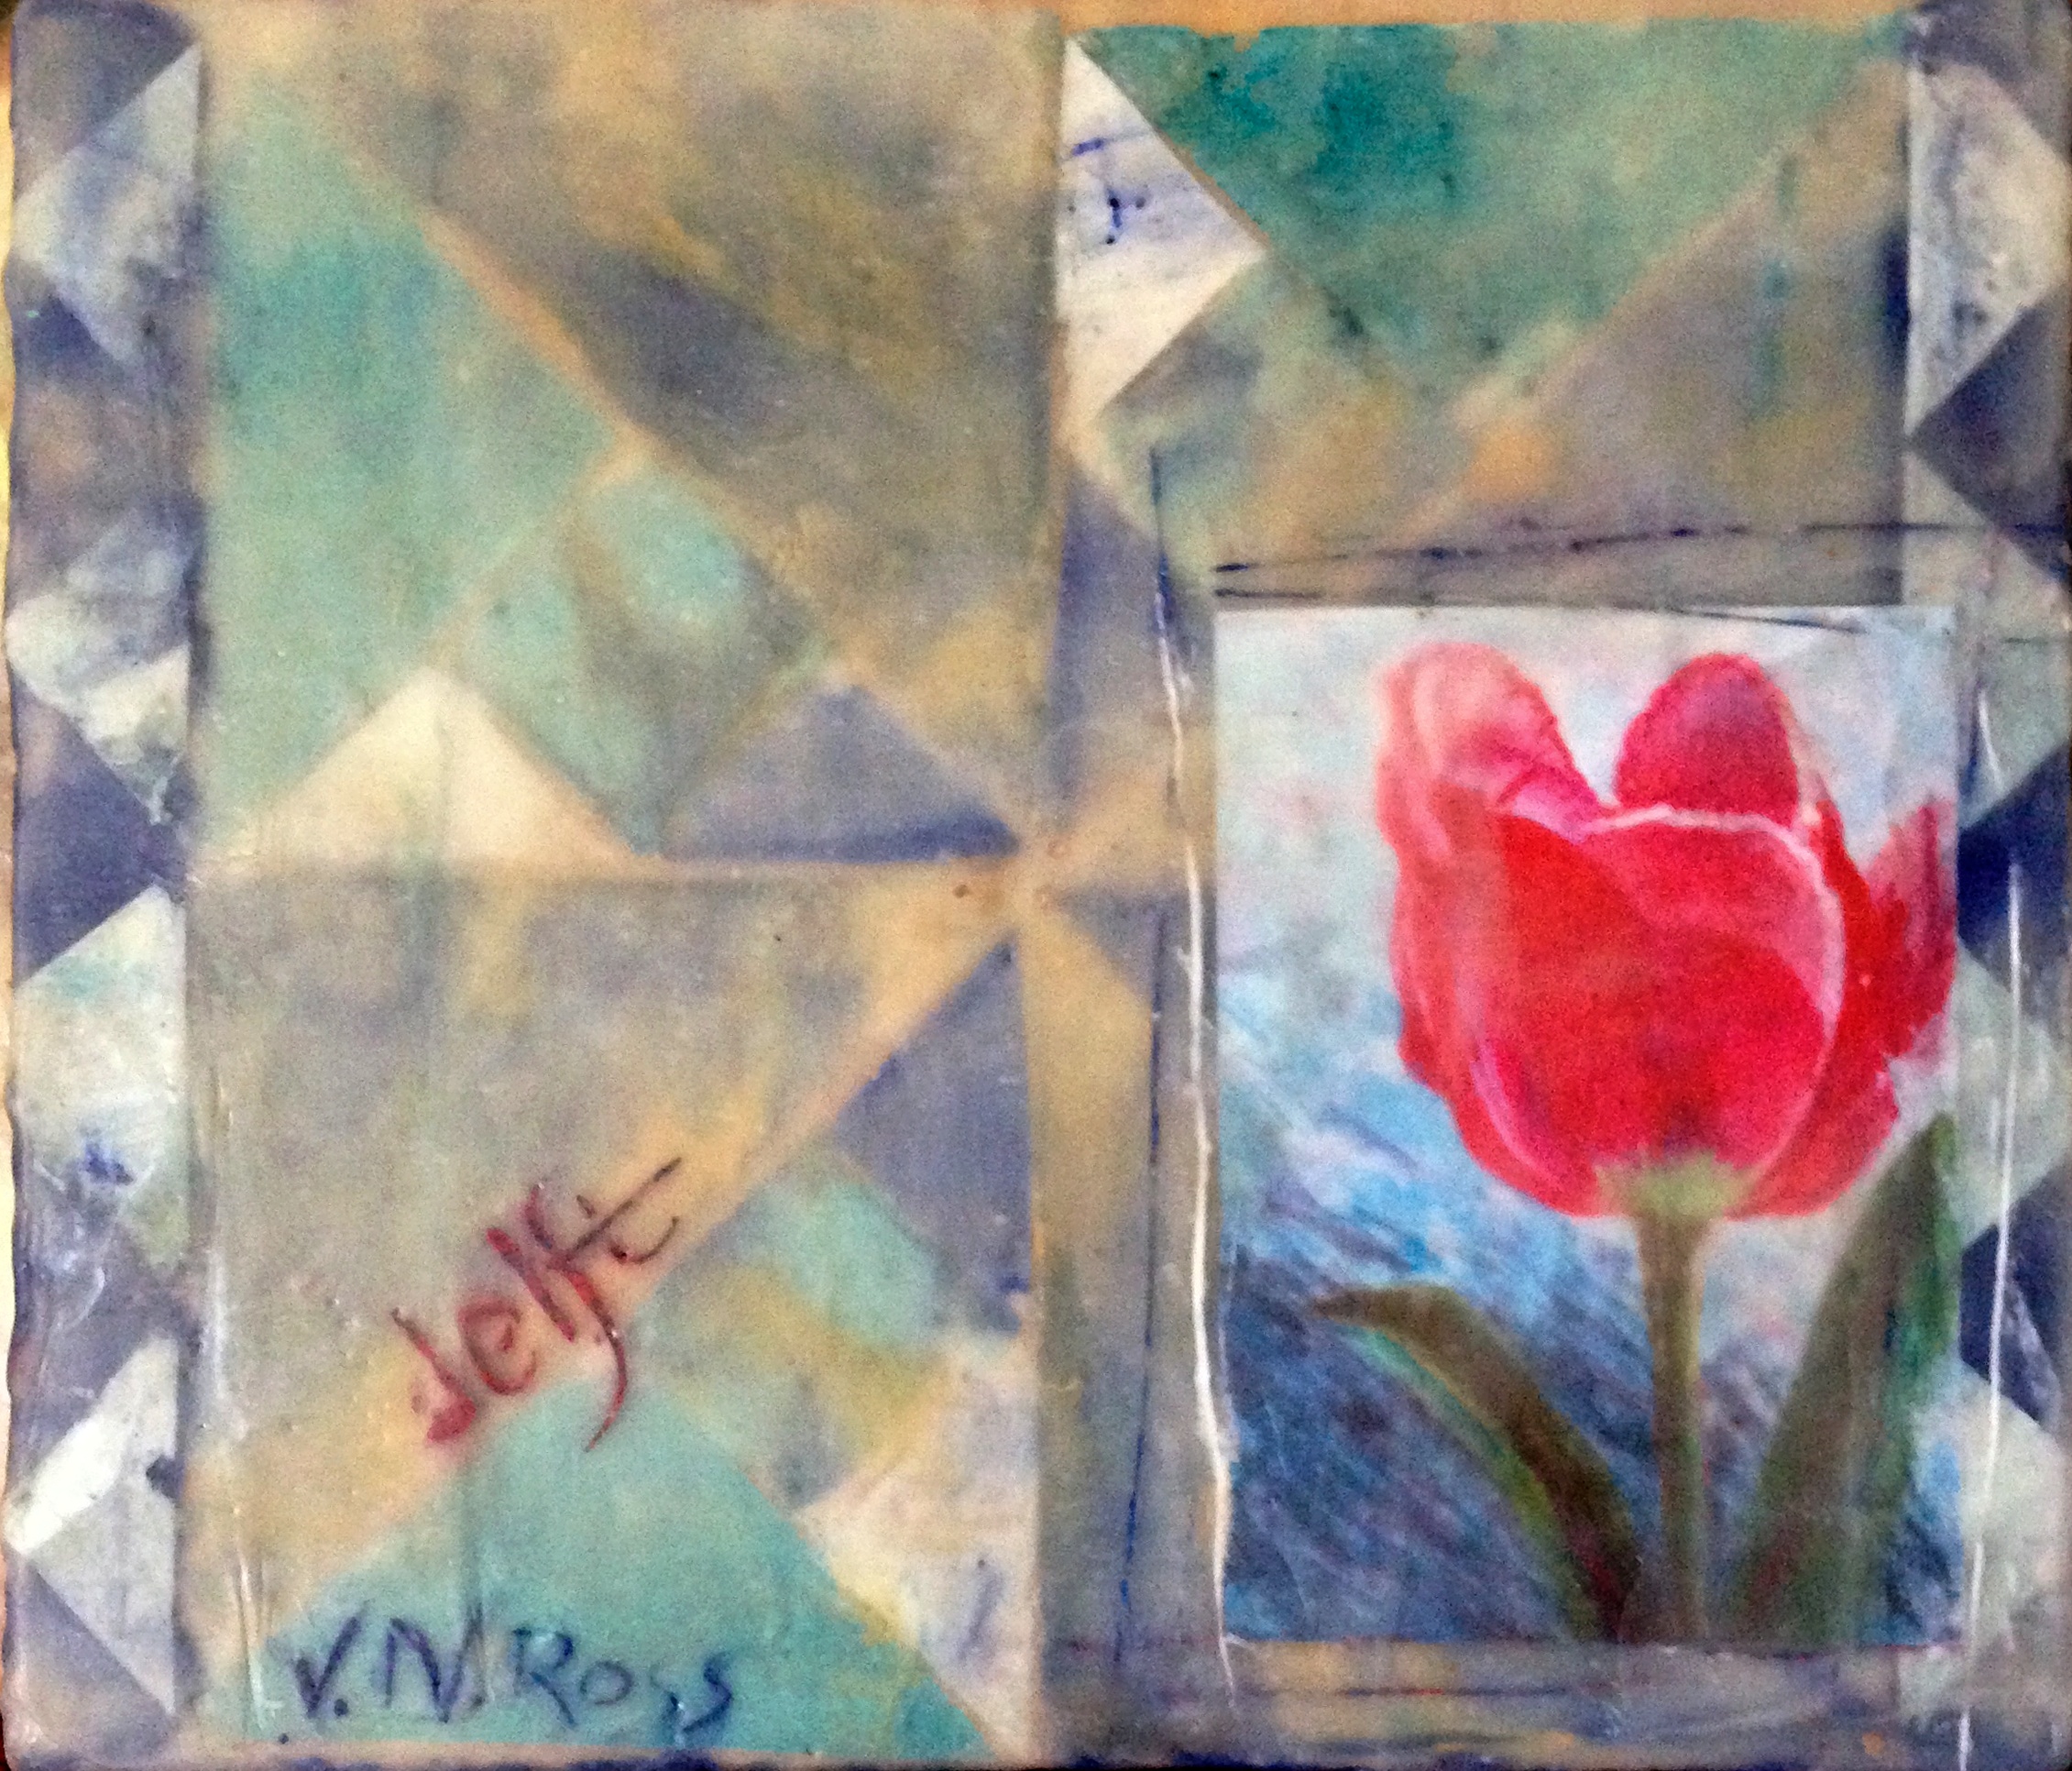
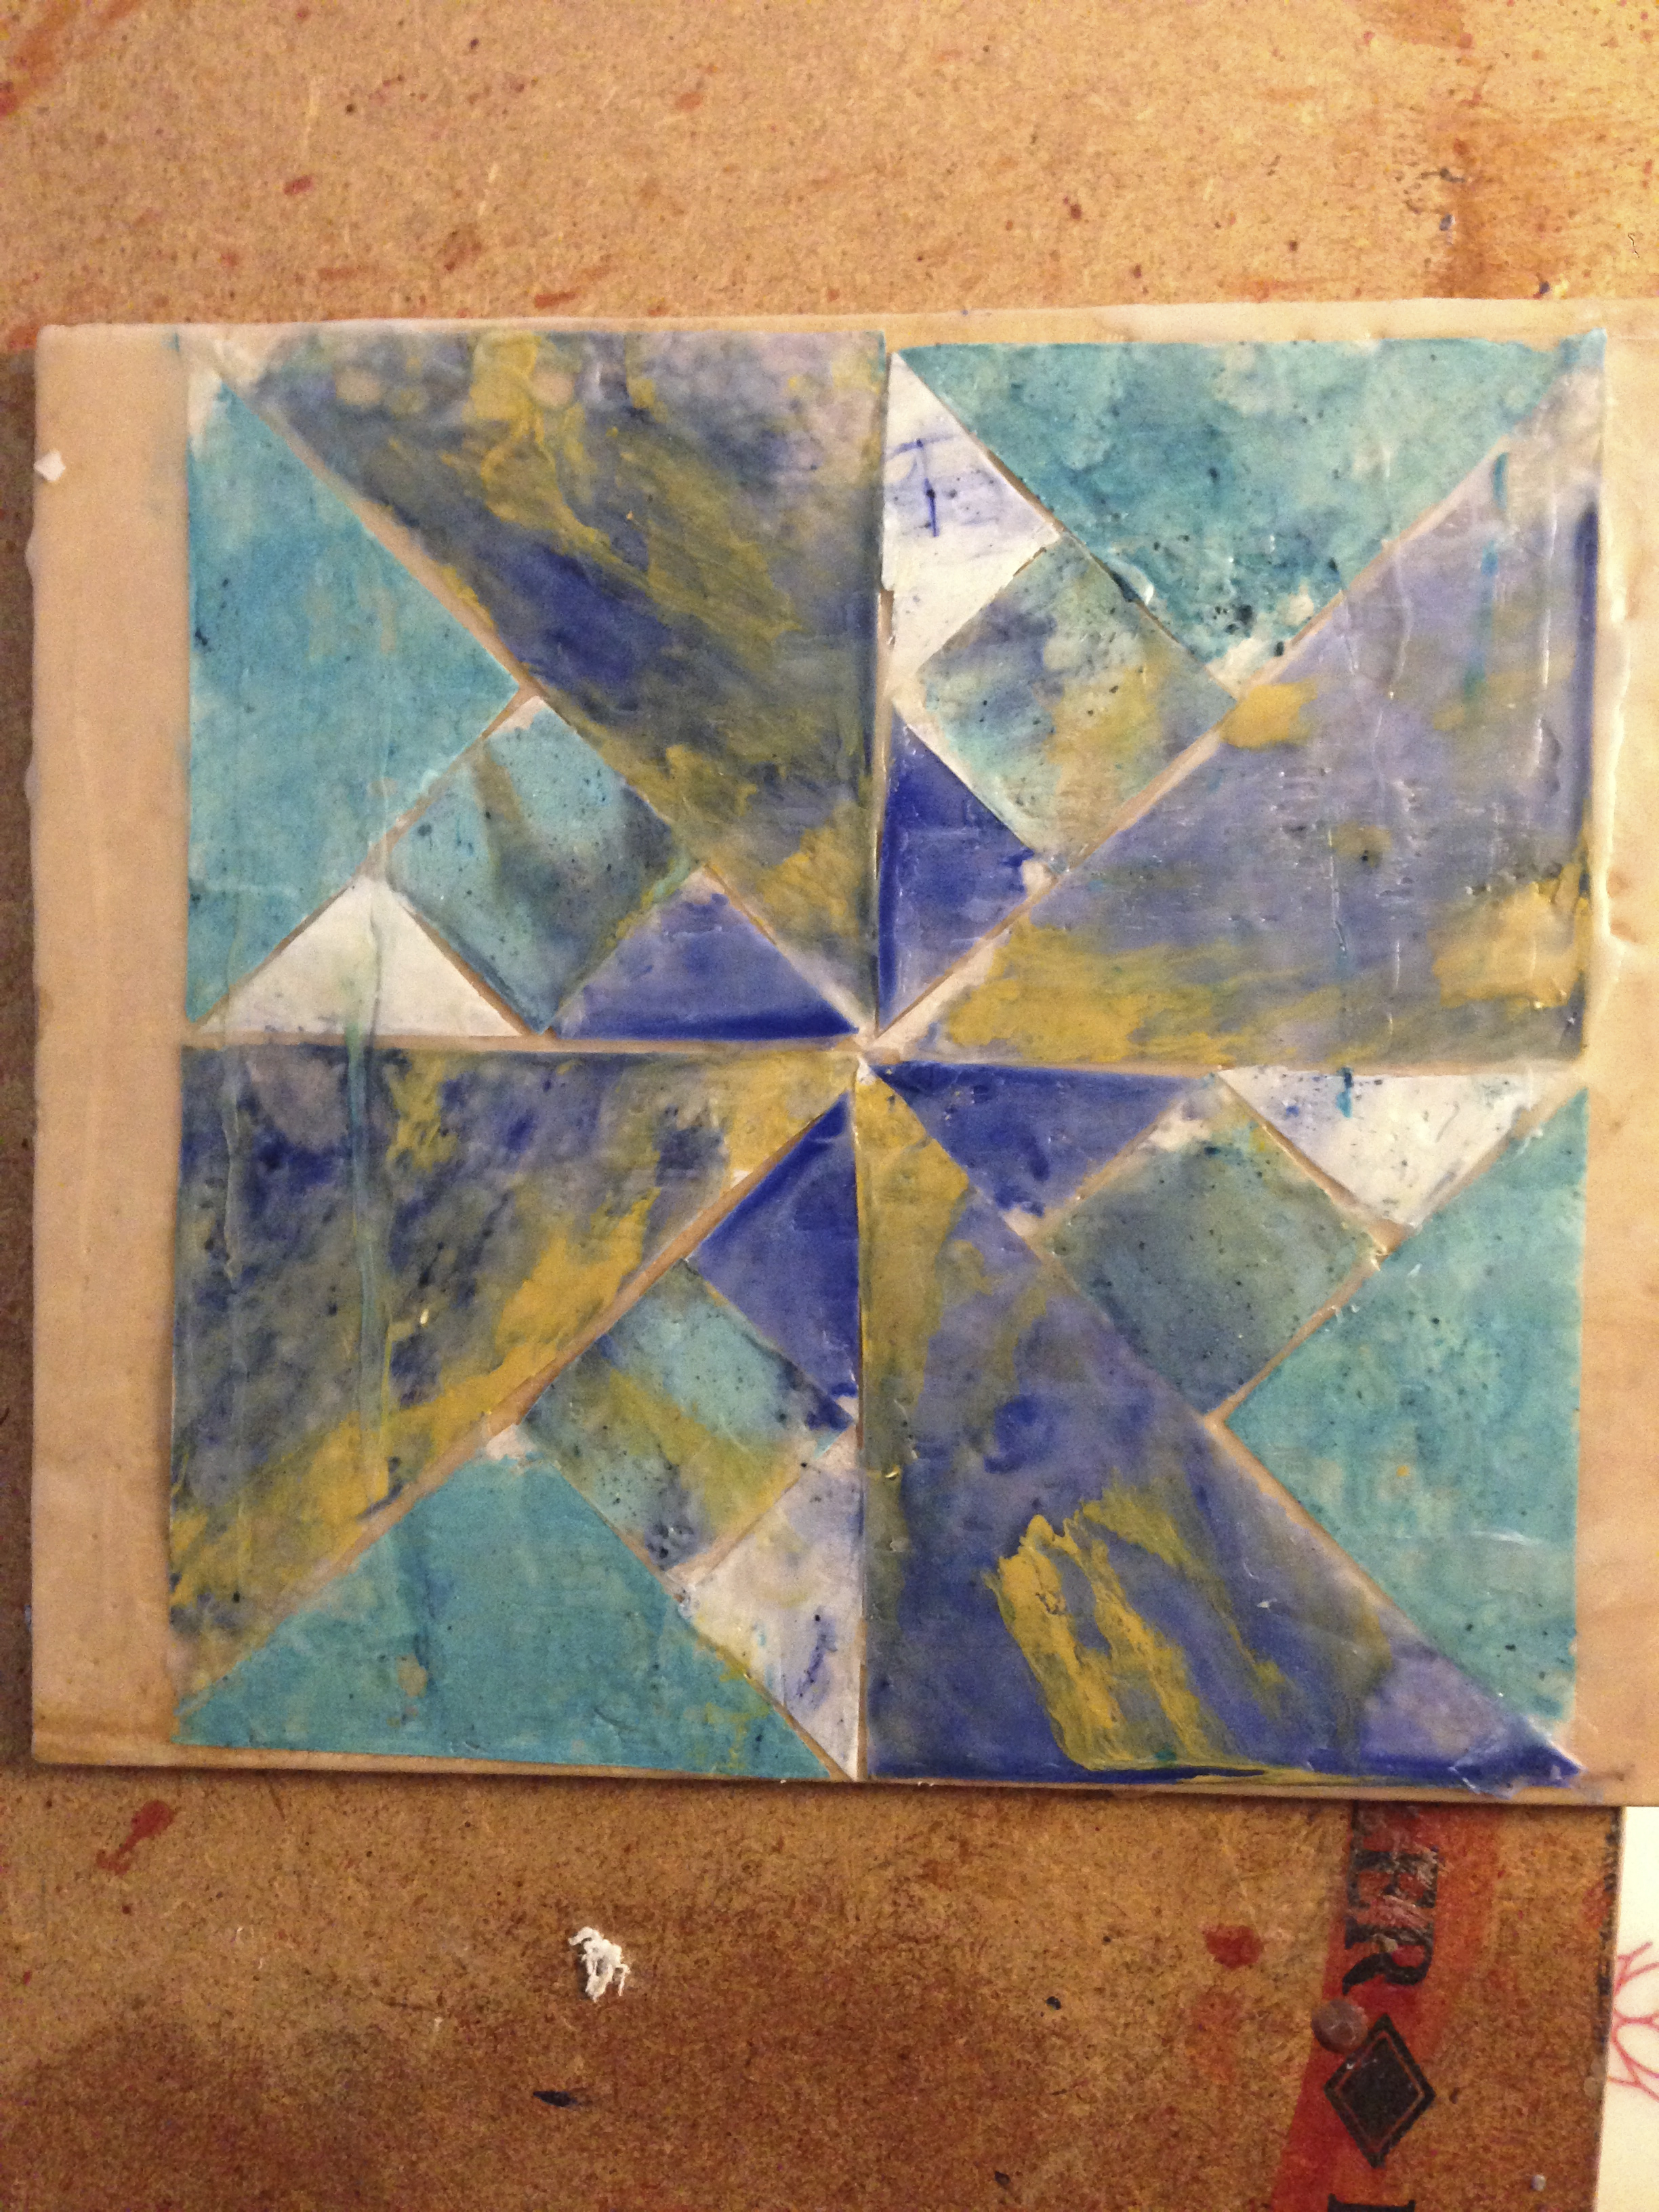
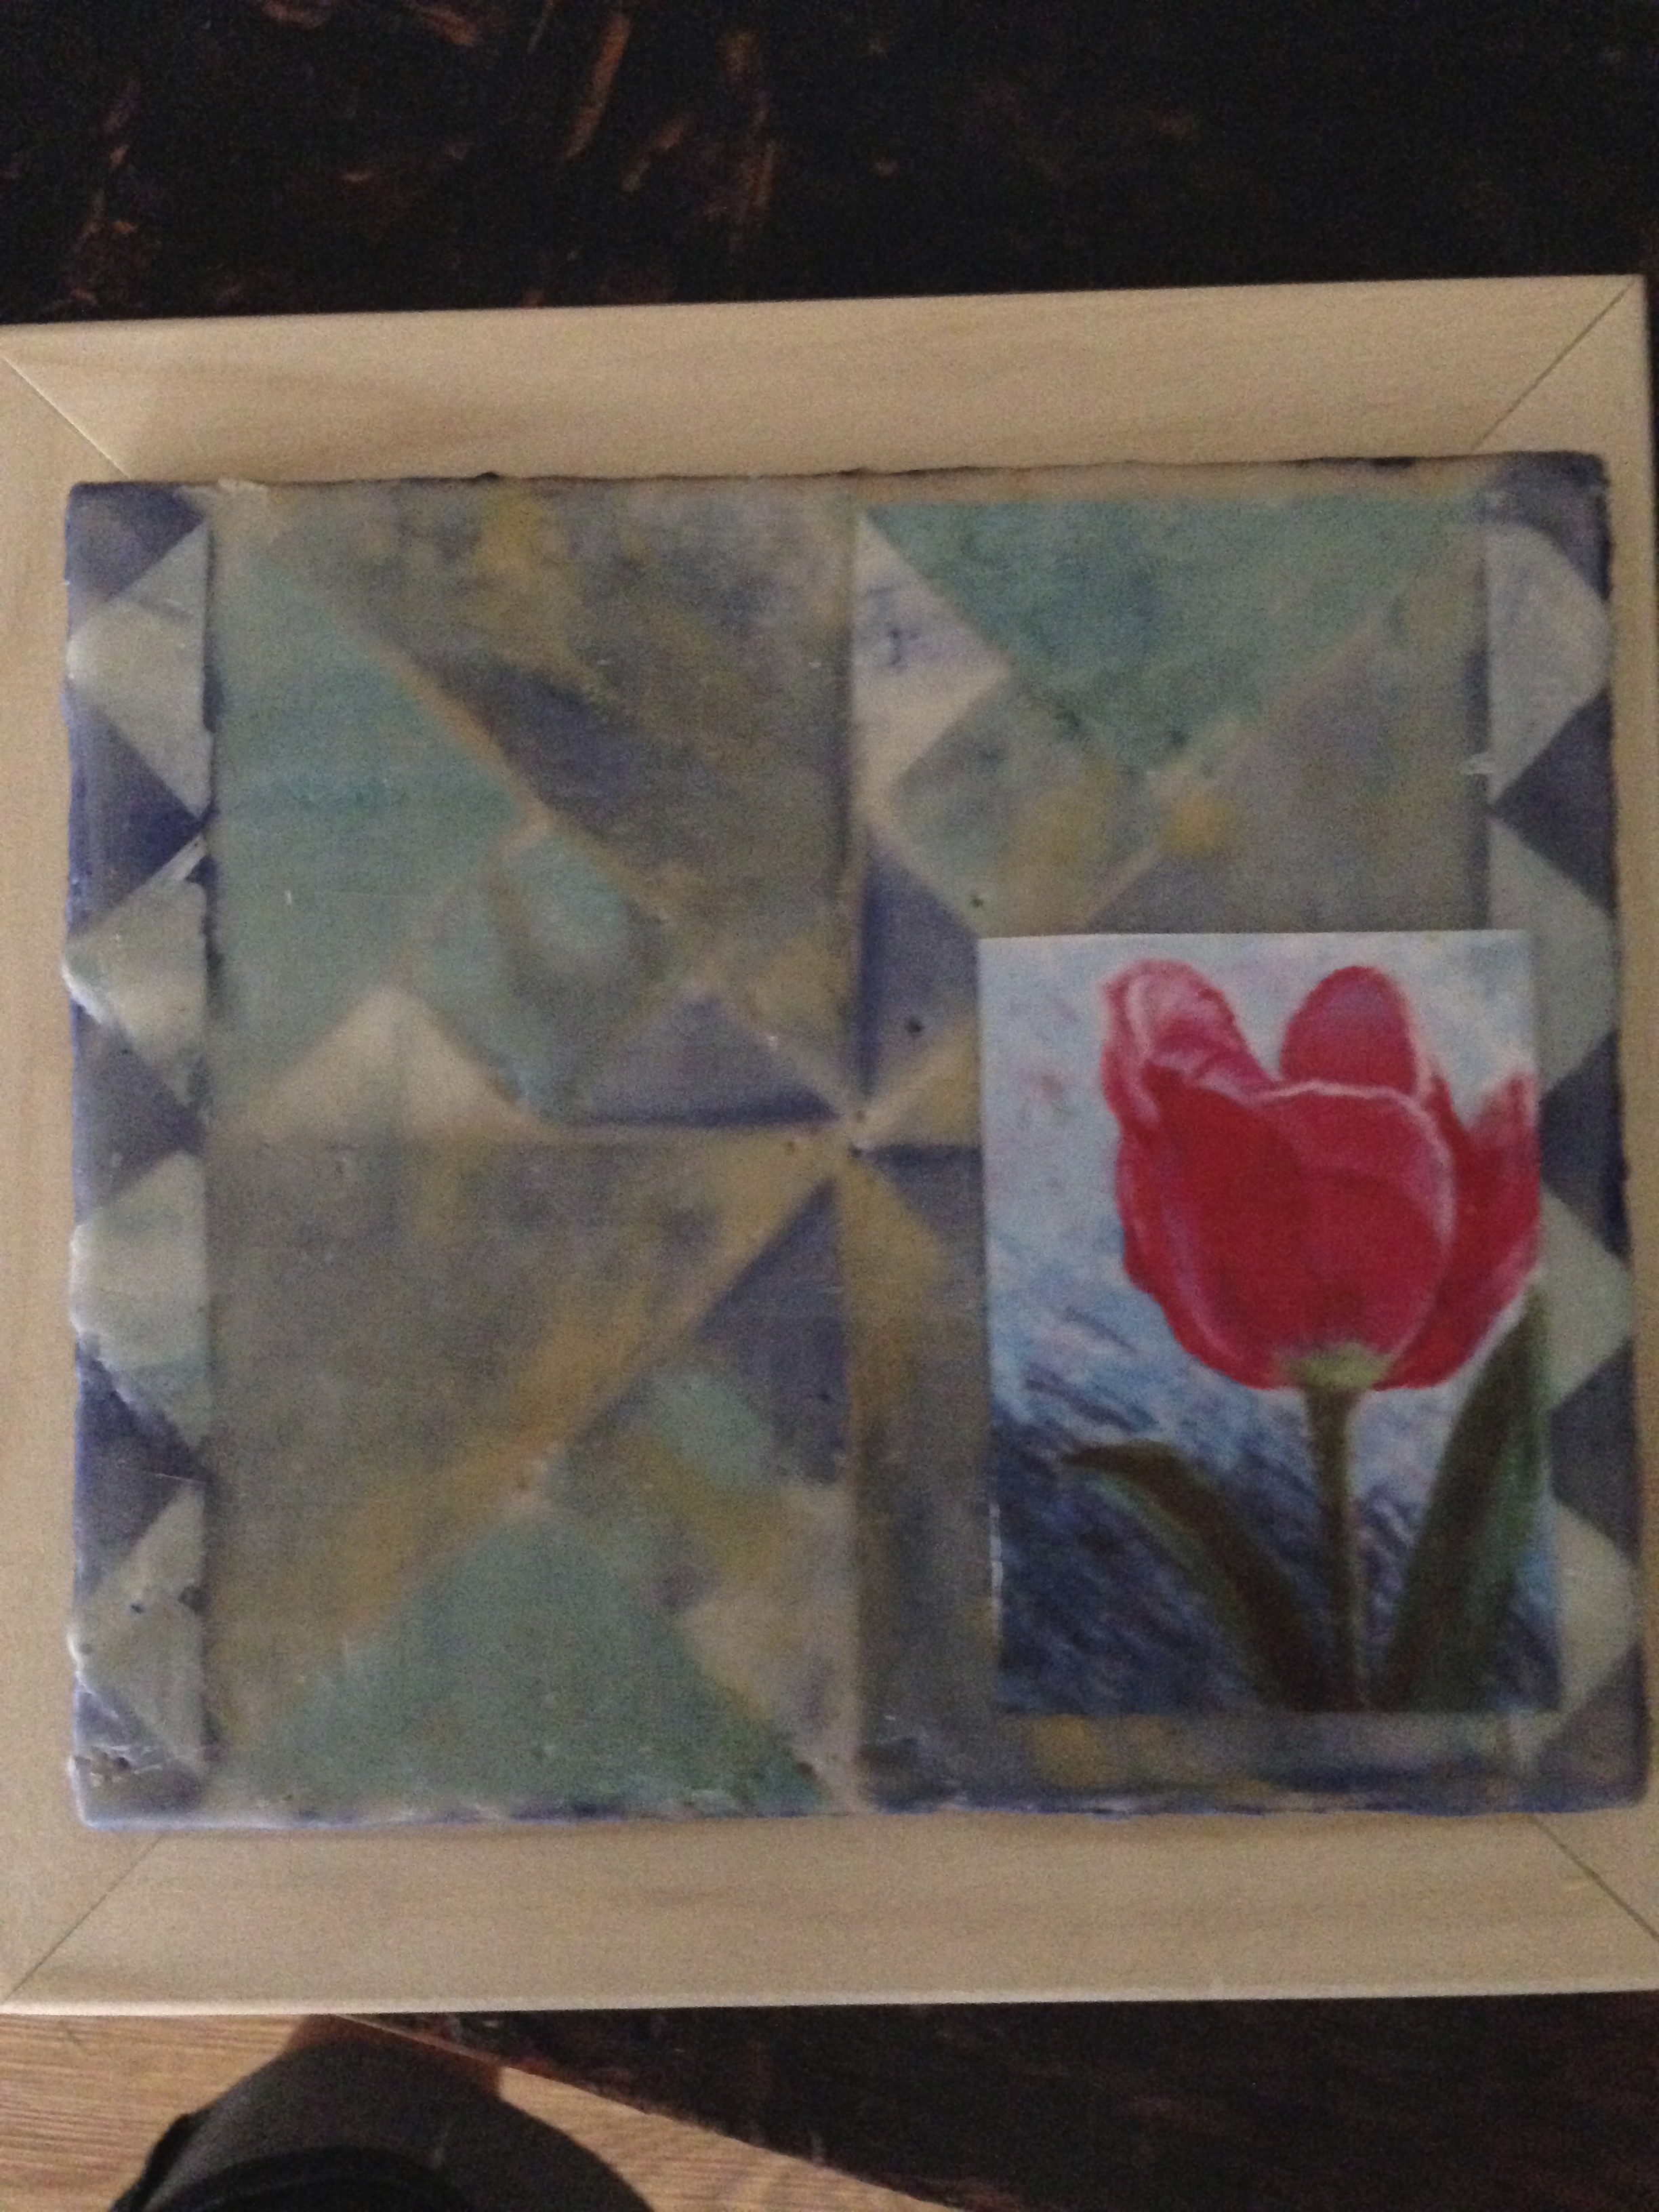
Once a fiber artist, always a fiber artist. Although I worked with silk thread and the smallest silk gauze for needlepoint (40 stitches per inch), this is a quilt pattern created in deli paper and encaustic.

Quilt pattern created in deli paper and encaustic by Vicki Ross

Materials:

  • 6″x 7″ Luan panel
  • Deli Paper (thank you mixed media artists)
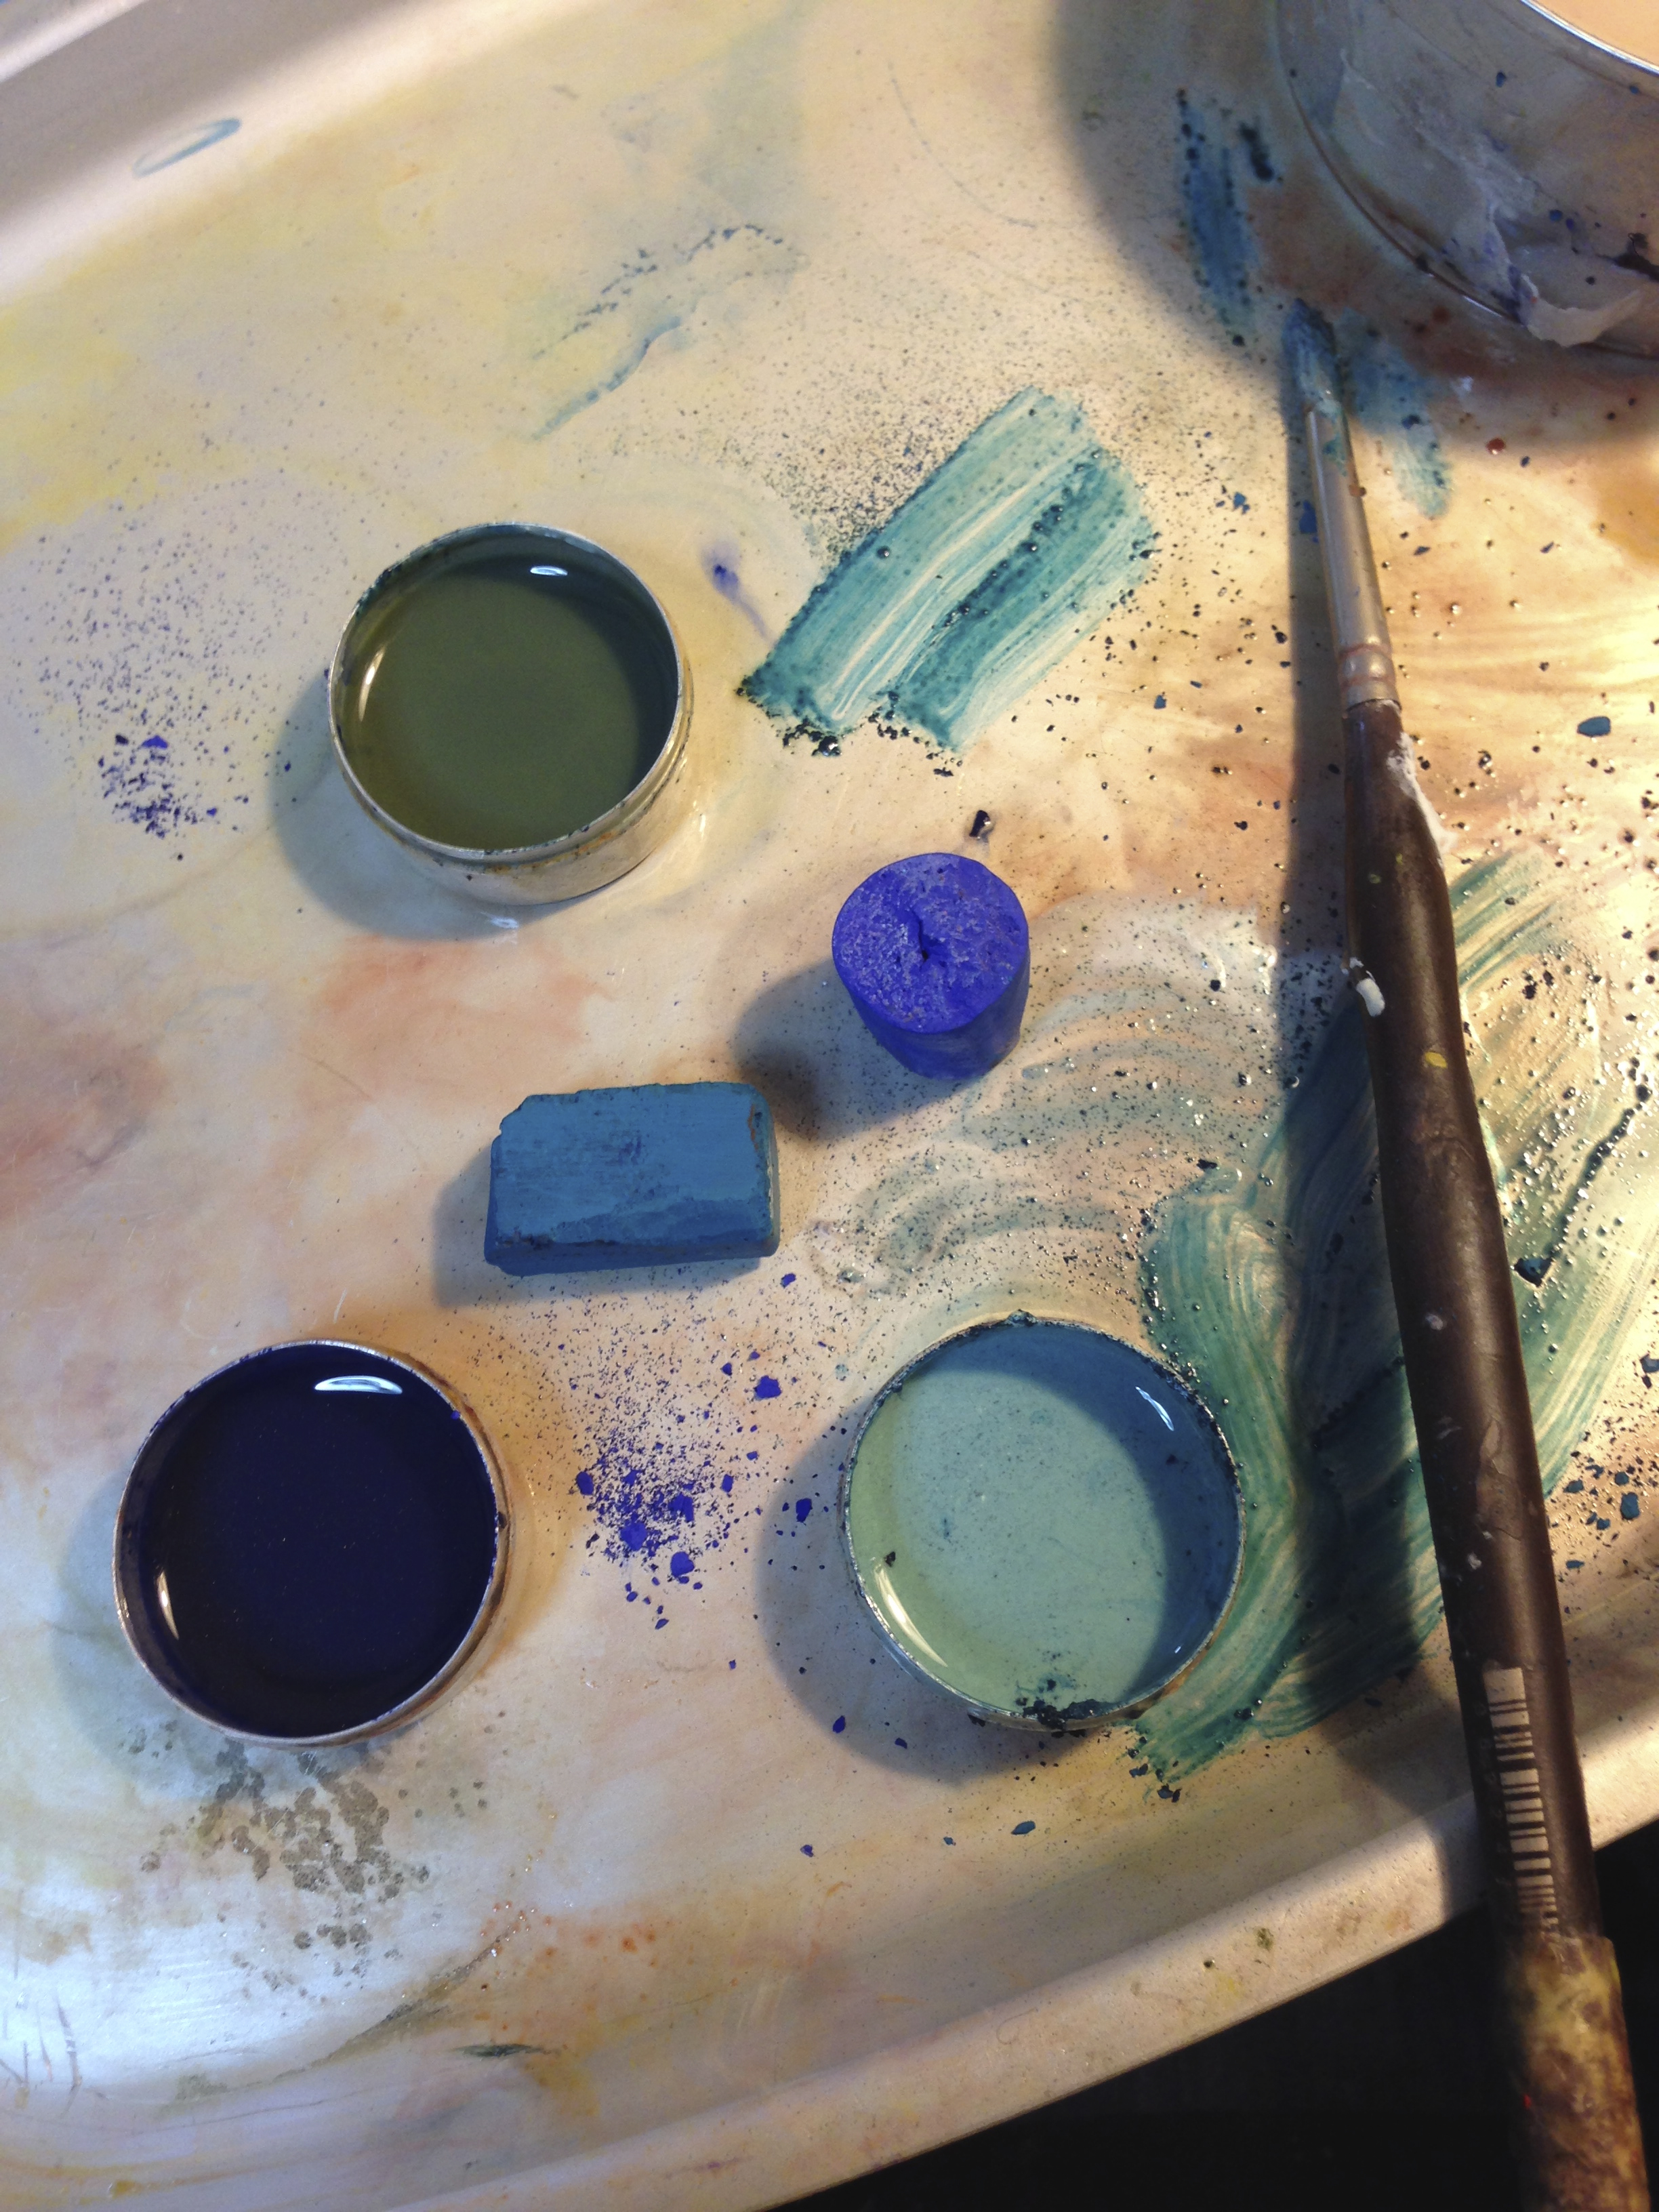
  • encaustic medium (I used a few scrapes off a soft pastel to get my colors)
  • Razor Blade
  • Ranger Tacking Iron
  • Heat Gun

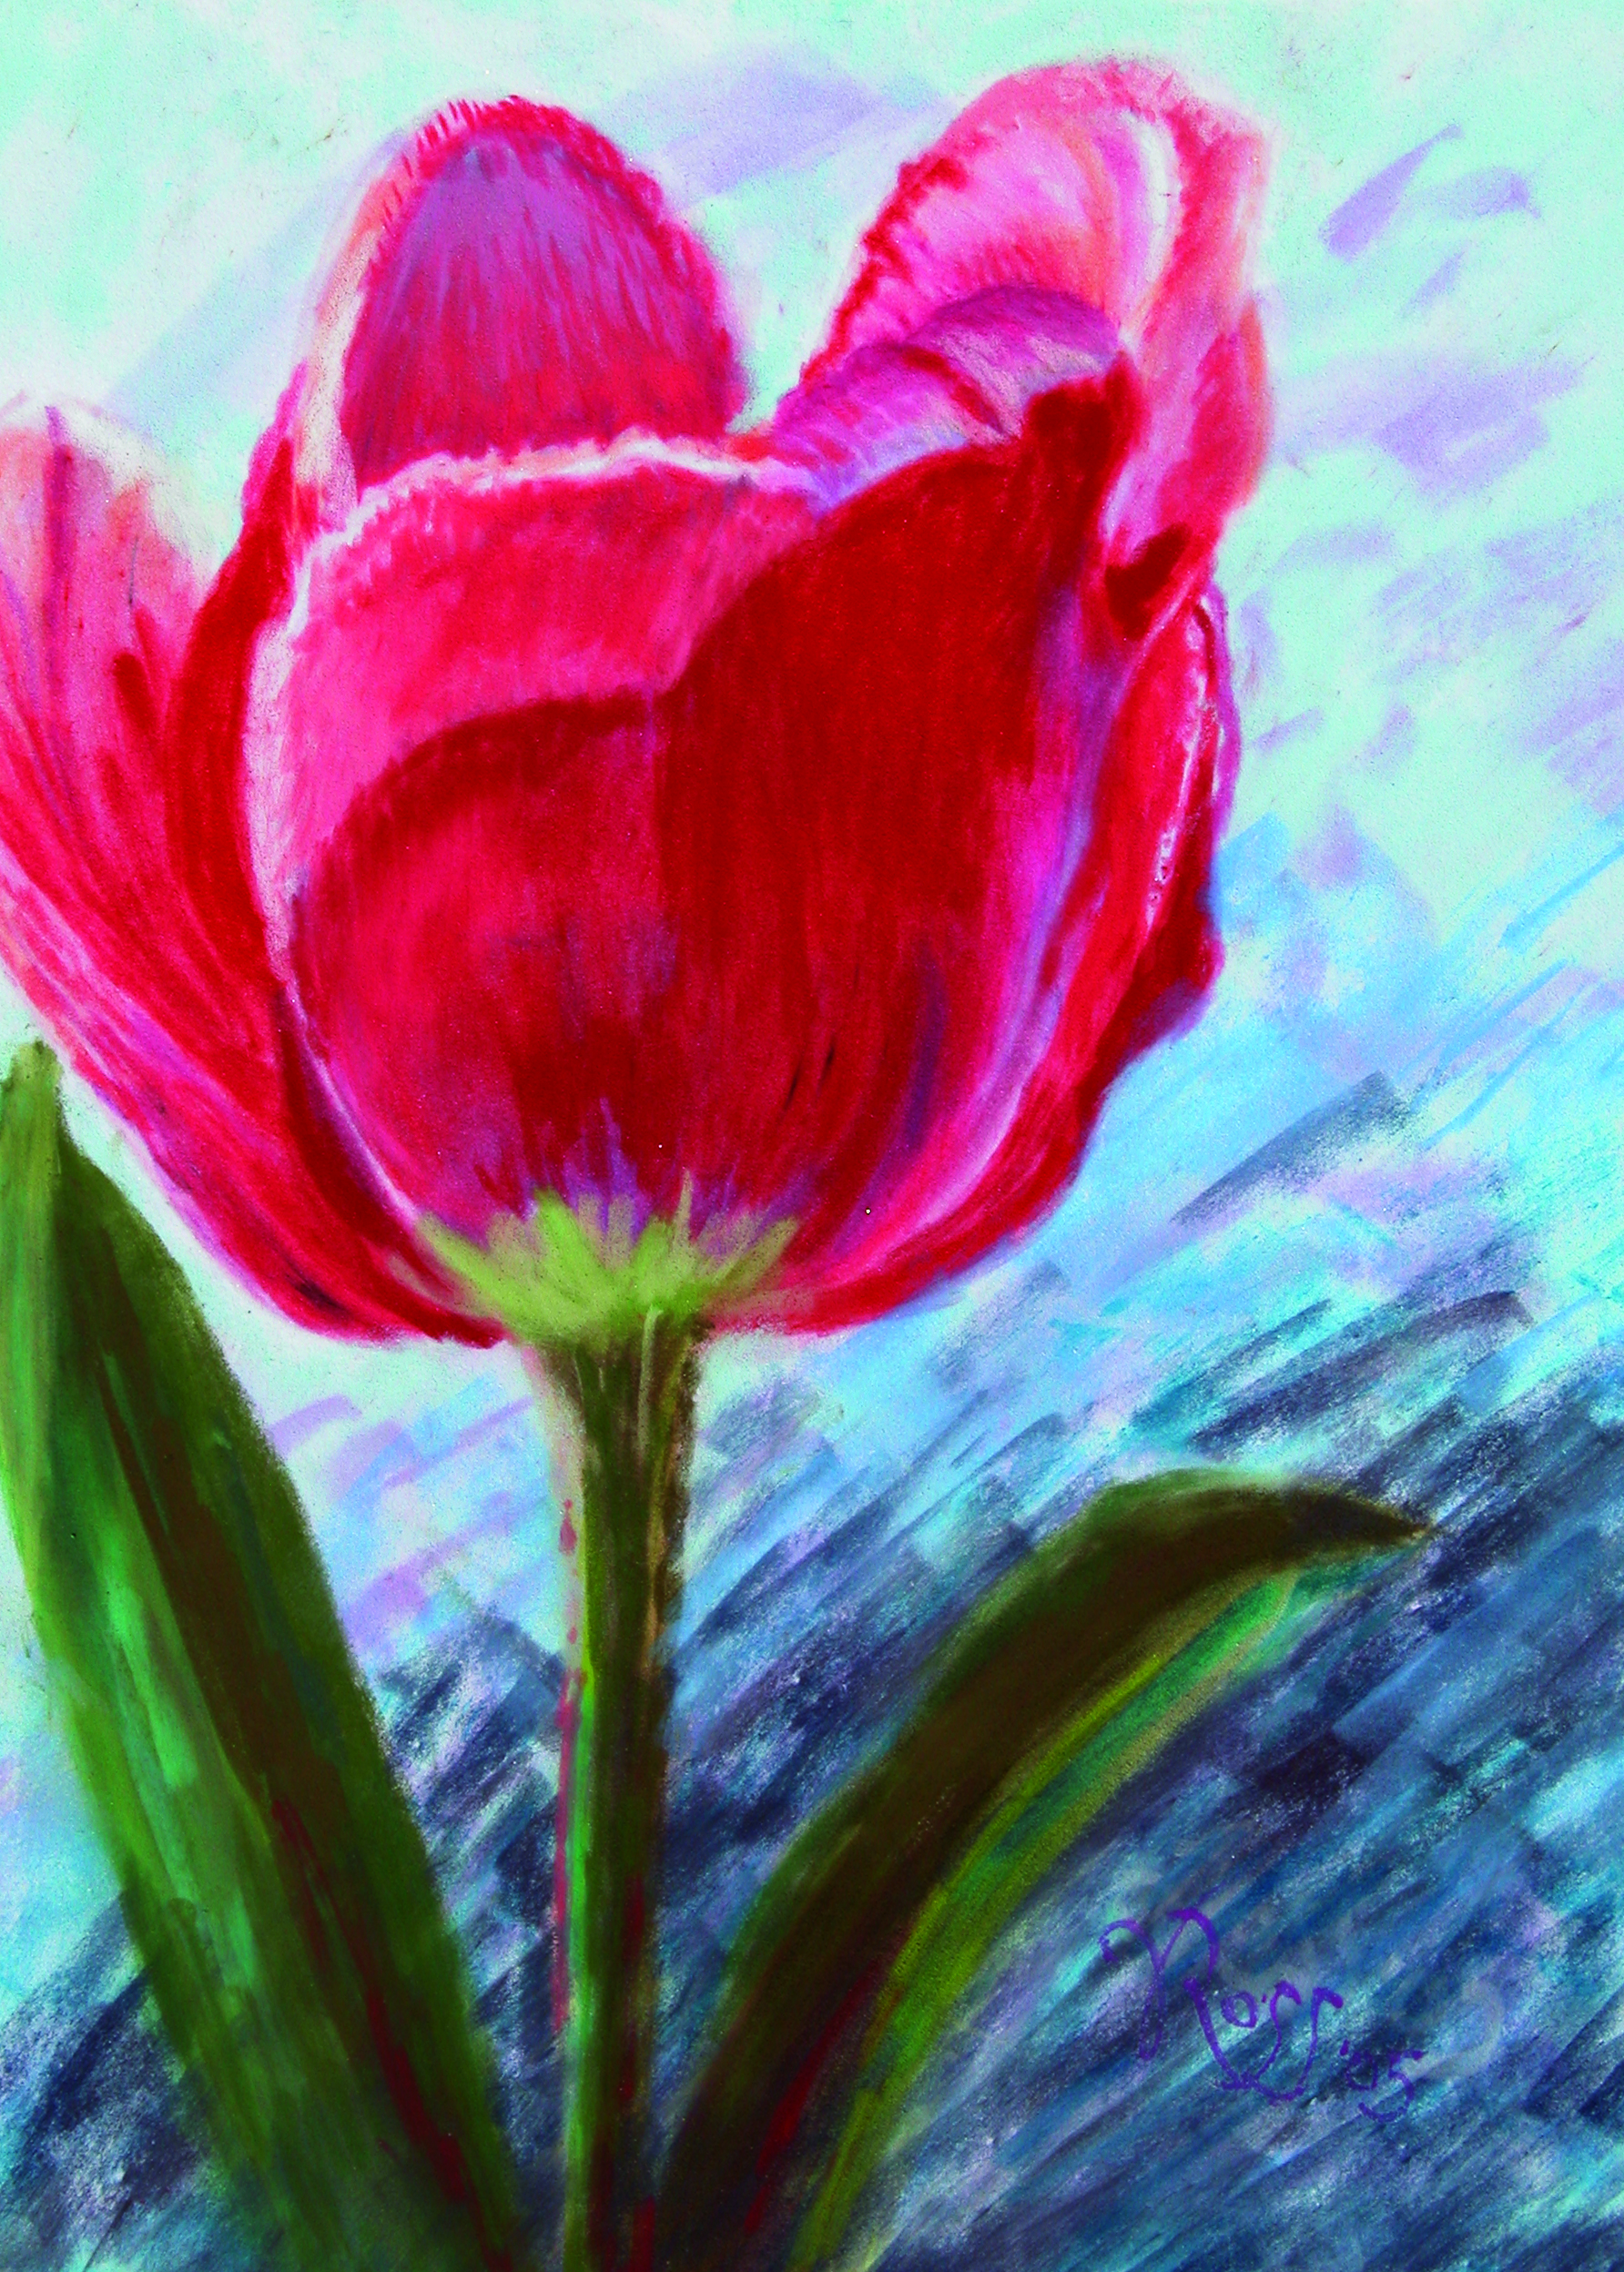
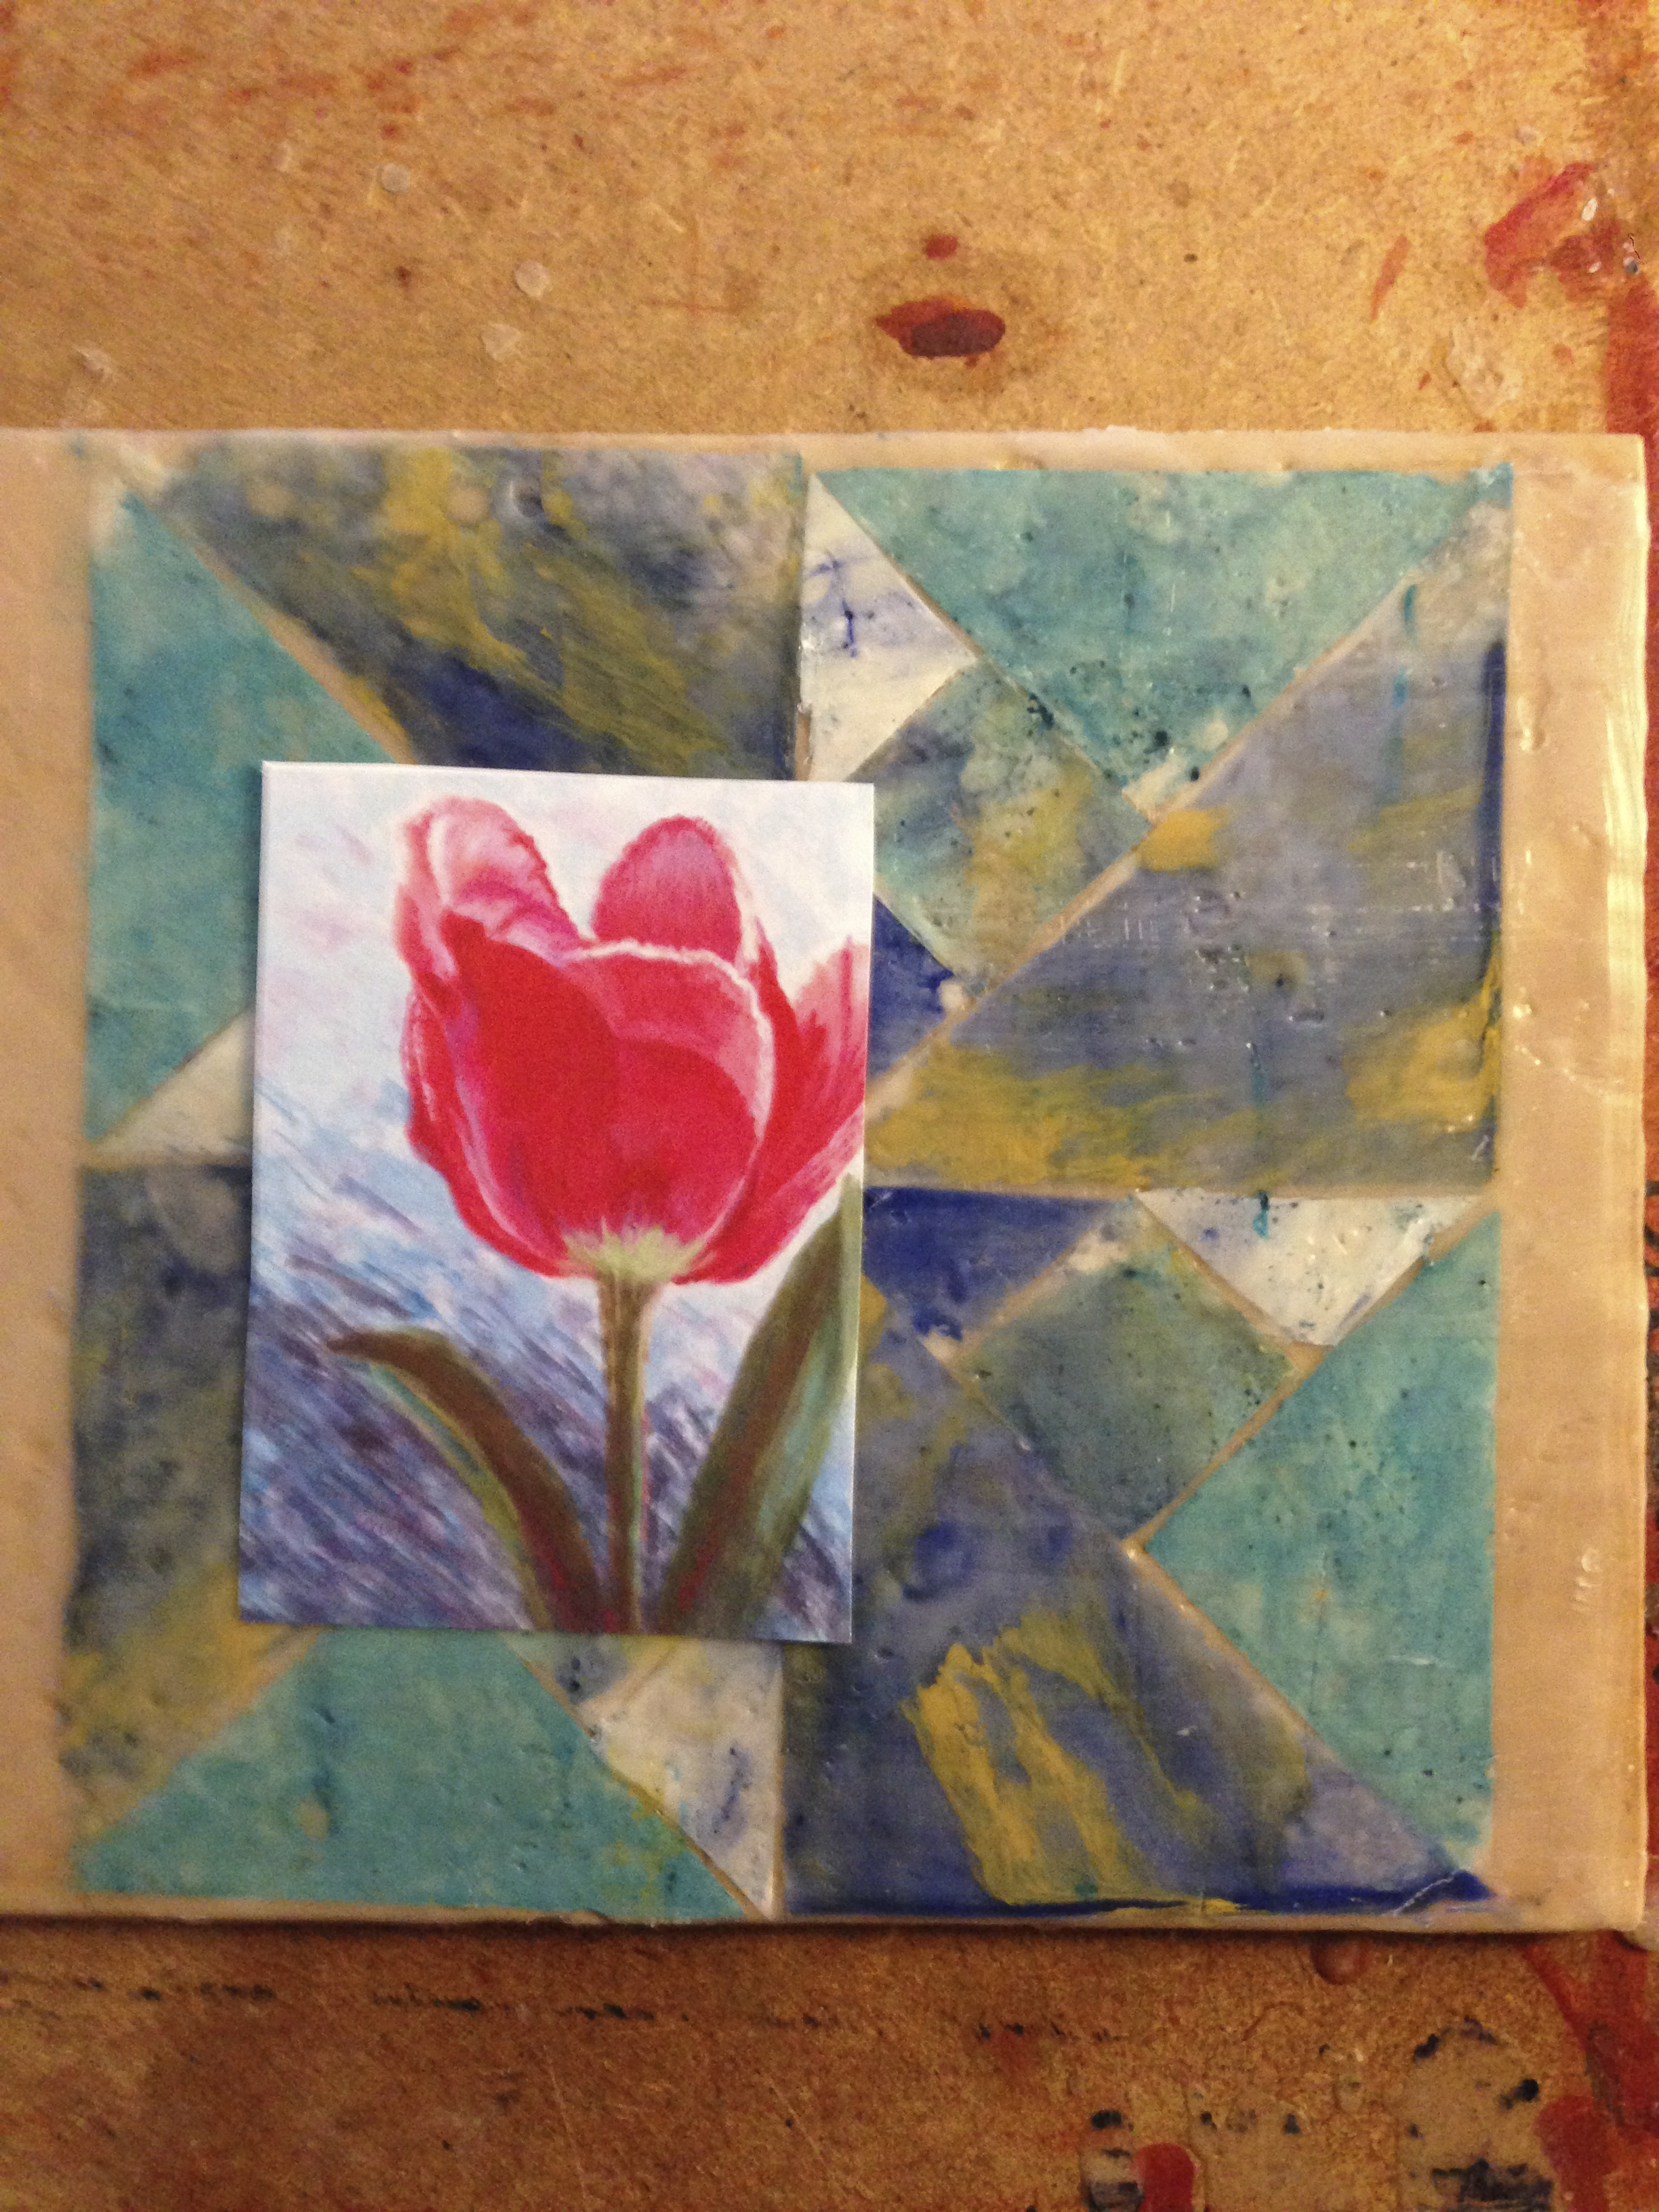
Prime the panel with two coats of clear medium, fusing each with heat gun. To get the surface as smooth as possible, alternate a Ranger tacking iron, scraping with a razor blade, and fusing with the heat gun. I searched through my painting archive and found a painting of a tulip that had nice bright colors. The original is 12” x 9”, soft pastel.

Quilt pattern created in deli paper and encaustic by Vicki Ross

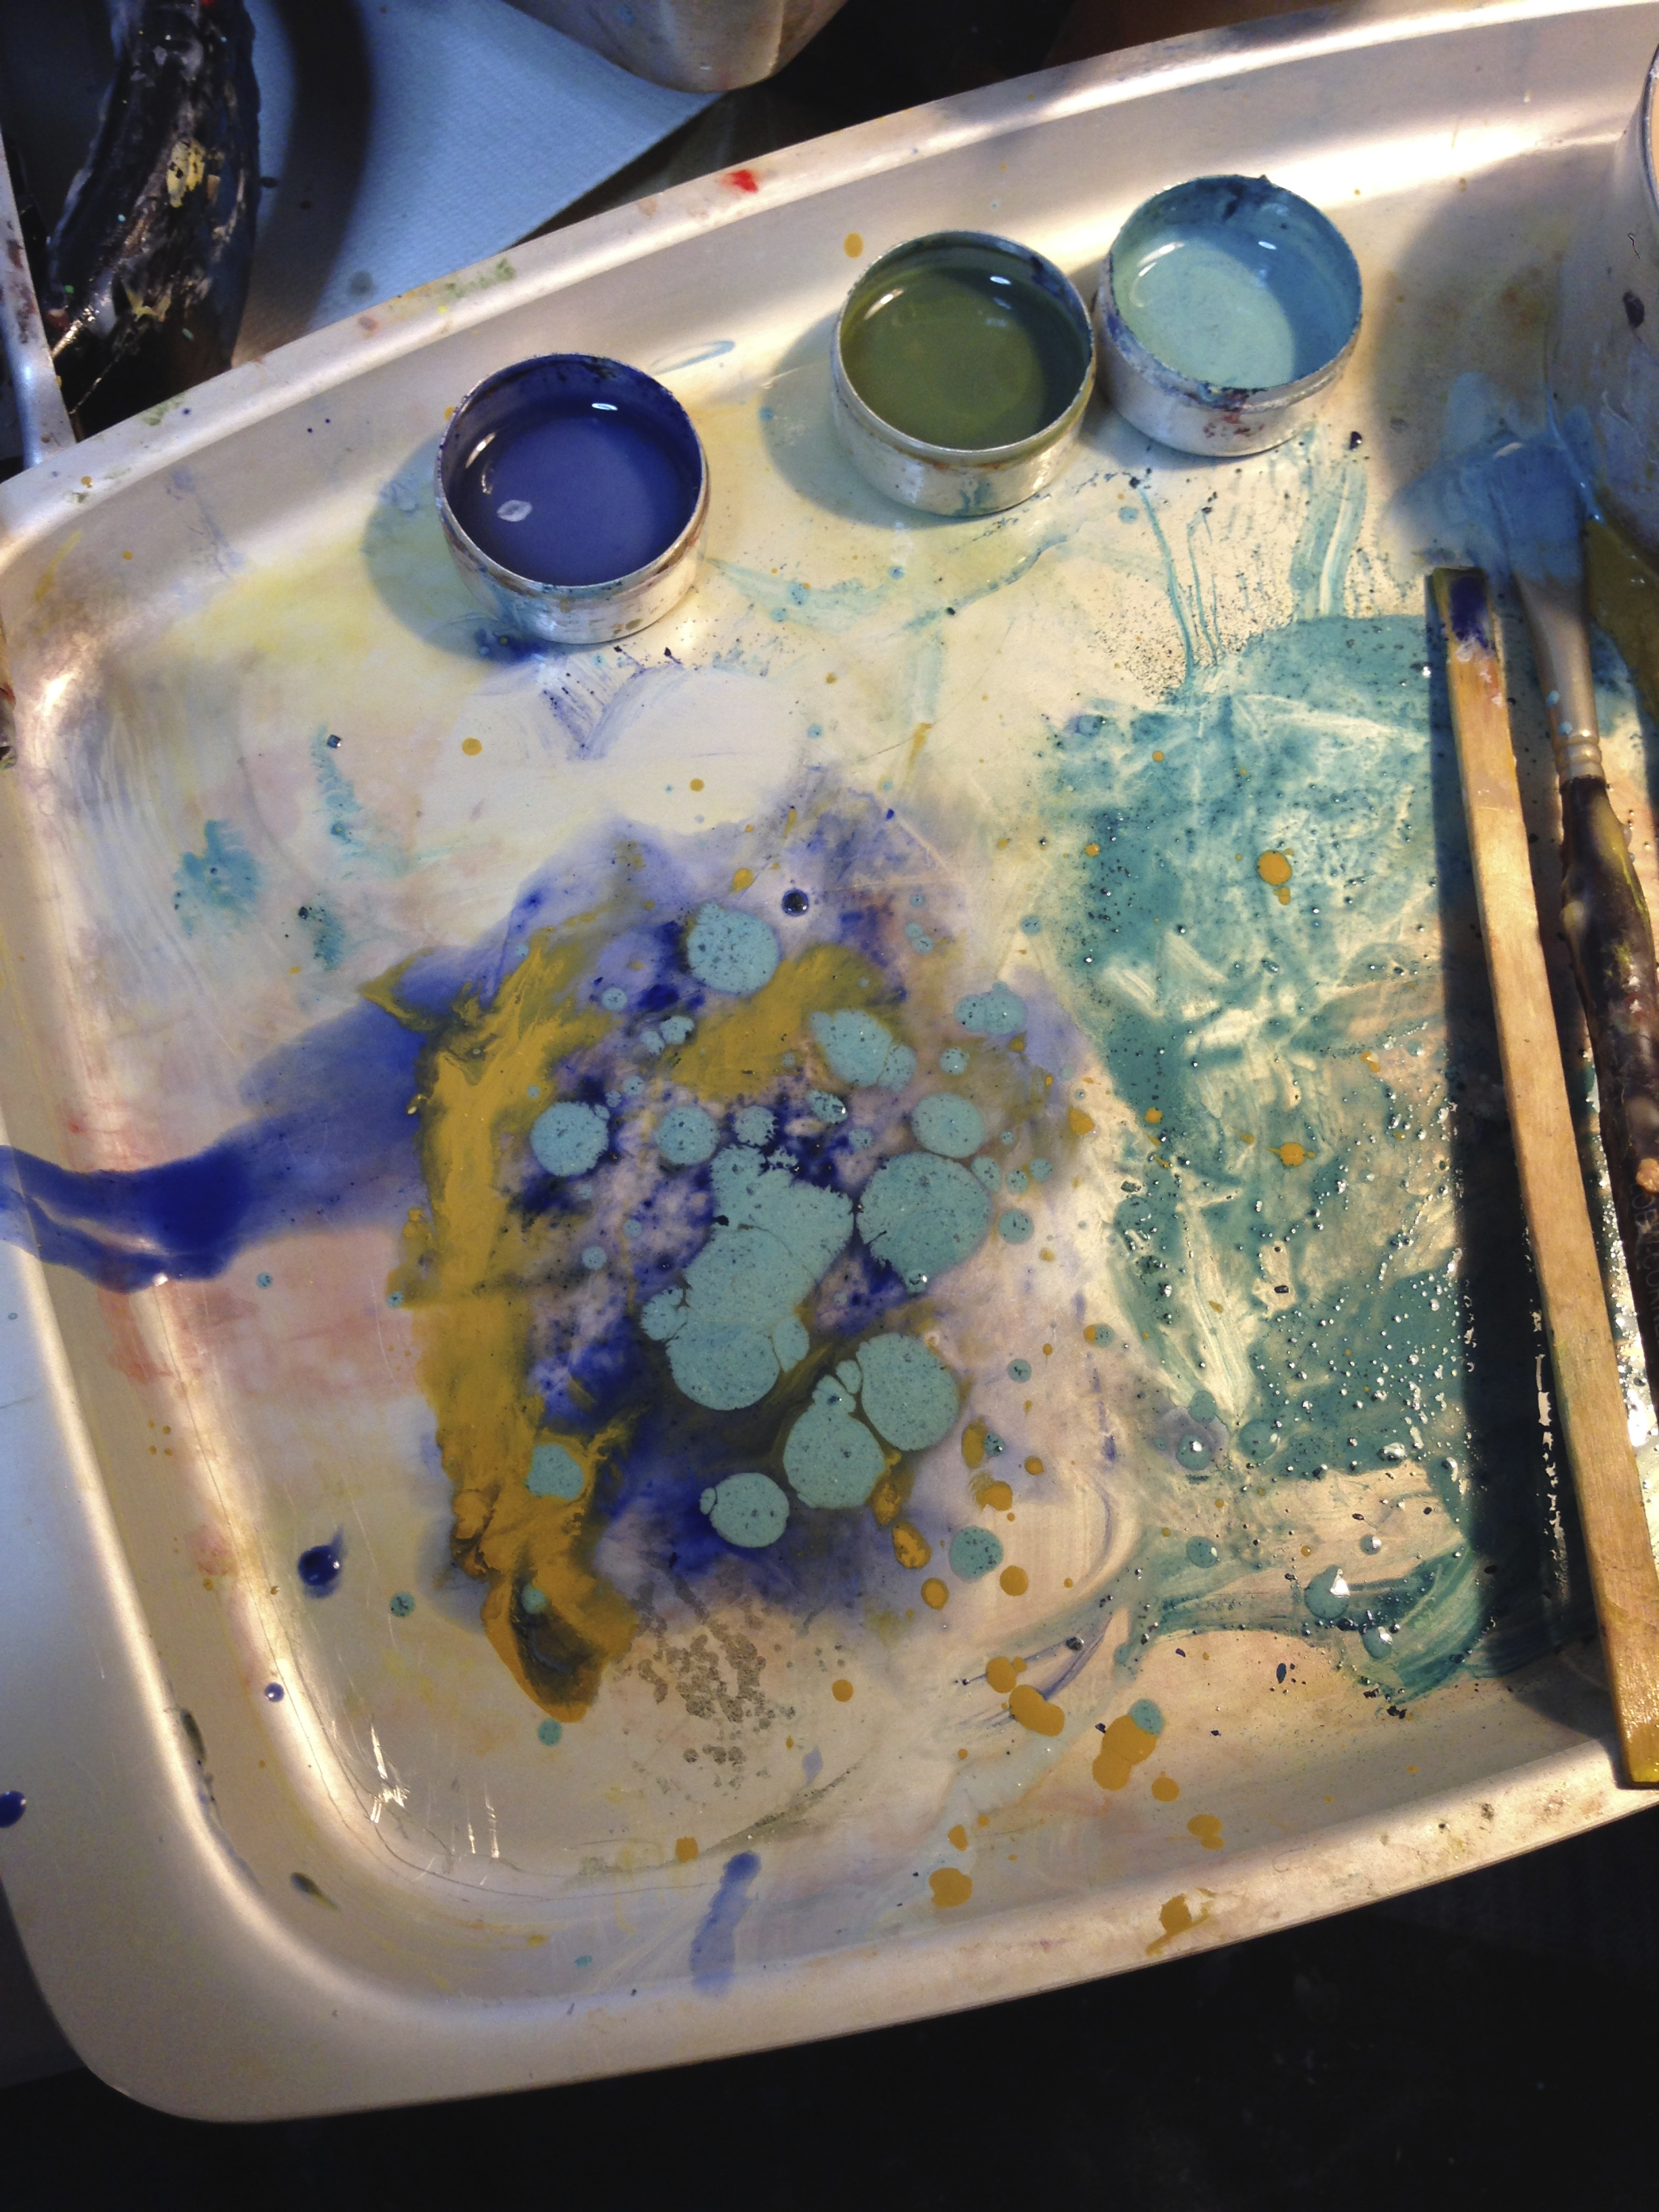
A quilt square named Delft Mill fit with the Tulip. Color scheme? Used Robert Burridge’s Goof Proof Color Wheel. I have the app, and it is a great tool! Working with plain encaustic medium, I scraped a bit from soft pastel sticks to get my color quickly. Sometimes you don’t need much, and it is easier than mixing. Worked great and I like the faint granulation.

Quilt pattern created in deli paper and encaustic by Vicki Ross

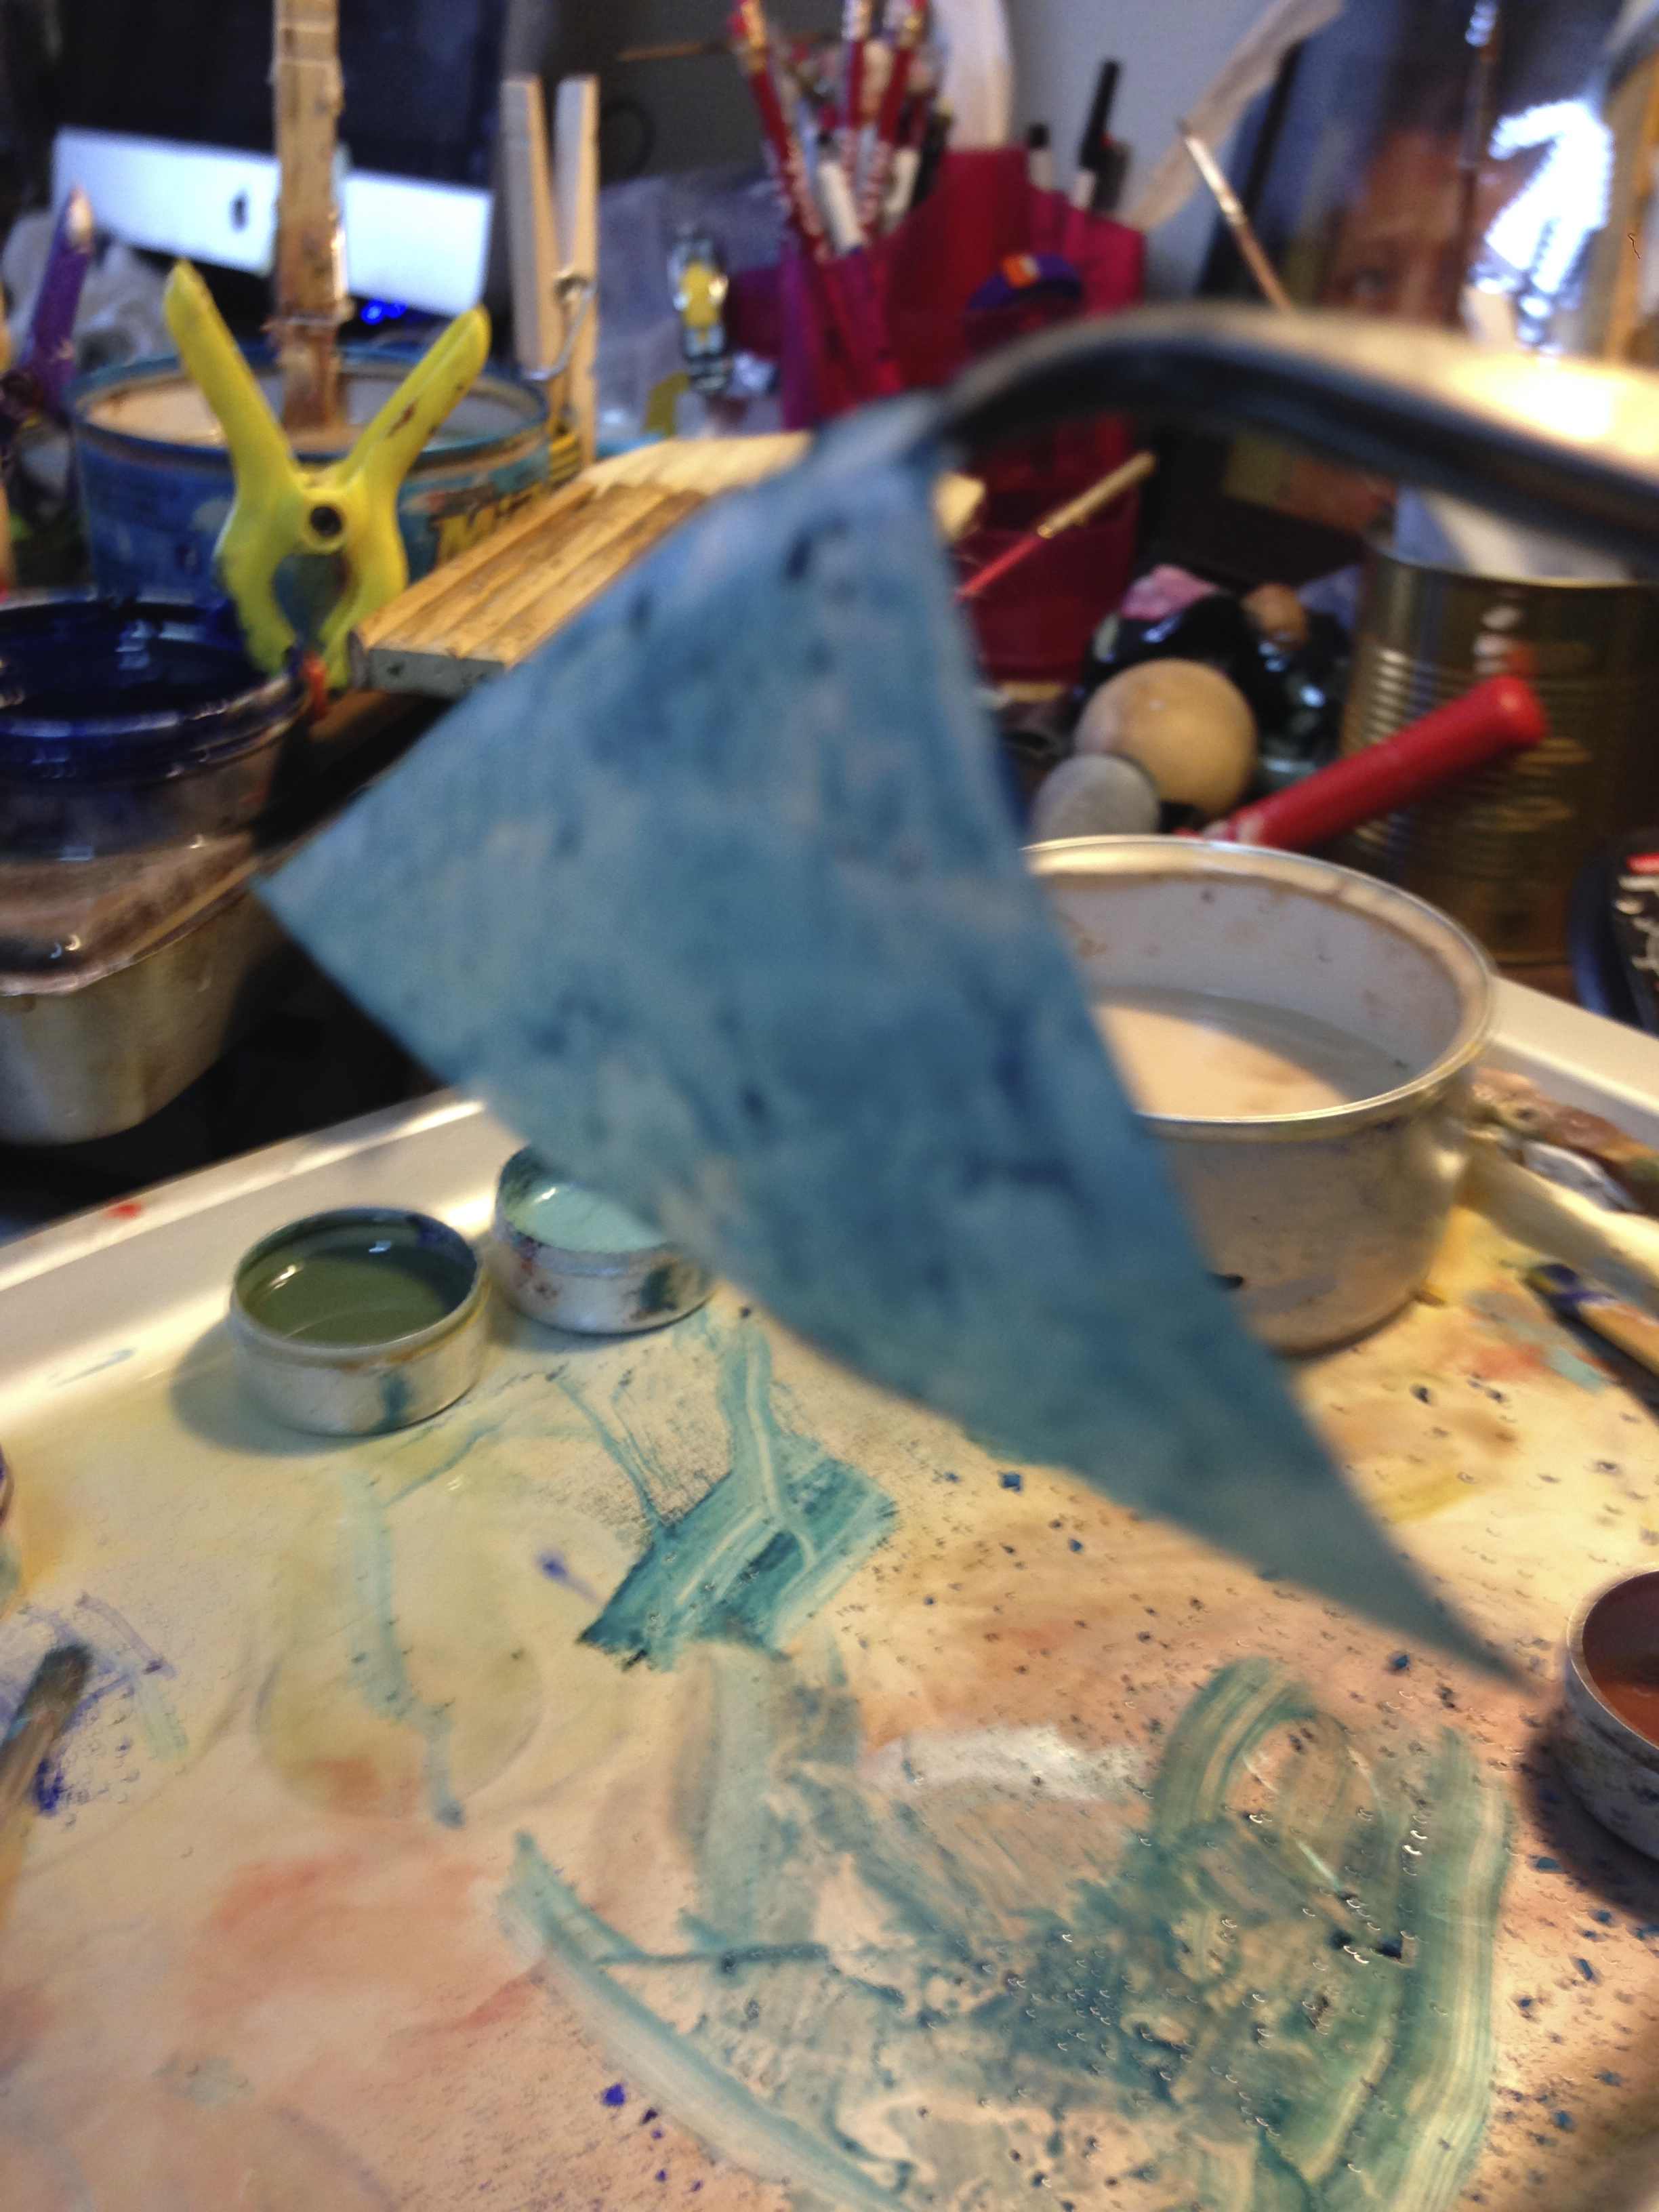
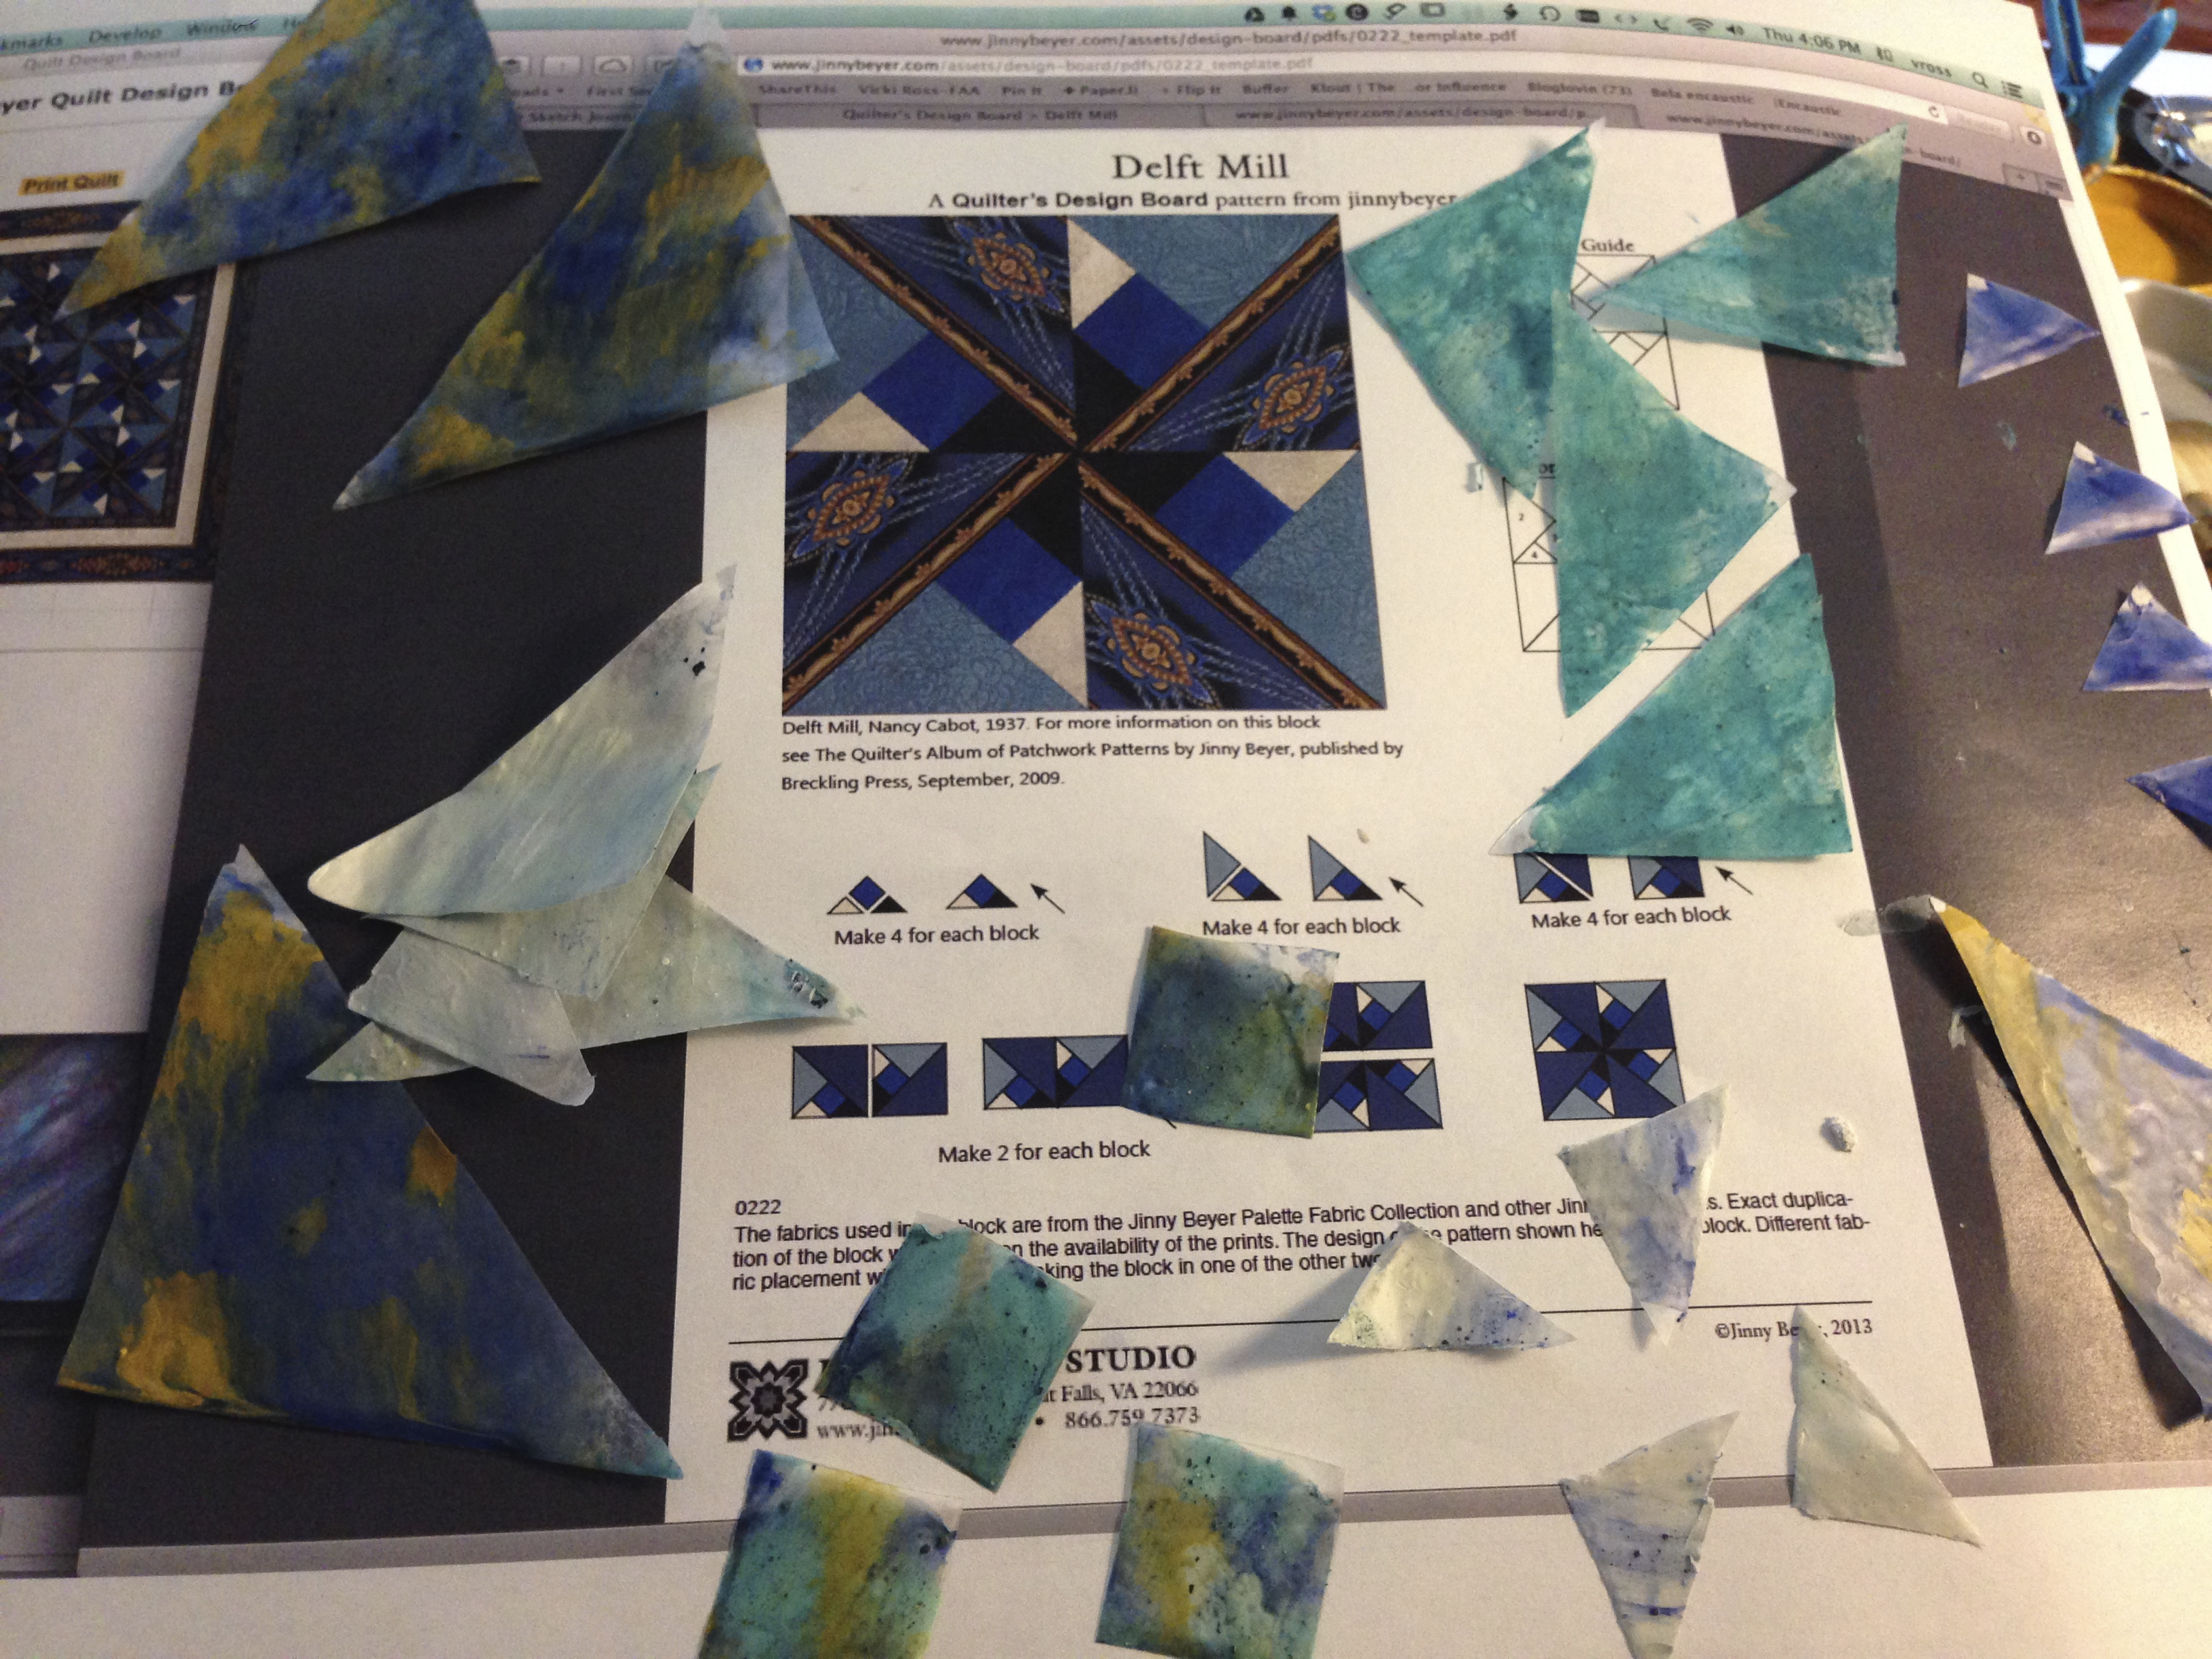
Next, I experimented with the template pieces cut direct from thin encaustic medium. Nothing I did worked, and it made a mess on my Cuttlebug plates! I rolled it in pasta roller, put it in the freezer, and still had a mess. This was a simple pattern, so I took another path: Deli Paper to the rescue! I precut the pieces (minus the seam allowance), and dipped the required number of pieces into the same color mixture so it would resemble print fabric. Using tweezers, I mono-printed each piece on both sides.

 Quilt pattern created in deli paper and encaustic by Vicki Ross

Quilt pattern created in deli paper and encaustic by Vicki Ross

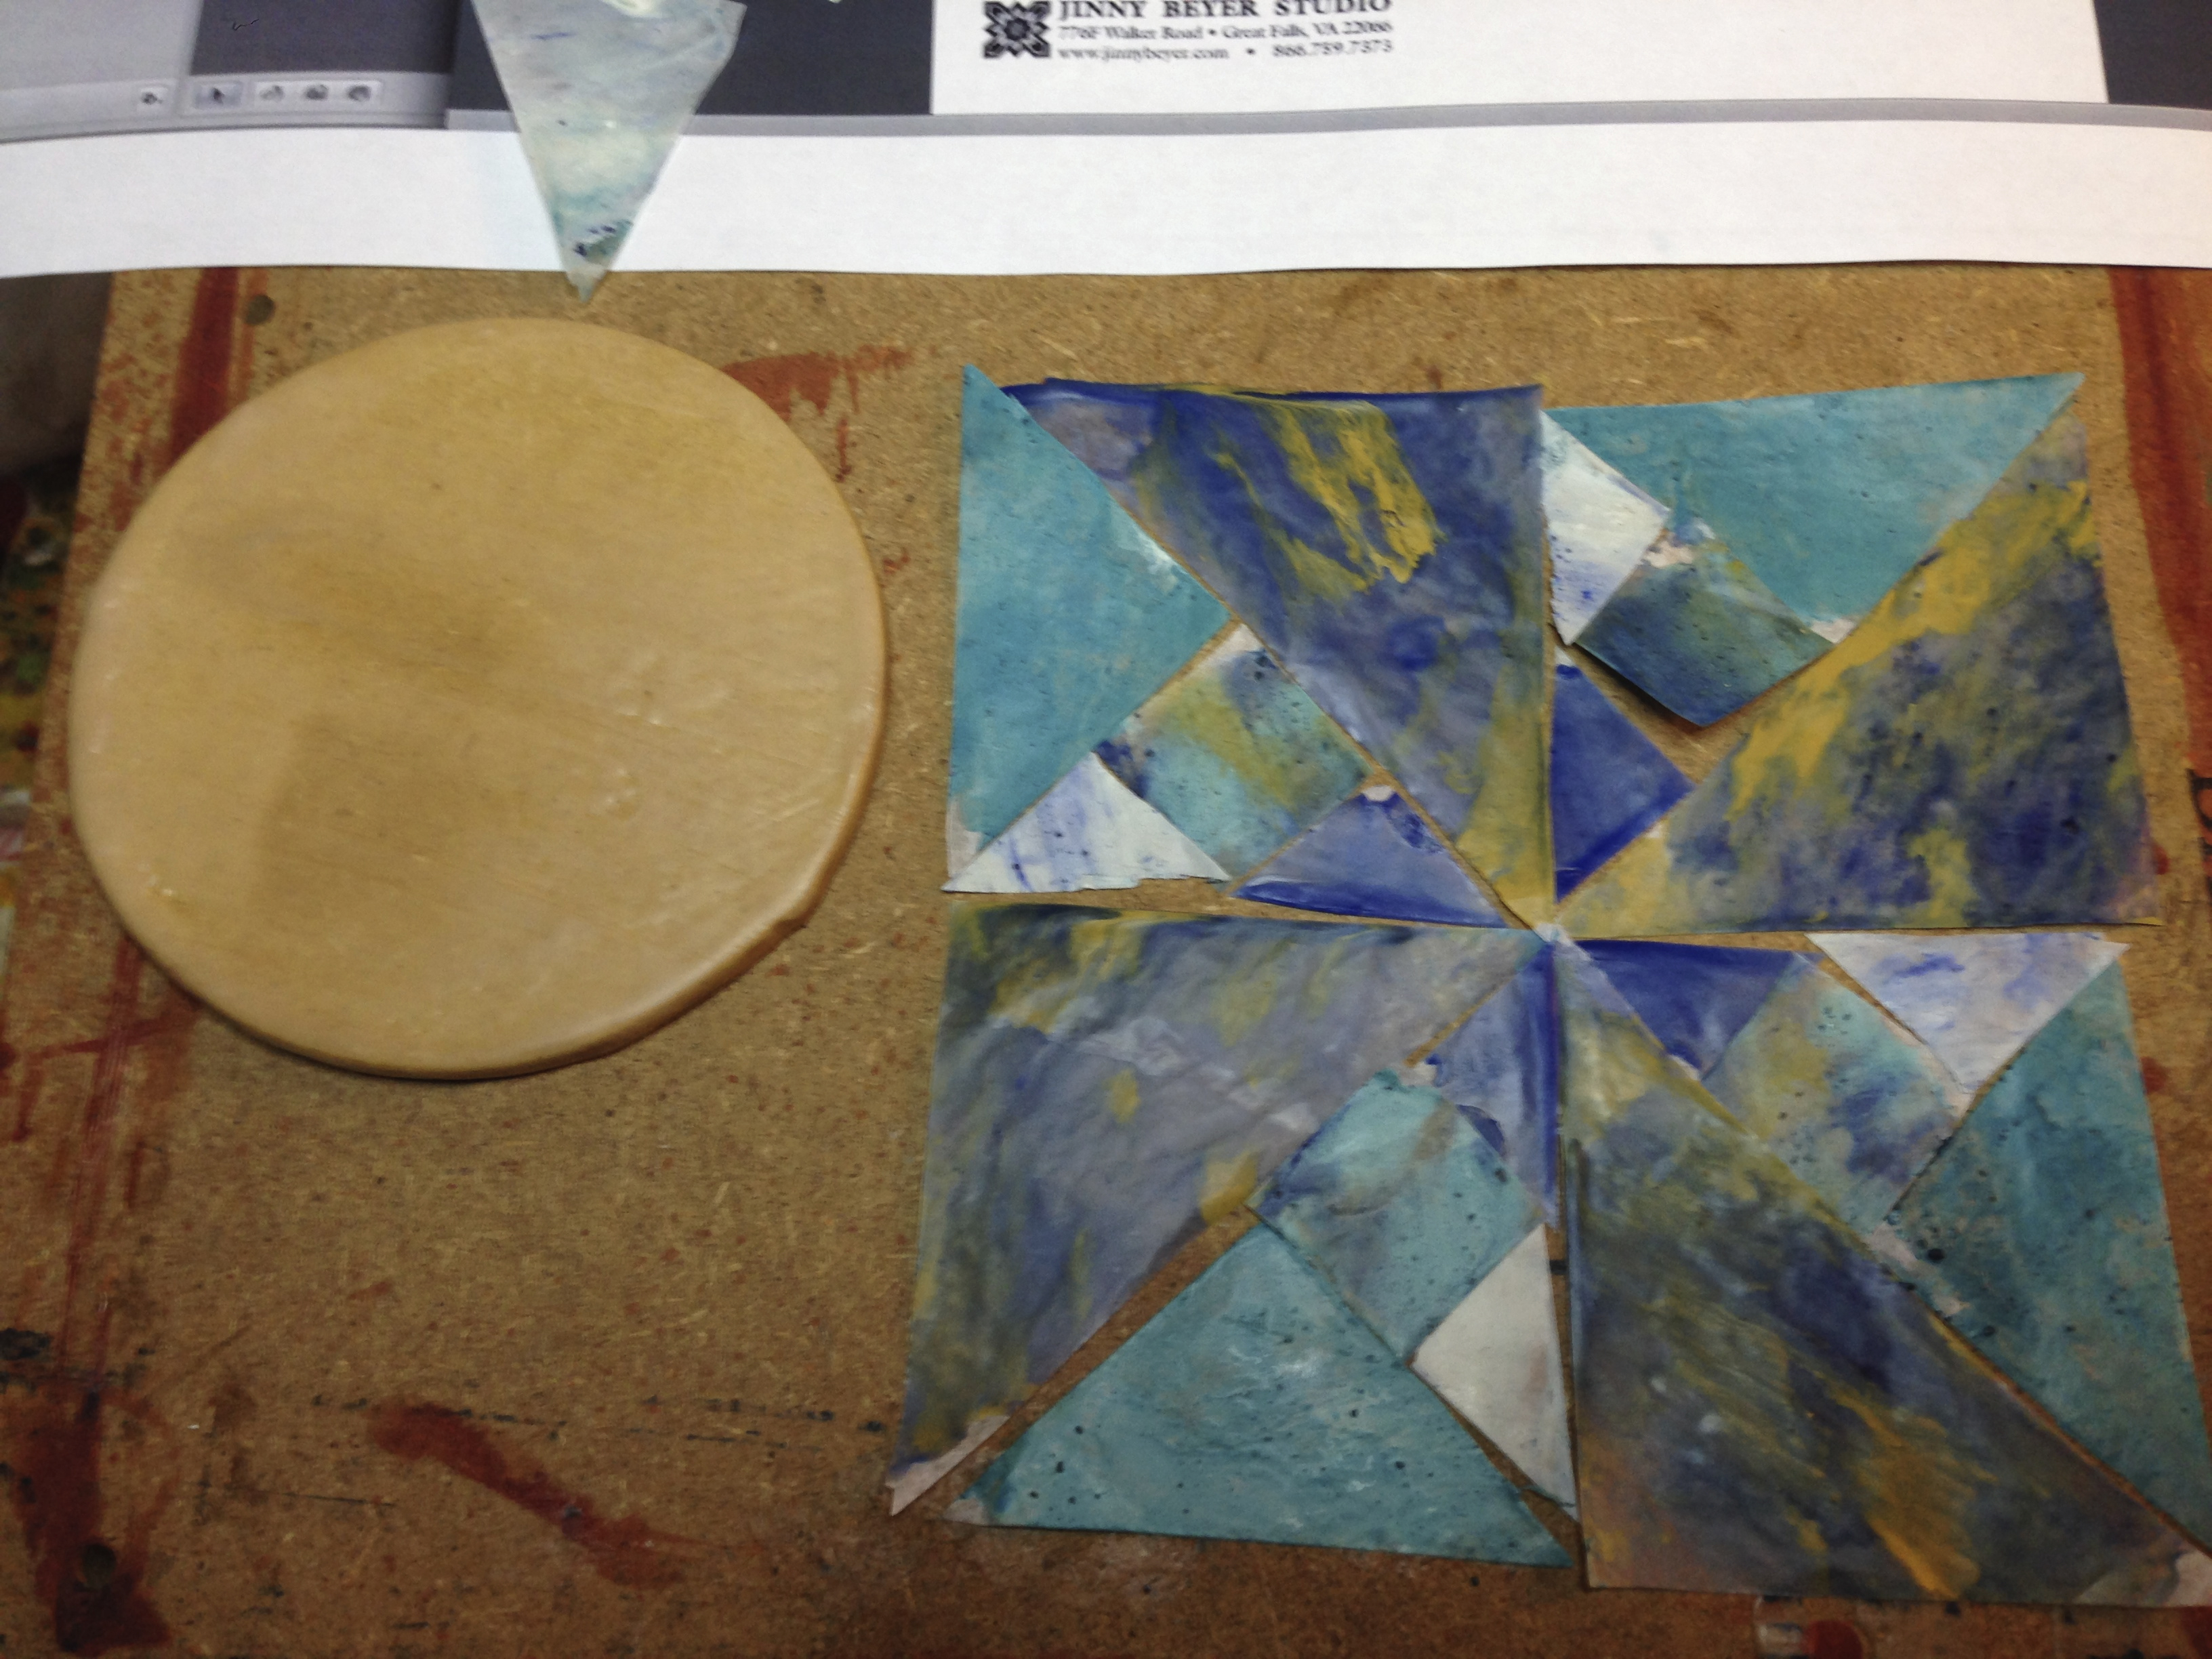
Here you can see the pieces all ready for “quilting” onto the prepped board, and a trial piecing. Then I moved them to the board in position.

Quilt pattern created in deli paper and encaustic by Vicki Ross

Quilt pattern created in deli paper and encaustic by Vicki Ross

Quilt pattern created in deli paper and encaustic by Vicki Ross

I decided what size laser print I wanted for the collage, then auditioned it for its just right position on the quilt.

Quilt pattern created in deli paper and encaustic by Vicki Ross

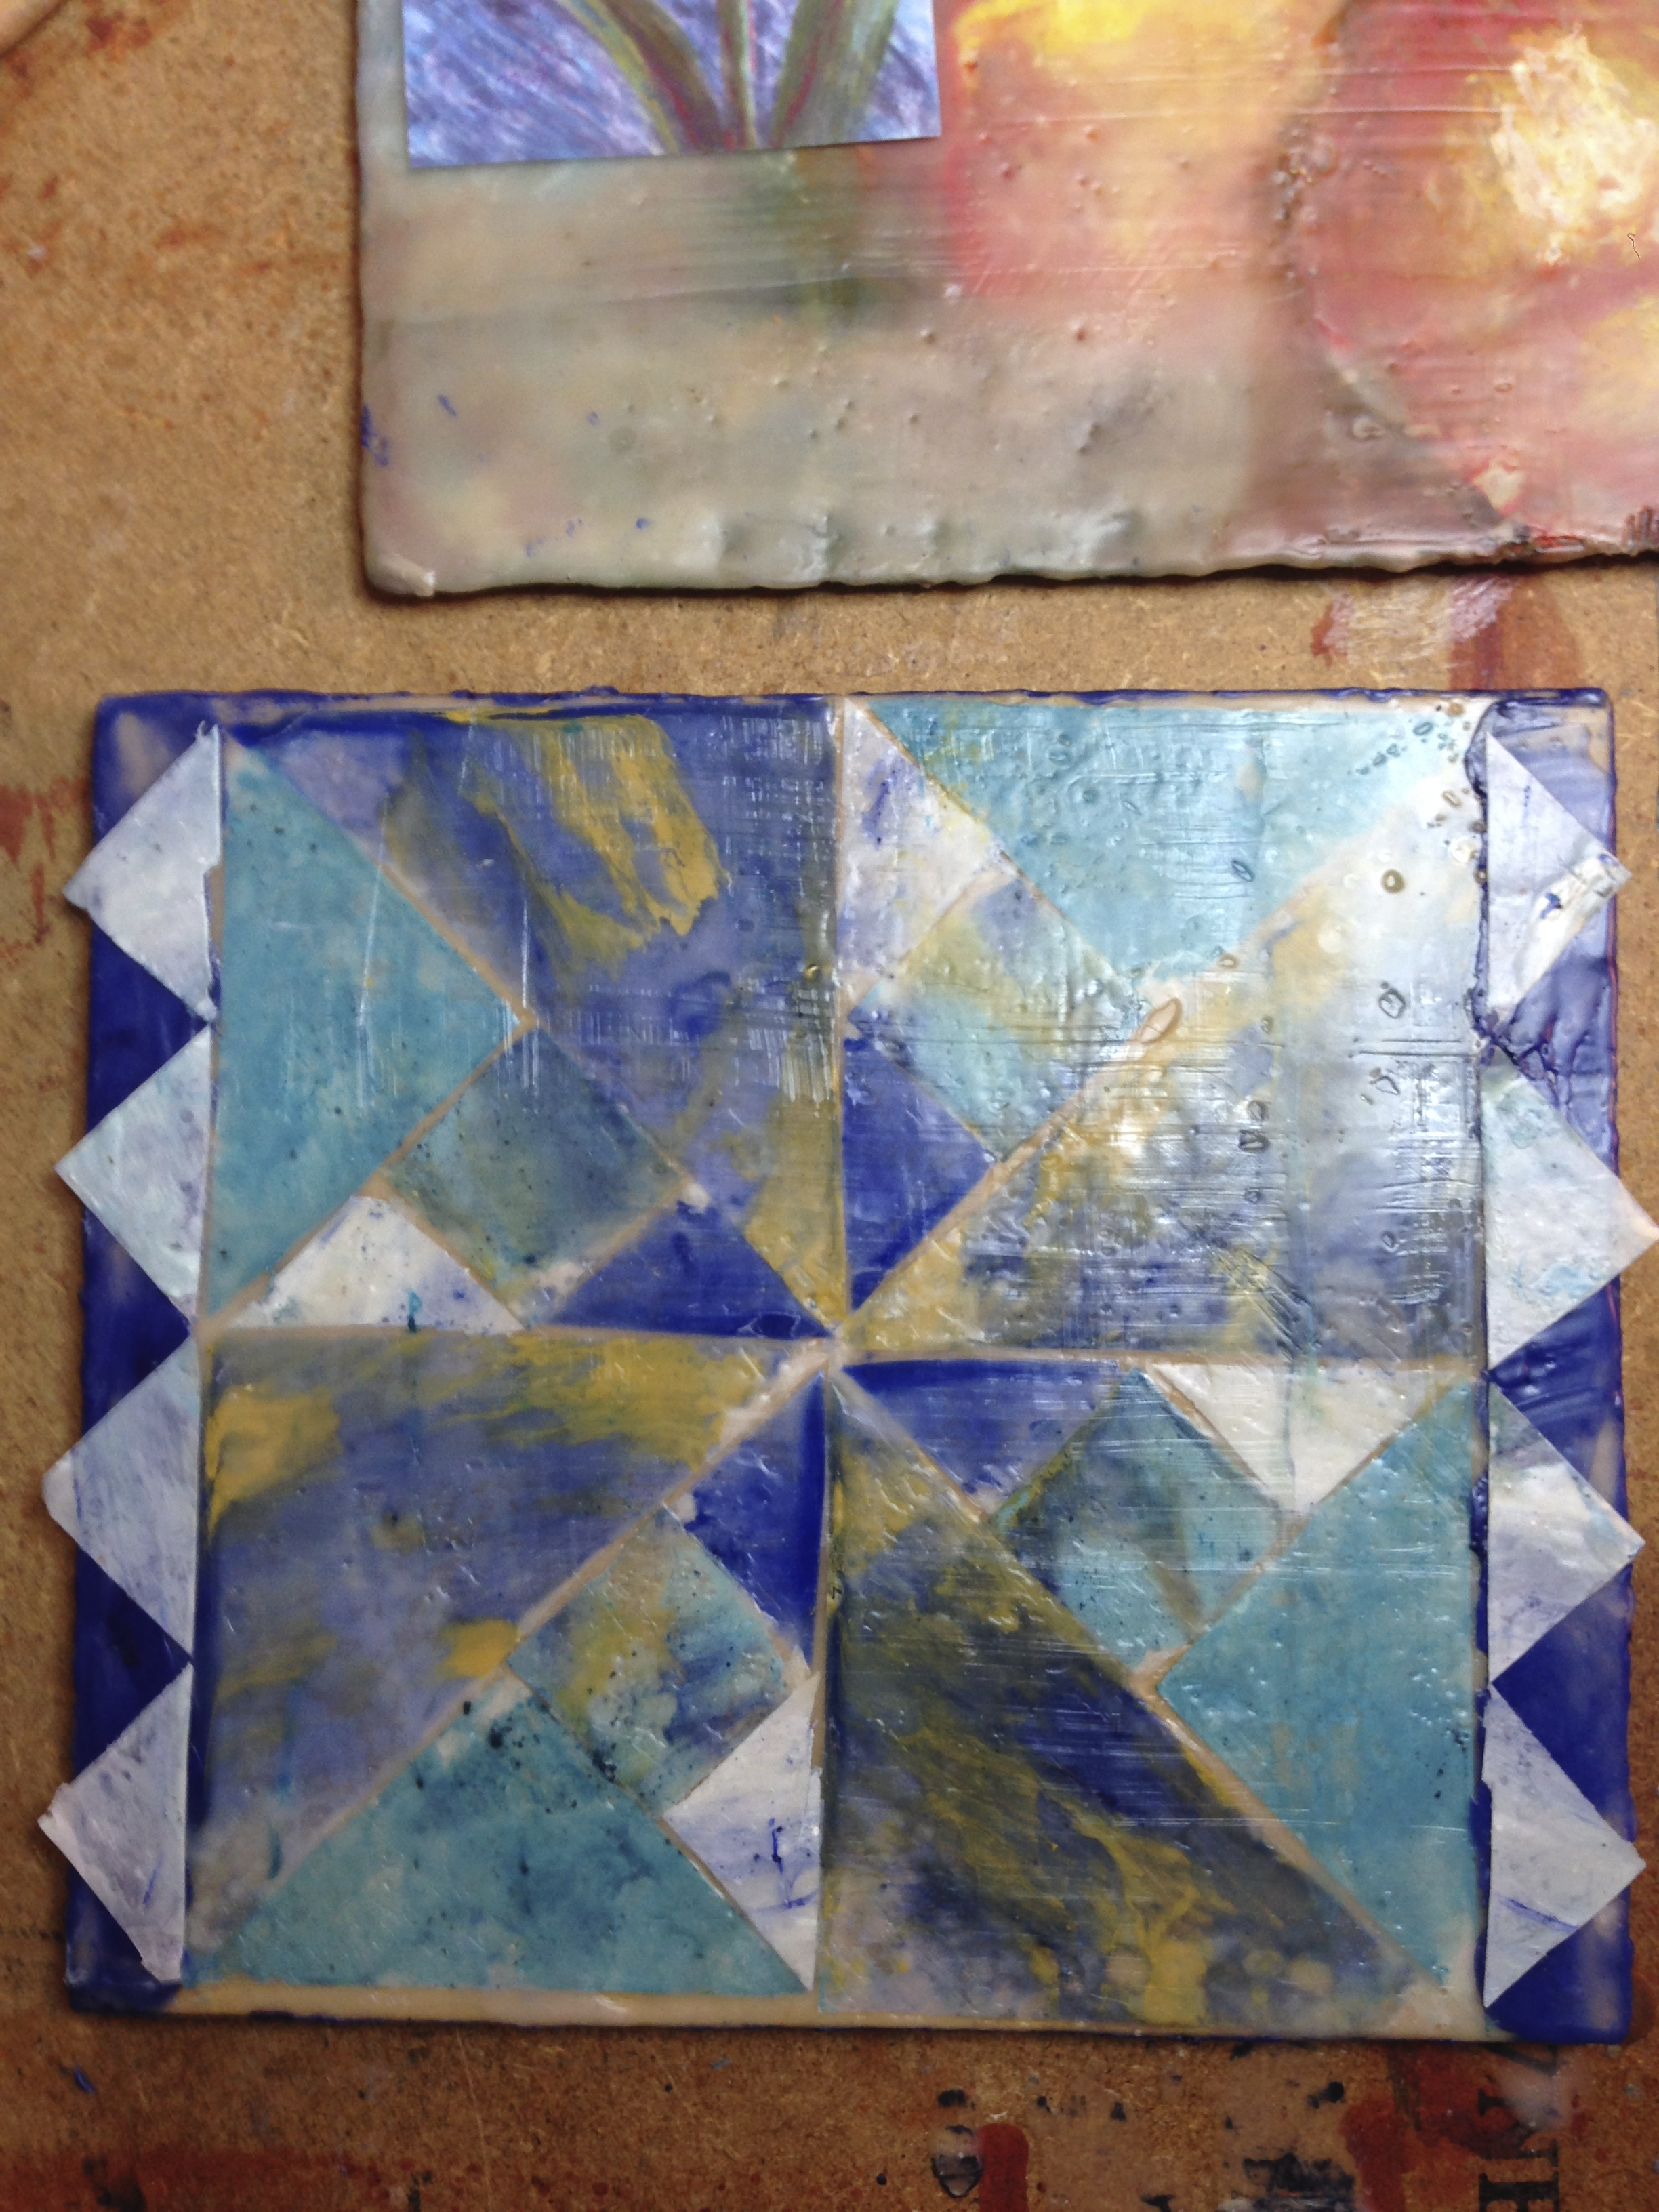
This is how I resolved the extra space on the board since it was not a square proportion. Made some more triangle shapes and there you go!

Quilt pattern created in deli paper and encaustic by Vicki Ross

First of many coats of clear medium.

Quilt pattern created in deli paper and encaustic by Vicki Ross

I really enjoy the layering, scraping, and mark making. A couple freeform lines for a casual framing of the collage, carved and filled with contrasting color, carve the name “delft” and sign it (carve and fill) and victory declared! Encaustic is not an instant gratification medium for me…I love the process and will keep working as long as the piece has something new to say.

~*~*~*~*~*~*~*~*~*~*~*~*~*~*~*~*~*~*~*~*~*~*~*~*~

Author bio:

Vicki Ross is focused on sharing her journey to art and how life events can shape us through creativity www.Axully.com. Vicki has always been involved deeply in the creative arts, from professional soft crafts publications (knitting/crochet/needlework) to French Hand-sewing, stenciling to macramé, oil painting to encaustics. Whatever your leaning, she believes in the healing power of creating.

You can see more of Vicki’s work at VickiRossArt or via blog posts at Axully – Solid. Useful. Beautiful

~*~*~*~*~*~*~*~*~*~*~*~*~*~*~*~*~*~*~*~*~*~*~*~*~

.
.
.