Michelle G Brown | Mixed Media Art

Mixed Media Bookmarks

~ * ~

This article was written by Tamara Dinius
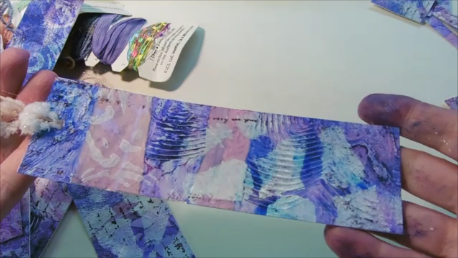
Add ribbon to complete your project

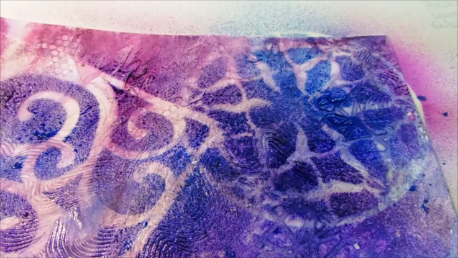
In this video, you can complete several bookmarks using mixed media techniques on watercolor paper. By using one large sheet, you can have fun decorating one sheet and then cutting in up into many pieces. You will be ready for summer reading and have a few extras for gift giving.

Follow along and complete a layout in less than 10 minutes (plus drying time)

The layout was completed using a range of moulding pastes and other similar products, Derwent Inktense blocks Dylusion Sprays, Liquitex Acrylic Inks, stamps, stencils and papers, as well as other items.
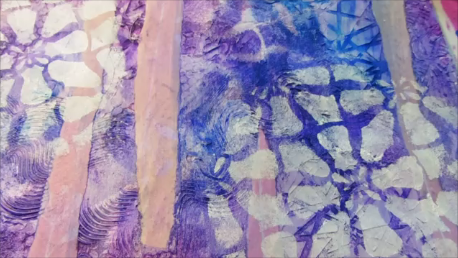
Add texture by applying scrapbook paper of your choice. Additional depth is achieved by adding white acrylic paint through a stencil of your choice.

Adding layers and color

~*~*~*~*~*~*~*~*~*~*~*~*~*~*~*~*~*~*~*~*~*~*~*~*~

Tamara Dinius lives in the Pacific Northwest with her husband and chocolate lab. She has two grown daughters who make her life meaningful. They support her, ground her, embrace her, and are amazing people in their own right.

Her love for mixed media has taken over most aspects of her creative journey. She believes mixed media allows for a broad range of styles and anyone can find success in this form of artistic expression.

You can find more of Tamara’s work, and on her website countrycraftersusa.com, Etsy shop,  or via her Facebook

~*~*~*~*~*~*~*~*~*~*~*~*~*~*~*~*~*~*~*~*~*~*~*~*~

.

.
Mixed Media Canvases with Plaid Folk Art Paints

~ * ~

This article is written by Michelle G. Brown

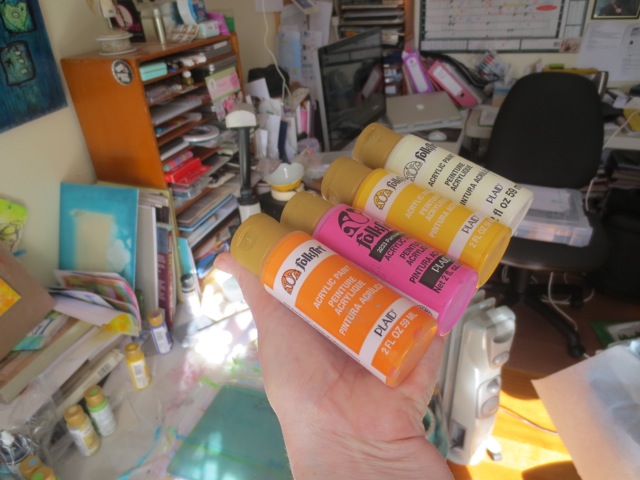
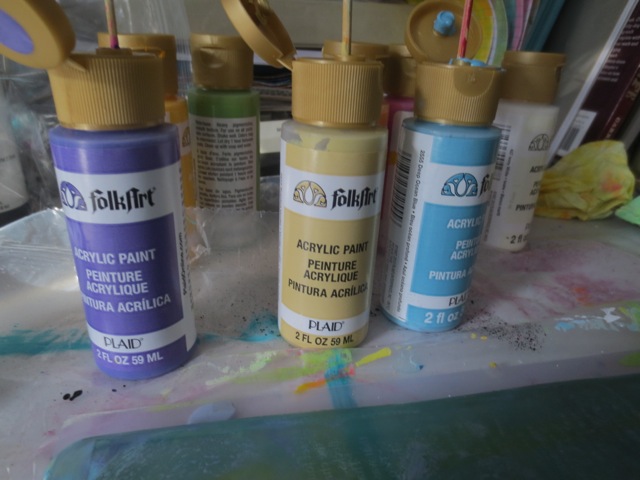
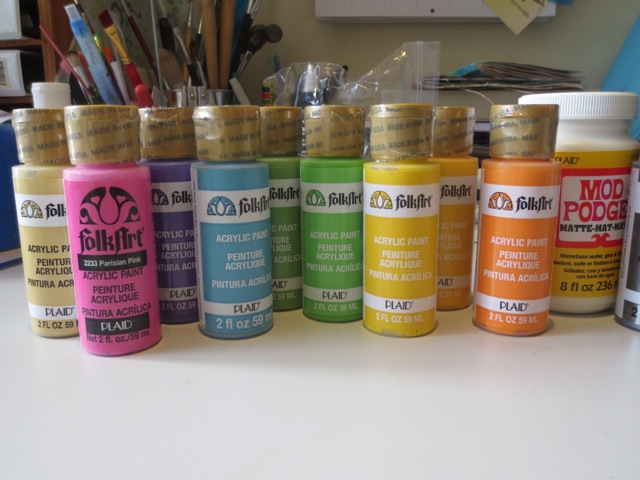
This week I got to play with some FolkArt paints, provided to us by Plaid, to see what I could do with them. I do love playing with paints; they are a relatively cheap materials, come in lots of wonderful colors and gives me the ability to coordinate all of the elements I need to create many types of mixed media art

Acrylic Paints Folk Art with mixed media collage

The colors looks all so nice together (I’m a real sucker for “Rainbow” colors) but I was worried about using so many colors on the one canvas, so I did some testing to find color combinations that I liked; remember that I’m not very brave when it comes to combining colors. These were the trials that I completed:

Acrylic Paints Folk Art

I actually liked most of them but only had three canvas panels so I narrowed it down to three combinations that used a variety of paint colors.

Acrylic Paints Folk Art

Top: Lime Green, Deep Ocean Blue and Ivory White

Middle:  Deep Ocean Blue, Perfect Purple and Toasted Vanilla

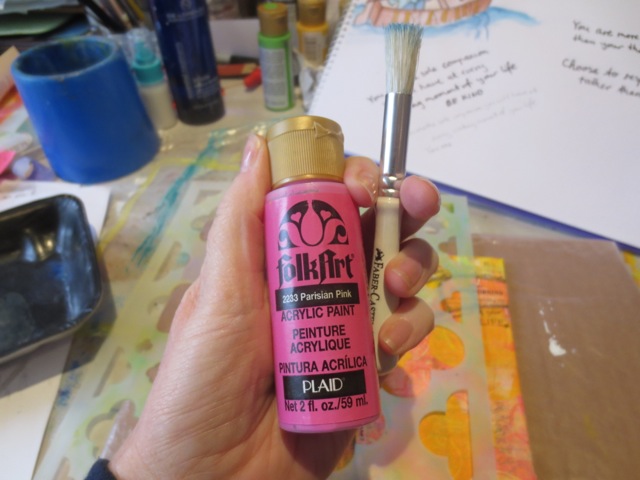
Bottom: Vivid Orange, Parisian Pink, Moon Yellow and Ivory White

With my color combinations selected, I was ready to get started.

Materials and Tools for the Mixed Media Canvases

– selection of acrylic paints: here I used Plaid FolkArt Paints

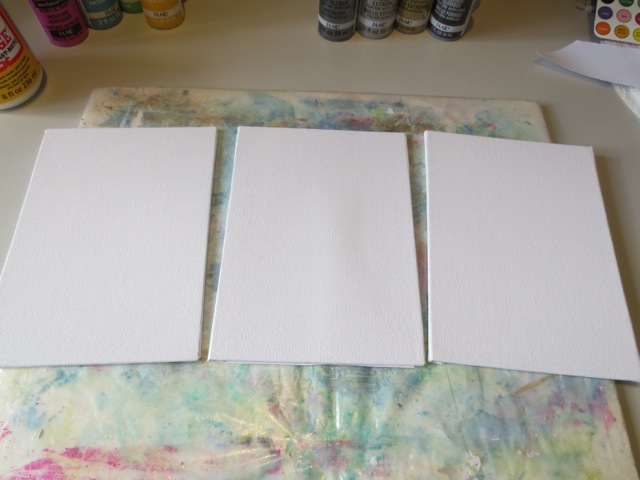
– 3 5”x7” canvas board panels

– collected ephemera; 5 different fonts

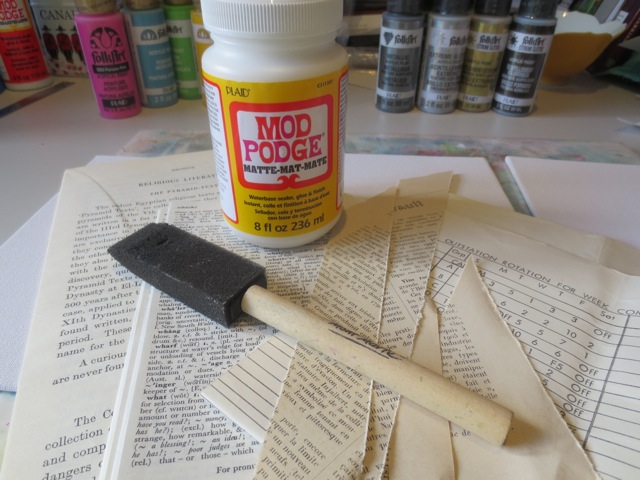
Matte Mod Podge and sponge applicator

Gesso and applicator

Gelli Plate 8”x12”

Brayer

– Deli paper, ephemera and copy paper in A4

– Stencils: here I used Stencil Girl L174 Ward Quatrefoil Mix

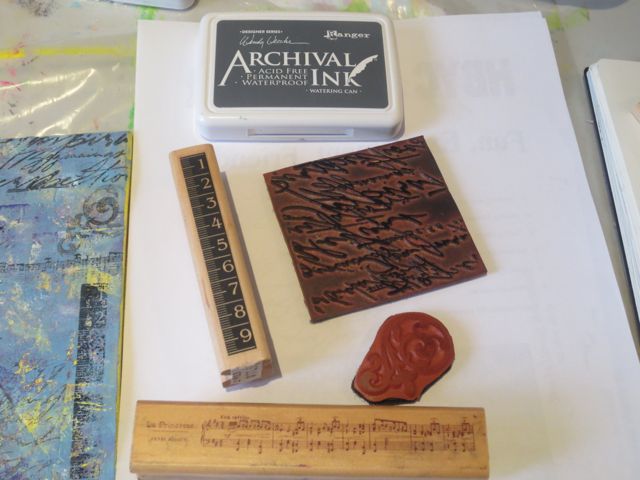
– Variety of rubber stamps and grey archival ink

– Watercolor pencils: black and white

– charcoal pencil and blender

– Markers and pens: I used Sharpie White, white gel pen, black Sakura Pigmento Micro 02 and Montana Extra fine Acrylic Marker filled with black Golden High Flow Acrylic in Carbon Black

Spray varnish

Creating the Background Layers

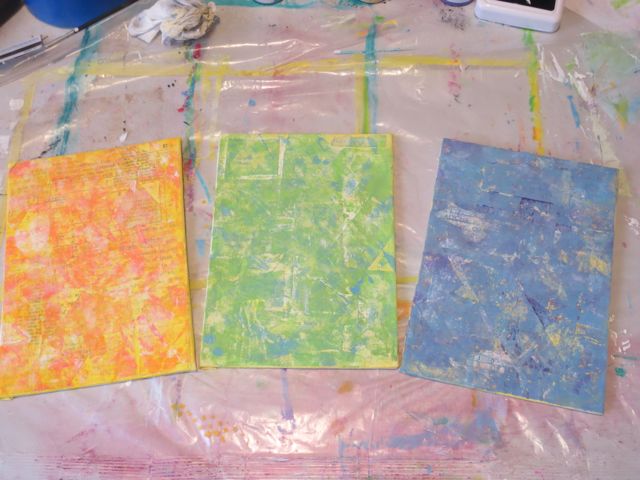
1. Lay out the canvas panels

Acrylic Paints Folk Art with mixed media collage

2. Collect a range of ephemera and tear into pieces. I like to use four to five different texts and fonts to make sure there is enough variety in the background. Get these ready before you start to get sticky.

Acrylic Paints Folk Art with mixed media collage

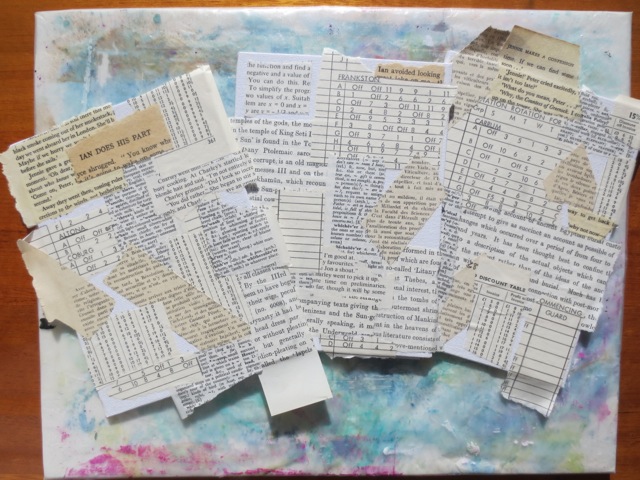
3. Adhere to the canvas panels, leaving some pale edges overlaying the edges

Acrylic Paints Folk Art with mixed media collage

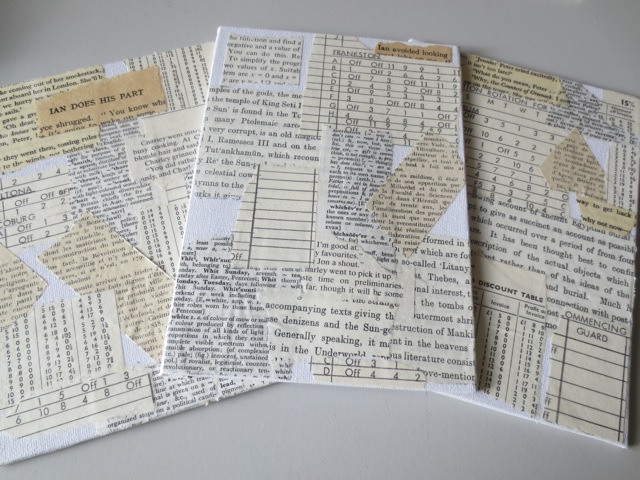
4. Cut off the excess ephemera with a craft knife and use a sanding block to smooth the edges of the canvas

Acrylic Paints Folk Art with mixed media collage

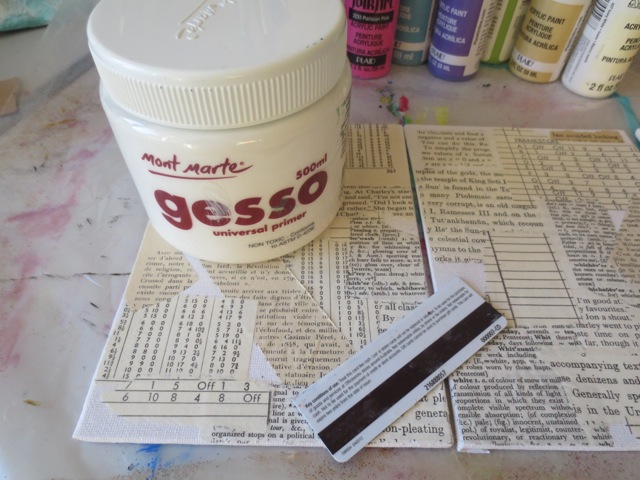
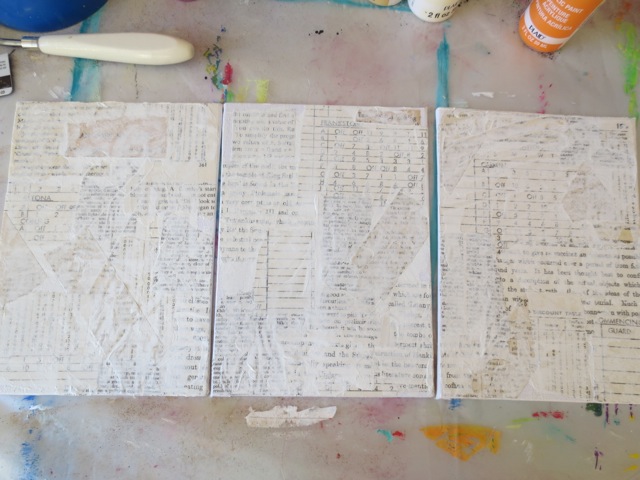
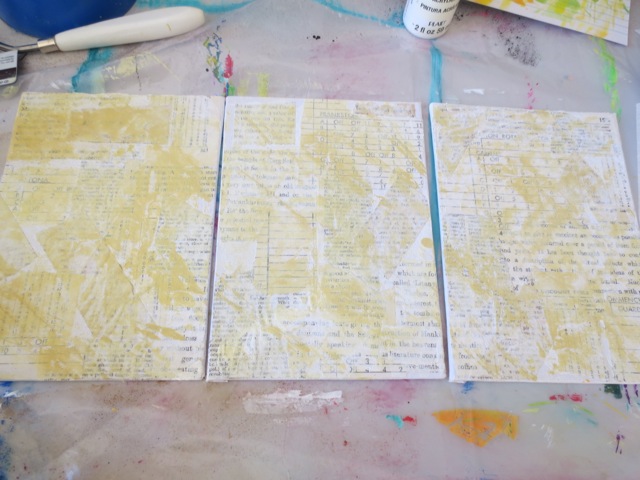
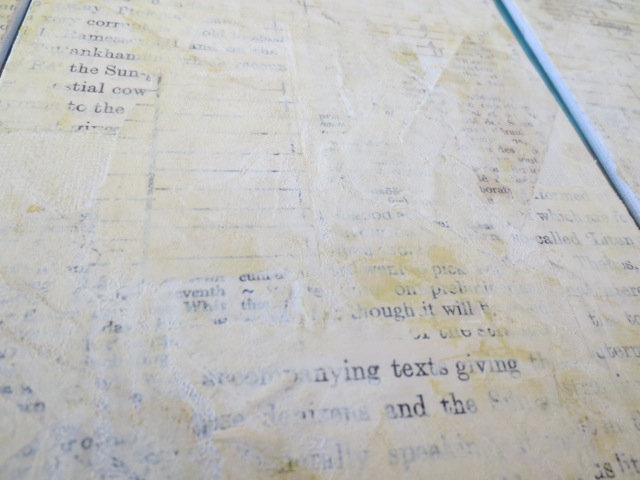
5. Get out your Gesso and an old store card or spatula and roughly apply a layer of Gesso over the dried ephemera layer. Leave to dry.

Acrylic Paints Folk Art with mixed media collage

Acrylic Paints Folk Art with mixed media collage

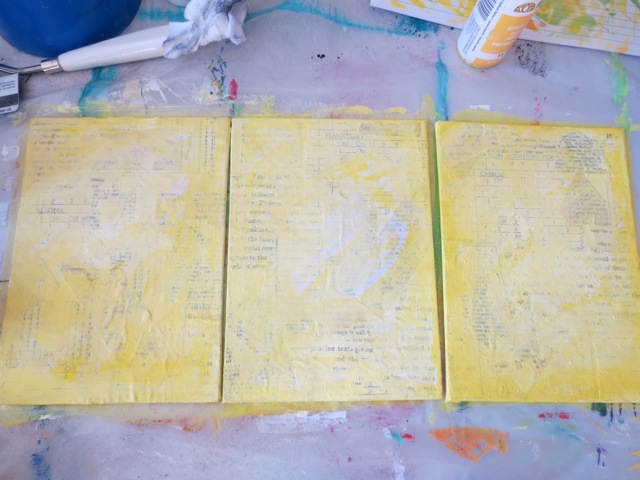
6. Add a layer of bone coloured acrylic paint, then a little ivory white and then a layer of yellow as a wash

Acrylic Paints Folk Art with mixed media collage

Acrylic Paints Folk Art with mixed media collage

Acrylic Paints Folk Art with mixed media collage

Leave canvases to dry.

Creating Color Coordinated Papers with Gelli Plates

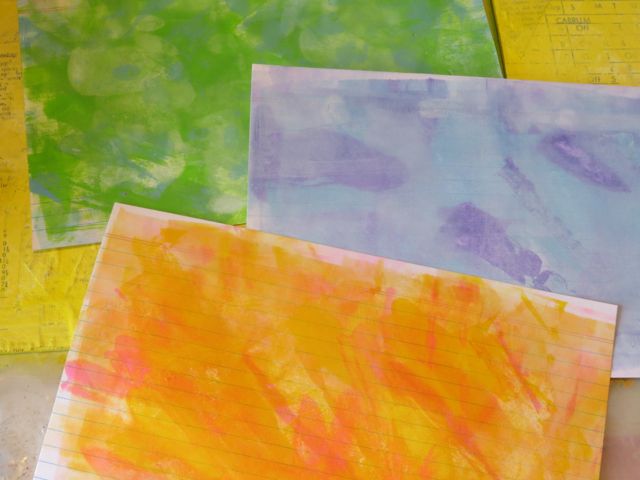
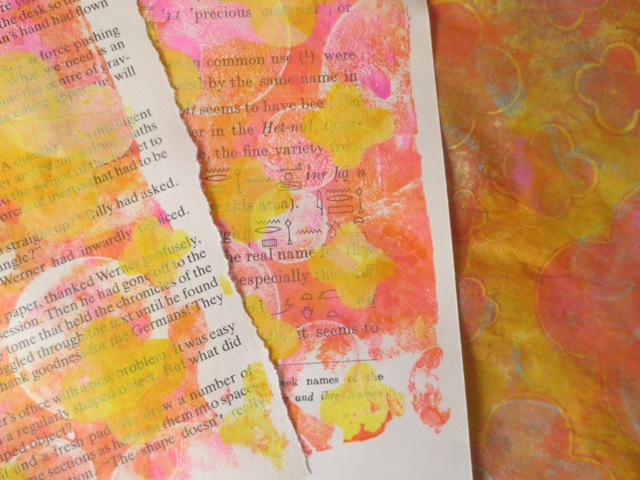
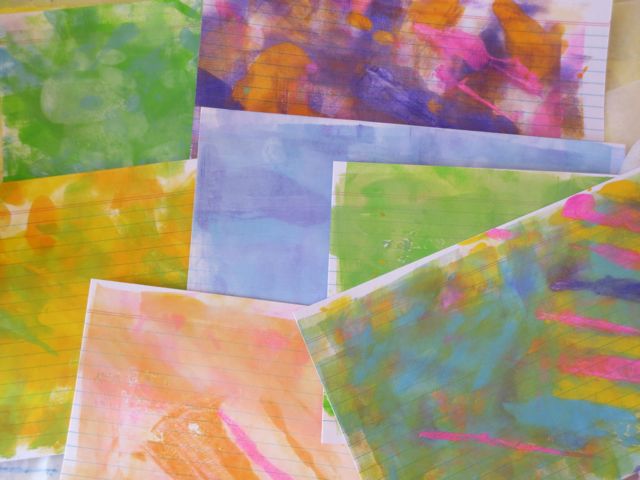
While the canvas panels are drying, get set up to create some color coordinated papers to add to the canvas panels. This is the advantage of using paints where we can make all of our bits and pieces match. Here I’ve used  a Gelli Arts Gelli plate, with the paints and stencils and a variety of ephemera.

creating prints with Acrylic Paints Folk Art

Firstly I used these colors to make a few pages

creating prints with Acrylic Paints Folk Art

creating prints with Acrylic Paints Folk Art

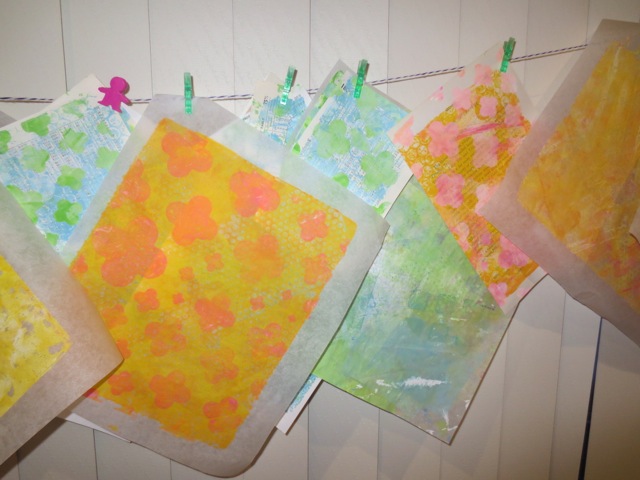
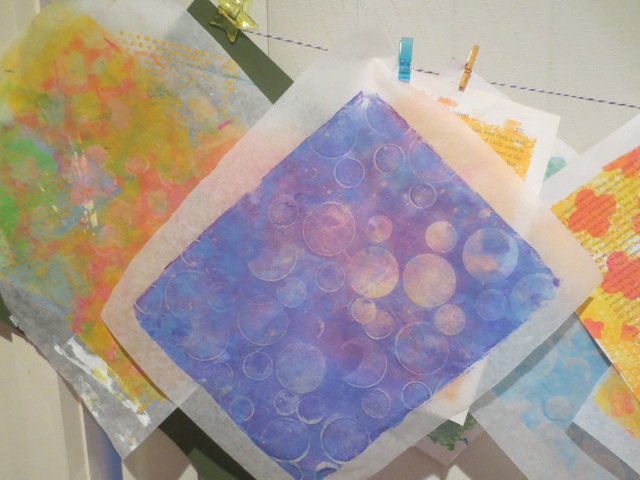
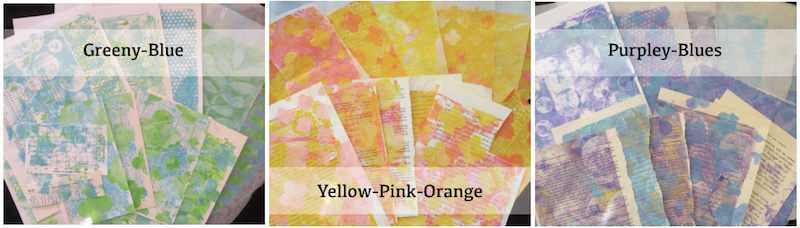
Then changed colors and created a range of prints with different patterns and color mixes. I created quite a few so I would have a range of prints to choose from when I completed the canvases.

creating prints with Acrylic Paints Folk Art

creating prints with Acrylic Paints Folk Art

Finishing off the Mixed Media Canvas

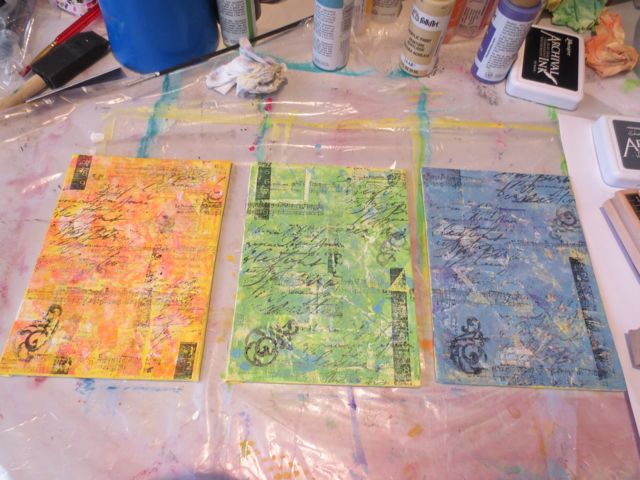
I lined up the three panels and added some stamping with grey Archival Ink

Plaid paints add color to mixed media collages

Plaid paints add color to mixed media collages

Plaid paints add color to mixed media collages

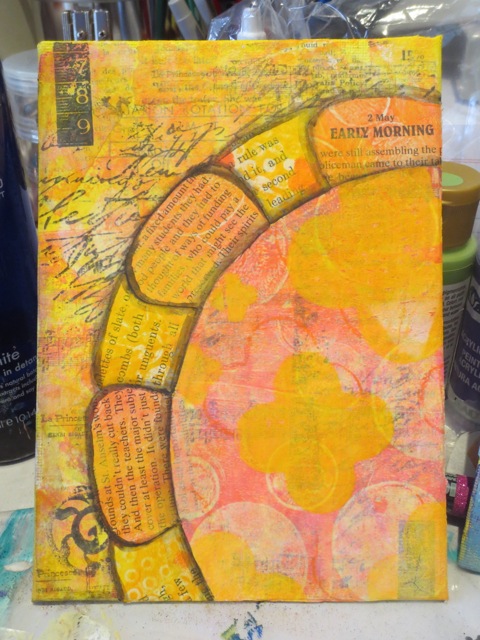
Then I decided to focus on one canvas at at time, starting with the orange and pink one.

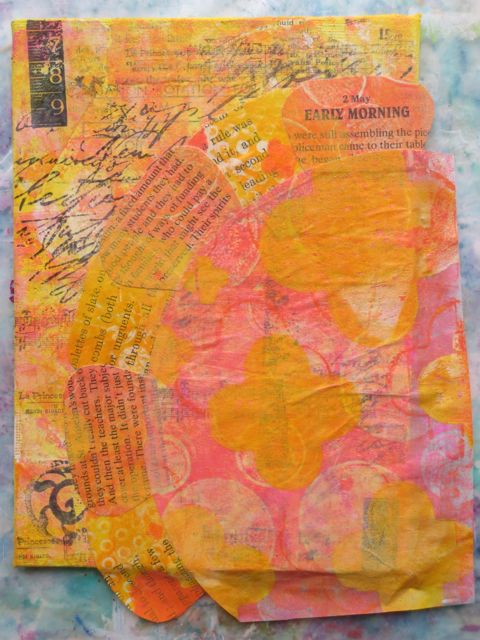
I had created a few sketches in my art journal and transferred these images onto the printed papers to collage the image onto the canvas. For the brightly coloured canvas I used a bright flower, as well as clouds and a feather.

Plaid paints add color to mixed media collages

The flower was highlighted with water coloured pencils in black and white

Plaid paints add color to mixed media collages

A quote was added with the black Sakura Pigmento Micro 02 marker and Montana Extra Fine Acrylic marker filled with black Golden High Flow Acrylic Carbon Black

Plaid paints add color to mixed media collages

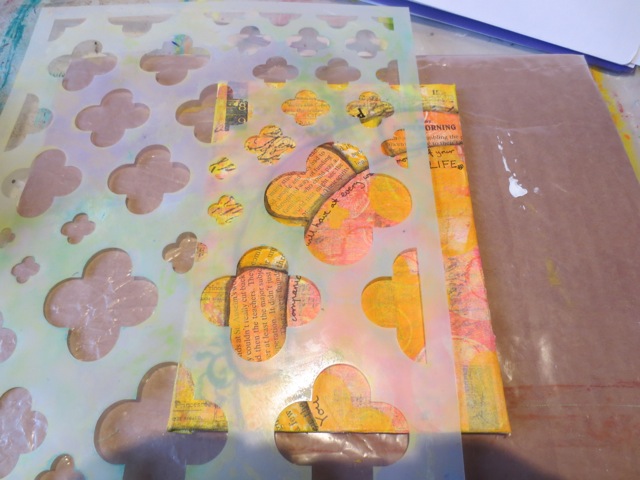
The stencil was used to add more Quatrefoil pattern into the pieces.

Plaid paints add color to mixed media collages

Here I used the pink paints with a stencil brush.

Plaid paints add color to mixed media collages

Plaid paints add color to mixed media collages

Then I highlighted a few of the shapes with charcoal pencil, smudged it a little and added highlights with white pen and marker, as well as adding more shading around the flower

Plaid paints add color to mixed media collages

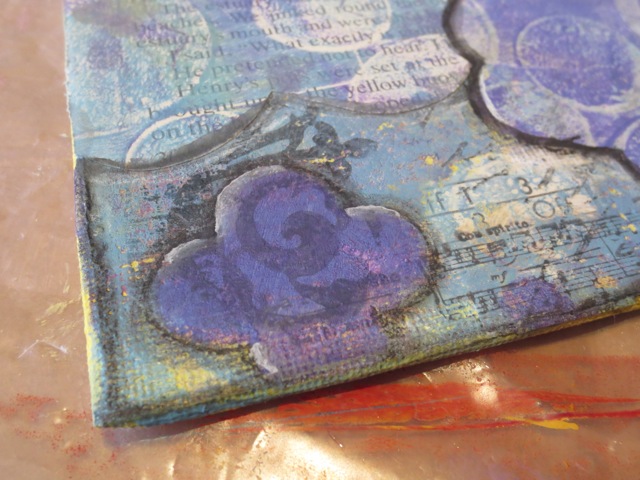
I repeated these steps with the other two canvases. Here is a close up of the highlighted quatrefoil.

Plaid paints add color to mixed media collages

When all three were complete, I signed them and gave them a coat of spray gloss varnish to seal the charcoal and give them a nice, glossy finish.

Final mixed media canvas panels

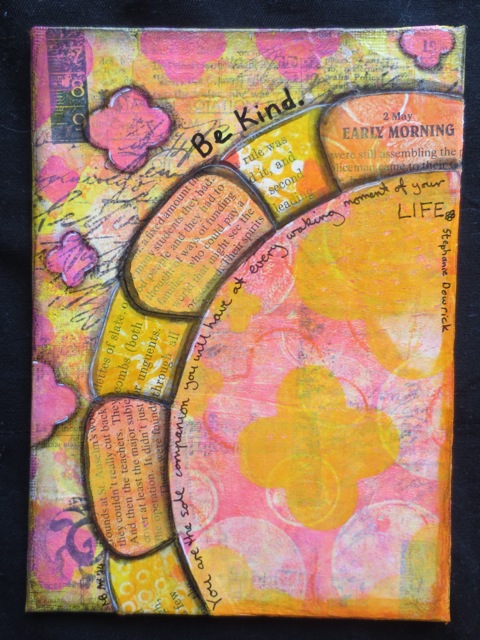
Here are the finished canvas panels

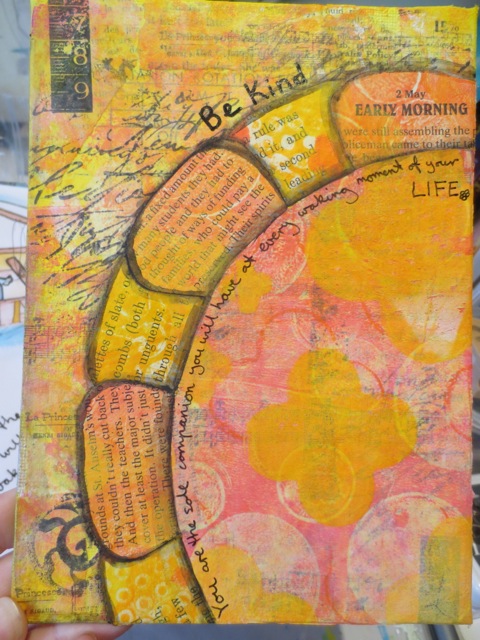
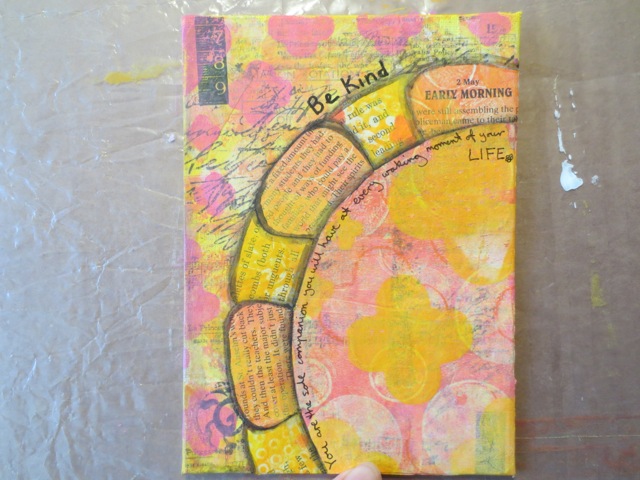
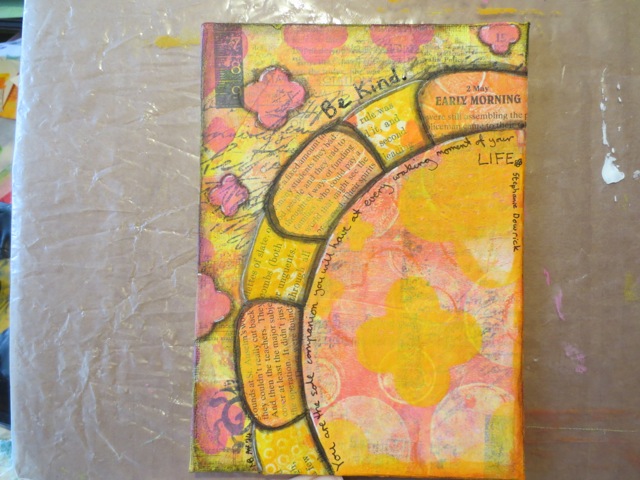
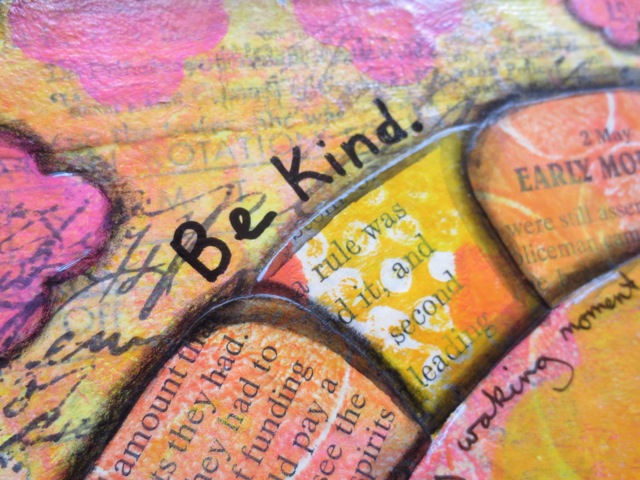
Be Kind: Vivid Orange, Parisian Pink, Moon Yellow and Ivory White

Folk Art paints to add color to mixed media collages

The quote reads “ You are the sole companion you will have at every waking moment of your life”

Folk Art paints to add color to mixed media collages

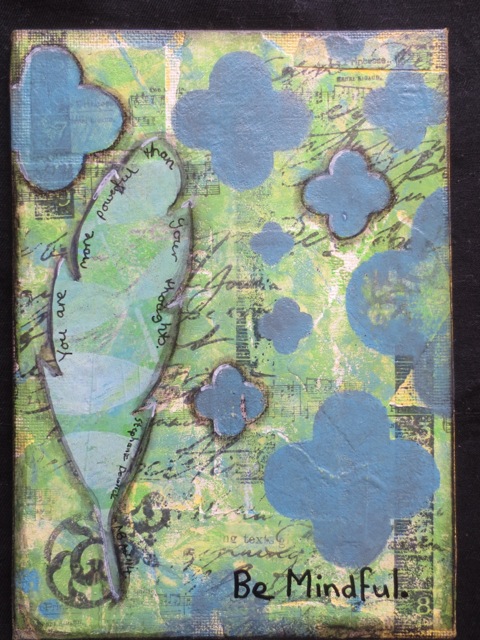
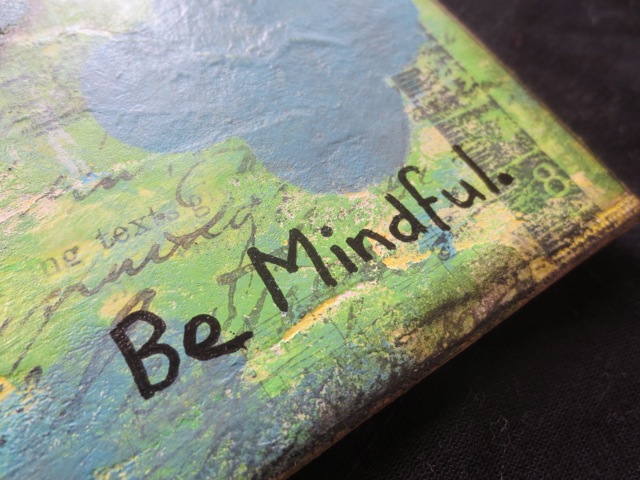
Be Mindful: Lime Green, Deep Ocean Blue and Ivory White

Folk Art paints to add color to mixed media collages

With the quote “You are more powerful than your thoughts.”

Folk Art paints to add color to mixed media collages

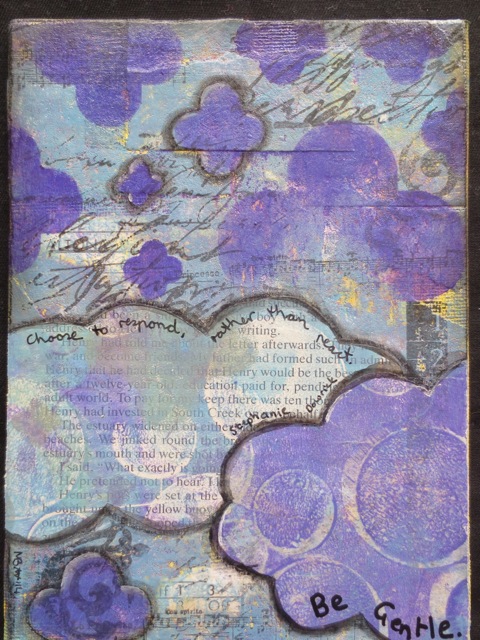
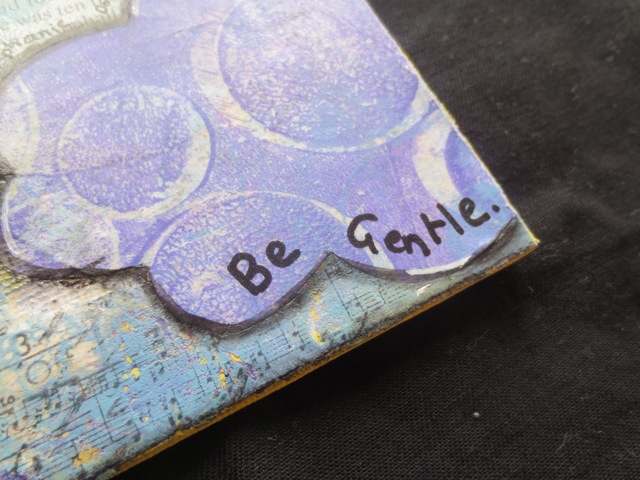
Be Gentle: Deep Ocean Blue, Perfect Purple and Toasted Vanilla

Folk Art paints to add color to mixed media collages

Quote: “Choose to respond, rather than react”

Folk Art paints to add color to mixed media collages

All of the quotes are by Stephanie Dowrick and her book Choosing Happiness

Gelli Printed Papers Giveaway

Michelle has a HEAP of Gelli printed ephemera left over from this project and wants to give YOU a chance to put them to good use and create your own mixed media collage. We are giving away THREE EPHEMERA kits, one in each of the three color combinations.

Michelle G. Brown creates fun papers

The winners have been announced ~ See the Announcement “And the Winners are…”

~*~*~*~*~*~*~*~*~*~*~*~*~*~*~*~*~*~*~*~*~*~*~*~*~

Michelle G. Brown is passionate about mixed media art and enjoys sharing her knowledge and techniques with you to allow you to express your own creativity. Michelle understands that many of us have an inner need to create. By learning a few basic techniques the amazing world of mixed media art is accessible to everyone!

Michelle lives with her husband and two boys in Melbourne, Australia.

~*~*~*~*~*~*~*~*~*~*~*~*~*~*~*~*~*~*~*~*~*~*~*~*~

Disclosure: These paints and Mod Podge were provided by Plaid for the purpose of review. All opinions are that of the MixedMediaArt team. The links on this page may include affiliate links and any purchases help to support the ongoing work by MixedMediaArt.
.

.

Mixed Media Canvas With Copics

~ * ~

This article is written by Kim Kelley

Today I am going to show you a canvas I made using a digital image and Copic markers. I love to create a canvas that has not only texture but depth to it as well. Adding a digital image or a stamped image that has been “stamped” several times and layered allows me to do this.

Using Copic Markers with a mixed media canvas

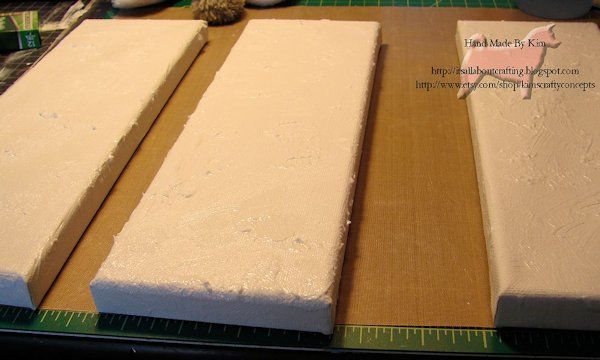
I started with 3 3” x 12” canvas’ and applied some matte gel medium all over, including the sides.

Copic Markers add cold to a mixed media art canvas

Canvas with medium

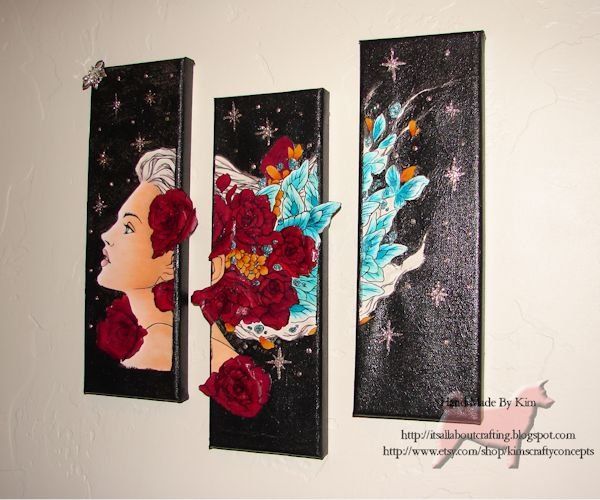
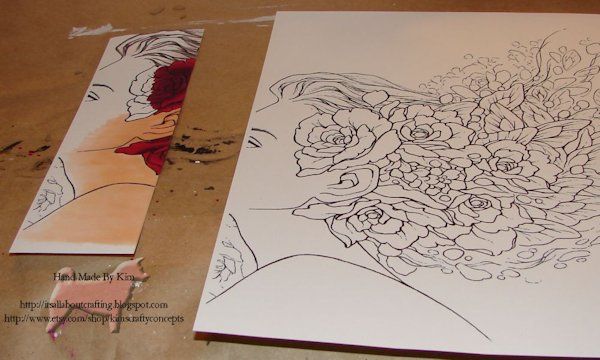
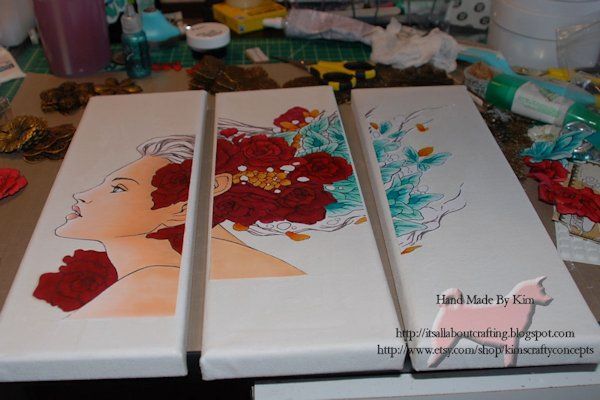
I chose “Beloved” from Aurora Wings.  I chose a digital image that I could blow up enough and would not become pixelated. And one that was large enough to expand across the 3 pieces of canvas. I printed it 4 times so that I could have my layers. I colored the images with Copic markers trying to make sure each section was similar in coloring so that it would flow after I added it to the canvas.

Copic Markers add cold to a mixed media art canvas

Printed digital image

After figuring out I wanted the canvas pieces to be offset I laid my image across the canvas’ to get the right measurements and cut it. I adhered it to the canvas with more matte gel medium and let it dry for a few hours.

Copic Markers add cold to a mixed media art canvas

Image on canvas

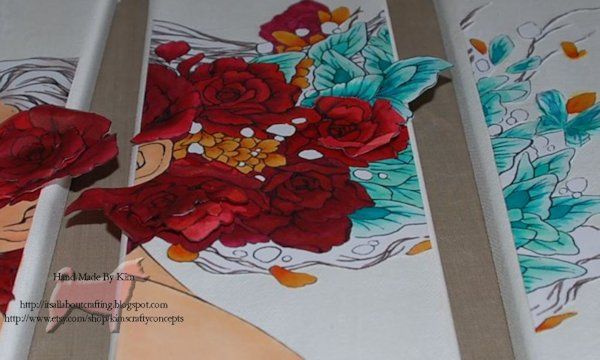
After the drying process I started adding my extra layers. I chose to pop up some of the flowers and butterflies. And had some of the pieces even extend over the edge. I glued them on with Tombow glue.

Copic Markers add cold to a mixed media art canvas

I decided I wanted to have a big contrast between the background and the image, so I mixed some black acrylic paint, iridescent acrylic paint and matte gel medium together for my background. Using a sponge I added the mixture, even going over the edges of the image a bit, leaving some of it in peaks. After that dried I added some stars using Stickles and added a jewelled flower that I cut in half.  I felt that is needed a few more flowers so I cut a few more out and added them. Then using some Mod Podge I sealed the entire project, adding some glitter sprinkled around.

Using Copic Markers with a mixed media canvas

Finished project

Couple of tips:

  1. When doing layers, color the back of each layer as well.
  2. When adding an image you color the edges.
  3. With flowers, you can use a pen or stick to curl the petals.

Life is short, do something creative every day!

~*~*~*~*~*~*~*~*~*~*~*~*~*~*~*~*~*~*~*~*~*~*~*~*~

Kim Kelley is borderline obsessive about her crafting and her art. She loves mixed media art because you are free to go beyond your comfort zone, using your imagination and exploring an anything goes mind set. Kim loves to learn and explore new techniques and hopes that any art she creates leads someone to find their inner creative artist!

Sites: itsallaboutcrafting.blogspot.com and www.facebook.com/kimscraftyconcepts

~*~*~*~*~*~*~*~*~*~*~*~*~*~*~*~*~*~*~*~*~*~*~*~*~

.

.
Altered Dominoes

~ * ~

This article is written by Shari Welch

Before you take your old games to the donation station,why not take a second look at them. Could you possibly reuse the board, box, or game pieces to create something artistic and beautiful? With a little imagination the possibilities are endless.

As a mixed media artist I am always looking for new materials to use when creating my art. As an avid reduce, reuse, and recycle kinda girl this project couldn’t be more perfect. I am going to give you the basic instructions and then you can have fun deciding how to finishing them. There are so many ways you can decorate dominoes. Pinterest is full of inspirational ideas. I have a board dedicated to them.

Here is what you will need:

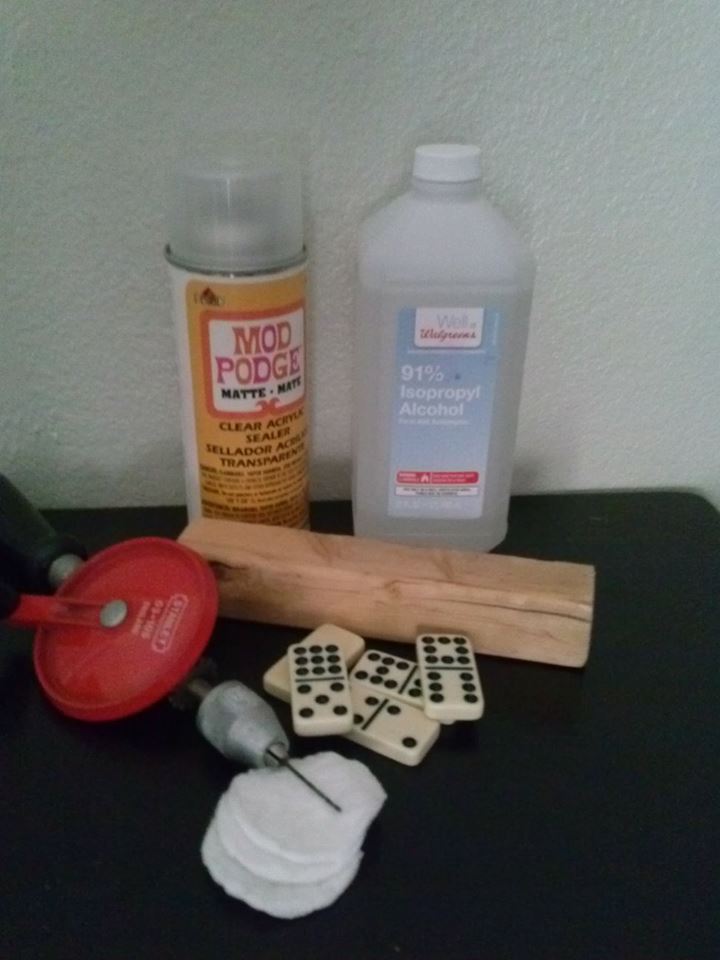
Shari Welch creates these fun altered dominoes. Here are the items you will need to get started

  • Domino game pieces
  • Rubbing alcohol, cotton pads
  • Hand drill with a small bit
  • Small piece of wood
  • Mod Podge Matte clear acrylic spray sealer

Here are a few ideas to use for finishing your dominoes:

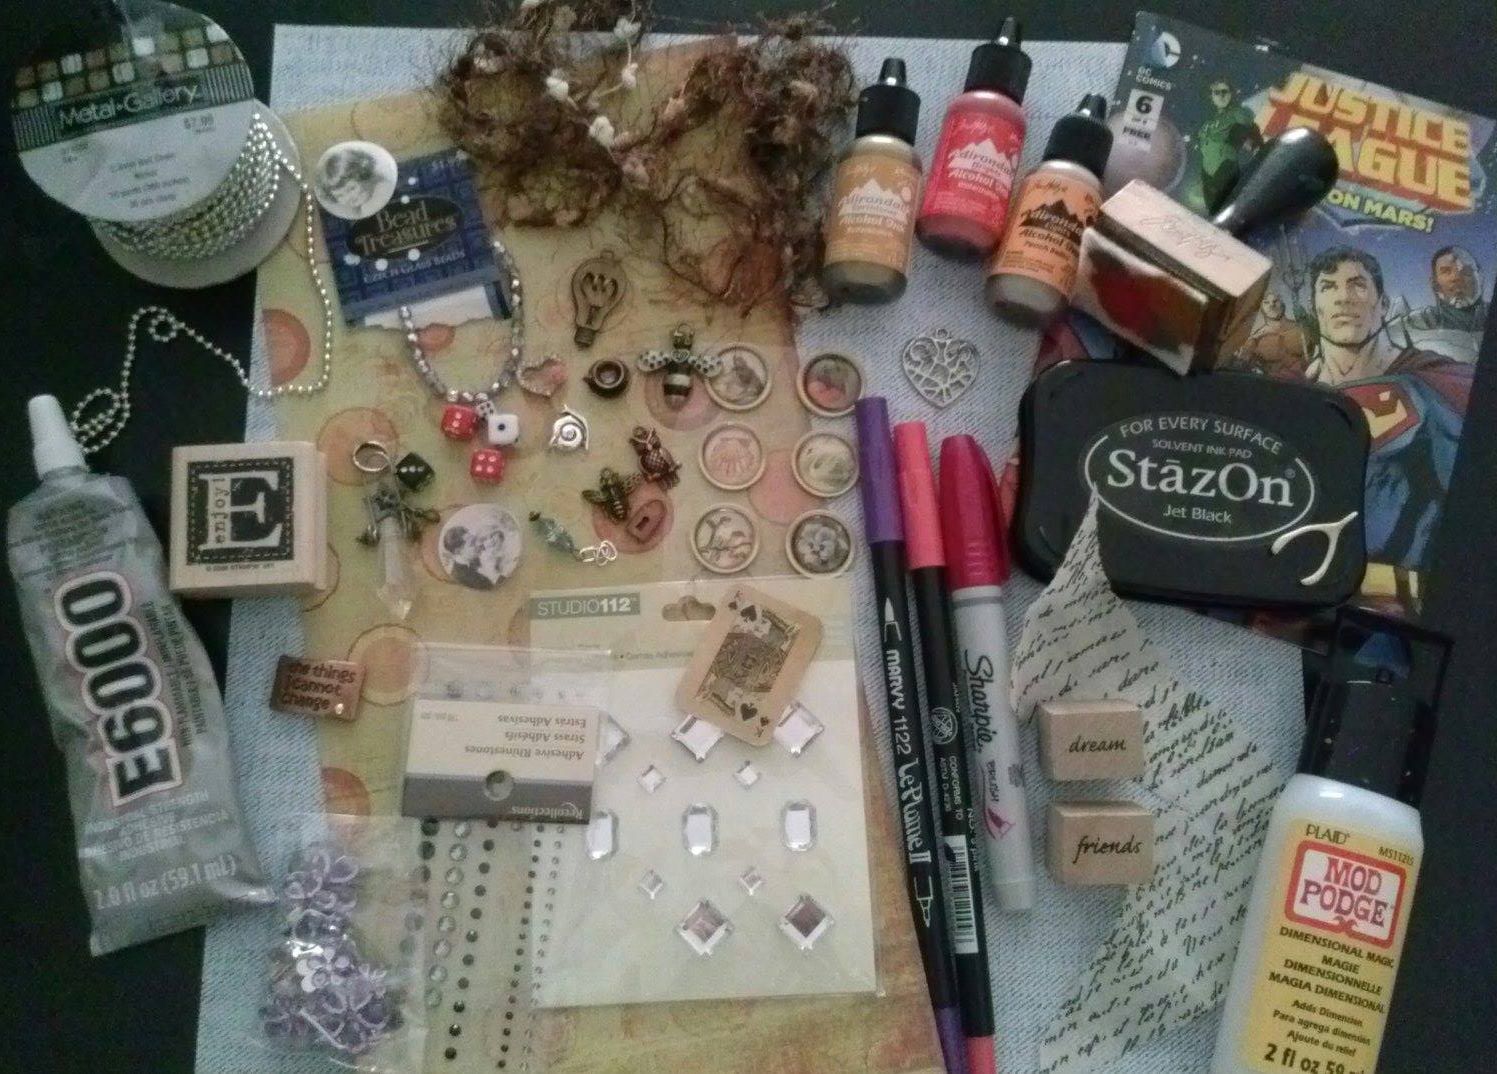
Here are a few ideas to use for finishing your dominoes

  • Alcohol Inks, inking tool
  • Sharpie or any permanent marker
  • Found trinkets, beads, ribbon, eyelets
  • Old comic books and newsprint
  • Key chain, Ball chain, leather, magnets
  • Mod podge dimensional magic
  • Rubber stamps, permanent ink pad

Let’s get started

1.First you must wipe your domino with alcohol to insure no oils or dust is on them.

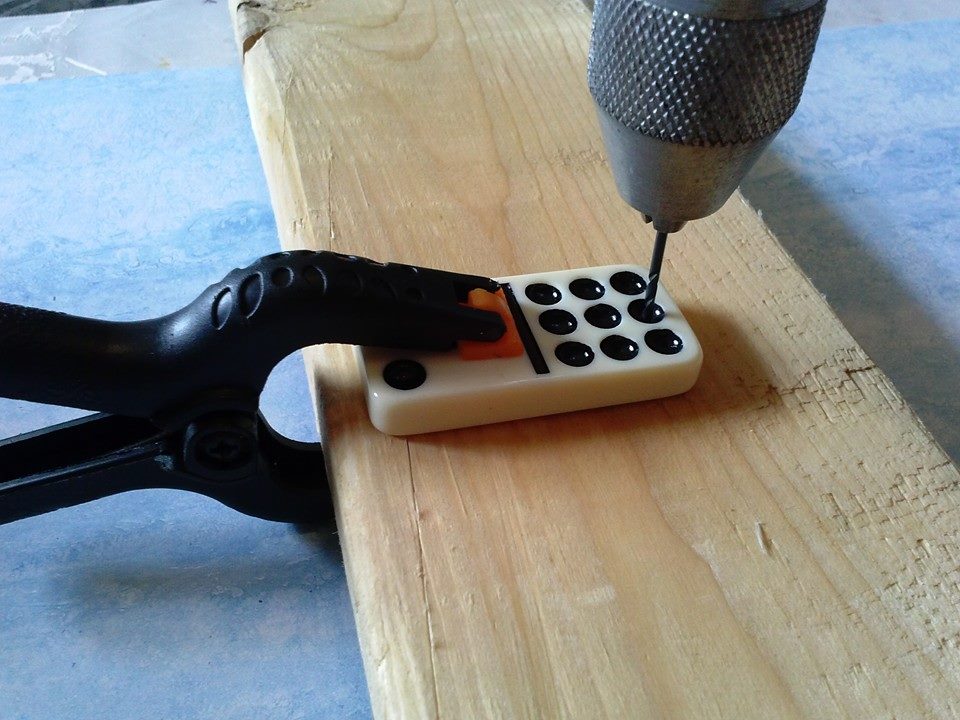
2. If you are making a necklace or want to add embellishments you will need to drill a hole. The dominoes are surprisingly easy to drill into.

The dominoes are surprisingly easy to drill

3. Add a background. Paper, alcohol inks, markers, stickers, rubber stamps.  This link will help show you how to use the inks in more detail. HINT: If you use alcohol inks and you are not happy with the results you can wipe it off with a little rubbing alcohol and start again.

4. Make sure your background is dry and then spray with an acrylic sealer.

5. After the sealer is dry you can add  more colors, stamping etc.

6. If you wish, you can now add embellishments to your domino.

Remember it is all up to you on how little or how much color and embellishments you want to add. Some of my favorite dominoes are stamped with black ink and that’s all.

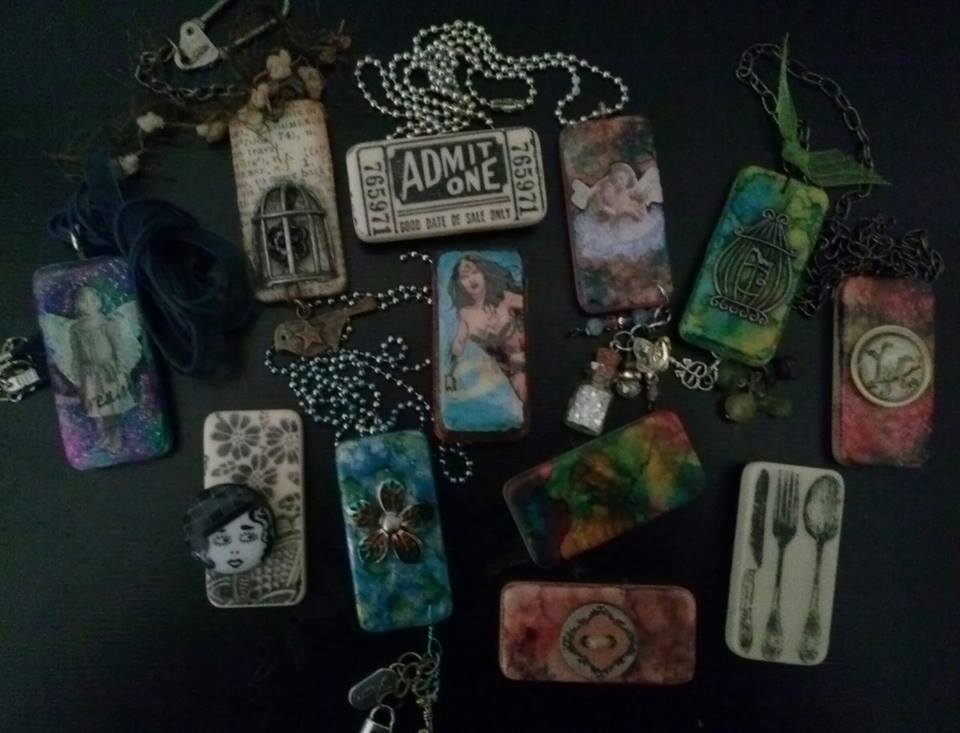
Here are a few dominoes I have made

Here are a few dominoes I have made

~*~*~*~*~*~*~*~*~*~*~*~*~*~*~*~*~*~*~*~*~*~*~*~*~

Shari Welch is a mixed media artist living in Denton Texas. She is known for using reuse and recycle materials in her artwork. She volunteers for SCRAP Denton where she is on the education committee, teaches workshops, art camp, and performs art demos. She is passionate about mixed media art and enjoys helping others discover their creativity.

You can follow Shari and see her mixed media art at her facebook page.
.
.