Michelle G Brown | Mixed Media Art

Meaningful Mixed Media Collages

~ * ~

This article is written by Anjuli Johnson

The term collage comes from the French word “coller”, meaning “to glue”.  Though it had been a technique for many years, the first mention of the term was around 1913 when Pablo Picasso and Georges Braque drew serious attention to collage as an art form.
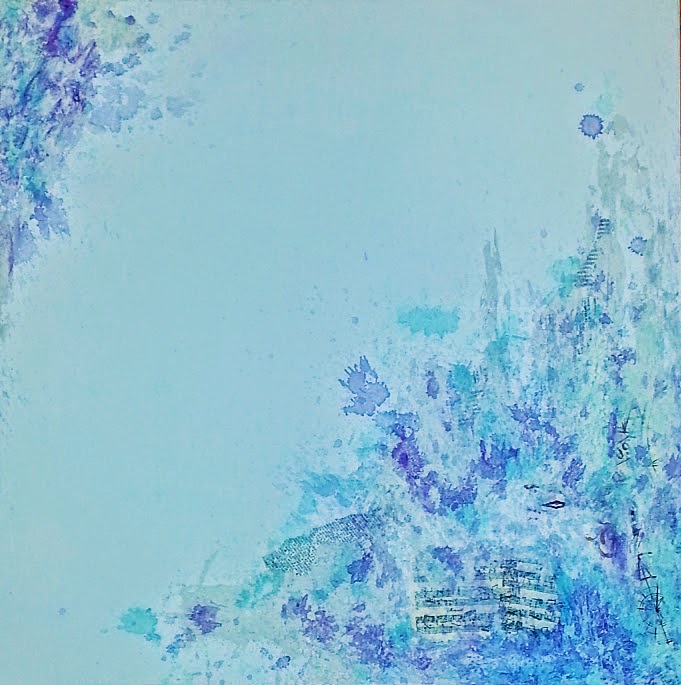
Splashes of purple and turquoise against bright white

Now, collage can be found everywhere- in elementary classrooms, photo albums, crafting and fine art.  It is used for many reasons- practicing motor skills, preserving memories, home décor, etc. In fine art, collage can be used to express different ideas through the different materials used- newspaper and magazine clippings to make political statements, blocks of color to suggest violence or the randomness of life, or even sections of old paintings and drawings cut up and reformed into something new.

I myself have been fascinated with a new collage technique I’ve been experimenting with- using modeling paste as a means to hide certain collage elements while keeping others visible.
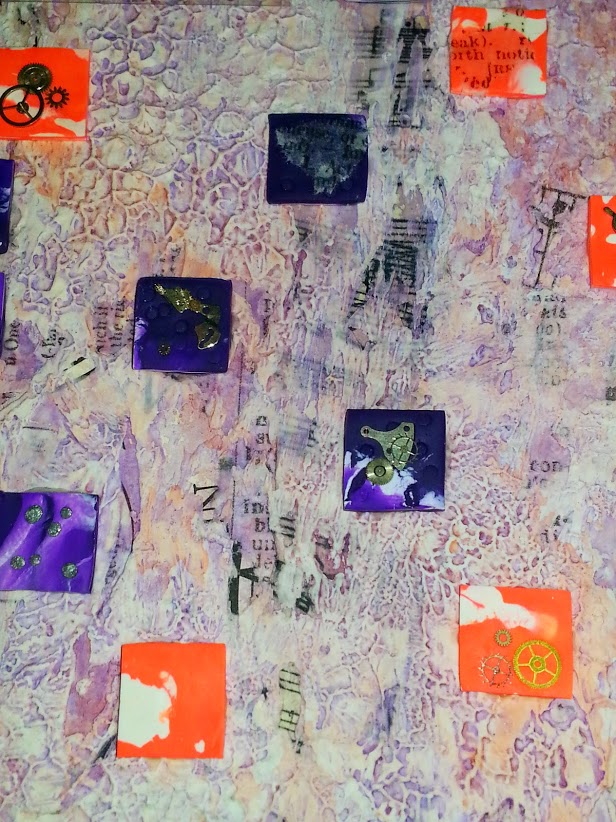
Polymer Clay tiles add the finishing touches to this collage.

I’ve been fascinated lately with the idea of hidden things, things lurking just below the surface, specifically in a person’s character.  We all have things that we try to hide from other people- weaknesses and vices that are embarrassing or compromising, or even accomplishments that we are anxious or unsure of for some reason- talents we hold back because of fear.  Whatever the nature of our hidden parts, they affect our outward natures, as well.  I believe that, however good we may be at hiding certain things about ourselves (good or bad), there are hints to be found for those who look closely enough.

In my recent collages, this is exactly the idea I’ve been working to convey.  I begin with a layer of cut and torn papers, then I cover certain areas with modeling paste- sometimes thick, sometimes thin.  Once it dries, I sand certain areas (I love that I can do this so easily with modeling paste), and then I add some color and another layer of patterned papers.  More modeling paste is stenciled over to give it more texture and dimension, and a final layer of color.  Of course, I could completely mix up these steps- add some more or take away a few and use different elements for some new inspiration.
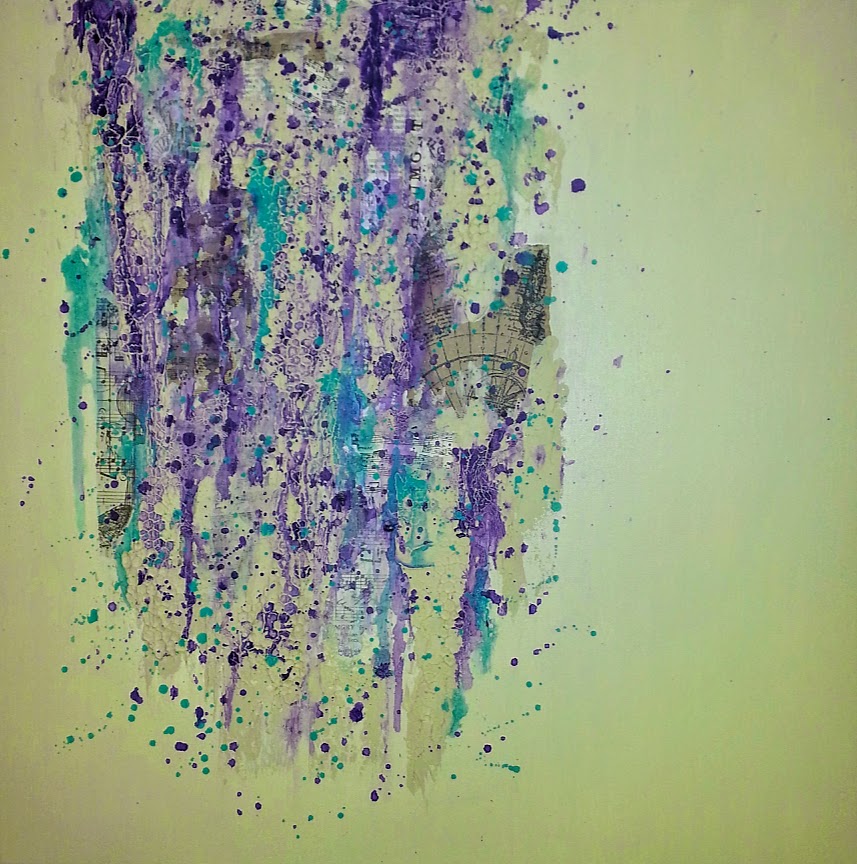
Bright Purple and Turquoise against a cream background.

Collage is such a versatile medium with infinite possibilities.  I’m grateful when I look back on my initial attitudes toward collage- all I could see was bits of paper and fabric pasted together in random ways.  I didn’t see the meaning, the purpose beneath the surface.  Now, though I can’t say I fully understand the meaning behind every piece by every artist, I do see the purpose and the value.  Let’s go find some new ways of putting ourselves into our collages.
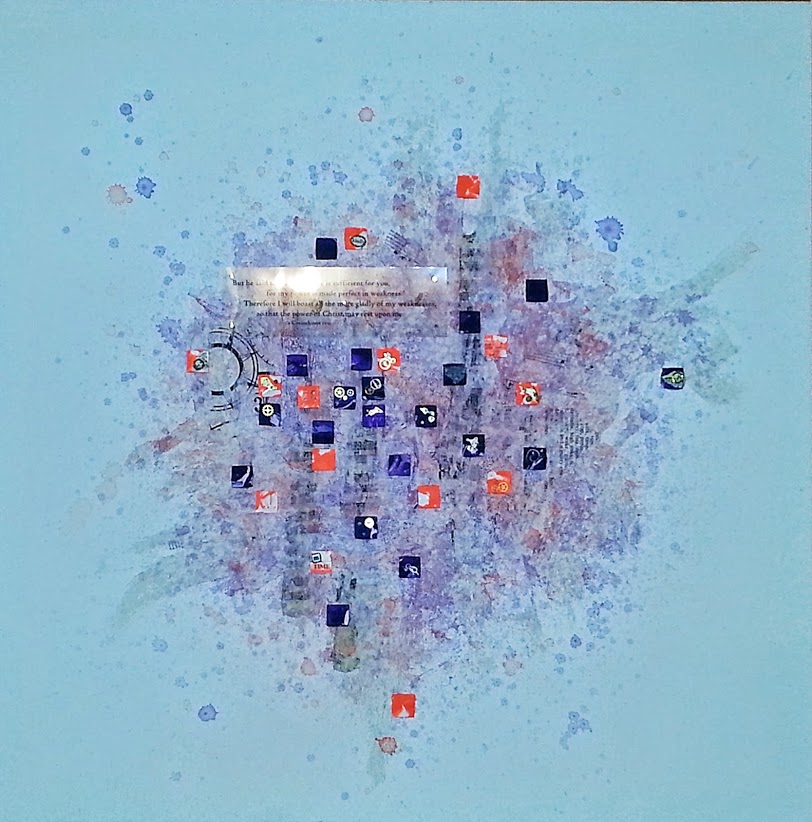
Orange and Purple Collage with square tiles and acetate quote.

~*~*~*~*~*~*~*~*~*~*~*~*~*~*~*~*~*~*~*~*~*~*~*~*~

Anjuli Johnson  is a Mixed Media Artist from Raleigh, NC.  She began her art career as a scrapbooker, and it’s been an evolutionary process every since.  She loves all things mixed media- paper, glue, paint, canvas, pens, wire, gears… the list goes on and on.  She is constantly trying to push through her fears to discover and develop her talents, meet new people, and learn from those around her.  To see more of Anjuli’s art and techniques, check out her website at www.thefarpavilion.com  and like her Facebook page.

~*~*~*~*~*~*~*~*~*~*~*~*~*~*~*~*~*~*~*~*~*~*~*~*~

.

.
Mixed Media Art Yarn

~ * ~

This article was written by Katja Blum

I love yarn!

Imagine a hysterical, yet manly cackle in the background, as my husband marvels at this bold understatement, surveying the yarn-filled tubs and baskets and boxes that are taking over our apartment. I am endlessly fascinated with the colors and textures of yarn. A skein of silk, wool or bamboo yarn is a feast for the senses – even for your nose, if you happen to enjoy the faint whiff of vinegar bath on hand-dyed yarn. But yarn is not just pretty; it is a ball or hank of raw artistic potential. A ball of yarn could become anything – a sweater or hat, obviously, but also a piece of jewelry, a fuzzy pom-pom or a prayer flag woven saori-style. It could be wrapped around a canvas as a textural background or dipped in glue and molded around a balloon or bowl for a yarn sculpture. It can be painted, stitched, knotted, cut, braided … you get the idea.

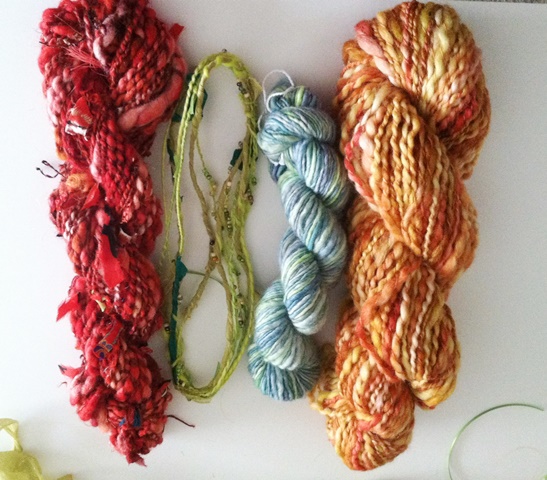
If there is one thing I like more than using yarn, it would be making it. Spinning is my very favorite craft activity – I spin way more yarn than I could ever knit or weave up. It’s great fun to make the big, crazy, textured yarns that are commonly referred to as “art yarns”. Bobbles and beehives and beads, oh my!

Several kinds of textured, embellished yarns

If you are a spinner, grab some fiber, decorations and a tutorial and start making art yarn. If spinning isn’t your thing, you can find beautiful art yarns from fiber artists at craft fairs and online. If you need just a few yards of a special embellished yarn for an art project, you can make it yourself. No spinning required.

You’ll need:

  • Yarn
  • Craft wire, 28-30 g
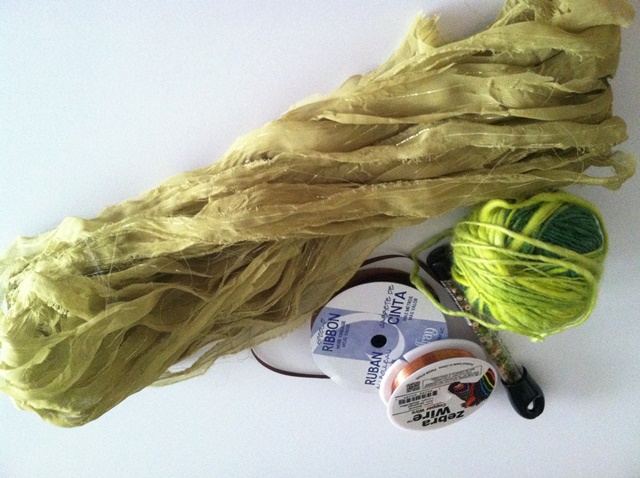
  • Fabric strips, paper strips, ribbons, beads, sequins – any embellishments that can be strung or spiked on your thin craft wire
  • A sturdy clamp or vise

You need yarn, craft wire and embellishments

The base for your art yarn is, well, yarn. Ingenious, I know. Any fiber content and thickness will work, but bear in mind that your finished yarn will be quite a bit bulkier than the base strand. You can, of course, combine different yarns for a marled look.

Prepare the wire:

A length of craft 28g craft wire is going to be the “spine” of your yarn. Obviously, yarn is made by twisting fibers, so that they for a long string and hold together. Your no-spinning art yarn is held together by twisting the base yarn with thin wire, which will make it hold its shape and secure the embellishments. For one yard of finished yarn, you’ll need to string about ½ yard’s worth of embellishments, if you want them fairly closely together.

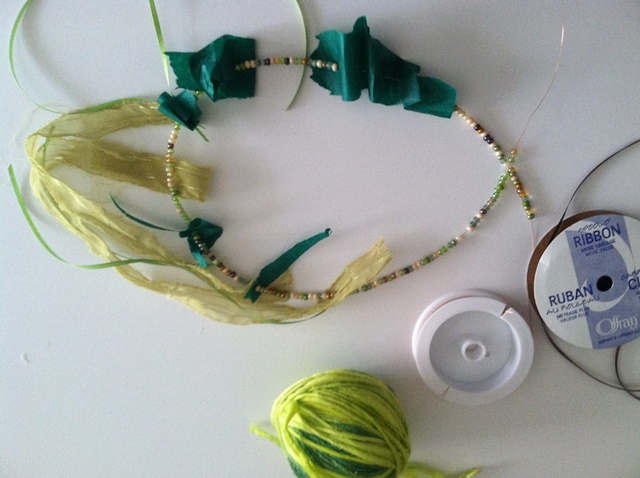
Prepare your craft wire by threading different embellishments on it

Paper strips are best spiked on the wire in a harmonica fashion for a firm hold, but with fabric and ribbon, you can just poke the wire through one end and secure the loose length of material while twisting. You should leave the wire on the spool while threading your embellishments. They will be spaced out later, and it’s best not to run out of wire. If you do want to use wire scraps or different colors, you can twist the wire ends together and smooth them into the other materials.

Secure the ends of your base yarn and wire in a heavy clamp or vise. If you don’t have any, that’s fine – just knot and wrap the ends around something stationary. They have to stay in place as you twist. I once duct-taped the ends to the leg of my desk. It worked.

Twist away. Make sure to twist in the same direction throughout. Longer fabric strips tend to wrap around everything else, so take care to have the wire wrap around the outside of all materials. When a length of yarn is completed, move it up in the clamp or vise for a convenient working distance. Don’t crush beads and other embellishments when securing the yarn – ask me how I know this is an issue.

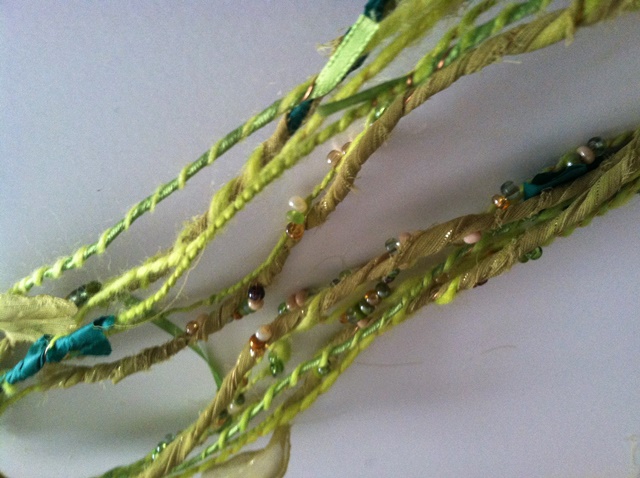
Make as much yarn as you need and embellish to your heart’s content. Obviously, the wire-reinforced yarn is going to be stiffer than regular yarn, but it is a wonderful addition to mixed-media collages, jewelry, sculptures and art dolls.

Close-up of the finished mixed media yarn

~*~*~*~*~*~*~*~*~*~*~*~*~*~*~*~*~*~*~*~*~*~*~*~*~

Katja Blum is a writer and translator from Tulsa, OK. As an artist, she started with yarn, fabric and papier mache (rarely together), branching out into collage and other paper arts about ten years ago. Her latest obsession is making soft stuffies and art dolls – to the delight of her toddler. She also likes to find creative solutions for ugly or broken things around the house – to the delight of her husband.

You can see more of her work with fiber, paper and words at www.thewaywardsheep.com

~*~*~*~*~*~*~*~*~*~*~*~*~*~*~*~*~*~*~*~*~*~*~*~*~

.

.
I’m NOT Obsessed with Art Journals! (Am I?)

~ * ~

This article is written by Vicki Ross

Please note: any snarkiness is directed toward Wicki…not Mixed Media 🙂

I am by nature a studious sort. I seem to get more pleasure out of figuring out all the ins and outs of a subject long before I experiment with it. Used to purchase software books and manuals (back before information was available online) and attack them page by page before I ever loaded the corresponding software.

I’ve done the same thing with art. Even though I am a retired graphic design professional, I knew nothing about the application of “Fine Art” materials back in 2002 when I made serious life changes that pushed me to learning to paint.

SO, instead of experimenting with watercolors, I studied the chemical formulas and what made some pigments play nice together and that some made mud. THEN I went to the studio (after collecting the vast array of materials I thought I HAD to have). Same with pastels, acrylics, oils, and encaustics. Now, thanks to sites like Mixed Media Art, videos by Terri Sproul, Carolyn Dube, and my fellow writers here, I’m doing the same thing with ‘journaling’. Lurking around, soaking up the wisdom and tutorials, and maybe, just maybe…ya never know where Wicki will be next!

Coming to the conclusion a week or so ago that I really hadn’t crossed over to the dark side of crafting (not that there is anything wrong with that), I could start art journaling as a means of technique experimentation for implementation in my ‘real’ art pieces. Then, one morning a couple of days ago, I remembered a journal I created back in 2004-ish that was intended to be filled with artwork from members of a critique group I was in. Some were happy with a simple spiral bound notebook, but not Wicki!

art journalling journal

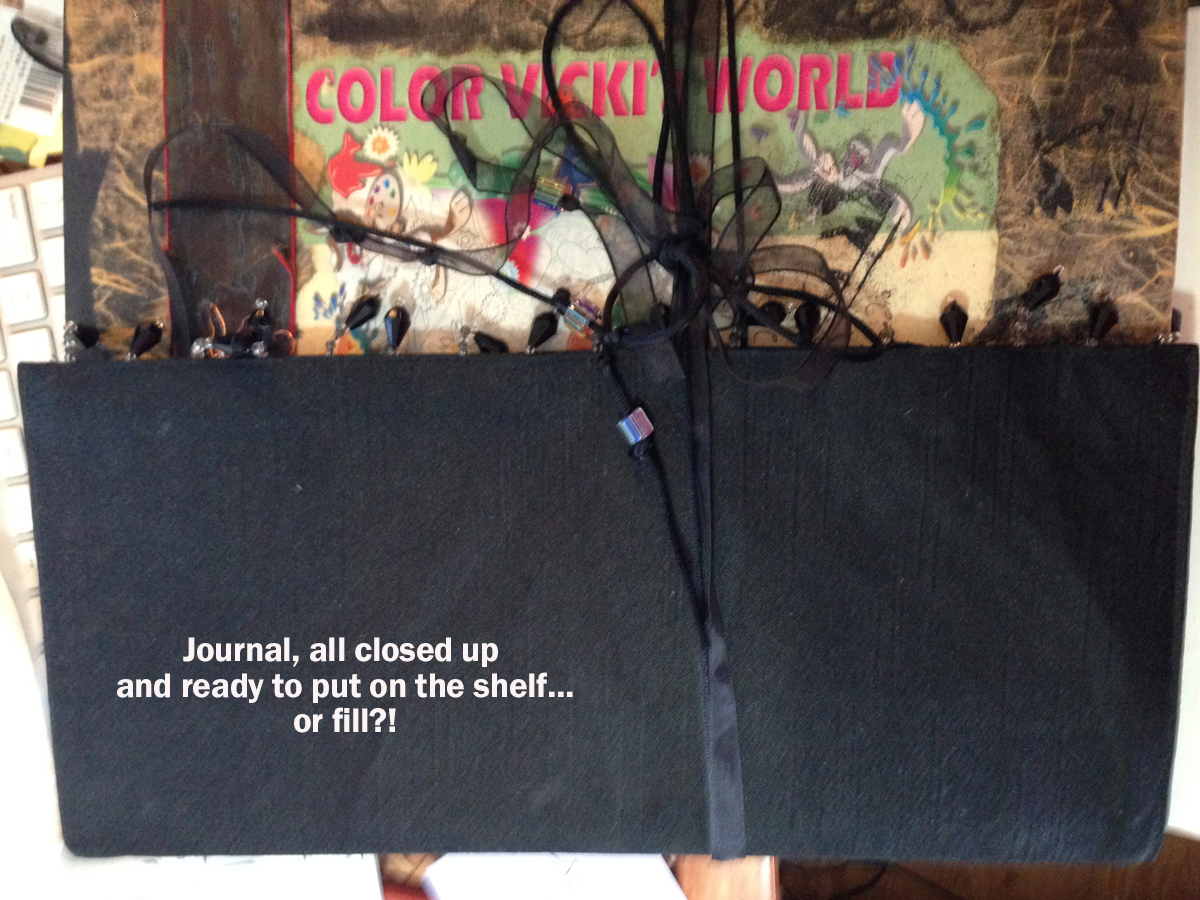
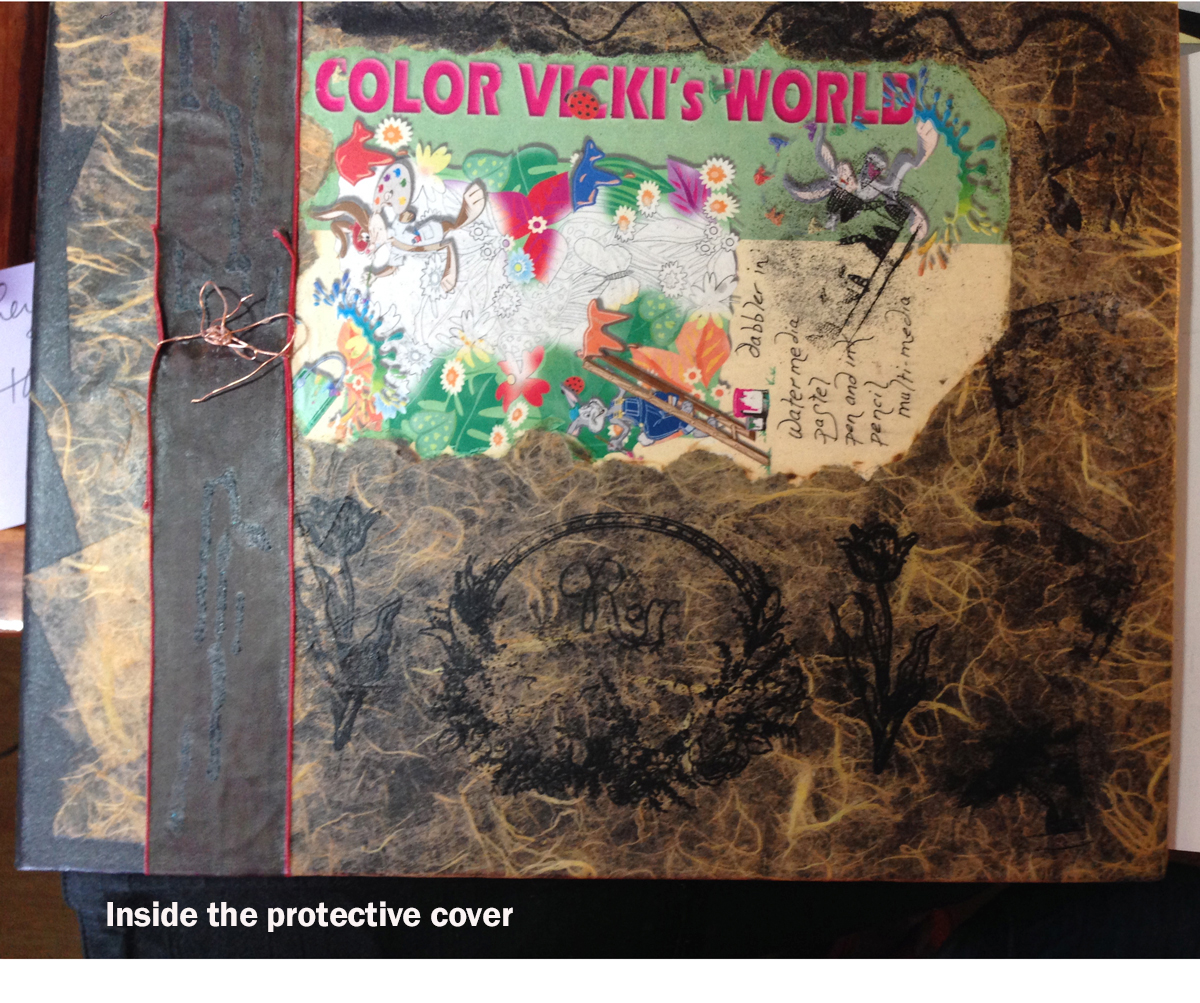
Would you just look at this? I spent hours making the journal! Now I’m considering re-purposing/finishing out the pages as an art journal.

The book was a post system binder filled with handmade paper. I carefully took it apart and added a sheet of glassine between each page.

The cover looks like tissue paper attached with mat medium. I don’t think I used stamps (didn’t have any). A laser print of one of my graphics projects was collaged on, then a ribbon and wad of copper wire.The inside covers are collaged with mulberry paper.

To add to the obsession, I took a placemat with beaded trim and attached it to the back of the book. Add ribbons and beads and it folds and ties over the cover to protect it.

mixed media art journaling coverNow the fun part! Switching the books between the artists in the group, the idea was to get it filled. The group drifted apart as these experienced artists transitioned into senior centers and they lost touch with their art experimentation. My train took a dirt road about that time as I ventured into soft pastels.

Imagine my pleasure as I opened the book and out fell some cards from art friends…one from Anita from Germany we met on a watercolor workshop with Charles Reid in Salzburg and Prague in 2006. A delightful original watercolor with a note on the back from Jan in Australia. Another card from a good friend, Jodie from Texas. Then a few pages from the critique group…and an ATC card from friend, Erika from Bentonville. Another page revealed a detailed pencil drawing of a design I was working out for a painting. I was experimenting with pencil as an art form, not pencil for sketching or guide for painting.

So, what do you think? Should I throw caution and frugality to the side and pick this bad boy up for art journaling? OR, put it back on the shelf and save it?

~*~*~*~*~*~*~*~*~*~*~*~*~*~*~*~*~*~*~*~*~*~*~*~*~

Vicki Ross is focused on sharing her journey to art and how life events can shape us through creativity www.Axully.com. Vicki has always been involved deeply in the creative arts, from professional soft crafts publications (knitting/crochet/needlework) to French Hand-sewing, stenciling to macramé, oil painting to encaustics. Whatever your leaning, she believes in the healing power of creating.

You can see more of Vicki’s work at VickiRossArt or via blog posts at Axully – Solid. Useful. Beautiful

~*~*~*~*~*~*~*~*~*~*~*~*~*~*~*~*~*~*~*~*~*~*~*~*~

.

.
Watercolor Painting on Old Paper Ephemera

~ * ~

This article is written by Melanie Statnick

Supply list:

  • Gel medium
  • Clear Gesso
  • Paint Brush
  • Old papers from textbook
  • Foam board
  • Watercolors
  • Micron/Copic pen
  • White Uniball pen (signo)
  • Pencil
  • Eraser

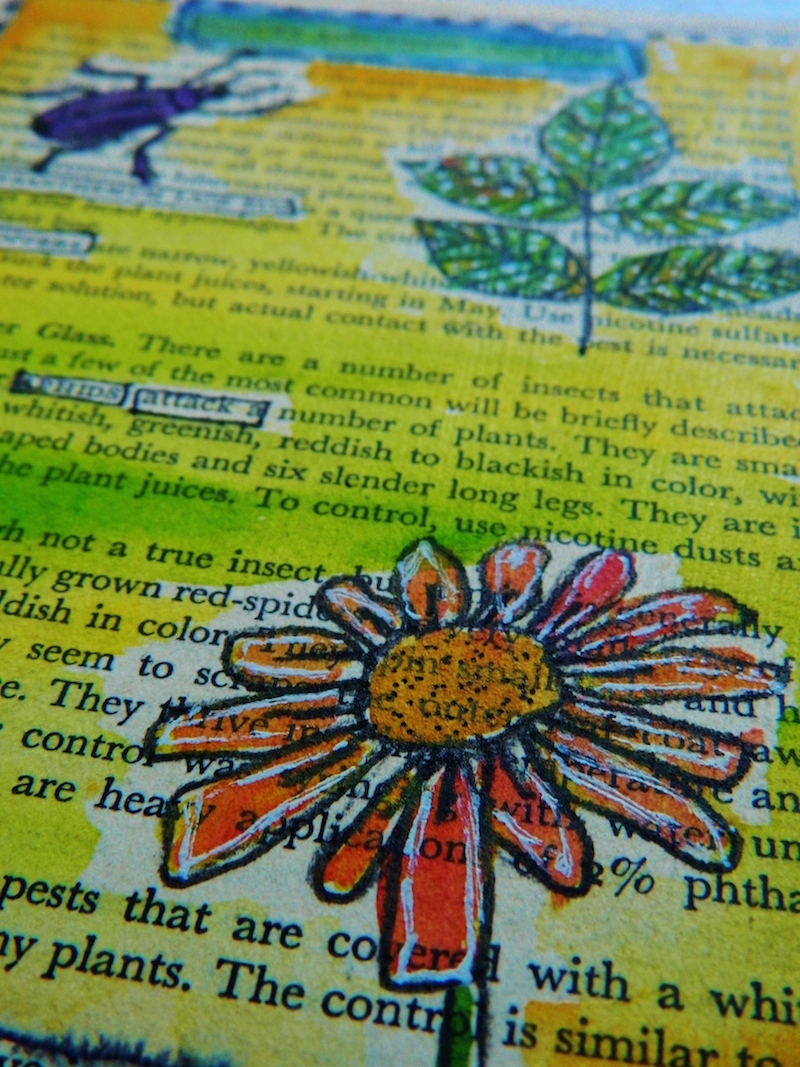
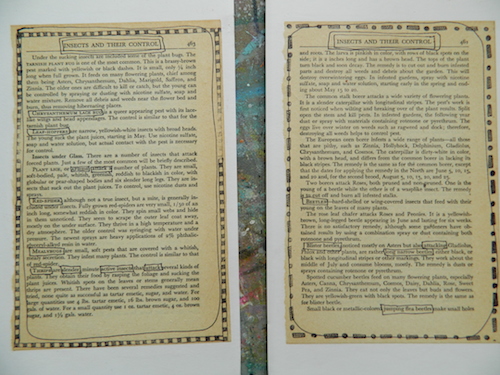
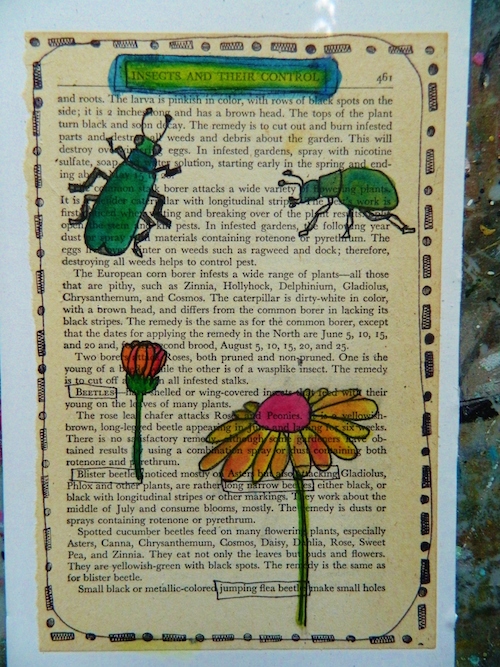
Watercolor technique on old papers by Melanie Statnick

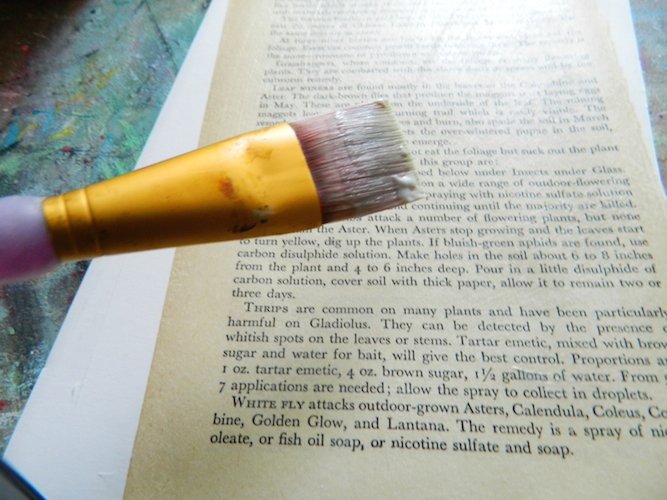
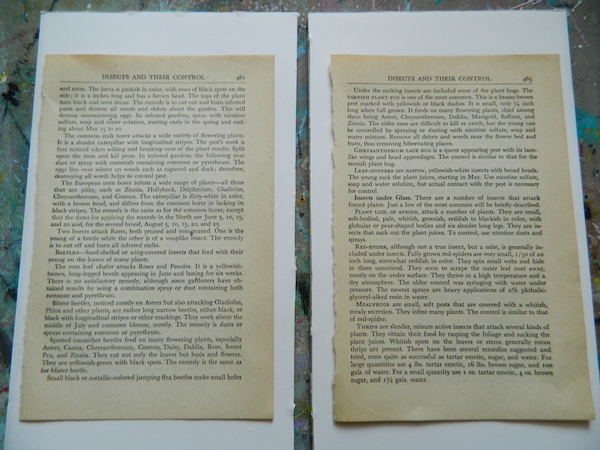
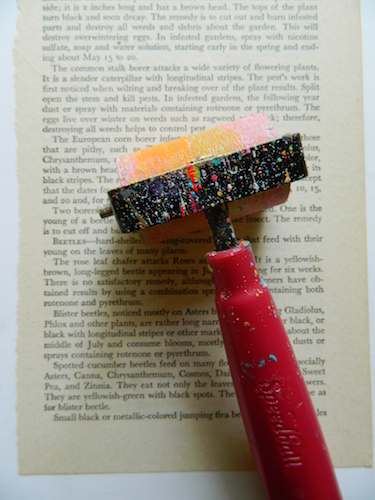
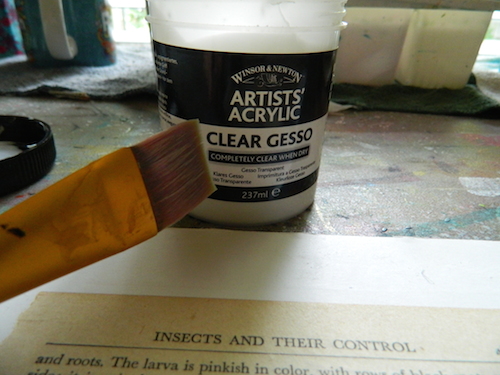
Cut foam board to 8×10. Using gel medium cover one side of old paper taking care to get each corner and the sides. Once covered, flip glued side down to foam board and use brayer to roll flat and to get out any bubbles or folds ion the paper. You will only need a thin layer. This is old paper and going over it too many times with the brayer may cause some tearing. After drying use the clear gesso to prep you surface to accept the watercolor. This will dry clear and leave a “tooth” texture to the paper that will feel somewhat like sand paper.

Watercolor technique on old papers

Watercolor technique on old papers

Watercolor technique on old papers

Watercolor technique on old papers

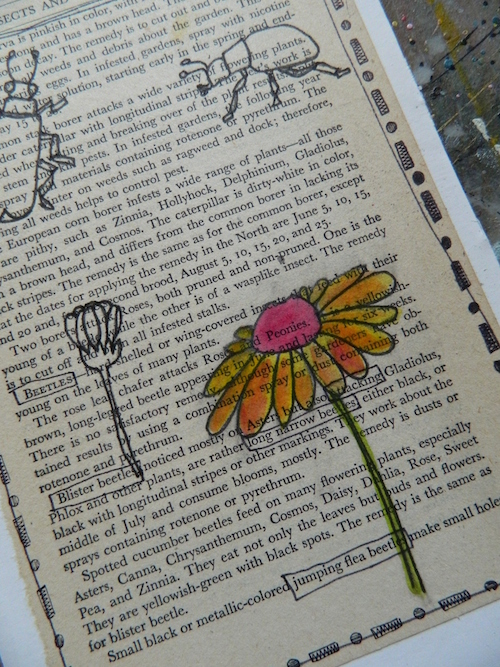
When the gesso is dry you can draw a boarder around your paper and begin to draw your pictures where and what you like. The pencil may show up a bit darker on the gesso surface. Go over your drawings with a micron pen and white gel pen before you add your watercolors.

Watercolor technique on old papers

Watercolor technique on old papers

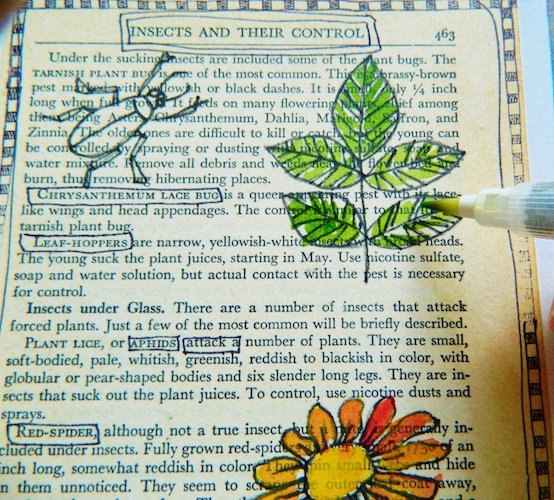
Your drawings are ready for the watercolor. You can paint just your designs and leave the background plain or paint and splatter it all.

Watercolor technique on old papers

Watercolor technique on old papers

Watercolor technique on old papers

~*~*~*~*~*~*~*~*~*~*~*~*~*~*~*~*~*~*~*~*~*~*~*~*~ 

Melanie Statnick is a published artist/writer out of North Carolina. Melanie creates art daily from her private studio. Her style artwork can be found in art galleries and shops extensively in NC with international private collections.

~*~*~*~*~*~*~*~*~*~*~*~*~*~*~*~*~*~*~*~*~*~*~*~*~

.

.