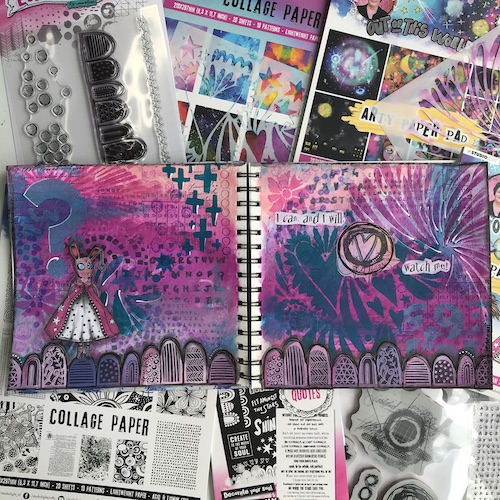
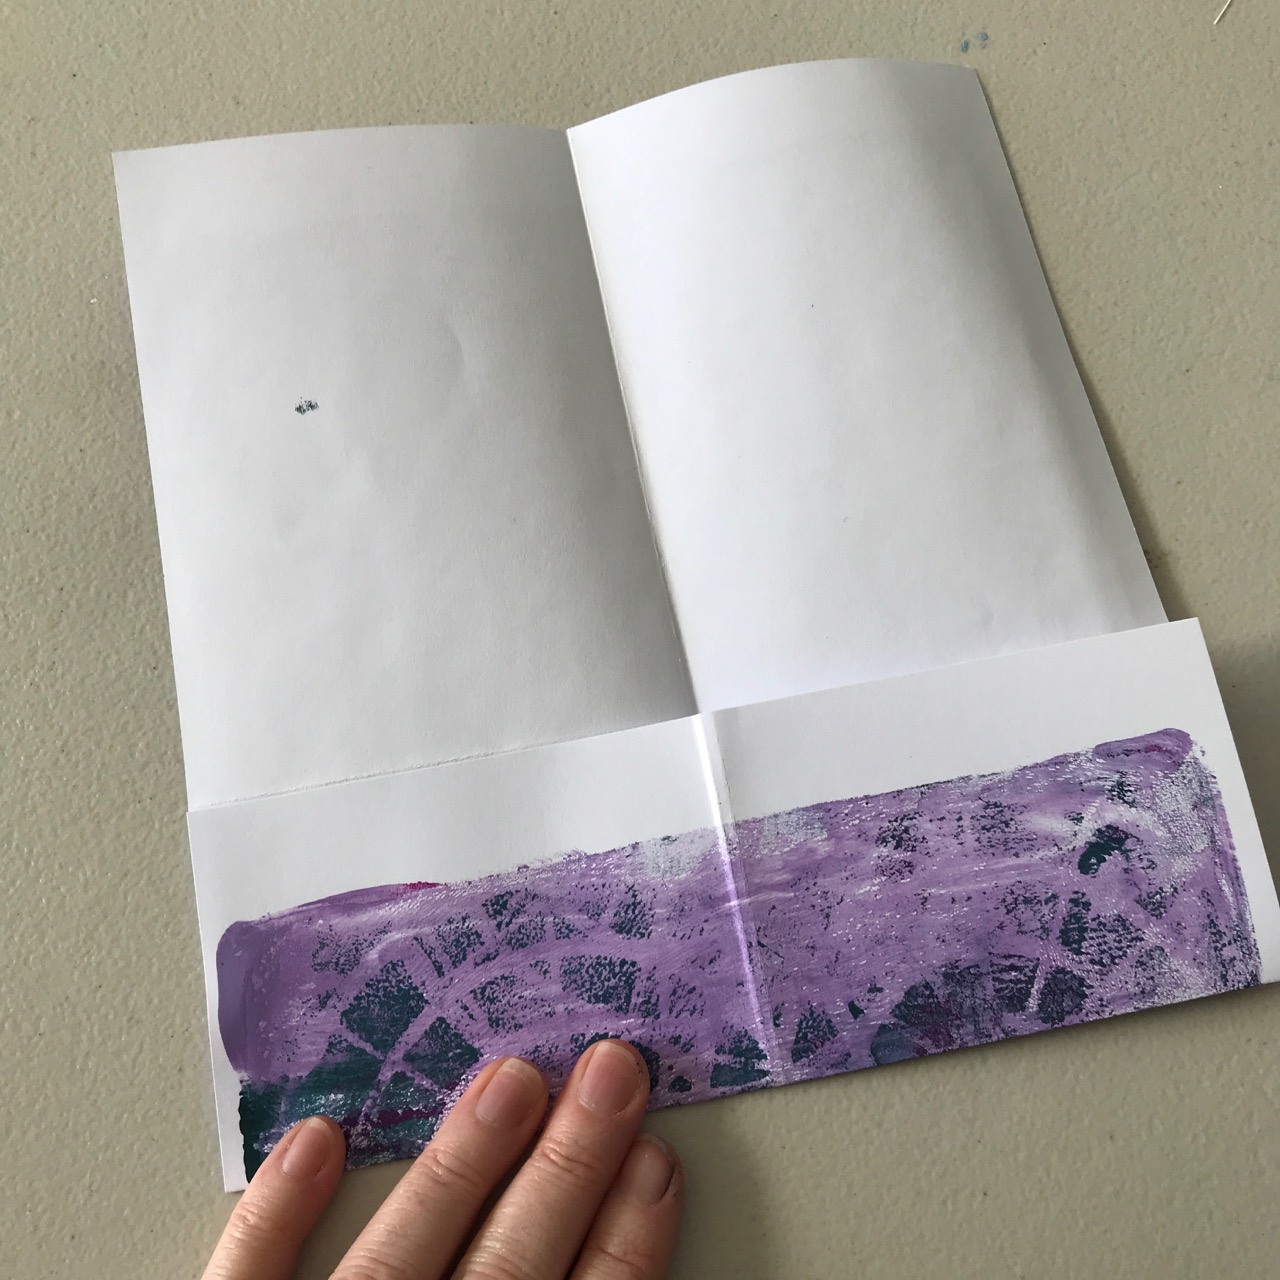
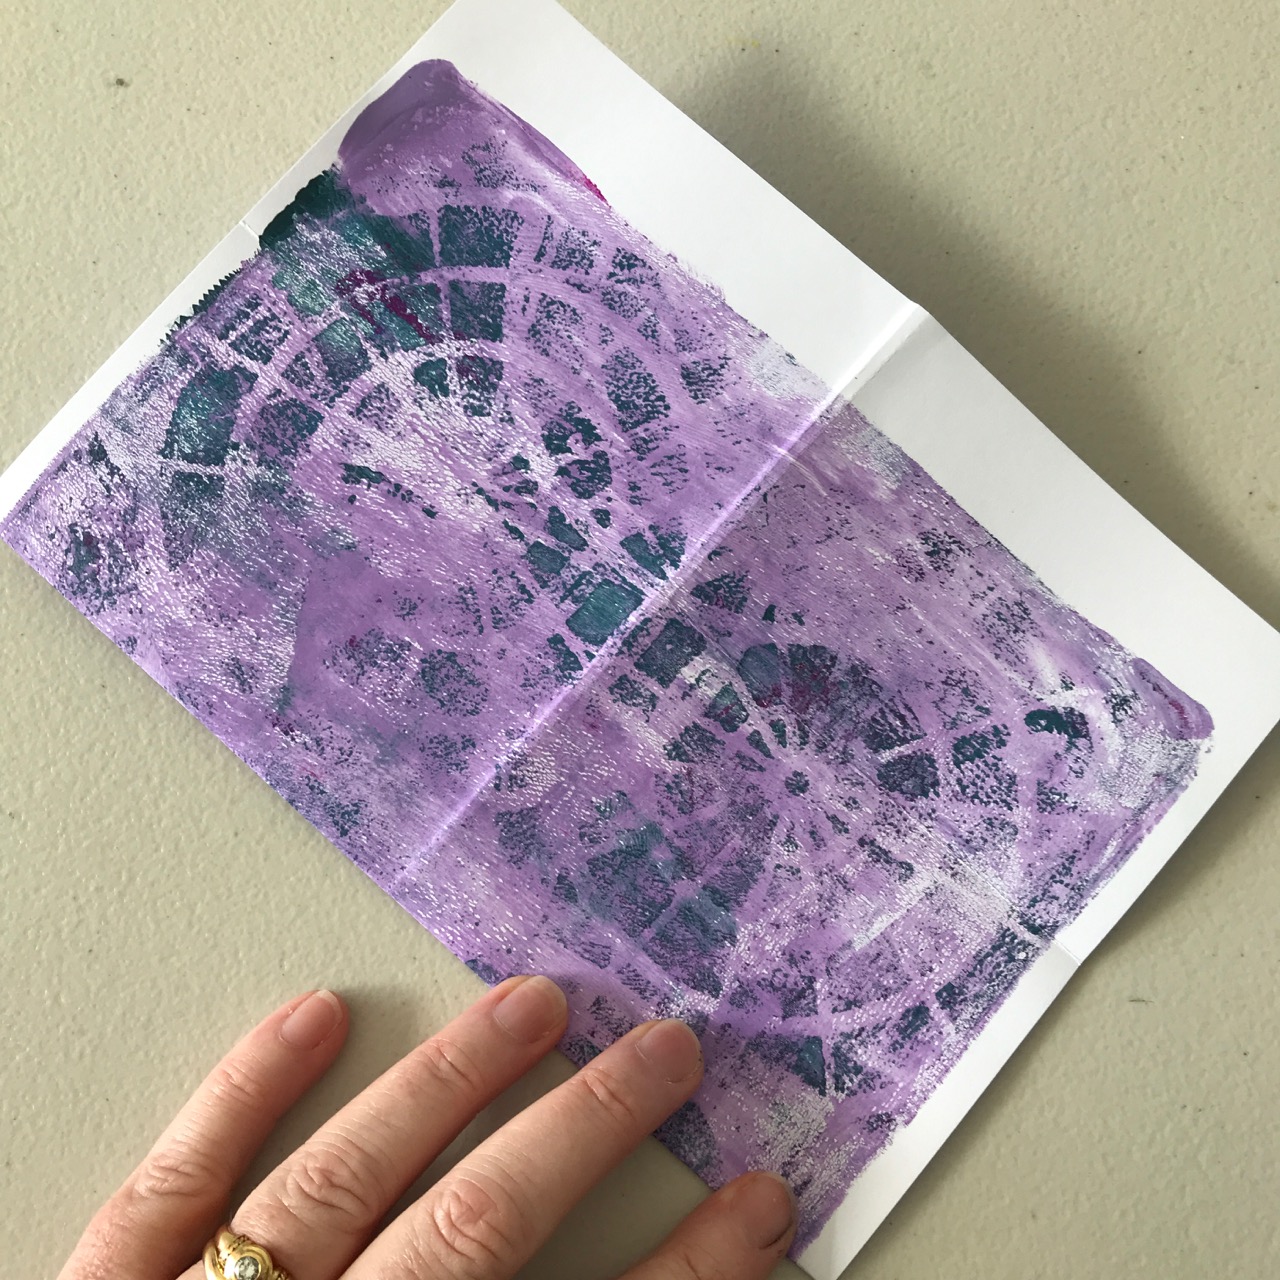
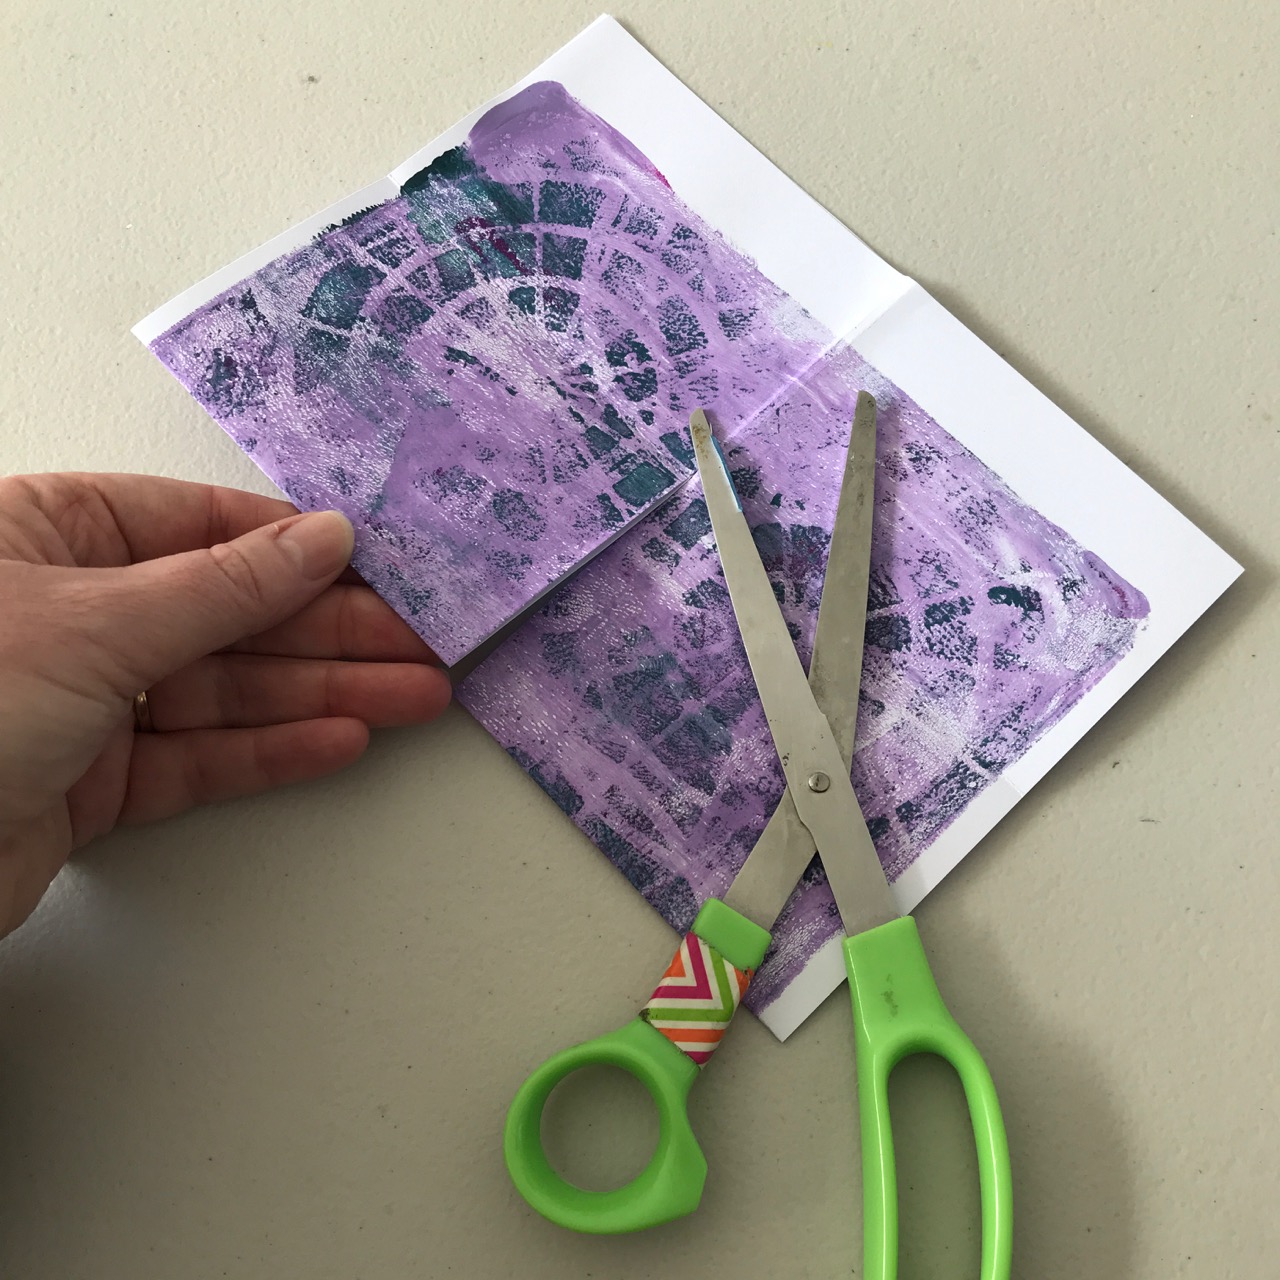
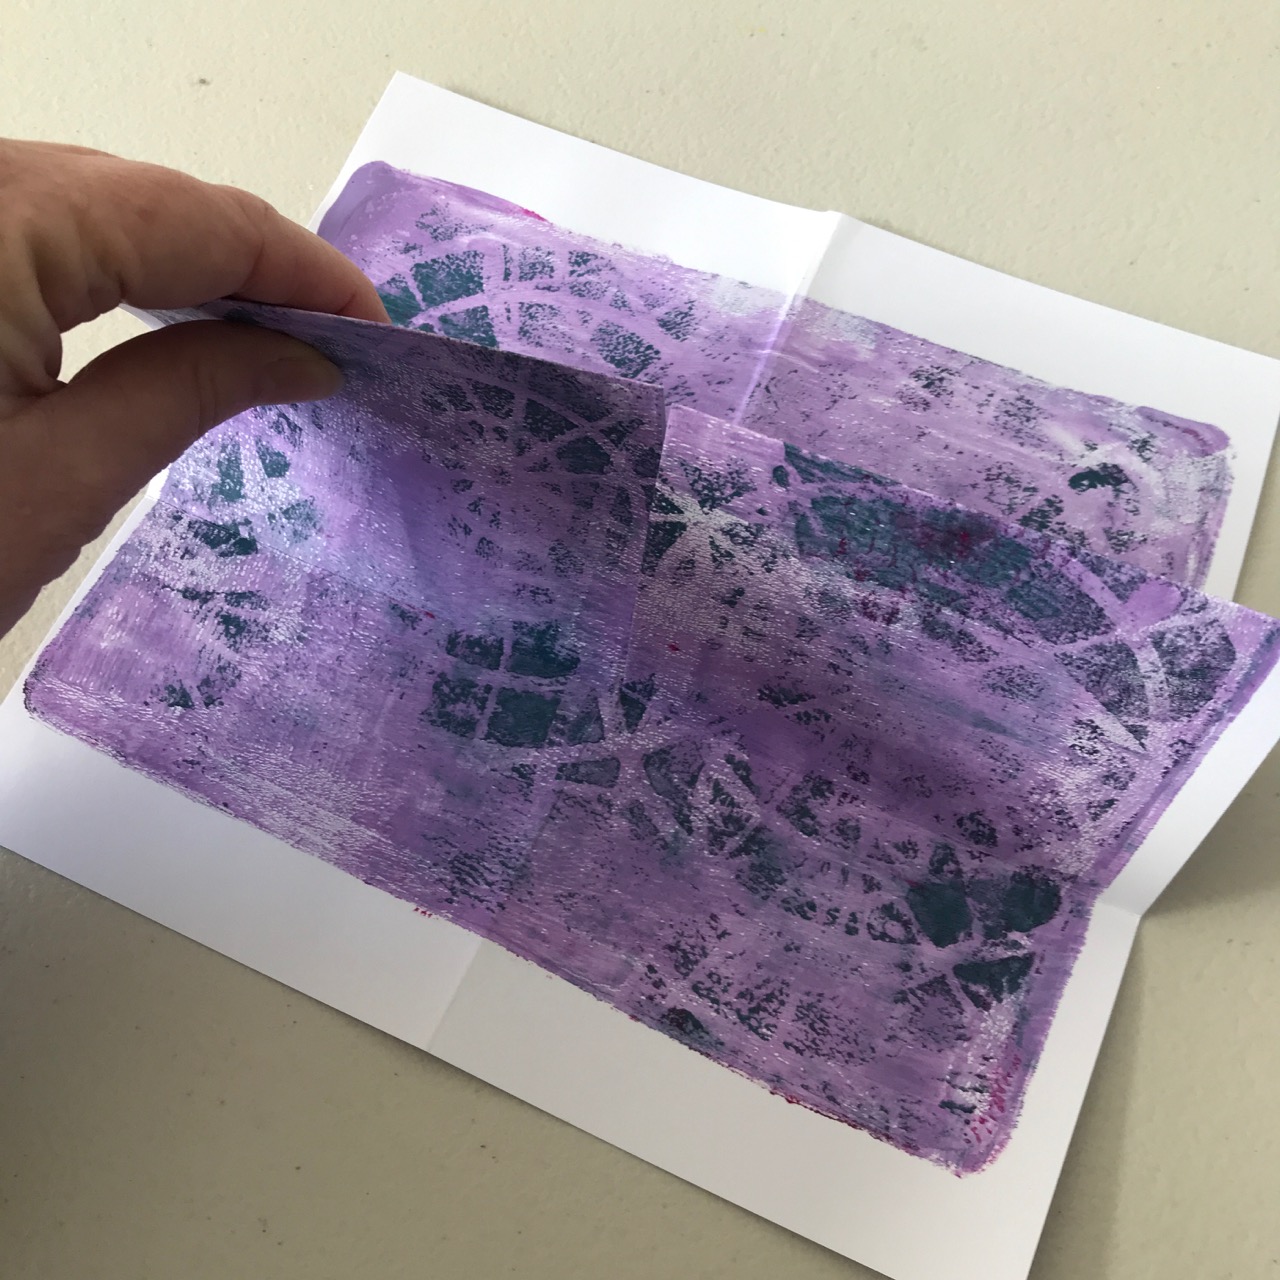
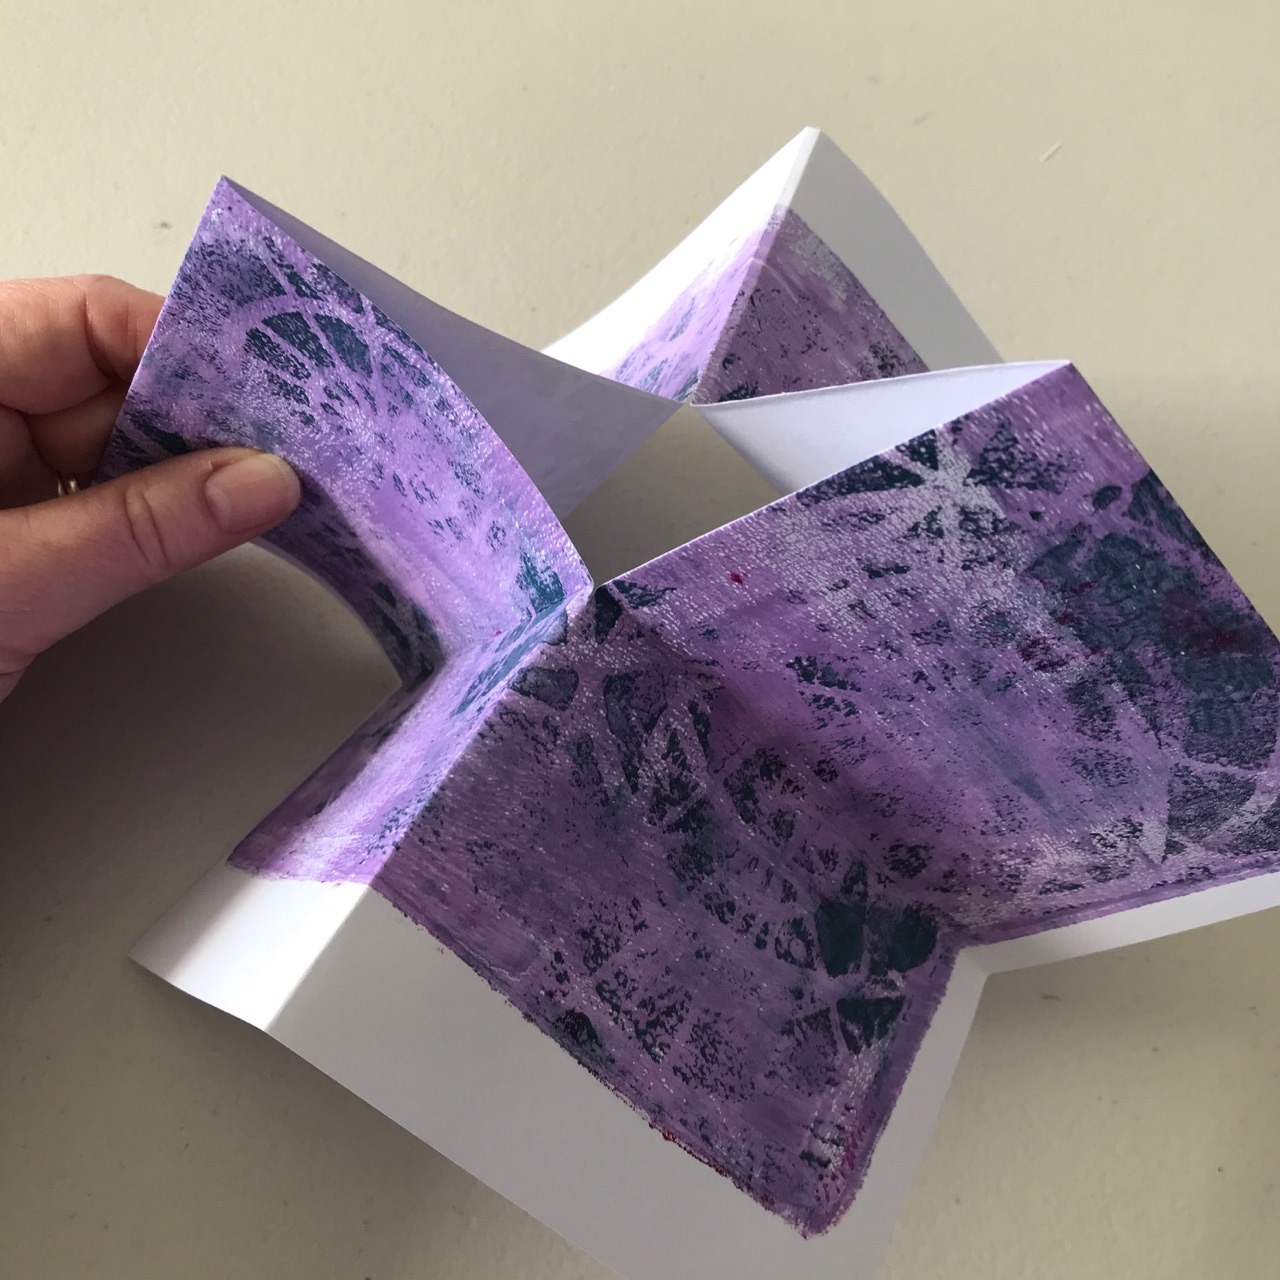
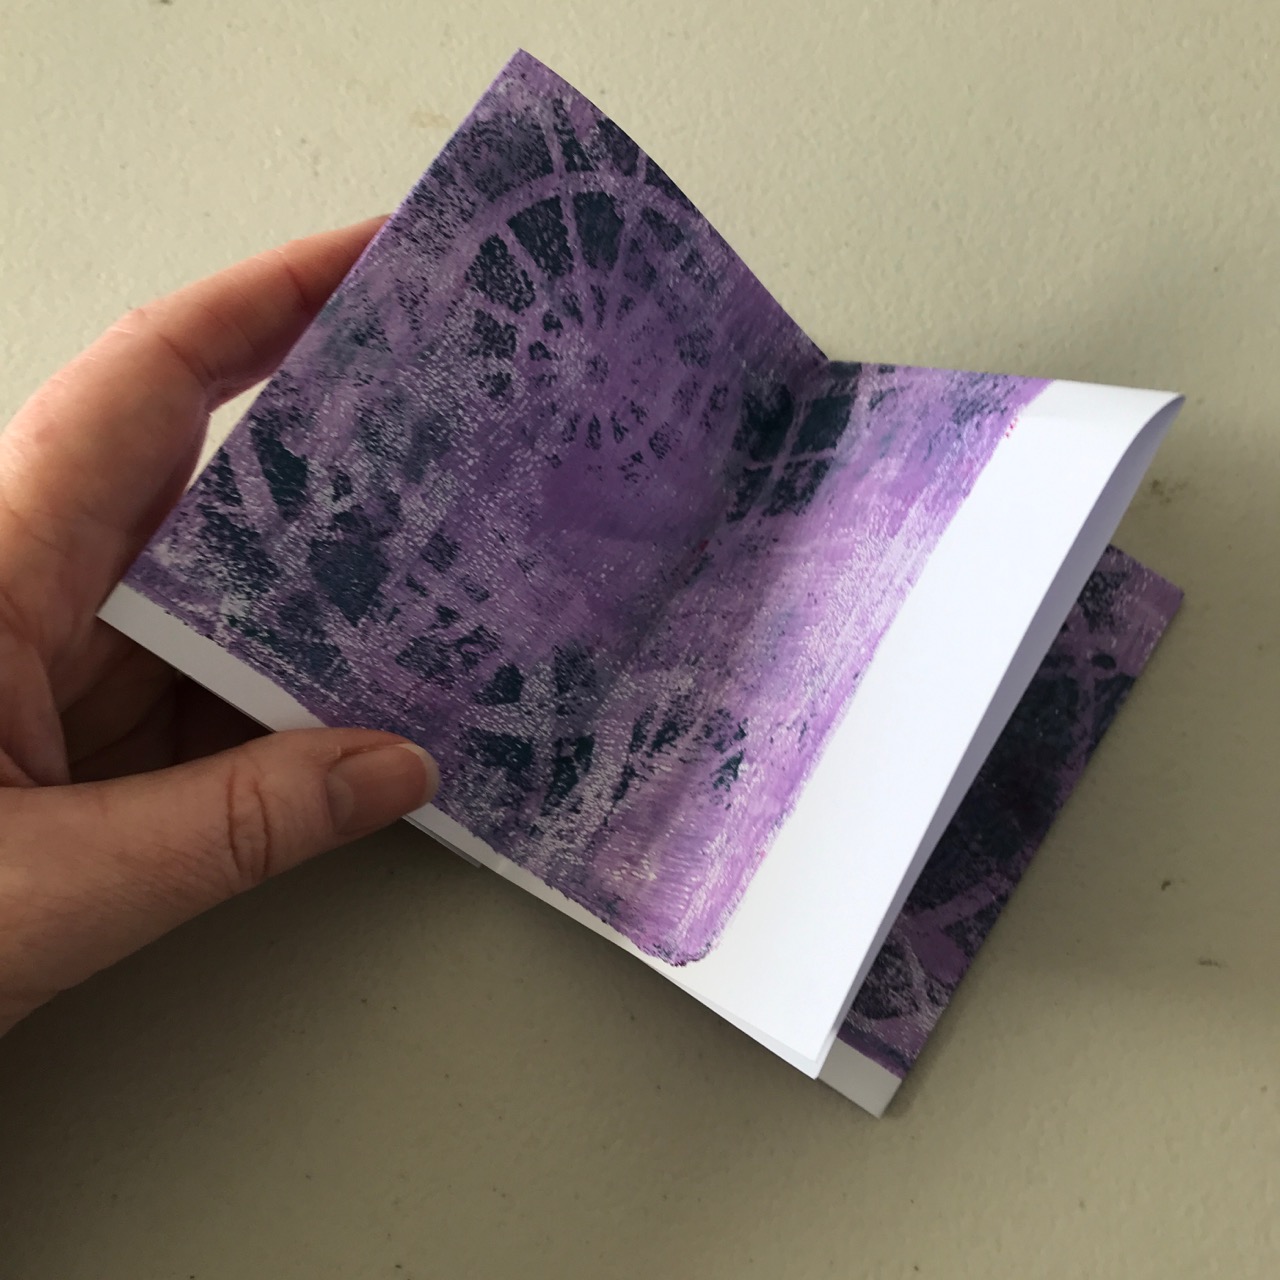
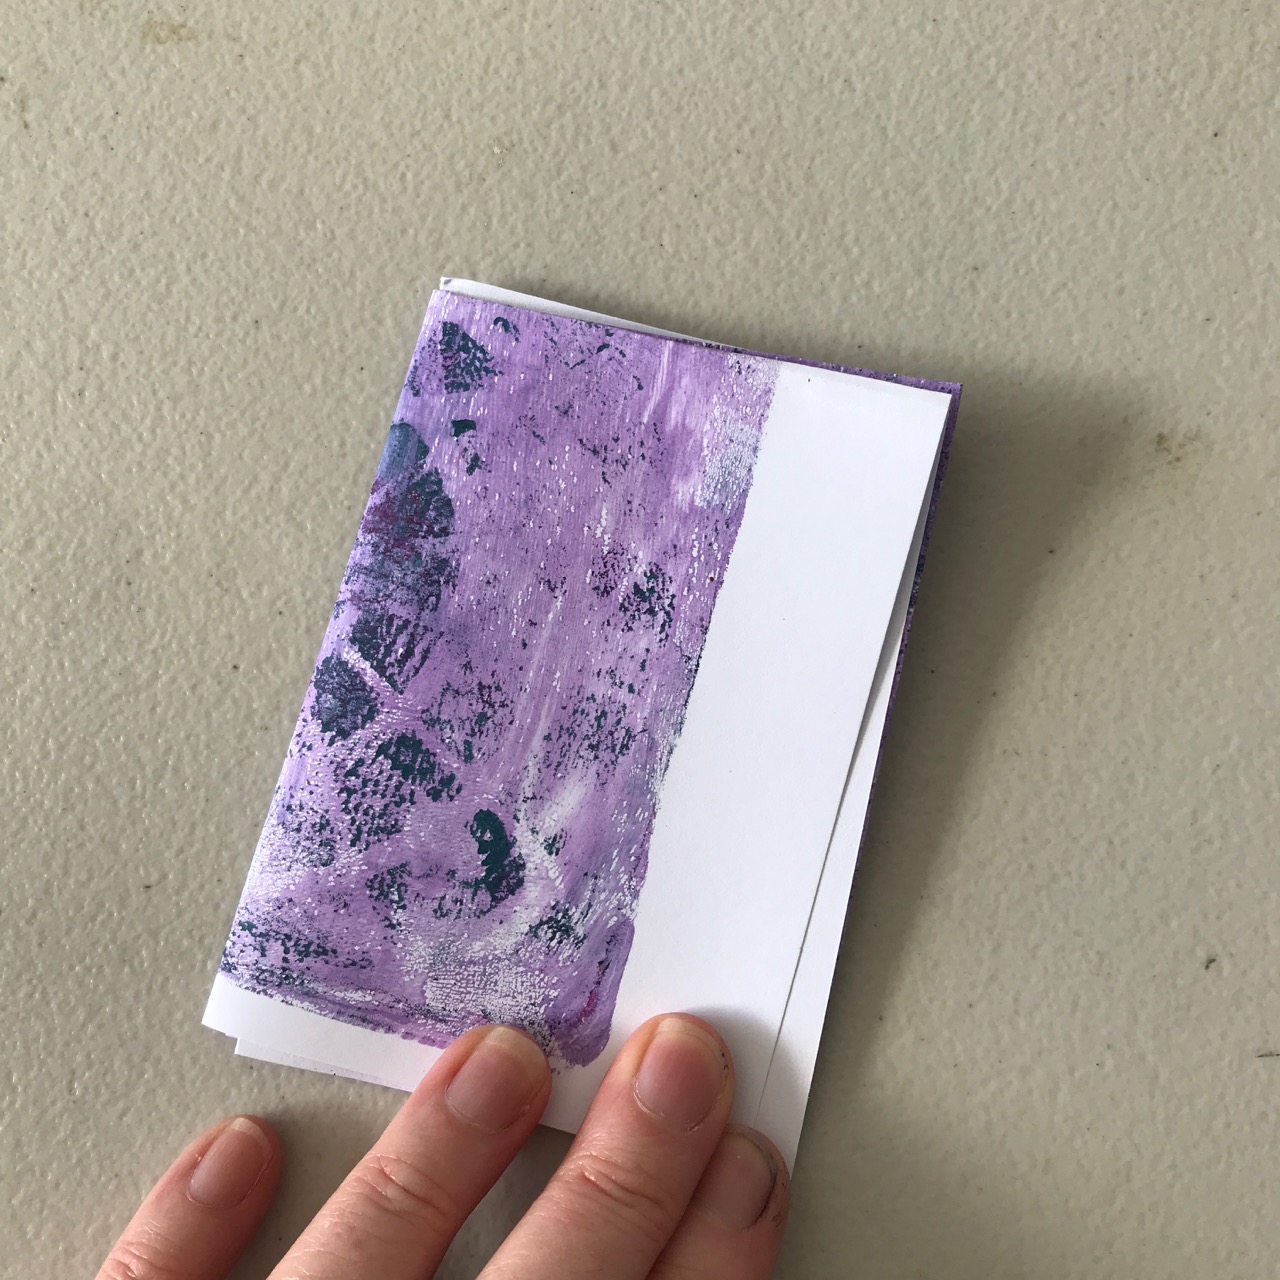
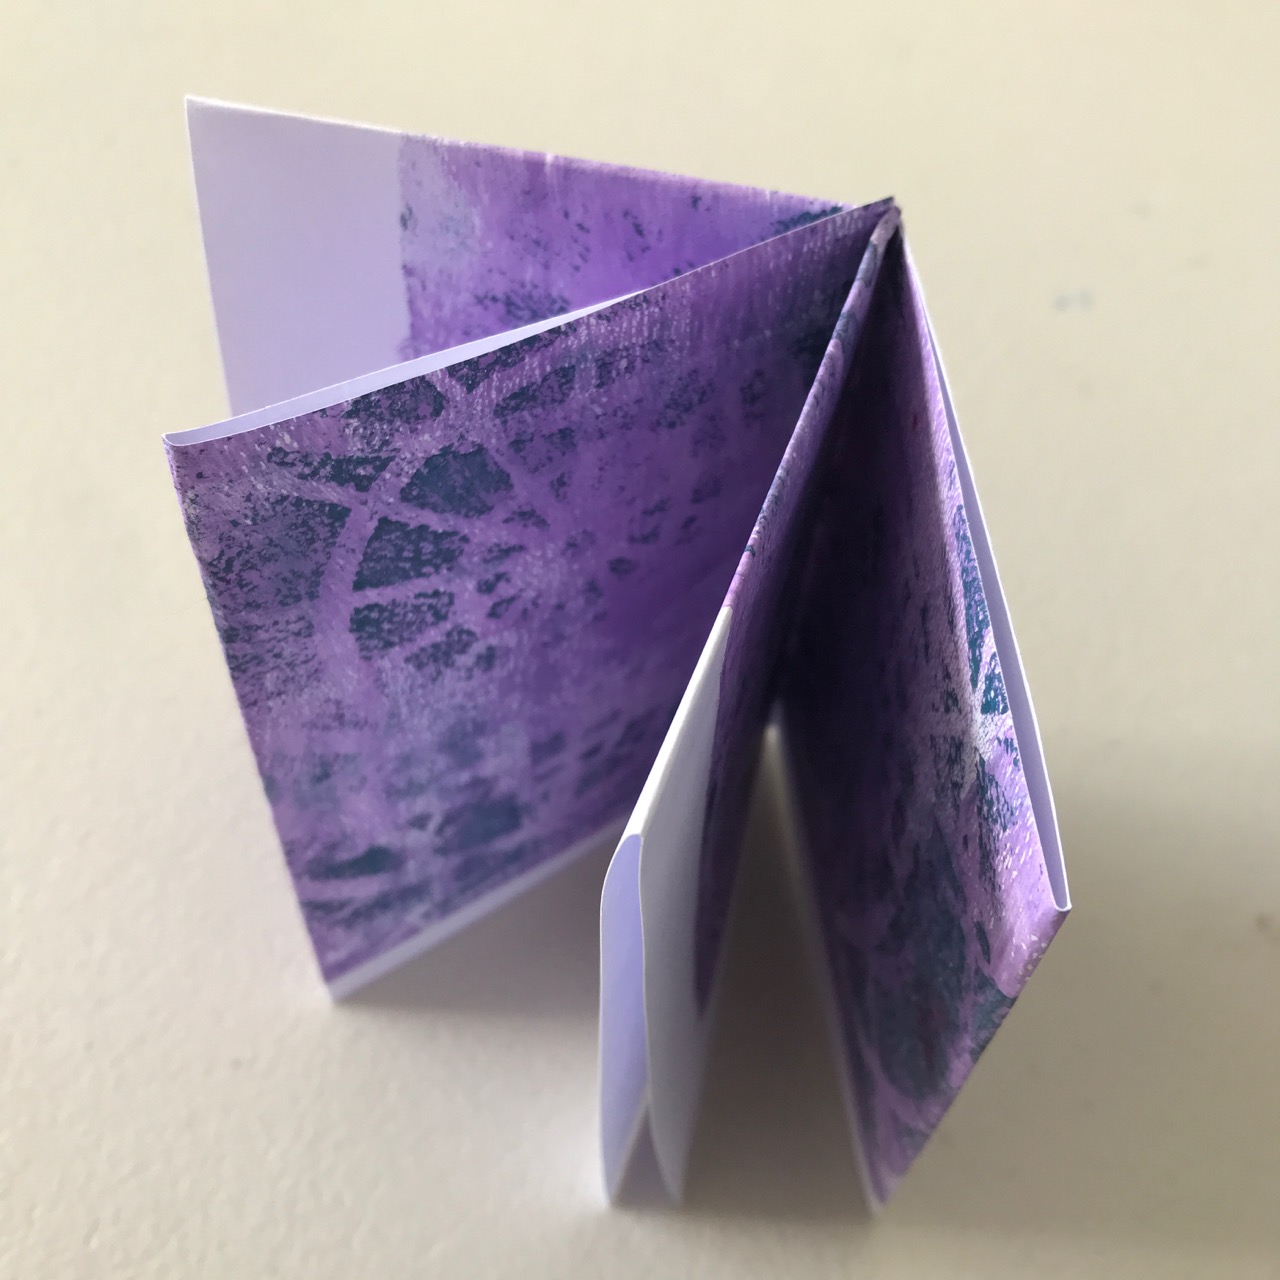
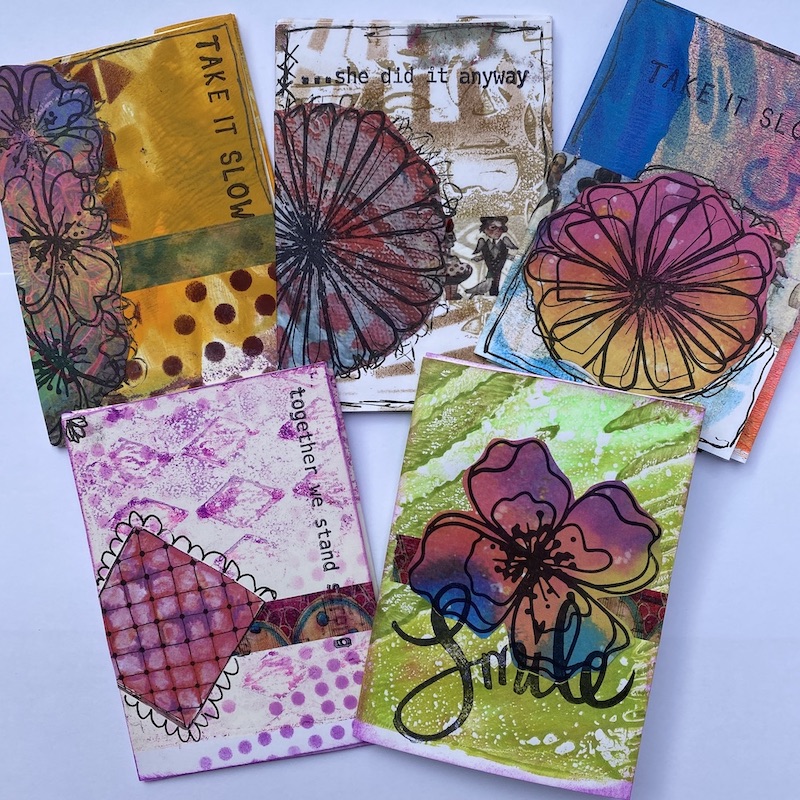
Michelle joined the From Picture to Page Spring into Sandown online show line up with this fun and quick art journaling layout, as she shares her 5 step art journaling process with the new Art by Marlene paints, stencils, stamps, die cuts, collage papers and more!
Materials List
- Art journal – Go Dutch
- Art journal – Rainbow journal
- Out of this World collage paper – black & white
- Gel medium – The Crafters Workshop
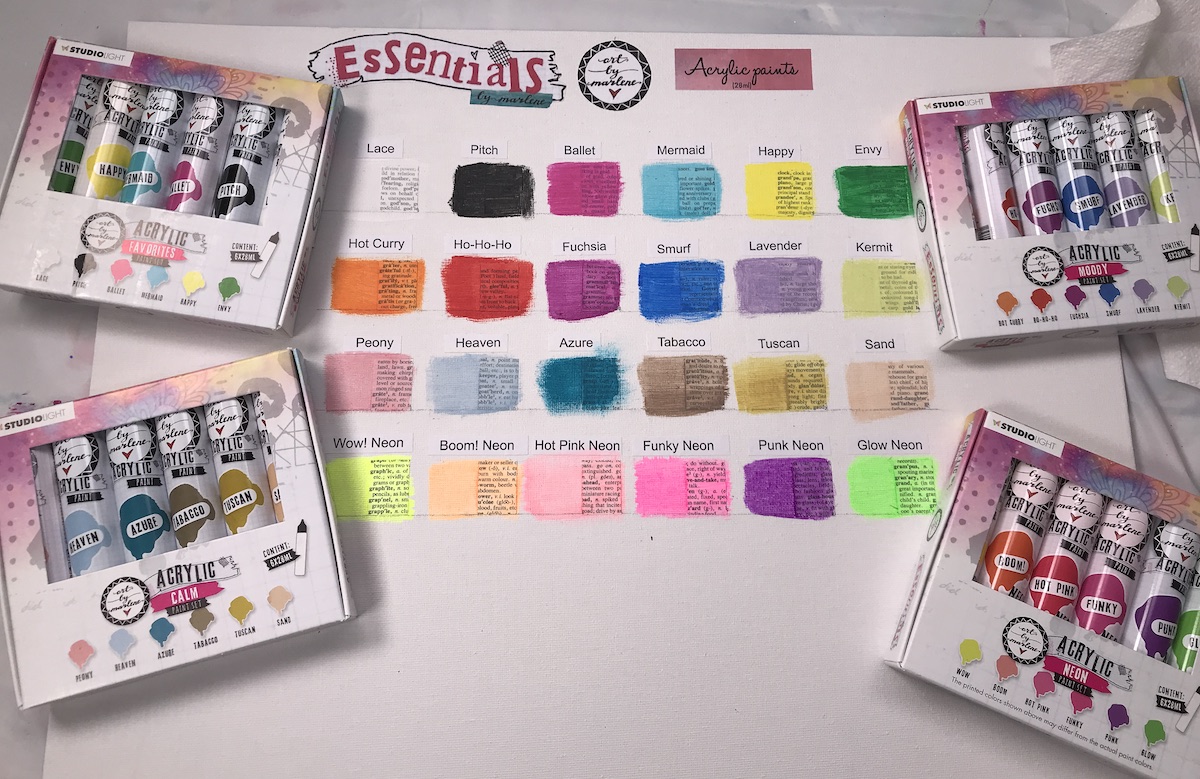
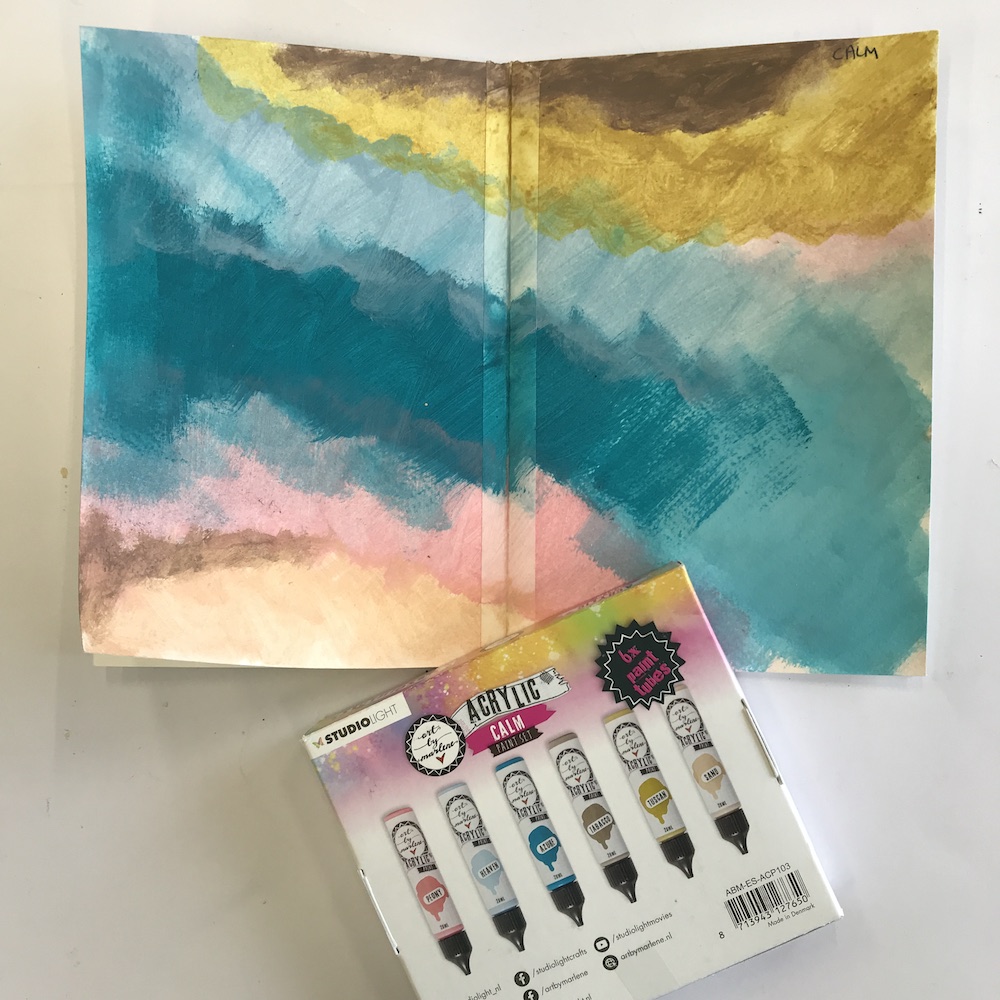
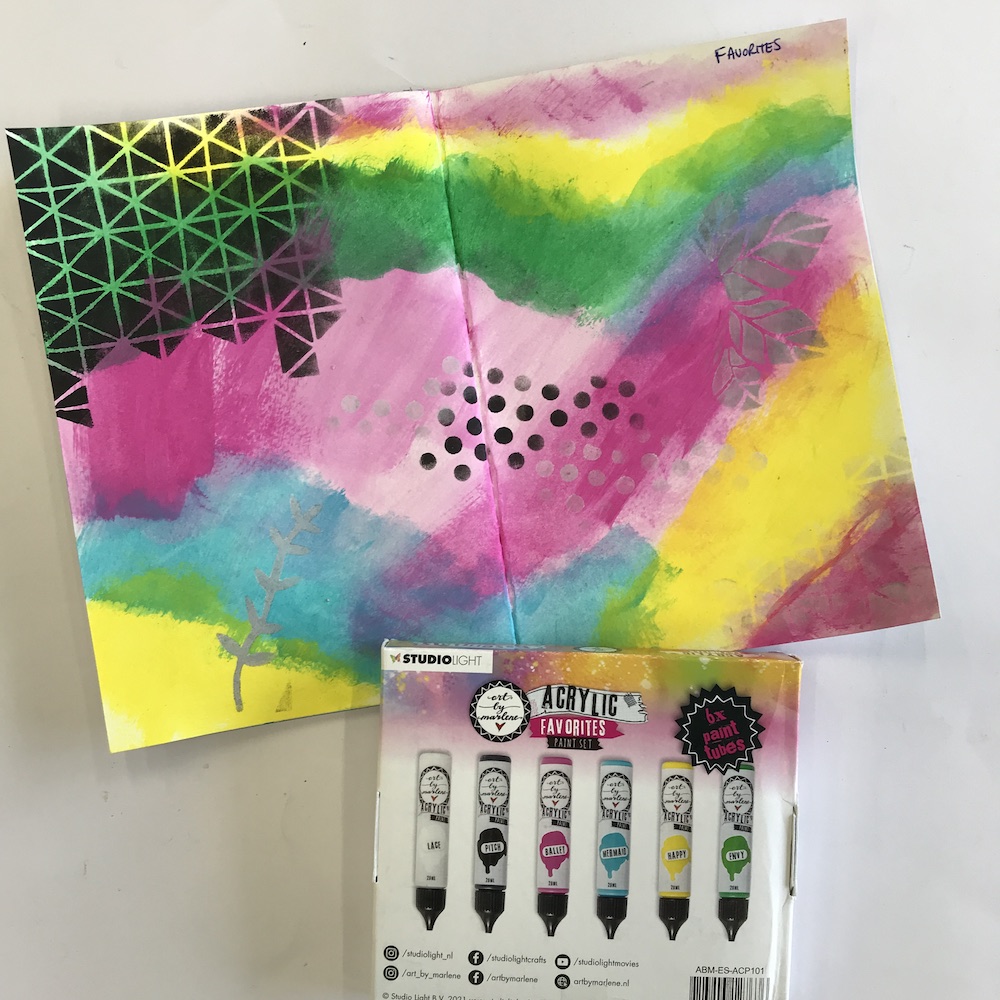
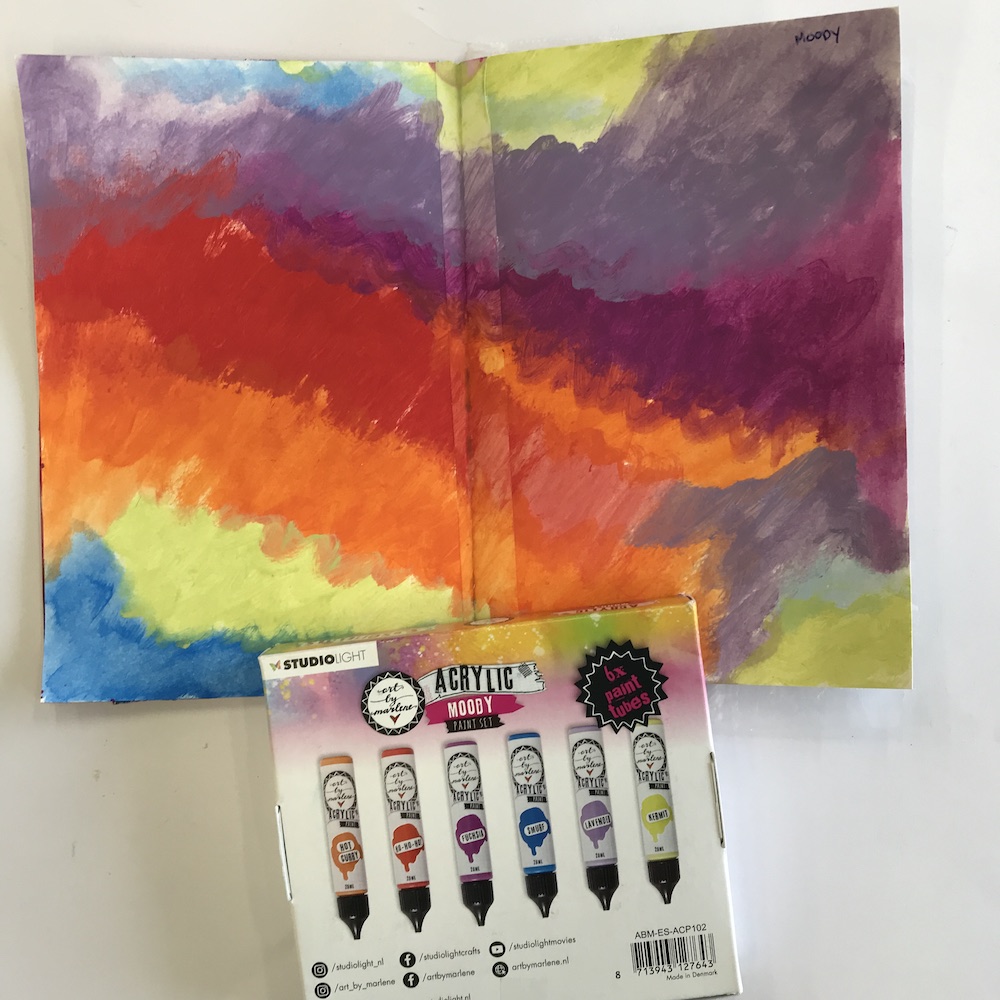
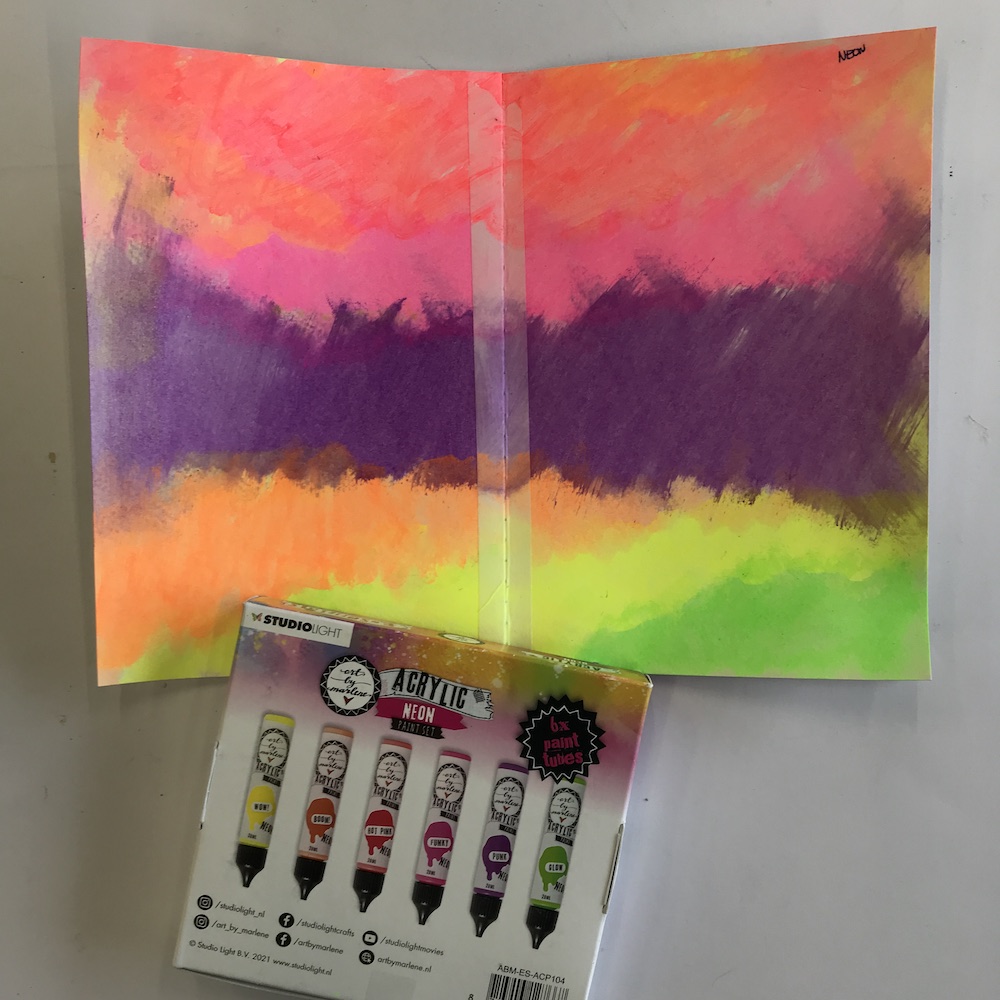
- Art by Marlene acrylic paint sets
- Art by Marlene stencils
- Writings stamps – Essentials by Marlene
- Archival inks minis
- Die Cuts – Out of this World
- Collage paper – Out of this World
- Borderline stamps – Essentials by Marlene
- Scribble sticks – Dina Wakley
- Sticky quotes – Essentials by Marlene
- Alphabet Rub-Ons – Essentials by Marlene
- Dina Wakley paint brushes
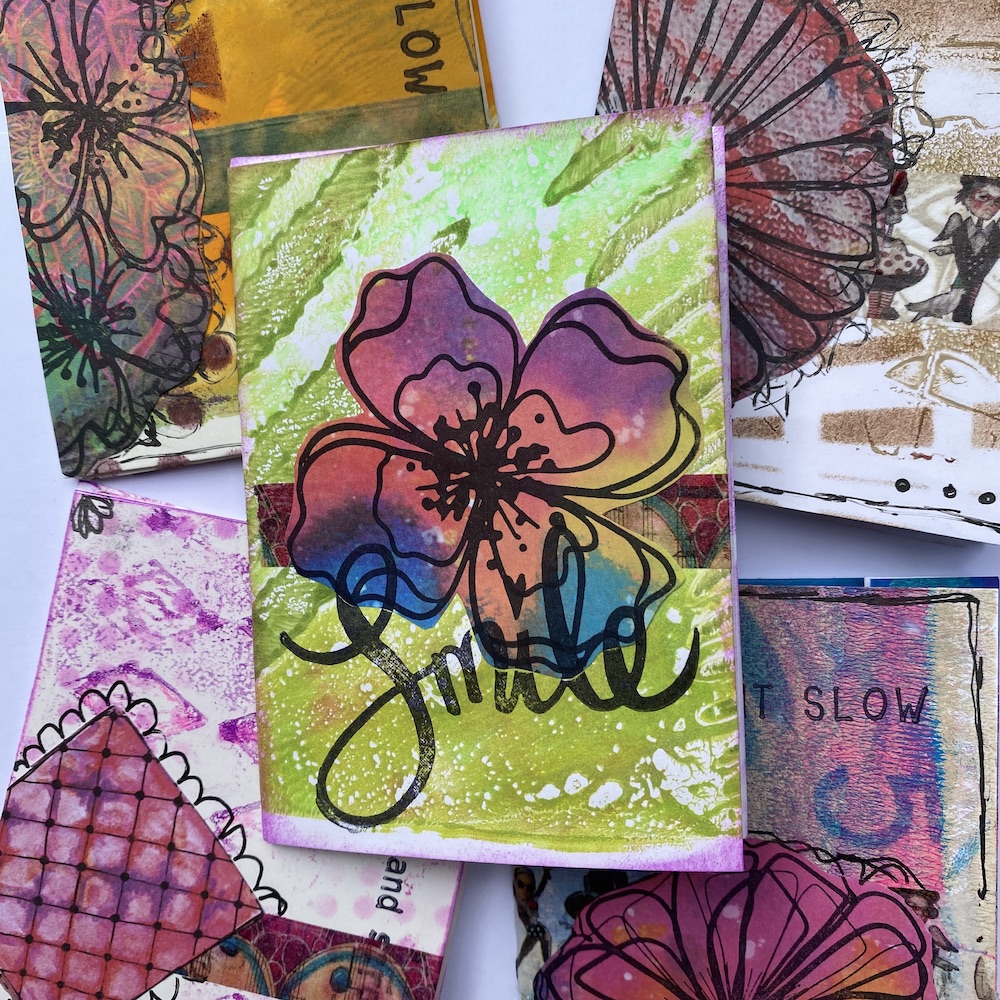


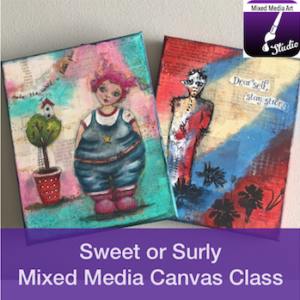 Whether you are sweet or surly, this mixed media canvas class is bound to delight – get your mixed media techniques out of your journal and onto canvas to share with your friends and family.
Michelle will lead through the process of collage and painting to create this fun canvas, personalised to your tastes in the light-filled Mixed Media Art Studio in Mount Waverley, Victoria Australia.
Whether you are sweet or surly, this mixed media canvas class is bound to delight – get your mixed media techniques out of your journal and onto canvas to share with your friends and family.
Michelle will lead through the process of collage and painting to create this fun canvas, personalised to your tastes in the light-filled Mixed Media Art Studio in Mount Waverley, Victoria Australia.


Recent Comments