We are so lucky to have a brilliant team of artists and article writers who bring you the wonderful tutorials, projects and reviews across many elements of the mixed media arts.
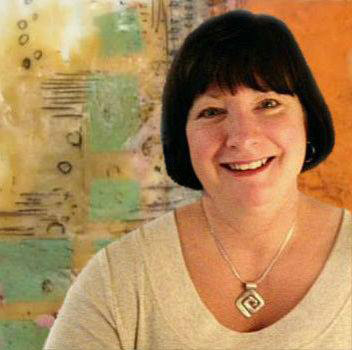
Michelle G. Brown – Creative Director
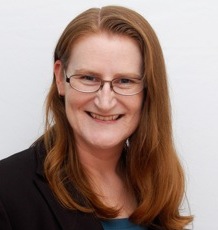 Michelle G. Brown is passionate about mixed media art and enjoys sharing her knowledge and techniques with you to allow you to express your own creativity. Michelle understands that many of us have an inner need to create. By learning a few basic techniques the amazing world of mixed media art is accessible to everyone! Michelle’s creativity started with card making and rubber stamping, then progressed into the mixed media genre about 10 years ago, where she continues to learn with each new piece.
Michelle lives with her husband and two boys in Melbourne, Australia. When she’s not getting painty or hanging out on Facebook, you will find Michelle practicing yoga and karate.
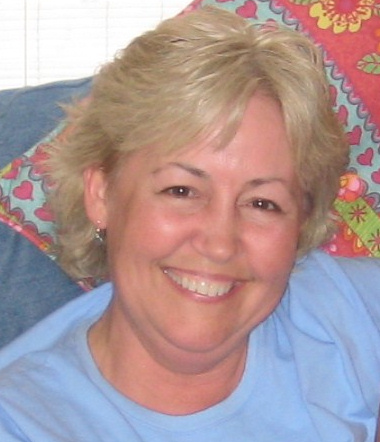
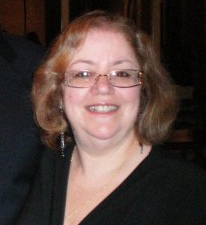
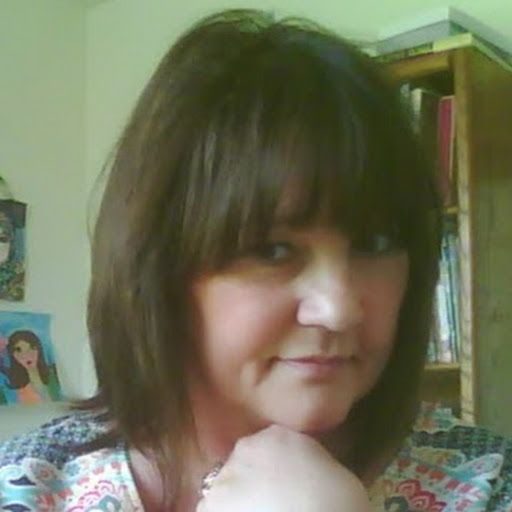
Terri Sproul – Article Writers Team Coordinator
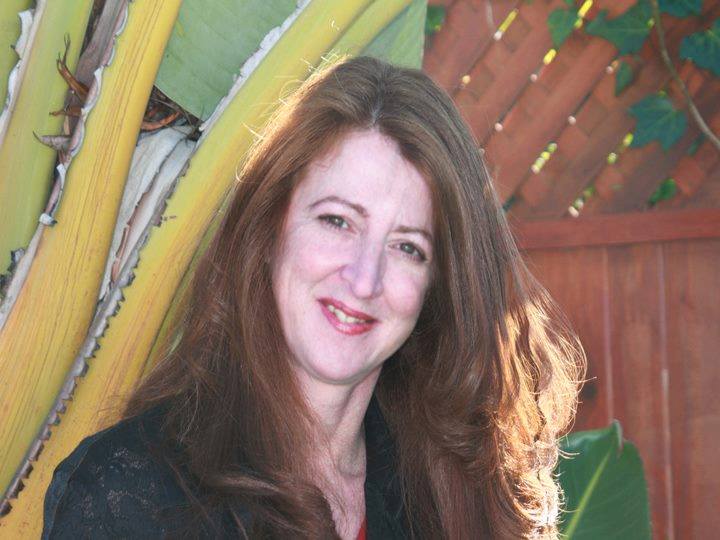 Terri Sproul is a CHA desinger and a Mixed Media Artist with her own line of stamps with Sincity Stamps and own paint line with Sakura Hobby Crafts. She and her husband have the pleasure of living on Palomar Mountain, in San Diego county. She is teaching an online live show on Tuesday night on her youtube channel.
You can see more of her work at:
terrisproul.blogspot.com
Anjuli Johnson
 Anjuli Johnson is a Mixed Media Artist from Raleigh, NC. She began her art career as a scrapbooker, and it’s been an evolutionary process ever since. She loves all things mixed media- paper, paint, pens, wire, gears, clay… the list goes on and on. She is constantly trying to push through her fears to discover and develop her talents, meet new people, and learn from those around her. To see more of Anjuli’s art and techniques, check out her website at www.thefarpavilion.com, her blog at www.thefarpavilion.blogspot.com, and like her Facebook page TheFarPavilion
Articles:
Small Experiments with Mini Mixed Media Canvases
Overcoming my Fear of Mixed Media
Dr. Ph Martin’s Bombay India Inks
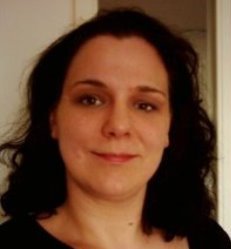
Ann Strecko Koeman
 Ann is a Mixed Media Artist working in the capital of Canada. She is surrounded by wild life inside her home (she has teenagers) and outside her country home. All this nature is inspiring in her art work. More of her work can be viewed on her blog Annmakes at annmakes.blogspot.com
Articles:
The Multitasking Mixed Media Artist
The Needs of the Artist
Organizing Our Mixed Media Collections
Cecilia Sanchez
 Cecilia Sanchez lives in Málaga, Spain. She is married and have three gorgeous sons who inspires her every day with their crazy ideas. She is a part of the European design team of KURETAKE, and she is also designer for a monthly blog challenge Sweet Card Club. She contributes with some blogs and digital magazines and organized Scrapbooking workshops in Malaga.
You can see more of her works at: ceciscrap.blogspot.com & www.facebook.com/ceciscrap
Articles:
Art Journal Page Inspired by Nature
Cheeky Photo Frames
“Truth” and “Time”: A Mixed Media Art Journal
Debbie Davis
 Debbie lives in Morton, Illinois, USA. She is happily married and have a wonderful family that includes a daughter, son, son-in-law and 3 of the sweetest grandchildren ever! What she loves most about mixed media art is that you don’t have to be an expert at anything to create beautiful art. According to Debbie, art is such a wonderful stress reliever.
You can see more of Debbies’ work at her blog called In Art Therapy where she shares her art along with techniques she have learned. She also have an Etsy shop called Artful Explorations where where she place some of her art she have created for sale.
Articles:
Painted Paper Collage
Getting Started with Beeswax Collage
Beeswax Collages for Christmas
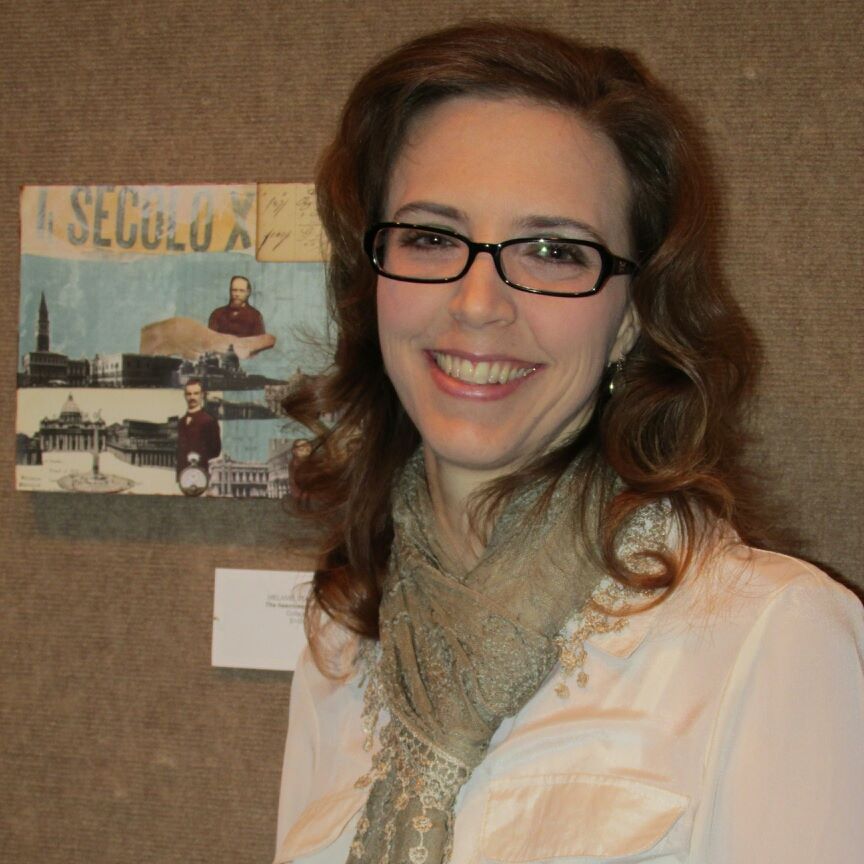
Elaine Brady Smith
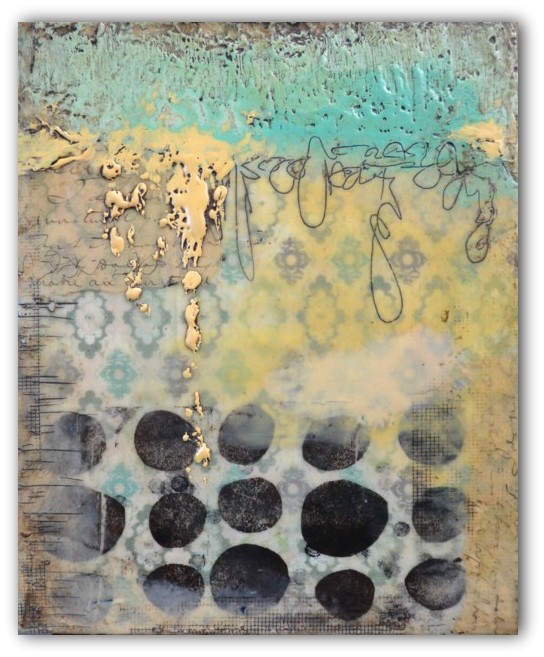
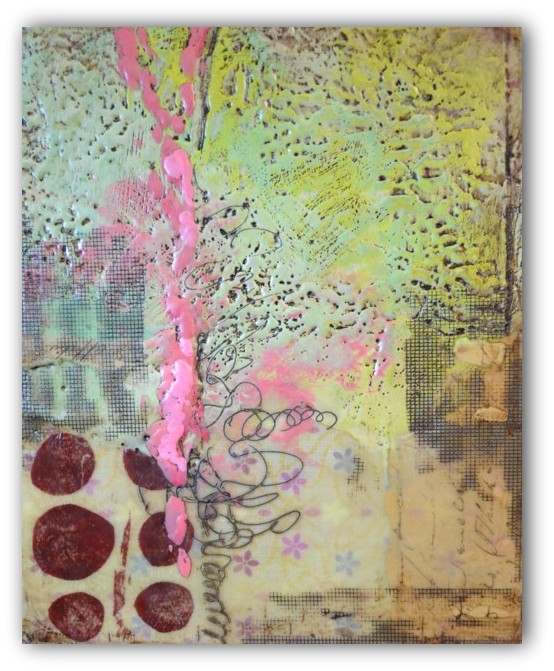
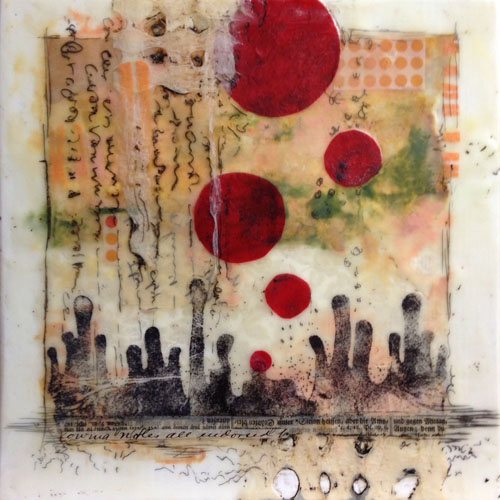
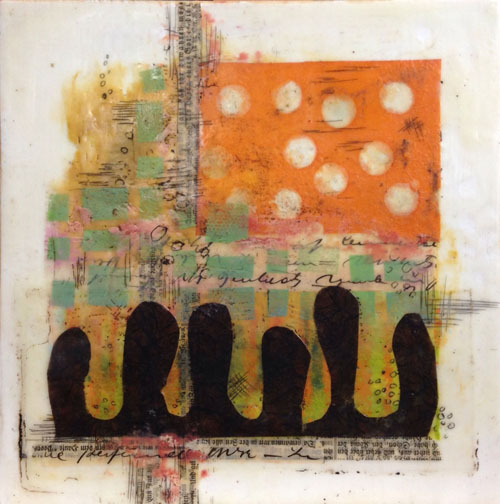
 Elaine Brady Smith loves creating acrylic mixed media and encaustic collages. Key ingredients in her work are vintage papers and her own collage papers made with repetitive marks, simplistic shapes and transparent layers. She also enjoys other art mediums such as art journaling, oil painting and colored pencil drawing in addition to writing, teaching and spending time with her family. Find more on her website: elainebradysmith.com and on Facebook: Elaine Brady Smith Art
Articles:
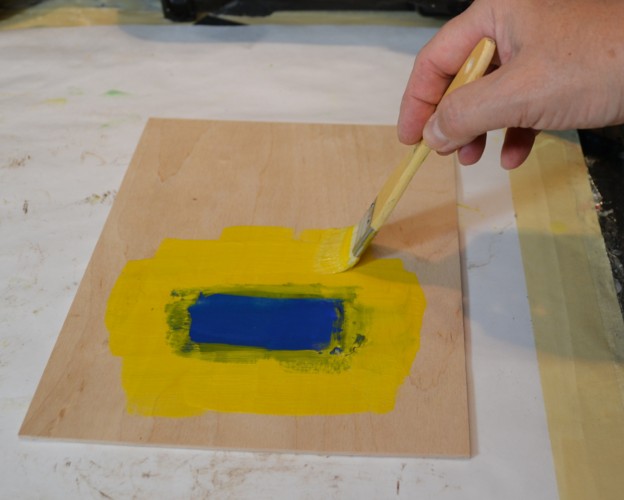
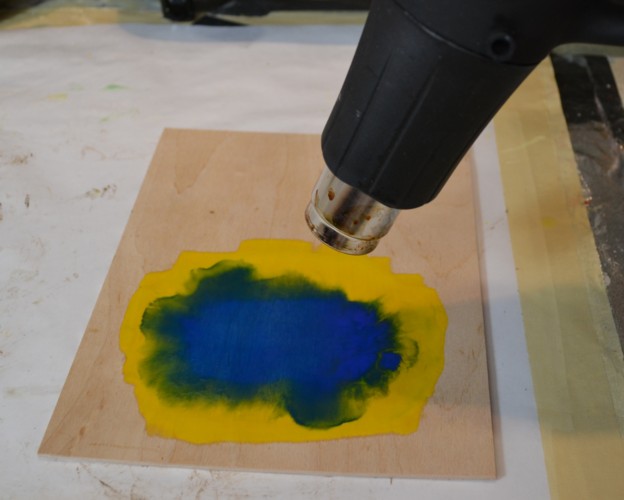
Basic Encaustic – Part 1: FAQ’s about Encaustic Painting
Transparent Stamped Collage Layer Technique
Gloriann Irizarry
 Gloriann was born and raised in the beautiful Caribbean island of Puerto Rico. She loves to sculpt and will never stop creating. She was born this way and for that she thanks GOD every day. According to Gloriann, Art has been a great way to be creative and to express herself. She likes to keep her hands busy creating – whether it is unique jewelry, art dolls, oak sculpture figures, fairy wings or even wigs and clothing for sculptures. She loves all the variety in art!
“Seeing your creation take form is an awesome feeling” – Gloriann Irizarry
You can see more of her work on her website – ByGlori
Articles:
Magnetic Chalk Board
Paperclay Hand Sculpted Elf Fairy Throne
Jean Mullins (Stevenson)
Jean Mullins lives in Caboolture, Queensland close to beautiful Bribie Island. Not only a mixed media artist, Jean is also a craft teacher, teaching many different mediums, including book making, crochet, patchwork and quilting, ceramics, porcelain doll making, sculpting in clay and mold making. Pattern designer and author of the books, “Dolls Clothes in crochet”.With a lot of knowledge gathered over the years she considers it a pleasure and privilege to share. Being a member of the Caboolture Artisans Guild, Bribie island Community Arts Centre as well as a tutor for U3A and a pet rescue foster “mum” life is busy and fun.
More about Jean can be found at: www.jeaniesartyplace.blogspot.com and www.nannasworkroom-stitcheriesandsuch.blogspot.com
Articles:
Canvas Pen and Wash: Zentangle Style
DIY Business Cards
Kate Palmer
 Kate Palmer though perhaps better known as Sparkle Tart loved playing with mixed media and techniques. Most of her work incorporates sparkly media of some sort, which is used on journal pages, canvases, scrapbooks or hand made cards.
You can see more of Kate’s work at Sparkle Tart or via Facebook – Keep It Simply Sparkly
Articles:
Rainbow Grunge Backgrounds
Creativity and Inspiration throughout 2013
Layering Mediums for a Unique Art Journal Page
Kathi Rerek
 Kathi F. Rerek is a mixed media artist who lives in New Jersey with her husband, daughter, and two cats. She’s been crafting for almost fourteen years and has been lucky to have served on several design teams.
Her blog, Kat’s Tales of Stamping and Scrapping can be found at kathstales.blogspot.com
Article:
An Upcycled Cigar Box
Katja Blum
 Katja Blum is a writer and translator from Tulsa, OK. As an artist, she started with yarn, fabric and papier mache (rarely together), branching out into collage and other paper arts about ten years ago. Her latest obsession is making soft stuffies and art dolls – to the delight of her toddler. She also likes to find creative solutions for ugly or broken things around the house – to the delight of her husband.
You can see more of her work with fiber, paper and words at www.thewaywardsheep.com
Articles:
Calligraphy for Mixed Media Artists
Wearable Art: Fabric and Fiber Jewelry
Ten-minute art idea: “Tie-dyed” paper
Keri Sallee
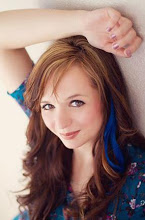 Keri Sallee is a paper-crafter and mixed media artist who believes that EVERYONE was made to create. She loves thinking outside the box when it comes to her designs, like her Wizard of Oz inspired high-heel shoe that won her a spot on Graphic 45’s 2014 Design Team. She has also designed for The Canvas Corp family of companies, Susan K. Weckesser, The Craft Warehouse, Authentique Paper, Want2Scrap and The Buckle Boutique. Her favorite artistic quote is by Picasso and it says “Inspiration Does exist, but it must find out working.”
You can see more of Keri’s work on her blog ~ The Creative Life
Article:
Taking the leap from Hobbyist to Full-Time Artist
Kim Kelley
 Kim Kelley is borderline obsessive about her crafting and her art. She loves mixed media art because you are free to go beyond your comfort zone, using your imagination and exploring an anything goes mind set. Kim loves to learn and explore new techniques and hopes that any art she creates leads someone to find their inner creative artist!
You can see more of Kim’s work at itsallaboutcrafting.blogspot.com and www.facebook.com/kimscraftyconcepts
Articles:
Mixed Media Canvas With Copics
Mixed Media Canvas: Creating with Feeling
A Book with a Different Look
Laura Shelton Thykeson
 Laura Thykeson has been totally immersed in mixed media art for many years. She discovered altered books and art journals about a year ago and have been hooked ever since! She has always loved mixed media art because of the variety and the “no rules” aspect! Laura lives in Granbury, Texas USA.
You can see more of Laura’s work at Taz’s Corner
Articles:
Making Greeting Cards from Recycled Art Scraps
Making Mixed Media Mini Books
Artistic Healing Anyone Can Do
Marilyn Harris Mills
Marilyn Harris Mills, aka Maer, is a Published Artist, Teacher and Designer, in Ottawa Canada. You can read about Marilyn at Maer’s Muses or join her online Watercolour Pencil Class. Her art has been published in “Creating Time: Using Creativity to Reinvent the Clock and Reclaim Your Life”
Articles:
Everything you Wanted to Know About Artist Paint Brushes
Choosing Paper for a Substrate
Martice Smith II
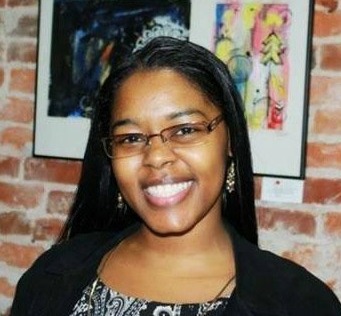 Martice Smith II is creative director of Martice Smith II – Illustration & Design Studio, based in Kansas City, Missouri and owner of Uneek Art Boutique. She established herself as a freelance Illustrator and graphic designer after receiving her Bachelor of Arts Degree. Her stunning illustrations reveals her love for fashion, typography and wildlife- using a combination of analog and digital techniques. Martice also contributes as an article writer for the Creating Mixed Media Art website.
You can see more of her work via her Facebook page or her blog. She invites you to join her monthly newsletter, Uneek Art Letter, for art biz tips, advice and free digital goodies!
Articles:
Designer Block Puzzle
Packing Tape Postcard
Graffiti Charm Bracelet
Melanie Statnick
 Melanie Statnick is a Canadian Mixed Media & Collage Artist out of North Carolina. Melanie creates art daily from her private studio. Her style is fun, whimsy and eclectic. Melanie is also an Art Instructor for local venues and community colleges for students of all ages. Learn more about Melanie: www.melaniestatnickart.com
Articles:
Doodling: More than Mindless Drawing
Upcycle Paper Roll Mini Book
How to Make an Accordion Book
Sandra Parés
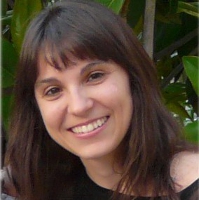 Sandra Parés loves working with mixed media. The colors and textures leave her amazed and she enjoys creating and getting their hands dirty with paint and gesso. She lives near Barcelona and works in her art workshop. On her site My mixed media you can find a mixed media online store, art and craft products, mixed media workshops in Spanish, tutorials, ideas and mixed media techniques.
Articles:
Autumn Layout
Mixed Media Magnet
Handmade Candle Holder
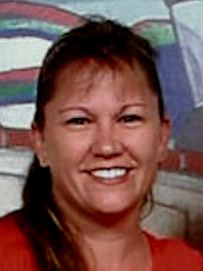
Shari Welch
 Shari Welch is a mixed media artist living in Denton Texas. She is known for using reuse and recycle materials in her artwork. She volunteers for SCRAP Denton where she is on the education committee, teaches workshops, art camp, and performs art demos. She is passionate about mixed media art and enjoys helping others discover their creativity.
You can follow Shari and see her mixed media art at her facebook page.
Articles:
Altered Dominoes
Creating your Own Mixed Media Birdhouse
Tamara Dinius
 Tamara Dinius lives in the Pacific Northwest with her husband and chocolate lab. She has two grown daughters who make her life meaningful. They support her, ground her, embrace her, and are amazing people in their own right. Her love for mixed media has taken over most aspects of her creative journey. She believes mixed media allows for a broad range of styles and anyone can find success in this form of artistic expression.
You can find more of Tamara’s work, and on her website countrycraftersusa.com, Etsy shop, or via her Facebook
Articles:
Mixed Media Bookmarks
Chosen Moments Art Journal
“It Takes Courage” Art Journal Page
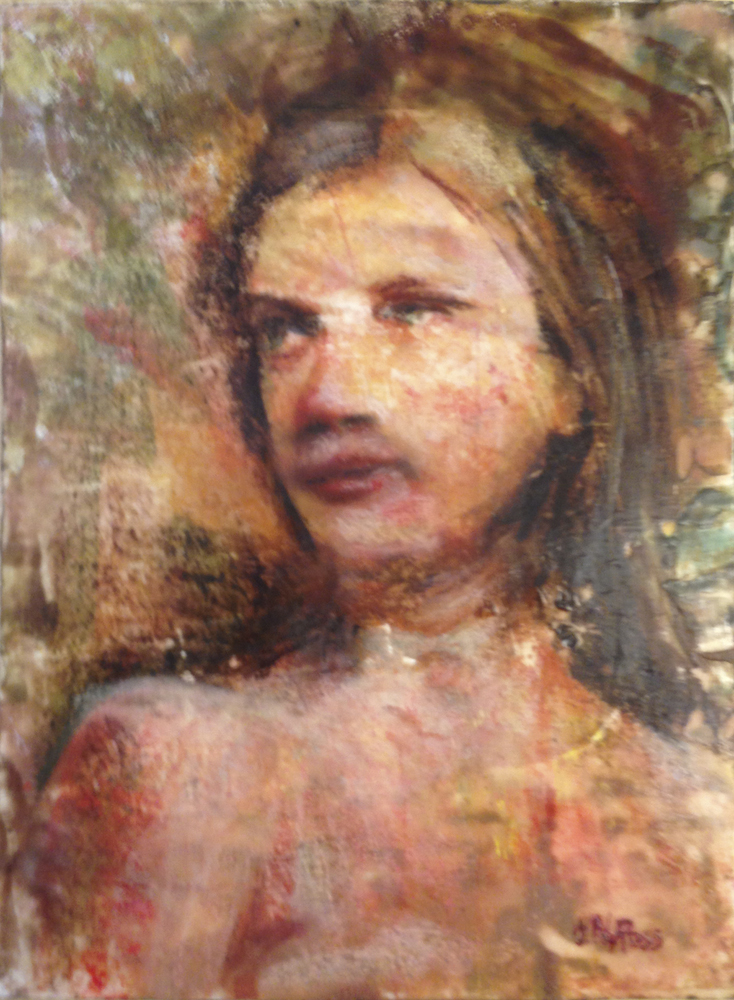
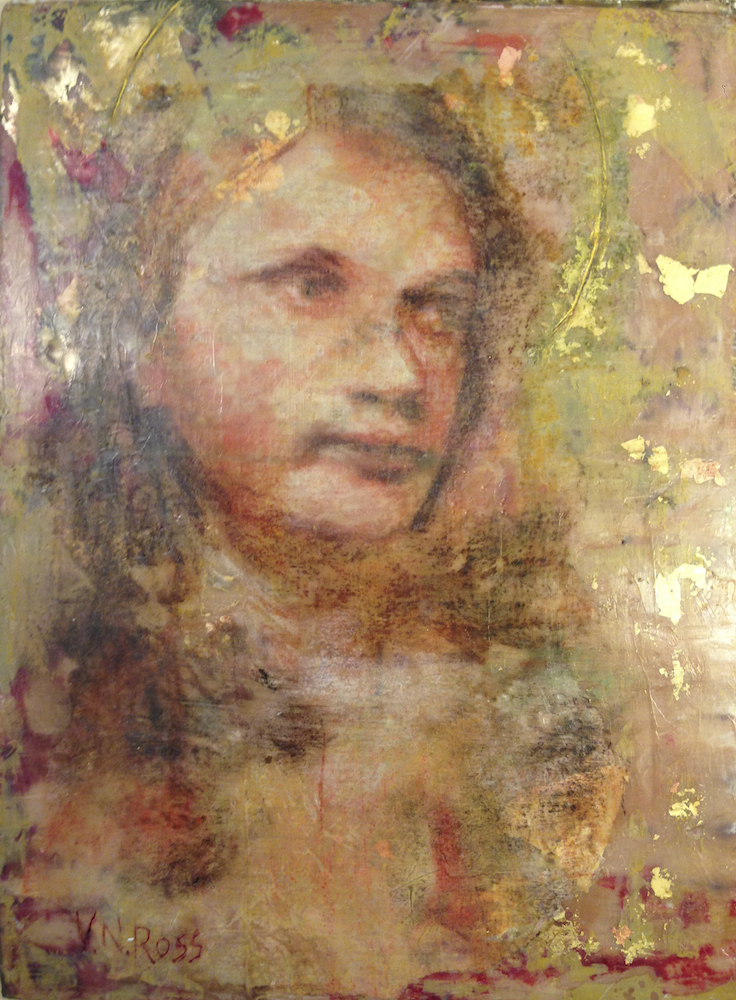
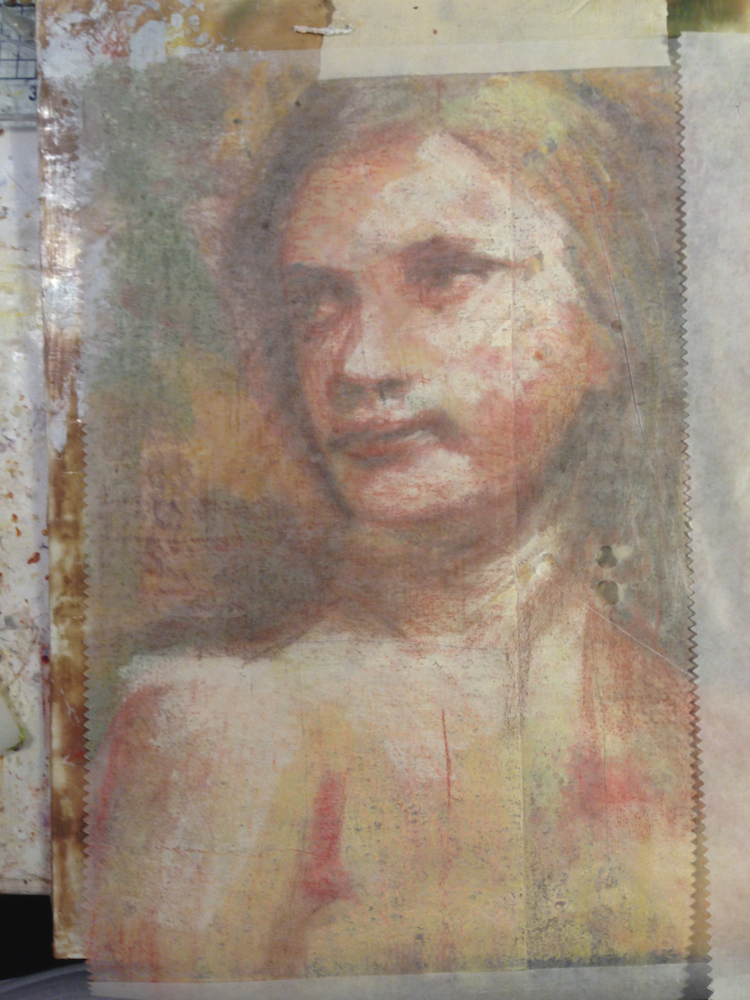
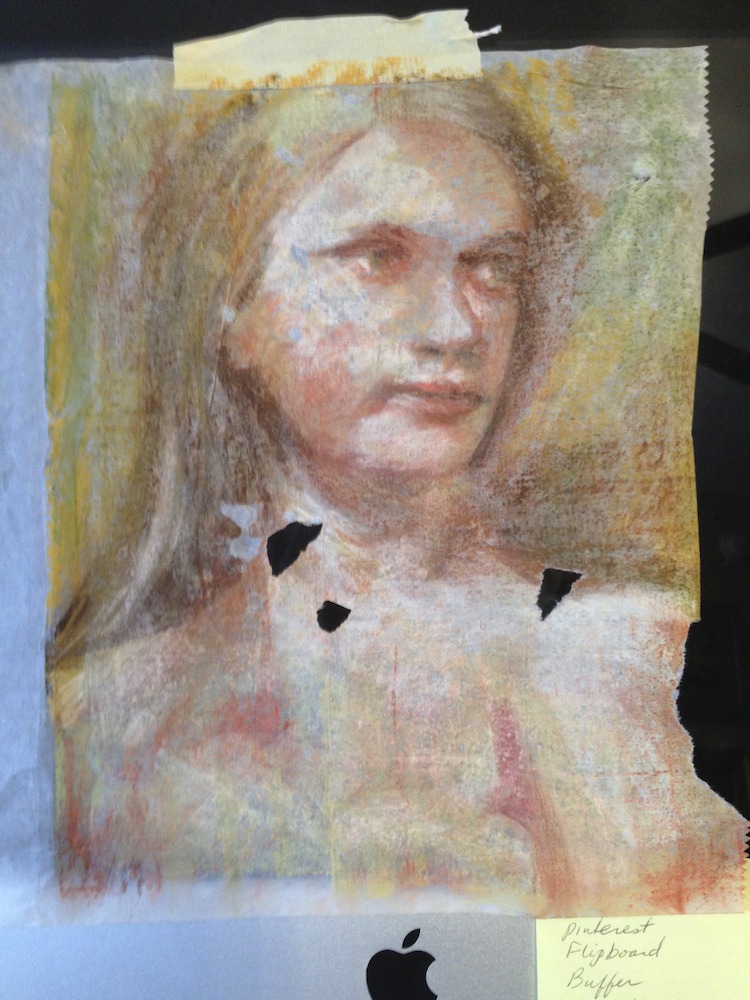
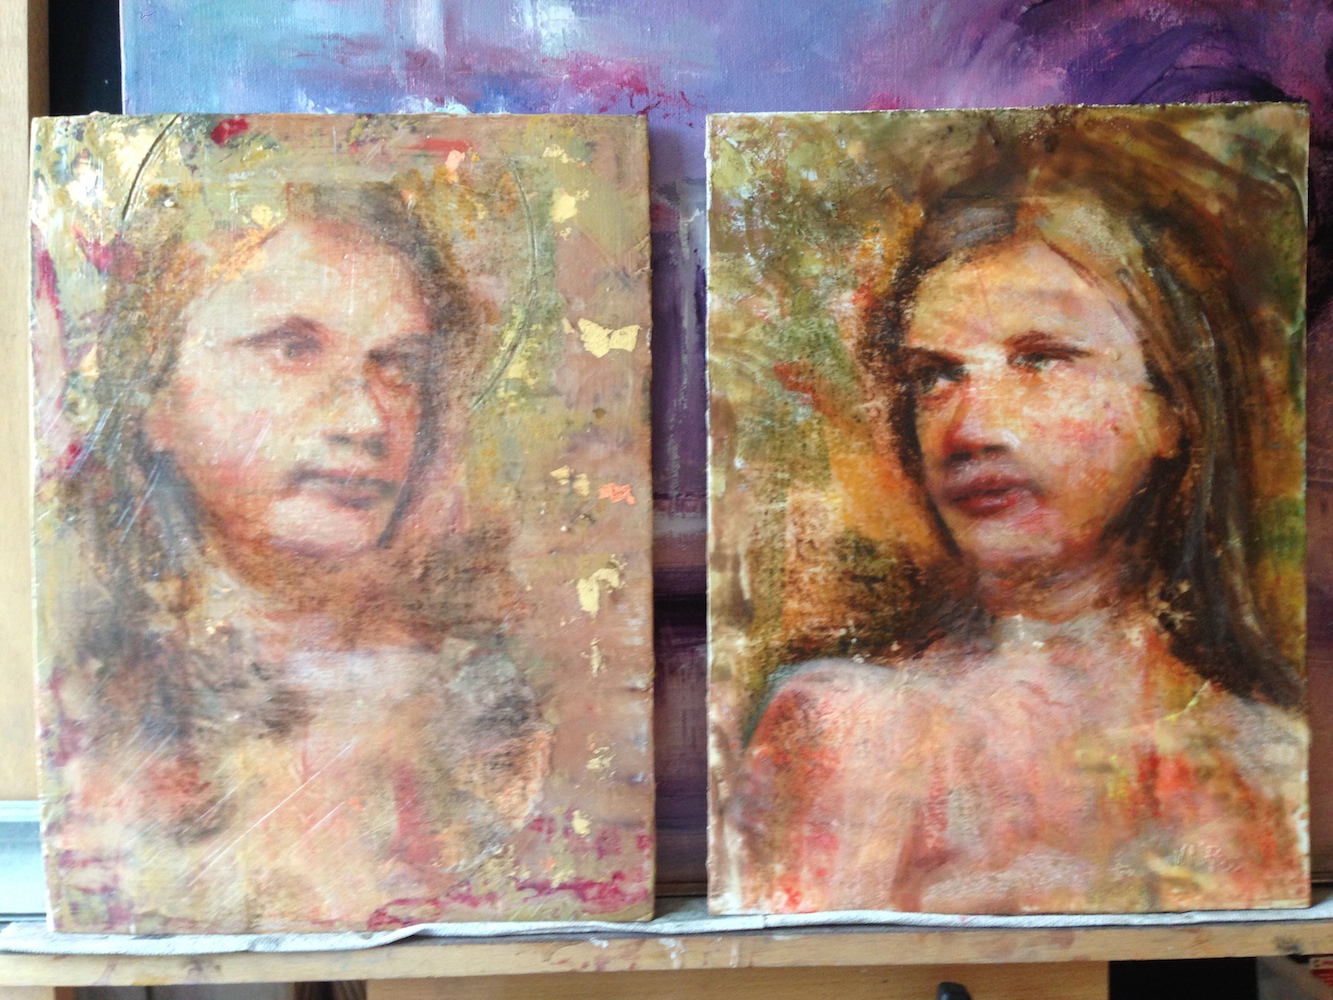
Vicki Ross
 Vicki Ross is focused on sharing her journey to art and how life events can shape us through creativity www.Axully.com. Vicki has always been involved deeply in the creative arts, from professional soft crafts publications (knitting/crochet/needlework) to French Hand-sewing, stenciling to macramé, oil painting to encaustics. Whatever your leaning, she believes in the healing power of creating.
You can see more of Vicki’s work at VickiRossArt or via blog posts at Axully – Solid. Useful. Beautiful
Articles:
Delft: Encaustic and Collage
Soft Pastel, Collage and Encaustic
Is Mixed Media Crafts or Fine Art?
Victoria Warren-Mears
 Victoria Warren-Mears is a full time scientist and part time artist working in paper and mixed media. She can be found at work in her home studio, along with her husband, son and rescue dog. You can see more of her work online at Victoria’s Mellifluous Musings
Articles:
Getting Artistic with the Heroes Around All of Us
Seaside Inspired Shelf


Recent Comments