~ * ~
This article is written by Michelle G. Brown
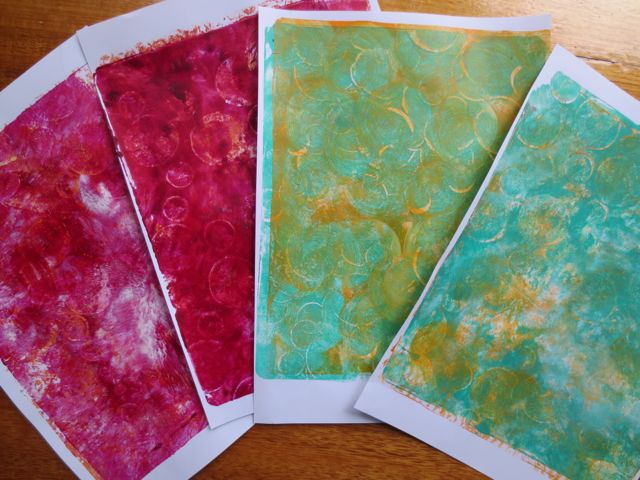
Mono-printing with GelliArts Gelli Plates has become one of my favourite mixed media art techniques for creating backgrounds (you can see some of my first attempts and step-by-step guide here and once you get into the swing of things, the prints pile up quickly! So I decided to take a second-hand photo frame and up-cycle it into an inspiring piece of mixed media art.
Materials
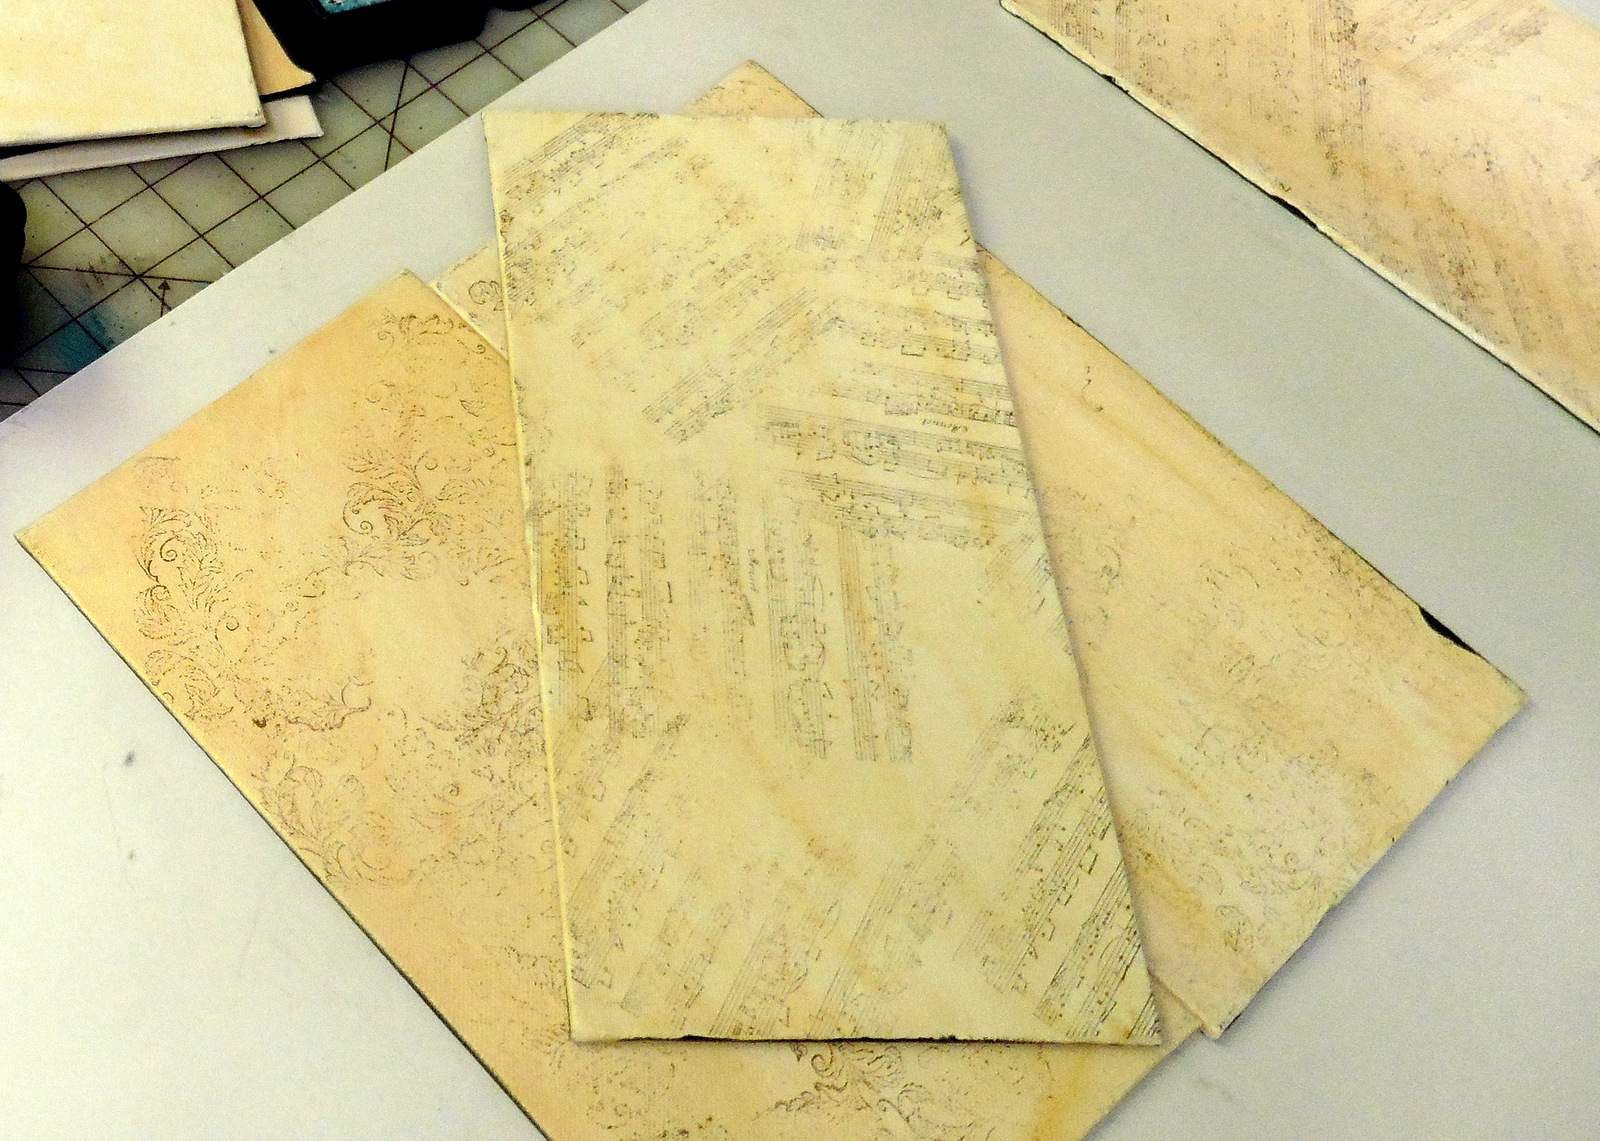
– Background papers or Gelli prints
– Photo frame; here I used a 5” x 7” frame
– piece of cardboard to fit frame
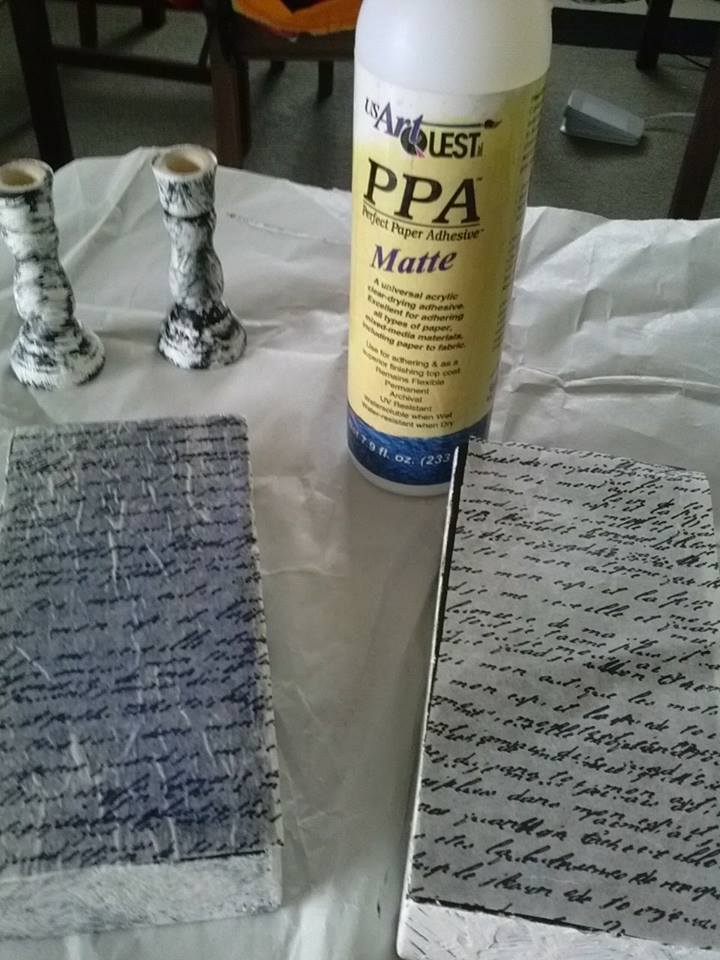
– glue; PVA or Gel Medium
– Washi tape
– Black Marker; here I’ve used my Golden Black pen Montana Marker with Golden Fluid Acrylic
Create your Framed Gift
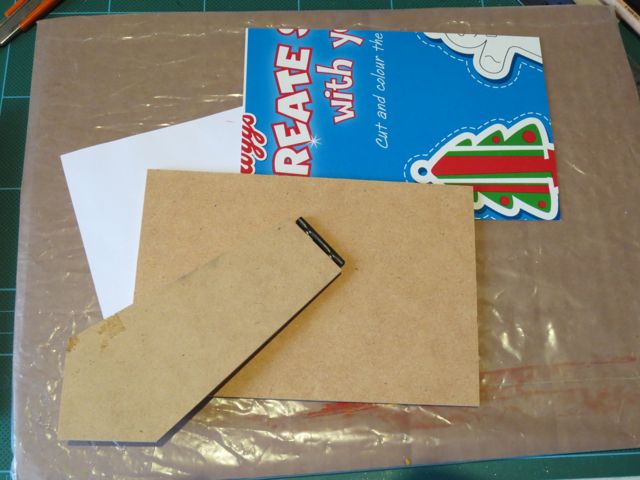
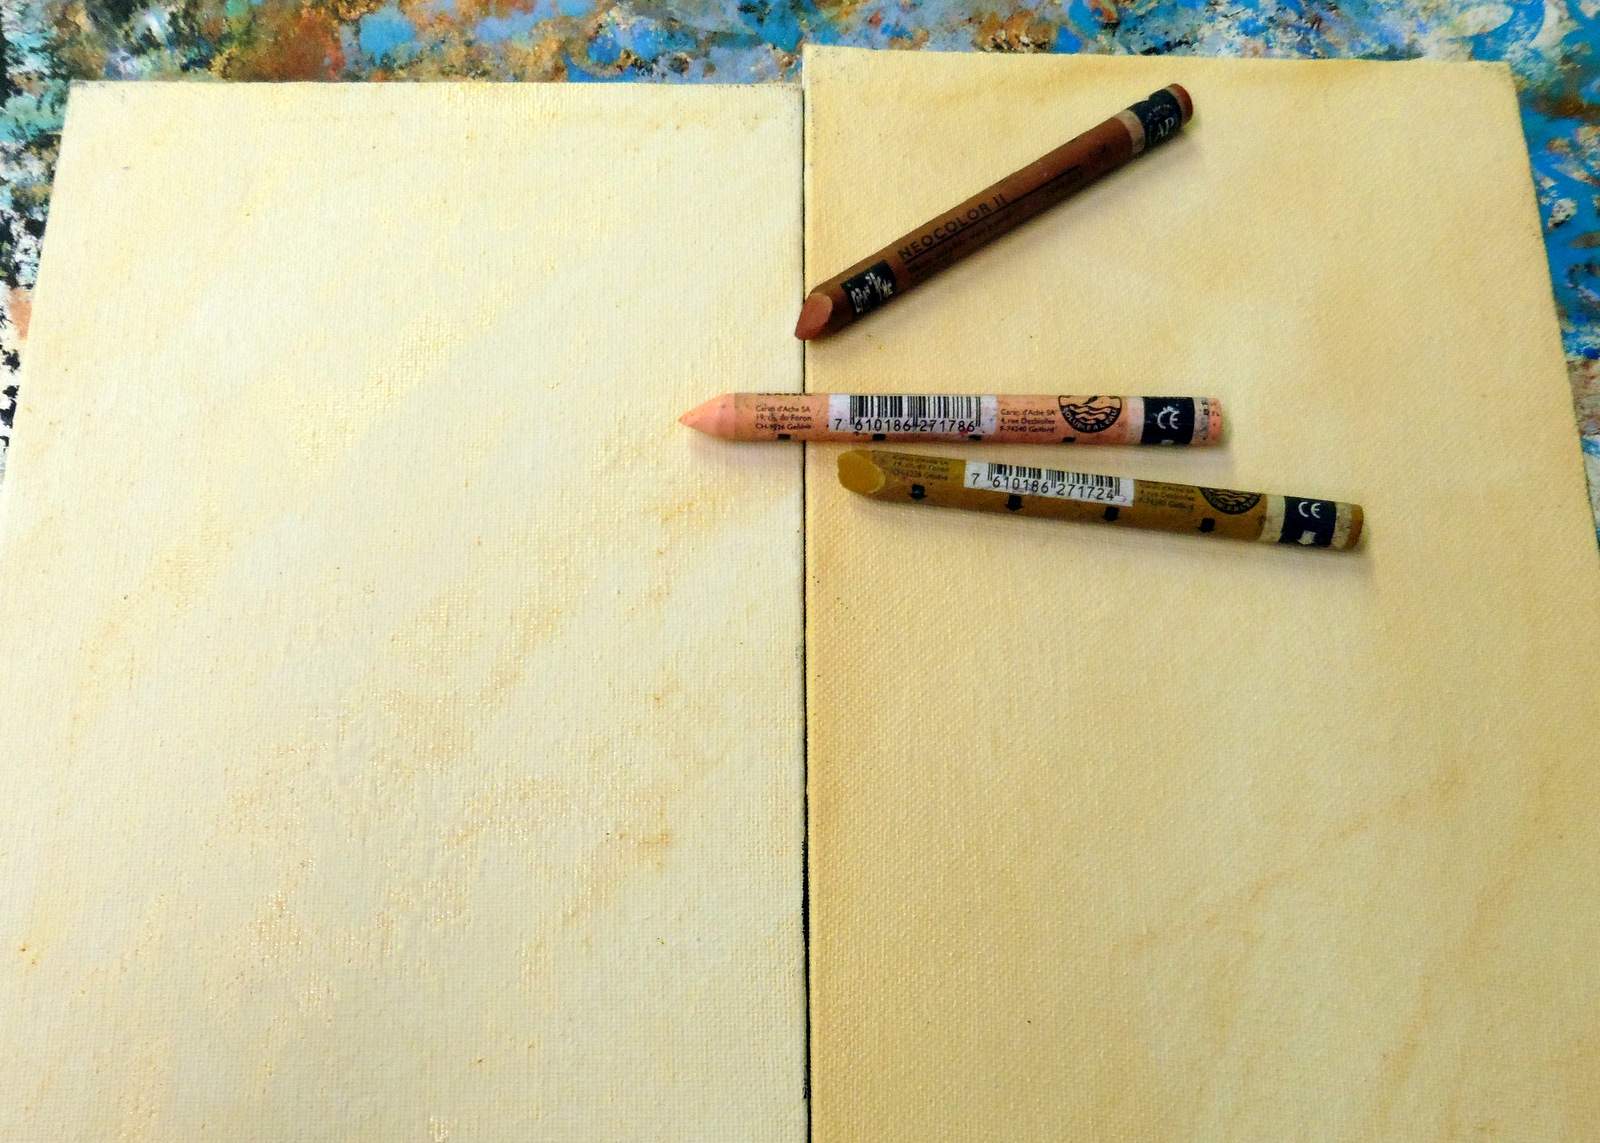
1. Gather your materials and a few pieces of background paper in colors that work well together
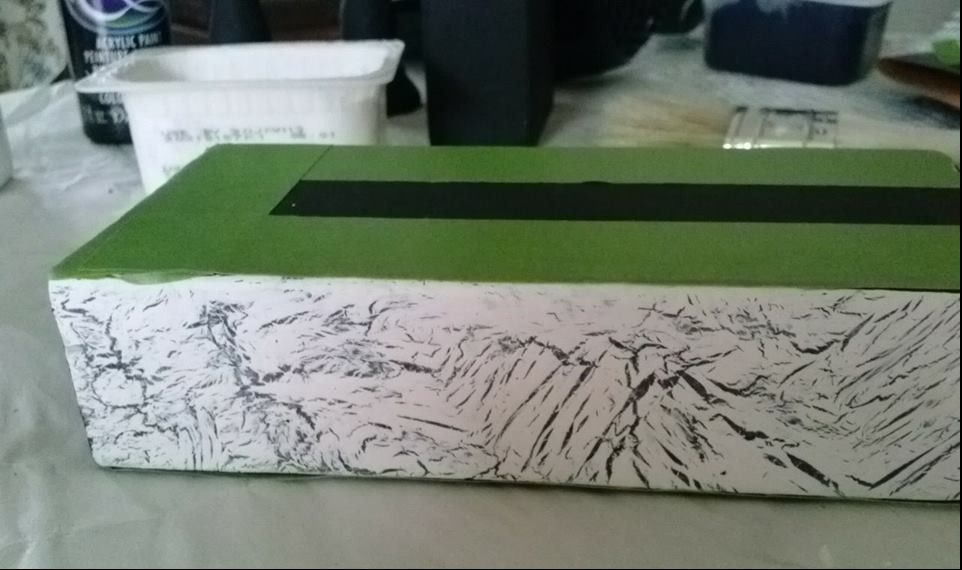
2. Take the back off your photo frame and use it to cut a piece of cardboard to size so it will fit into the frame. I used a piece of cereal box cardboard. Check that it does fit into the frame and trim if needed.
3. Use the cardboard to cut a piece of background paper to size.
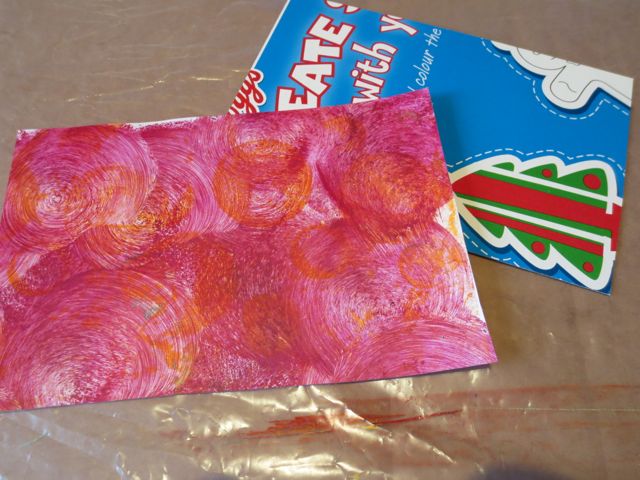
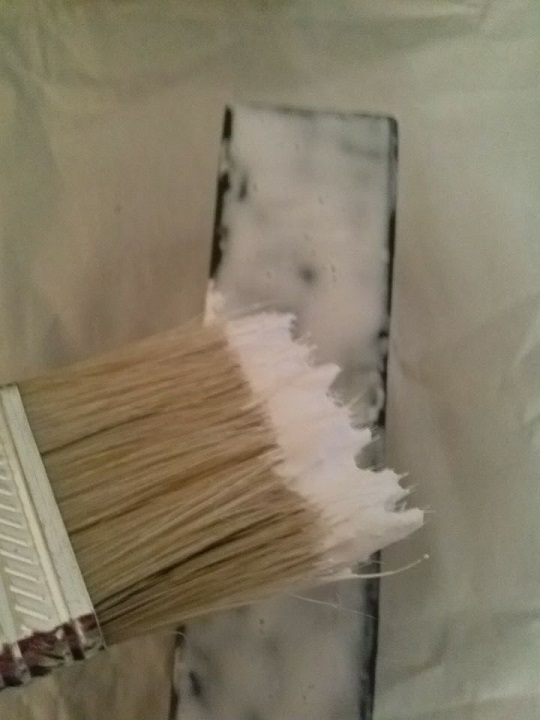
4. Use a piece of scotch brite or sandpaper to rough up the cereal box cardboard. Then stick the background paper to the cardboard. Flatten out any wrinkles.

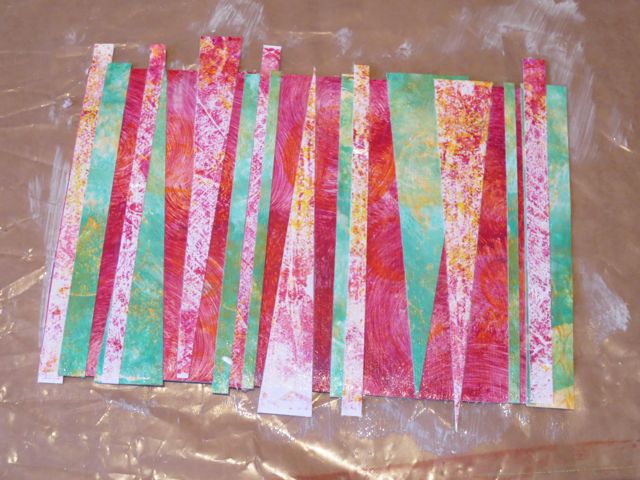
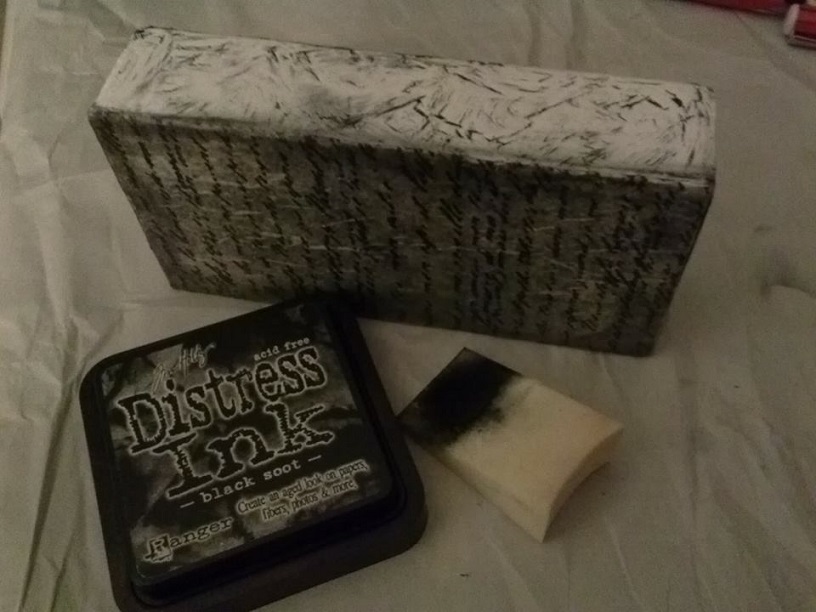
5. Cut two contrasting background papers into strips and thin triangles. Stick these to the background piece. Leave to dry and trim the ends to size.
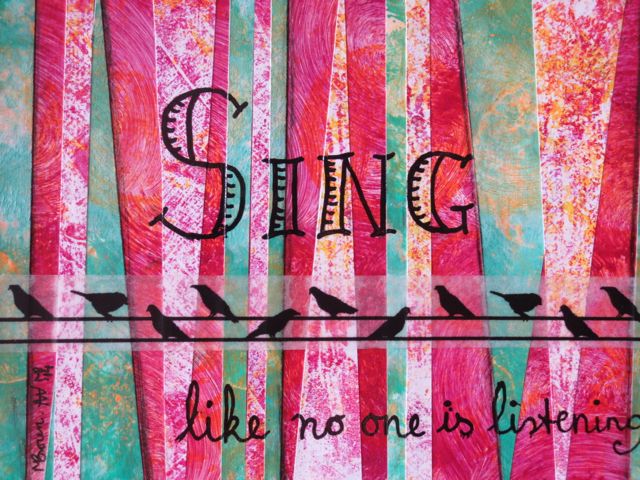
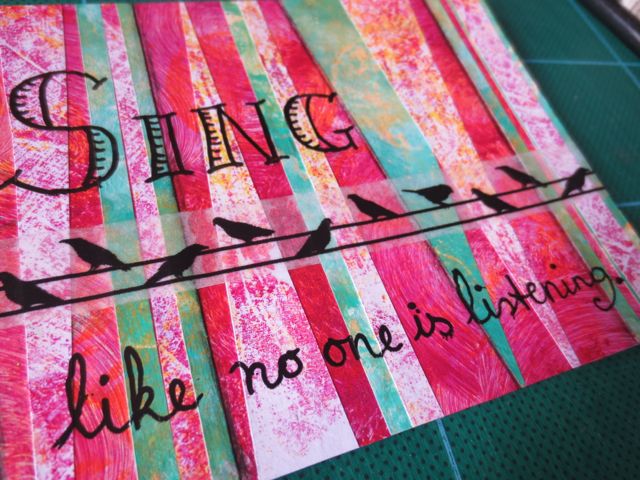
6. Add a strip of Washi tape and write in your inspiring quote with the black marker. Seal with Gel medium or varnish. Leave to dry.
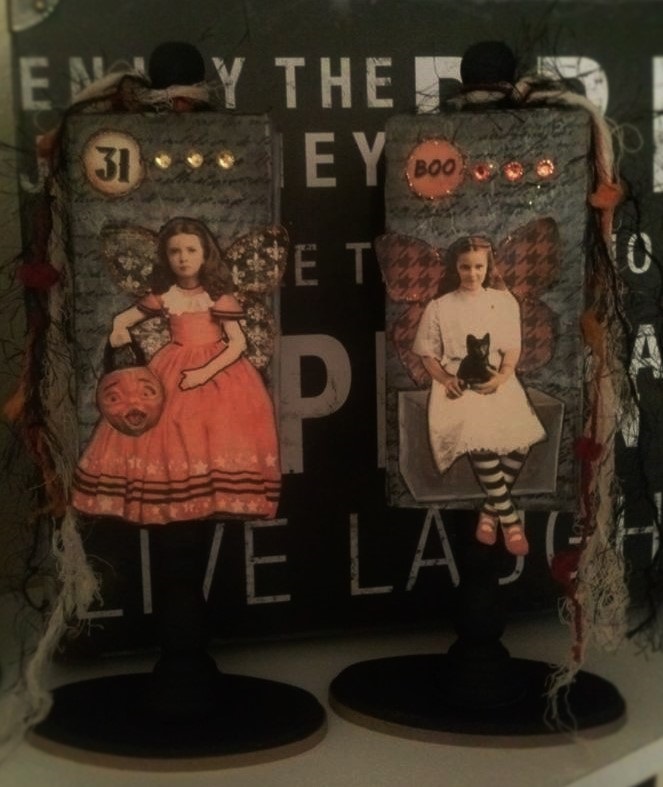
7. Place your mixed media art into the frame, replace the back and your gift is ready to give!
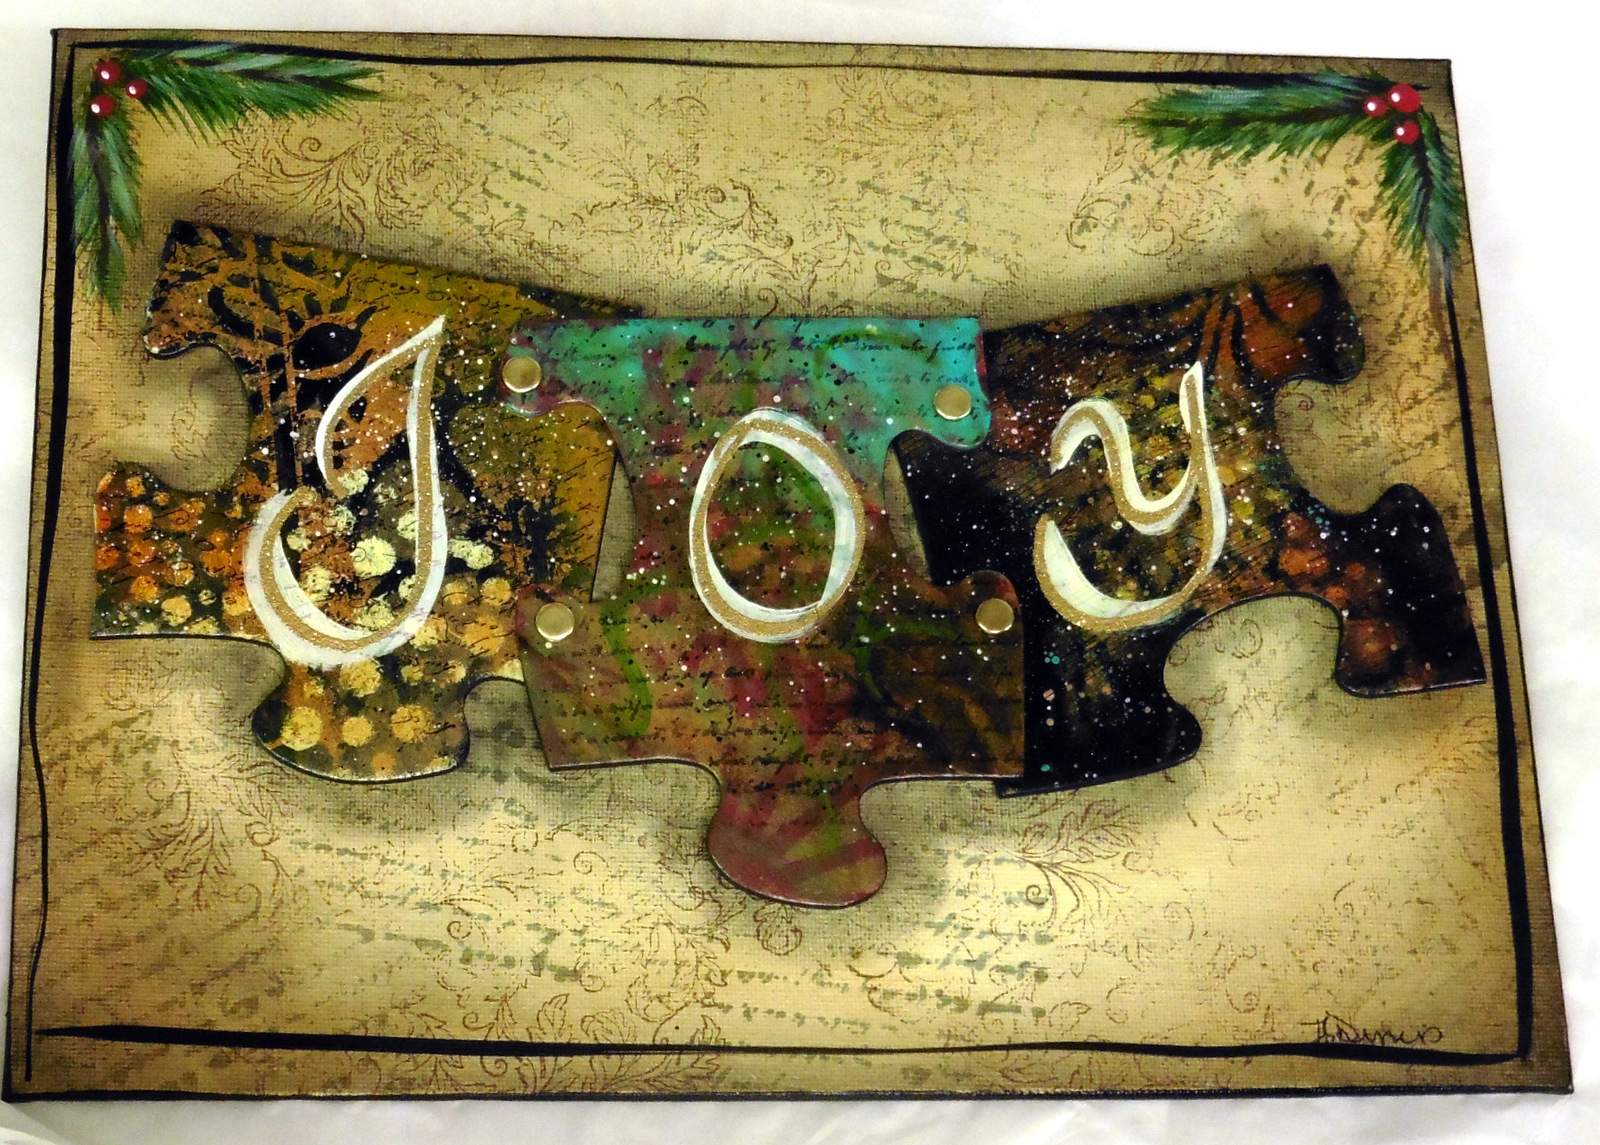
(I forgot to take a final photo of my piece in the frame but here it is finished!)

I hope this has inspired you to get out those Gelli prints or dive into your stash of background papers and put them to good use!
Happy creating,
Michelle
~*~*~*~*~*~*~*~*~*~*~*~*~*~*~*~*~*~*~*~*~*~*~*~*~
Michelle G. Brown is passionate about mixed media art and enjoys sharing her knowledge and techniques with you to allow you to express your own creativity. Michelle understands that many of us have an inner need to create. By learning a few basic techniques the amazing world of mixed media art is accessible to everyone!
Michelle lives with her husband and two boys in Melbourne, Australia. When she is not creating or on Facebook, she’s at karate training. Just to make sure she’s properly busy, she has also adopted the From Picture to Page Scrapbooking and Papercrafts Show
~*~*~*~*~*~*~*~*~*~*~*~*~*~*~*~*~*~*~*~*~*~*~*~*~
.
.


Recent Comments