Fixing Your Gel Prints

~ * ~

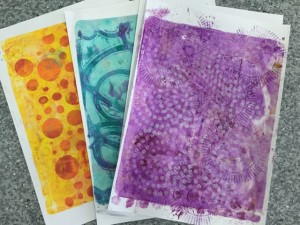
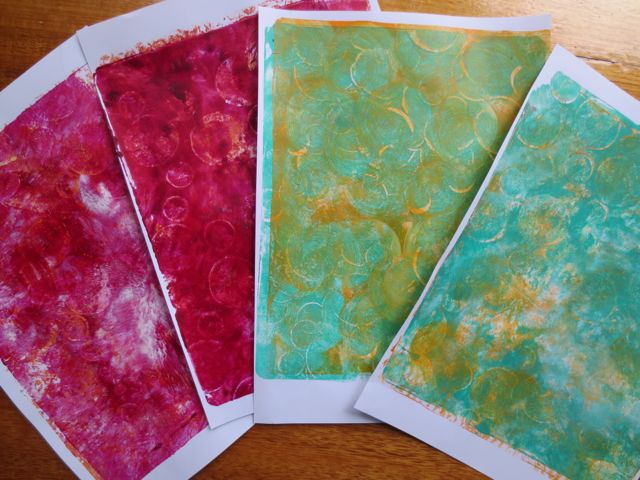
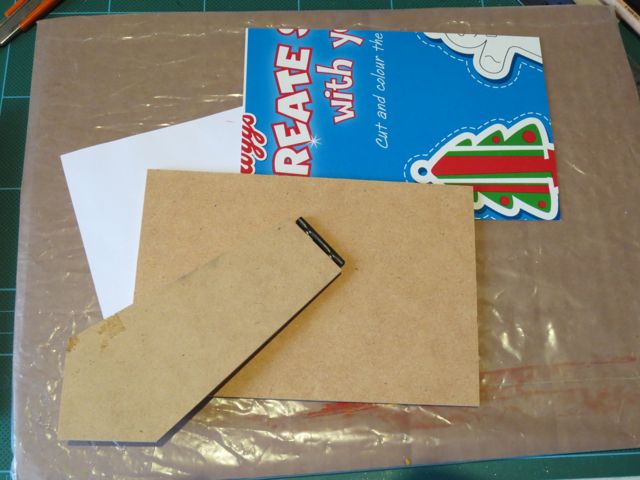
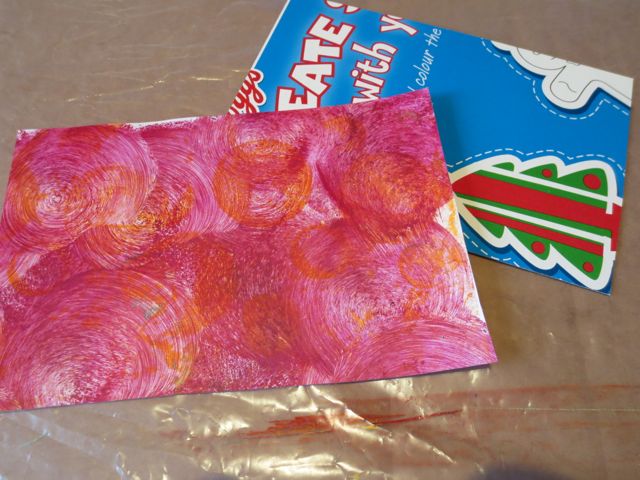
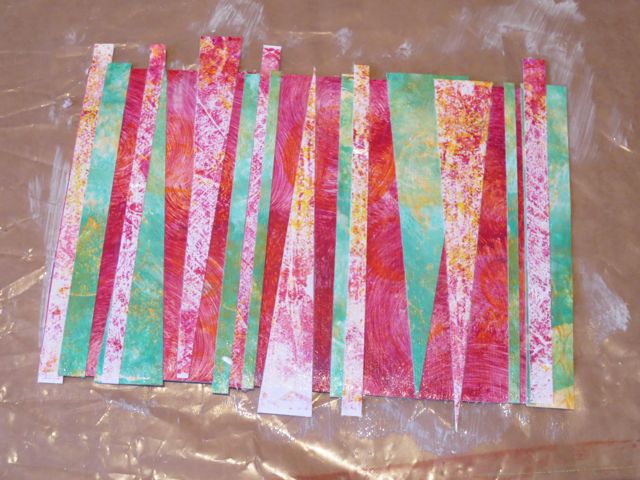
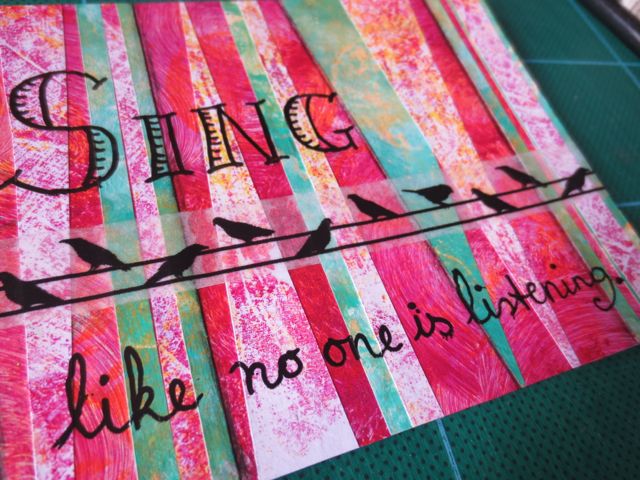
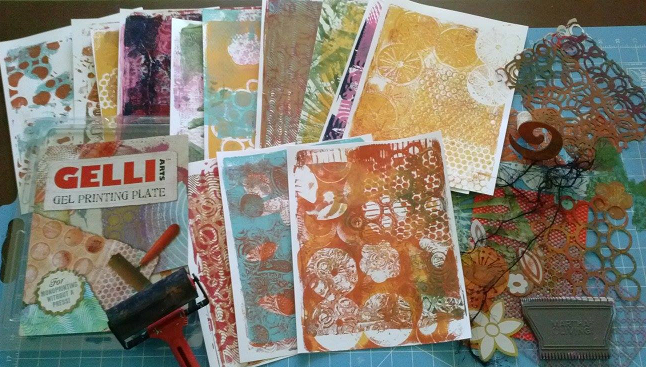
When getting started with gel printing, it’s easy to create gel prints that we just don’t like! Sometimes with our first gel prints there is too much white space or the second print, also known as the “ghost print”, hasn’t turned out as we had wanted. But do not despair, we can fix these minor problems with a few more layers.

beginner prints mistakes

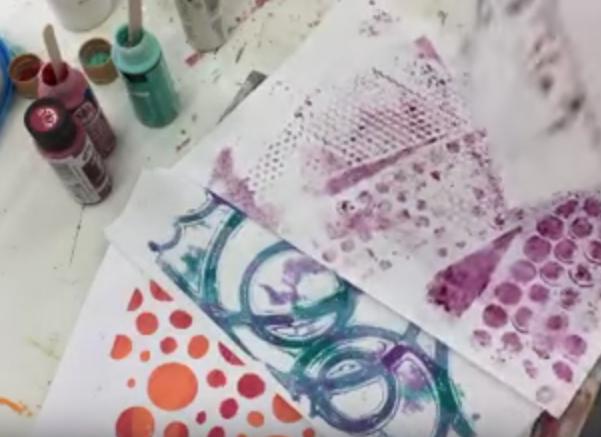
Here Michelle introduces us to techniques to solve the three major problems when we  get when starting out with gel printings.

Argh! Due to technical difficulties, only the first part of the video is playing – we are working on fixing it!

This video was originally shot on Periscope, so it’s a bit slow to get started!

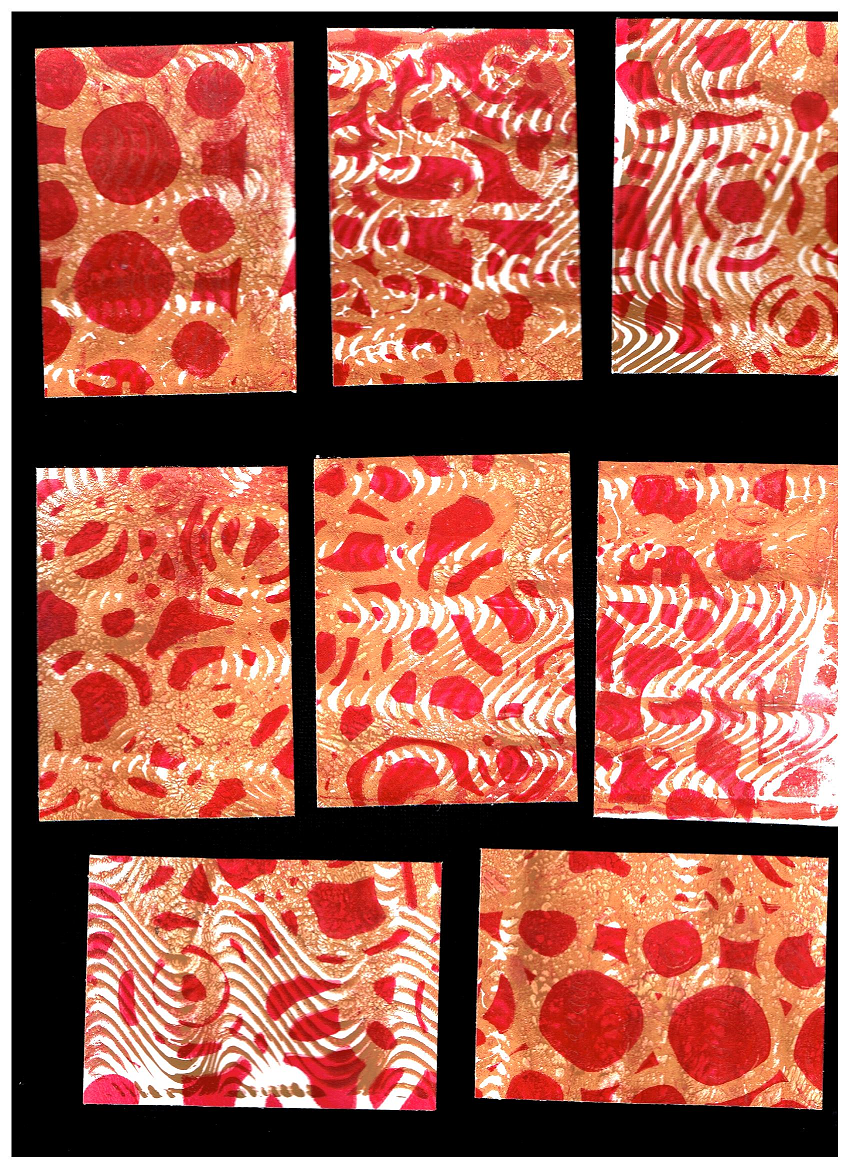
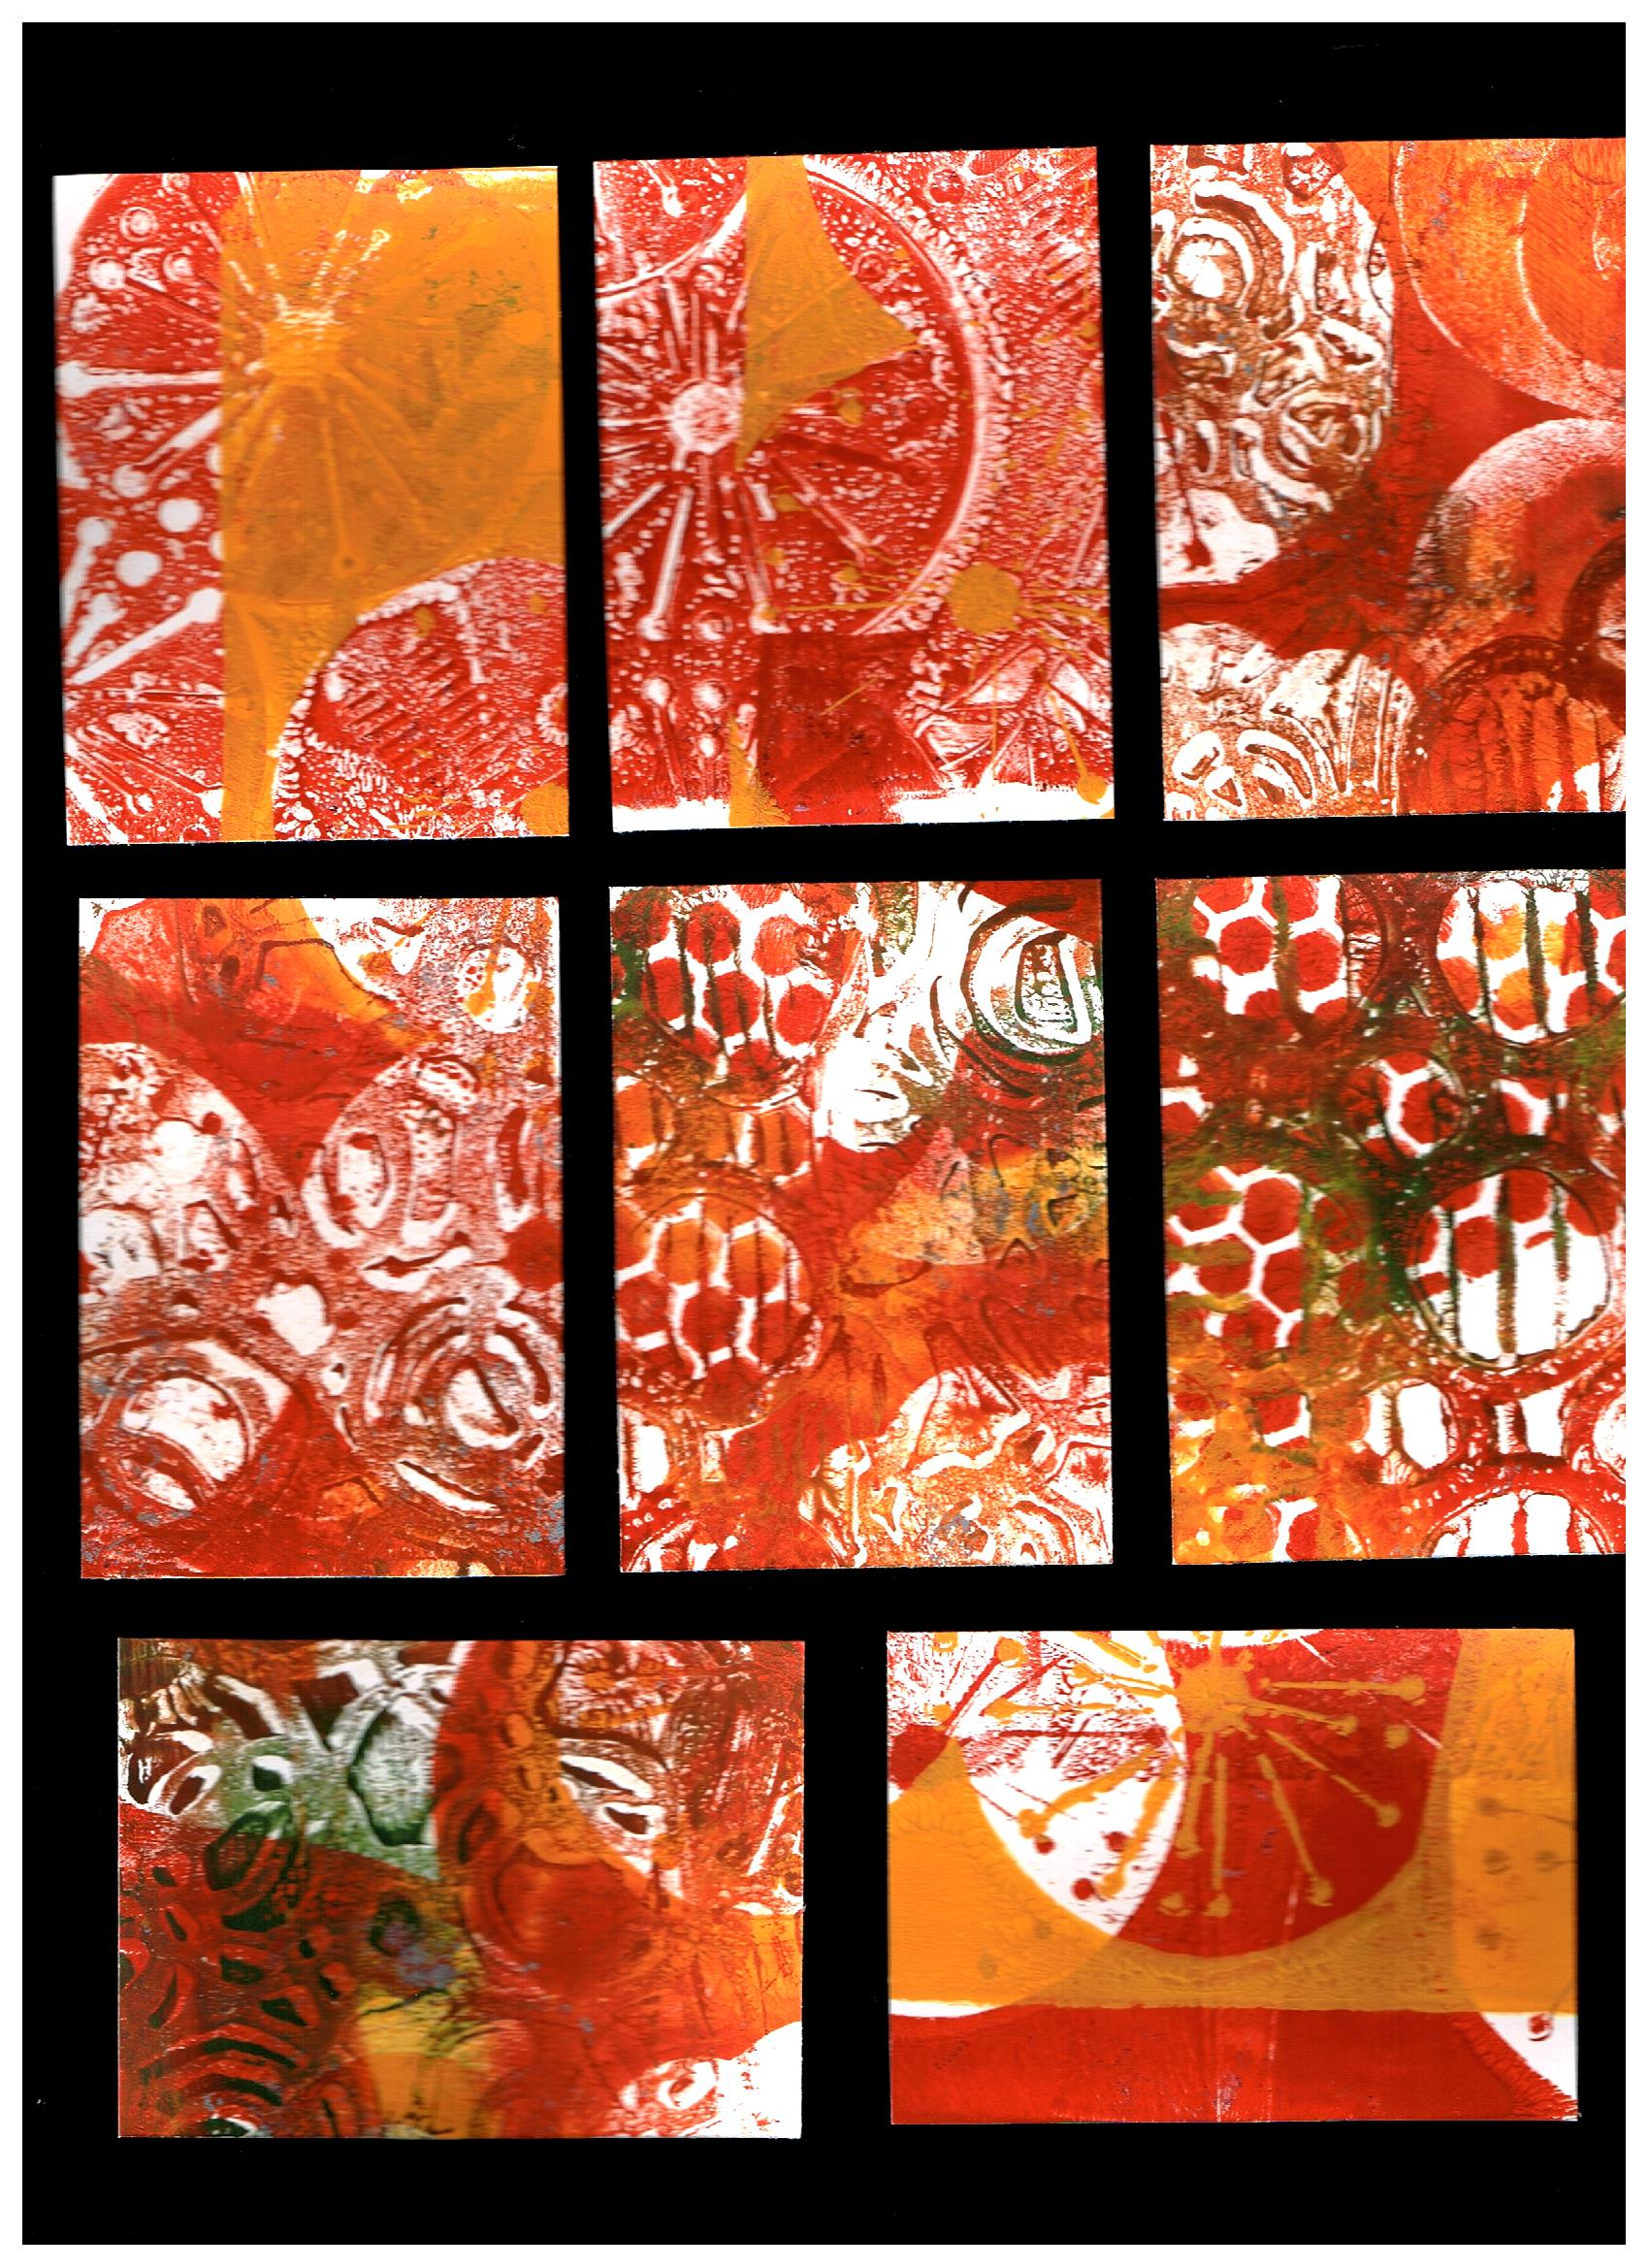
When you try these techniques to fix your gel prints, remember the that translucency of your paints makes a big difference with your results. This is where the glazing medium is so important – it makes your paints more see through, which is just what we want when fixing our gel prints, so we can see the lovely layers underneath.

gel print techniques


And we’d love to hear from you – what ways and techniques have YOU found to help “fix” your gel prints?

Leave a comment below.


Turn your Gelli Prints into Inspiring Framed Gifts

~ * ~

This article is written by Michelle G. Brown

Mono-printing with GelliArts Gelli Plates has become one of my favourite mixed media art techniques for creating backgrounds (you can see some of my first attempts and step-by-step guide here and once you get into the swing of things, the prints pile up quickly! So I decided to take a second-hand photo frame and up-cycle it into an inspiring piece of mixed media art.

Use background papers into a handmade gift

Materials

– Background papers or Gelli prints

– Photo frame; here I used a 5” x 7” frame

– piece of cardboard to fit frame

– glue; PVA or Gel Medium

– Washi tape

– Black Marker; here I’ve used my Golden Black pen Montana Marker with Golden Fluid Acrylic

Create your Framed Gift

1. Gather your materials and a few pieces of background paper in colors that work well together

Using Gelli prints to make handmade gifts

2. Take the back off your photo frame and use it to cut a piece of cardboard to size so it will fit into the frame. I used a piece of cereal box cardboard. Check that it does fit into the frame and trim if needed.

Gelli prints to create mixed media gifts

3. Use the cardboard to cut a piece of background paper to size.

Gelli prints to create mixed media gifts

4. Use a piece of scotch brite or sandpaper to rough up the cereal box cardboard. Then stick the background paper to the cardboard. Flatten out any wrinkles.

Gelli prints to create mixed media gifts

5. Cut two contrasting background papers into strips and thin triangles. Stick these to the background piece. Leave to dry and trim the ends to size.

Gelli prints to create mixed media gifts

6. Add a strip of Washi tape and write in your inspiring quote with the black marker. Seal with Gel medium or varnish. Leave to dry.

Gelli prints to create mixed media gifts

7. Place your mixed media art into the frame, replace the back and your gift is ready to give!

(I forgot to take a final photo of my piece in the frame but here it is finished!)

Gelli prints to create mixed media gifts

I hope this has inspired you to get out those Gelli prints or dive into your stash of background papers and put them to good use!

Happy creating,

Michelle

~*~*~*~*~*~*~*~*~*~*~*~*~*~*~*~*~*~*~*~*~*~*~*~*~

Michelle G. Brown is passionate about mixed media art and enjoys sharing her knowledge and techniques with you to allow you to express your own creativity. Michelle understands that many of us have an inner need to create. By learning a few basic techniques the amazing world of mixed media art is accessible to everyone!

Michelle lives with her husband and two boys in Melbourne, Australia. When she is not creating or on Facebook, she’s at karate training. Just to make sure she’s properly busy, she has also adopted the From Picture to Page Scrapbooking and Papercrafts Show

~*~*~*~*~*~*~*~*~*~*~*~*~*~*~*~*~*~*~*~*~*~*~*~*~

.

.

Creating Your Own One of a Kind ATC Backgrounds

~ * ~

This article is written by Shari Welch

I came up with this tutorial out of need. I needed to find a way to produce a series of artists trading cards with the same background color scheme, with each one being an original little piece of art in itself. I needed to get these out soon so I had to be creative with my time as well. GelliArts gel printing plate to the rescue!

Those of us who have used a Gelli plate will admit, it is VERY addicting. A few of the many facts I love about the gel plate is that it is reusable and cleans up easily. If you haven’t used one, the link below takes you to the Gelli Arts website. Their site will give you a better understanding of what the gel printing plate is, and what you can create using it. Besides instructions, projects, and a You tube video, you can order a plate too. www.gelliarts.com

I thought that I would print up two or three pages. But like I said, it is very addicting.

gelli plate, printed papers, and stencils

Materials I used:

  • 8×10 printing plate
  • Rubber brayer
  • White card stock 8.5×11 (cut to 8×10 after printing)
  • DecoArt acrylic paints
  • Yarn, texture tool, cut out decorative paper
  • Flower masks and stencils by Heidi Swapp
  • Stencils by Tim Holtz
  • Stencils by Prima

This template shows 8 artists trading card that can be produce out of a single gel print page if you are using the 8×10 size.

ATC template

I had a fall color theme in mind, so here are the two finished ATC background sets I choose. I still have a lot of gel prints left for yet another project. I won’t complain.

Pic of 8 ATC cards
ATC cards 2nd sheet
~*~*~*~*~*~*~*~*~*~*~*~*~*~*~*~*~*~*~*~*~*~*~*~*~

Shari Welch is a mixed media artist living in Denton Texas. She is known for using reuse and recycle materials in her artwork. She volunteers for SCRAP Denton where she is on the education committee, teaches workshops, art camps, and performs art demos. She is passionate about mixed media art and enjoys helping others discover their creativity.

Shari studied graphic design in Portland, Oregon before moving to Denton. Besides writing for mixed media art, she is currently a blogger for DecoArt, was featured in Mixed Media May, and has been in a number of art shows in her hometown of Denton including GDAC “It’s in the bag”, Thirty for thirty art show, and 3arthwurks gallery show.

You can see more of Shari’s artwork at www.facebook.com/my.altered.life
and on her blog shariwelch.blogspot.com

~*~*~*~*~*~*~*~*~*~*~*~*~*~*~*~*~*~*~*~*~*~*~*~*~

.

.