Michelle G Brown | Mixed Media Art

Create Your Own Original Backgrounds While You Play

This article is written by Linda Giese

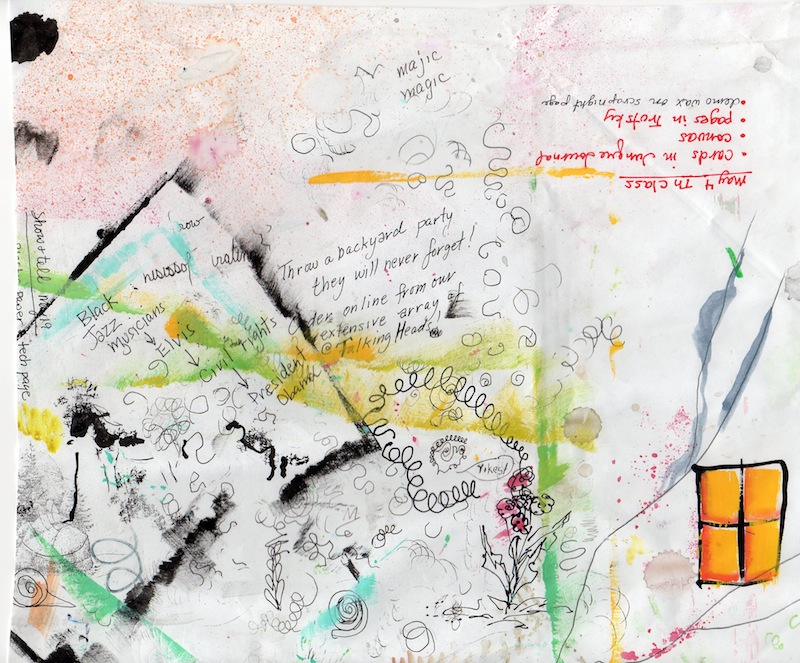
For the past year I’ve been putting papers over my plastic covered workspace. It began when I found a roll of thermofax for a dollar at a thrift store.  I put it on my workspace and soon it filled up with random stamps, paint splatters, doodles and notes.  I tore off another sheet and saved the first for collage fodder. I progressed to large sheets of newsprint that came as packing material in boxes.  A friend even gave me old architectural plans she was going to throw away.
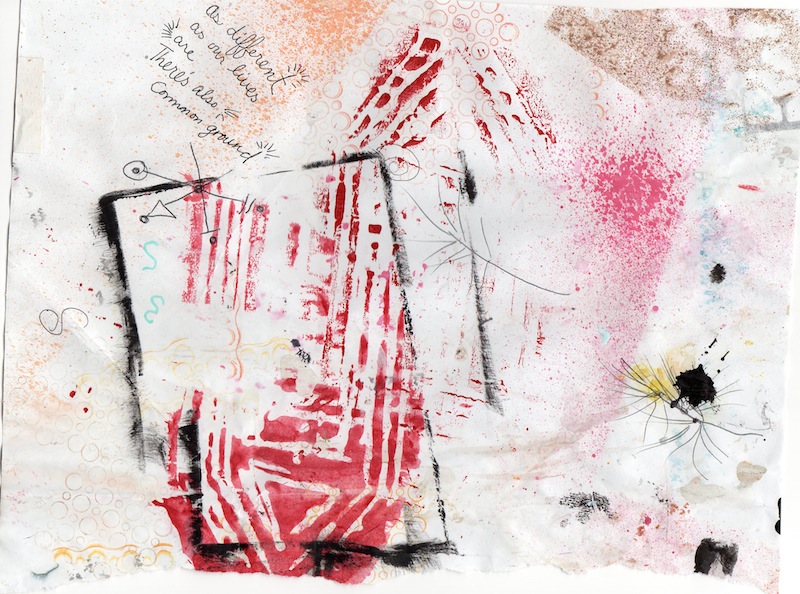
making backgrounds while you play

This is an easy way of making original collage papers to make your art unlike anyone else, and it won’t even take extra time!  Now I glory in messing up my surface papers with ideas and oversprays.  Since I teach at my dining room table, there are class notes and ideas for what my students want to learn next.  I test out new stamps and “stamp off” ones I’m using.  There are scribbles trying to get a pen to write or see what color it is.  Sometimes there is even a random fruit label!
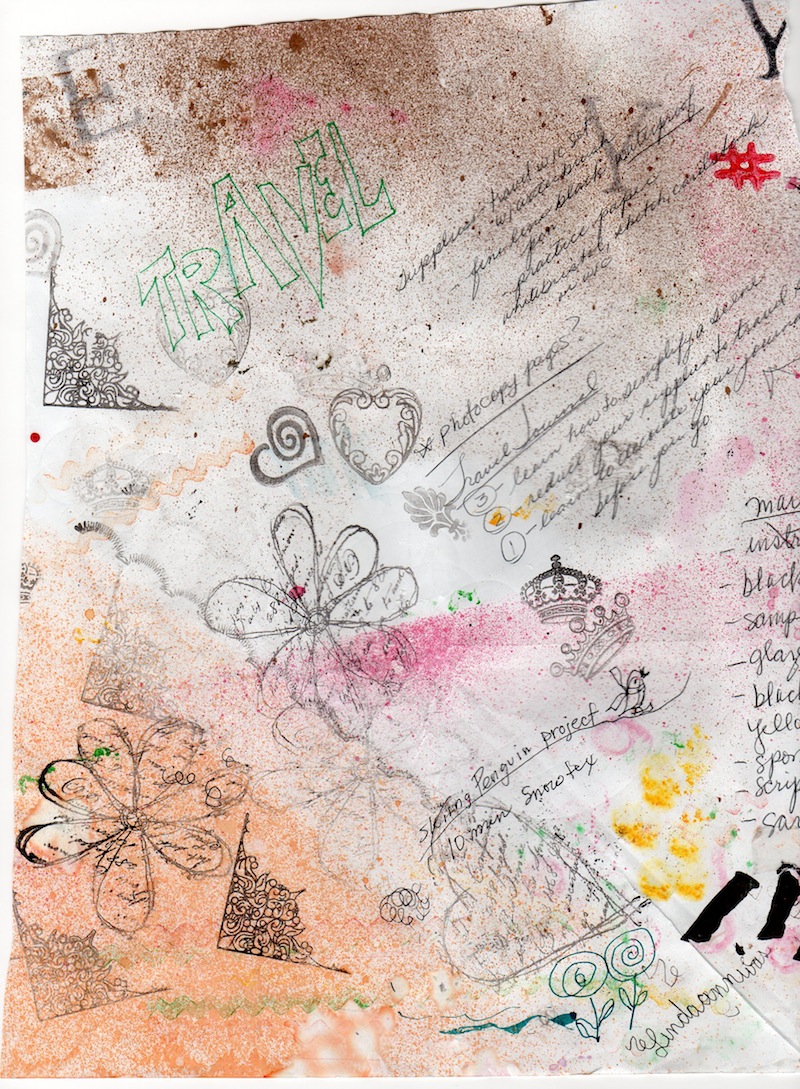
making backgrounds while you play

I’m not likely to run out of clean papers to mess up, but thought of an idea if I did.  I’d take sheets of junk mail with clean backs and tape them together.  Or as I’ve done, use sheets of scrapbook paper I don’t like that perhaps came in a stack of paper.  If you take a class, perhaps you can mess up newspapers under your work there too!  Good luck and happy splatters!making backgrounds while you play
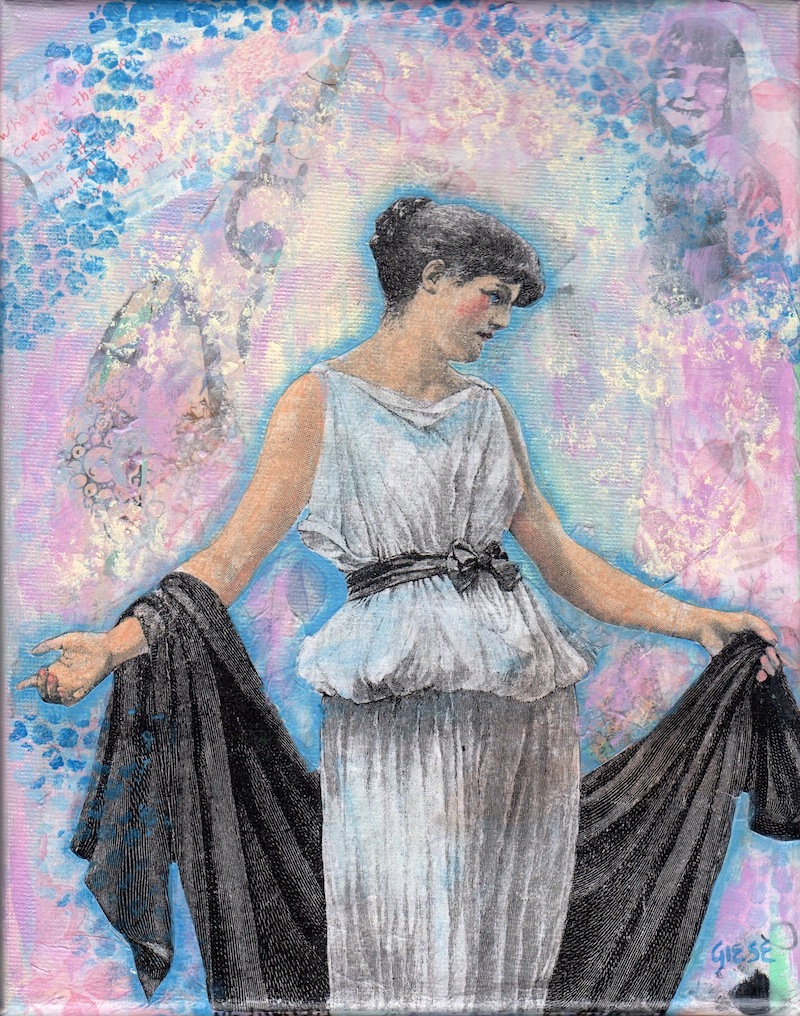
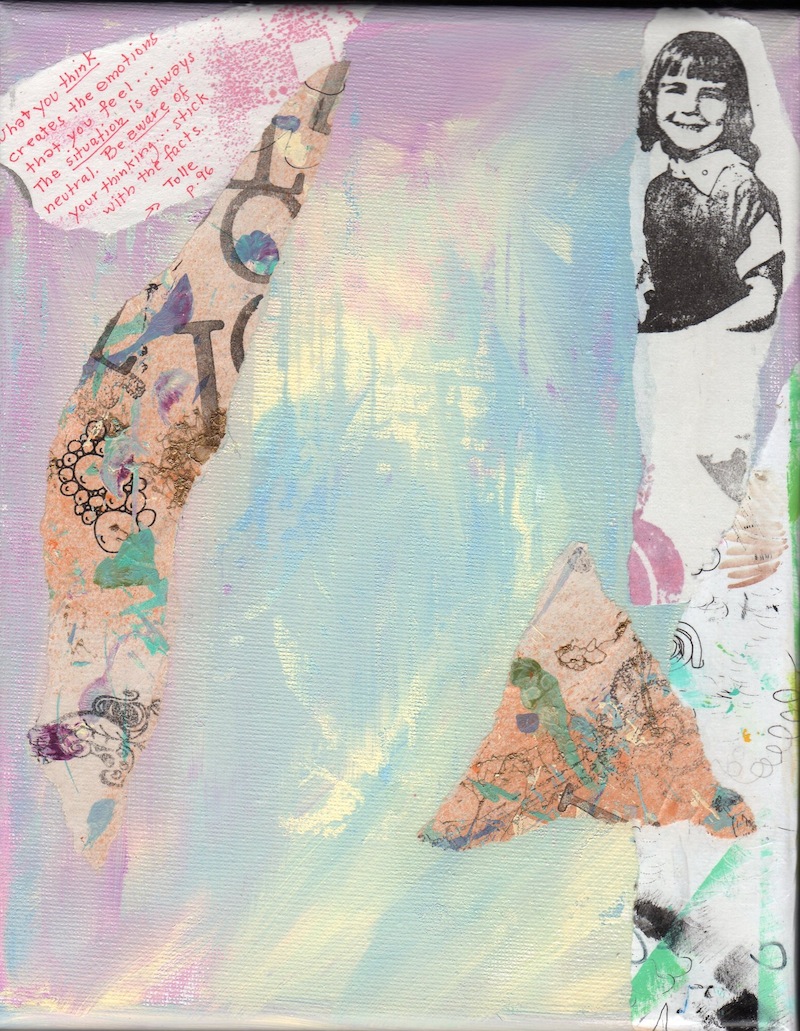
Materials I used for my canvas:
Underpainting is blended background of Americana orchid, butter and baby blue
I applied the torn collage papers with Americana DecouPage as well as the Dover clip art woman image
I used the above paints plus Americana cad red, bright yellow(to make the flesh color) and true blue for shading
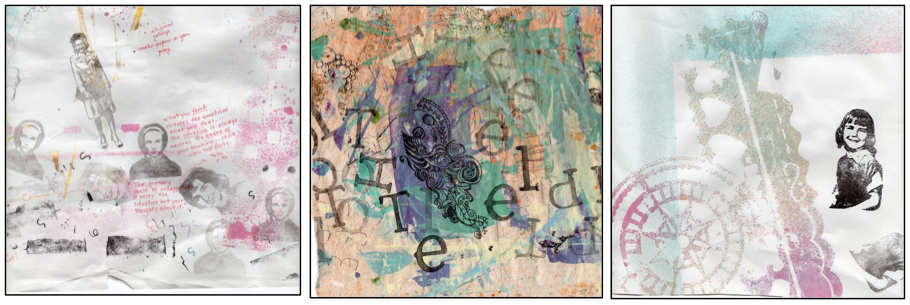
making backgrounds to add to your mixed media art collage

use backgrounds to create layers to mixed media art

using backgrounds to create layers in mixed media art


~*~*~*~*~*~*~*~*~*~*~*~*~*~*~*~*~*~*~*~*~*~*~*~*~*~*~*~*~*~*

Linda Giese encourages comments, questions, and sharing your art journey at linda.giese@yahoo.com

She teaches classes privately and at a local scrapbook store, The Stamp Addict

~*~*~*~*~*~*~*~*~*~*~*~*~*~*~*~*~*~*~*~*~*~*~*~*~*~*~*~*~*~*
 

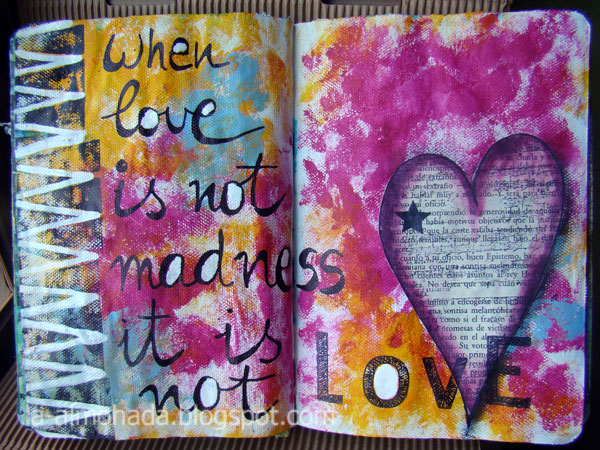
Valentine’s Art Journal Page

~ * ~

This article is written by M. Carmen Sánchez – Cuchy from La almohada

One of the things I love about Art Journaling is that it is absolutely mine and absolutely me.

It’s where I express my joy and sadness, my ups and downs my success and my mistakes.

And it is the perfect place to experiment with new techniques or products, and where I leave my creativity fly.

And where to find the inspiration?

Look around you and find something you like. A book, your brushes, your room’s colours…

Look through the window or review your last pictures of the woods, the city or the beach.

What did you do yesterday? Is there something or someone special in your life lately? Any special event in a near future? What did you laugh at last time?

Search the web. Flickr or any other online gallery. Write your favourite colour in the search field and hit enter. You’ll be surprised with the results. Do the same with your own pictures.

I’m sure you have a huge list of blogs. Open a new folder on your computer and save your favourite works with a proper link to the author. Do not forget to credit when credit is due

Search pages of sketches and learn from other’s interpretation. Try to make your own version.

Let the music sounds…

So, while listening to my favourite music, with a cup of coffee beside me I left myself be inspired by the colours of one of the canvas hanging on my wall and our anniversary next month.

I love textures and colours, so my tutorial today is a colourful Art Journal Page… in Valentine’s mood 🙂

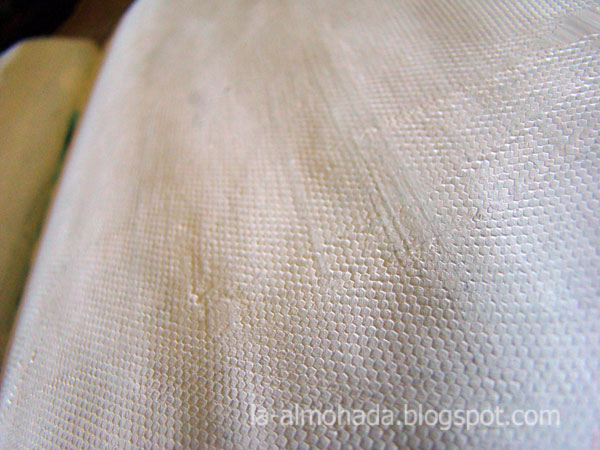
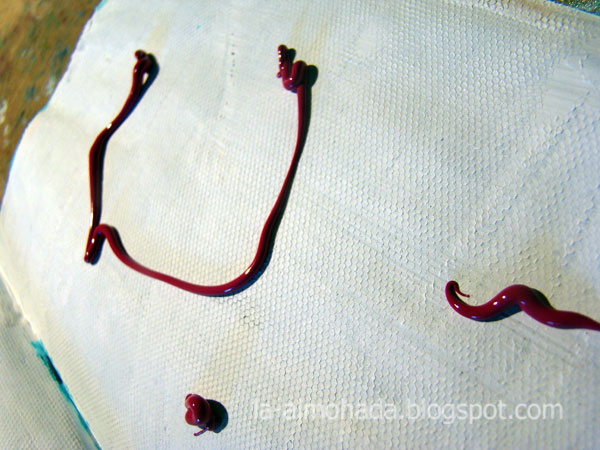
Start covering a piece of tulle with gesso on your page. Let it dry and then pull the tulle apart. It will give a beautiful texture to your page.

Cuchy's art journal for Valentines day

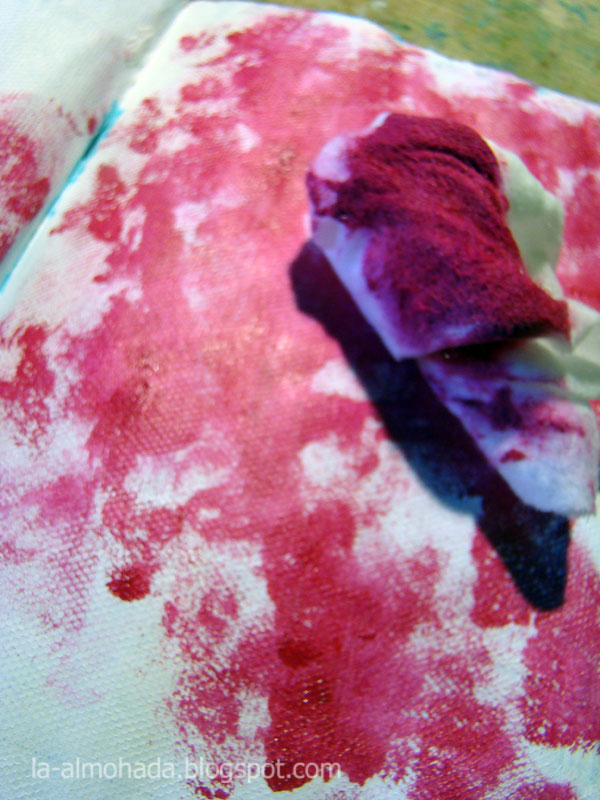
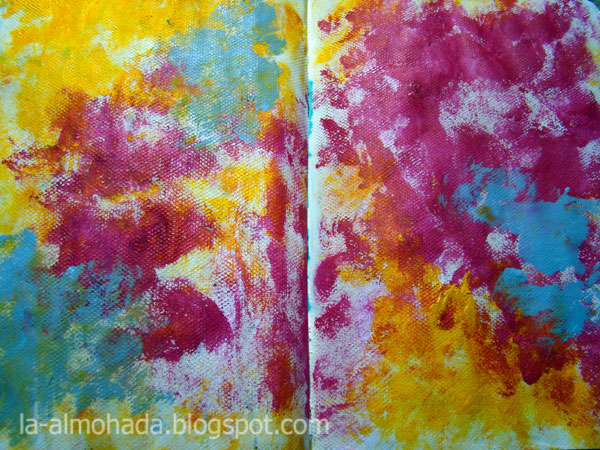
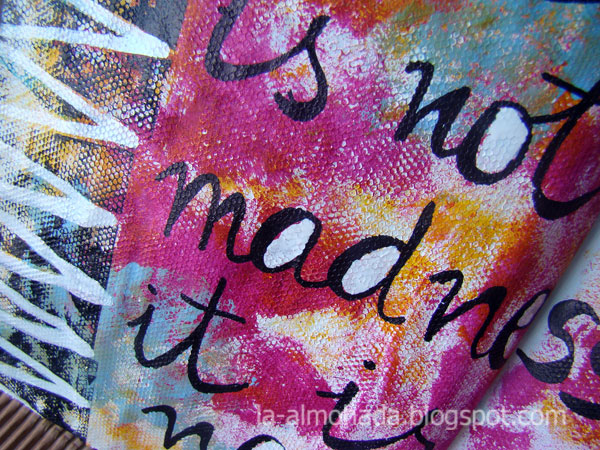
Pour some paint and spread it with a wet baby wipe. One colour at a time.

Cuchy's art journal for Valentines day


Cuchy's art journal for Valentines day


Cuchy's art journal for Valentines day

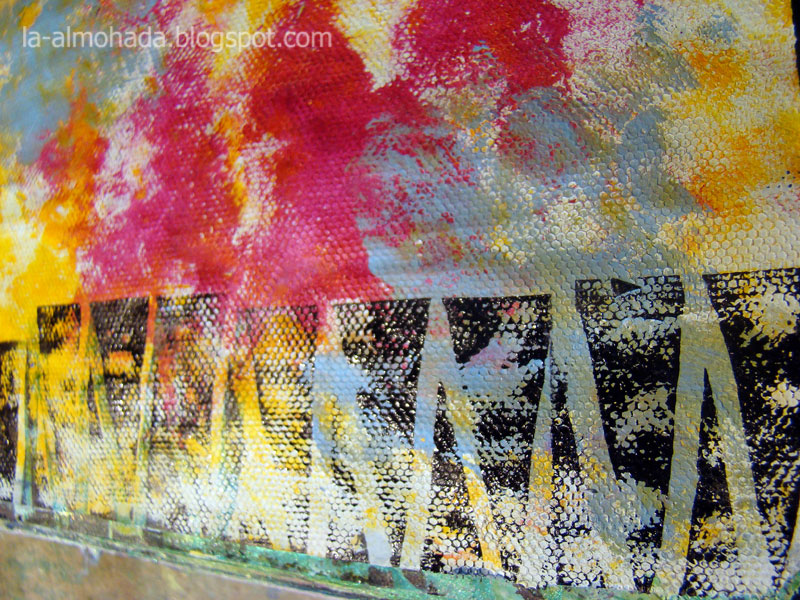
Once the art journal page is dry, stamp around the edges. I used one of my hand carved stamp

Cuchy's art journal for Valentines day

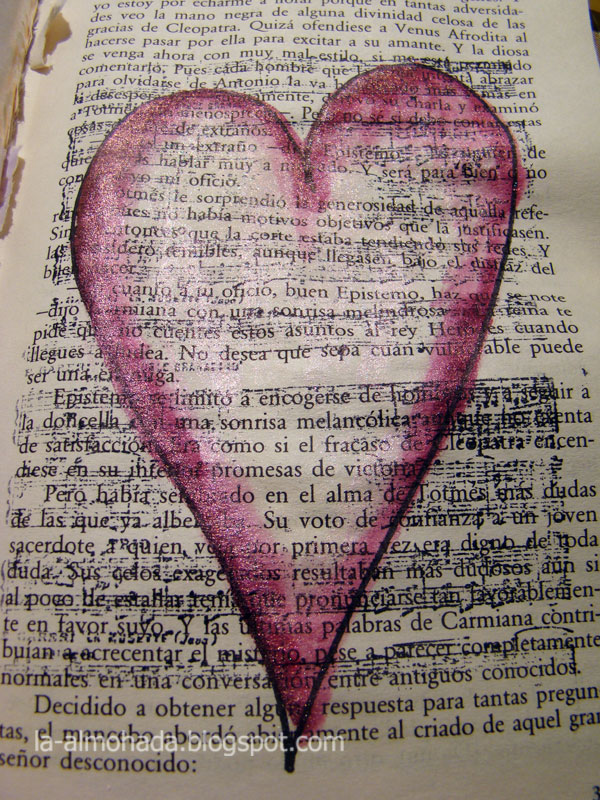
On a book page, draw a heart, stamp over it and colour it with watercolour. Cut it out

Cuchy's art journal for Valentines day

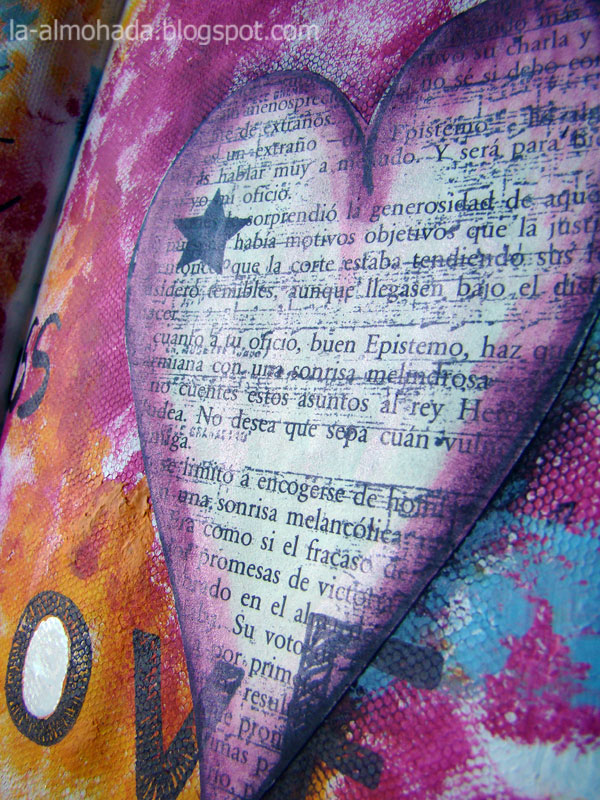
Glue your heart to the page and add a shadow with a charcoal pencil

Cuchy's art journal for Valentines day


Cuchy's art journal for Valentines day

That’s it! This gorgeous art journal page is complete! Hope you like it.

Cuchy's art journal for Valentines day


~*~*~*~*~*~*~*~*~*~*~*~*~*~*~*~*~*~*~*~*~*~*~*~*~*~*~*~*~*~

M. Carmen Sánchez – Cuchy

A mainly self-taught mixed media artist who loves to play with textures and layers

Member of the Kuretake’s Design Team -manufacturer of writing supplies- Design Team Instructor of Stampers Best -american manufacturer of rubber stamps and cling cushion mounting foam- and contributor and guest designer in various Spanish and international blogs, she taught several workshops in Madrid and Barcelona and loves to teach from her own experiences, and encourage the students to think outside the box and put their inner self in everything they create, to achieve a personal and unique result.

You can find more on her blog Hecho a mano.

~*~*~*~*~*~*~*~*~*~*~*~*~*~*~*~*~*~*~*~*~*~*~*~*~*~*~*~*~*~*
.


.

Decluttering for the New Year; Where to keep everything?

With our decluttering process, we have reviewed our achievements, decided which crafts to focus on and sorted out our craft supplies.

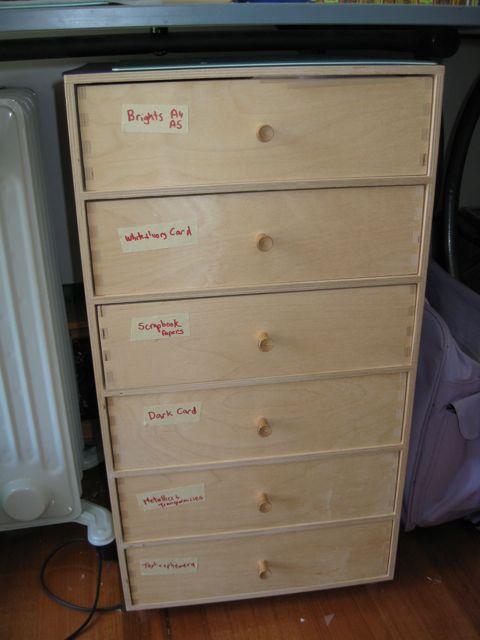
Now we have only things we will use in our crafting area, we can consider where to put them. As we put items into new places, make sure you label the drawers and containers; this may seem a little over-the-top at first but will help you keep your area tidy in the long run. Labelling will also reduce the “open every drawer until I find it” problem.

clearnig our craft clutter

We want to consider how often we use our different groups of supplies. We want to keep the items we use most often close at hand. This may be on the desk in containers or in boxes that can be moved closer when being used and stacked away when not needed.

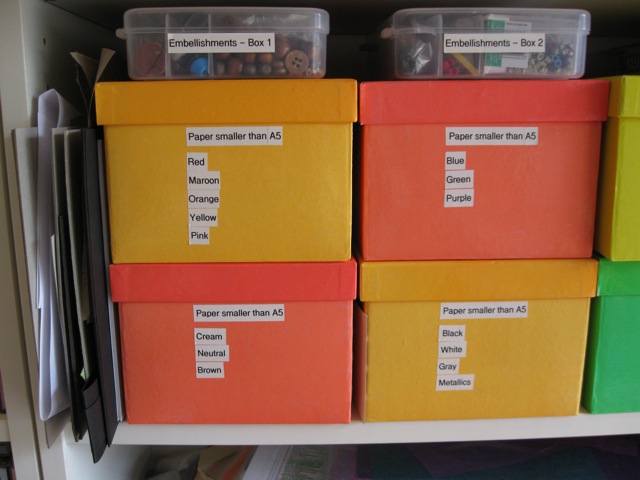
For supply storage, once the smaller areas have been sorted we will have created some space. Then we can take a step back and consider combining items that are similar or will now fit into a new area [reference materials storage articles]. Boxes with lids that can be stacked are great if you don’t have a lot of space (or have completely filled it!). The boxes can be labelled on the side you can see so you don’t need to go through each one when looking for one item.

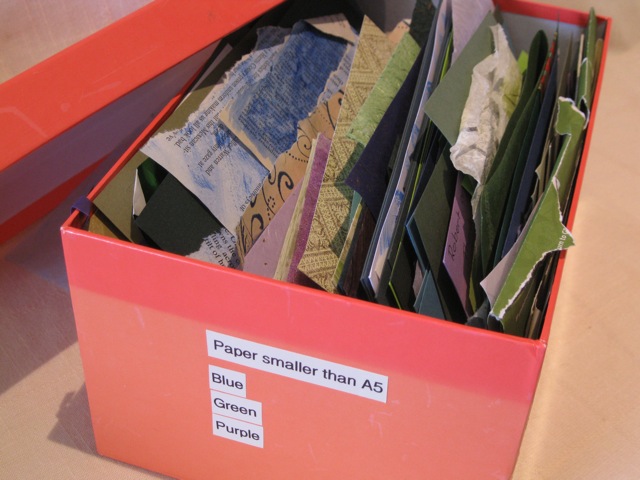
Sorting colours into boxes

There are all sort of ways to store your crafting supplies materials and tools. Be brave and try a few different ides to see which ones work for you.

For further reading, try these links:

Happy decluttering! (Then the creativity can begin!)

.

.

Homemade Inks and Pens

~ * ~

This article is written by Francesca Albini 

One of the most annoying things is when your pens go dry and you have to throw them away. It really hurts me to get rid of any tool that can be used or should have been used for my art. So I don’t. I find ways to rescue almost everything by making my own handmade inks.

Every time one of my ballpoint pens goes dry I take a pair of scissors and snip the plastic reservoir into a bin or plastic bag (they tend to fly across the room otherwise!), then put the segments in a small container. When I have enough segments (two or three reservoirs), I pour a little bit of surgical spirit into the container, close it really tight and shake well. The result is a purply blue ink. If it’s too light in colour, wait a day for some of the spirit to evaporate. I suggest you use a cheap brush with this ink, as it can be harsh on the bristles.

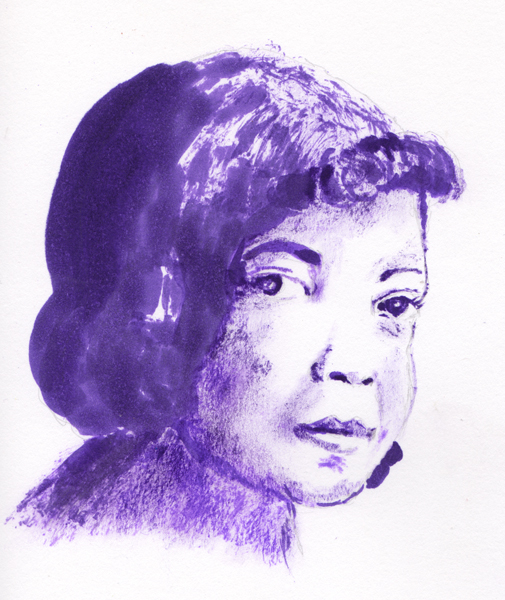
Here is a portrait of the singer Sippie Wallace I painted with homemade ballpoint ink. Because this ink is quite viscous, instead of diluting it with water or more spirit to obtain lighter shades I prefer to dry the brush on a tissue. Using an almost dry brush gives the painting an unusual and pleasant grainy feel. Ballpoint ink is not the easiest of mediums to use, but it is fun to experiment with.

singer Sippie Wallace sketch by Francesca Albini

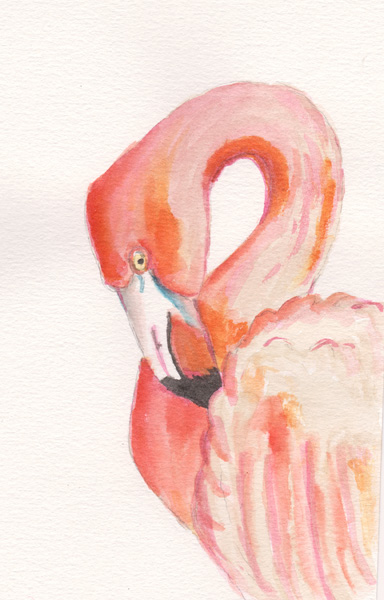
Gel pens are particularly prone to get dry very quickly. Snip the dry reservoirs and put them in a container, as above, but this time dilute with water. I like the ink made with gel pens because it very often has a shiny, glittery texture. Here is a flamingo I painted using ink made out of a few pink and orange dry gel pens. Gel pen ink is also easier to use, as it can be further diluted with water.

Here is a flamingo by Francesca Albini

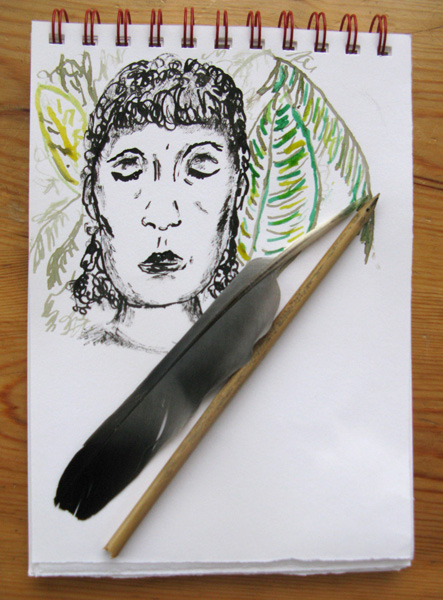
I spent the Christmas holidays going for walks in various parks and gathered a few things that I could turn into art tools, like bamboo stems and a pigeon feather (hoping the ex owner didn’t have the flu!) There are many sites on the internet that show you how to make reeds and quills. It’s really quite simple. Cut the shape of the nib with a craft knife, test and trim until you are happy with the marks it makes. While my husband was trying to have a serious conversation with me, I doodled his portrait with my homemade bamboo reed and Indian ink. He ended up looking a bit like the Buddha, so I thought of adding some tropical foliage in the background with my pigeon quill.

Homemade art tools and pens by Francesca Albini

Playing with homemade inks and found or recycled materials is fun, creative, cheap, and makes you feel good.

~*~*~*~*~*~*~*~*~*~*~*~*~*~*~*~*~*~*~*~*~*~*~*~*~

Francesca is a visual artist using pretty much everything she finds around her to record and relive feelings and memories of places and emotions. She collages, paints, draws, photographs. Francesca loves mixing modern technology, such as mobile phone apps, with the simplest of tools such as glitter glue, crayons and other children’s art supplies.

Read her blog at Fran’s Journal Blogspot

~*~*~*~*~*~*~*~*~*~*~*~*~*~*~*~*~*~*~*~*~*~*~*~*~

.

.