Michelle G Brown | Mixed Media Art

Chiaroscuro Circus Workshop

.

This article is written by Jan Murphy of Wild at Heart Studios

In the Fall of 2012, Wild at Heart Studios, in the lovely town of Friday Harbor, Washington, held a workshop entitled “Chiarscurro Circus”. It was hosted by two well-known mixed-media artists, Lynne Perrella and Anne Bagby, for four days of amazing creativity and fun.
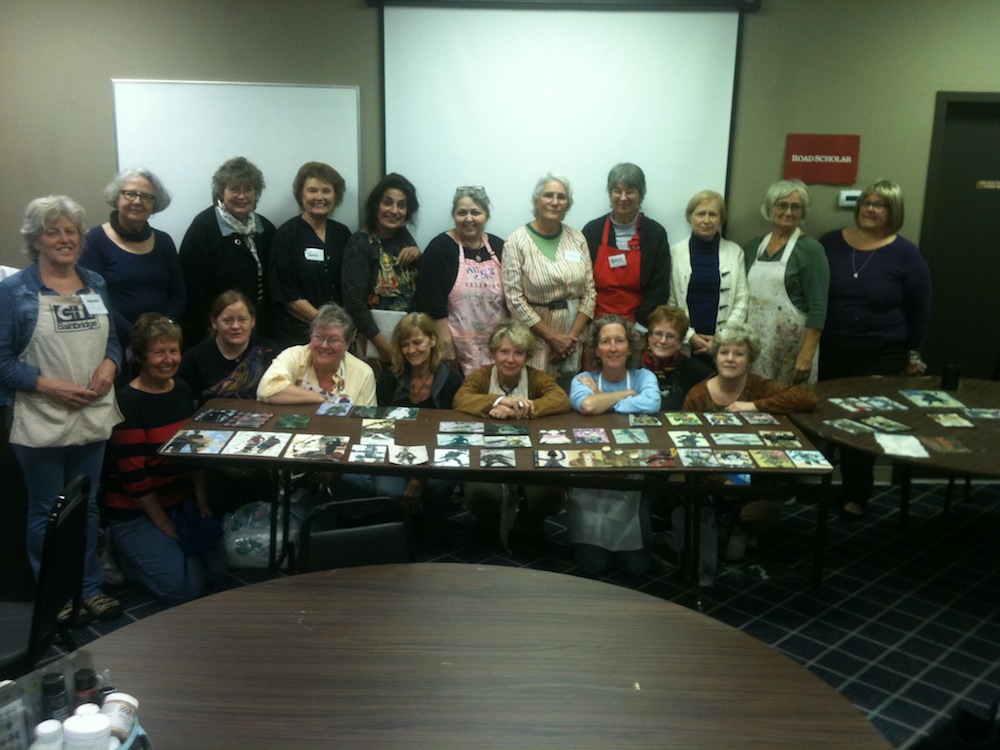
Lynne Perrella and Anne Bagby hosting the mixed media art class

Twenty four students from across the U.S. and Canada attended the workshop where they learned a wide variety of techniques to create lavish backgrounds and vibrant face focal points using oil crayons, ephemera, and hand-made stencils and stamps.  They explored images of clowns, jesters, theatrical ceremonial figures and more.

“Chiaroscuro” (key-ah-squoor-oh) is an artful term that encompasses the dramatic contrast of light and dark and everyone left with several pieces of gorgeous art!. A great time was had by all.
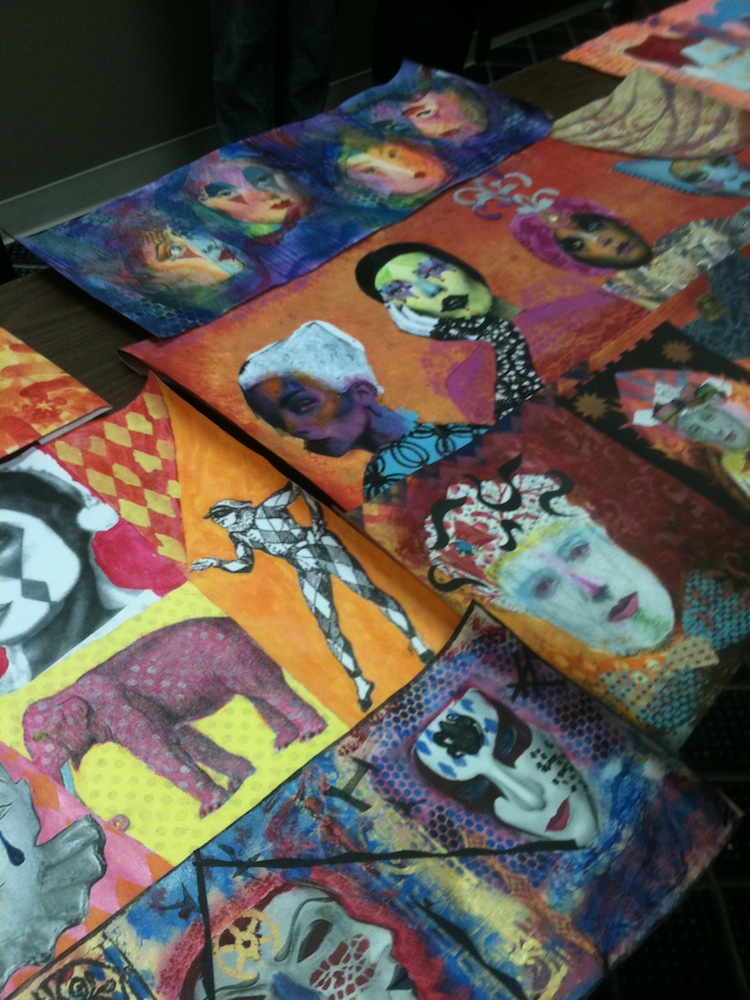
 mixed media art class  with Lynne Perrella and Anne Bagby

To find out more about Wild at Heart’s upcoming workshop, visit their website.
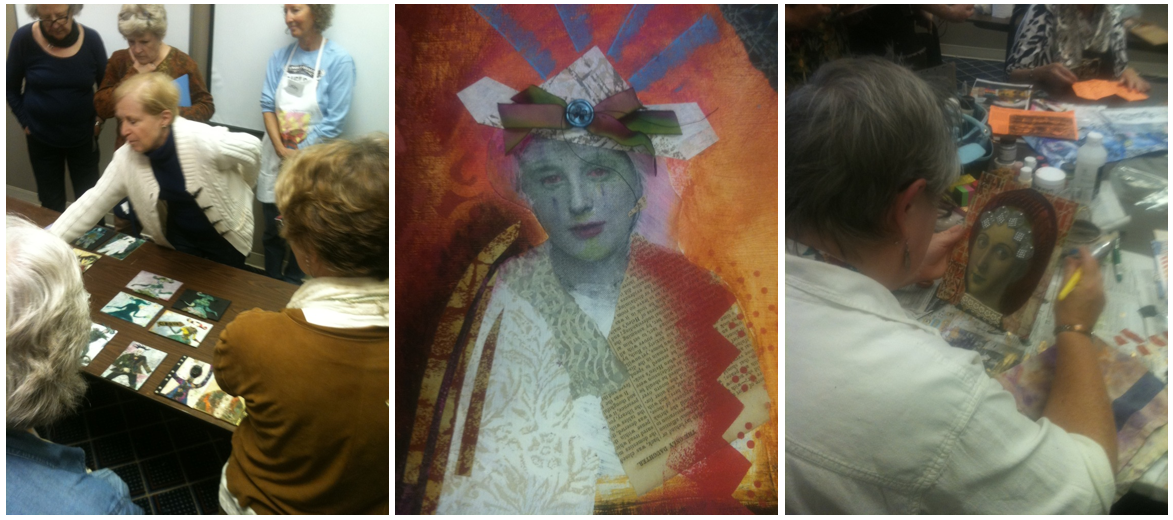
mixed media art classes


Crayon Backgrounds

This article is written by M. Carmen Sánchez – Cuchy from La almohada

When it comes to play in an artistic way, one of my favourite things is to create backgrounds, testing different products, materials, surfaces… and whatever I had within reach.

And if I play with my little kid while creating, much better.

This is a background technique perfect to do with kids (under adult supervision, due to the use of an iron)

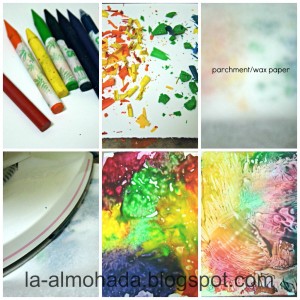
Just grab your kids’ wax crayons in your favourite colours and sharpen them. We want the shavings for our project.

Take a glossy cardstock and lay the shavings in a colourful pattern.

Put a piece of parchment or wax paper over it and iron it without steam.

Wait a bit for drying or lift the paper right away. See the different outcomes and texture. I love it.

Now you can use it as it, cut into pieces and use it in other projects, embed collage paper in the wax, or apply the same technique in other surfaces.

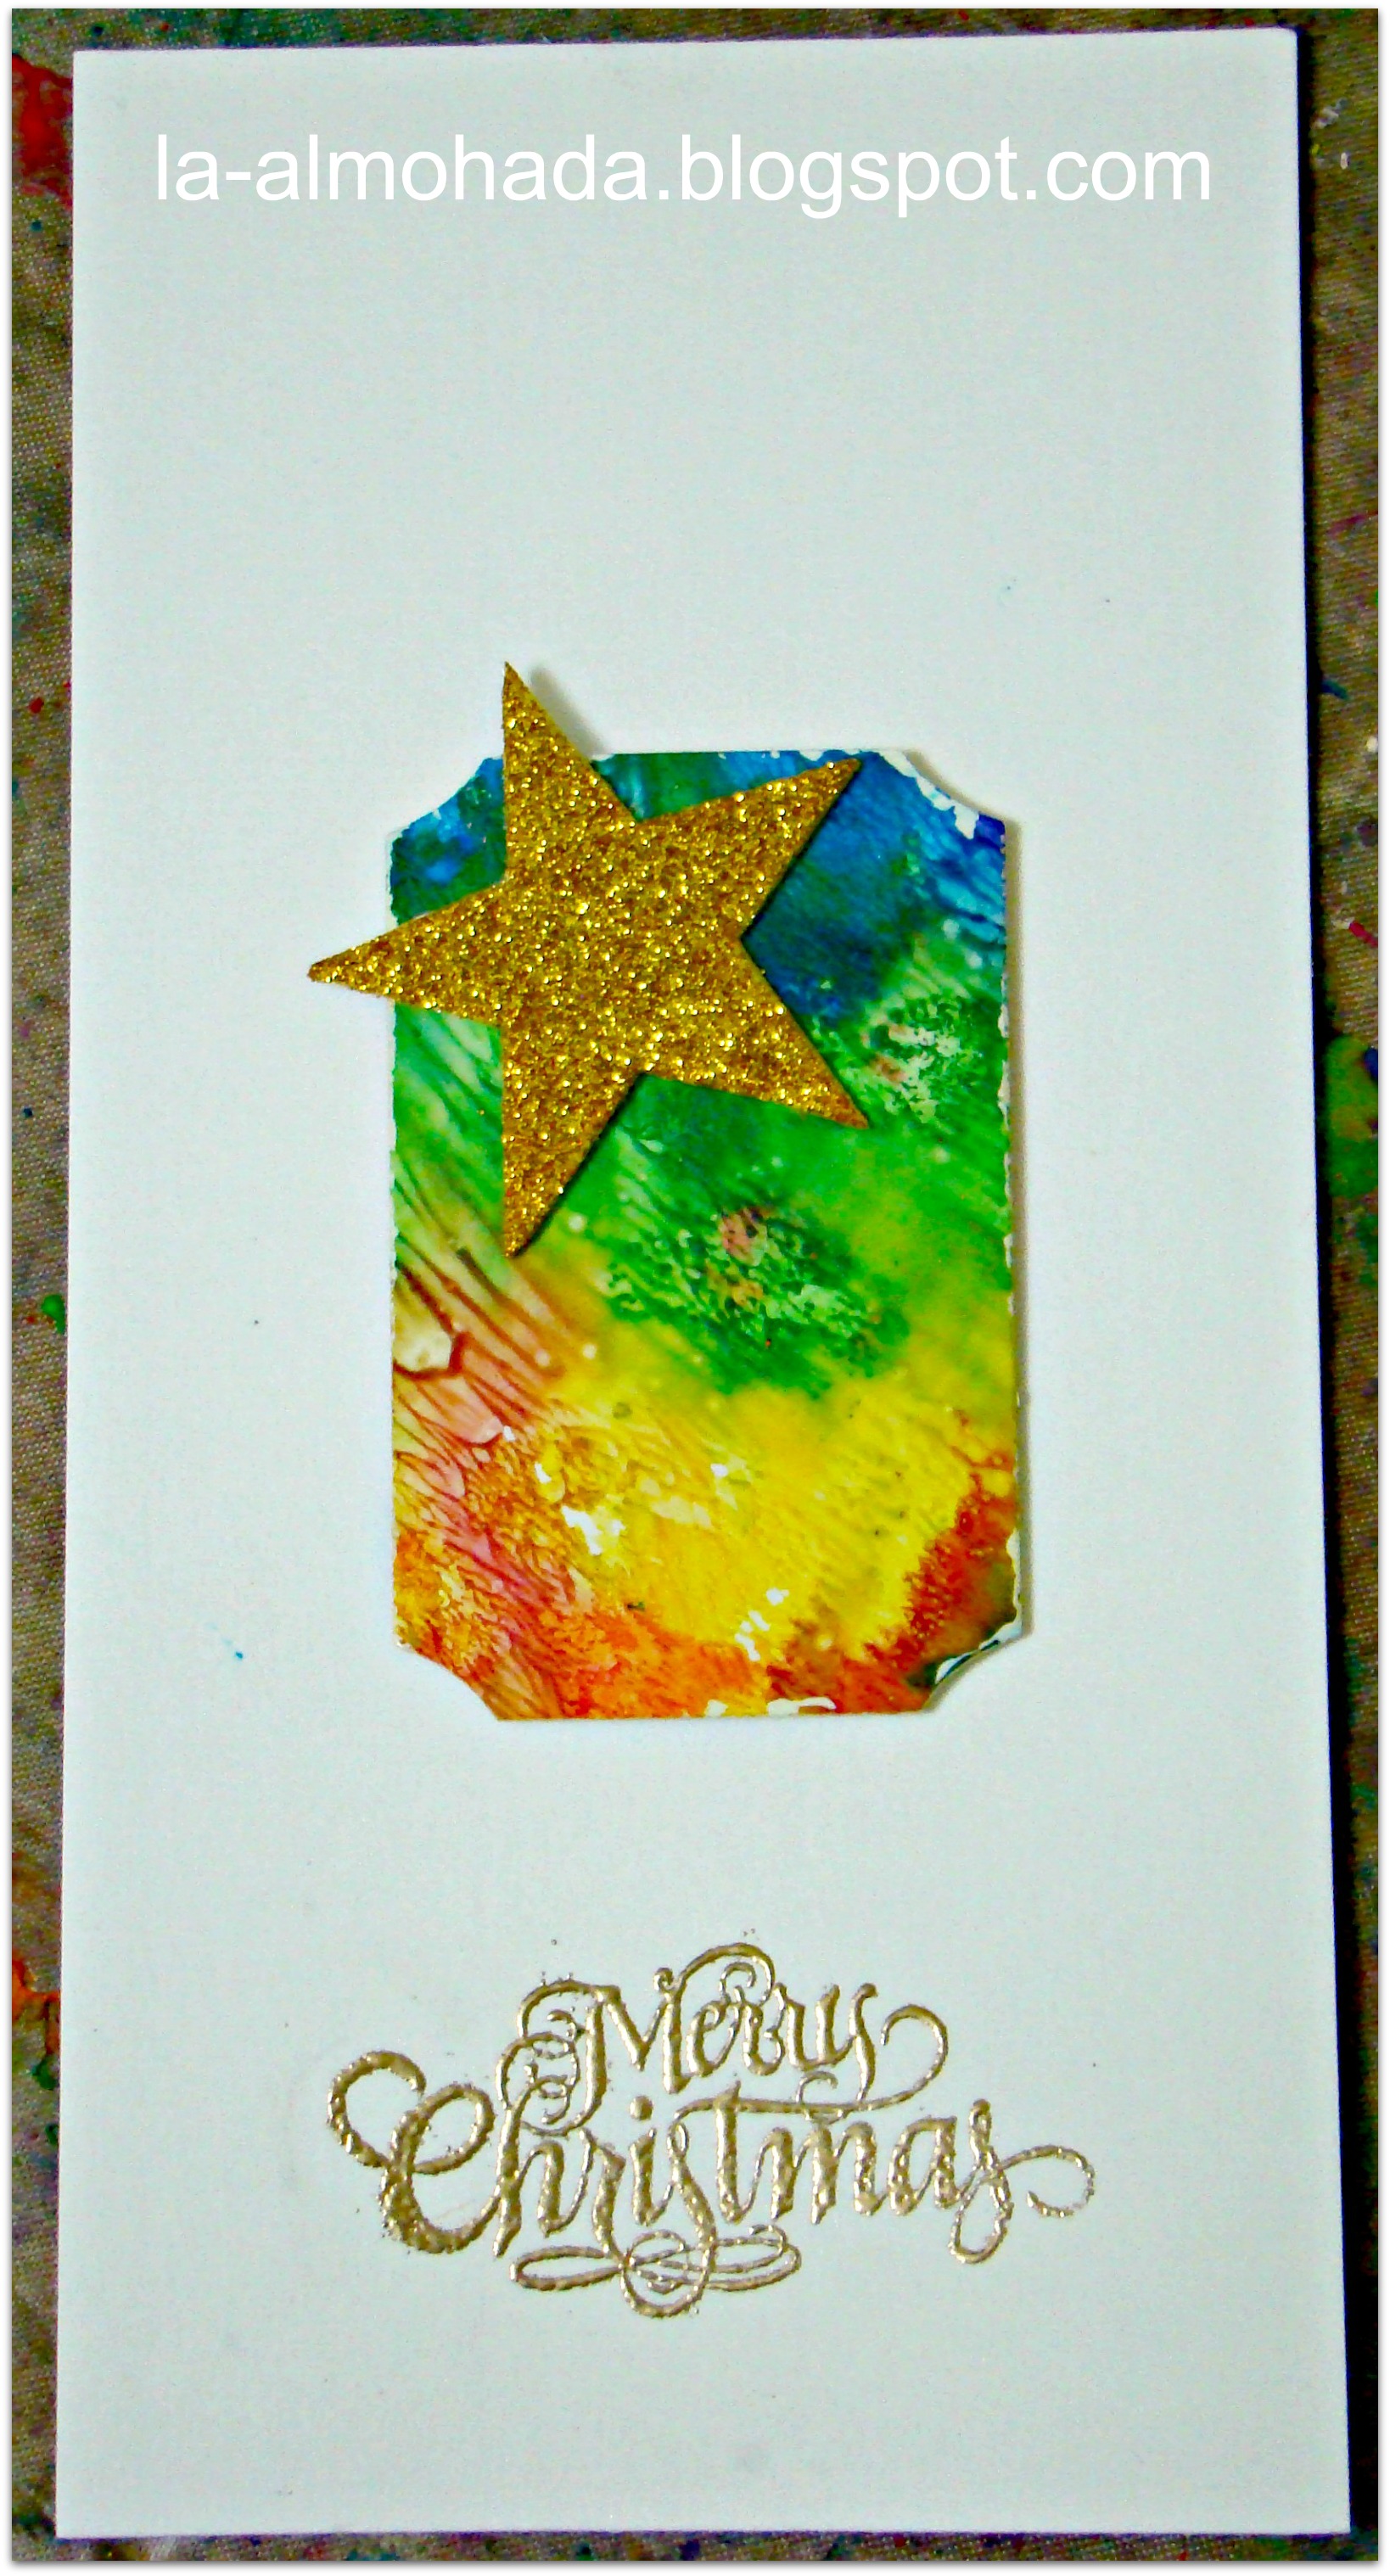
I made a bright christmas card. Hope you like it.

using melted crayon background for gift handmade cards

~*~*~*~*~*~*~*~*~*~*~*~*~*~*~*~*~*~*~*~*~*~*~*~*~*~*~*~*~*~

Carmen Sánchez, also know as Cuchy, is a mainly self-taught mixed media artist who loves to play with textures and layers.

Cuchy is a member of the Kuretake’s Design Team, manufacturer of writing supplies, Design Team Instructor of Stampers Best, american manufacturer of rubber stamps and cling cushion mounting foam, and contributor and guest designer in various Spanish and international blogs. She has taught several workshops in Madrid and Barcelona and loves to teach from her own experiences, and encourage the students to think outside the box and put their inner self in everything they create and to achieve a personal and unique result.

You can find more on her blog, her facebook page, or watch her broadcasting live on her Livestream channel.

~*~*~*~*~*~*~*~*~*~*~*~*~*~*~*~*~*~*~*~*~*~*~*~*~*~*~*~*~*~


Vietnam Art Scene

This article is written by Gloria Malouf-Marsh.

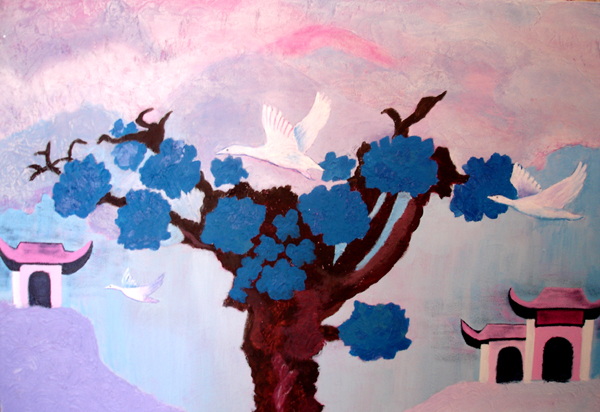
This artwork is a rock formation on a large backdrop at a tourist sight in Hanoi, Vietnam, when we were touring in May.  The initial composition was quite different to my own interpretation.  This work has been a challenge for me. The background mountain colors were all blending together.  The tree gave a focus of stability, grounding, and the base of the tree reminded me of the individual standing on a strong fortress of confidence and self-esteem in life.

Gloria Malouf Marsh mixed media artist

I kept to the colors of quinacridone magenta, white and cerulean blue and worked on making different shades of lighter and darker contrasts, but chose to work with the pastels shades – pale pink, darker pink, pale mauve, pale blue etc, which created a very peaceful end result. I also worked with texture building paste, as this is one of my first attempts, and I’m starting to be more confident with it.

The two pagodas portrayed a history that is in keeping with the culture and religion in Vietnam.  The pagodas represents places of worship and religious significance that’s prevalent in common in Nepal, India, China, Japan, Korea, Vietnam, Burma and other parts of Asian culture. We discovered many pagodas; each one portrayed a history of religious and cultural significance. I used texture paste to create depth and perspective.  The pagodas were raised up high on hilltops that gave them a sense of ageless time overlooking this peaceful and tranquil haven.

In Taoist philosophy the study of animals were significant and their movements and each animal depicted symbolic meaning.  As for geese in Traditional Chinese Medicine, geese are sacred, very inspiring and resourceful; cranes have balance and graceful movements, etc. Practically speaking, a swan is a heavenly version of the humble goose. I cut geese pictures and used collage in this medium and painted over them, with the three colors I chose from the beginning.

This painting took me deep into my imagination, I was totally absorbed and it took me back to the beauty, the history and the very interesting places I visited. This is my second time back and I developed an appreciation of the culture and the people very much.

I’m putting more time and effort in my days creating and painting and I’m discovering so many aspects about myself I was not aware of – patience, discipline and talent.  I always maintain it’s not the destination that counts but the journey getting there that is the recipe to a very happy and fulfilling life.

Keeping creating!

~ * ~ * ~ * ~ * ~ * ~ * ~ * ~ * ~ * ~ * ~ * ~ *  ~

My name is Gloria Malouf-Marsh. I live in Brisbane, Australia, with my husband Greg and my daughter Salwa . Among my many interests are singing, playing the piano, cooking, doing voluntary work and I have a passion for studying Ayurveda and Taoism, both ancient Indian and Chinese philosophies.  I also am a Yoga Chi Gung Teacher. Springtime is glorious in Brisbane. I rise early and go for brisk walks, do my yoga practice and I’m inspired to face the day with inspiration and confidence. I get creative ideas for painting when I’m in nature. I love listening to nature’s sounds and watching and hearing the birds.

I am developing discipline in creating and making time for myself to daily paint. I seem curious to want to further my techniques.  I’m working with the building texture  mediums. It gives my imagination space, open up to new attitudes and I lose myself in this amazing healing world – new opportunities open up and we go from strength to strength. A sense of confidence and enjoyment has developed with me regarding honing my skills and techniques in the art medium, and I do enjoy this website so much.  Hearing peoples’ ideas and seeing their talents, just simply amaze me.  It is a special global family.   I hope to be taking up some extra art classes as I feel this will broaden my scope of techniques.  I find classes are a very good positive influence for me.  If I can create, so can you! Enjoy!

Emails are welcome at Gloria@radiantpathways.com.au

Using what you know – Mixing your Media

This article has been written by Linda Giese

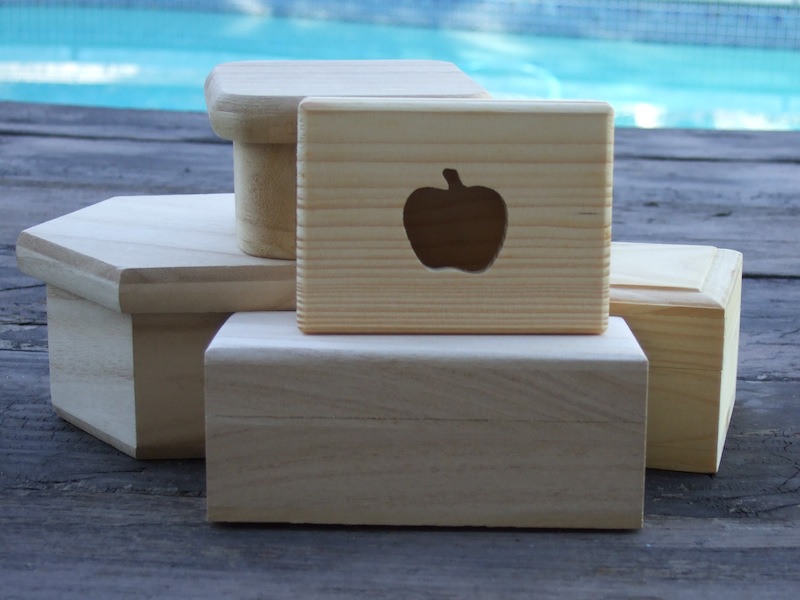
Little boxes provide quick surfaces for a variety of techniques.  People like to collect boxes for storage and for gift giving.  So for those of you who have an annual sale or two, or make your own gifts, boxes are a great source of material.

blank wooden boxes for mixed media collage

No matter which techniques you’ve perfected, or want to practice, try it on a box.  But for wonderful contrast and creating interest, combine two techniques on one box.  Boxes are divided already for you into tops and bottoms – how convenient!

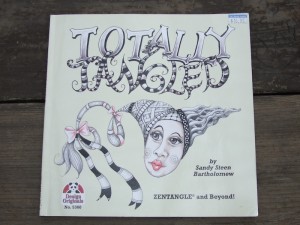
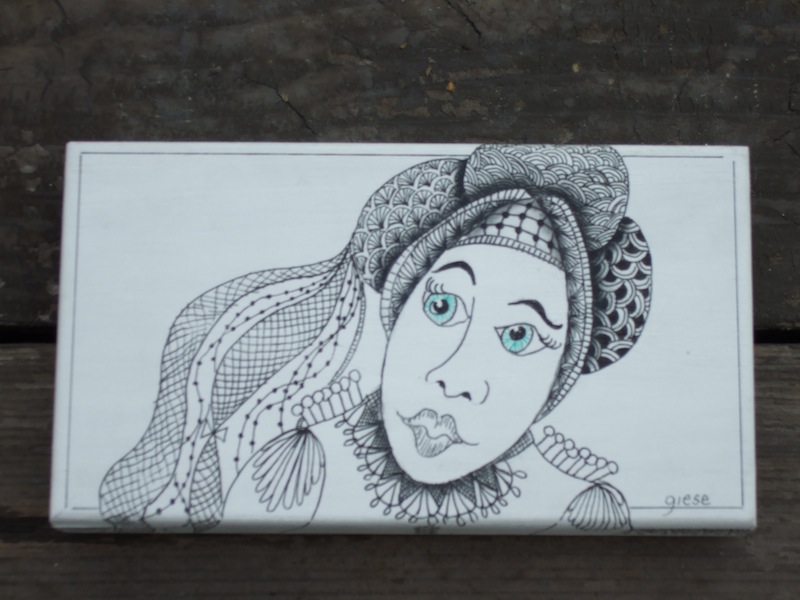
As I was prepping a box for painting or collage, I used white gesso as a sealer and undercoat.  Well, that bright white just called to me to zentangle.  I had Sandy Steen Bartholomew’s book “Totally Tangled”  handy and I’d always loved that face on the cover.

Sandy Steen Bartholomew's book "Totally Tangles"

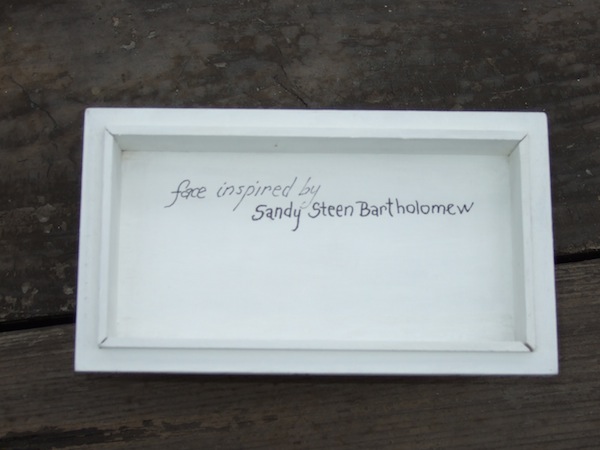
Now faces are not my strong suit, so I copied hers to have a successful outcome.  (Just remember to give the original artist credit.  I put this information inside the box lid.) I set the box aside for months not wanting to mess up that beautiful face by not so great art work.  Sometimes you just have to be in the right mood to create.

Using the inside of the lid for artistic credits

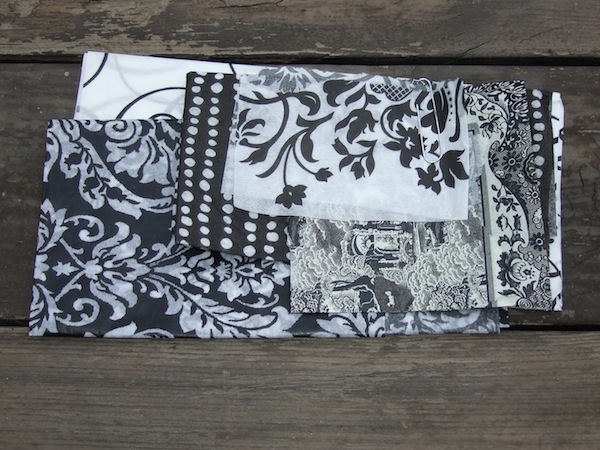
But now the sale was looming and I had to produce and finish projects I had started.  I came across this box.  It would take a lot of time to zentangle the whole thing!  I was going through my stash of napkins to share with a new student.  That’s what gave me the idea to pull out black and white napkins and tissues.

Black and white napkins

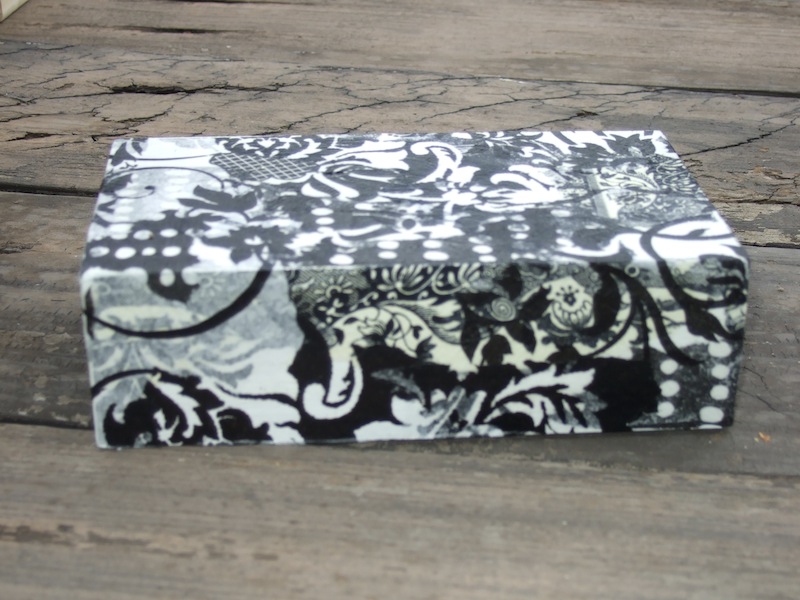
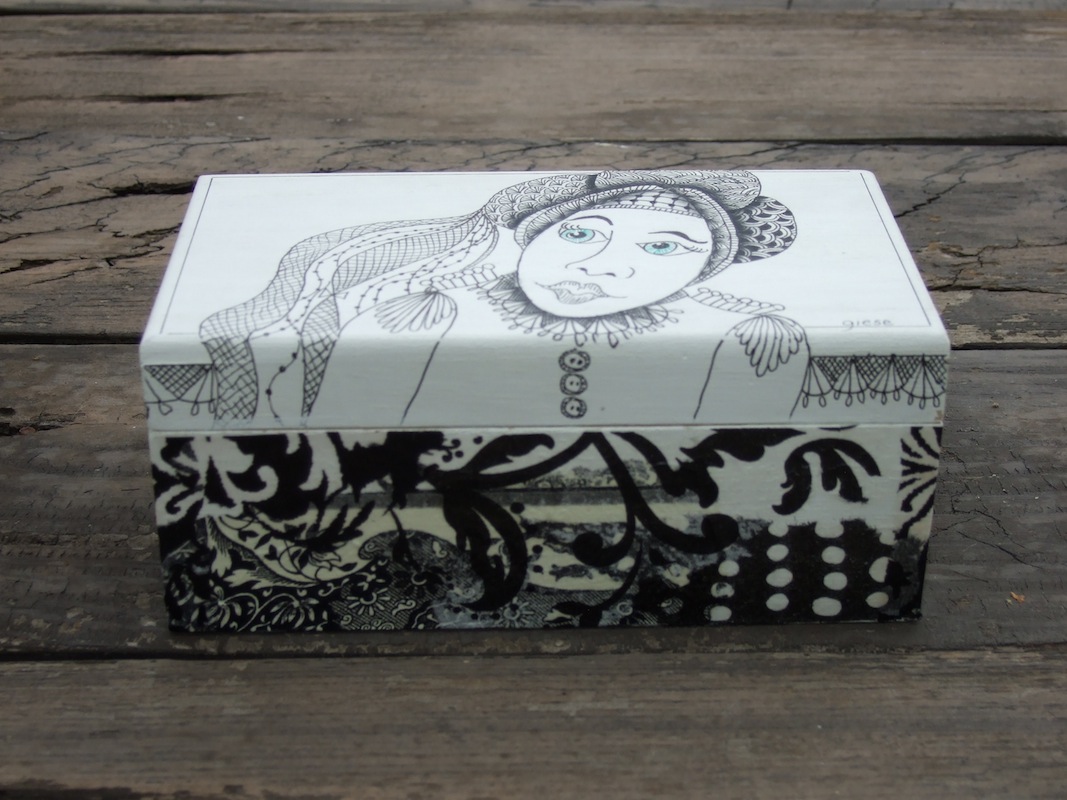
One of the secrets to combining two techniques successfully is to think of the color palette.  Since my box was white with black pen work for the zentangles, I had a natural fit. The same or compatible colors should work for a successful combination.  If I used the napkins and tissues to collage the bottom of the box, I could finish my project much quicker. I used DecouPage by Americana to apply the napkins and tissues.  I began with one napkin and tore it into pieces after separating out the white layers. I put the straight edges of the napkins along the straight edges of the box.  I applied the first pattern around the box on the four sides and the bottom.  Then I started with the second napkin the same manner.  I continued with the other napkin and the tissues until the entire box bottom was covered.

base of gift box covered with black and white napkins

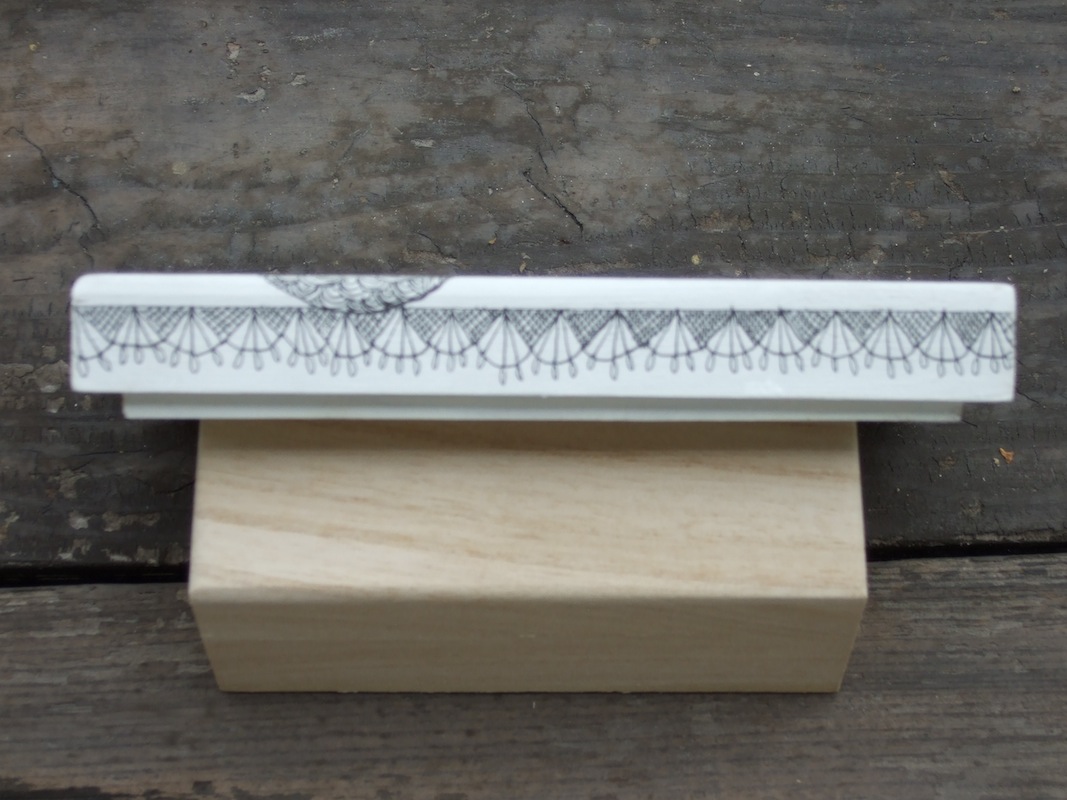
It looked so pretty. It reminded me of a dining room with chair rail separating the smooth painted upper wall and the textured wallpapered bottom wall. I was anxious to finish the zentangled top.  Nothing like a bit of excitement for inspiration!  I used some of my favorite patterns for each segment.   I used a micron pen for the zentangles.   The lid needed a border to make it look finished.  I drew a line on the top using a ruler to frame my woman.  The side still looked too plain.  The lace pattern was just the thing and tied it to the woman as I had used it on her dress.

decorating the edge of the box lid

I decided to use just a bit of color for the eyes. I used a green IDentipen on the smaller tip to make the lines for the iris.

adding color to zentangle face

I used black acrylic paint and a floating technique for shading.  I found to my dismay on another project that if you plan to varnish over your work, pencil shading may spread over the entire surface instead of staying where you want it. The top was then finished with two coats of Delta Ceramcoat Satin Varnish.  This is also why it is very important to use the right pens.  The Sakura IDentipens and Sakura Micron pens won’t bleed when you varnish over them.   If you are unsure about your pens, be sure to test them in advance on something other than your project.

black and white zentangle box

As a mixed media artist, I’m sure you have several techniques in your repetoire.  How about combining them on a special box?  This turned out so pretty that it may not go into my sale.  If you are like me and sell or give away the majority of your art, every now and them you surprise yourself and find a piece hard to part with.  That’s when your art becomes a gift to yourself  or perhaps a favored family member.  Now go grab some boxes and start playing!

~*~*~*~*~*~*~*~*~*~*~*~*~*~*~*~*~*~*~*~*~*~*~*~*~

Linda Giese has an altered book in the current issue of ArtJournaling, Autumn 2012.
She welcomes emails, questions and comments at linda.giese@yahoo.com

~*~*~*~*~*~*~*~*~*~*~*~*~*~*~*~*~*~*~*~*~*~*~*~*~