Michelle G Brown | Mixed Media Art

New Years’ Reflections

I love spending a few days either side of the New Year contemplating the year that was and the year ahead. The triumphs of the last year can easily be forgotten amongst the sad times so we need to spend time documenting the good and the bad, and use that to help set our course. An art journal is a perfect place to reflect and document these contemplations.
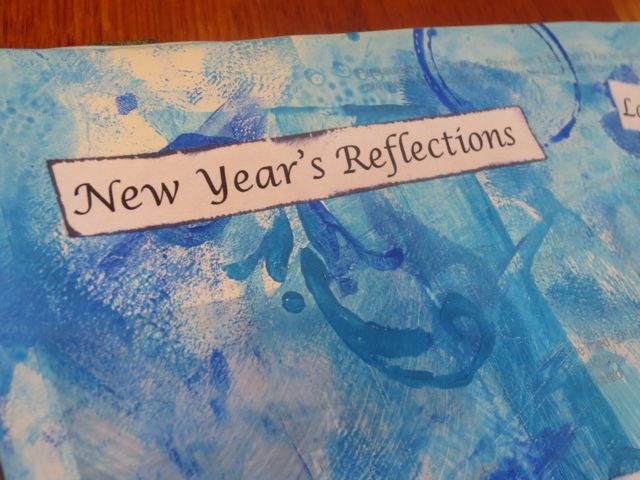
mixed media art journalling technique

To help with your New Years’ reflections, I have put together an ephemera sheet with prompts to help you get started. It can be downloaded over on the Mixed Media Ephemera page [Sheet #9].

Materials and Tools:

  • Pre-painted Art Journal layout
  • New Years’ Reflections Ephemera sheet
  • Lined paper or scrapbooking paper suitable for writing on
  • Ruler, craft knife and cutting mat
  • Glue stick
  • Inks to match your color scheme
  • Journalling pens

1. Gather up your materials and tools. Clear your workspace.
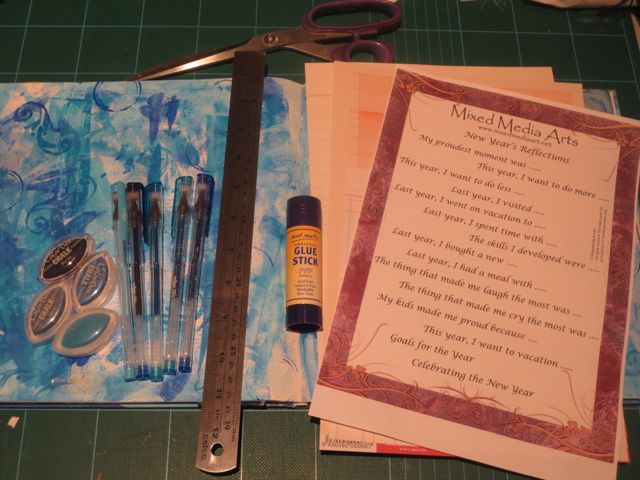
New Years reflections mixed media art journal tutorial

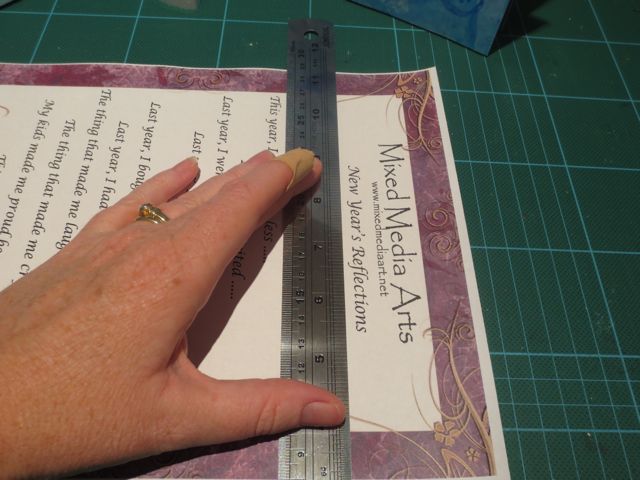
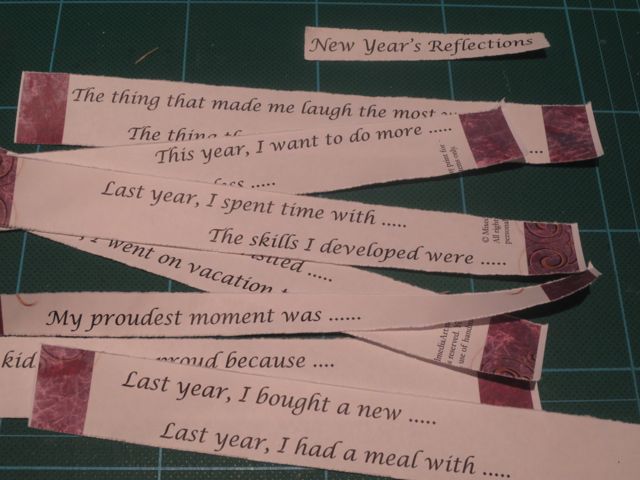
2. Using the ruler, tear up the ephemera sheet to quickly separate each prompt, giving each one a nice torn edge.
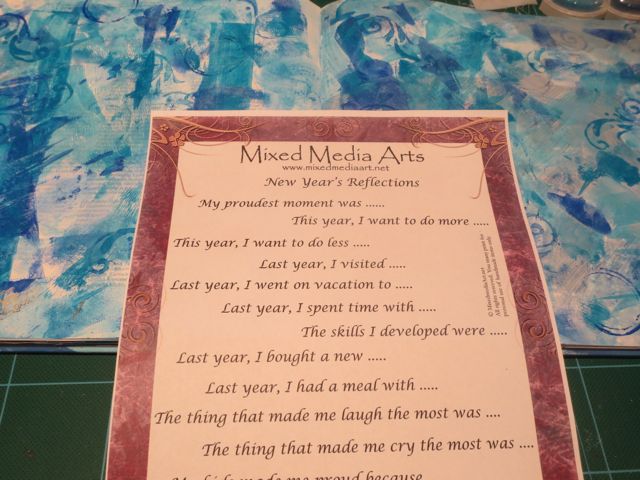
New Years reflections mixed media art journal

use a ruler to tear out the art journal promtps

New Years reflections mixed media art journal

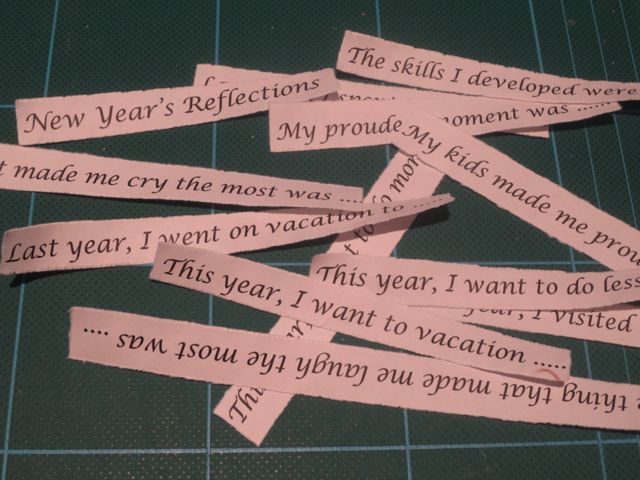
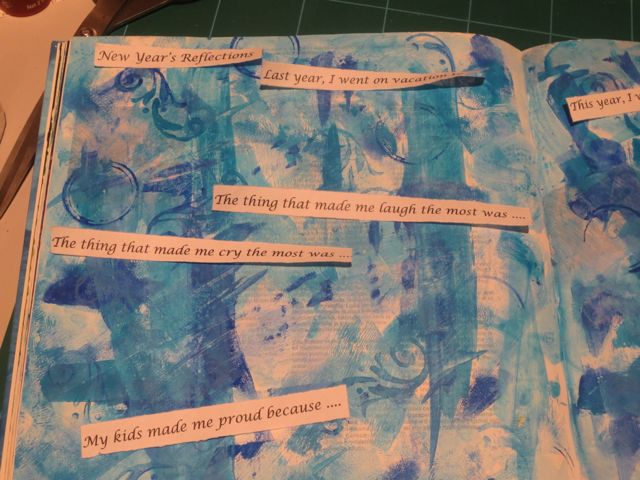
3. Sort through the prompts and decide which ones you want to use; for me it was a combination of which ones appealed to me and how many would fit in the layout space.
4. Edge the prompts with ink by running the ink pad along the edge of the paper. This helps to frame each statement.
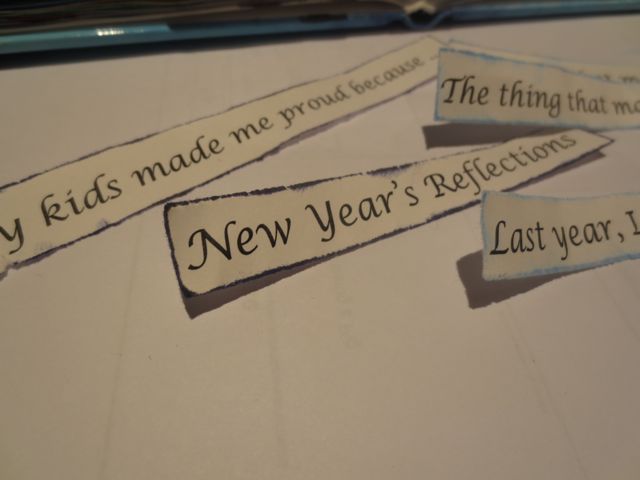
use direct to paper method

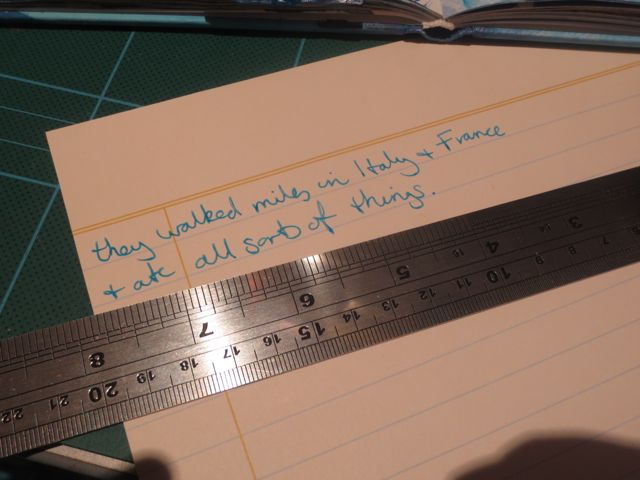
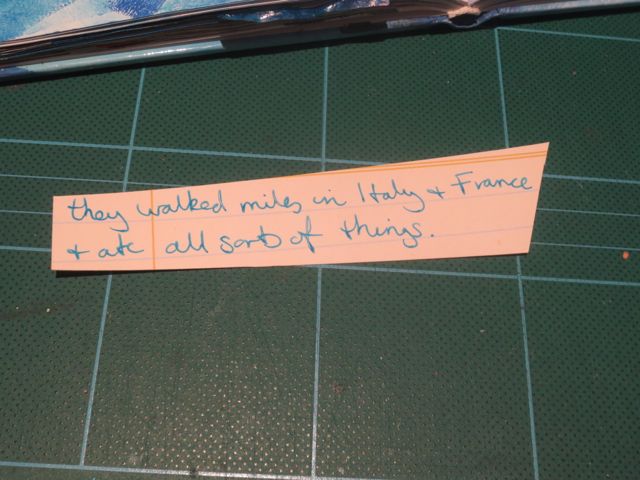
5. Using the lined paper, write out your reflections for each prompt and cut them out. I used angled lines for interest.
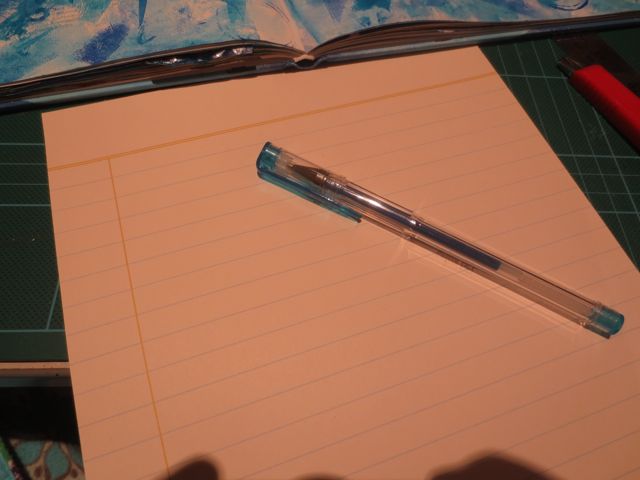
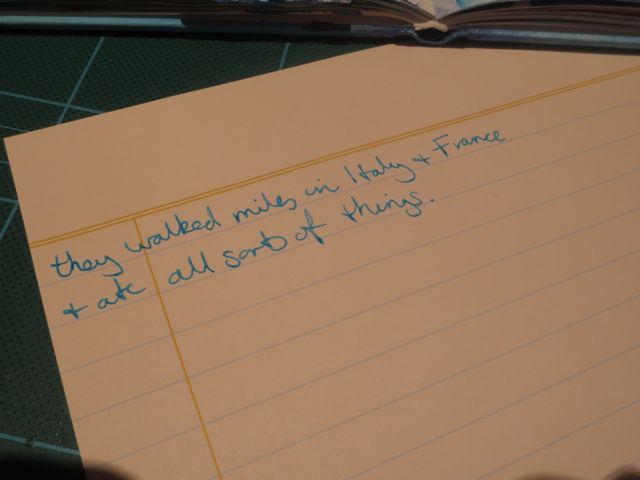
reflect on new year for your art journal

you can use any shapes for your art journal

6. When you have finished your writing, do a rough layout to check all of your pieces fits and you are happy with the arrangement. Here I wanted lots of space between the panels so the painted background would show through.
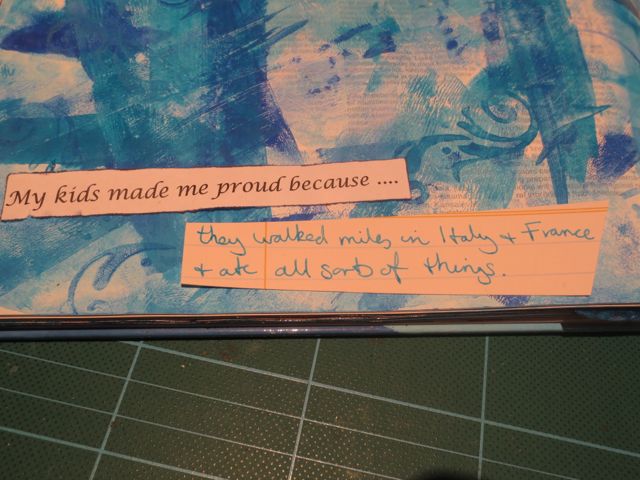
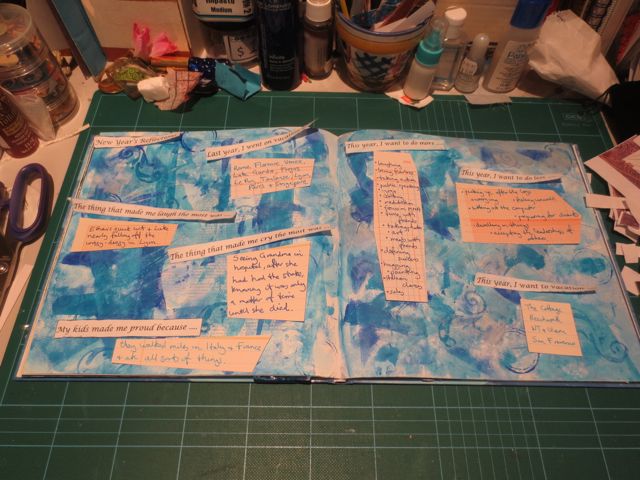
rough layout for your mixed media art journal

mixed media art journals

7. Using the glue stick, stick the pieces into your art journal. Add embellishments if you wish.

8. Don’t forget to sign and date your work.
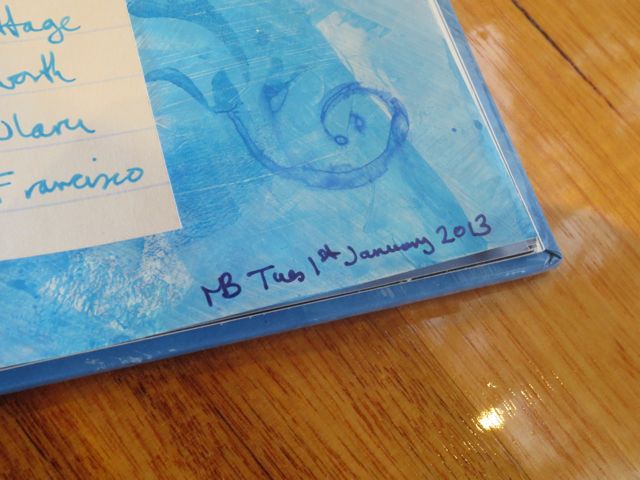
mixed media art journal signed and dated

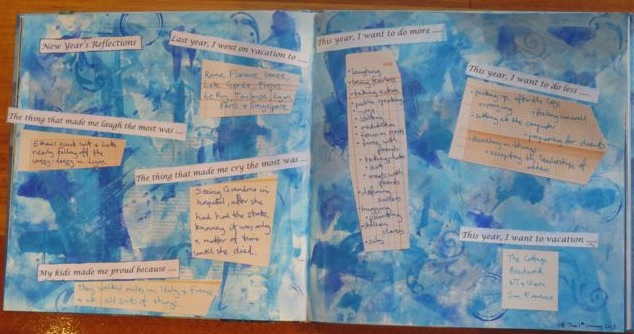
9. The finished layout

using prompts to reflect on your new years thoughts

We would LOVE you to share your New Years’ Reflections – just leave a comment below or even a link to your blog, showing off your artwork and reflections.

Happy creating!

~ * ~ *~ * ~ * ~ * ~ * ~ * ~ * ~ * ~ * ~ * ~ * ~

Have you got your copy of Cloth Paper Scissors yet?!?

Stop putting off your mixed-media wish list! Today is the day to check off essential to-do’s from your bucket list and Cloth Paper Scissors magazine is here to help!

Artella’s ARTbundance Certification Training

Marney and the Artella team are running the ARTbundance Certification training again in January 2013.

So what is ARTbundance?
The ARTbundance™ Philosophy offers an innovative pathway of self-discovery through creativity, using the nine ARTbundance Principles  as the foundation, and including ARTsignments™ – a unique set of exercises that combine art and creativity as a path for transformation.

ARTBundance certification training 2013 with Marney Makridakis

The nine ARTbundance Principles are:

  • Gratitude
  • Intuition
  • Balance
  • Choice
  • Vision
  • Action
  • Attraction
  • Connection
  • Service

You can learn how to create art while also creating a whole new profession for yourself through
the 2013 ARTbundance Certification Training program (ACT):

If you decide to join Marney and her team, let her know that MixedMediaArt.net sent you and we will send you a complimentary copy of our Mixed Media Art Technique Sheets bundle*.

The next class will be the 8th and starts in January 2013. It is a 14-week program that offers comprehensive training, as well as turn-key materials for building your own business with the ARTbundance™ Philosophy of self-discovery through creativity and applying these tools in many ways, including:

  • coaching
  • writing
  • leading workshops
  • teaching
  • creating online learning environments

So if you are looking for a new, creative way to begin 2013, go and see what Artella has to offer with their ARTbundance Certification Training program

 – – – – – – – – – – – – – – – – – – – – – – – – – – – – – – – – – – – – – – – –

* To claim your free Mixed Media Art Technique Sheets bundle, email a copy of your receipt to CreateMixedMediaArt @ gmail.com and we will send you instructions to download your gift.

Note: Mixed Media Art will make commissions from links on this page that will help to support the Mixed Media Art community.


Beeswax Collages for Christmas

This article is written by Debbie Davis from In Art Therapy

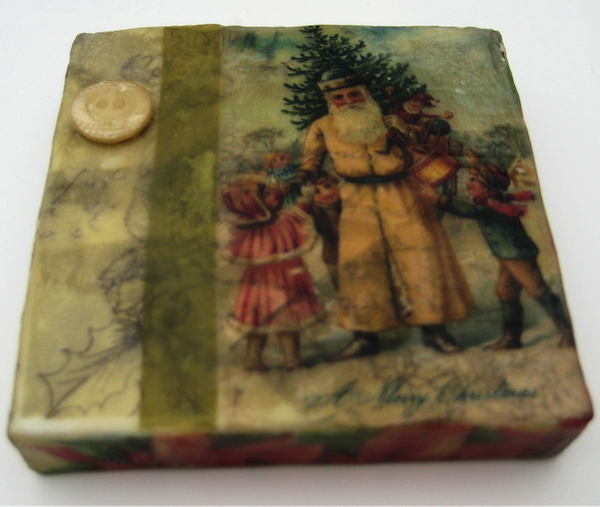
Debbie davis beeswax collage

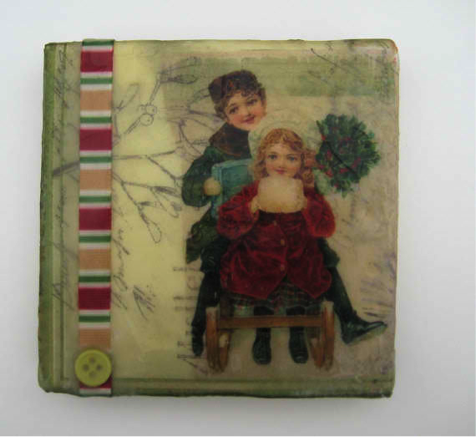
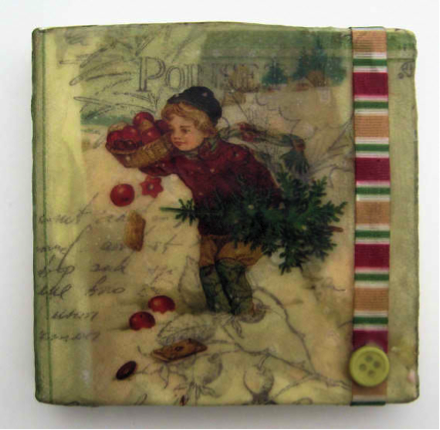
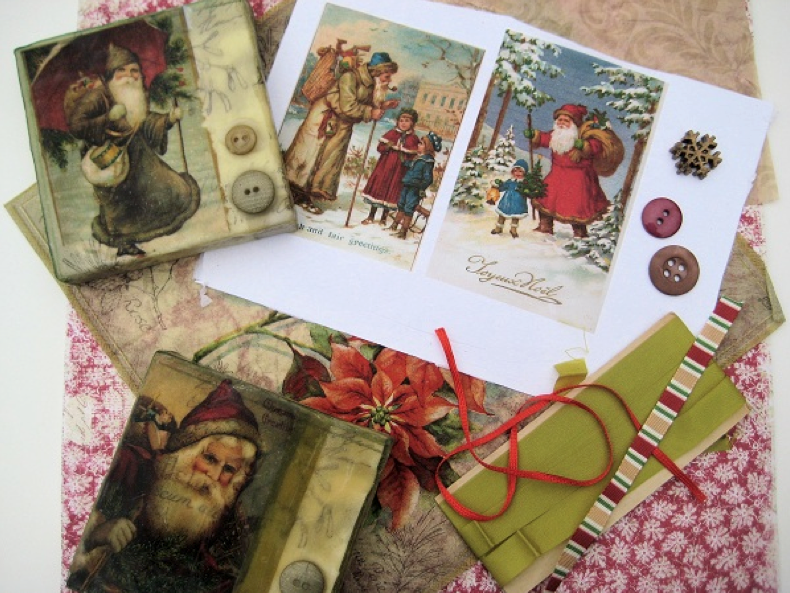
I love creating collages using beeswax as the decoupage medium.  For these collages I used 4 x 4 inch canvases, some paper napkins with Christmas designs, vintage images along with some buttons and ribbon for added texture.

Debbie davis ephemera beeswax collage

Here’s how to create a beeswax collage:

  1. Gather the items you would like to you use in your collage such as papers, napkins, buttons, ribbons, etc.  If using decorative napkins, remove any layers of white paper from the back of the napkins by lightly tearing a corner and rubbing until you are able to peel back and remove the layers.  I like to save the white layers to use for cleaning up in other projects.
  2. Melt beeswax in a small crockpot.  You will not be able to use the crock pot for anything else after you have melted the wax in it.
  3. Using a cheap, natural bristle brush, paint a layer of wax onto the canvas top and sides.
  4. Next add a napkin to the top of the canvas and paint over it with beeswax.  You can wrap the napkin around the sides of the canvas or use pieces of napkins or other papers torn or cut to fit the sides.  Once you have coated the napkins in wax, use a hot mini iron to smooth out the wax and remove any air bubbles.   This also fuses the wax layers together.
  5. I wanted the design/words from the napkins to show through my Christmas images so I printed the images onto tissue paper (see instructions below).  The thinner the paper, the better the images/papers underneath each layer will show through.  Place the printed image on the canvas and paint on more wax.
  6. You can now continue adding whatever embellishments you would like to add to the collage.  For the buttons, I added a puddle of wax and pressed them into it.  Be careful not to burn your fingers on the hot wax.

beeswax collage with images and mixed media ephemera

Printing on Tissue Paper using an Ink Jet Printer

Using a heavier printer paper, such as card stock, rub a glue stick around the edges.  Next lay a piece of tissue paper onto the cardstock and smooth down into the glued edges.  Trim off any excess tissue paper.   Once the glue has dried, place the paper in your printer and print your image onto the tissue paper.  This may take some practice.  I jammed a few papers when I first started printing on tissue!  Remove the image by cutting or tearing around the edges.

printing images on tissue papers

~*~*~*~*~*~*~*~*~*~*~*~*~*~*~*~*~*~*~*~*~*~*~

My name is Debbie and I live in Morton, Illinois, USA. I’m happily married and have a wonderful family that includes a daughter, son, son-in-law and 2 of the sweetest grandchildren ever!

What I love most about mixed media art is that you don’t have to be an expert at anything to create beautiful art. It is a great way to recycle found objects. Art is such a wonderful stress reliever. I just wish I had more time to play!

I have a shop on Etsy called Artful Explorations where I place some of the art I have created for sale. Having been inspired by others who are willing to share their techniques and ideas, I decided to start a blog called In Art Therapy and hope you will visit me there.


Happy 3rd Birthday to Us!!


Can you believe that we are celebrating our 3rd birthday?!? How exciting!

I love how our community has grown and our love for mixed media art has developed over the last 3 years. We started with one little article [What is Mixed Media Art?] and have now features dozens of artists and tutorials and projects, all aimed at fulfilling your inner need to create, while NOT spending a fortune on the latest colours or products. We can be creative with a few simple supplies, a little know-how and giving ourselves permission to play and create art! It’s as easy as that!!

And for those of you who still don’t believe me (or in yourself) check back to our article on Dispelling the “I can’t do it” Myths of Creativity!

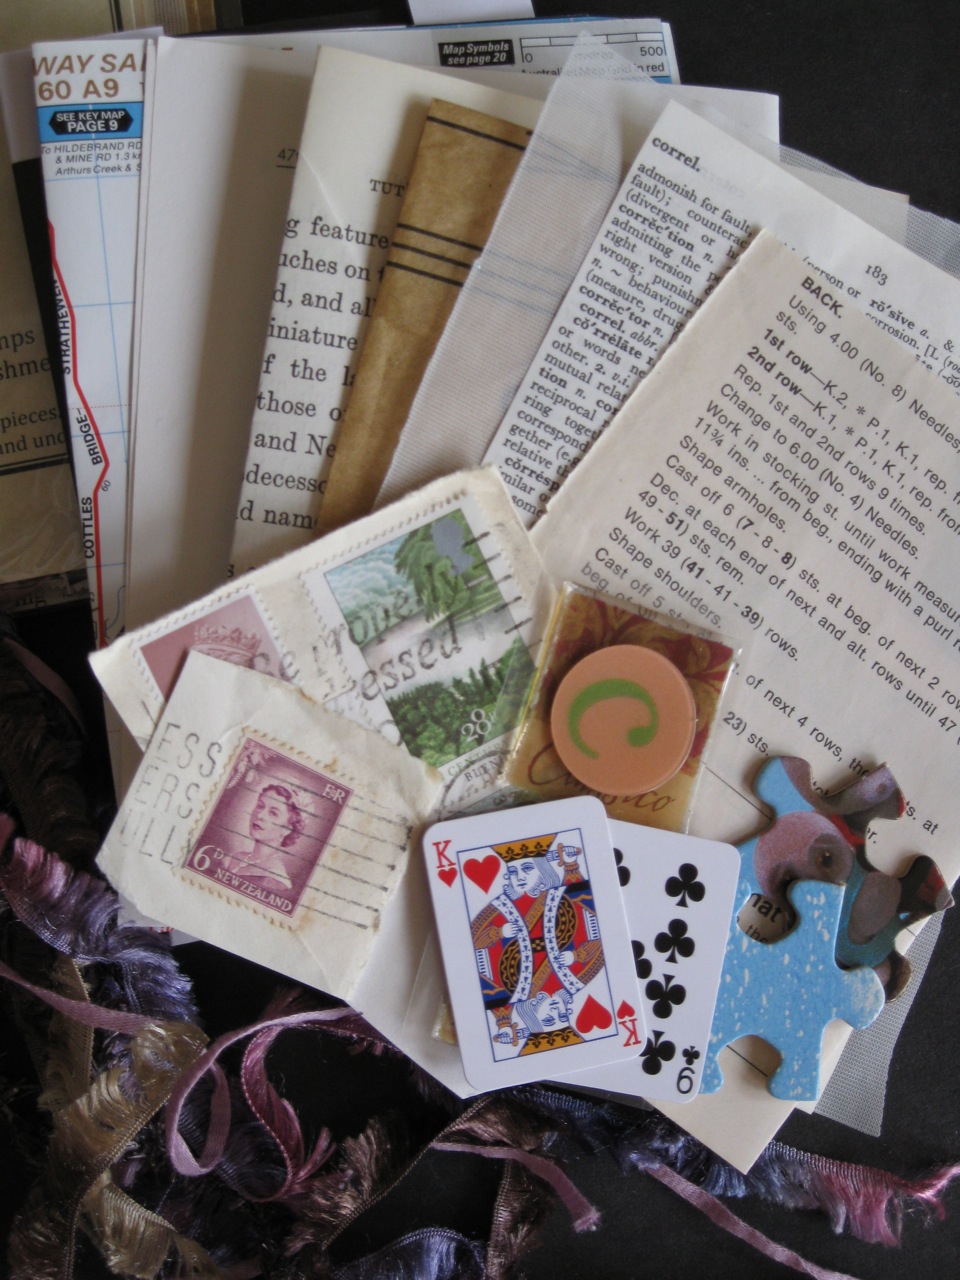
To celebrate our birthday, I have 3 ephemera kits to give away. To be in the running, leave a comment, telling us how your mixed media art has changed over the last 3 years. My favourite 3 will receive an ephemera kit in the mail.

Mixed Media art ephemera

Comments will close Fri 30 November 2012! Please make sure I can contact you.