Michelle G Brown | Mixed Media Art

Creating an Altered Book Layout

 ~ * ~

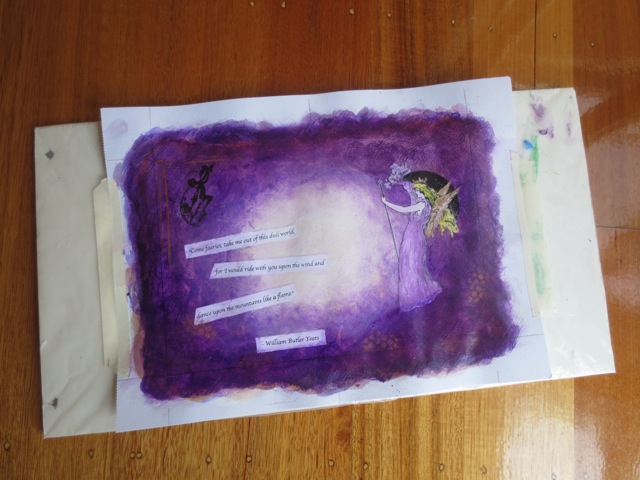
Laura Thykeson shares her process for creating a layout in an altered book in this 25 minute video – sorry! Having a few issues with the video!

Laura brings us her techniques for adding borders, highlighting words and adding colour into a layout of an altered book. It’s part of her “Alter me Silly” class starting on March 1, 2013 which will have video, pdf’s and more class material. (You will need to join up with Ning to view the workshop.) There is something about watching the process of a mixed media artist creating her pages that just clicks with us!
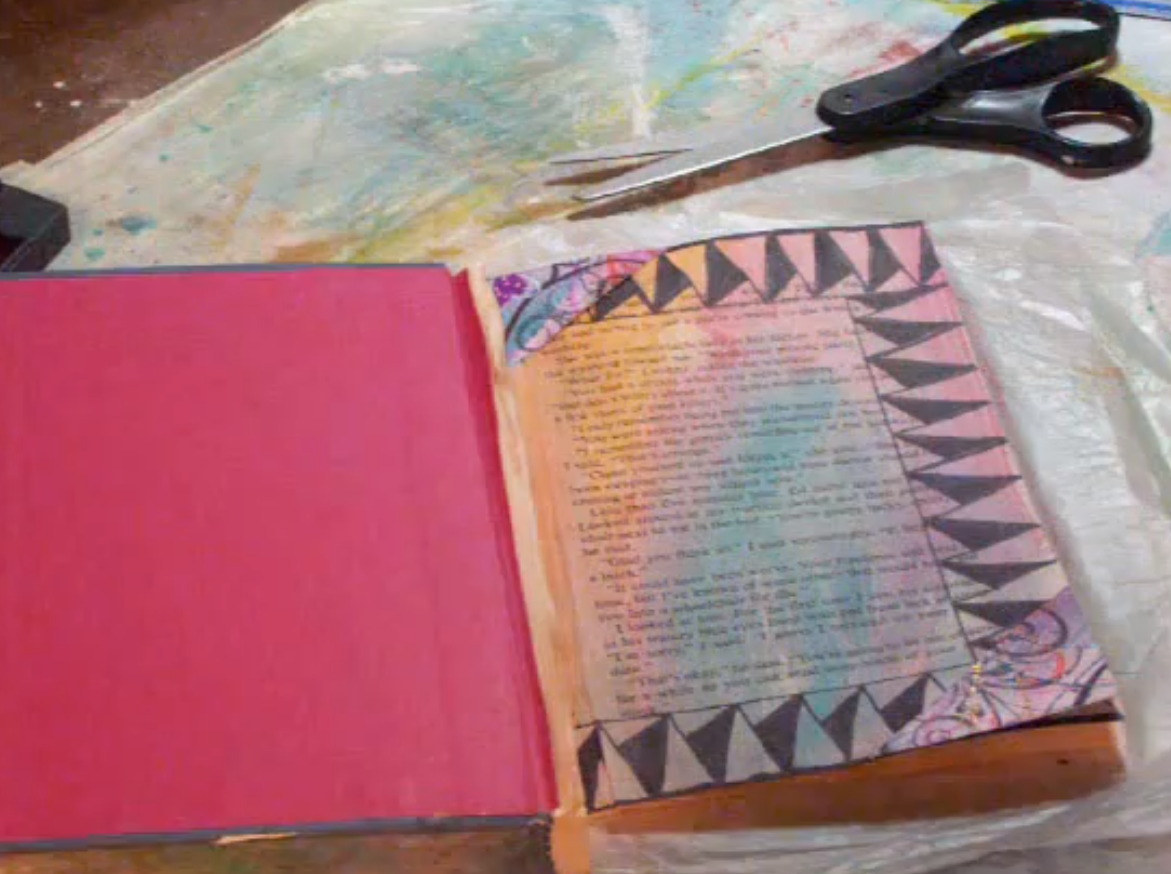
mixed media altered book

To create a similar altered book, you need a sturdy book or old diary or calendar. For the best results, make sure you begin with a stitched book. For more details on choosing a book, and how you can check for stitched sections, you can read more on Altered Books for Mixed Media Art.
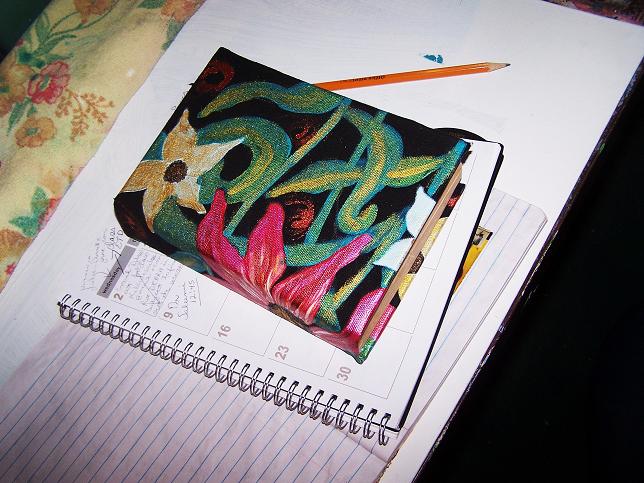
mixed media altered book

The other materials and tools you will need to create an altered book layout include permanent markers, Sharpie pens and Gouache Paint. Once you have these as a starting off point, the wide world of altered books and art journals will open up to you. You can then combine a range of techniques and mediums to personalise your pages and let your creativity flow!

~*~*~*~*~*~*~*~*~*~*~*~*~*~*~*~*~*~*~*~*~*~*~*~*~

Laura Thykeson has been totally immersed in mixed media art for many years. If it will “take paint”, she has probably painted on it!
Laura discovered altered books and art journals about a year ago and have been hooked ever since! She has always loved mixed media art because of the variety and the “no rules” aspect! Starting out a fine art oil artist, she soon transitioned into her own line of wearable art, purses and jewelry, along with decorative items for the home.
Laura lives in Granbury, Texas USA.

You can see more of Laura’s work at Mixed Media Uniques

~*~*~*~*~*~*~*~*~*~*~*~*~*~*~*~*~*~*~*~*~*~*~*~*~
.

.
Gloves Off for Mixed Media Painting

~*~

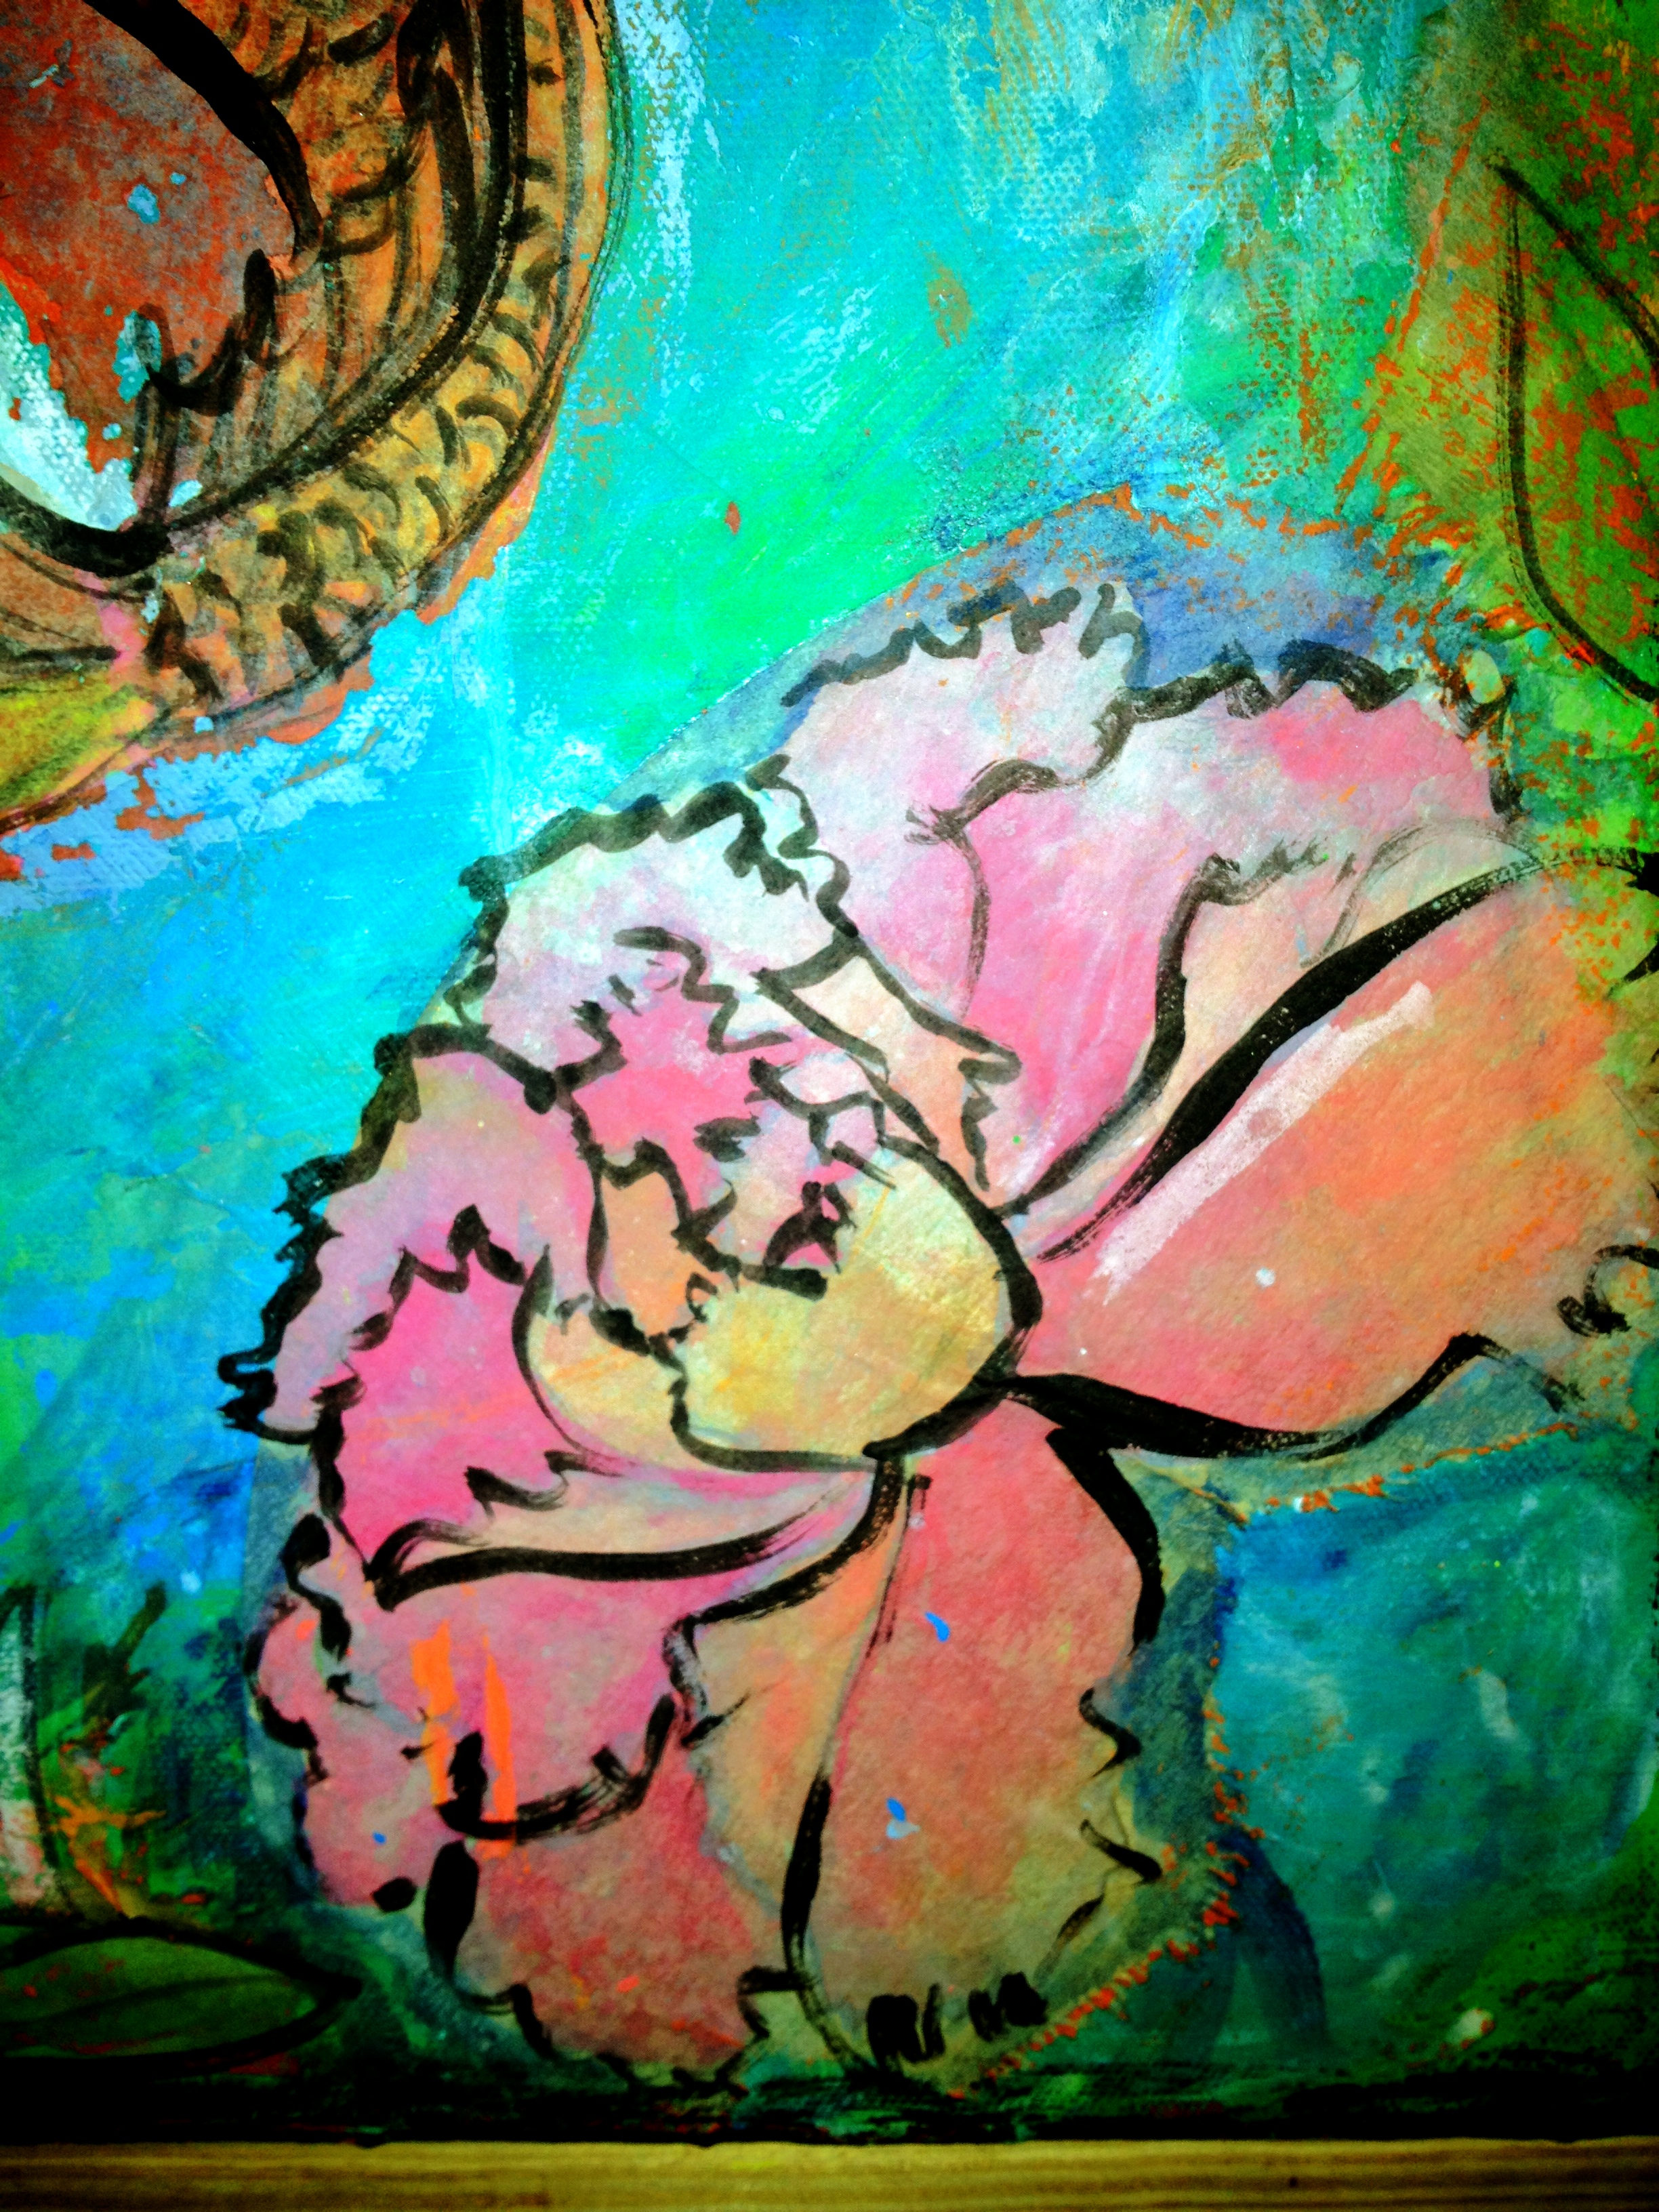
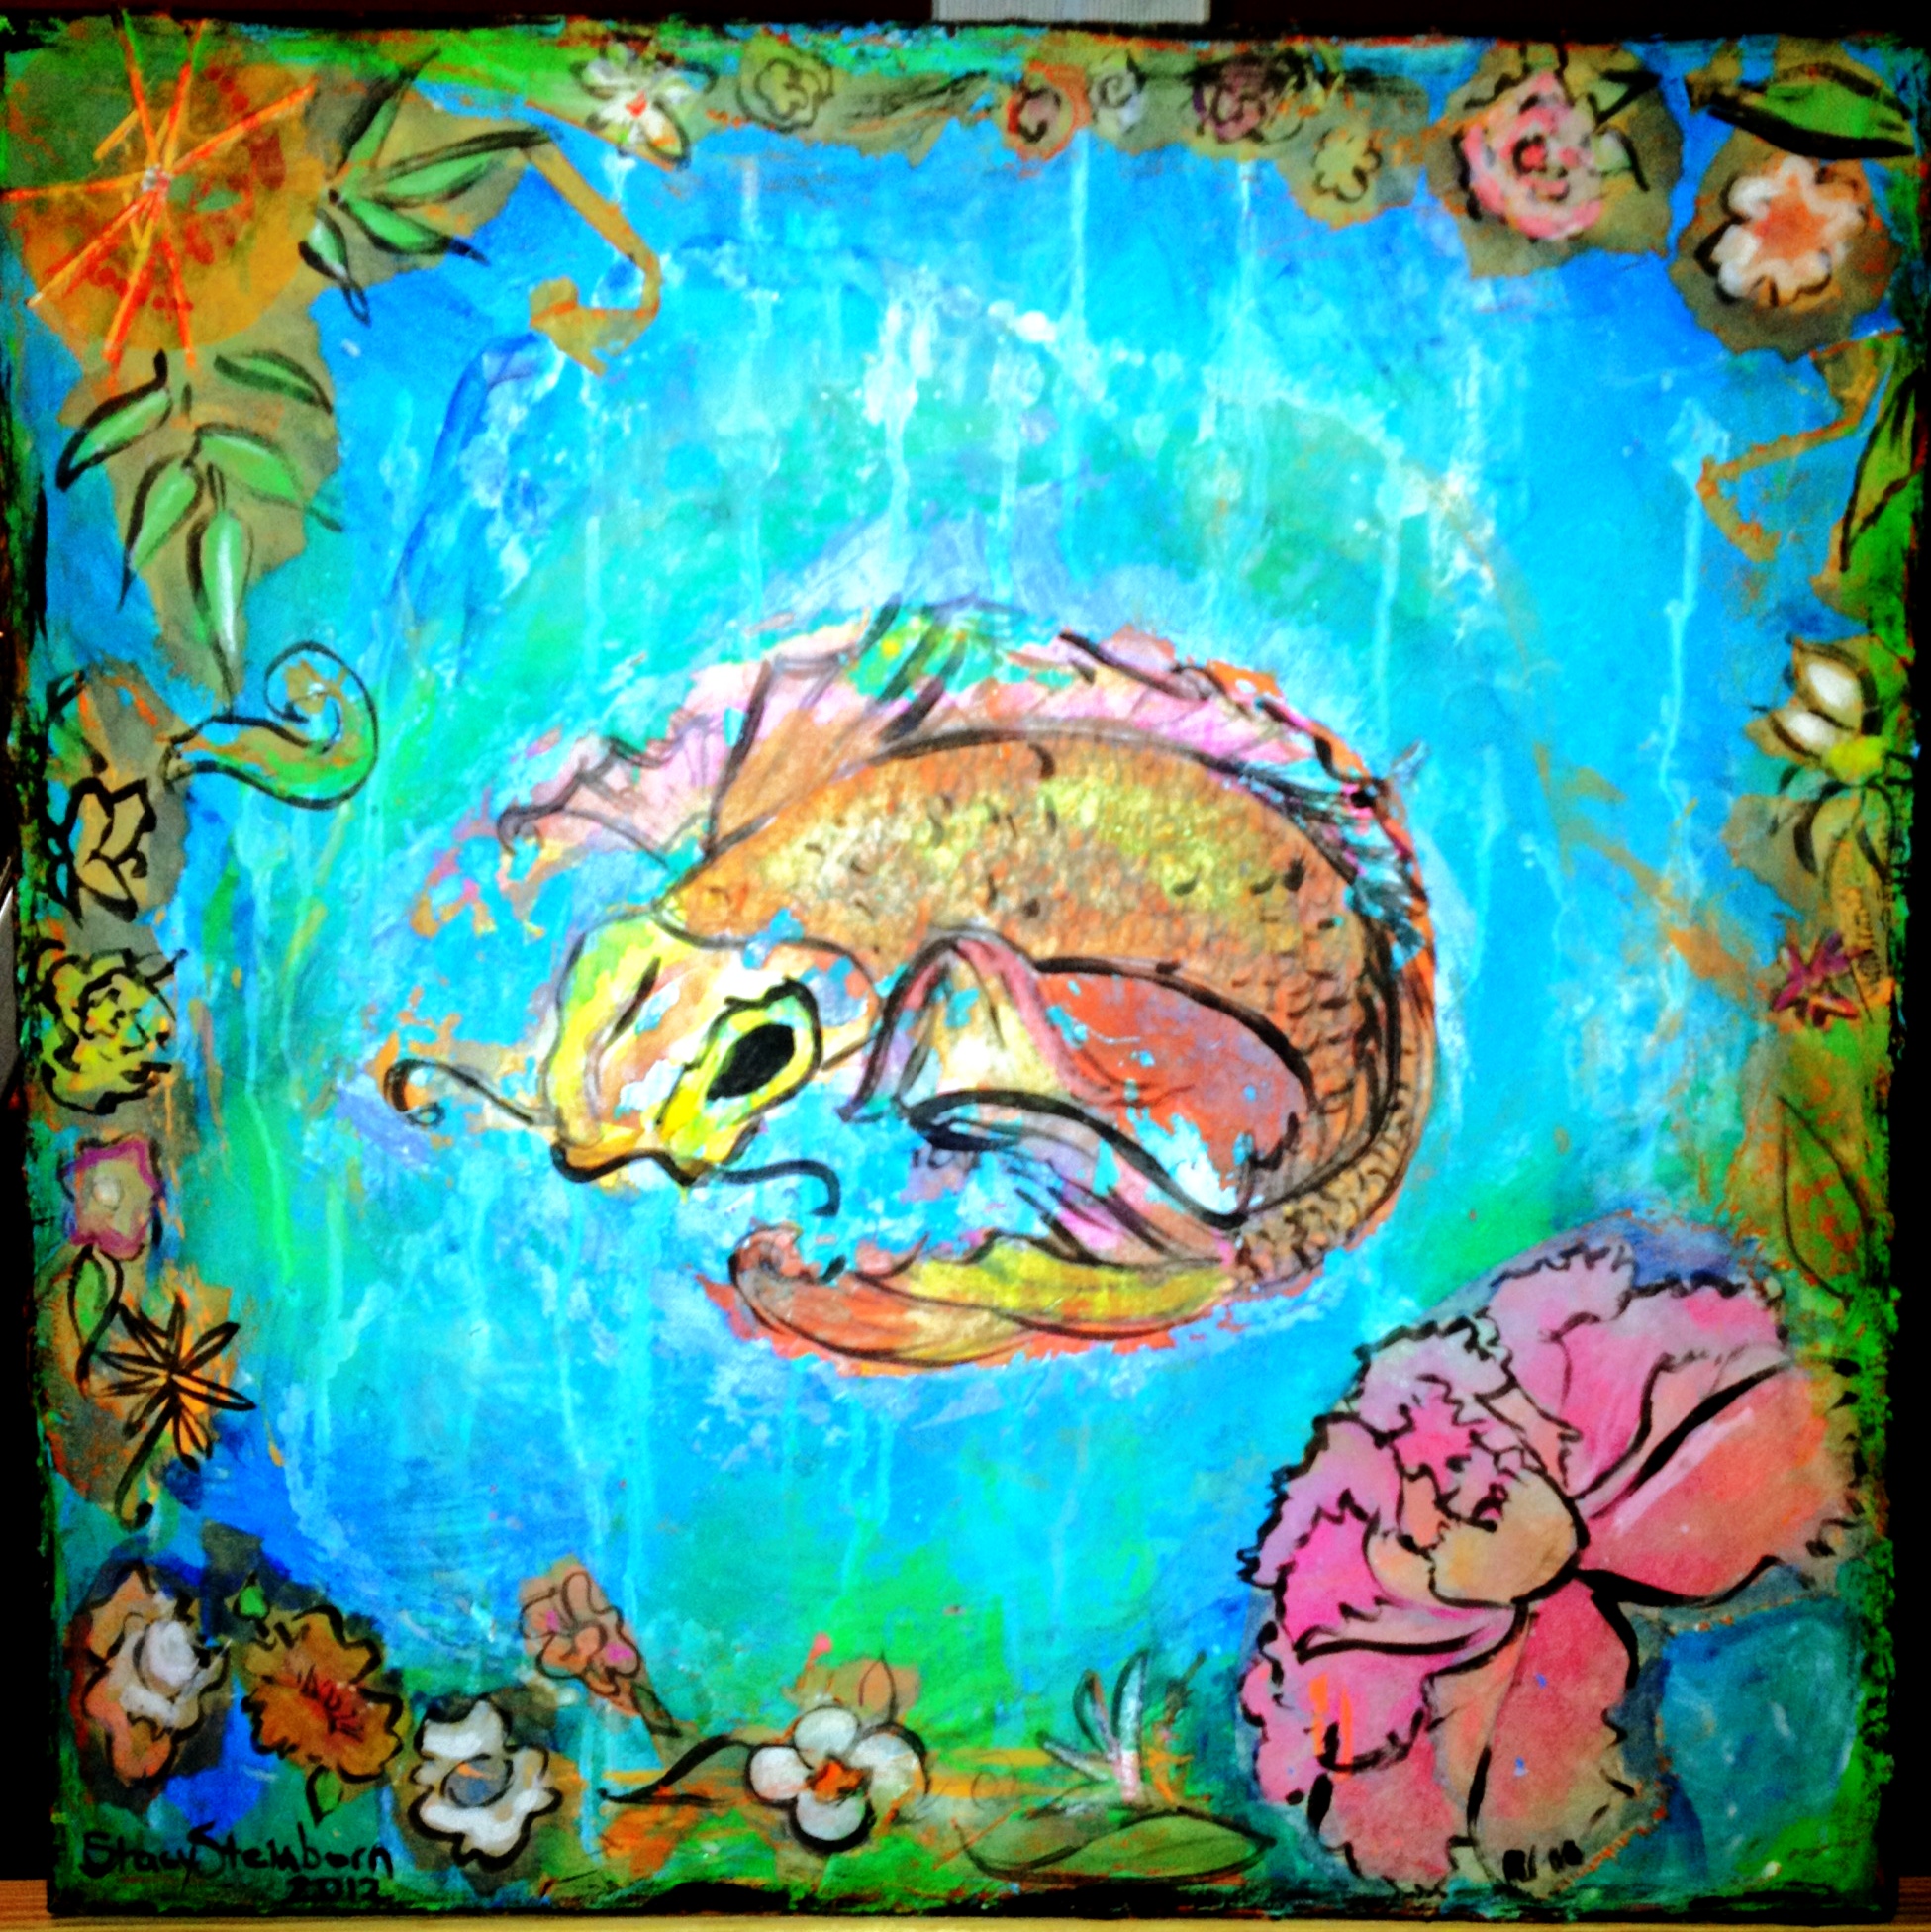
Stacy Steinborn has taken her gloves off to create this vibrant mixed media painting with coffee filter flowers and water colour paints.

This article is written by Stacy Steinborn from Flooded in Light

As a mixed media artist it is to your benefit to release old habits and experiment with getting your hands dirty.  I remember as a child I loved squishing mud between my finger, the wet almost slimy feel of finger paint, putting glue all over my hands and letting the gooey white substance dry just so I could peel the flaky stuff off, and sculpting with gritty wet sand at the beach.

I attended an art class recently and the instructor put gloves on because she didn’t want to get her hands dirty.  My inner child wanted to scream “that is part of the fun!!” By no means do I want to insult anyone who prefers to wear gloves or who hates to get “dirty”.  That is not my intentions.  However we are taught as children to not get dirty and to color inside the lines.  I hope to challenge you to take the gloves off, and connect with your art with the sense of touch.  Feel free when you create.  If you have been at an artistic lull, maybe you need to break down some barriers.  Do what you were taught not to do…get your hands dirty and color outside the lines.  Experiment with not being perfect.  You can create harmony with imperfection.

mixed media painting

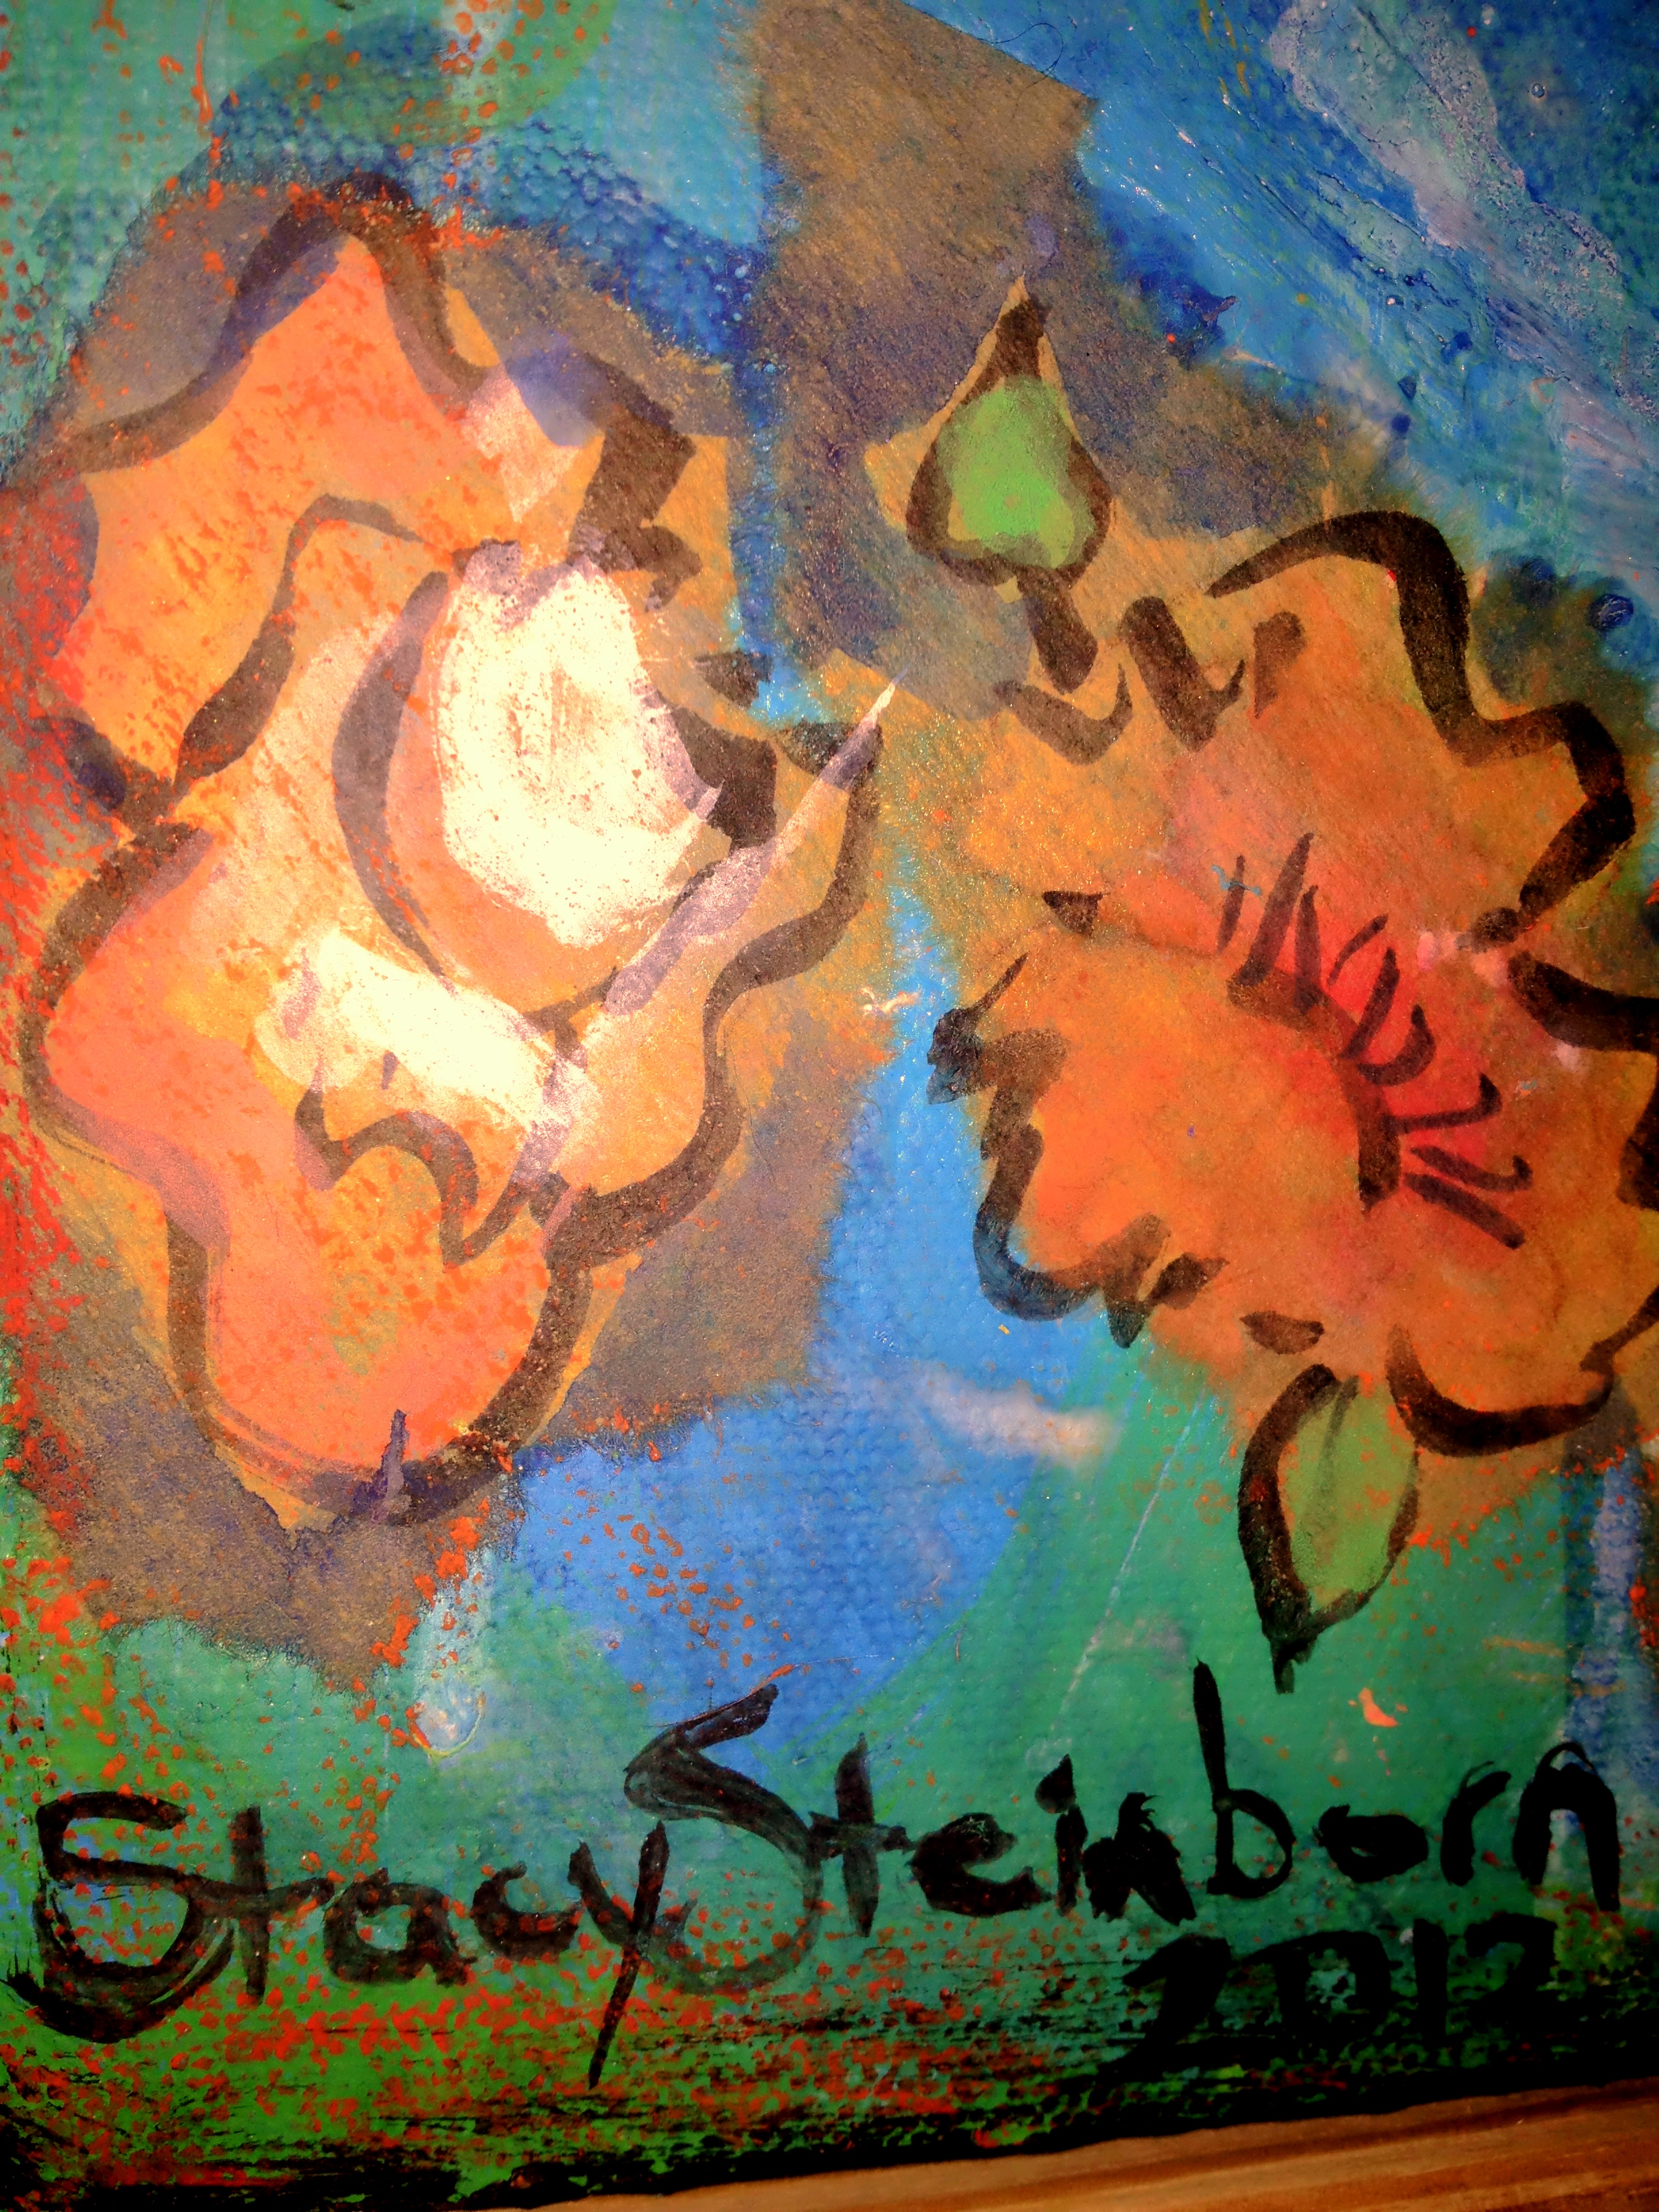
Before I started this piece I had no idea what to do.  I had old coffee filters I started painting dots on with water color…they started looking like flowers, flowers of the Orient…thus inspiration.  With the back ground of the canvas I wanted to create water but with movement.  Layers of greens and blues were not enough.  I sprayed rubbing alcohol and baby oil to add to the affect of ripples and movement.  And for the center I pulled out my old sketch pad. Thumbing through old sketches.  I had old sketches of a few koi fish.  I took tissue paper and traced one image with a sharpie(be careful not to bare down to hard, it will bleed through to your sketch).  After the back ground of water had dried I applied a clear gesso and flattened the tissue image to the painting allowing it to dry over night.  I then took warm water and lightly scrubbed the tissue away from the painting leaving bits of the tissue on the painting for texture.  The ink image had transferred onto the painting.  Then the perimeter of the painting was like decorating a cake.  I added all the coffee filter flowers with a powder based glue mixed with warm water.  After completely drying I added contrast with black paint and random oil pastel for details.

mixed media water colour paints

This painting is a series of old sketches, dabbles of water color on up-cycled coffee filters and the need to get my hands dirty so I could feel the piece coming to life.  Most importantly the release of not being perfect by smearing glue, oil pastel, rubbing alcohol, paint and ripped paper “outside of the lines”.

I hope you are inspired by creating harmony and approaching your next work like a fighter, gloves off and no fear.

Flood your art with your inner light…

Stacy Steinborn

coffee filter water colour paintings

~*~*~*~*~*~*~*~*~*~*~*~*~*~*~*~*~*~*~*~*~*~*~*~*~

More of Stacy’s work can be found on her Flooded in Light blog.

~*~*~*~*~*~*~*~*~*~*~*~*~*~*~*~*~*~*~*~*~*~*~*~*~
.

Tips for Painting on Watercolor Paper

Welcome to our first Mixed Media Art Tips Video

We would love to hear what you think! Do YOU have any thoughts on what you would like us to show you?

Leave a comment below!

Happy creating.

youtube video tip

Using your tidbits for a wall-hanging

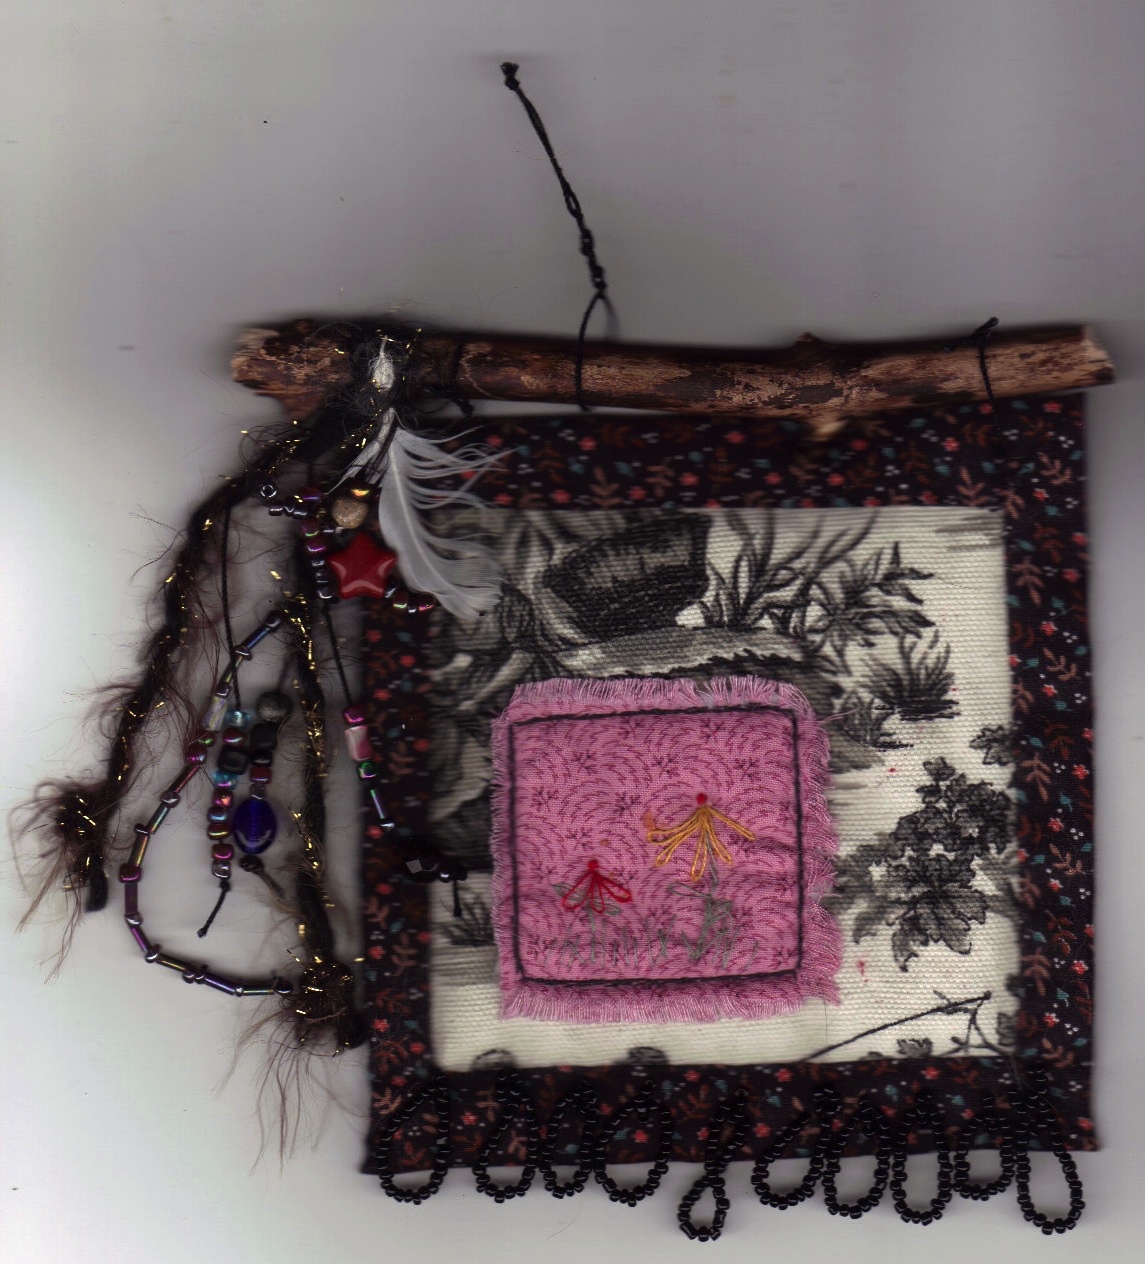
Trudy Thayer has found a way to use up those “tidbits” that you have lying around, along with a few found objects to make this little wall hanging.

“It’s a 4 1/2″ wall hanging,” Trudy tells us.  “I use found objects, here the twig and feather,  left over yarns, and beads or beading.  Plus some quilting.”

Mixed Media wall hanging

Trudy sells some of her craftwork at local markets and she saves these tidbit wall hangings for kids to purchase for their friends and family when there is  an upcoming birthday, other event and the holidays.

“I only sell these to kids; I feel strongly it’s important for them to have the opportunity to buy special things on their own,” says Trudy.

To make your own Tidbits wall hanging, gather up scraps of material and arrange them into a mini quilt, about 4″ square. You can add batting into the inner layers, if you have it on hand. Sew these layers together using a sewing machine. Here you can also sew on features and trimmings.

Attach the stick to the hanging at the outer edges, using a needle and thread. Add a thread hanger in the middle of the twig, so your wall hanging can be hung. Add beads and other threads to complete the design, tucking in the feather as you go.

~ * ~ * ~ * ~ * ~ * ~ * ~ * ~ * ~ * ~ * ~ * ~ * ~

Trudy Thayer is a 65 year old mom, gramma, veteran, and late-in-life college with a BFA  specialty in graphic design. She lives in Vancouver, Washington and loves the area and the artistic stimulus that abounds there.