Michelle G Brown | Mixed Media Art

Tracy Greer and her Button Art

Tracy Greer first shared her colourful artwork on our Creating Mixed Media Facebook page and we wanted to hear more about the story behind the colourful button collection.
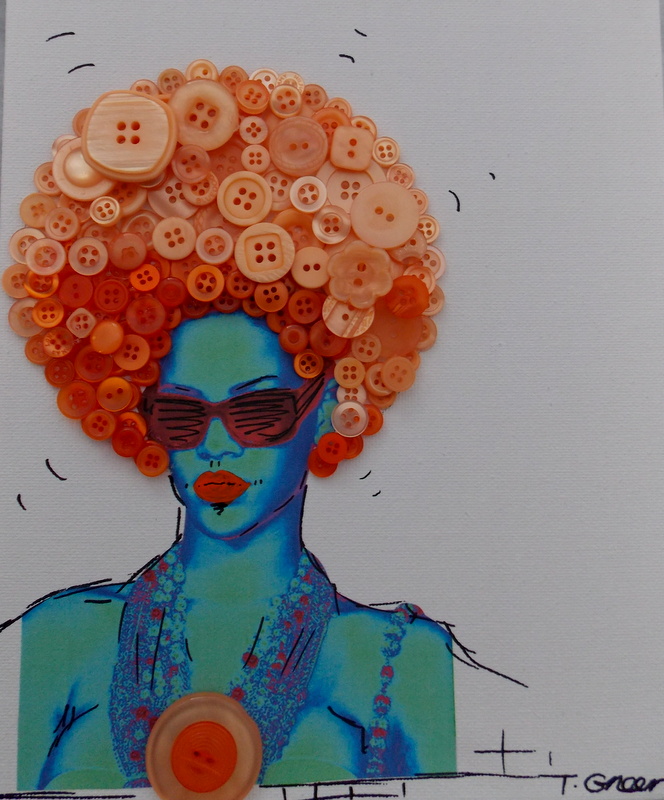
Tracy Greer's Button Art

Tracy is originally from London, England and now lives in sunny Brisbane Australia. She has been interested in art since she was a child and tried her hand at all kinds of art through the years.
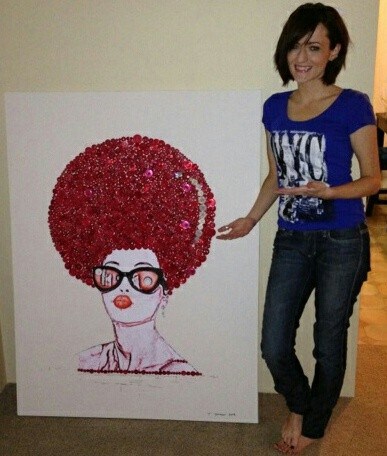
Tracy Greer's Button Art

The button art idea came about because Tracy wanted the hair to stand out in her art. She wanted the hair to be the stand out feature. So Tracy decided to give buttons a try.
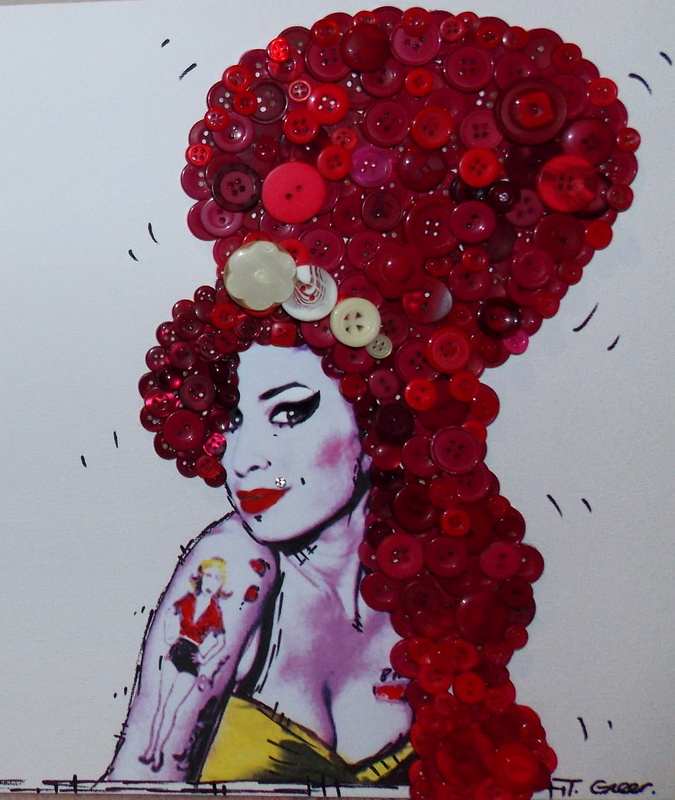
Tracy Greer's Button Art

Tracy prints the faces and edits them to add her own personal touch. She then uses acrylic paint and pen to highlight features such as the eyes and lips. Real jewelry pieces are used for the earrings and piercings. It worked beautifully and Tracy enjoys making her button art so much. It’s a joy 🙂
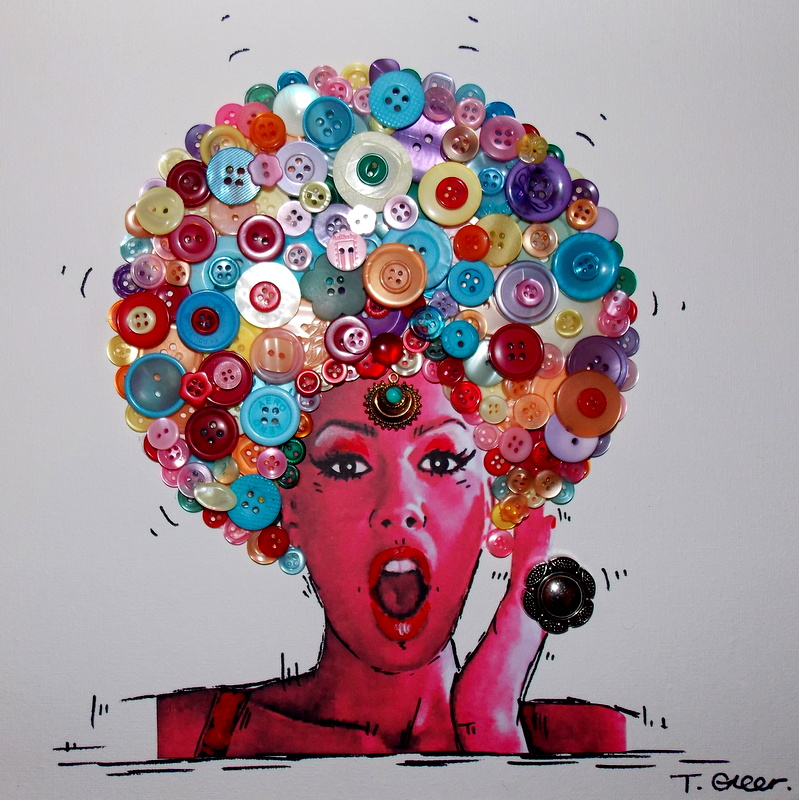
Tracy Greer's Button Art

And it is certainly a joy to look at! You can find out what Tracy is currently up to over at her Facebook page – Tracy Greer Artist
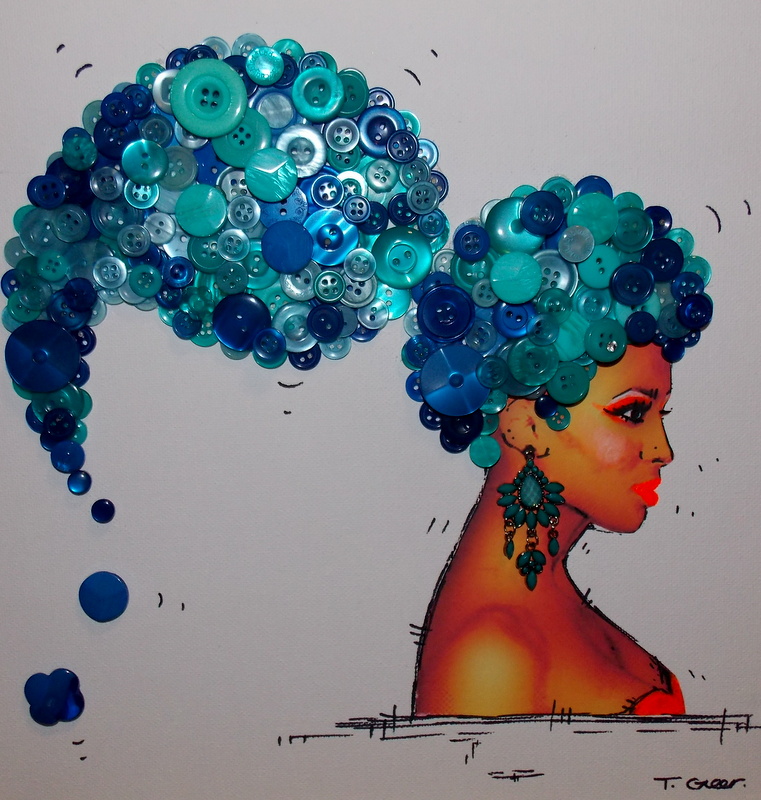
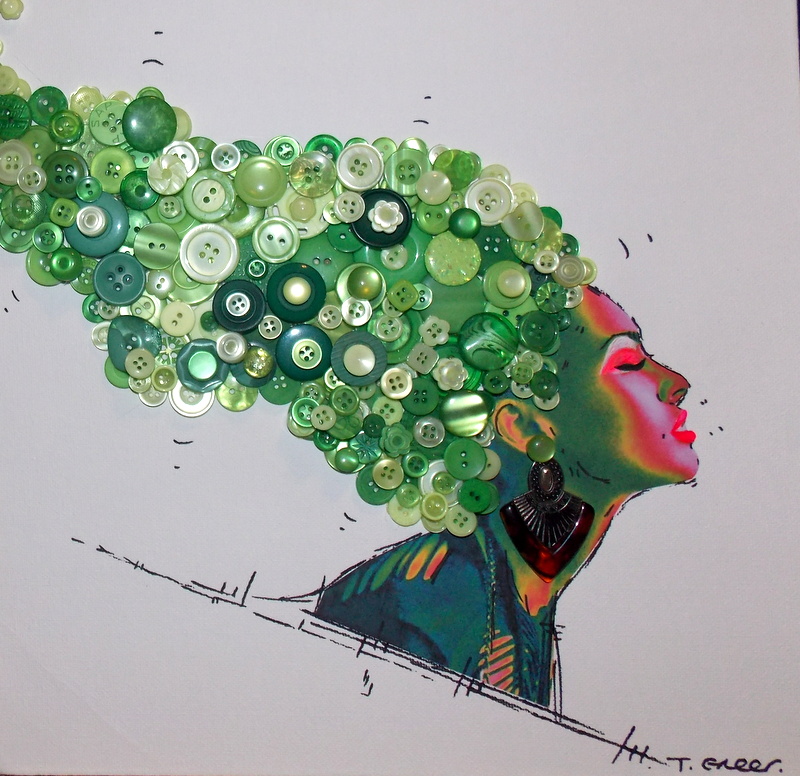
Tracy Greer's Button Art


Tracy Greer's Button Art

.

.

Tools needed to get started in Mixed Media Art

Here in the Mixed Media Art community, we like to encourage people who are just starting out in mixed media to get their hands dirty as quickly as possible; to do this we don’t suggest long lists of tools, materials and supplies. We prefer to start with the least amount of stuff and only buy what we really need. We also don’t need expensive tools to get us going – there is NOTHING worse than spending lots of money on supplies and then not wanting to use them in case we “ruin” or “waste” them. We know – we have all been there! And worse than worse (is that the correct expression?) is not using supplies due to not wanting to waste them, only to find out (months later) that our supplies have dried up or been stored incorrectly and they are useless anyway! On the agony!

So enough of the delay and hesitation – the best way to learn and improve our mixed media art skills is by playing and practising and actually MAKING ART! Who would have thought? 😉

Here are the basic tools you need to get started with mixed media painting

Here Michelle runs through a basic list of tools needed to get you started in many types of mixed media projects.

References:

Creating Layers Online Tutorial

Making Memories foam stamps (Apparently this stamp set is now discontinued – sorry!)

Impasto Medium

We would love to hear what you think! Do YOU have any thoughts on what you would like us to show you?

Leave a comment below!

Happy creating.

.

.

My Top 3 Art Journaling Videos

Whenever I need some inspiration or just general arty cheering up – I head over to my reliable favorite videos. It’s not just the art journaling of these three mixed media artists that cheers me up; I love their openness and honesty of their creative process.

Pam Carriker in art journalling mode

There is also something about actually watching the process of the art journalling unfold! Seeing how the paint moves around the page – watching as the layers are built up. It really does bring art journalling to life and makes my fingers itch to get messy and get creating!

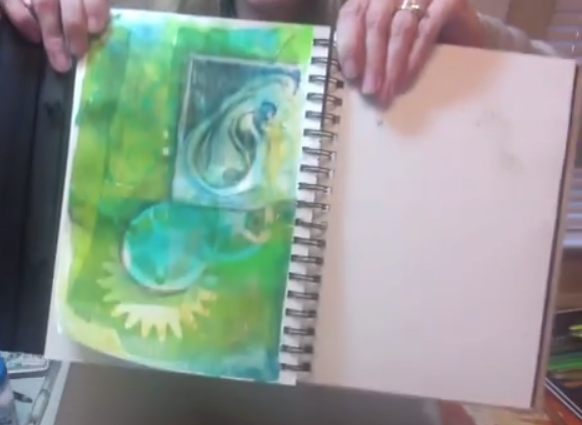
Pam Carriker and her “Hear” page

*


In the bluey-green art journal layout, Pam uses Gelli plate printed deli paper to build up the collage layers and her hand carved prints. Pam then adds detail  with water resistance Faber-Castell artist crayons. The colours are then added with the Derwent Inktense blocks – this video was the inspiration for me buying my own set of Intense blocks!

You can see more of Pam’s work per at her blog – Living Art at the Speed of Life

~ * ~ * ~ * ~ * ~ * ~ * ~ * ~ * ~ * ~ * ~ * ~ * ~ * ~ * ~

Traci Bautista

*


I love Traci’s use of bright colors and stencils to create the base of this vibrant art journal page. This background is then collaged over to create the foundation for quick sketching with a charcoal pencil and then highlighted with acrylic paints and various markers – all of the ingredient for a fabulous mixed media art journal page!

You can see more of Traci’s work per at her blog – Kollaj

~ * ~ * ~ * ~ * ~ * ~ * ~ * ~ * ~ * ~ * ~ * ~ * ~ * ~ * ~

Donna Downey with “Imperfection is a Form of Freedom”

*


Donna never shows fear in the face of colour – here she uses orange and turquoise to create this fun art journal layout. Again, it’s great to see the layers being built up with all of the different coloured paints, as there are spots of colors that aren’t as noticeable when looking at the finished picture, but once I’ve seen them added during the process, I notice them. donna finished this layout off with charcoal pencil lines and some stencilling.

You can see Donna’s weekly videos over here at Inspirational Wednesday

.

.

Handmade Vintage Christmas Greeting Cards

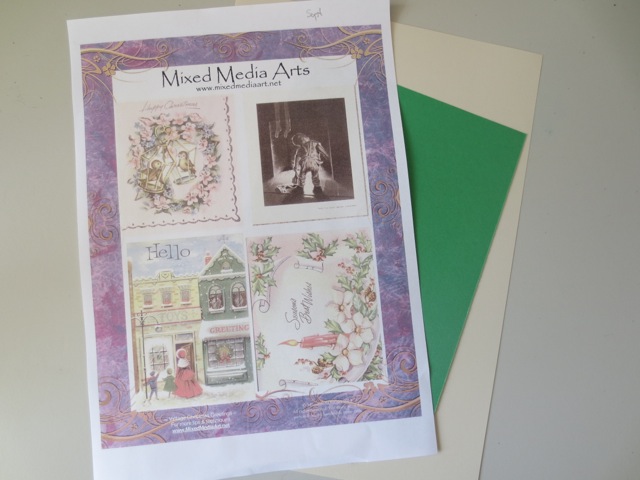
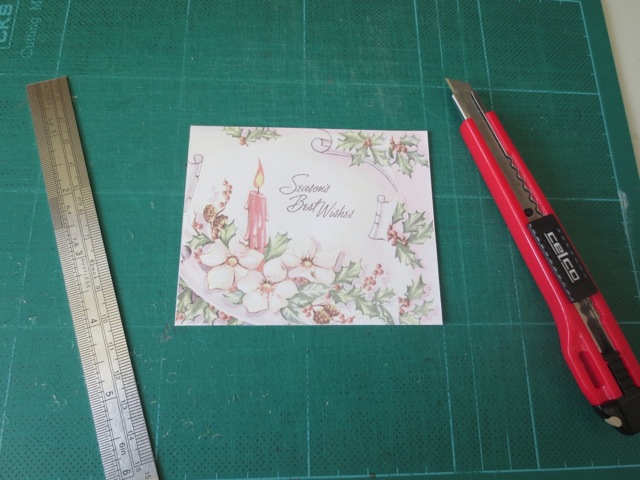
With the Holiday season approaching, it’s time to get started on our handmade greeting cards. Here we have used our Mixed Media Art Ephemera Sheet 17 ~ Vintage Christmas Greetings to get us started. Once you have downloaded the ephemera sheet and get it printed, it makes it easy to create individual handmade greeting cards.

These Vintage Christmas Greetings have also come from my Aunt’s vintage greeting cards collection. The box is still FULL of cards and interesting ephemera that you haven’t seen yet and I just LOVE going through the musty smelling papers to bring the interesting and the strange vintage images to you.

using vintage images to create your own handmade greeting card

Tools and Materials

Process

1. Download and print off your Vintage Christmas greeting ephemera sheet. Gather supplies together. You can choose the colored card that suits the image that you have chosen.

2. Cut out the image you will be using. I prefer to use a craft knife, steel rule and cutting mat.

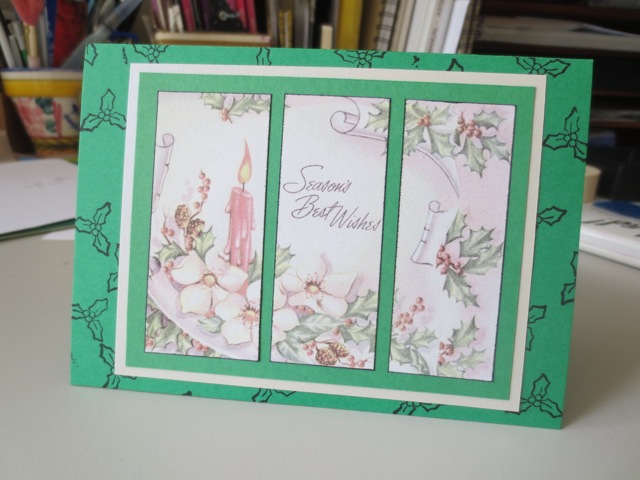
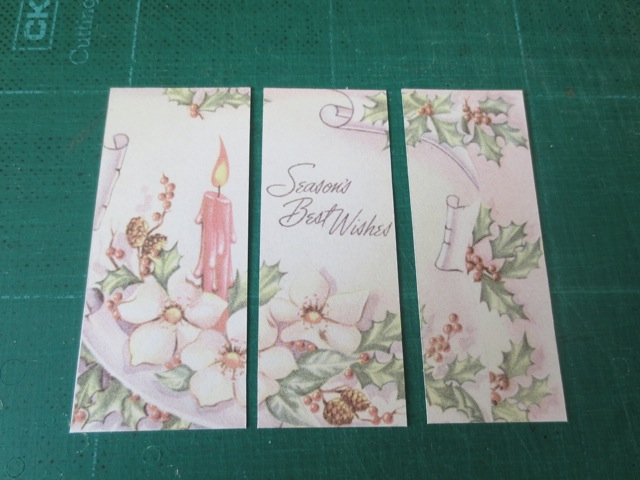
3. Cut imaging into roughly thirds, taking the image as a guide to get the best fit. Don’t worry if you make a mistake – just print the ephemera sheet out and start again!

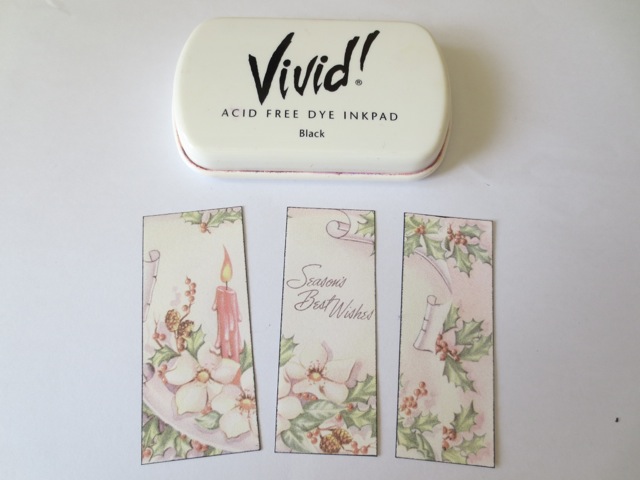
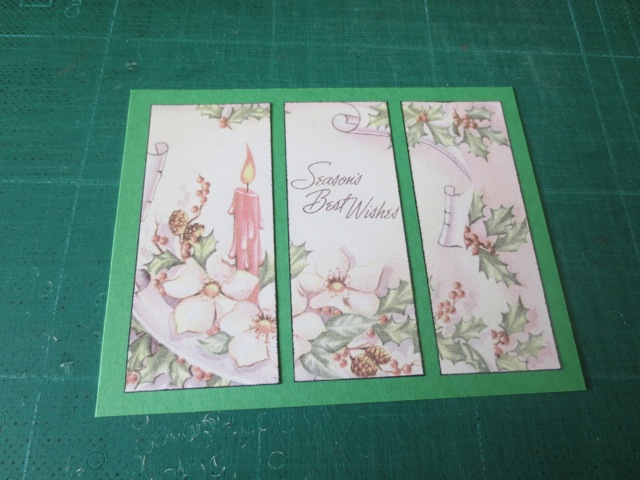
4. Edge three panels with black ink. Let them sit for a minute or so to dry.

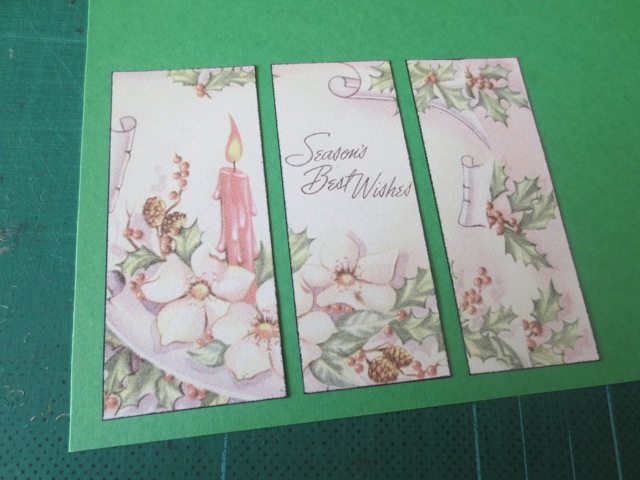
5. Use double sided tape to stick three panels onto green card, leaving a gap of about 5mm [3/18″] between panels and around edges. I did this by eye, but you can measure the distances if you would prefer.

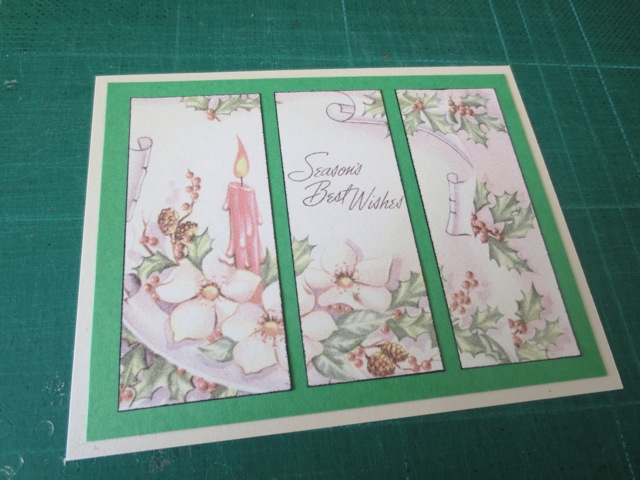
6. Cut out the green card, using the craft knife.

7. Layer the green card with three image panels onto the cream metallic paint. Cut it out. I used a slightly smaller border, just to allow the image to sit up off the backing card.

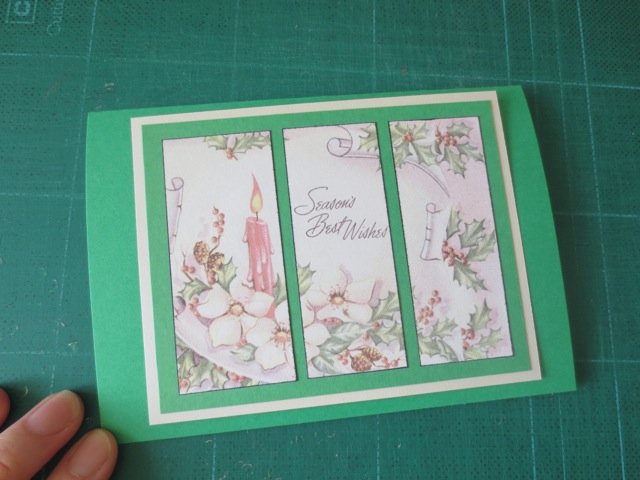
8. My original plan was to put this straight onto the green card, folded in half, but something was missing.

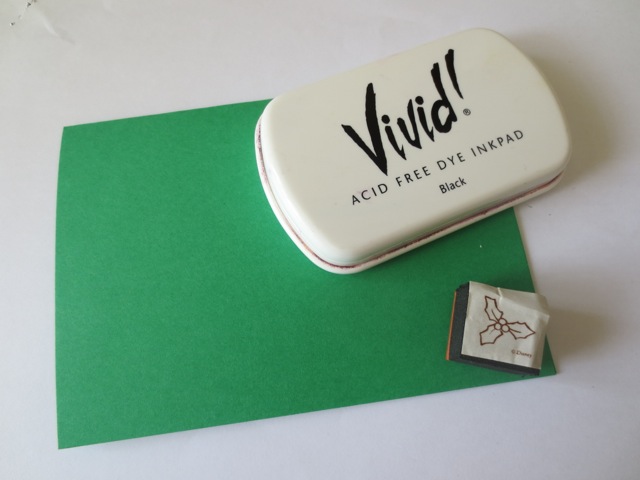
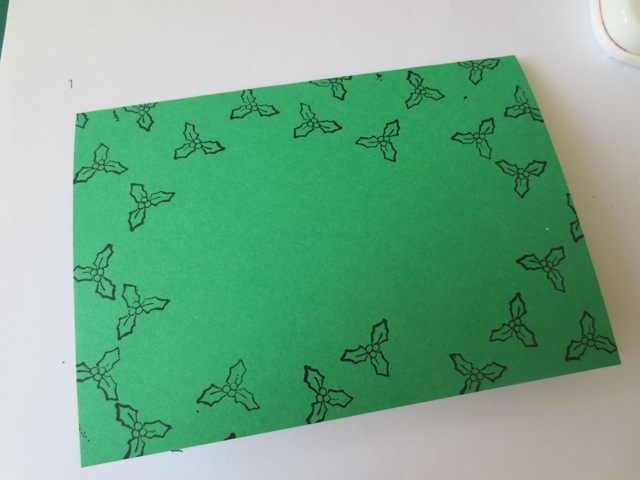
9. I pulled out a holly stamp to tie in with the image theme.

10. Stamp holly around the edge of the green card. Use part images and turn the stamp to add interest and variety from one stamp.

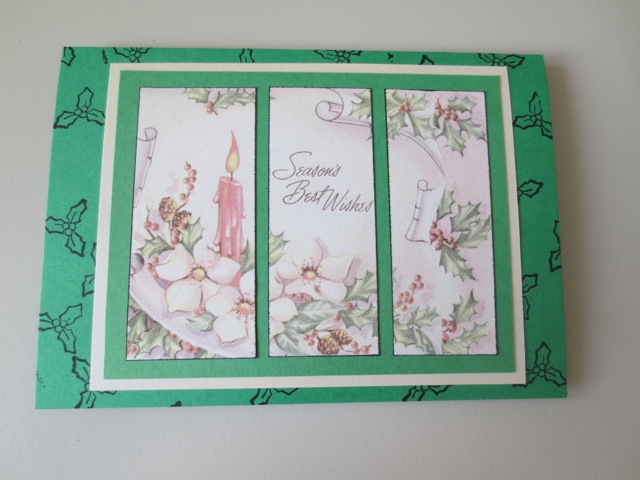
11. Layer image and background onto stamped green card. And admire your work now that your greeting cards finished – don’t forget to sign the back and add the date.

Handmade greeting cards with mixed media art epherma sheet