Michelle G Brown | Mixed Media Art

Inspiring Quotes for Art Journaling

I love the idea of art journaling and often spend hours looking at others creations online – but when I sit down to create my own layout, sometimes I just don’t know where to start. I do love including quotes into my layouts. I started collecting quotes in high school, even before I started making my own Christmas cards. And I suddenly realised that I could use my collection of quotes as a jumping off point for my art journal layouts.
Art Journalling prompts

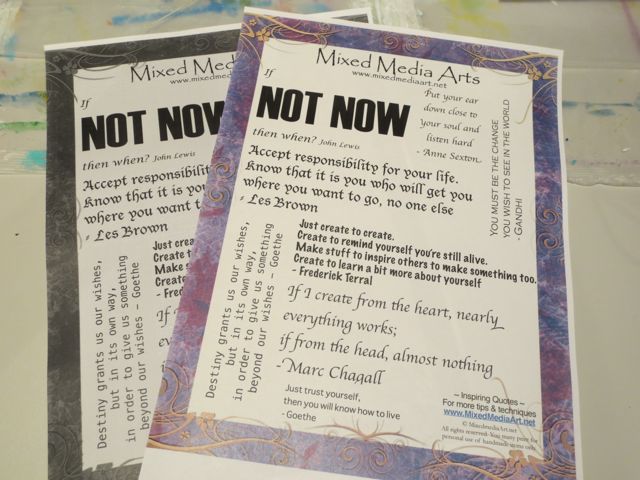
So this months Mixed Media Ephemera sheet was born ~ Inspiring Quotes you can use as a jumping off point for your own mixed media art journals and to make your art journaling process easier!

Here I have used the inspiring quotes in three ways:

1. Used the words to create my own layout

2. Used now quote as the central theme

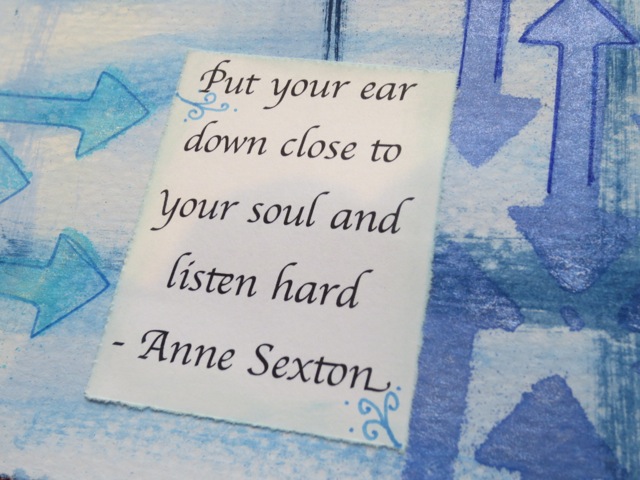
3. Used lots of printed quotes
Art Journalling prompts

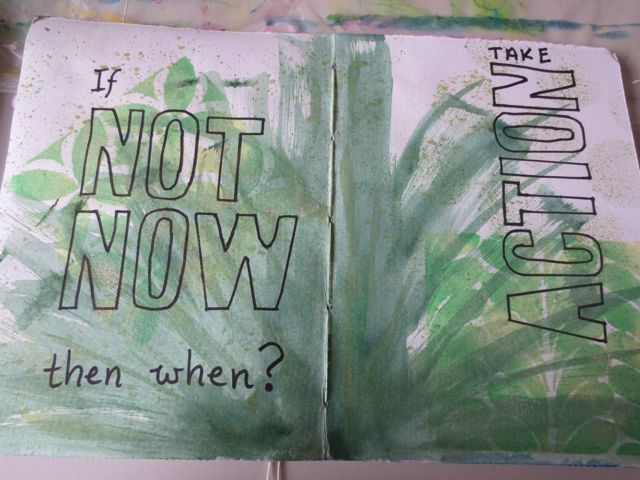
“If Not Now”

1, Print out the Inspiring Quotes ephemera sheet; here I printed it out in colour and in black and white

2. Using an art journal with a background already added, I outlined the quote that inspired me in black Sharpie marker
Art Journalling prompts from inspiring quotes

3. I used my Derwent Inktense blocks to shade in the top of the letters and added water on a paintbrush to activate the colour.
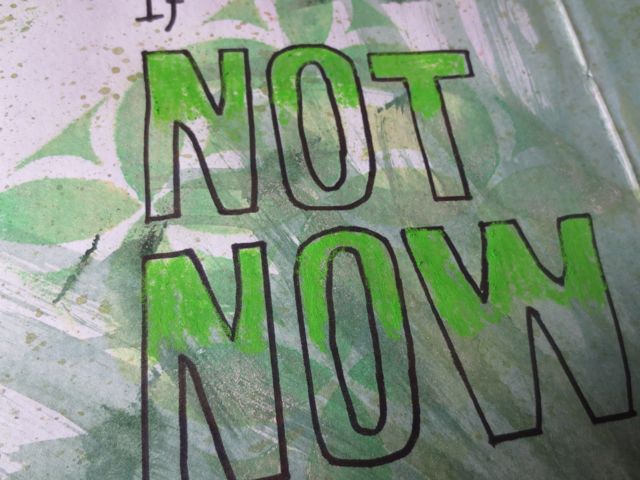
Art Journalling prompts from inspiring quotes

4. Then I used a darker colour to fill in the letters, using the paintbrush to blend the two shades in the middle of each letter
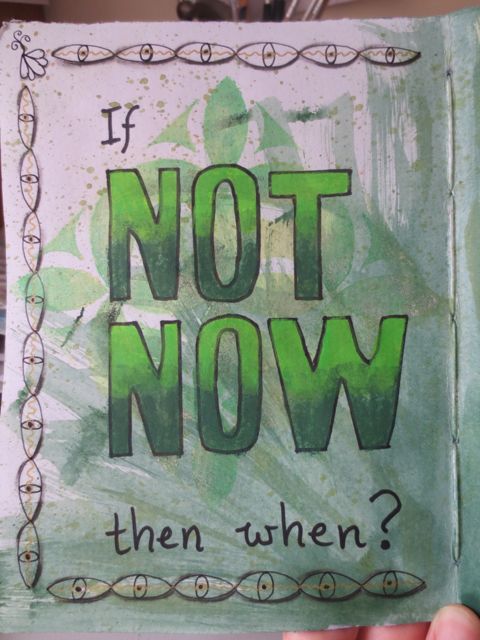
Art Journalling prompts from inspiring quotes

5. I repeated this on the second word, using contrasting colours
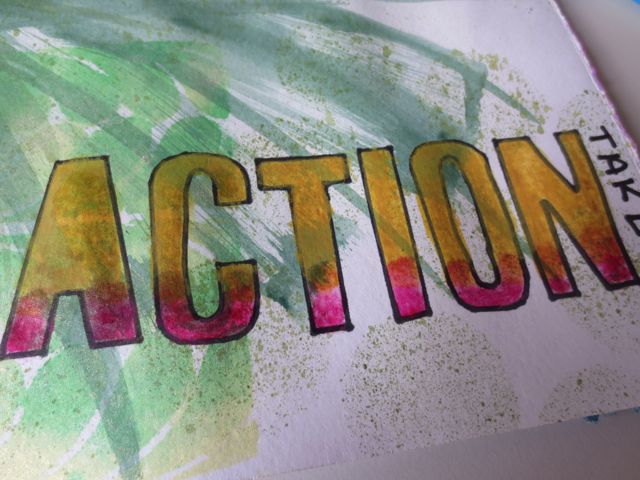
Art Journalling prompts from inspiring quotes

6. The layout was completed by added words and a border with a gold gel pen and Staedtler triplus fineliner markers
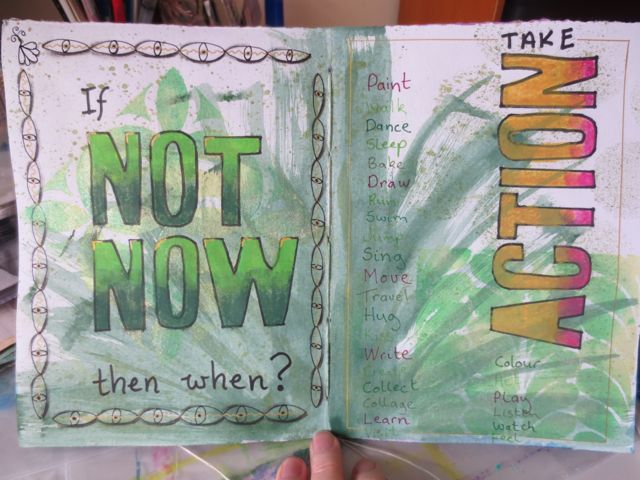
Art Journaling prompts from inspiring quotes

“Create”

1. Another pre-painted art journal page and this quote about creating that struck a chord.
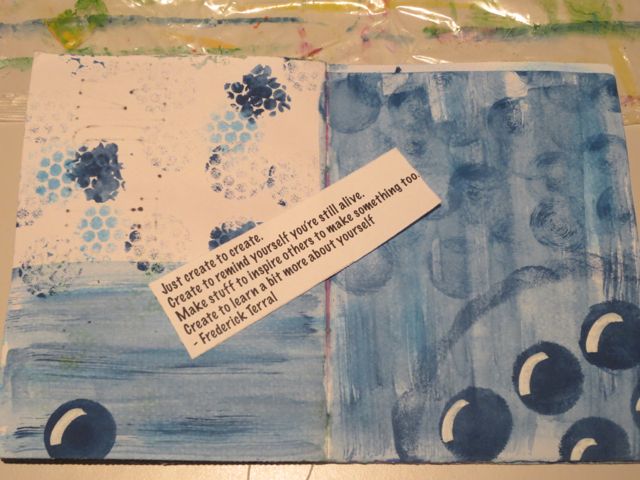
Ready-made Art Journal prompts from inspiring quotes

2. I made a large “Create” on the computer and printed out to make a stencil.
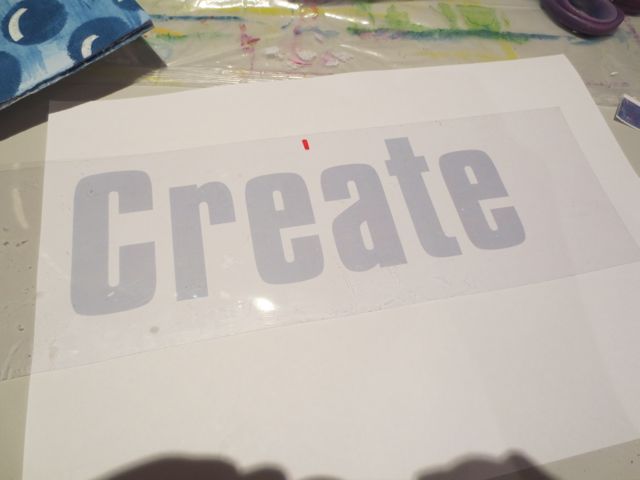
Ready-made Art Journal prompts from inspiring quotes

3. Traced the letter outlines onto a piece of acetate with a Sharpie marker
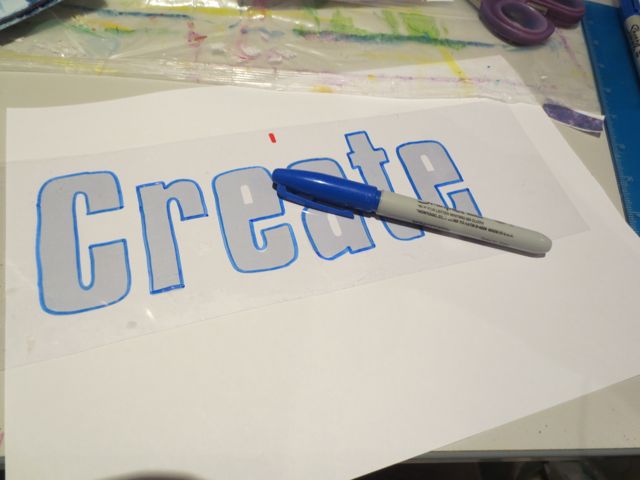
Ready-made Art Journal prompts from inspiring quotes

4. Cut out letters to make the stencil.
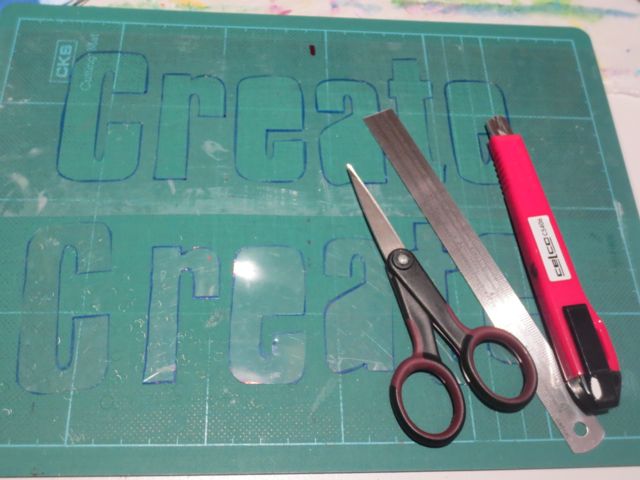
Ready-made Art Journal prompts from inspiring quotes

5. Trace the letters onto the art journal using the Sharpie marker.
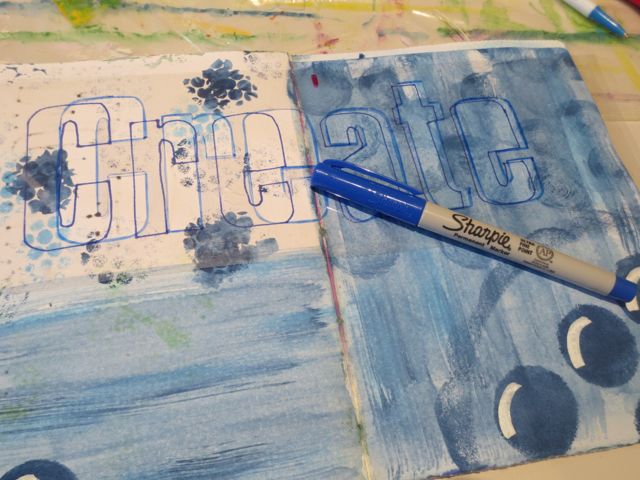
Ready-made Art Journal prompts from inspiring quotes

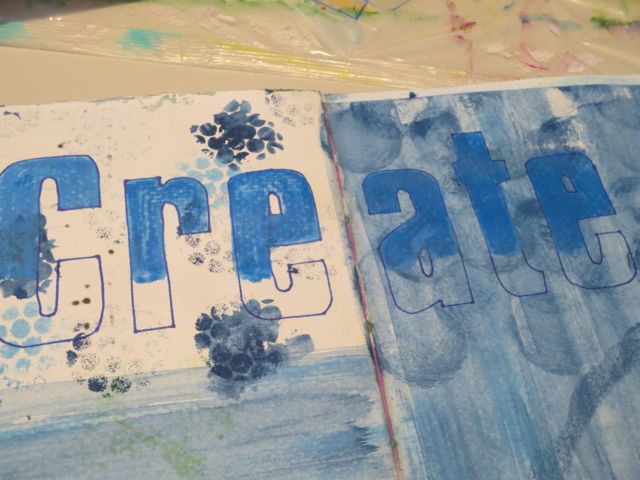
6. Using a blue Derwent Inktense blocks to shade in the top of the letters and added water on a paintbrush to activate the colour.
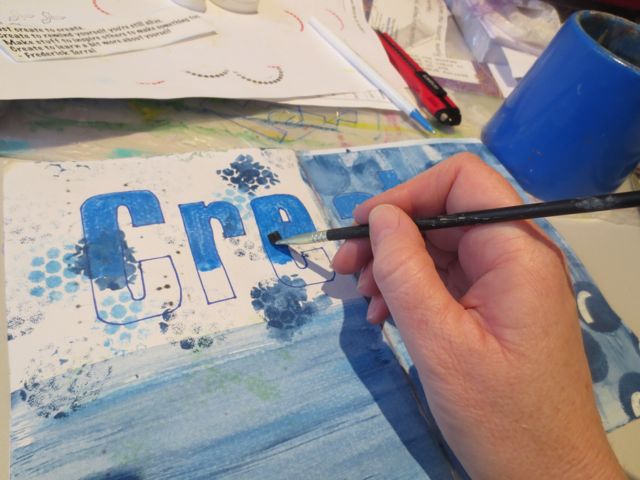
Ready-made Art Journal prompts from inspiring quotes

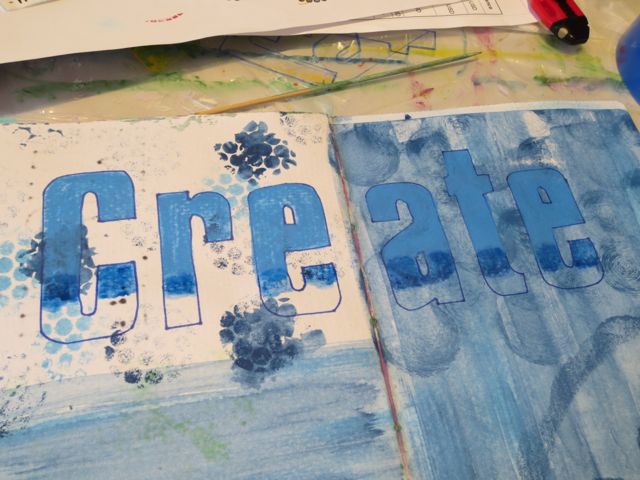
7. Then added a medium blue

Ready-made Art Journal prompts from inspiring quotes

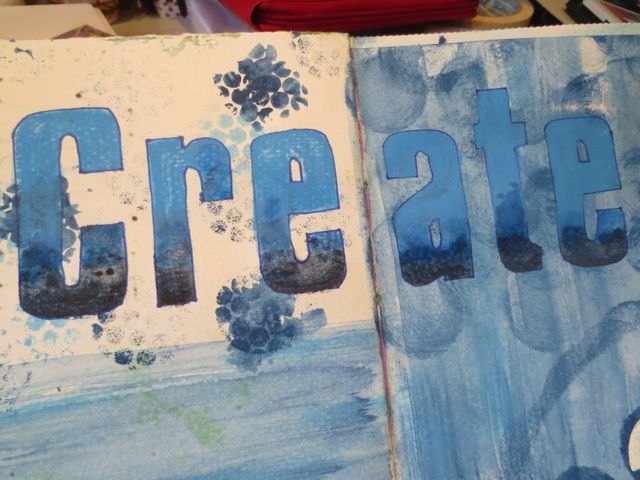
8. Then a darker blue

Ready-made Art Journal prompts from inspiring quotes

9. Finished off the layout by adding the quote and stamping with Brilliance Cosmic Copper ink and a copper gel pen
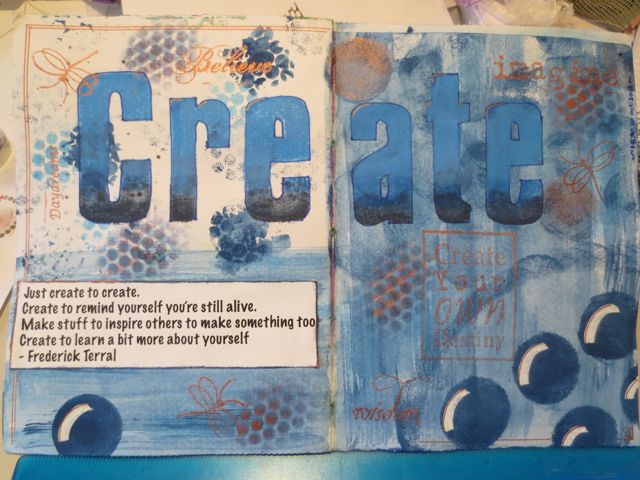
Ready-made Art Journal prompts from inspiring quotes

All the Quotes

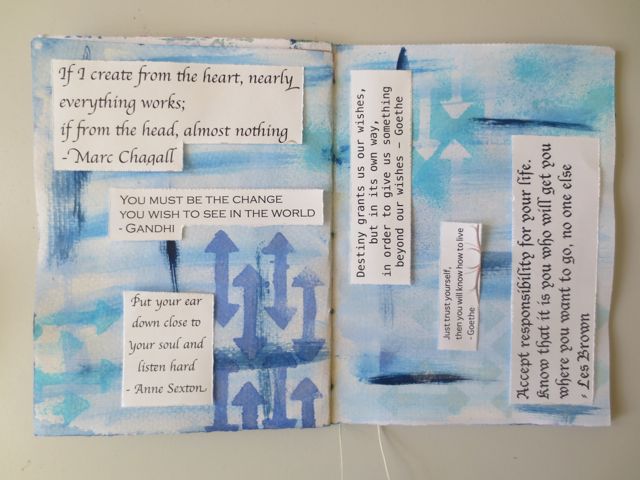
1. Tear out the quotes from the Inspiring quotes Ephemera sheet
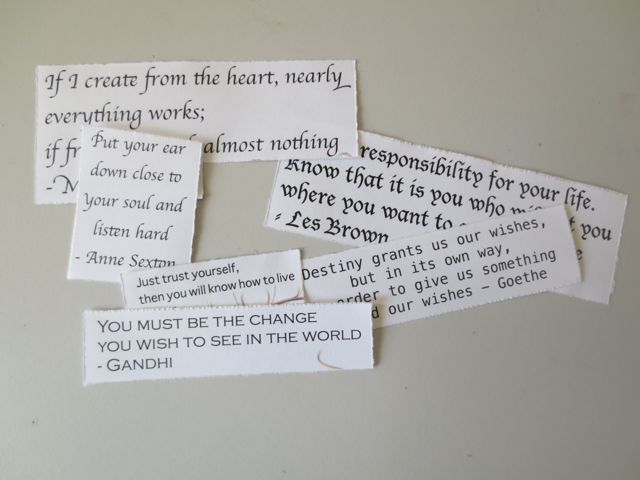
Ready-made Inspiring Quotes for your Art Journal prompts

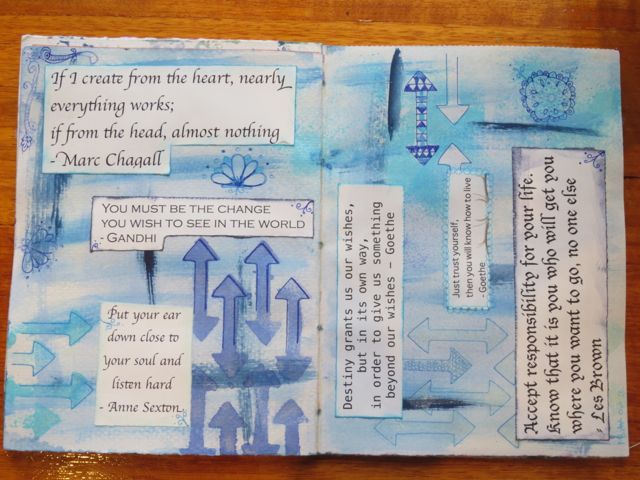
2. Play with layout onto a pre-painted art journal page. Edge with ink and stick into place.
Ready-made Inspiring Quotes for your Art Journal prompts

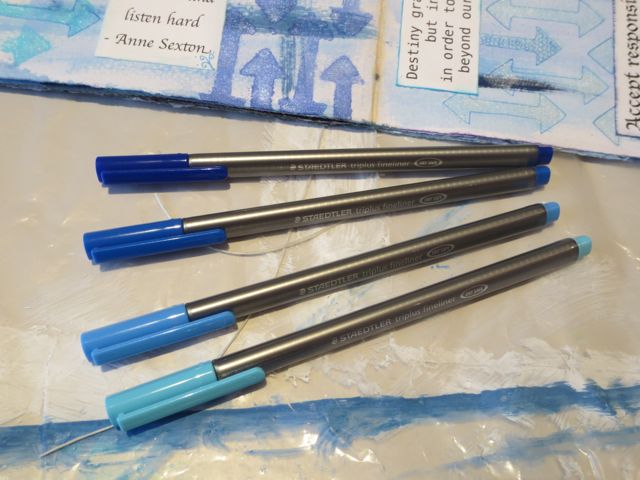
3. Finish off page with various doodles using all of the blues in the Staedtler  fineliner markers set
Ready-made Inspiring Quotes for your Art Journal prompts

I hope you can find inspiration for your art journaling with our Inspiring Quotes ephemera sheet.

Happy creating!


Disclosure: Some of the links in this article are affiliate links, meaning we earn a small commission, at no extra cost to you, to help us continue to bring you fantastic mixed media techniques, reviews and inspiration. Thanks.
Monoprinting with Gelli Arts Gelli Plates

Monoprinting has been around in many forms for a long time. One alternative was to make your own printing plate using gelatine but this was a messy and time consuming activity, so the clever girls over at GelliArts have created a non-perishable alternative to gelatine plates – the Gelli Plate.

Michelle shares her gelli plate printing process

The Gelli plates are made from a polymer that provides the same feel as a gelatine plate but is non toxic and will last for many prints. They are available in three sizes: 6″x6″ , 8″x10″ and 12″ x 14″. Today we will be using the 8″x10″ one, which works well with A4 sheets of paper.

Setting up

Gather together all of your materials and tools and make sure you have plenty of space.

I have a large sheet of glass (with rounded, smooth edges) that I have sat over the protective cloth on our dining room table (hence the pretty maroon and fruit prints table cloth!) I also like to lay out a few cereal box plastic sheets on the floor so I can sit all of my prints out flat to dry.

You will also need:

1. A Gelli plate

Michelle shares her gelli plate printing process


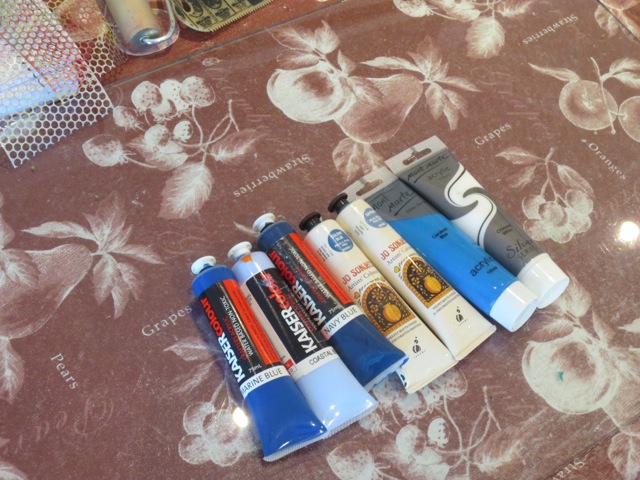
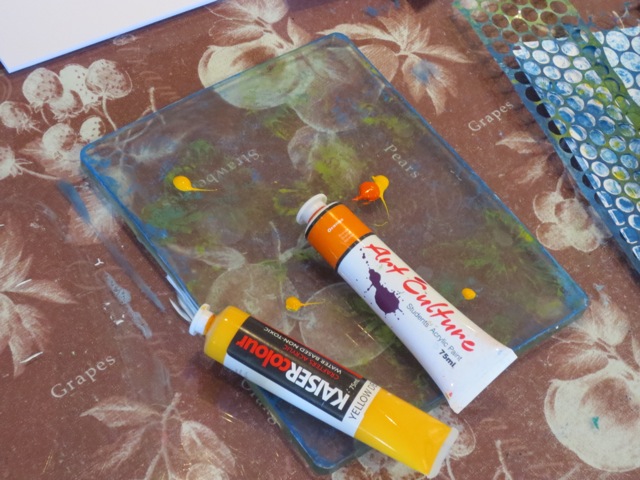
2. Acrylic paints

Michelle shares her gelli plate printing process with these materials

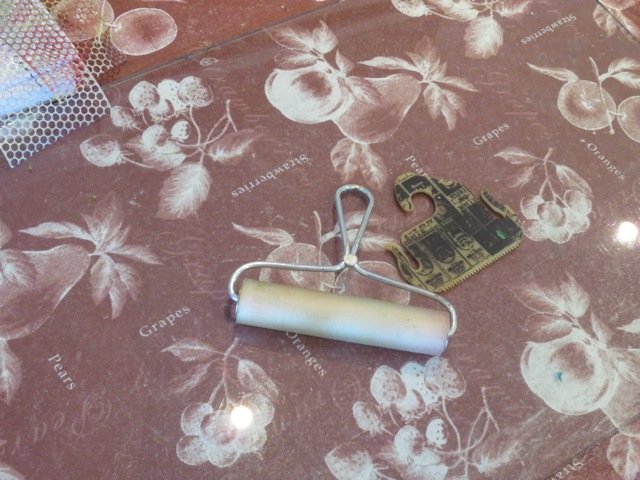
3. A brayer and other mark making tools (this is a surfboard wax comb)

Michelle shares her gelli plate printing process with these materials

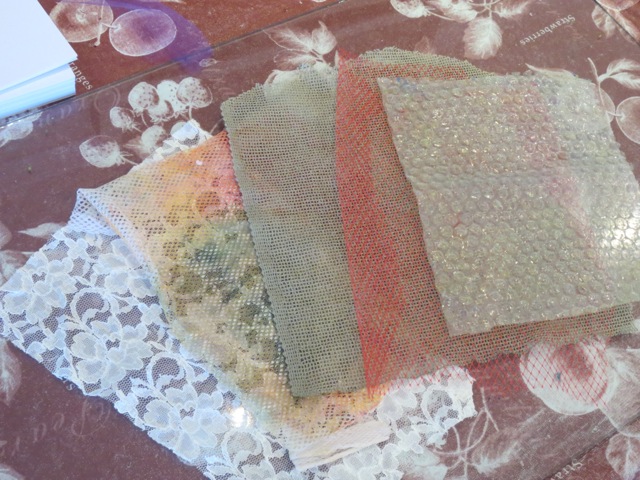
4. Netting, lace, bubble wrap and cloth for making marks

Michelle shares her gelli plate printing process with these materials

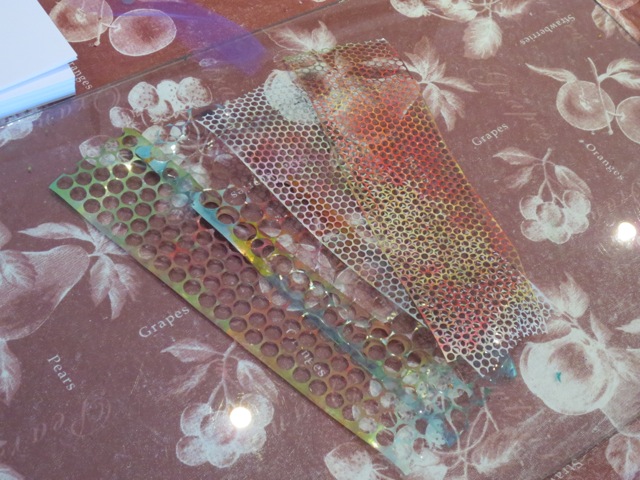
5. Sequence scrap

Michelle shares her gelli plate printing process with these materials

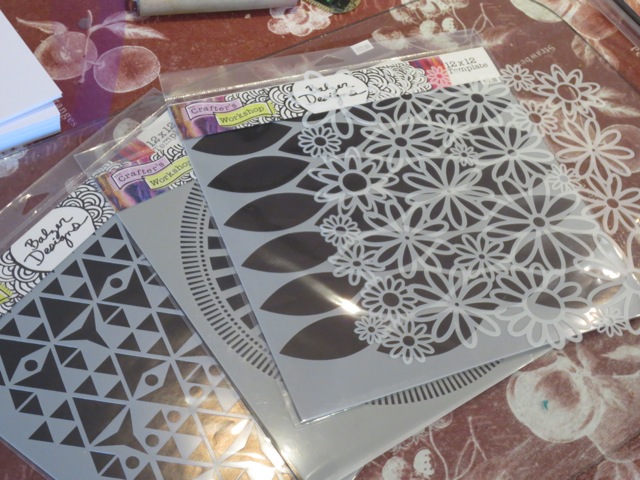
6. Stencils

Michelle shares her gelli plate printing process with these materials


Monoprinting Gelli Plates Style

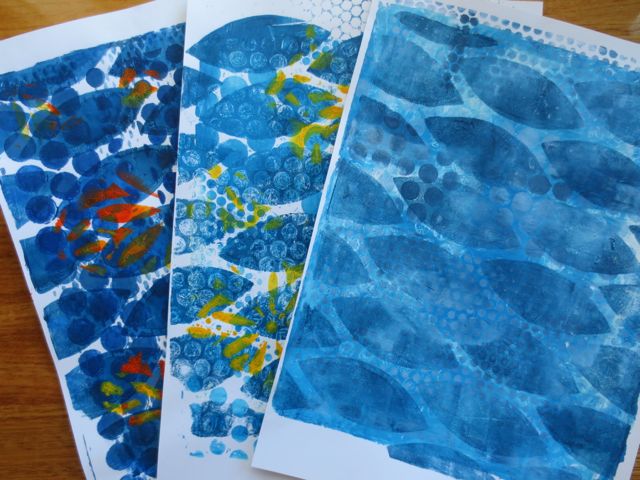
Here you can watch Michelle run through the process she used for creating this series of blue mono prints


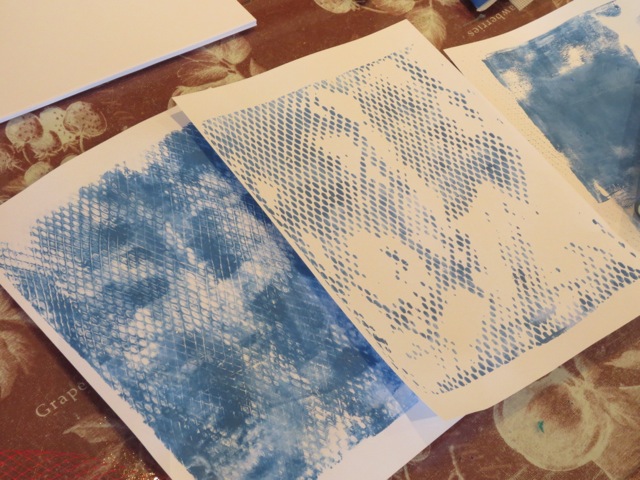
Layer 1 – light blues with orange bag netting

Michelle shares her gelli plate printing process with these materials

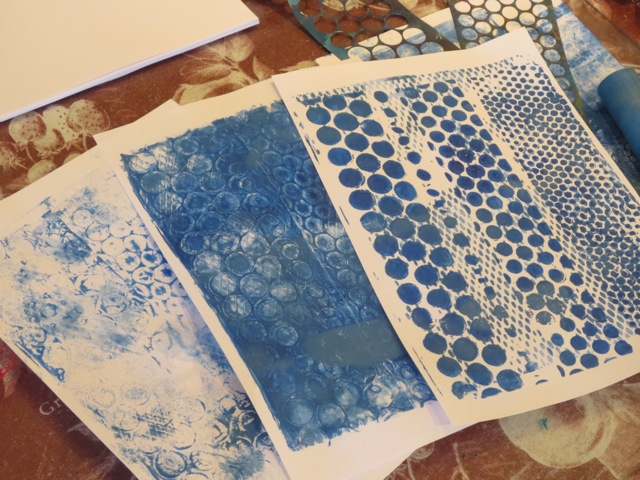
Layer 2 – medium blues with sequence scrap

Michelle shares her gelli plate printing process with these materials

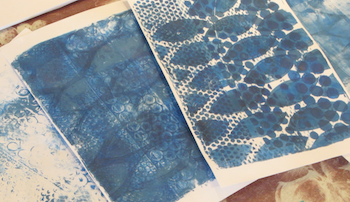
Layer 3 – darker blues with Crafter Workshop Blazonry 12″x12″ stencil

Michelle shares her gelli plate printing process with these materials


Add a Little Contrast

I decided to add a little contrast to my blue mono prints by adding a little yellow and orange, with the Crafter Workshop Flower Frenzy 12″x12″ stencil

Added a little paint

Michelle shares her gelli plate printing process with these finishing touches

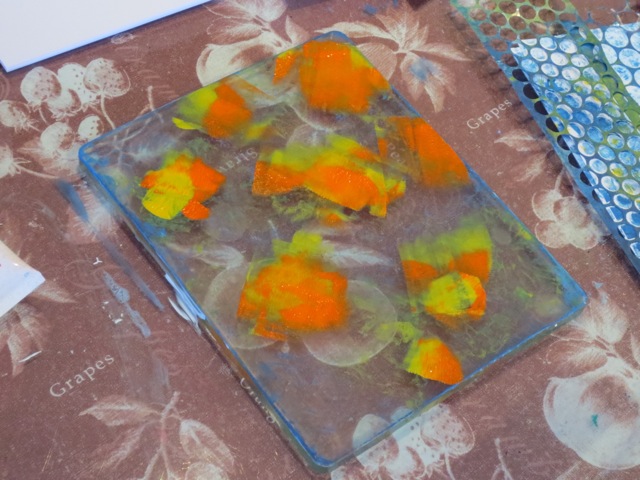
Rolled it out, not covering the whole Gelli plate

Michelle shares her gelli plate printing process with these finishing touches

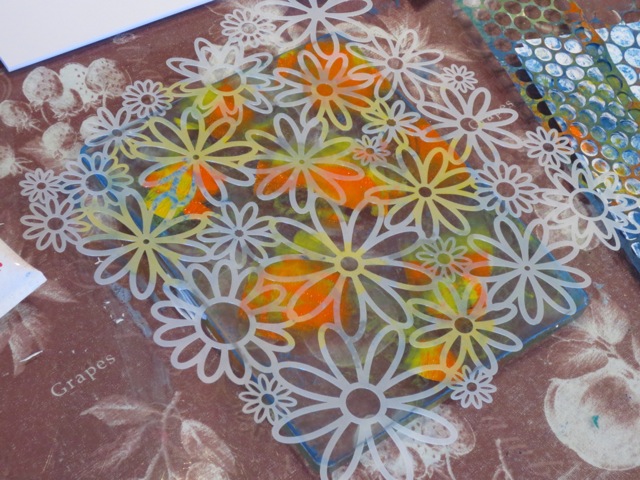
Sat the flower stencil on top

Michelle shares her gelli plate printing process with these finishing touches

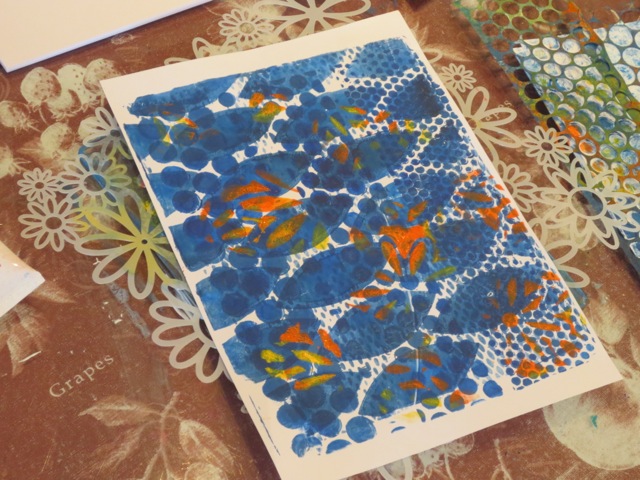
Added the darker mono print, adding highlights in yellow and orange

Michelle shares her gelli plate printing process with these finishing touches

~*~*~*~*~*~*~*~*~*~*~*~*~*~*~*~*~*~*~*~*~*~*~*~*~

I am having SO much fun with my Gelli plate. I also LOVE looking on the internet to see what others have created – please share your Gelli plates print successes: link to your blog in the comments below!

To read more about some of the things you can actually DO with all of these Gelli prints, Michelle has put together these five projects – What to do with Your Gelli Plates Prints

Happy creating!

art journal gelli plates prints

.

.

Zentangle Inspired Sketches

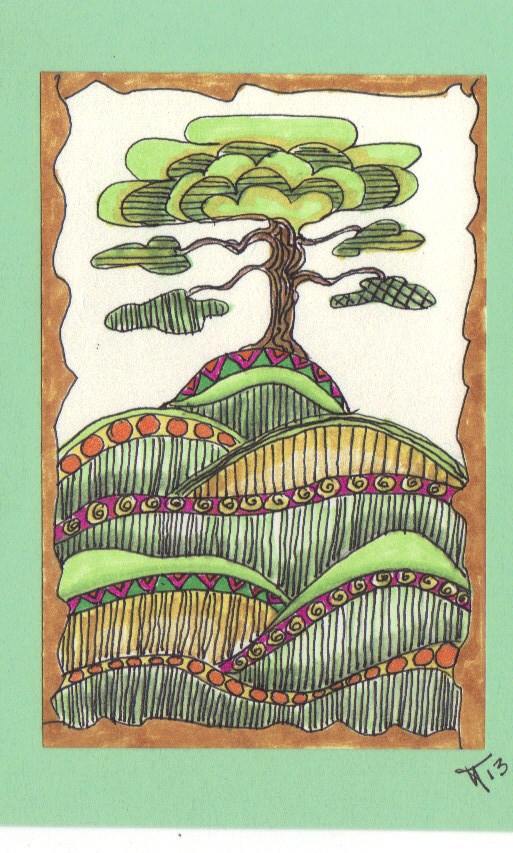
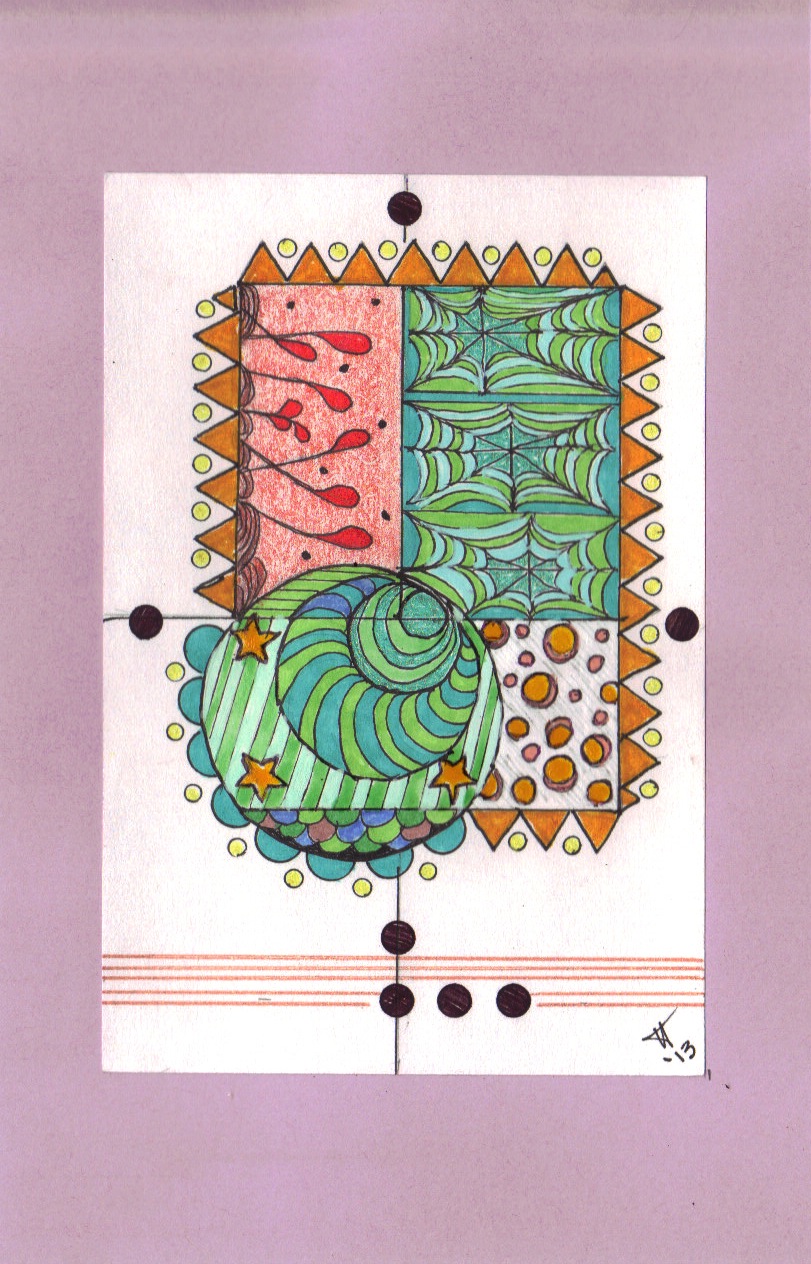
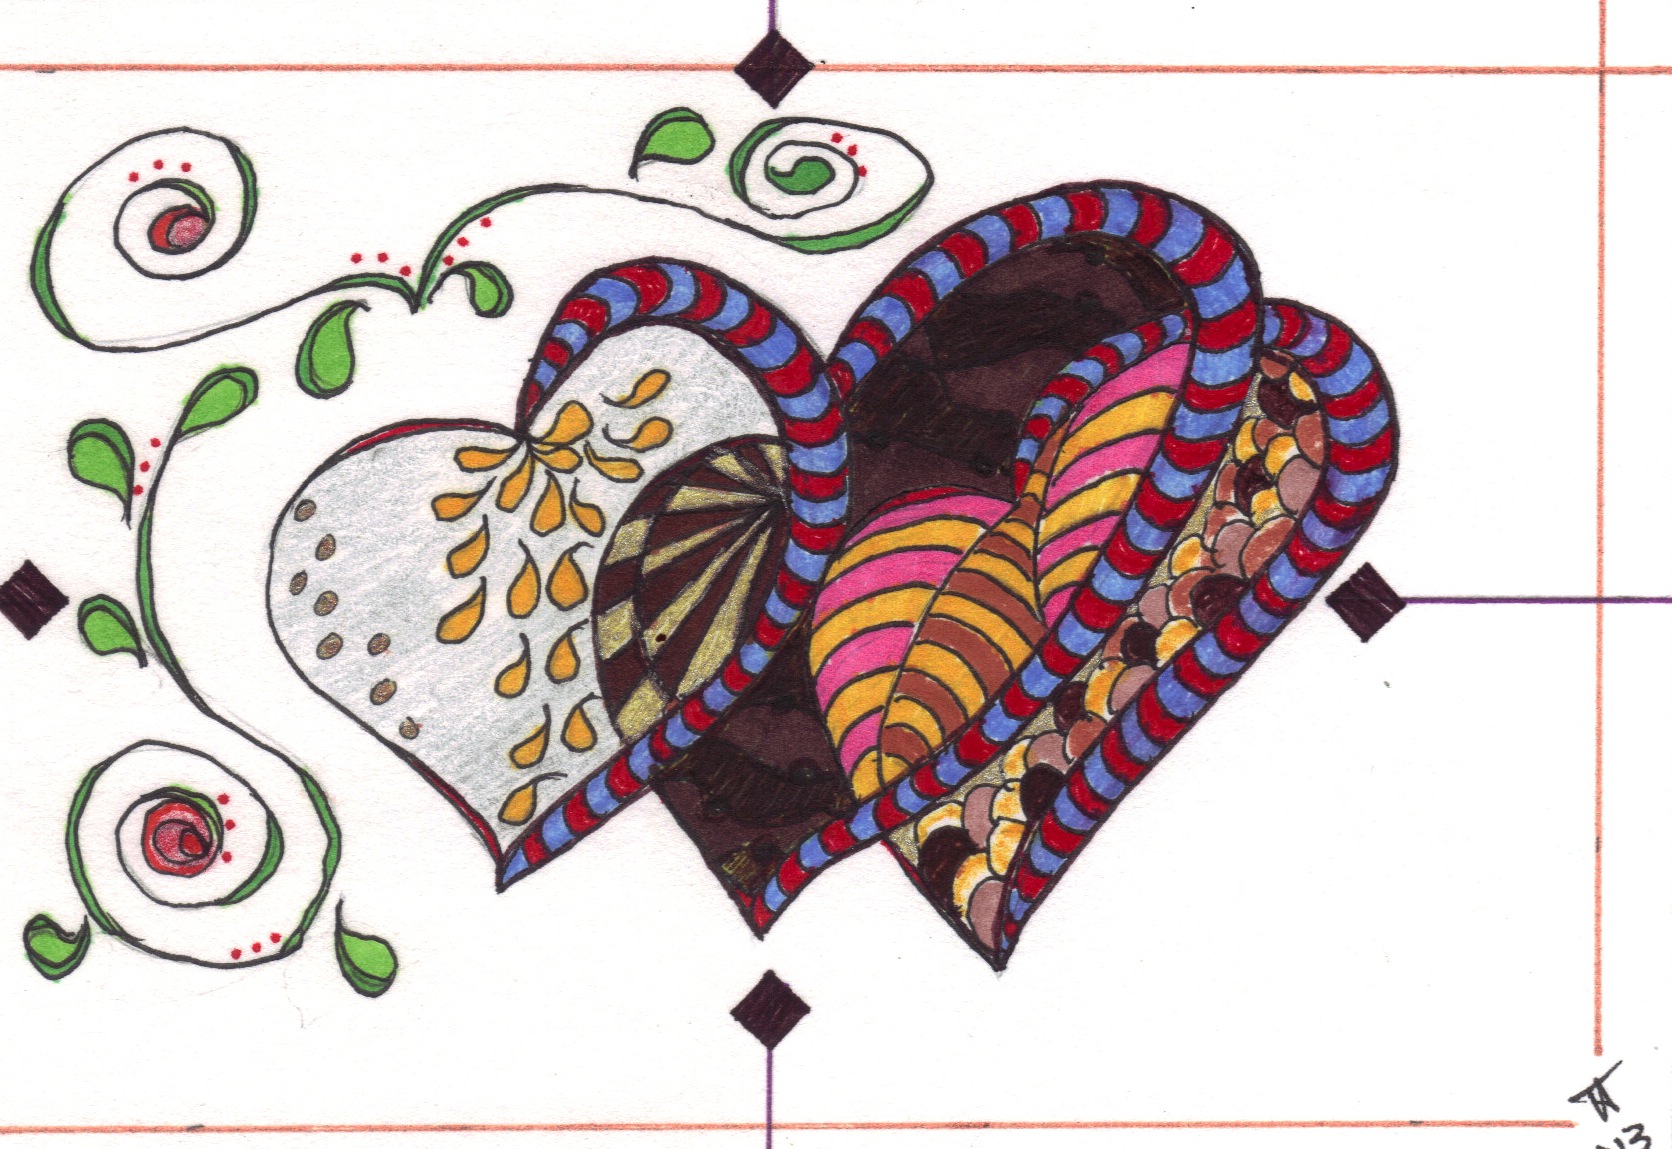
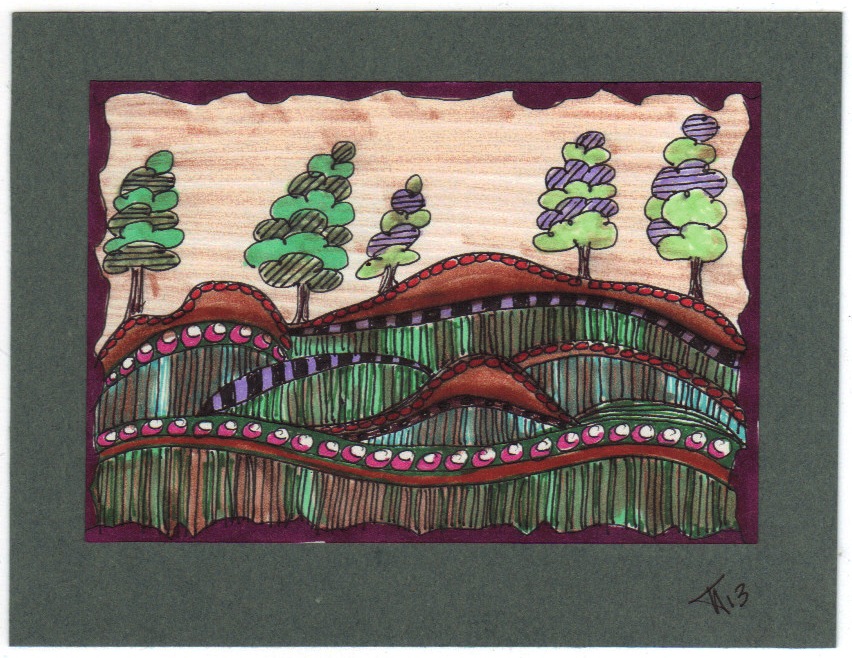
Trudy Thayer is a regular contributor to Mixed Media Art and here she shares her story of how she discover the inspiration behind these Zentangle sketches.

Trudy Thayer's zentangles

~*~*~*~*~*~*~*~*~*~*~*~*~*~*~*~*~*~*~*~*~*~*~*~*~

I found zentangles when I was searching for something else online.  They instantly captured my attention with the detail and colors.  I find the level of concentration extremely relaxing  and try to better my skill daily.  I have lots of stencils and some of the art I’ve seen using this is out of this world.  I also use some ideas from these in my quilting and fabric art.

Trudy Thayer's zentangles

I use Micron Ultra Fine point for hair-like tiny tiny work; and Micron Fine for most outlining.  I get my paper in the kids craft section of the stores, a pad with three different types of papers is really cheap and the quality is fine for what I do.  For coloring I use Bic “Mark it”s. The tip is a bit on the fine side which I love.  I use colored pencils for shading and to fill in and make the color seem richer and more full bodied.  And yes, yes, yes…..this is so “zen-like” .

You can read more about Zentangles here

Trudy Thayer's zentangles

~*~*~*~*~*~*~*~*~*~*~*~*~*~*~*~*~*~*~*~*~*~*~*~*~

Trudy Thayer is a 65 year old mom, gramma, veteran, and late-in-life college with a BFA  specialty in graphic design. She lives in Vancouver, Washington and loves the area and the artistic stimulus that abounds there.

~*~*~*~*~*~*~*~*~*~*~*~*~*~*~*~*~*~*~*~*~*~*~*~*~

Trudy Thayer's zentangles

.

.

Materials to get you started in Mixed Media Art

Over the last few Tips Videos we have covered using cereal box cardboard, using found objects in our mixed media painting and the tools needed to get started. In this episode, we look at the mixed media materials you need to get started.

Materials for Mixed Media Art - Mixed Media Art Tips Video

Michelle runs through the basic materials and mediums she uses in many of her mixed media creations. She reminds you that you don’t need all of these materials to get started. After you have a few of the basic paints and mediums, and had fun creating a few mixed media pieces, you can then extend your collection.


***********************

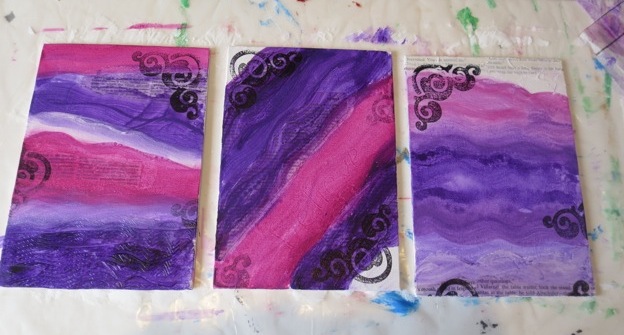
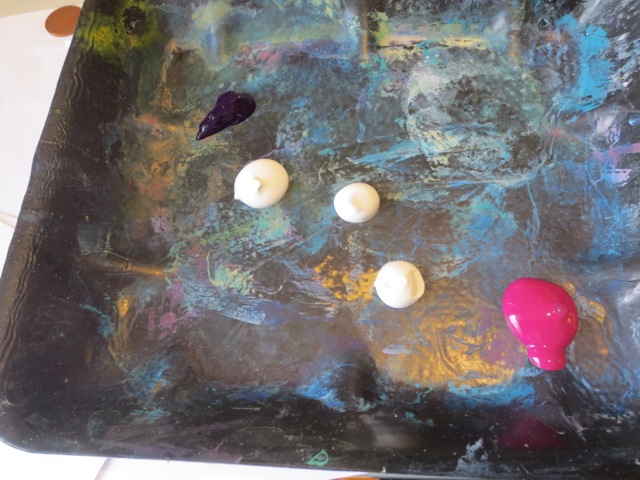
Here you can see the range of shades you can achieve with two paint colours and a white for creating shades – this allows your paint collection to expand into many different colors and hues. This gives each of the three canvases a range of colors, from the very dark violet to the light pink wash.

Mixed Media materials and canvas backgrounds

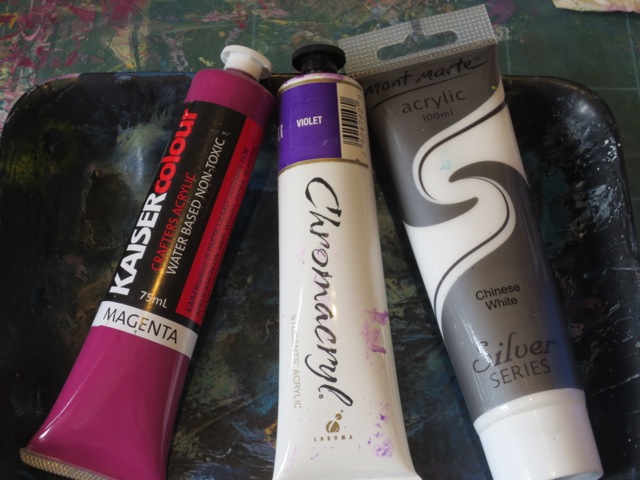
The colors used were violet or dark purple, magenta or maroon and a plain white.

using two paints and white gives a range of shades

To mix the colors, I use an old styrene tray (as shown in Tools needed to get started in Mixed Media Art) and put the two colors at each end and the white across the middle. This makes it easier to create a 1:1 mix for each colors, and then a 1:2 mix by adding white to the 1:1 mix.

use a simple paint tray to mix paints

***********************

References for the products mentioned in the video:

Creating Layers Online Tutorial

Gesso

Gel Medium

Impasto Medium

Varnish

Acrylic Paints

Spray Varnish

So thank you for joining us here for this Mixed Media Tips Video. As always we are happy to hear from you and LOVE seeing your artwork – you can do that by emailing us at CreateMixedMediaArt @ gmail.com or heading over to our Creating Mixed Media Art Facebook page.

.