Michelle G Brown | Mixed Media Art

Doodling: More than Mindless Drawing

~ * ~

This article is written by Melanie Statnick
Doodling is More than Mindless Drawing finds Melanie Statnick

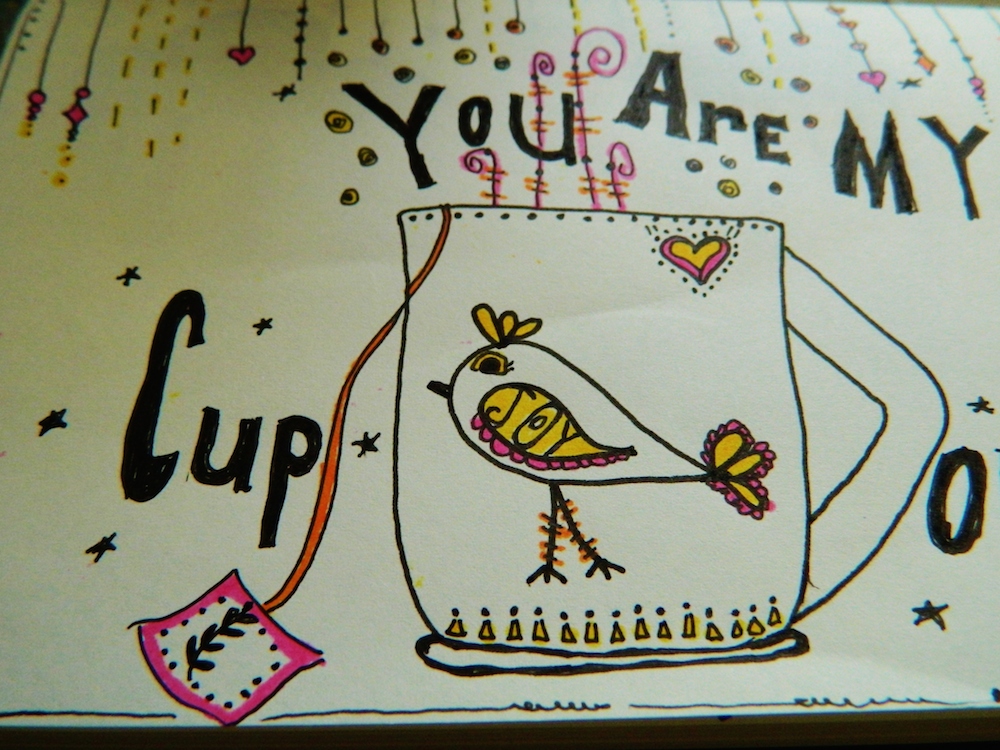
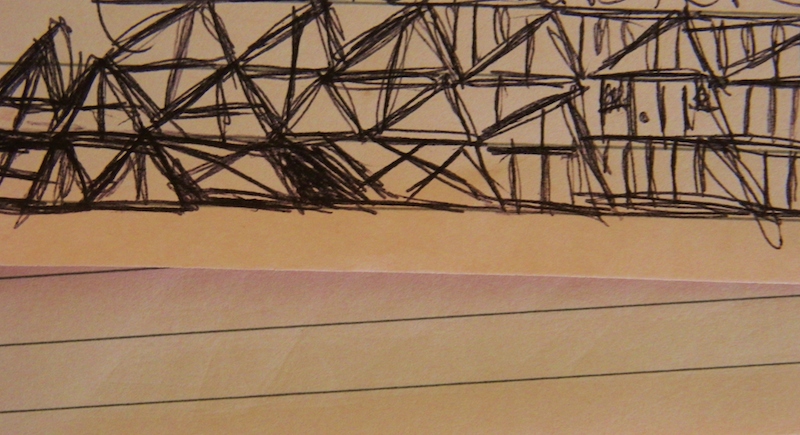
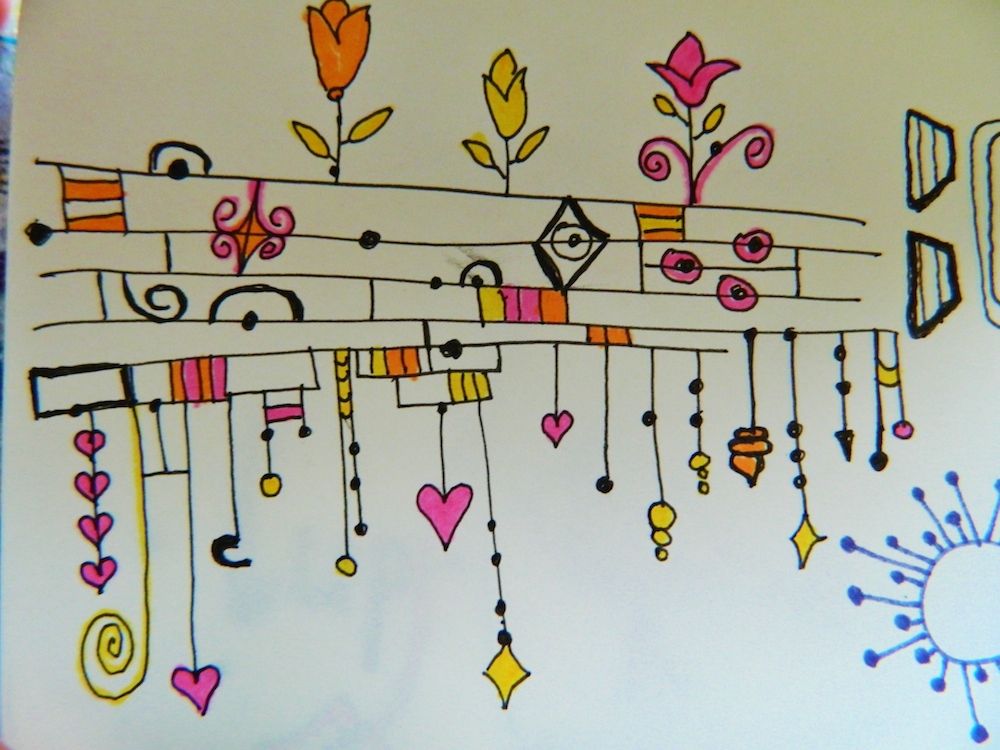
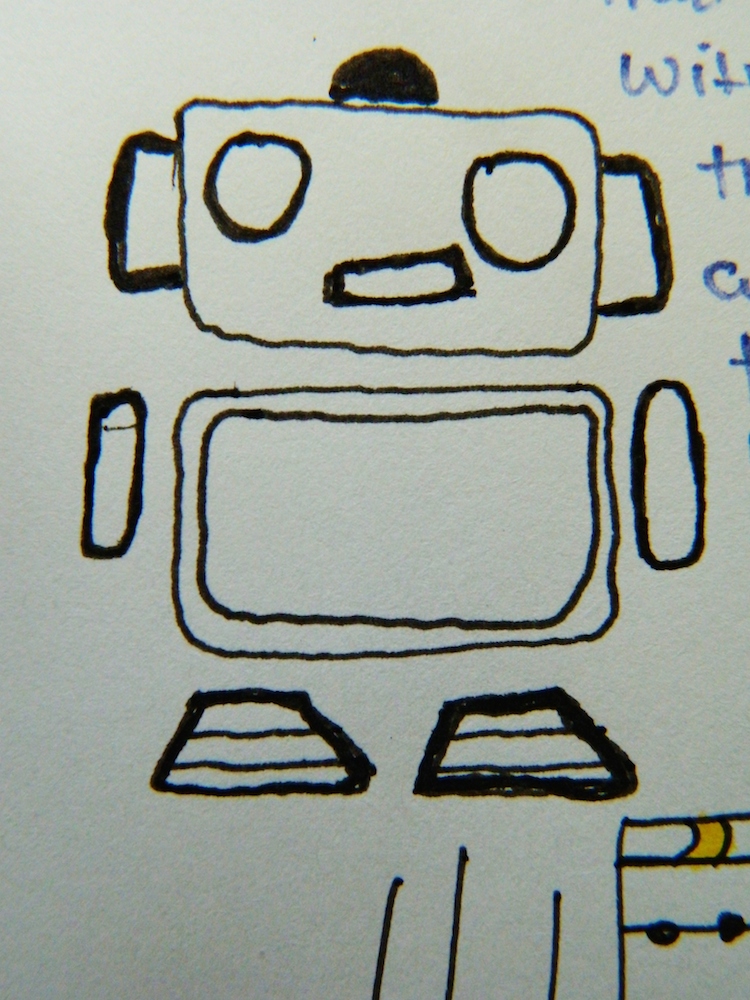
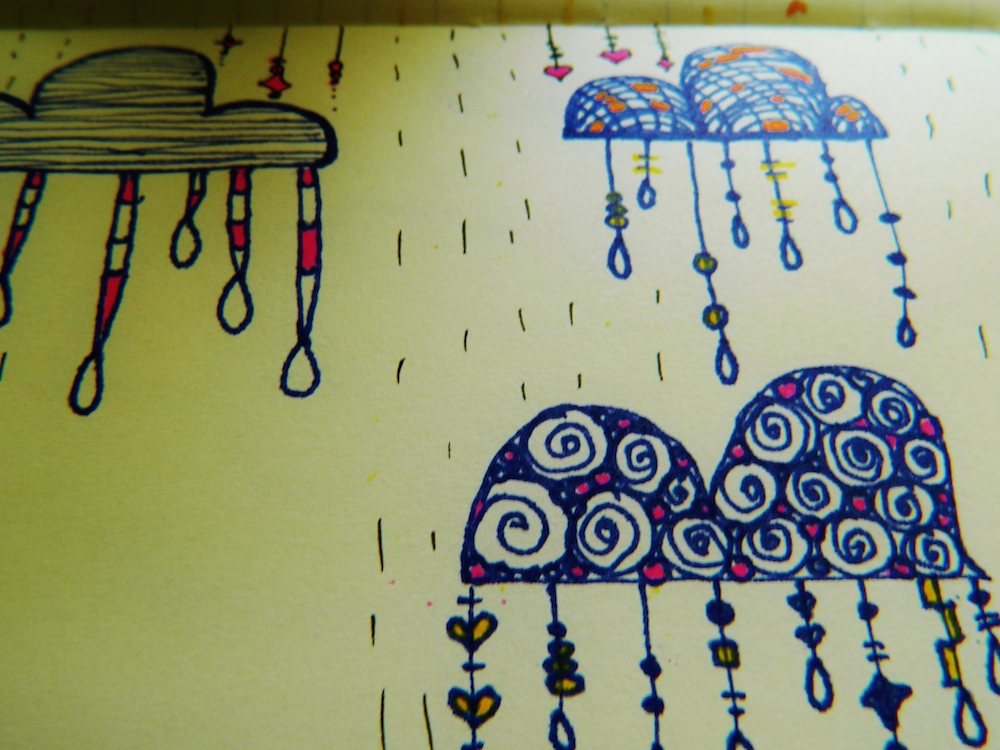
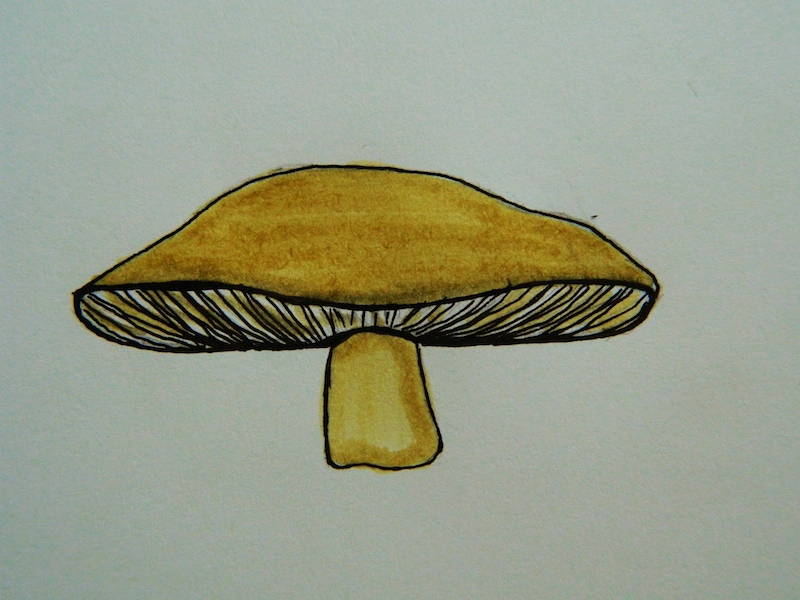
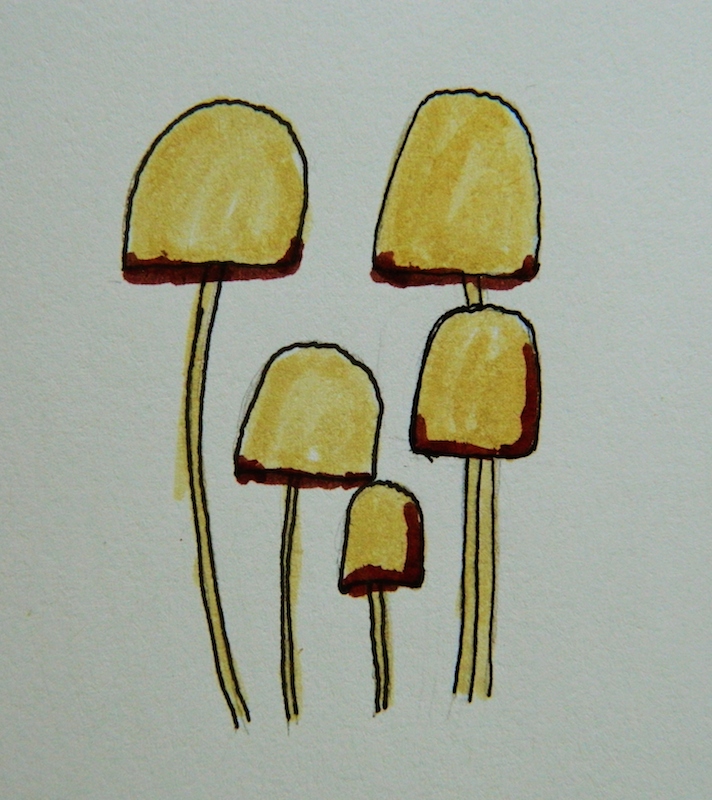
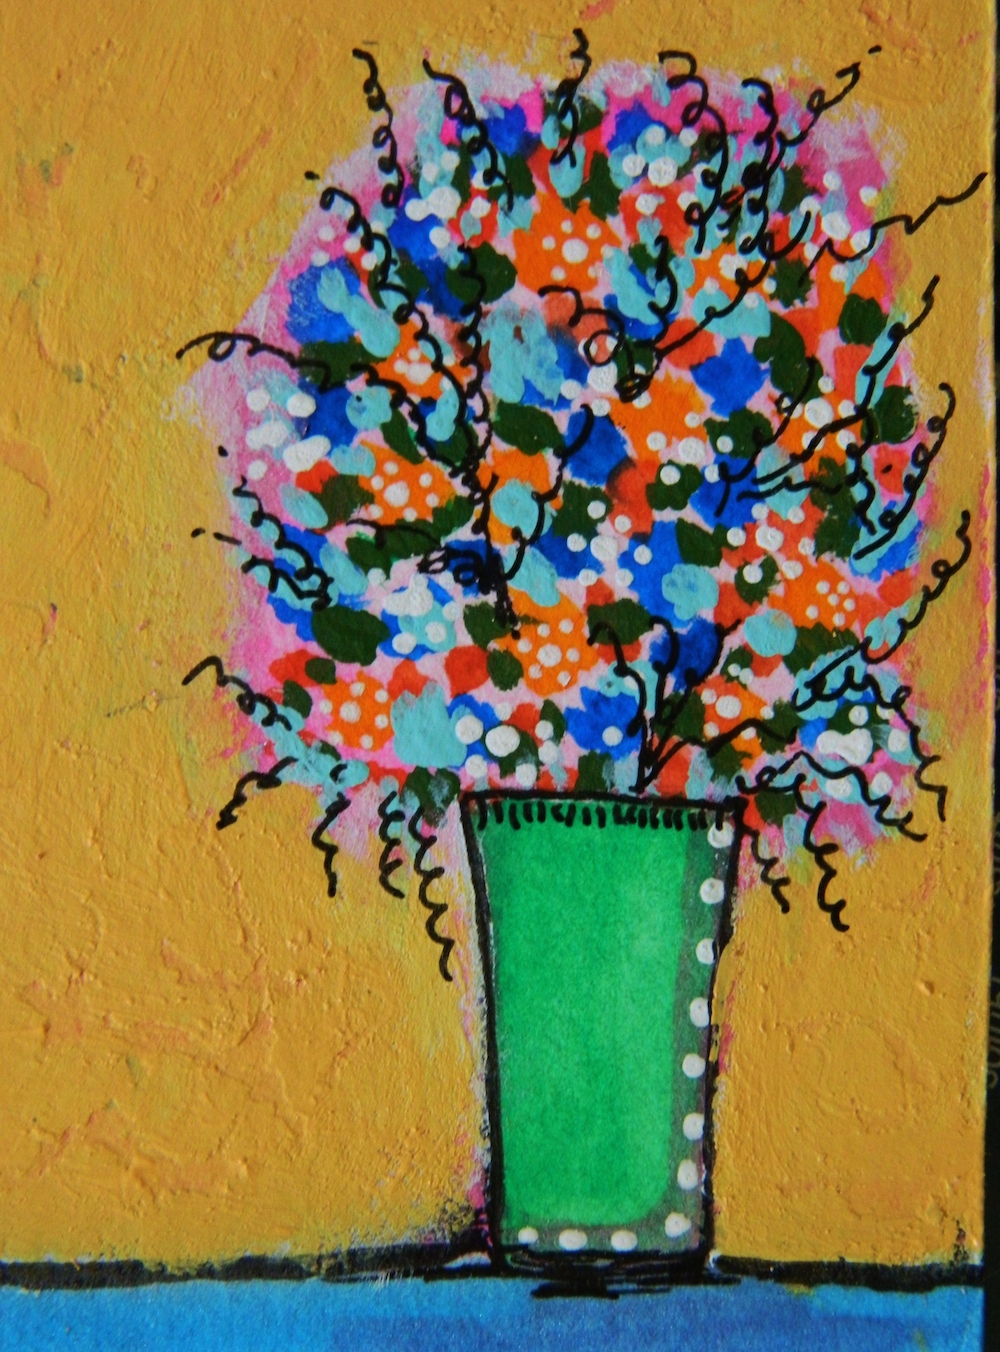
Lately I have been doodling in sketch books on legal pads and more. To the doodler a canvas can be anything. When I’m talking on Skype I doodle, “watching” TV I doodle, talking on the phone, even when I think of articles to write I doodle. The mind drifts the pen drifts. To the experts and the English dictionary doodling is “absentminded drawing” Clearly doodling gets no respect. This is defiantly not an accurate description of doodles.  Artists and non-artists have been writing books on how to doodle in art and how doodling is important in the work place and in schools. Companies are being taught how to use the white board more effectively by doodling along with their presentations in meetings providing a visual aid.

Doodles on the white board are used in schools from grade school to universities for students that need a visual aid.    When you were in school how often did you doodle in the margin when you were supposed to be paying attention?  How often did you get caught?
Doodling can be More than Mindless Drawing

Doodling can be More than Mindless Drawing

Studies have shown that people who doodle at times when they are supposed to be paying attention retain 25% more detail than non-doodlers. Drawing and doodling engages the mind, helps us think and improves concentration. It’s been proven to aid in memory retention. It occupies the mind from drifting into unwanted thoughts at times like meetings and lectures and prevents us from daydreaming.
Doodling can be More than Mindless Drawing

Doodling can be More than Mindless Drawing

Morley Safer said “Dull people don’t doodle”.  Perhaps he’s right? When you post your doodle art online Facebook, Twitter, Pinterest, and Instagram…Does it get the same fan base love as your “other” artwork?  Can you tell if your audience takes it seriously? When I doodle I’m getting better at my skills. My hand retains memory and my “other” art becomes better and it’s so relaxing.  Doodle on sisters and brothers, doodle on anything.
Doodling can be More than Mindless Drawing

Doodling can be More than Mindless Drawing

Famous doodlers include John F Kennedy, Hillary Clinton and Mark Twain
Doodling can be More than Mindless Drawing

Source Credit: CBS News The higher purpose of doodling 6/22/14

~*~*~*~*~*~*~*~*~*~*~*~*~*~*~*~*~*~*~*~*~*~*~*~*~

Melanie Statnick is a Canadian Mixed Media & Collage Artist out of North Carolina. Melanie creates art daily from her private studio. Her style is fun, whimsy and eclectic. Melanie is also an Art Instructor for local venues and community colleges for students of all ages. Learn more about Melanie: www.melaniestatnickart.com

~*~*~*~*~*~*~*~*~*~*~*~*~*~*~*~*~*~*~*~*~*~*~*~*~

.

.
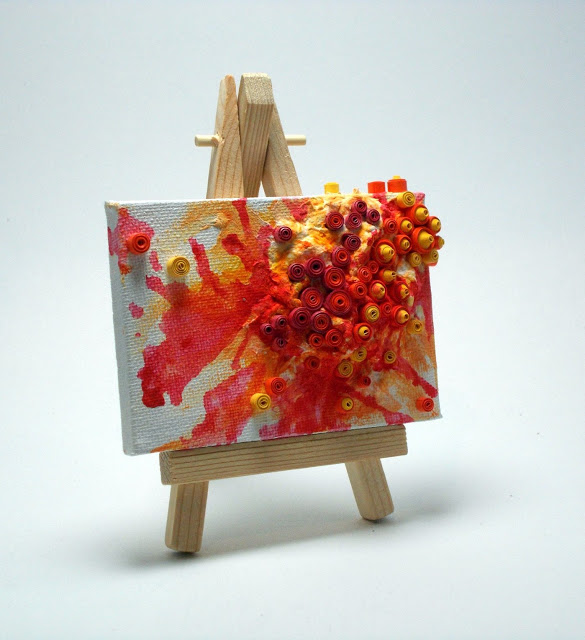
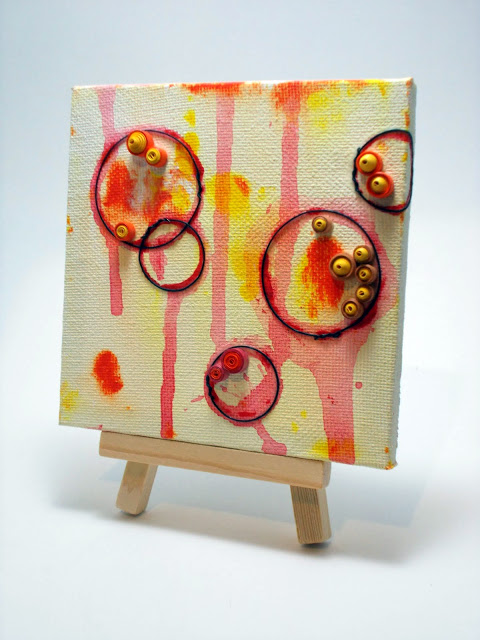
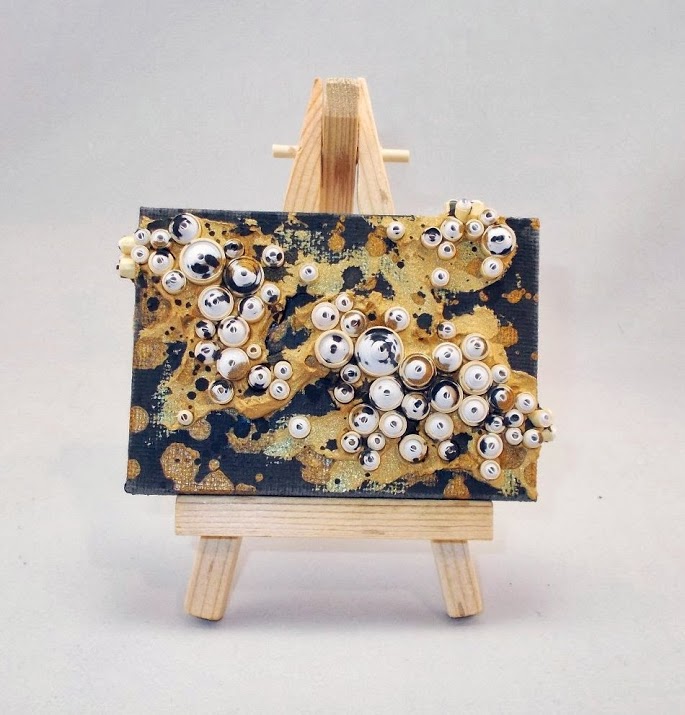
Small Experiments with Mini Mixed Media Canvases

~ * ~

This article is written by Anjuli Johnson

Working with paper clay

As a self taught artist, constant learning and experimentation are a necessity for me to become the accomplished artist I dream of becoming.  It’s not enough for me to stick to one or two tried and true techniques- I feel the need to try nearly everything I see.  I’m sure I’m not the only one who would confess to a room full of craft supplies, waiting to be used for the first time.  There are even more supplies I have used in certain ways, that are just begging for a new technique to revamp their usefulness.

Working on a big project to figure out the best way to use these things is not usually the best approach, however.  At least, it’s not for me, an artist who frantically moves from one medium to the next in a mad rush to try and learn as much as possible.  One day at AC Moore, I found packages of tiny little canvases and easels- 2-3 inches, rectangular and square, and from that moment my ability to experiment with new supplies quickly and artfully was increased by 10.

Working with wire

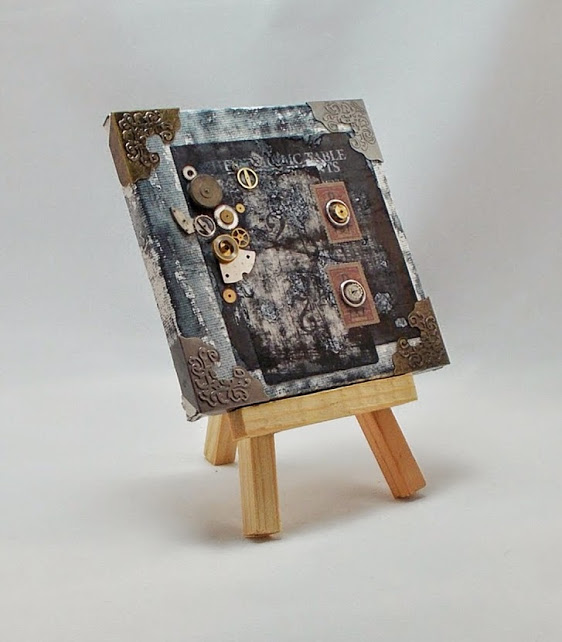
I’ve learned things about so many mediums by working on my mini’s first- paper clay, ink, multiple ways to paint with acrylics, collage, modeling paste, gel medium, and lots of other things.  Not every art experiment would be good on a mini canvas, but they have been such a great thing for me in almost every aspect of my art.  They are tiny and it doesn’t take me days to finish a piece- no matter what I try, I can have several done in a single evening.  Because they are tiny, I don’t sweat too much if what I try turns out to be terrible.  I’ll recycle it if I can, or just move on- no sweat.  I don’t waste expensive materials on a piece that I might ruin through my inexperience.  They are easy to store in my tiny apartment- they don’t take up tons of already used wall space, which is a big plus.

Adding elements to texture paste

So the up side to my experiments on mini mixed media canvases is pretty limitless… and they are so fun when they turn out well.

Of course, I would love to hear how you learn to work with new materials.  What processes/routines do you have that help you grow as an artist?

Practicing collage work

~*~*~*~*~*~*~*~*~*~*~*~*~*~*~*~*~*~*~*~*~*~*~*~*~

Author bio: Anjuli Johnson is a Mixed Media Artist form Raleigh, NC.  She began her art career as a scrapbooker, and it’s been an evolutionary process ever since.  She loves all things mixed media- paper, paint, pens, wire, gears, clay… the list goes on and on.  She is constantly trying to push through her fears to discover and develop her talents, meet new people, and learn from those around her.  To see more of Anjuli’s art and techniques, check out her website at www.thefarpavilion.com  and like her Facebook page.

~*~*~*~*~*~*~*~*~*~*~*~*~*~*~*~*~*~*~*~*~*~*~*~*~

.
.
Wearable Art: Fabric and Fiber Jewelry

~ * ~

This article was written by Katja Blum

Mixed media and jewelry are a great combination – jewelry is a perfect way to take a piece of your art with you in your everyday life, and thinking about the functional aspects and size of jewelry gives you an interesting framework for your creative ideas.

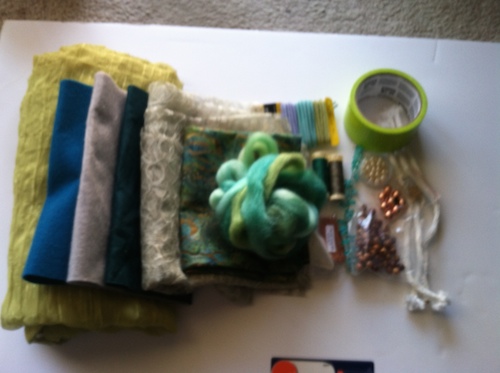
I selected this project to highlight the endless possibilities of mixed media jewelry with fabric and fiber, because you do not need any special jewelry tools or skills to make this pretty bangle. You probably have some pretty fabric scraps lying around, some rope, a few beads … no pliers, hammers and anvils necessary.

You need:

  • 3 pieces of woven or braided rope to fit around your wrist – any thickness, as long as it bends easily. Man-made is fine, but those solid plastic ropes like clothesline don’t work well, because you need to be able to pass a needle through.
  • Duct tape
  • Assorted fabrics, fibers and beads
  • Mod Podge, Fray-Stop or PVA glue to treat fraying fabric edges
  • Needle and thread
  • Thin craft wire, yarn or thread to wrap around the bangle, if desired

Fabric and fiber jewelry – Materials

To cut the lengths of rope to size, measure the inner circumference of a bangle you like. If you don’t have one, here’s how you can measure: Hold out your hand, palms down, fingers together. Tuck your thumb and pinky under, so that they touch underneath the other fingers. Now measure around the widest part of your hand, which is probably close to your knuckles.

Don’t pull the measuring tape too tight. The bangle will have a slightly smaller inner circumference once you wrap the fabrics around. You won’t lose much though, so 1/4 to 1/2 inch (about 6-12 mm) should be enough extra length.

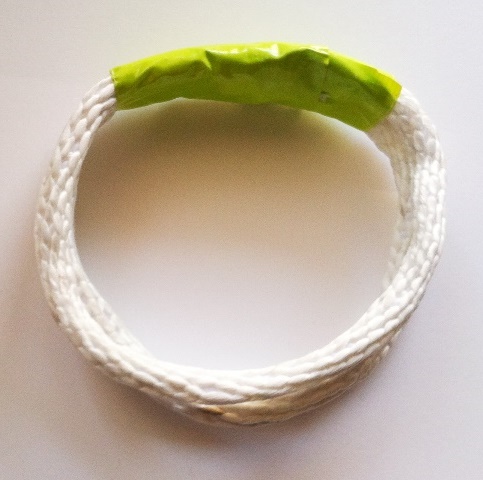
Cut the rope pieces to size, lay them out together and tape them with duct tape to form a closed ring. The three pieces are just connected at the bottom.

Taped lengths of rope form the core of the bangle.

Cut long strips of fabric or use unspun, dyed spinning fiber to wrap each ring, beginning with the two outside ones, leaving the center one for last. Start wrapping at the duct-taped bottom, where the three rings separate. Don’t worry about the fabric and fiber ends. Just leave them hanging, they will be covered later.

Dab some Mod Podge or Fray-Stop on the fabric, if necessary. If you are using unspun fiber, covering all of the wrapped fiber with Mod Podge or something similar works best. Otherwise the fibers might come apart with use.

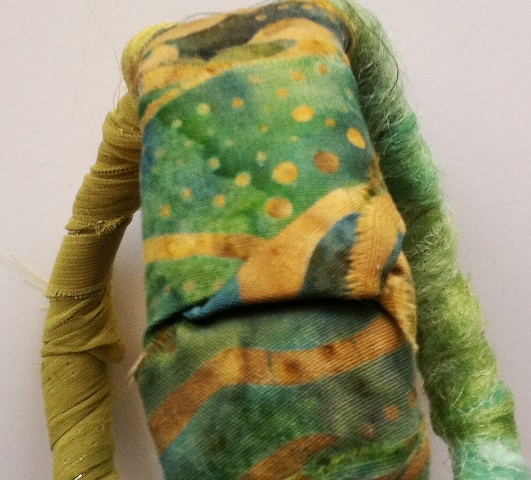
Smooth fabric like the batik cotton here works well for the center bangle. Start wrapping in the center of the duct tape at the bottom, tucking in the ends from the other bangles as you go. When you have wrapped all the way around, tuck the end of the fabric strip into one of the wraps. It will be secured with thread later.

Bottom of the bangle with fabric ends tucked in

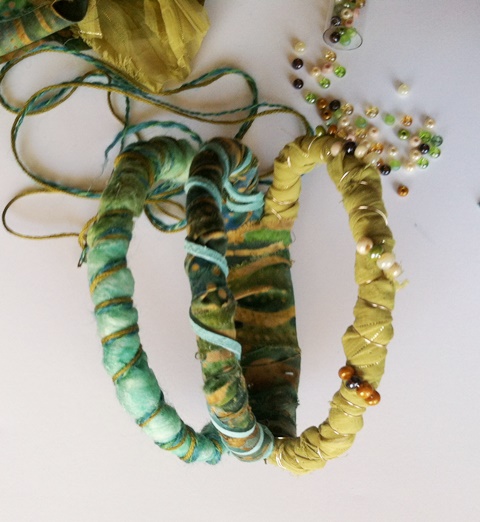
[Wrapped rings of your fabric bangle

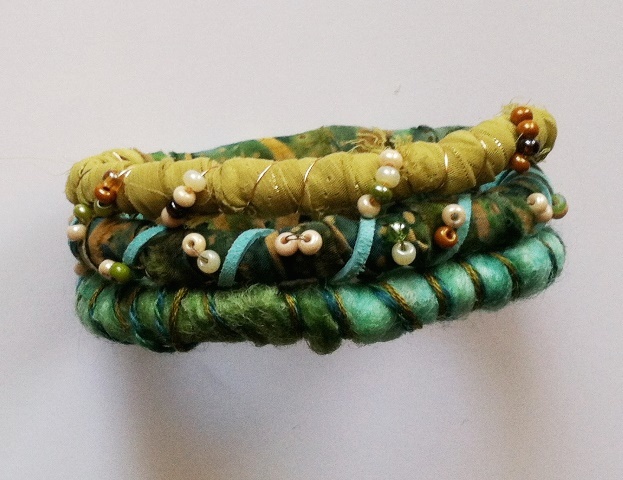
Once you have your triple bangle wrapped in pretty fabric, the real fun starts. Decorate your statement piece to your heart’s content. Wrap it with thread, yarn, cord or thin craft wire (no pliers needed). Add beads to the wraps, if you like, or sew on individual beads. Glue or sew on charms, paper flowers, ribbon rosettes…you get the idea.

I had much more elaborate plans for this piece, but once I saw the colors of the fabrics and fiber together, I loved them and didn’t want to obscure them too much. Remember to begin all wrapped decorations at the bottom and tuck them into the fabric of the center bangle. When you are done, secure the fabric covering the duct tape and the tucked-in end with a few stitches. If you want the rings of your triple bangle to sit close together on your forearm, sew them together in a few places. A little bit of spray varnish helps protect your paper or other fragile decorations.

Of course you are not limited to three rings, nor do you have to wrap them individually. A five-piece bangle wrapped together (just use the steps for the center ring in this project) would make a terrific background for larger mixed-media decorations. The bangles are fun to wear and so easy to make that you’ll have a whole collection of your personal, wearable mixed media art soon.

Wearable art – mixed media bangle

~*~*~*~*~*~*~*~*~*~*~*~*~*~*~*~*~*~*~*~*~*~*~*~*~

Katja Blum is a writer and translator from Tulsa, OK. As an artist, she started with yarn, fabric and papier mache (rarely together), branching out into collage and other paper arts about ten years ago. Her latest obsession is making soft stuffies and art dolls – to the delight of her toddler. She also likes to find creative solutions for ugly or broken things around the house – to the delight of her husband.

You can see more of her work with fiber, paper and words at www.thewaywardsheep.com

~*~*~*~*~*~*~*~*~*~*~*~*~*~*~*~*~*~*~*~*~*~*~*~*~

.

.
Celebrating France with a Mixed Media Photo Frame

~ * ~

This article is written by Michelle G. Brown

Michelle uses her French holiday photos

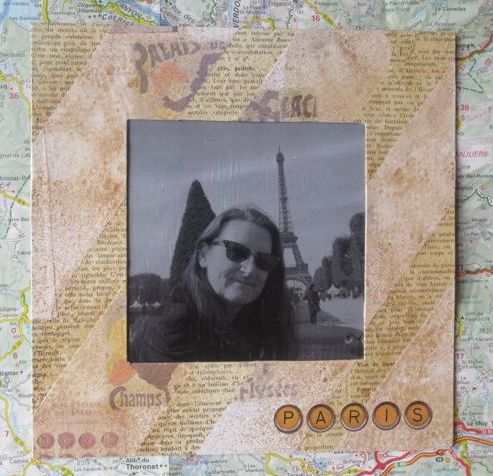
This week we are Celebrating France with our Mixed Media Art Ephemera Sheet. For my contribution, I wanted to showcase my favourite Paris photo, taken by my husband during our trip in October 2012, so I made this mixed media photo frame. It’s also my Facebook photo, so it holds a special place in my heart.

Materials & Tools

* Mixed Media Art Ephemera Sheet 22 – Celebrate France

* Printed photo

* Cereal box panels

* Mod Podge Gloss

* Walnut Ink

* Cutting mat, steel rulers and craft knife

* Brayer

* Sponge applicator

Instructions to Make a Mixed Media Photo Frame

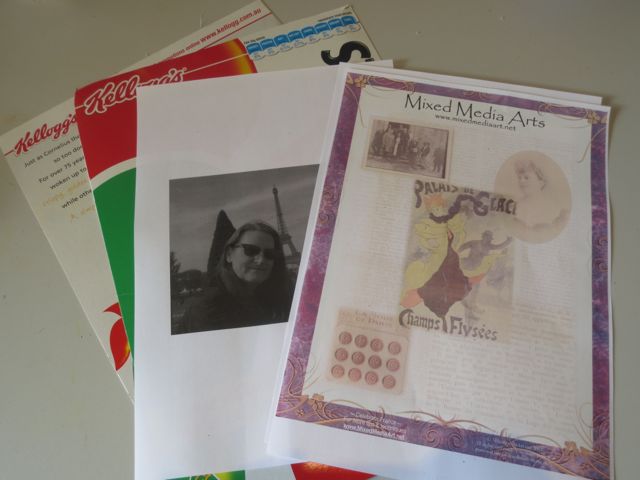
1. Gather supplies and print out ephemera sheet and photo

mixed media art ephemera sheet

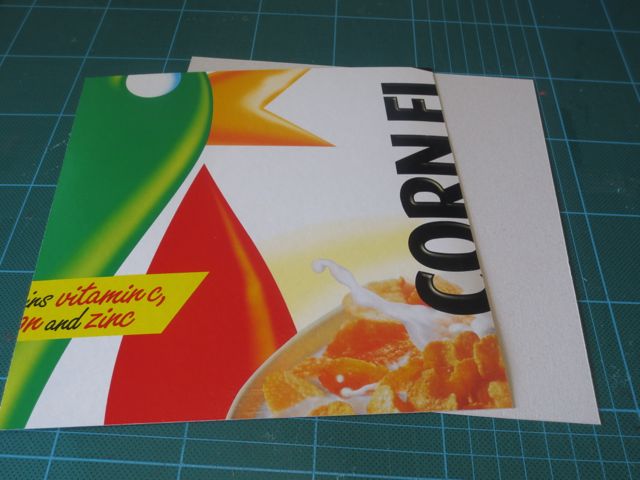
2. Cut cardboard panels into two 8” x 8” panels

mixed media photo frame

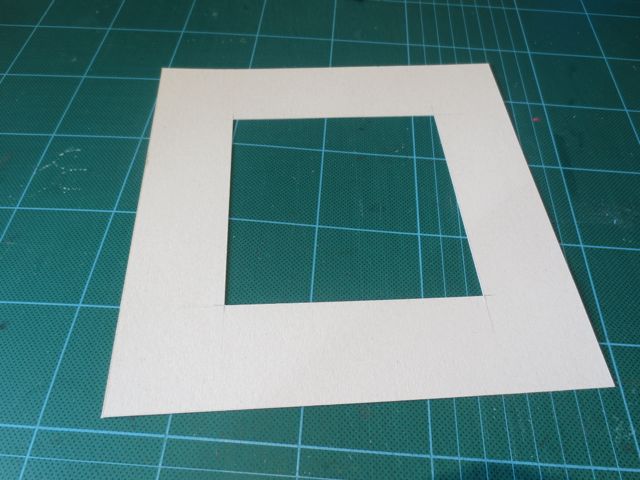
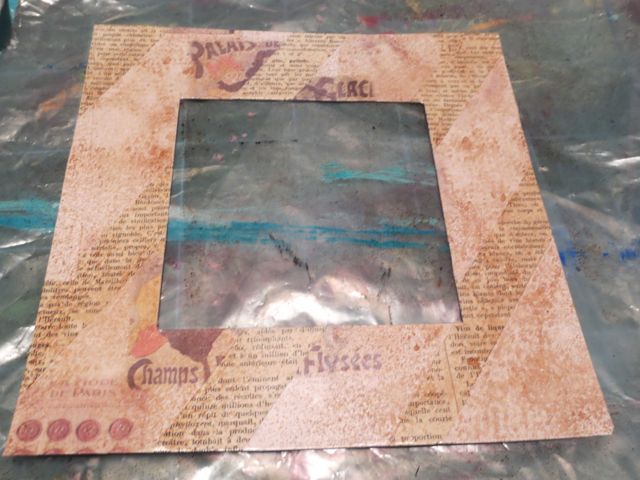
3. Decide on photo size and cut out middle of frame. Here I used a window of 4.5”x4.5”

mixed media photo frame

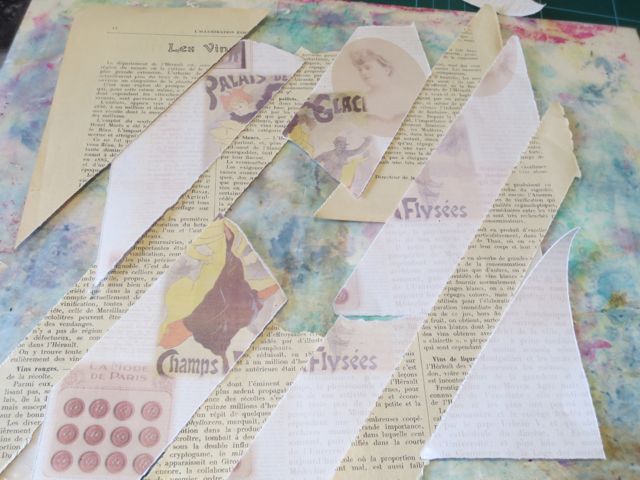
4. Tear ephemera sheets into strips. I used both the printed sheet and another piece of French text

tear up ephemera sheets

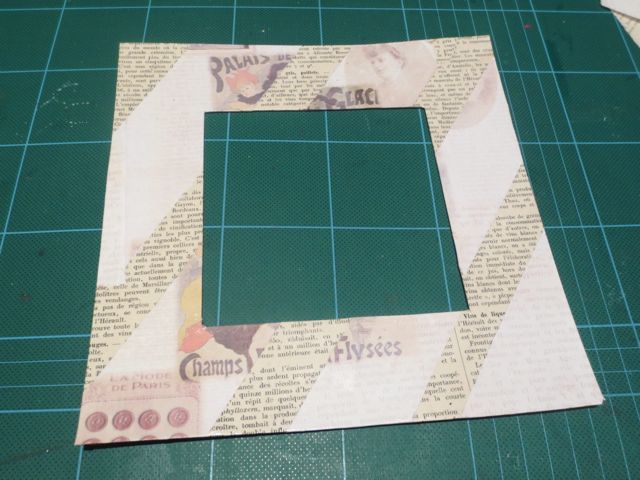
5. Using Mod Podge, adhere the strips onto the front of the frame and allow to dry.

mixed media ephemera collage

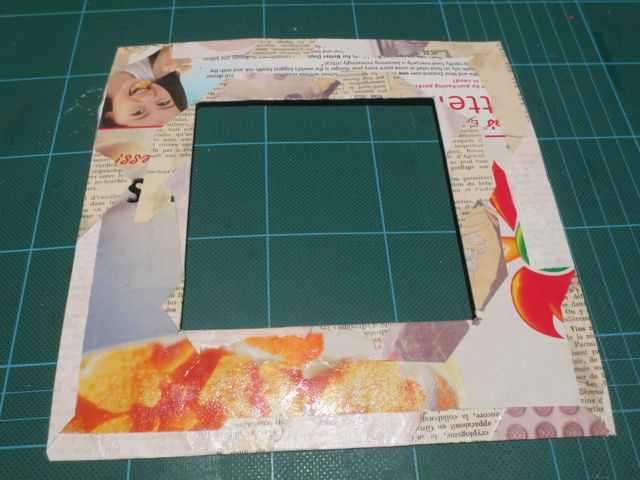
6. Then turn over and glue over the ephemera edges to make a nice finish around the edge of the photo frame.

 CelebrateFrance_07

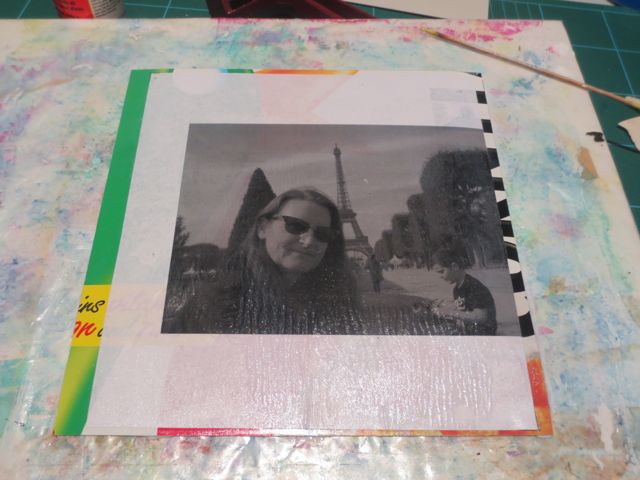
7. Add the Mod Podge to the backing piece of card and even out with the brayer. Add the photo and use the brayer to flatten out the photo. Set aside to dry.

mixed meida photo fraom

8. Add Walnut ink spray onto the ephemera sheets collage. This gives a nice antique tone and evens out the different ephemera strips

mixed media walnut ink

9. Glue the two layers together. I was worried about getting Mod Podge onto the photo when is spreads so I deliberately covered all of the photo and backing card with Mod Podge, then added the front frame. Weigh down and leave to dry over night.

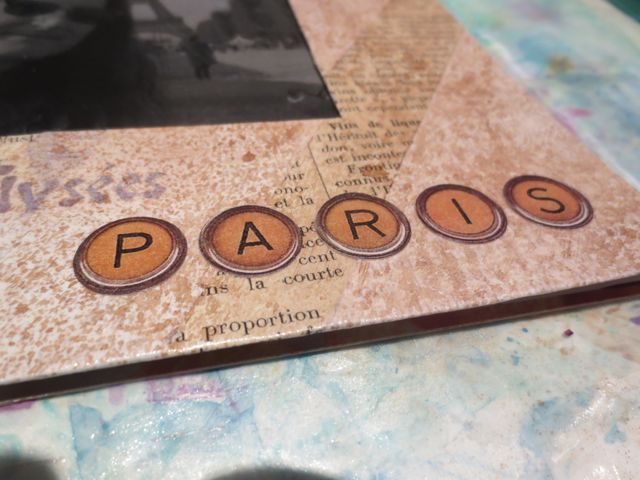
Finish with lettering

mixed media photo frame

I hope this project has inspired you to get some of your vacation pictures out of the computer and create a frame to put on display.

~*~*~*~*~*~*~*~*~*~*~*~*~*~*~*~*~*~*~*~*~*~*~*~*~

Michelle G. Brown is passionate about mixed media art and enjoys sharing her knowledge and techniques with you to allow you to express your own creativity. Michelle understands that many of us have an inner need to create. By learning a few basic techniques the amazing world of mixed media art is accessible to everyone!

Michelle lives with her husband and two boys in Melbourne, Australia.

~*~*~*~*~*~*~*~*~*~*~*~*~*~*~*~*~*~*~*~*~*~*~*~*~