Michelle G Brown | Mixed Media Art

You Can Draw Anything

~ * ~

This article was written by Melanie Statnick
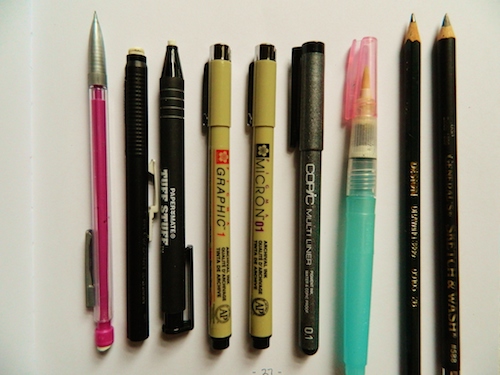
Learning to draw the simplest images and save money on stamps

Learning to draw the simplest images and save money on stamps

Hi I’m Melanie and I’m anArtsupplyaholic. I have everything I could possibly need and then some. Recently I went to a craft store to find yet another pencil with a specific led type that I didn’t need. Do you find yourself in this spot often? Too often?  I know the urge to shop for all the newest toys is on your mind the next time you get paid.  However when you’re on a budget this is the worst thing you can do with your already tight income.

As I looked around at all the new papers, canvases, pens, pencils, stencils, paints, brushes the urge to “just get it”…washed over me. As I looked at some of the coolest stamps I’ve seen I thought “What am I doing buying? I can draw this.”And so can you.  I know when it comes to stamps who can resist getting the cutest one or the one that is just perfect. I can’t tell you how many times I’ve heard from students “I can’t draw astraight line”.  Or just plain “I can’t draw”.   I didn’t leave that store with anything because I was determined to learn to draw my own images and save the 20 bucks.
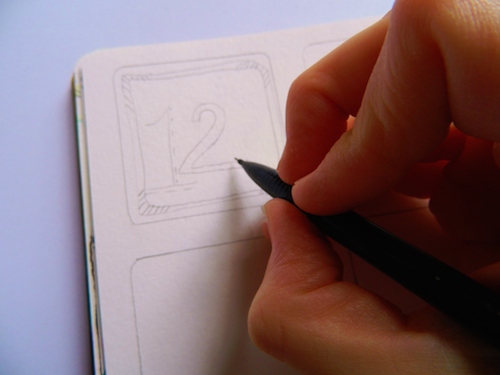
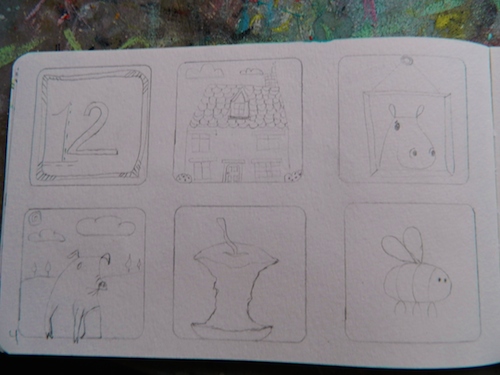
Learning to draw the simplest images and save money on stamps

Learning to draw the simplest images and save money on stamps

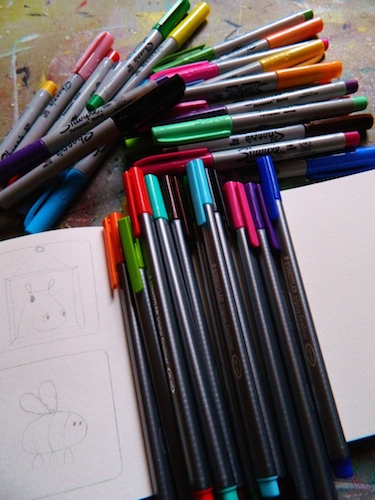
The simplest stamp of a snowman, a mason jar, pumpkin and more are some of the simplest stamps I’ve seen and we buy them for convenience. I’m a self-taught artist and I believe that I can learn anything. Over the last 4 months I’ve sat with my journals, pens, pencils, markers and watercolors and have been teaching myself to draw. Years ago I didn’t think I could until I practiced every day. That is all it takes. There are so many books on how to draw and websites that have an abundance of inspiration.  But are you any good?  Yes you are.  We have to get past being perfect, realistic and spot on. It would amaze you to know how many people appreciate the imperfect cute doodle.
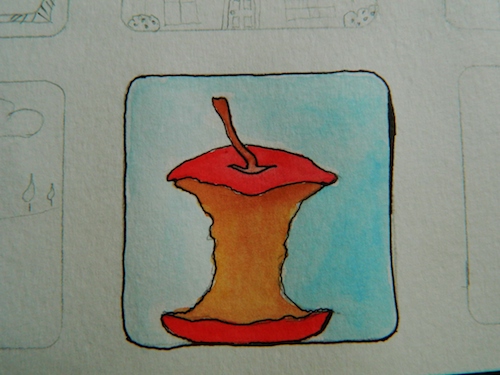
Learning to draw the simplest images and save money on stamps

Draw out 6 squares in a sketch journal and get your toes wet.  Be fearless with your drawings and learn to let go of how many Facebook “likes” your photo of your drawing gets. What is most important is that you like what you draw and you can draw a straight line. Practice 6 block drawings for 21 days and watch how amazing you become. Stop buying and start drawing.

~*~*~*~*~*~*~*~*~*~*~*~*~*~*~*~*~*~*~*~*~*~*~*~*~

Melanie Statnick is a published artist/writer out of North Carolina. Melanie creates art daily from her private studio. Her style is happy and whimsy. Statnick’s artwork can be found in art galleries and shops extensively in NC with international private collections. Learn more about Melanie view her website at: www.melaniestatnickart.com

~*~*~*~*~*~*~*~*~*~*~*~*~*~*~*~*~*~*~*~*~*~*~*~*~

.

.
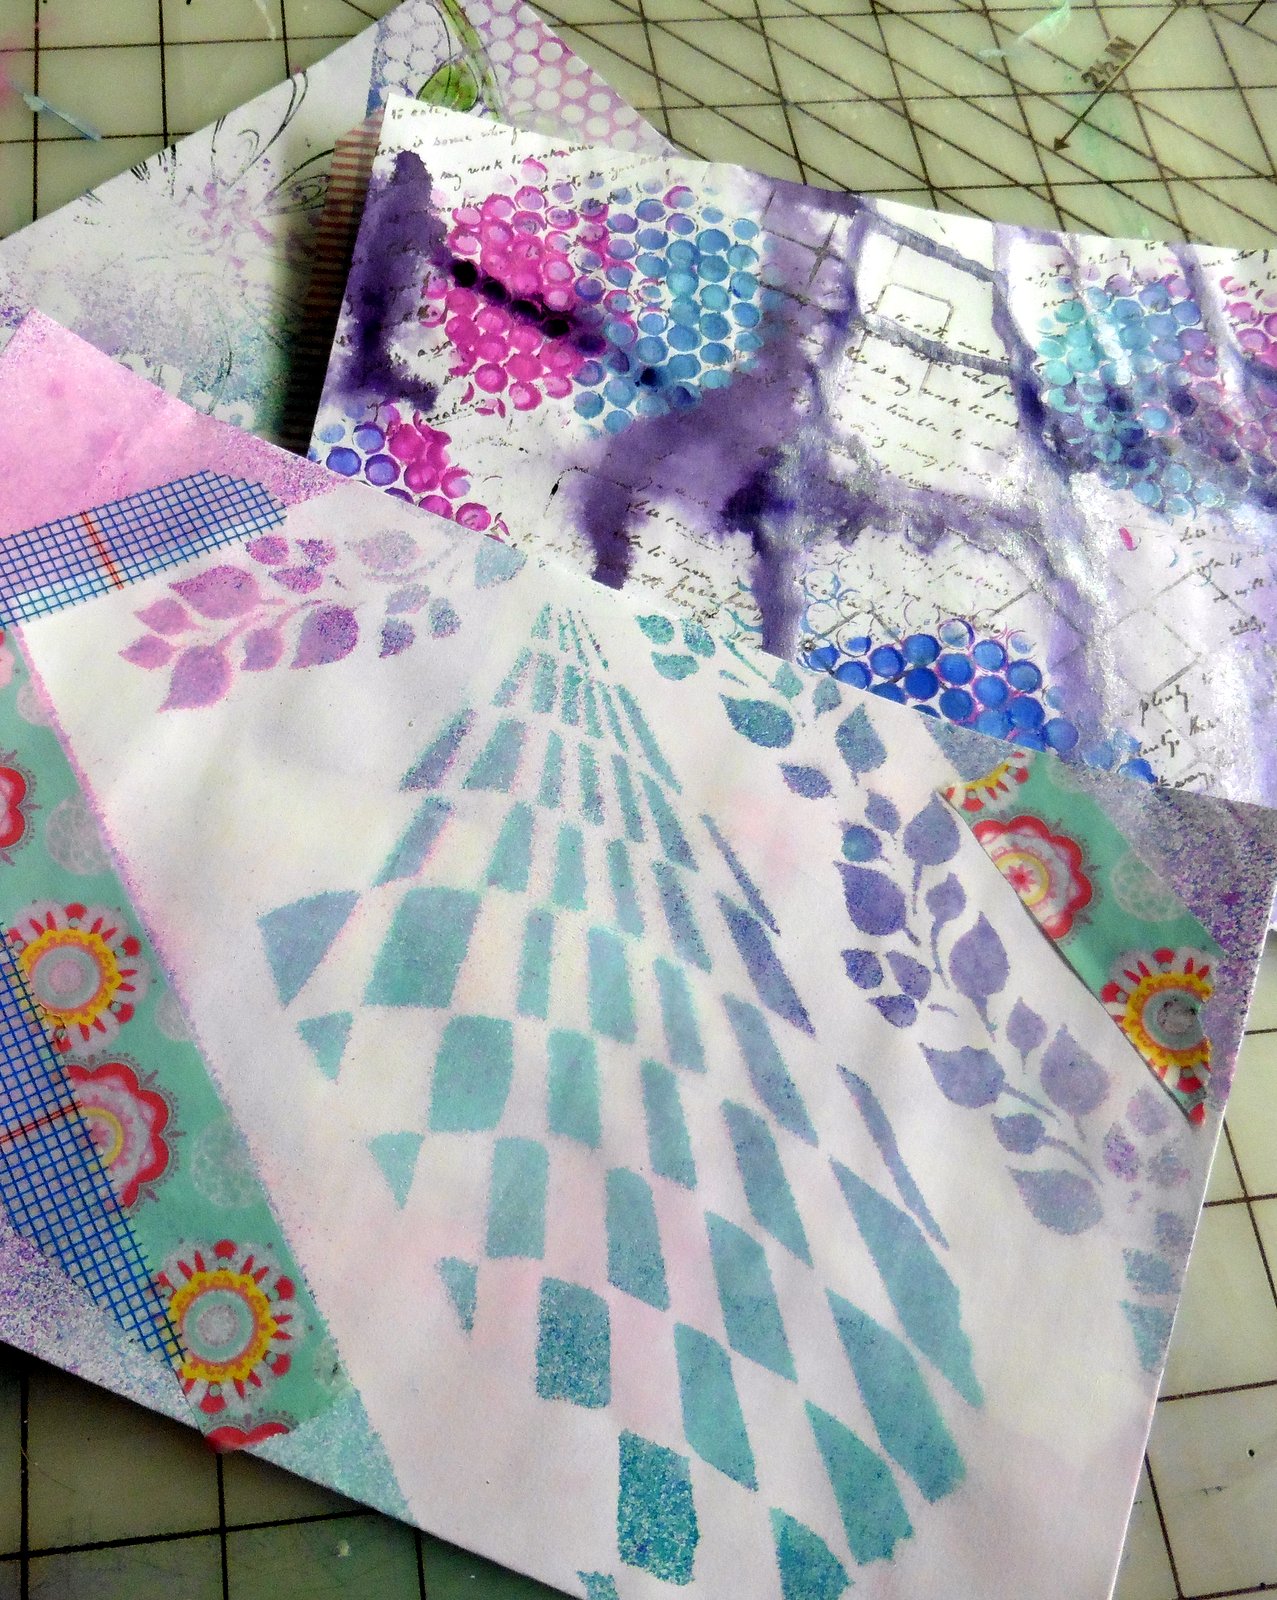
What is Mail Art and How Do I Send it?

~ * ~

This article is written by Tamara Dinius

Mail art is created by the artist and generally sent via the postal service to the end receiver. Although the receiver of the mail art will be thrilled with the package, it may be surprising to realize how many others are also touched by the art. Each and every person who handles the mail en route will have an opportunity to view and enjoy your piece of artwork and it’s nice to be able to make someone’s day more cheerful!

Basic 5x7 white envelope mail art

I started sending mail art to my daughters when they were in college. At first, I created mail art using mixed media art techniques on white envelopes. I added phrasing or quotes that I thought my daughters would enjoy. My husband took the letters to the post office for mailing and was surprised at the response from the clerks behind the counter. They loved them! They even asked where we had purchased them. When he explained that I made them, they were quite impressed …and this made my day!

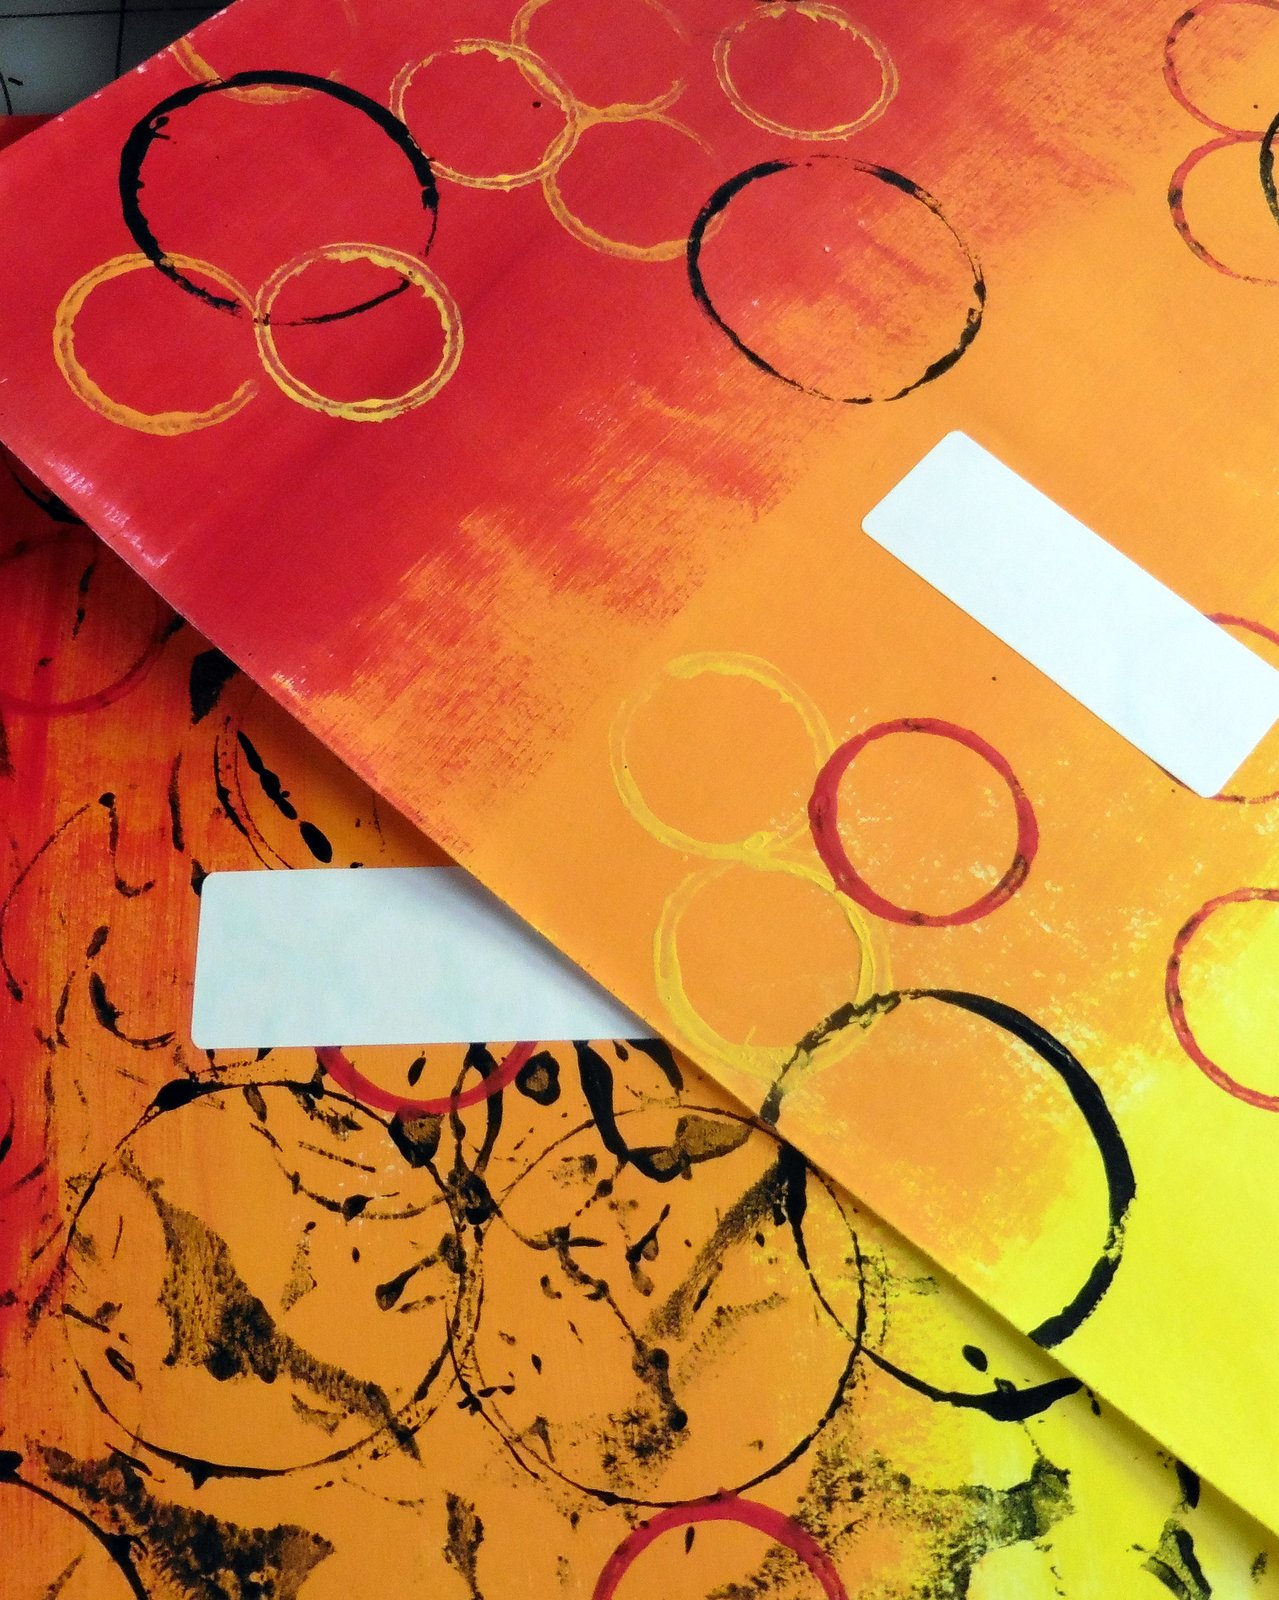
Drips and texture on mail art

I still use mixed media techniques but many of my envelopes have become quite grand. I have experimented with using the standard goldenrod office envelopes, as well as the brightly colored envelopes that you can purchase at your office supply store. I have enjoyed using all the different products but typically come back to the basic white envelope for most of my mailings. I find the colors I use show up more vibrantly on the white…and this girl is all about color!

Using vibrant acrylics in mail art

I have also started packaging my Etsy store orders in these envelopes when sending out a shipment. It is a nice way to say “thank you” to the buyer for purchasing from my store.

Mail art is easy to send and does not require anything special prior to posting at your local post office (send you husband..he will love the response he gets). I typically add a white label with the recipients address for ease of sorting, but it is not required at my local post office. I would encourage you to check with your local post office to find out if they have any special requirements but I have sent hundreds of my mail art without an issue.

The holidays are a wonderful time to send some mail art when sending out your holiday cards!

Using vibrant acrylics in mail art

~*~*~*~*~*~*~*~*~*~*~*~*~*~*~*~*~*~*~*~*~*~*~*~*~

Tamara Dinius lives in the Pacific Northwest with her husband and chocolate lab. She has two grown daughters who make her life meaningful. They support her, ground her, embrace her, and are amazing people in their own right.

Her love for mixed media has taken over most aspects of her creative journey. She believes mixed media allows for a broad range of styles and anyone can find success in this form of artistic expression.

You can find more of Tamara’s work on her website countrycraftersusa.comEtsyshop,  or via her Facebook

~*~*~*~*~*~*~*~*~*~*~*~*~*~*~*~*~*~*~*~*~*~*~*~*~
.

.
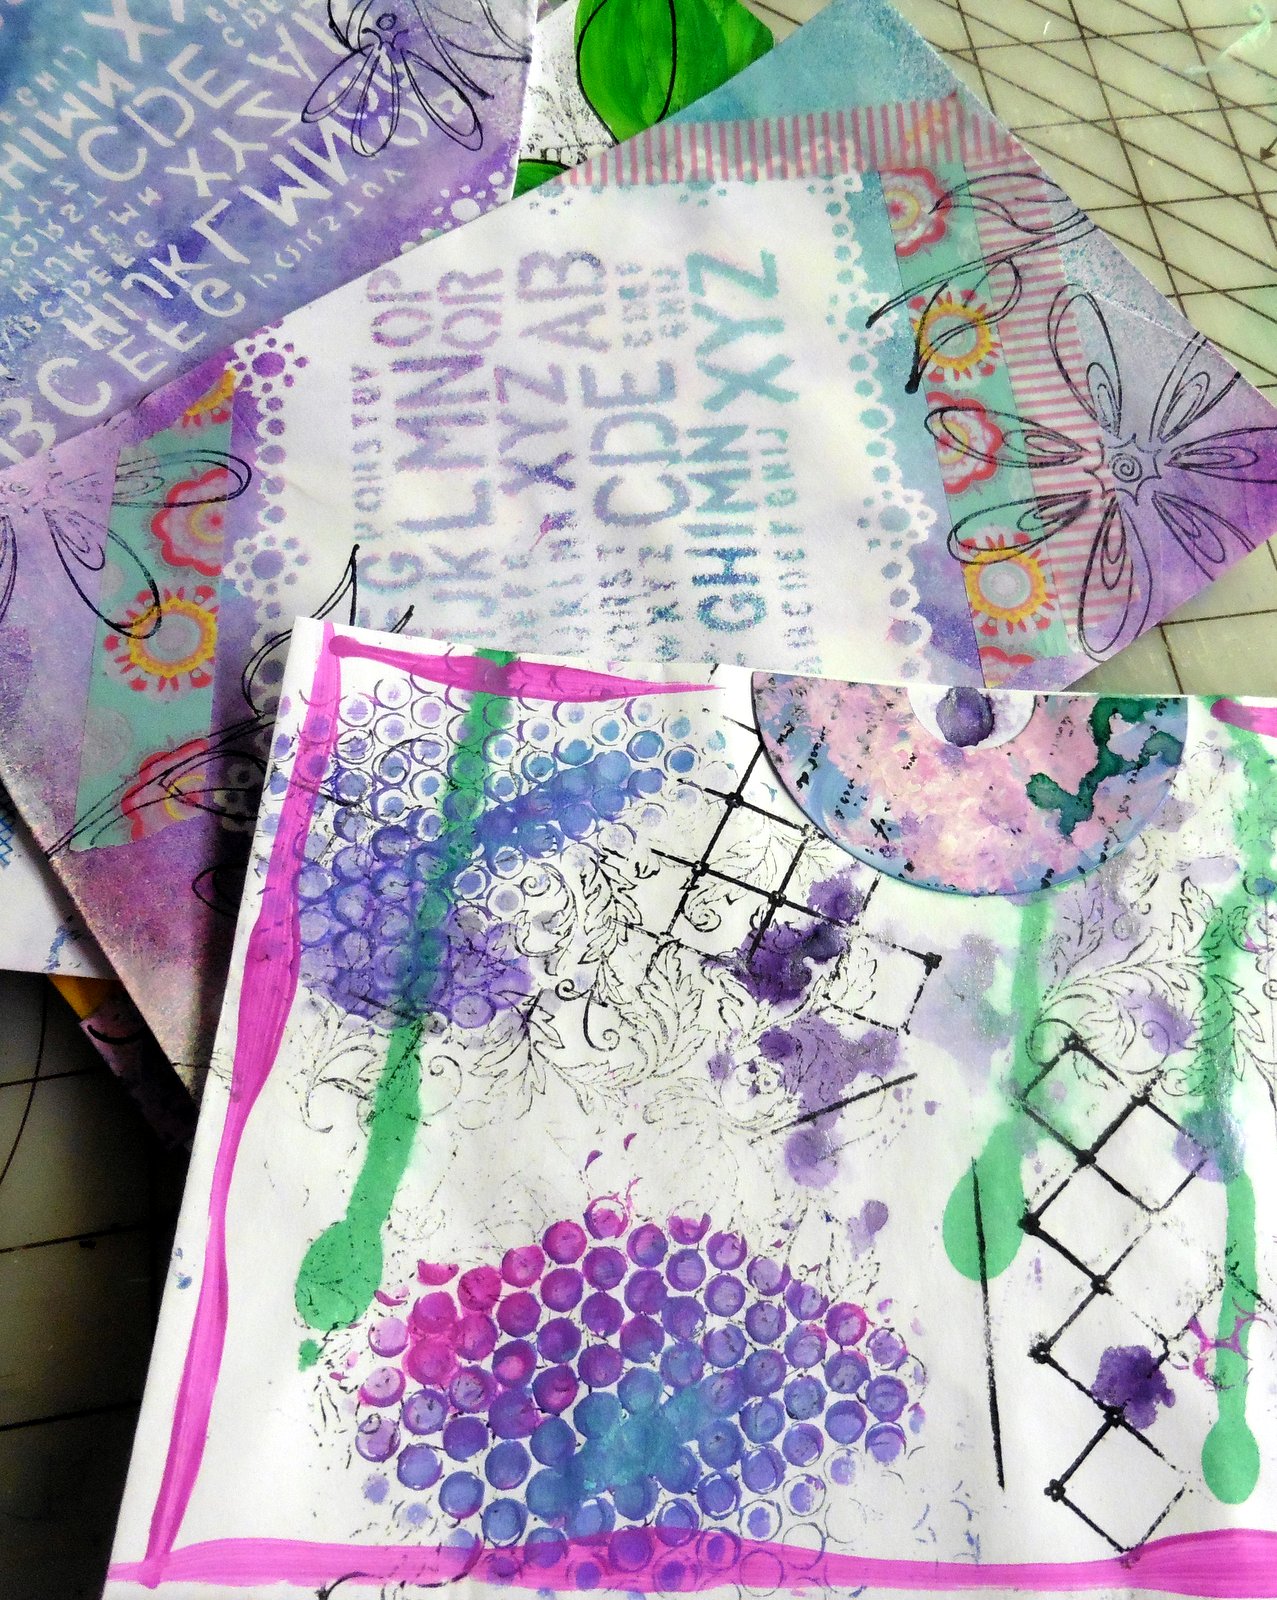
Printers Tray Art

~ * ~

This article is written by Shari Welch

Type cases or printers trays were manufactured from around 1890 to the 1960’s. They are wooden trays divided into sections to hold the various letters of a typeface for print. All type cases were finished by hand and were fitted with a hanger. They were well constructed because metal type is heavy. The trays were stored in vertical racks, grouping the different type styles into families. Today artists take advantage of the unique frames to create one of a kind pieces of art.

close up tray

There are many printers trays out there. They come in different sizes, colors, shapes, and number of sections. You can find them at craft stores and online.

I was excited to share this project because there truly is not much skill to it. It is mostly a matter of layering different elements. You can create one that is very simple or more detailed. I will be demonstrating some mixed media techniques you may want to try to take it to the next level.

Lets get started!


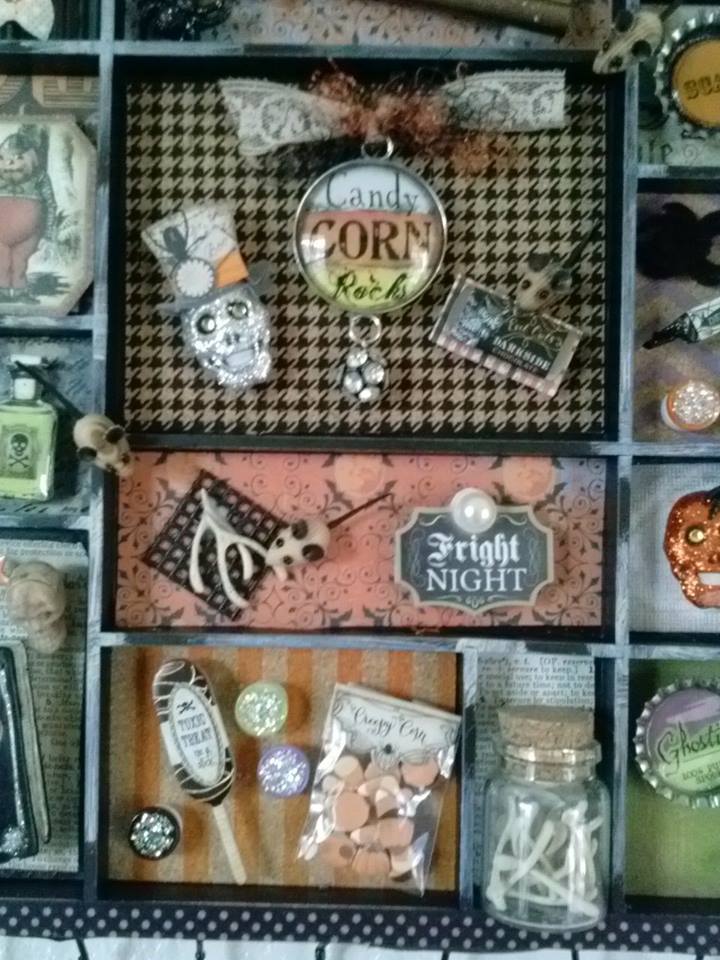
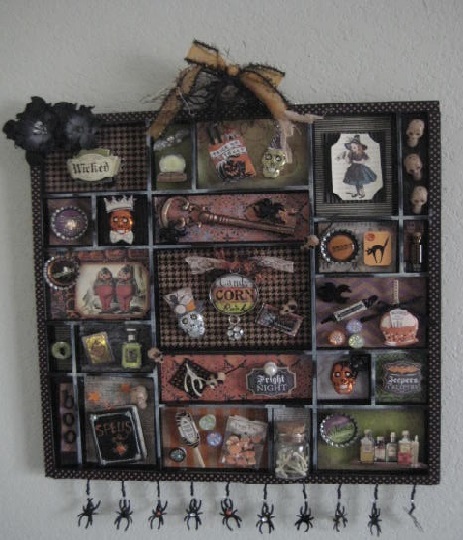
With Halloween just around the corner, I decided to create a Halloween themed printers tray. I absolutely can not get enough of Halloween.

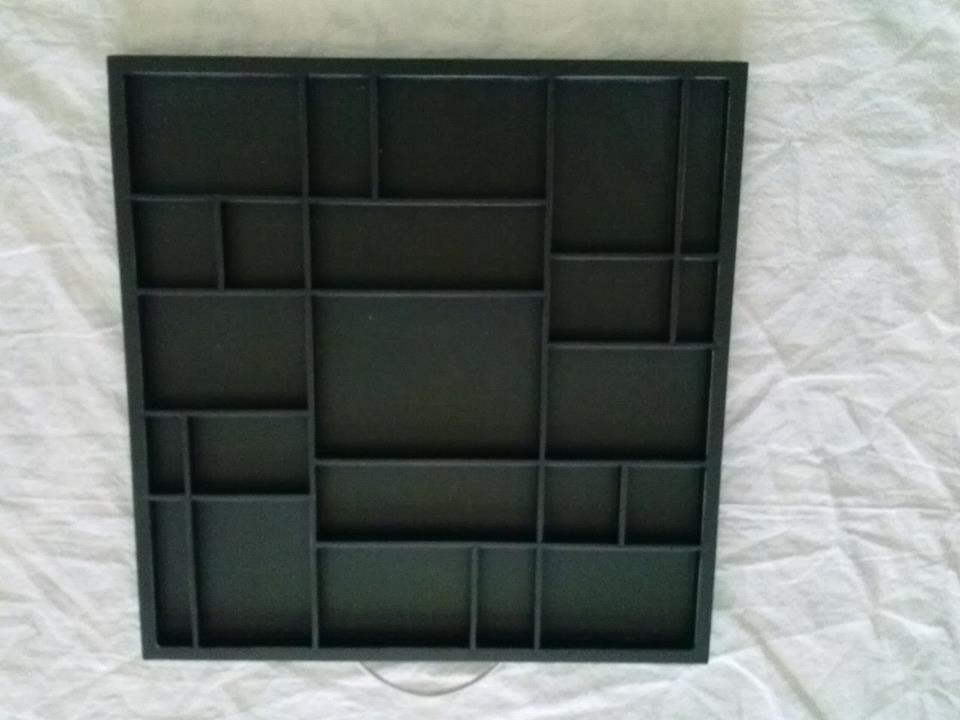
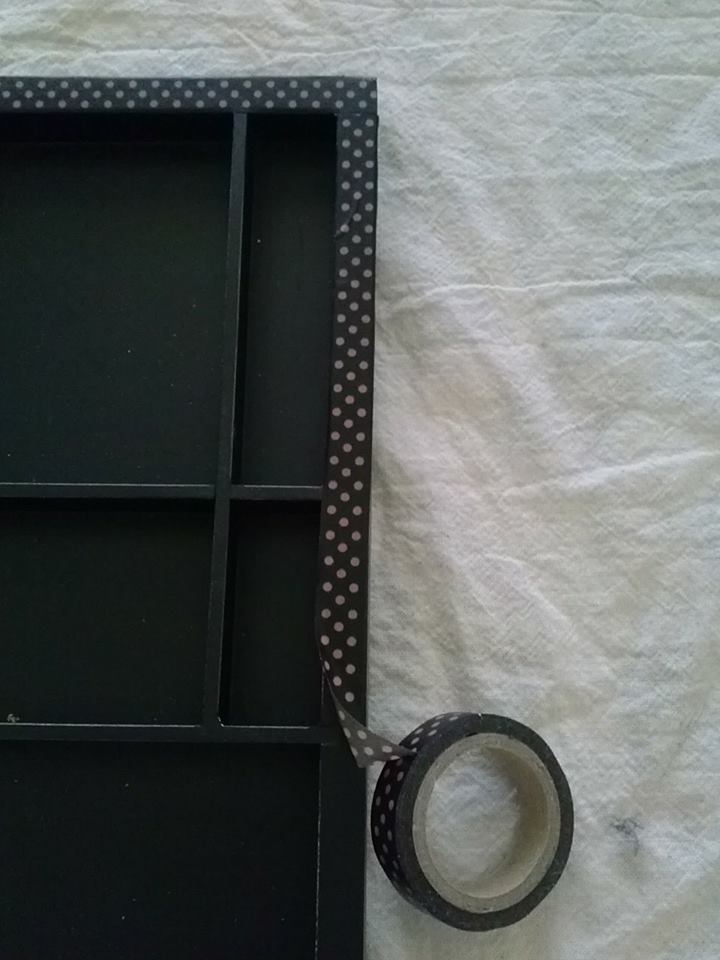
I chose a tray that was already black (as I was going to paint it black anyway) and had a lot of sections. I used washi tape to decorate the edge of the frame.

I chose a tray that was already black I used washi tape to decorate the edge of the frame

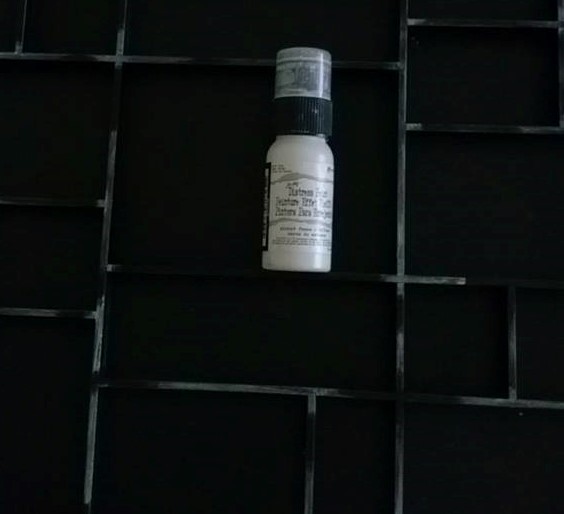
Next,to give it some interest, I used Tim Holtz distress paint (picket fence) to define some of the edges of the sections.

adding distress paint to add interest

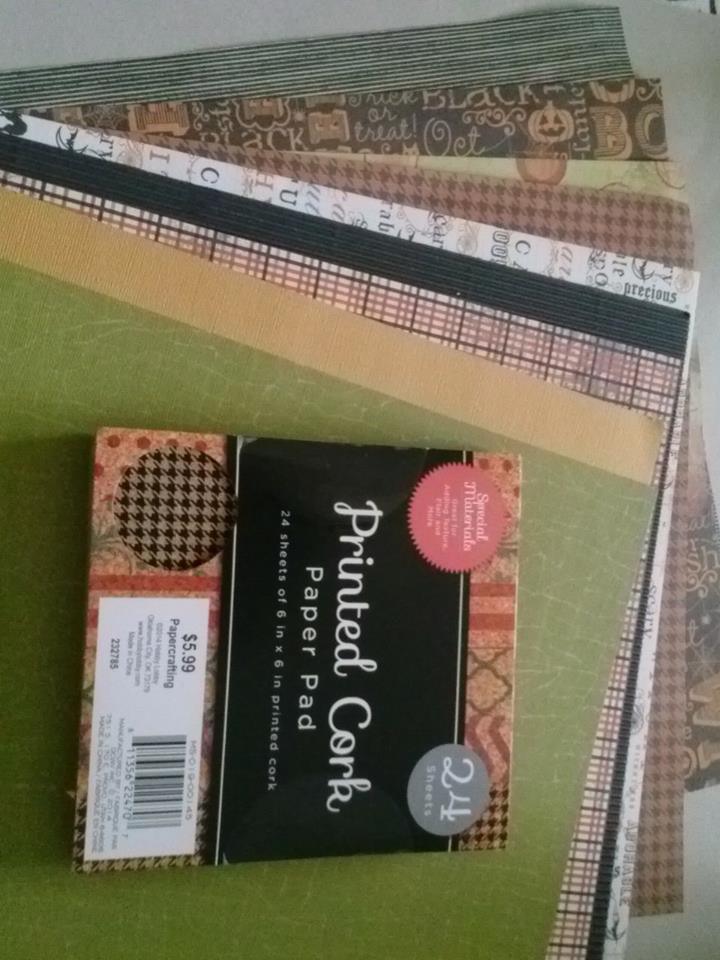
I picked out a few interesting coordinating papers and printed cork sheets to fill up the backgrounds sections.

decorative paper and printed cork

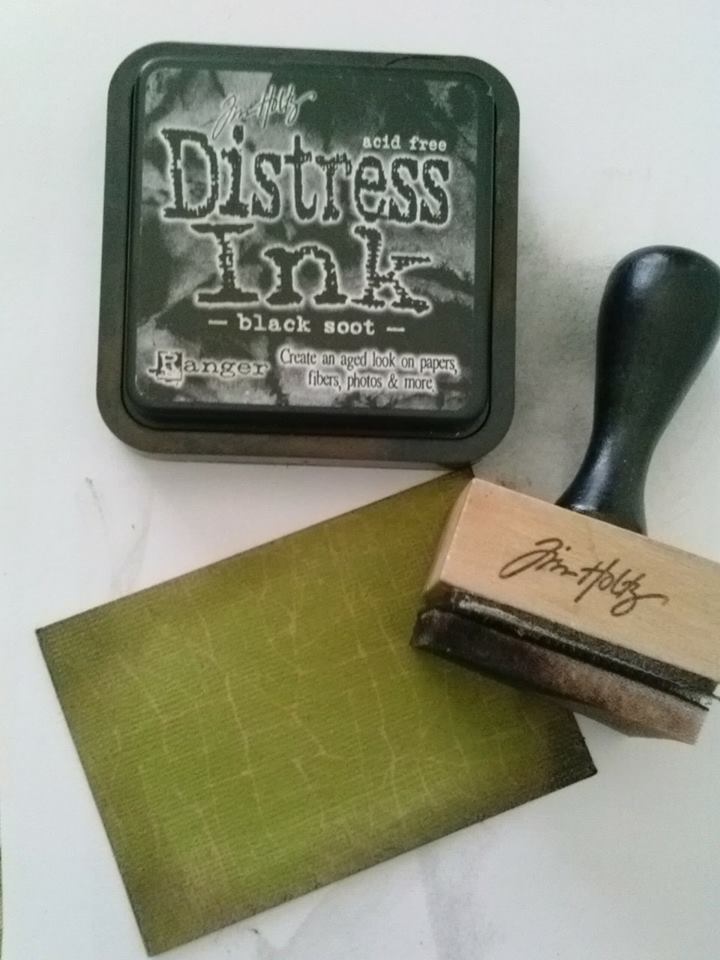
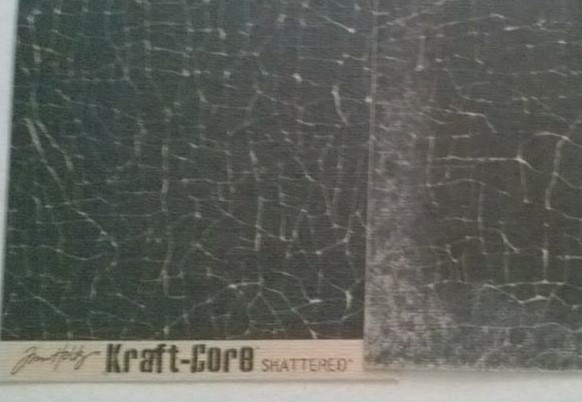
Next came distressing a few of the papers edges using Tim Holtz distress ink (black soot) and sandpaper on Tim Holtz Kraft core paper. Note: Kraft core will hold up to sanding, tearing, embossing, distressing.

distressed paper with distress ink

kraft core paper
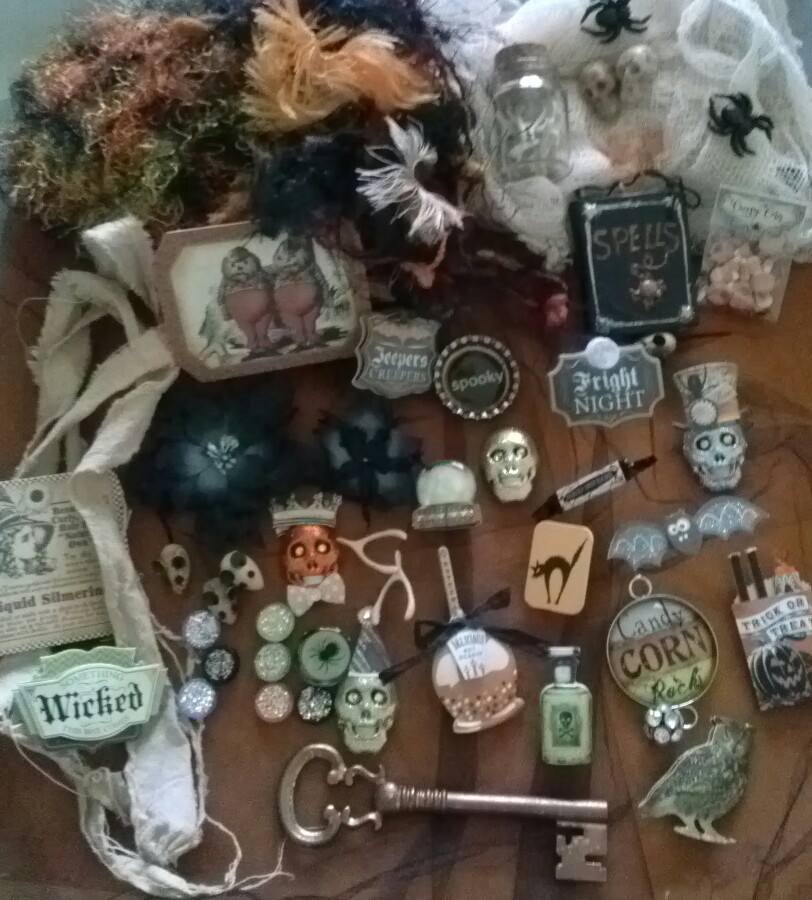
The fun really starts as you figure out what you want to put in the tray. You can add items from a trip, little bits and pieces of things you love, collections, photos, I could go on and on.

The fun starts when choosing your items

IMPORTANT:

One thing I can’t stress enough is that to lay everything out before you glue anything down. Not the background, the type, charms, nothing. I moved elements around a few dozen times or more before they found their permanent homes. I also glued down one section at a time after I was happy with the placement.

Helpful hints: Consider using 3D foam adhesive pieces to help your items look as if they are coming off the page. To age lace or ribbon you can soak them for a few hours in tea. I used Aleene’s tacky glue for the backgrounds and Weldbond glue for attaching my treasures.

Now it’s your turn to create your one of a kind piece of art.

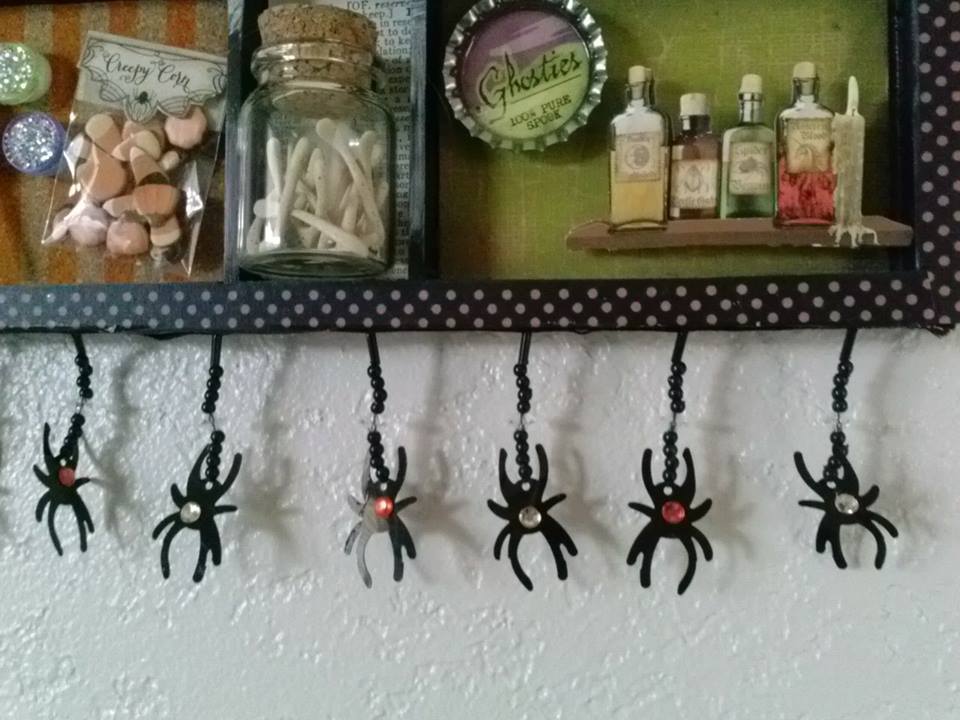
finished tray


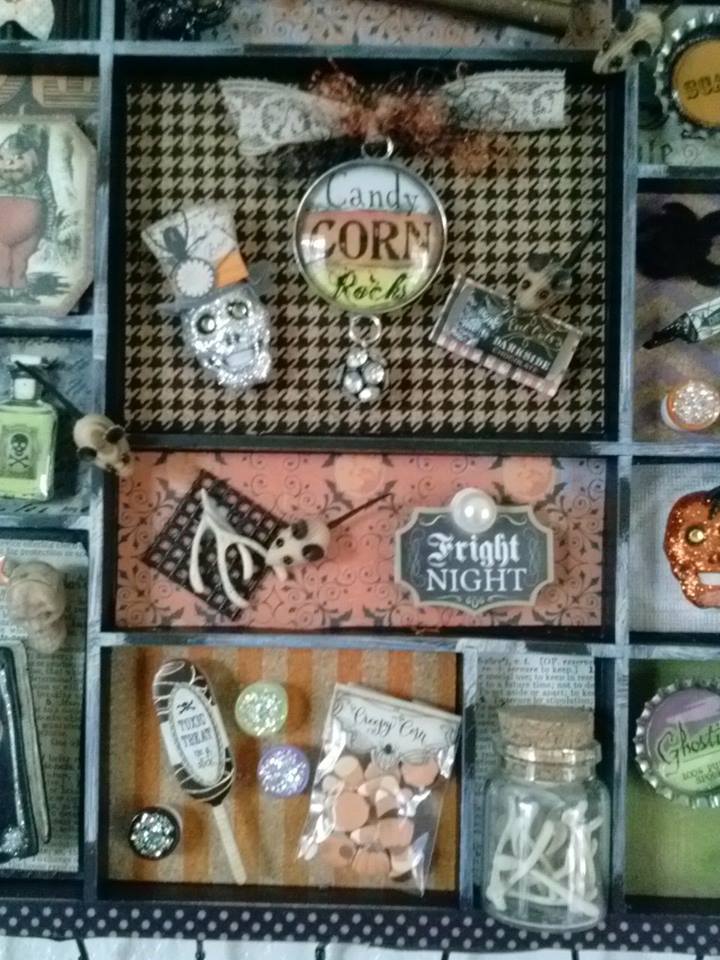
close up tray

spider ribbon tray

~*~*~*~*~*~*~*~*~*~*~*~*~*~*~*~*~*~*~*~*~*~*~*~*~

Shari Welch is a mixed media artist living in Denton Texas. She is known for using reuse and recycle materials in her artwork. She volunteers for SCRAP Denton  where she is on the education committee, teaches workshops, art camp, and performs art demos. She is passionate about mixed media art and enjoys helping others discover their creativity.

You can follow Shari and see her mixed media art at facebook.com/my.altered.life and on her blog Shariwelch.blogspot.com

~*~*~*~*~*~*~*~*~*~*~*~*~*~*~*~*~*~*~*~*~*~*~*~*~

.

.
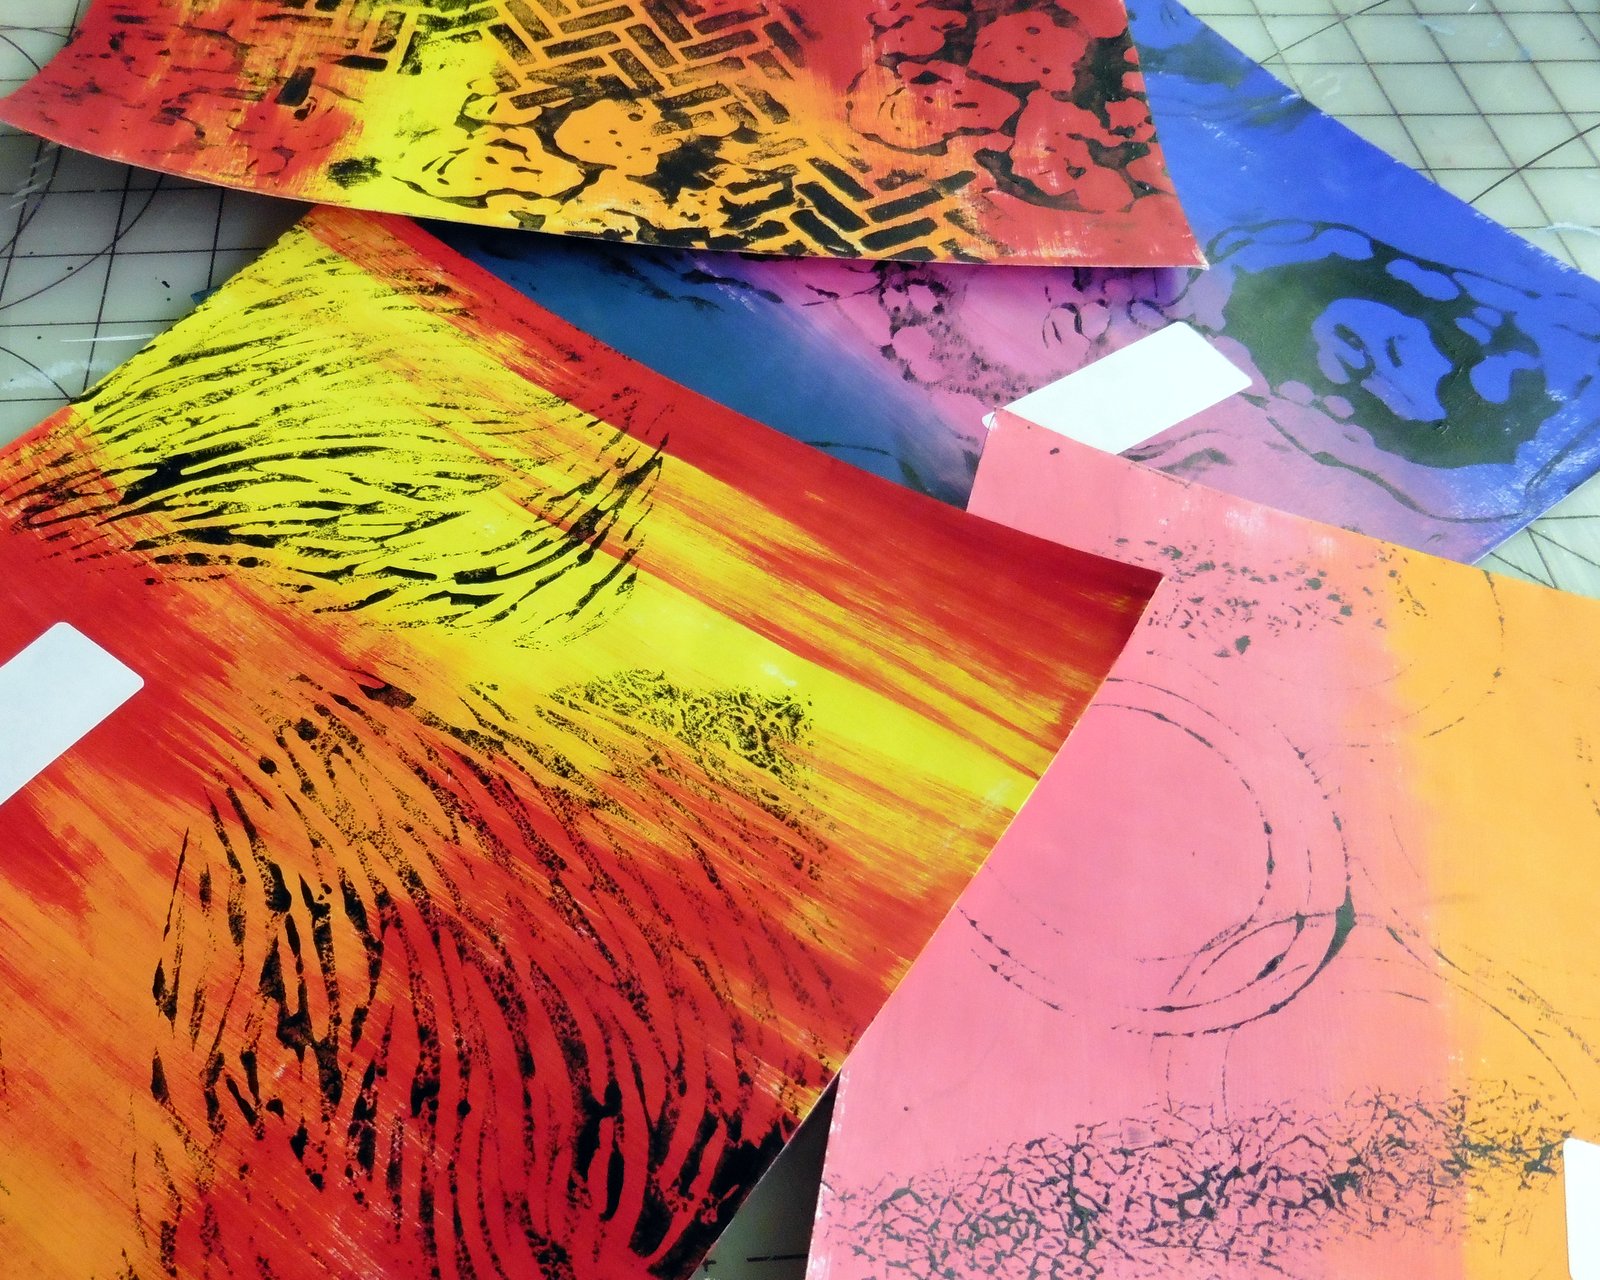
Purchased Products in Craft Kits Can Be Pretty too!

~ * ~

This article is written by Kim Kelley

I cannot believe how fast time is flying by. In our household we have a daughter who is now a Senior in high school, a son who is a Junior in college at NAU and a son who is a Tucson police officer and I can still see them as the little kids running down the stairs to open their Christmas presents. Needless to say even though two of the three are no longer living at home, extra time is still not finding its way to my house.

If you have the same problem then you may want to do what I do and purchase kits. Don’t get me wrong…I scoop up anything that catches my eye, but there are times that I enjoy opening up a kit that has everything in it that goes together. From matching papers to color coordinating flowers; a kit allows you to stop guessing about putting things together.

One of my favorite places to buy kits is the Flying Unicorn. Each month they offer 4 kits that complement each other, bad thing I usually buy all 4!

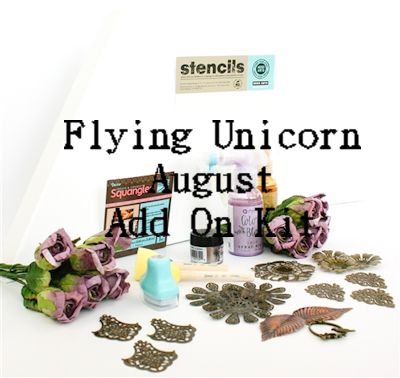
The kit that I am working with is from August’s Mixed Art Add On kit…

using purchased kits can help focus our crafting effortsFlying Unicorn August Add On Kit

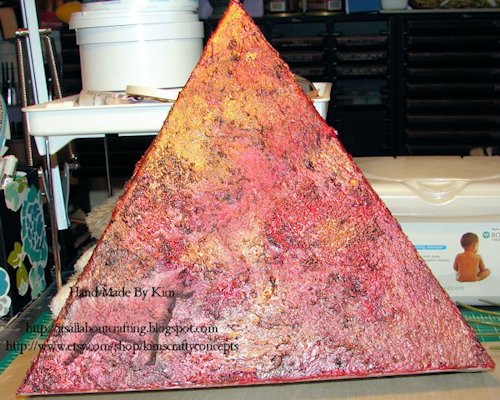
The kit came with a triangle shaped canvas; which I loved working with, some flowers, metal pieces ink and sprays. I found myself in a rather red mood rather than purple so I changed it up a bit.

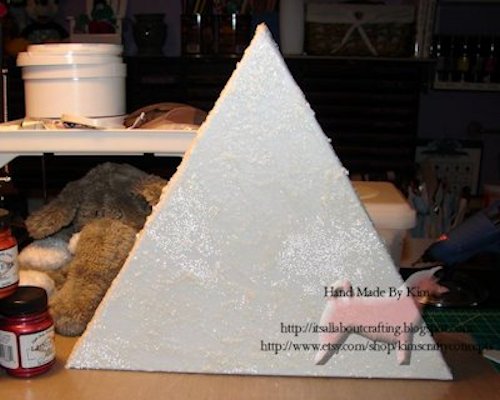
Taking you step by step…I used glass bead medium by Golden, heavy gel by Golden and white flake also by Golden for the base layer on the canvas. I applied it haphazardly so it does not look the same throughout.

using purchased kits can help focus our crafting effortsTexture Medium Layer

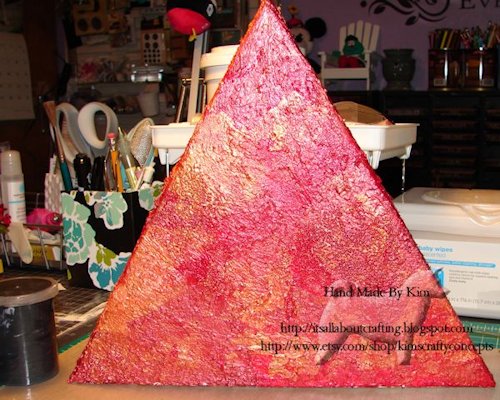
After allowing it to dry I started to add my paints. Using sponges I added Crimson, Burnt Orange and Metallic Russet Lumiere paints by Jacquard onto my canvas. After that layer dried I added a mix of black acrylic paint, silver powder and gel medium; sponging it on and with a bit of water wiped it off.

using purchased kits can help focus our crafting effortsPaint Layer

using purchased kits can help focus our crafting effortsBlack Layer

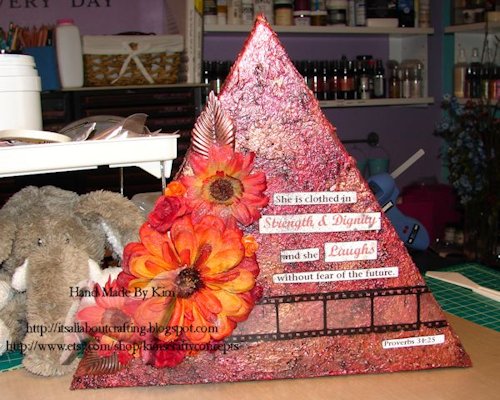
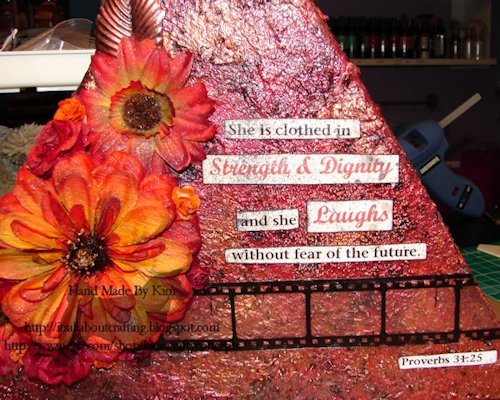
Then added some flowers, metal leaves, film strip and of course the quote.

using purchased kits can help focus our crafting effortsFinished Project

using purchased kits can help focus our crafting effortsClose Up Of Quote

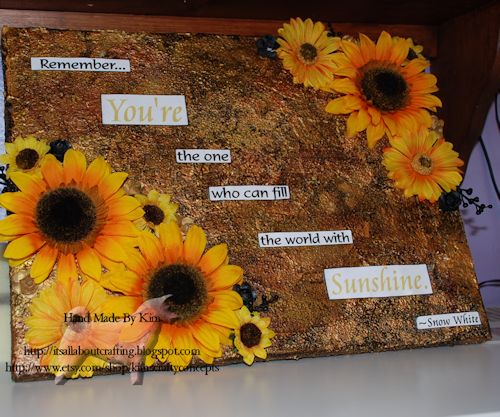
using purchased kits can help focus our crafting effortsGold Project

Life is short, do something creative every day!

~*~*~*~*~*~*~*~*~*~*~*~*~*~*~*~*~*~*~*~*~*~*~*~*~

Kim Kelley is borderline obsessive about her crafting and her art. She loves mixed media art because you are free to go beyond your comfort zone, using your imagination and exploring an anything goes mind set. Kim loves to learn and explore new techniques and hopes that any art she creates leads someone to find their inner creative artist!

You can see more of Kim’s work at her blog and Facebook page

~*~*~*~*~*~*~*~*~*~*~*~*~*~*~*~*~*~*~*~*~*~*~*~*~

.

.