Michelle G Brown | Mixed Media Art

Dina Wakely Paints – Michelle Style!

~ * ~

This article is written by Michelle G. Brown

I had so much fun reviewing the Dina Wakely Paints and you can read the article here: Painting with Dina Wakely Paints
mixed media artist Michelle G. Brown

Now here is the detailed tutorial for painting with these paints, Michelle style.

Painting Michelle Style

Materials and tools

10” x 12” canvas

Dina Wakely Paints

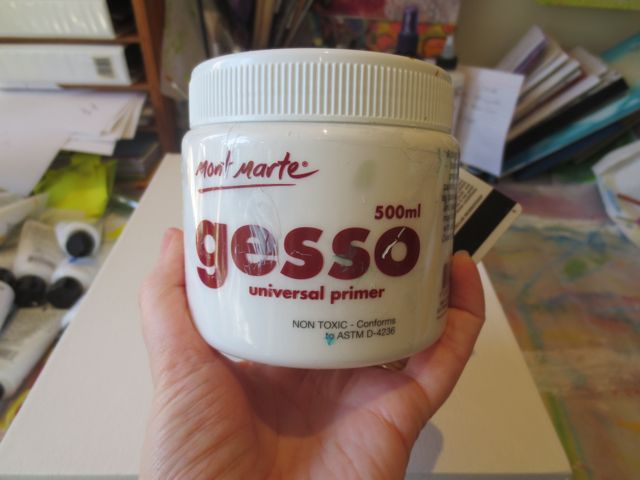
Gesso

Impasto Medium

Sequence Scrap

Masking tape

Stencil Girl Stencils

Scrap paper

Removable Adhesive

Black Markers i.e. Golden Black pen Montana Marker with Golden Fluid Acrylic

Archival Inks – Wendy Vechi Range

Mini ink blending tool

Mixed Media Painting Process

1. Gather up your blank canvas or art journal
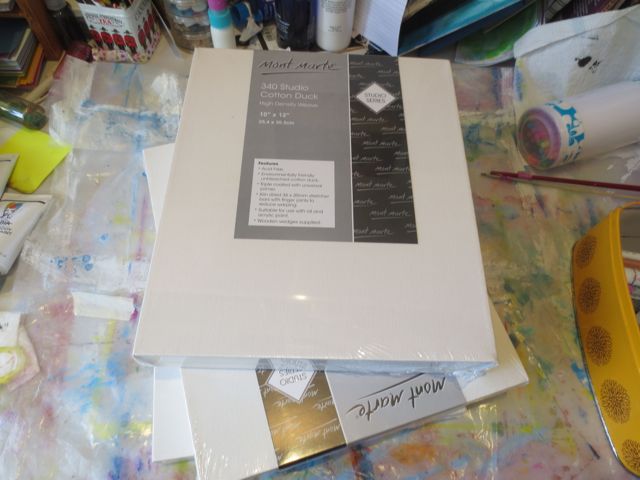
mixed media paints by Ranger

2. Prime with Gesso and leave to dry

mixed media paints by Ranger

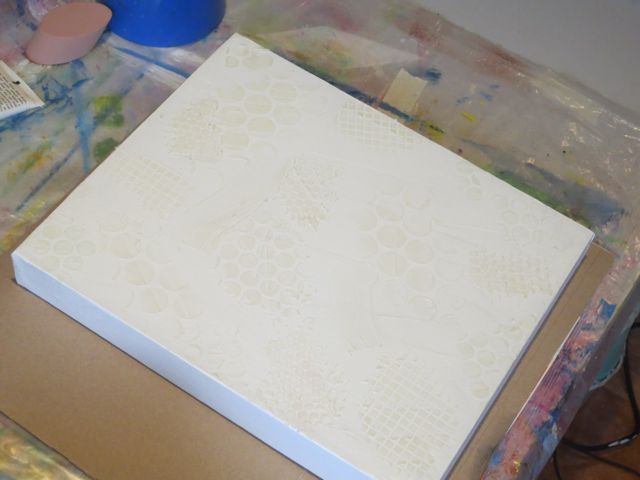
3. Add texture with Impasto medium and Sequence Scrap
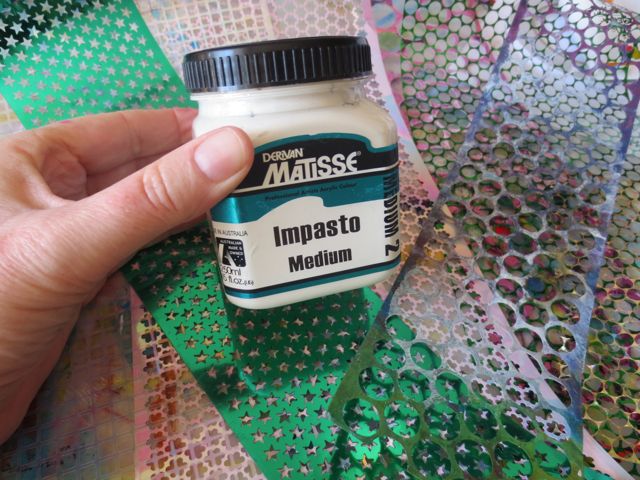
mixed media paints by Ranger

4. Leave overnight to dry

mixed media paints by Ranger

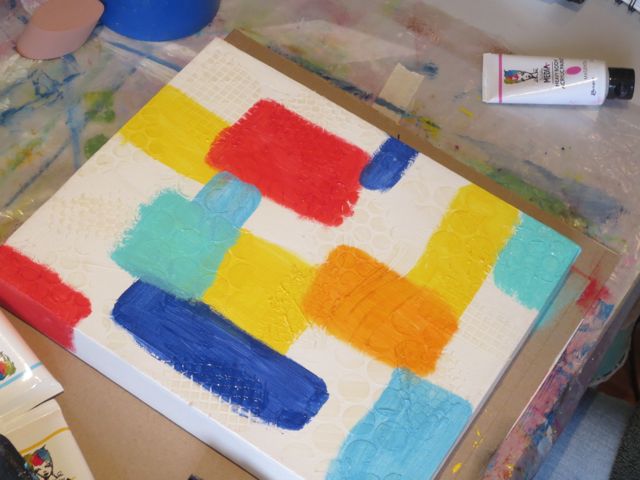
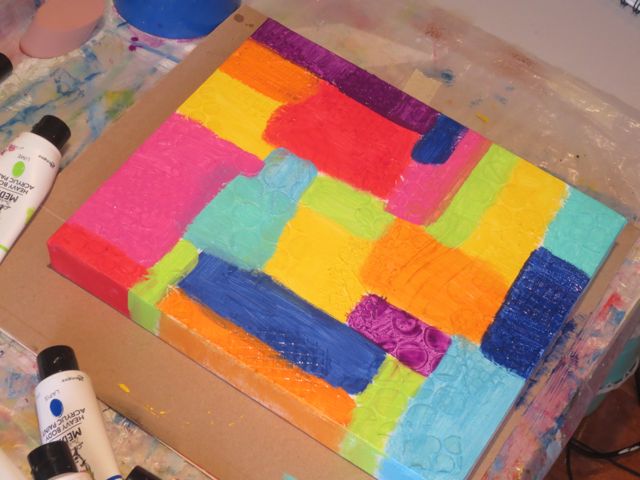
5. Add colour with the acrylic paints. I took a fancy to painting squares and rectangles
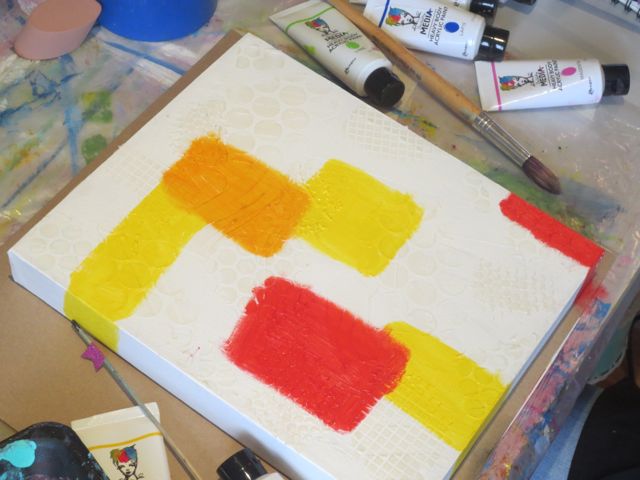
mixed media paints by Ranger

mixed media paints by Ranger

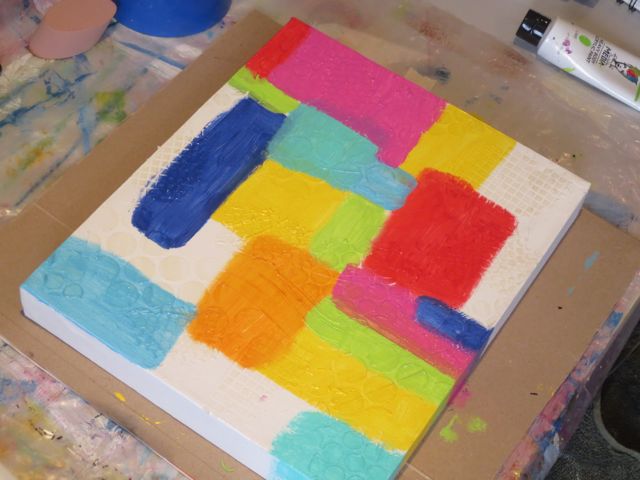
Continue to build up colours

mixed media paints by Ranger

mixed media paints by Ranger

Leave to fully dry

6. Use the Masking tape to add masked lines to the painted canvas. Here I added angles and torn ends and edges to add interest
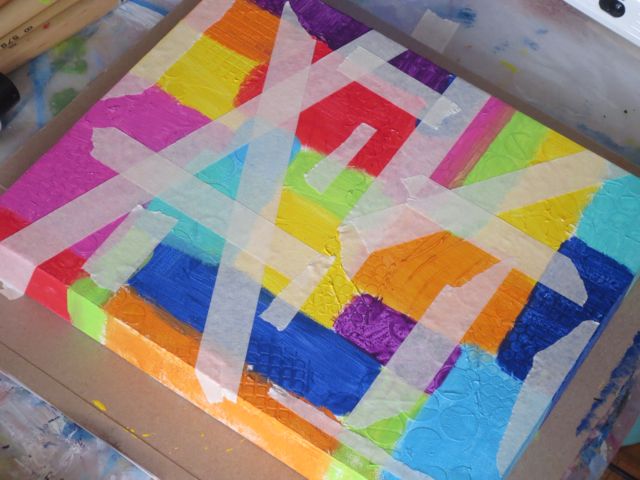
mixed media paints by Ranger

7. Add a layer of Gesso,applied with an old credit card
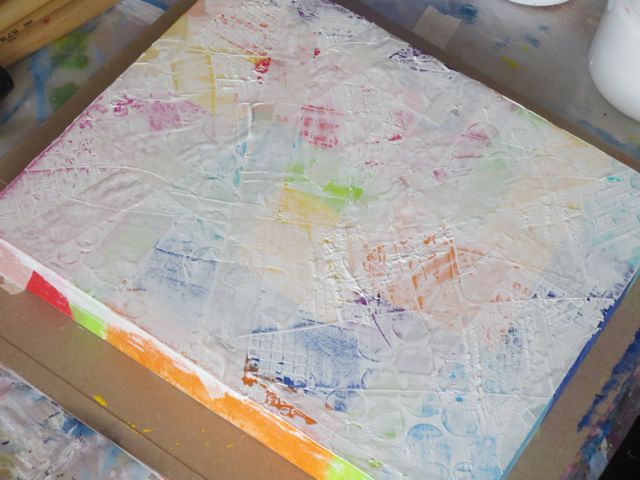
mixed media paints by Ranger

8. While gesso is still wet, carefully remove the masking tape. Take care with this step; it can get a bit messy!
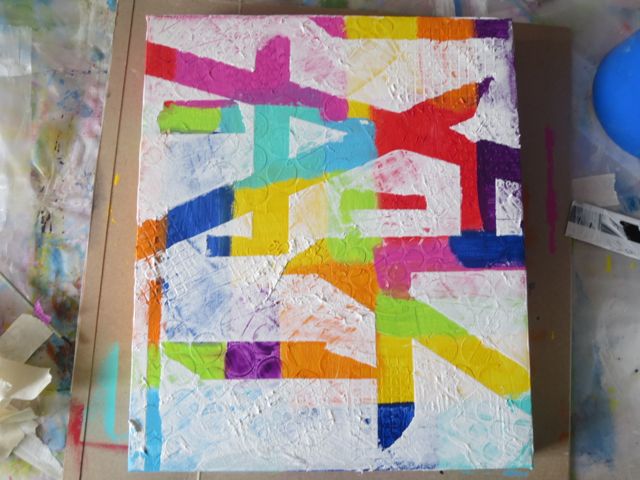
mixed media paints by Ranger

9. Using your range of black markers, outline “roads” and add other features.
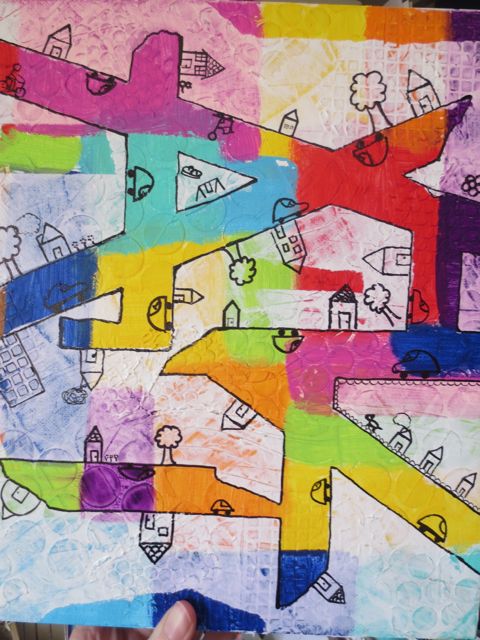
mixed media paints by Ranger

Take care with your “good” markers; the gesso seems to ruin some of them! My favourite (xxx0 was the best but I also needed a thinner line.

Also, if you want to do lots of doodling, I’d suggest (next time) to use less impasto medium! While I loved the effect, I was annoyed with the bumpy surface while trying to draw straight lines!

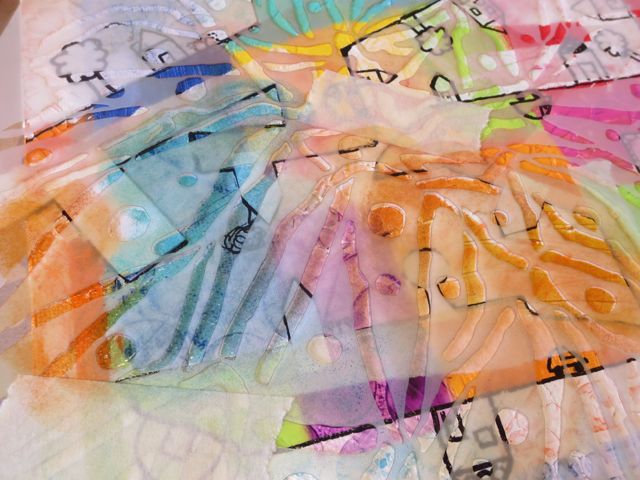
10. Now to fill in the areas between the roads. Each sea was masked sperately, using masking tape and scrap paper with removable adhesive to help hold them in place.

(Again, next time, I may use bigger or less doodles; there was LOTS of masking here!!)
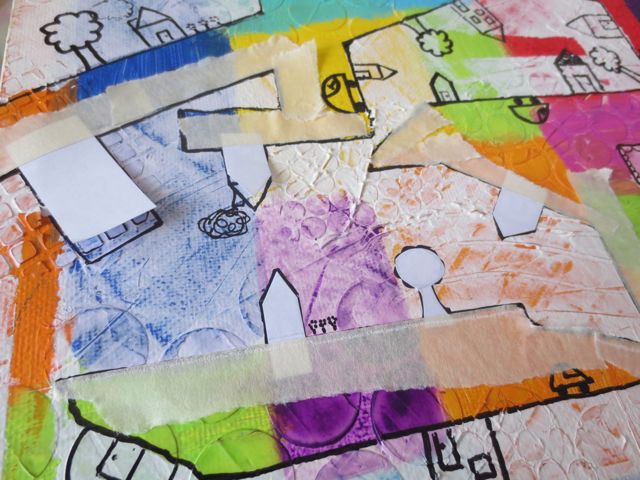
mixed media paints by Ranger

11. Gather your stencils – here I used the August Stencil Club stencils
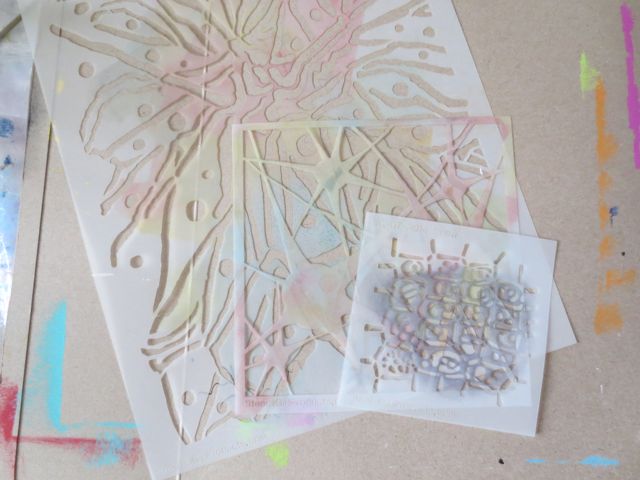
mixed media paints by Ranger

12. Then I stencilled with the Archival inks, using two shades to add more depth. I tried to use similar colours to those of the painted background, underneath the gesso.
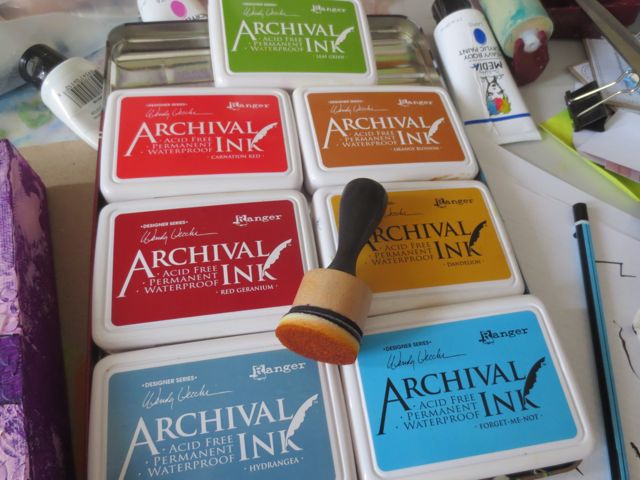
mixed media paints by Ranger

13. Put the stencil in place and add a little masking tape to hold it.
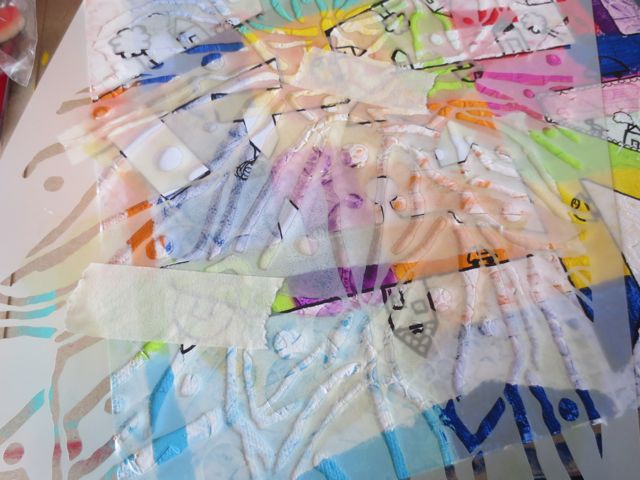
mixed media paints by Ranger

14. Add ink

mixed media paints by Ranger

15. Remove Stencil

mixed media paints by Ranger

16. Remove the masks and admire your work.
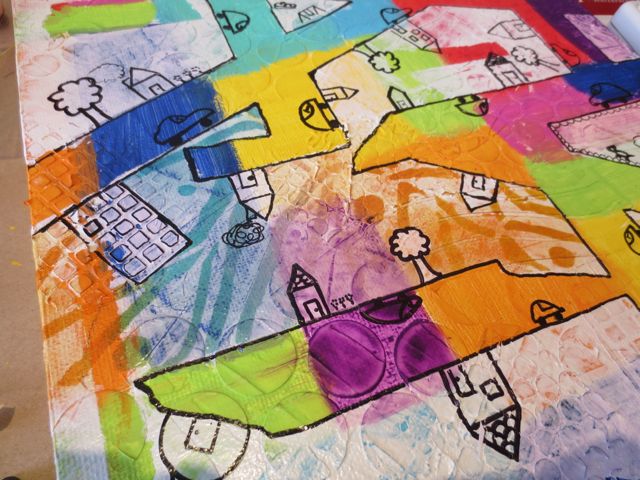
mixed media paints by Ranger

17. Repeat steps 10 to 16 for each area you have. For this size of canvas, I found three different stencil designs was a good number to ensure consistency of pattern but not having too much repetition or the same pattern “touching”.

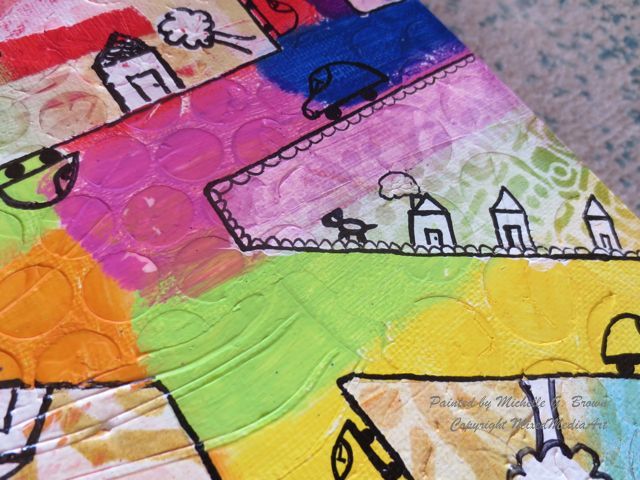
18. Add a few finishing touches and admire your work. I feel this one still needs some words, but the right ones haven’t come to me yet!
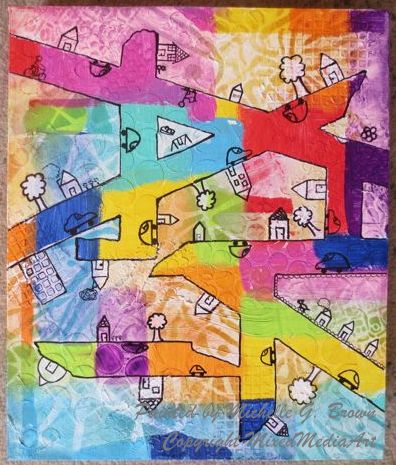
mixed media artist Michelle G. Brown

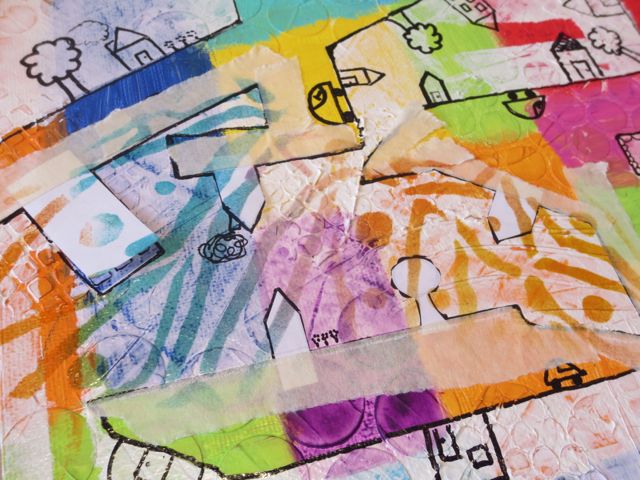
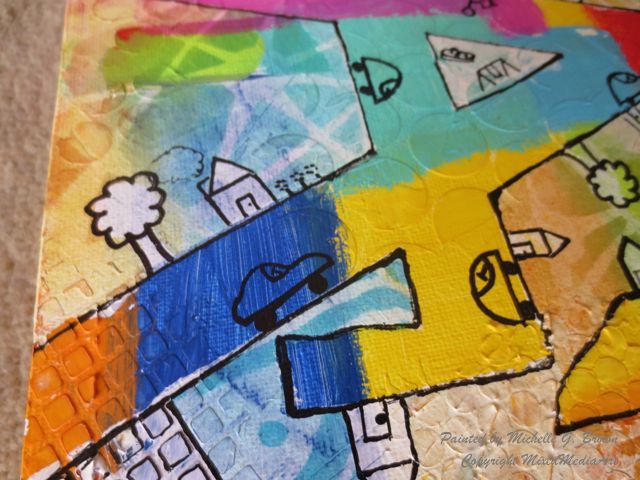
And a few close ups

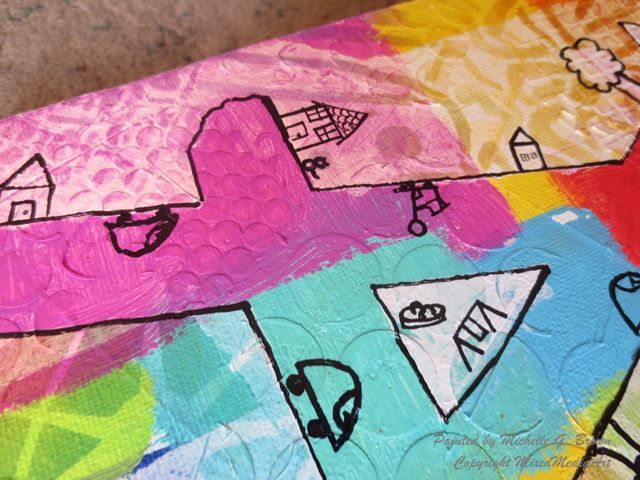
mixed media artist Michelle G. Brown

mixed media artist Michelle G. Brown

I hope you have enjoyed following along as much as I enjoyed created this piece!

You are welcome to leave a comment below, especially if you’ve made it to the end!!

Happy creating!

~*~*~*~*~*~*~*~*~*~*~*~*~*~*~*~*~*~*~*~*~*~*~*~*~

Michelle G. Brown is passionate about mixed media art and enjoys sharing her knowledge and techniques with you to allow you to express your own creativity. Michelle understands that many of us have an inner need to create. By learning a few basic techniques the amazing world of mixed media art is accessible to everyone!

Michelle lives with her husband and two boys in Melbourne, Australia.

~*~*~*~*~*~*~*~*~*~*~*~*~*~*~*~*~*~*~*~*~*~*~*~*~

Disclosure: These paints were bought with our own money.  All opinions are that of the MixedMediaArt team. Some links on this page may be affiliate links and any purchases help to support the ongoing work by MixedMediaArt.
.

.
Encaustic and Origami Collage

~ * ~

This article is written by Vicki Ross

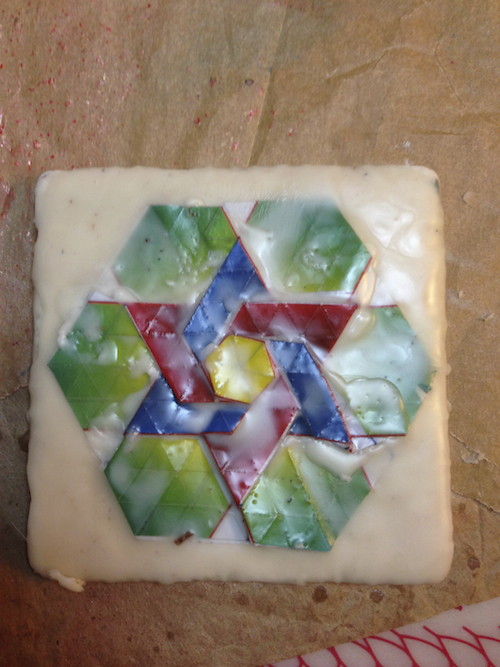
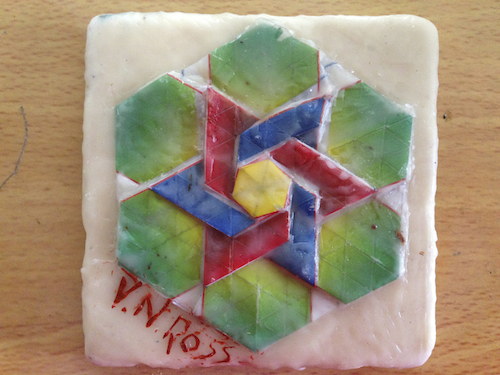
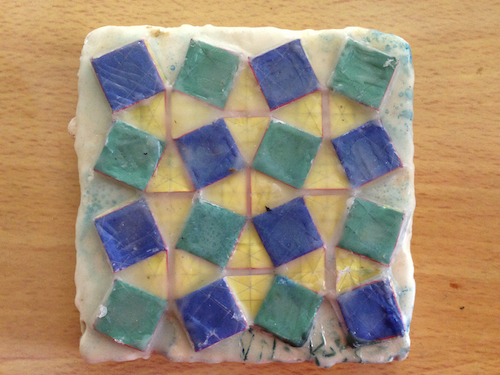
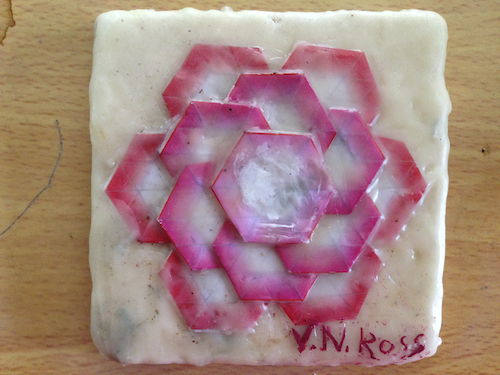
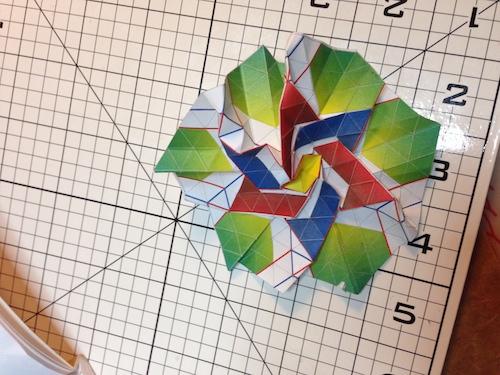
Love our local thrift store, Helping Hands in Bentonville, AR. Found an origami kit that followed me home. Since I like to see how I can incorporate these types of treasures into my regular art (I think that’s an oxymoron…my regular art 🙂

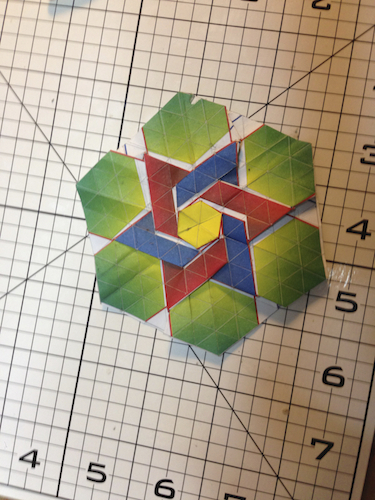
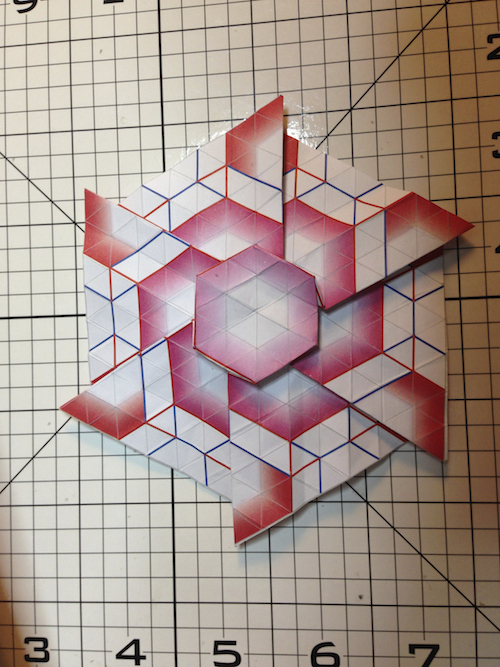
Anyway, I tried folding paper. MUCH harder than it looks. And, of course instructions were not the best. I had to fudge a few folds.

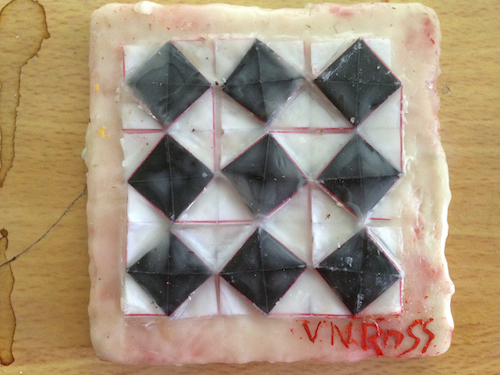
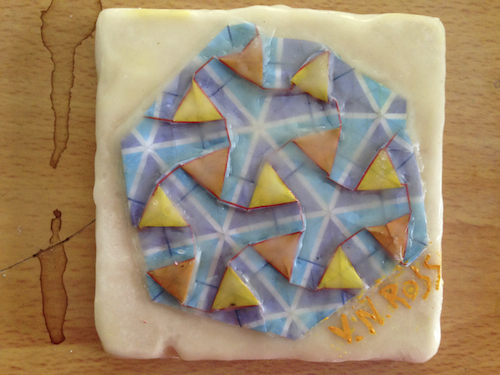
encaustic tiles with mixed media collage

encaustic tiles with mixed media collage

encaustic tiles with mixed media collage

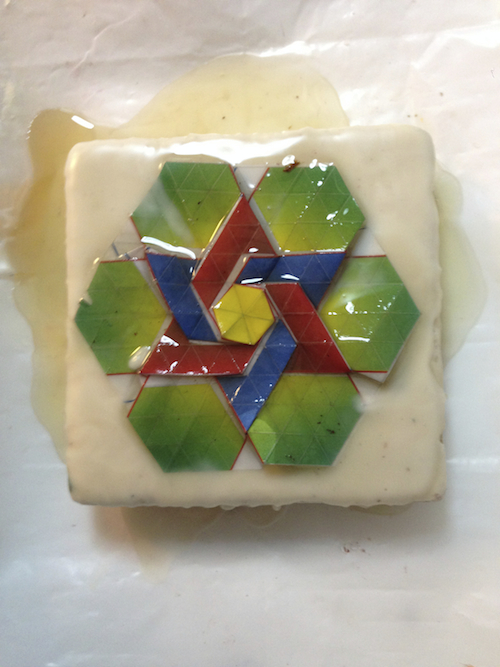
Next, I took 4″ square tumbled marble tiles and coated them with a couple coats of plain encaustic medium (beeswax and damar resin, I make my own). Yup, visit all those flowers and bring the pollen home to my web. Shoot, my colony. Then, off to Madagascar to drain sap out of the damar tree. (I made that up, FYI)

encaustic tiles with mixed media collage

encaustic tiles with mixed media collage

Each gets a pour because I wanted to keep the three dimensional look of the folded paper. After two pours, fusing, I took a brush and made sure all crevices were filled. When cool, I scraped back as far as I could, again maintaining the 3-D look.

encaustic tiles with mixed media collage

encaustic tiles with mixed media collage

encaustic tiles with mixed media collage

encaustic tiles with mixed media collage

encaustic tiles with mixed media collage

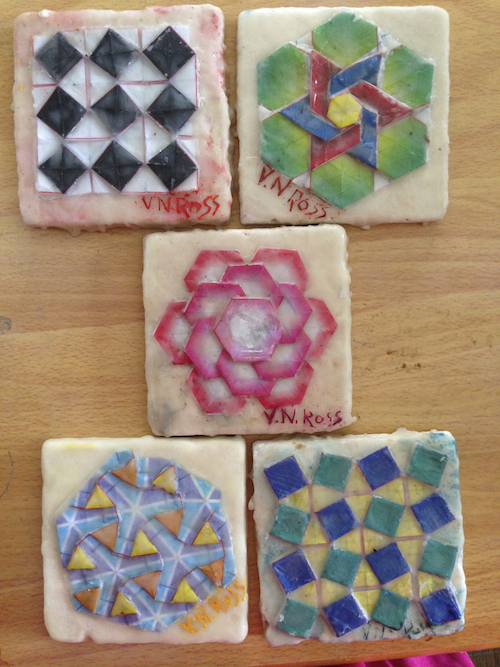
When I declared victory, each was signed…not an easy process on such smalls. Here is the group.

encaustic mixed media collages on tiles

all images © V.N.Ross

~*~*~*~*~*~*~*~*~*~*~*~*~*~*~*~*~*~*~*~*~*~*~*~*~

Vicki Ross is focused on sharing her journey to art and how life events can shape us through creativity www.Axully.com. Vicki has always been involved deeply in the creative arts, from professional soft crafts publications (knitting/crochet/needlework) to French Hand-sewing, stenciling to macramé, oil painting to encaustics. Whatever your leaning, she believes in the healing power of creating.

You can see more of Vicki’s work at VickiRossArt or via blog posts at Axully – Solid. Useful. Beautiful

~*~*~*~*~*~*~*~*~*~*~*~*~*~*~*~*~*~*~*~*~*~*~*~*~

.

.

6 Principles for Composition in Mixed Media Art

~ * ~

This article is written by Marilyn Harris Mills

Here is the second installment in Marilyn’s Good Design and Composition. You can read the first installment here: Good Design and Composition for Mixed Media Art, which covers the elements of a good design. Now let’s look at the principles of design….principles that should apply to each piece of art work we create. This is the “how-to” for achieving good design.

6 Principles for Good Design and Composition

1) Proportion

Consider all the individual design elements in your painting. Are they all proportional or are some too dominant and others to small. Think of a flower. Are the leaves larger than the petals consequently the flower looks abnormal? Perhaps this would work in an abstract painting but if you’re aiming for a still life or a realistic style then the painting would not be proportional. Proportion and scale is all about size relationships. Proportion deals with the size of the parts that make up the whole. Sometimes artists will change proportions of different elements in a painting, but it still has to look right in relation to the entire composition for the painting to work.

2) Unity/Variety

A principle where all the individual components of the painting tie together. This creates a piece of art wherein all the components or elements in the design co-exist with each other and complement each other. Colours, backgrounds, layout, embellishments, brush strokes etc all work together and not one area of the painting is amiss. When a painting has unity, there is a feeling that it all works together as a whole and is complete. Variety is often linked with unity. While you want to have unity, you don’t want it to be boring. Having all shapes the same size would provide unity but it would not have much variety. Change the size or change the shapes. Variety can be achieved with colour, size, texture and edges. When a painting has both unity and variety, it is said to have harmony. Harmony within the painting is to be strived for.

i.e. a Chinese art piece….motifs, colour, symbols that are Chinese in style will not work together if a Canadian maple leaf is added to the art.

Mixed Media artwork by Gloria Malouf-Marsh

Artwork by Gloria Malouf-Marsh – A Desert at Sunset

3) Contrast

Contrast makes your painting exciting I think. You can use lights against darks. A stroke of intense colour can make a neutral painting sing. The meaning of contrast are the differences when you compare one thing to another. Differing values in a painting can be dramatic. Diagonal lines against verticals, colours that jangle, lights against darks, soft edges against hard edges, intense colour against neutral colour…..there are a variety of ways to create contrast in your painting.

4) Rhythm/Repetition

Rhythm is created by having an element repeat itself in the painting. Rhythm always has repetition. Repetitions move your eyes through the painting. Rhythm can be regularly repeated, like lines, shapes, colour etcetera, or repetitions that alternate, for example from large to small, warm to cool et cetera. Repeating shapes can lead the eye through a painting and give it rhythm. Sometimes the rhythm can be lyrical for example just like in music.

5) Balance

Think of a teeter-toter, the balance is in the middle. The design must be balanced for it to work effectively. If the design is balanced then the scale of it is also in balance. So one way of thinking of balance is large elements combined with small elements in the picture will provide a balanced painting. If you have only used large elements then the entire painting is off balance. Balance is key to a successful painting. When something is balanced it looks right. You can use colour to achieve balance. You can use a large shape balanced with several small shapes. I tend to think balance is ingrained in ourselves but others may need to work at maintaining balance.

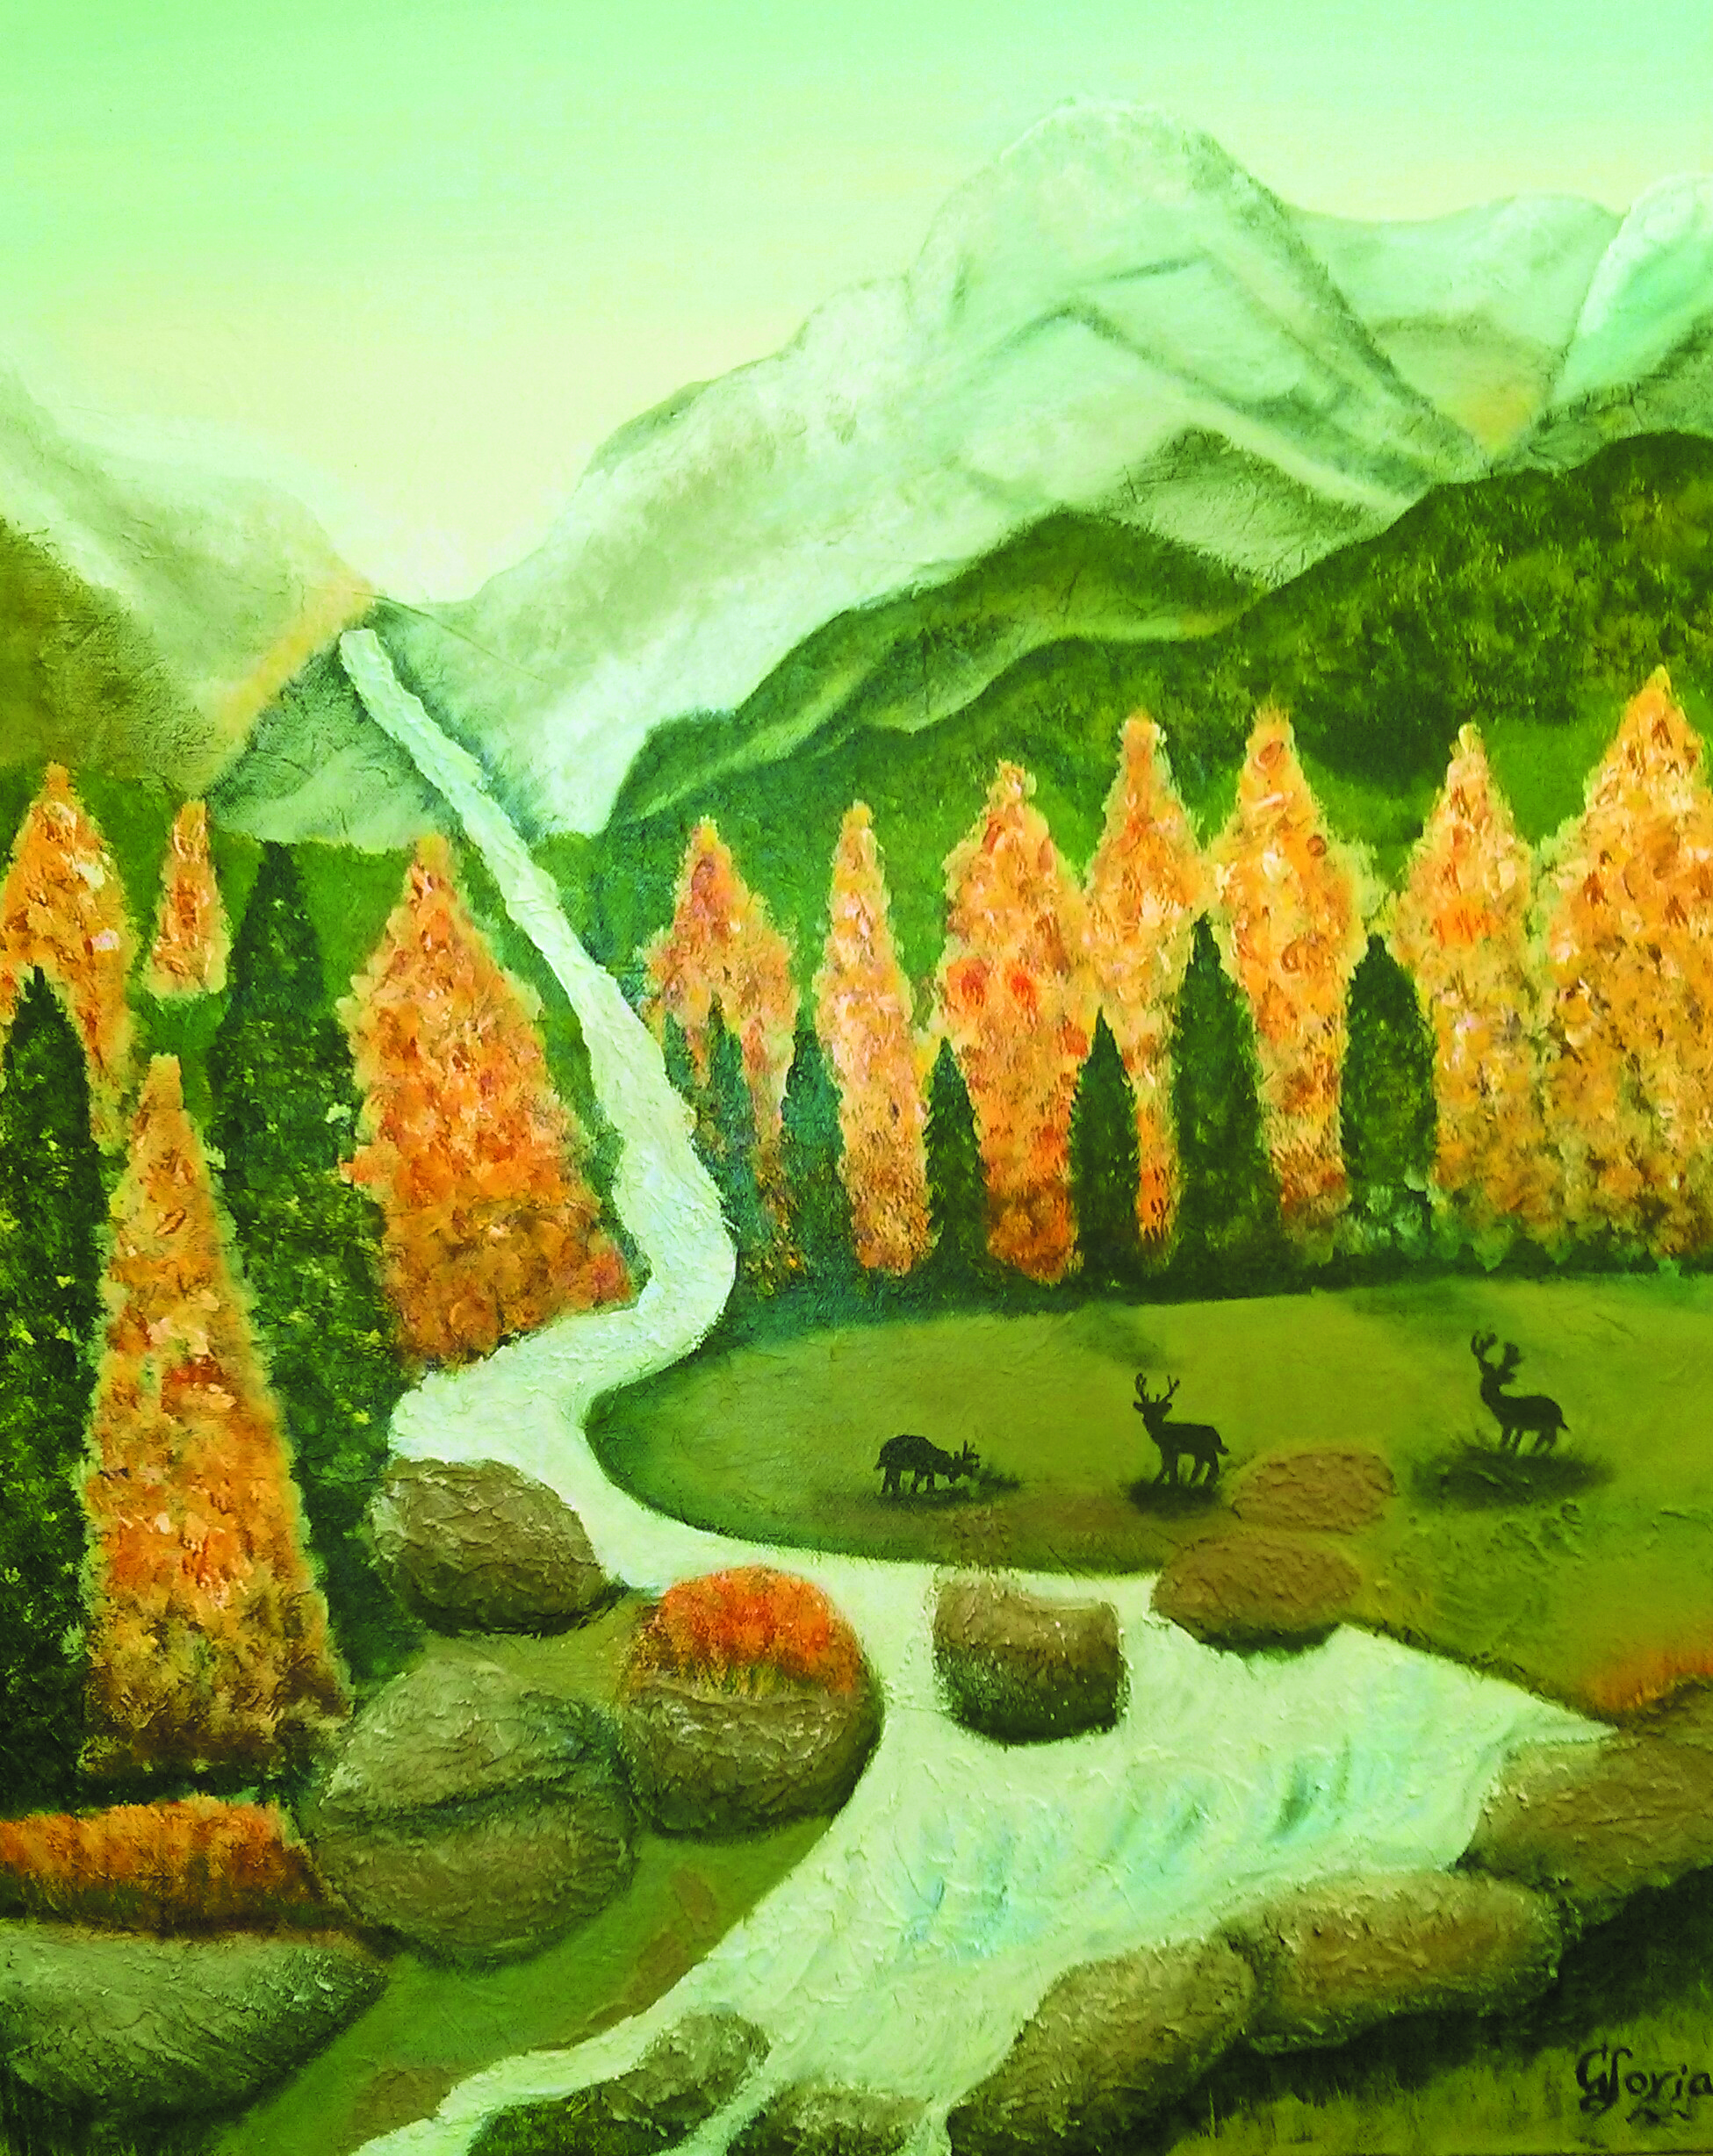
Mixed Media artwork by Gloria Malouf-Marsh

Artwork by Gloria Malouf-Marsh – Late Afternoon at Elk Meadows

6) Focus/Emphasis

Does your art piece establish a focal point or does the viewer travel all over the project trying to find a landing place for the eye to rest. If there is no focal point, then the viewer will get confused, feel disturbed and otherwise will miss the message the artist is trying to elicit. Every painting needs a centre of interest and without one, the painting is rendered without much thought by the artist and deemed unappreciated by the viewer. There are many ways to create a focal point. Lines can point you there. Value contrast (lights and darks), size, and even content are all ways to helping create a focus in the painting. Having a theme or story to your painting gives your painting emphasis. That’s why I like using symbols and imagery in my mixed media art. They tell a story for me.

Stay ARTistically Inspired…

Maer

Read Part One: Good Design & Composition for Mixed Media Art

Read Part Three: Further Composition for Mixed Media Art

~*~*~*~*~*~*~*~*~*~*~*~*~*~*~*~*~*~*~*~*~*~*~*~*~

Marilyn Harris Mills, aka Maer, is a Published Artist, Teacher and Designer, in Ottawa Canada. Her art has been published in “Creating Time: Using Creativity to Reinvent the Clock and Reclaim Your Life”

“I work in whatever medium likes me at the moment”-Mark Chagall

~*~*~*~*~*~*~*~*~*~*~*~*~*~*~*~*~*~*~*~*~*~*~*~*~

.

.

Halloween Decorations From Recycled Wood

~ * ~

This article is written by Shari Welch

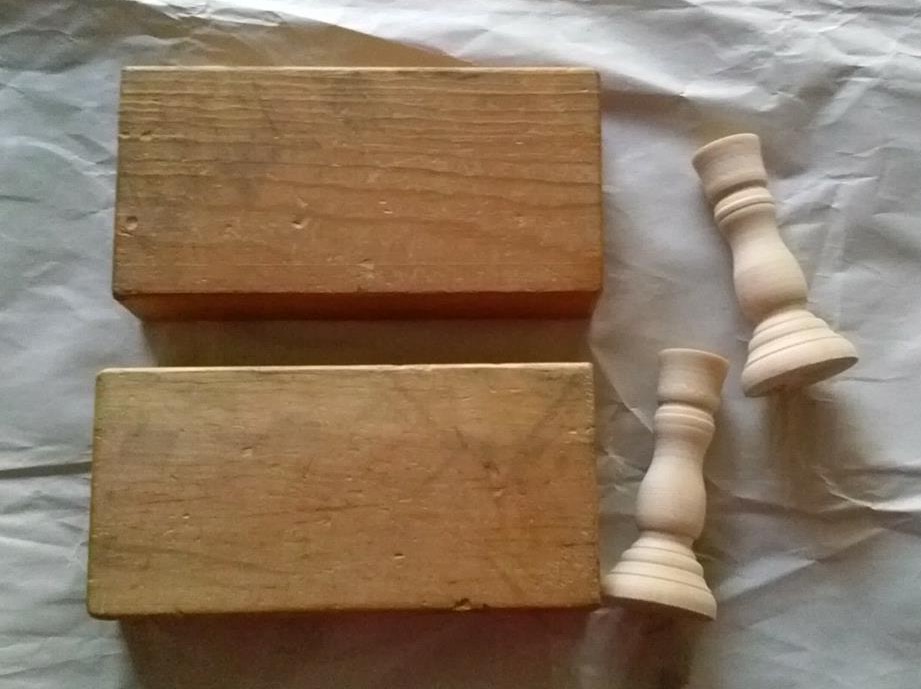
Recently while cleaning my studio, I noticed that my wood bin had turned into 2 wood bins. I guess it was time to use some of those recycled wood pieces. I love creating handmade decorations for the holidays. What makes it even better is being able to recycle as well.

I am fortunate to have a creative reuse store in my town. SCRAP Denton is where 75% or more of my materials come from. You can also visit habitat for humanity stores and scrap wood bins at your local home improvement. Construction sites are begging to get rid of their small scraps of wood.

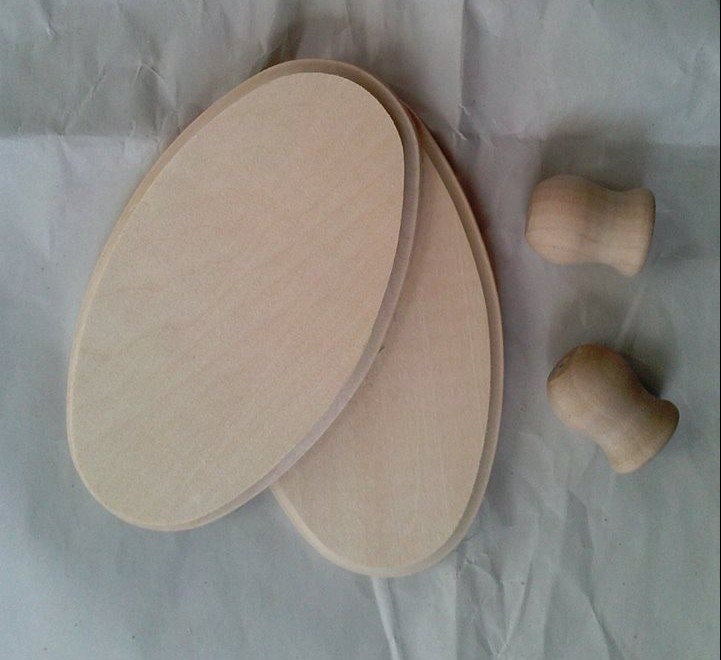
Halloween Decorations From Recycled Wood

Halloween Decorations From Recycled Wood

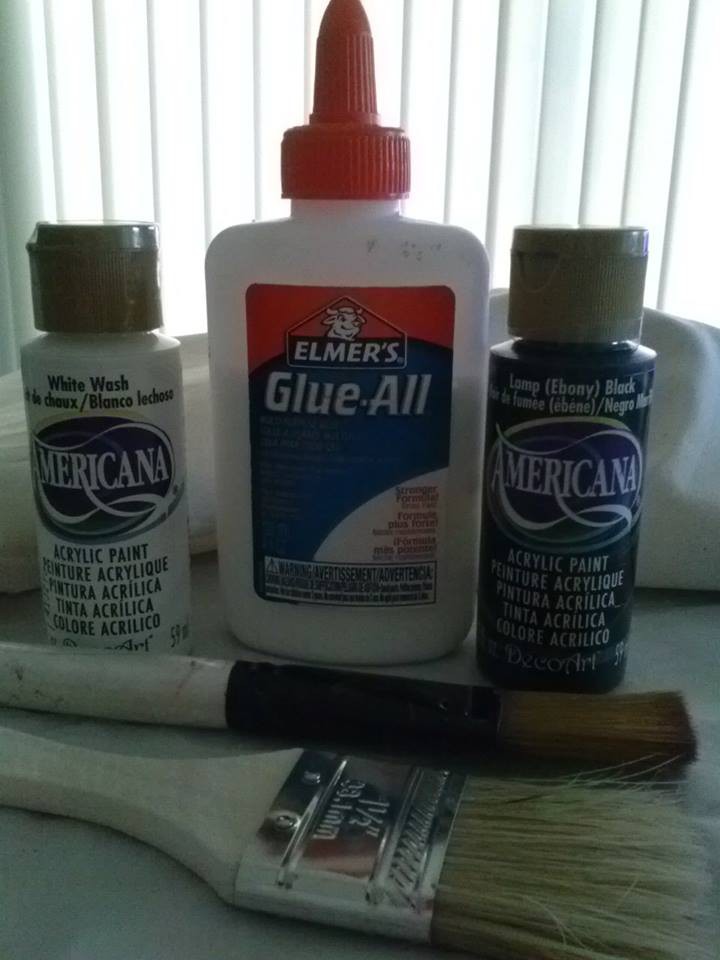
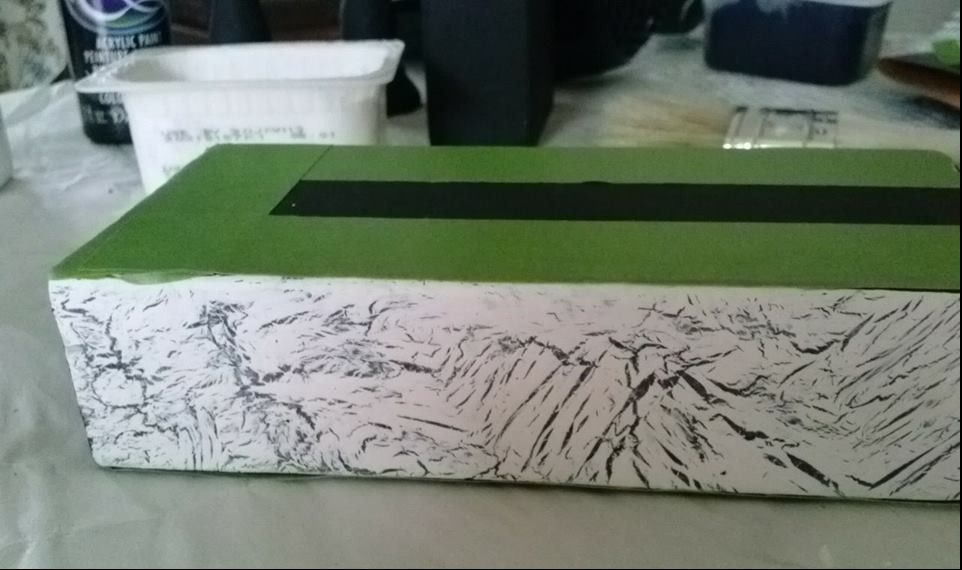
The first technique I will be doing is a crackling effect. There are a number of crackle products on the market and I have tried them all. I have found that I seem to get the best results using Elmer’s glue.

Halloween Decorations From Recycled Wood

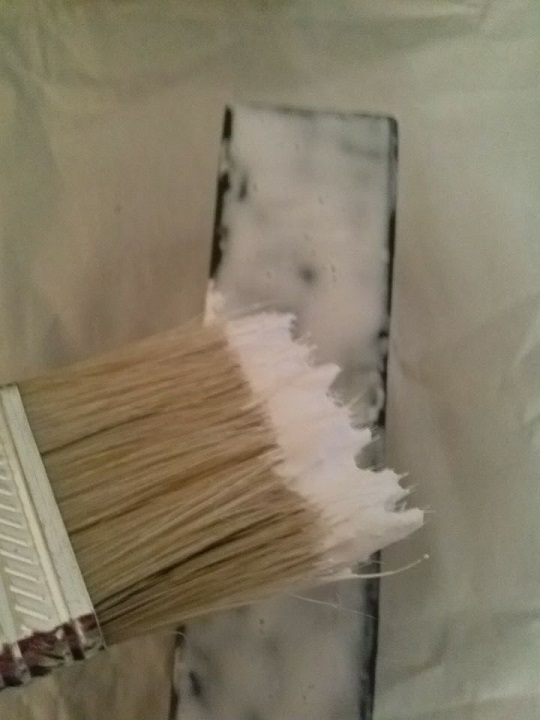
First I painted the pieces the color I wanted the cracks to be. I decided to do this technique on the sides, top, and bottom so I taped the edges with painters tape. I applied a medium amount of Elmer’s glue. To achieve a smooth coverage I use my finger to spread the glue. You want to let the glue sit for a minute. The glue should be tacky not dry.

Next you want to use an inexpensive scruffy brush to apply the top coat like the one in a photo. I brush on the paint in random directions making sure that the bristles are slightly breaking through the glue. It will start to crackle almost immediately. TIP…. I suggest practicing this technique on a scrap piece of wood before you start your final project.

Halloween Decorations From Recycled Wood

I found that leaving it alone for a few hours or even better over night gave me the best crackle results.

Halloween Decorations From Recycled Wood

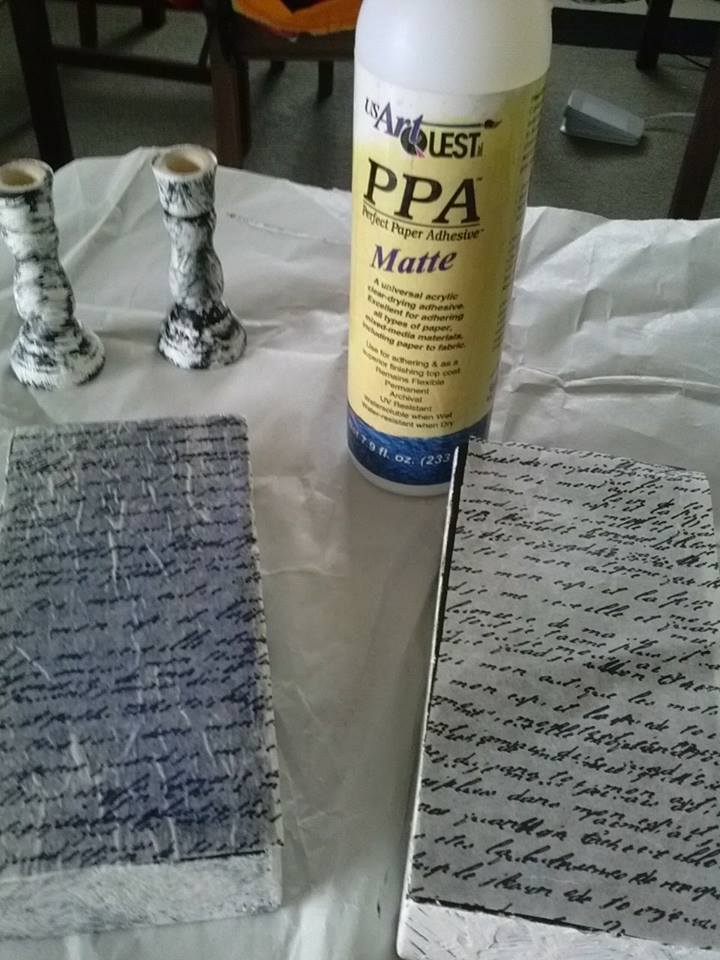
For the front and back I applied printed tissue paper with PPA adhesive. This adhesive is perfect for thin papers. Instead of a smooth application I choose to leave it a little wrinkly.

Halloween Decorations From Recycled Wood

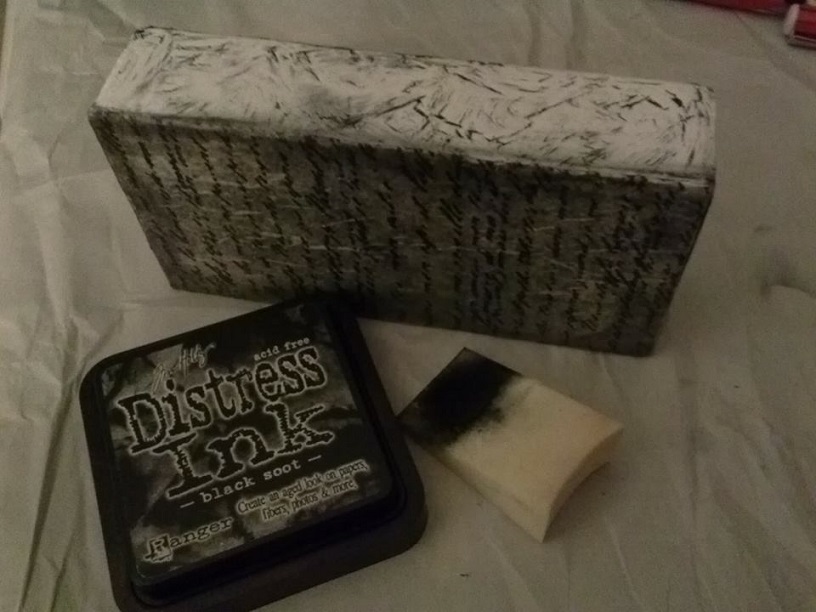
The next technique used was distressing. I used Tim Holtz distress ink in black soot for the edges.

Halloween Decorations From Recycled Wood

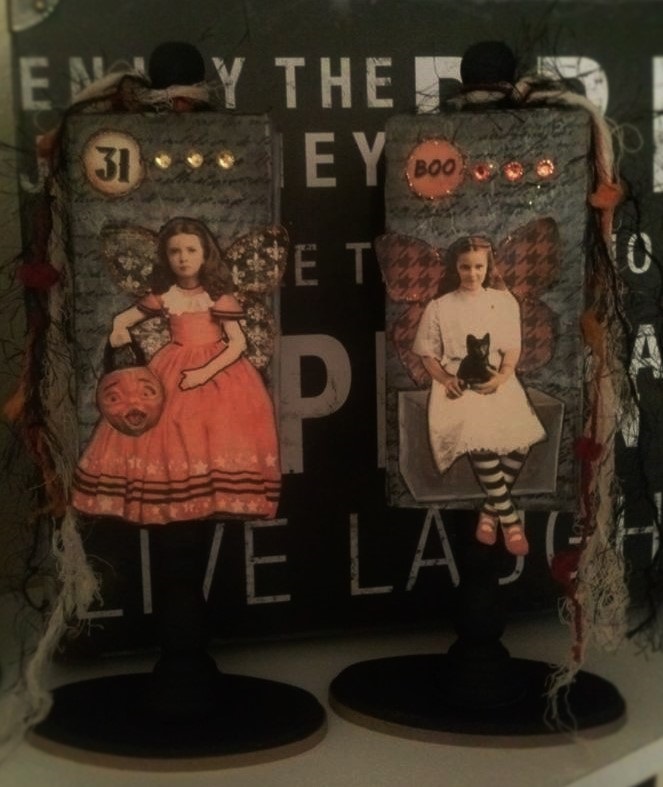
To finish this project I glued all the pieces together, added some images, yarn and shiny embellishments.

Halloween Decorations From Recycled Wood
~*~*~*~*~*~*~*~*~*~*~*~*~*~*~*~*~*~*~*~*~*~*~*~*~

Shari Welch is a mixed media artist living in Denton Texas. She is known for using reuse and recycle materials in her artwork. She volunteers for SCRAP Denton  where she is on the education committee, teaches workshops, art camp, and performs art demos. She is passionate about mixed media art and enjoys helping others discover their creativity.

You can follow Shari and see her mixed media art at facebook.com/my.altered.life and on her blog Shariwelch.blogspot.com

~*~*~*~*~*~*~*~*~*~*~*~*~*~*~*~*~*~*~*~*~*~*~*~*~

.

.