Michelle G Brown | Mixed Media Art

Using Scrap Papers to make Mixed Media Art Tags

~ * ~

This article is written by Tamara Dinius

Mixed Media Art Tags are created using scraps of papers, old art work, music sheets, and other items that add texture and depth to the tags.
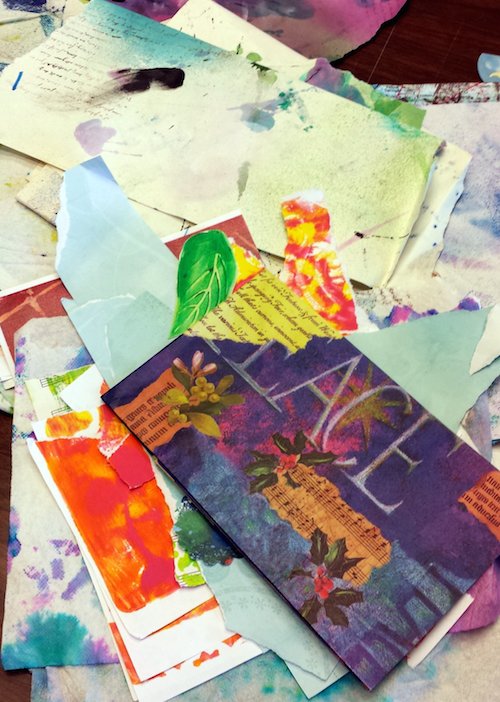
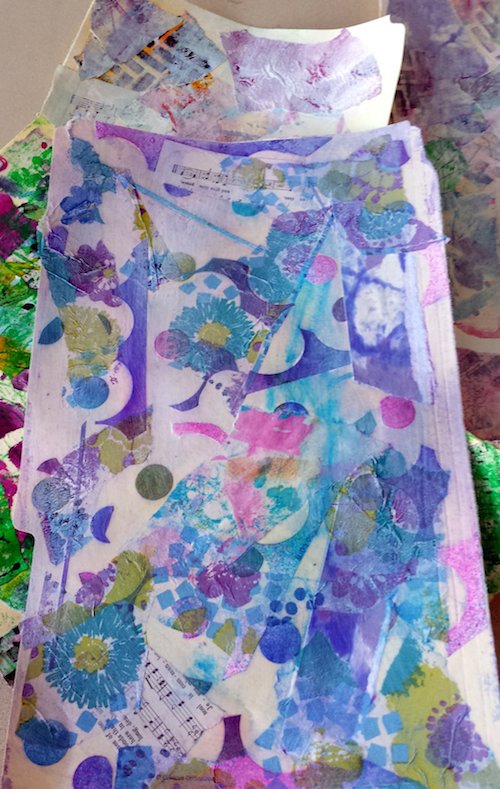
Assorted papers and paraphernalia used in our tags.

Apply papers and other scraps haphazardly onto your manila folder

Add the assorted scraps to an old manila folder. I have used a legal size folder and Mod Podge. Any type of adhesive medium will work. Add the scraps to your manila folder in a haphazard manner. Once dry, layer a glaze of paint over the top to tone down the first layer (I used Titanium white).
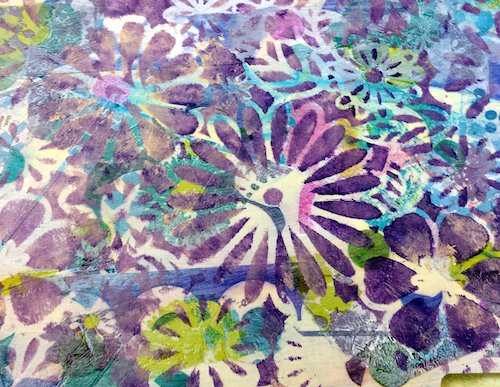
contrasting acrylic paints and stencils

The next step is to use a stencil and acrylic paint to create additional depth and interest to your tags. Use a paint color that is dominant in your scraps of paper. In my example I have used purple, white, and a teal blue.
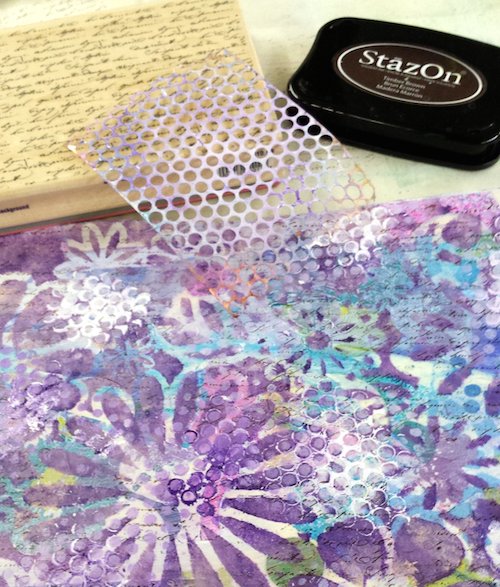
third layer

Using your favorite stamp and ink pad add additional interest by stamping your project. At this time, you can also add acrylic paint using stencils or other items. I have used a brown ink pad, script text rubber stamp, white acrylic paint, and sequin waste.
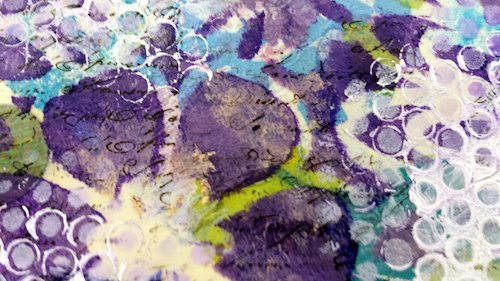
Close-up of our layering techniques

This shows a nice close-up of the depth and texture of the tags. Notice the nice contrasting colors that add interest.
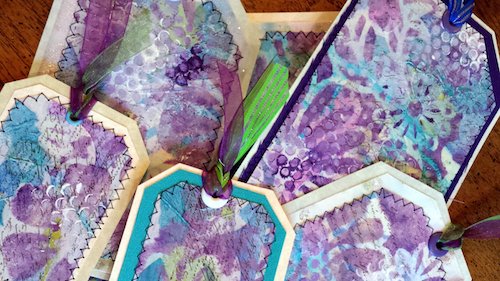
final project completed

To finish, I have used additional fabric and papers to back the tags. Using a zigzag stitch, sew around the perimeter of the tag. Punch a hole and add your ribbon. Your tags are now ready to use as luggage tags (I laminated mine before sewing), gift tags, decorative tags, or other item. These Mixed Media Art Tags are a great way to use your scraps and experiment with color schemes.

Hugs, Tammy

~*~*~*~*~*~*~*~*~*~*~*~*~*~*~*~*~*~*~*~*~*~*~*~*~

Tamara Dinius lives in the Pacific Northwest with her husband and chocolate lab. She has two grown daughters who make her life meaningful. They support her, ground her, embrace her, and are amazing people in their own right. Her love for mixed media has taken over most aspects of her creative journey. She believes mixed media allows for a broad range of styles and anyone can find success in this form of artistic expression.

You can find more of Tamara’s work, and on her website countrycraftersusa.comEtsy shop,  or via her Facebook

~*~*~*~*~*~*~*~*~*~*~*~*~*~*~*~*~*~*~*~*~*~*~*~*~

.

.
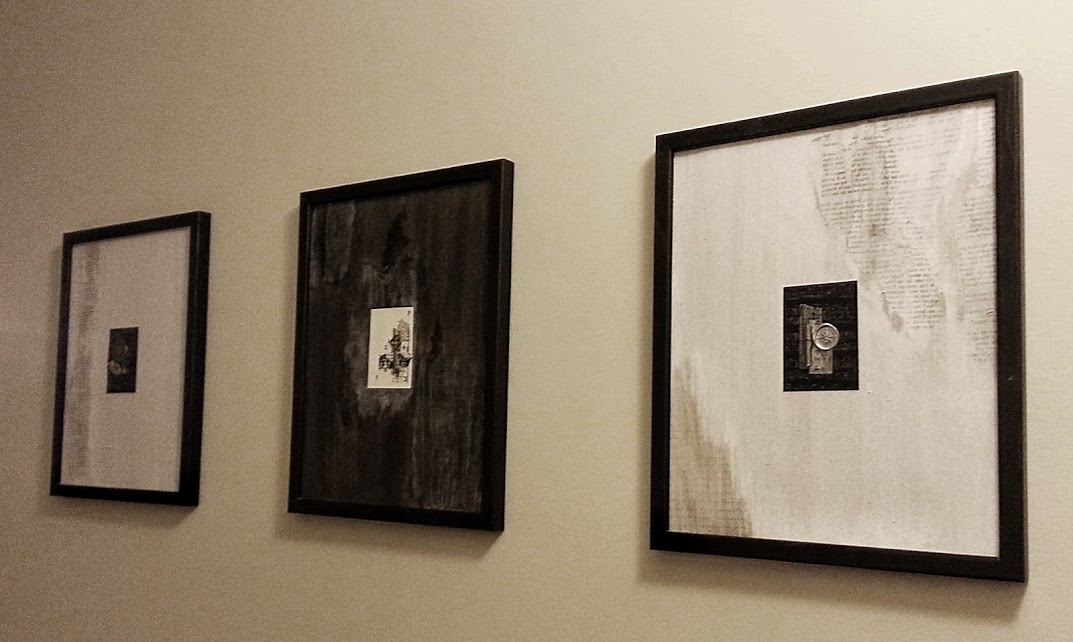
A Custom Grunge Mat for Framing Mixed Media Art

~ * ~

This article is written by Anjuli Johnson

My husband and I just moved into a new home.  It’s my first time as a new home owner, and I couldn’t be more excited.  My head is full of plans for how we can update and improve certain things… new tile in the bathrooms, different colored accent walls, perhaps some new kitchen cabinets at some point and of course, a brand new art studio for me.    All of those things will happen in time, but one thing I needed to do right away was create a few pieces of art for our bare walls.

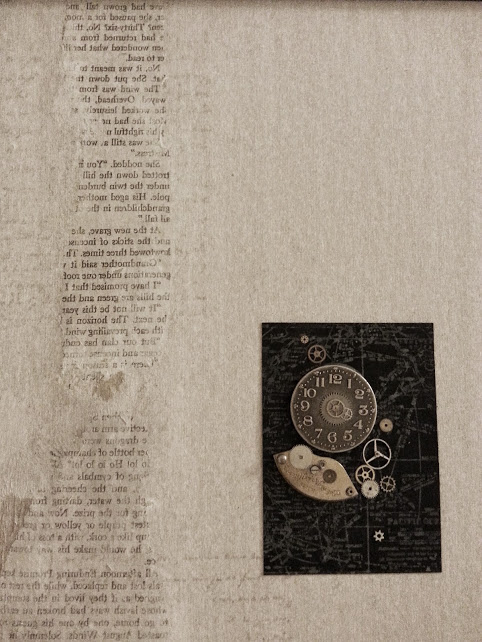
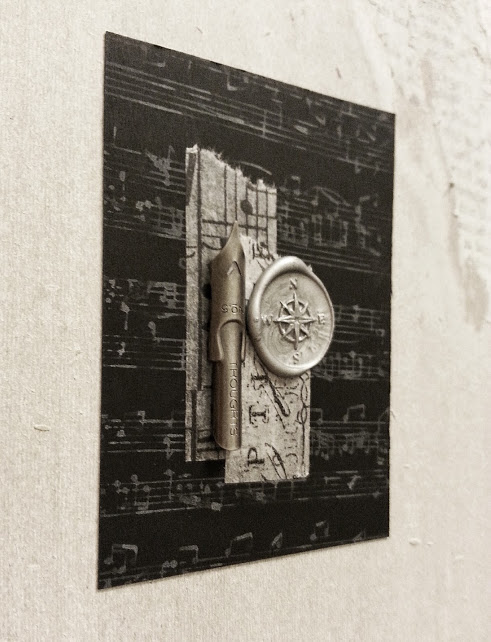
I framed my ATC cards on the outside of a large custom mat.

I’ve spent the last few months scouring Pinterest and internet images, looking for décor ideas and deciding what I liked and wanted to incorporate in our home.  I was caught by so many of the gallery walls I had seen, where small photos are framed by large mats and thin, large frames, utilizing a lot of negative space to focus the eye right on the photo in a neat and quite sophisticated way.  I loved the result, but I decided to tweak it just a bit.

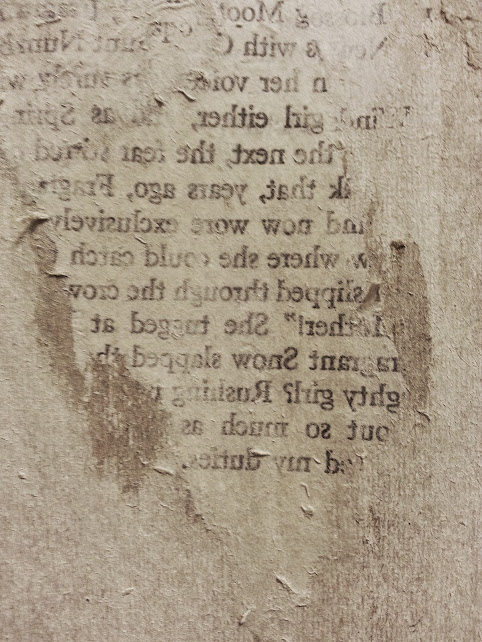
Book page text is transferred to a cardboard mat.

I knew I wanted to frame some small art pieces rather than photos for this project (Mostly because I have a pretty cool idea in mind for framing my photos… but that’s a different article in the future. ), I knew that I wanted to position the art on the outside of the mat, rather than having it framed underneath, and I wanted to do a whitewash grunge type of effect rather than having a plain white or black mat.

I used the cardboard insert from the frames I bought as my mat and used gel medium on book pages to transfer text onto the surface.  Once the medium dried, I dipped my fingers in water and rubbed off the excess paper to show the bottom text transferred to the cardboard.  I used watered down acrylic paint as a wash (two are white and one is in black) and applied several coats until it was the color I wanted.  I did let the cardboard dry in between.

Each mat is a bit different, but I used the same techniques

I used a Versamark stamp pad to add some watermark stamped images in a few places… they’re very subtle but you can see them if you look closely.

And that’s it! A mixed media mat for the small black and white ATC cards I made.  I love the way they look in my hallway.  I want to do this again- perhaps as a gift- so I’d love to know how you would alter a mat to frame some photos or art.  What techniques would you use? 

Whitewash and a bit of grunge text

~*~*~*~*~*~*~*~*~*~*~*~*~*~*~*~*~*~*~*~*~*~*~*~*~

 Anjuli Johnson is a Mixed Media Artist form Raleigh, NC.  She began her art career as a scrapbooker, and it’s been an evolutionary process ever since.  She loves all things mixed media- paper, paint, pens, wire, gears, clay… the list goes on and on.  She is constantly trying to push through her fears to discover and develop her talents, meet new people, and learn from those around her.  To see more of Anjuli’s art and techniques, check out her website at www.thefarpavilion.com  and like her Facebook page https://www.facebook.com/TheFarPavilion   Don’t forget to follow her blog! thefarpavilion.blogspot.com

~*~*~*~*~*~*~*~*~*~*~*~*~*~*~*~*~*~*~*~*~*~*~*~*~

.

.
Altered Library Card Pocket

~ * ~

This article is written by Melanie Statnick

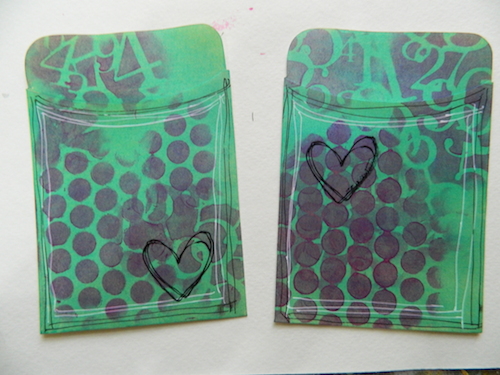
How to alter old library card pockets

I miss having library cards in the back of books. When I was younger we had to look books up in the card cataloging boxes. Signing the books out with your name and seeing who borrowed it before you, or even how many times you checked out the same book.

Lets get arty and alter these library card pockets

Lets get arty and alter these library card pockets

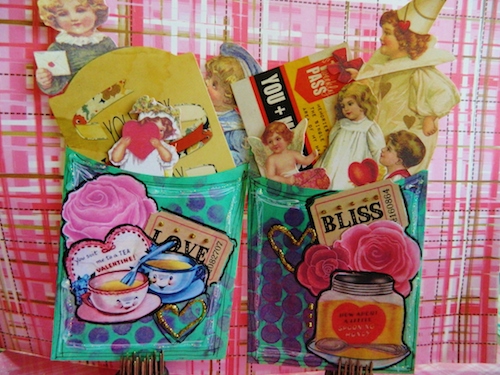
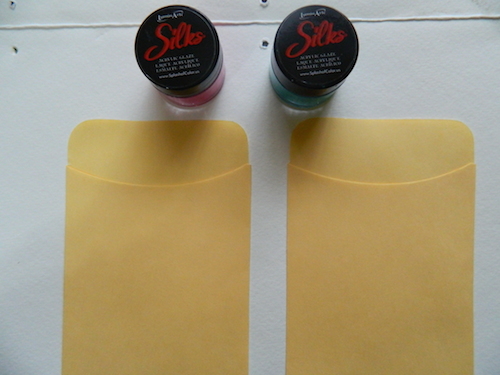
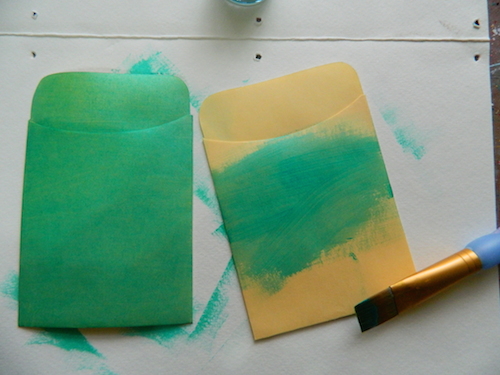
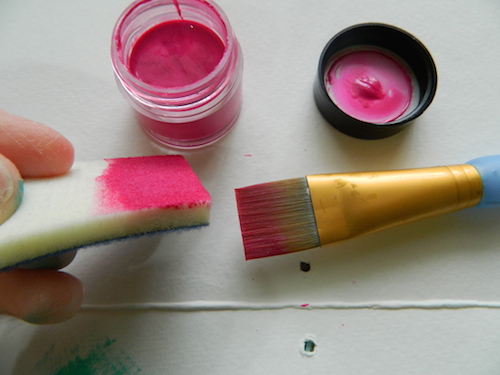
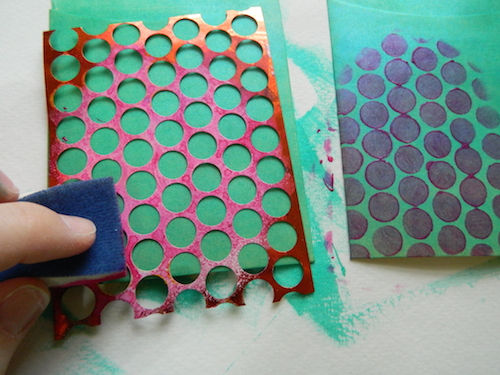
Using Silk Acrylic paints I altered these paper library pockets. I painted the first color coat onto the pocket first, then I used a paint brush to apply the second color to the applicator and rubbed it over the stencil onto the pockets in a circular motion.

Lets get arty and alter these library card pockets

Lets get arty and alter these library card pockets

Lets get arty and alter these library card pockets

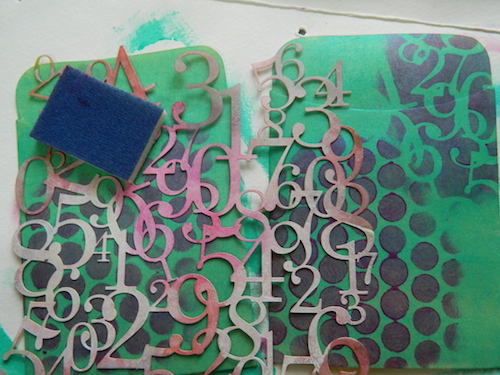
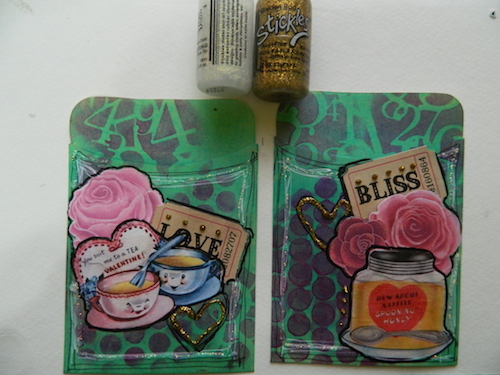
Dry the paint and add some stamps and paper collage sheets and embellishments using a gel medium or mod podge. I outlined the images using a black Pitt pen, white get pen and then added some Stickles.

Lets get arty and alter these library card pockets

Lets get arty and alter these library card pockets

I used a Valentine theme to stuff the pockets with. You can makes them however you like. Cute for sticking a magnet strip on the back and posted it onto your refrigerator and leaving notes for your sweetheart.

*All materials can be found on Altered Arts website

How to alter old library card pockets

~*~*~*~*~*~*~*~*~*~*~*~*~*~*~*~*~*~*~*~*~*~*~*~*~

Melanie Statnick is a published artist/writer out of North Carolina. Melanie creates art daily from her private studio. Her style is happy and whimsy. Statnick’s artwork can be found in art galleries and shops extensively in NC with international private collections. Learn more about Melanie view her website at: www.melaniestatnickart.com
.

.

Autumn Layout

~ * ~

This article is written by Sandra Parés

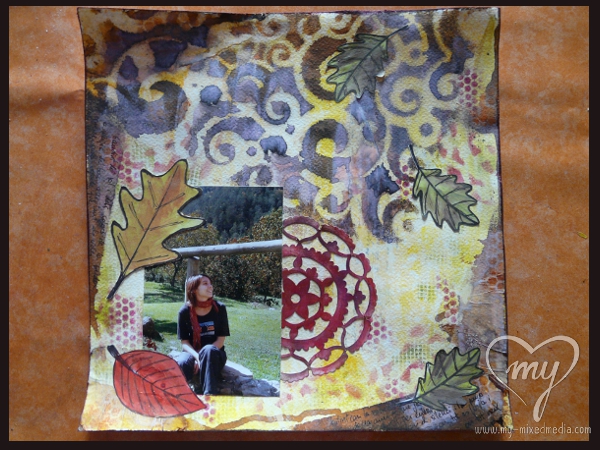
Although in my land these days are still sunny and seems that Autumn resists arriving,  I felt like making a layout with Autumn colors. I love the forest on this season, trees are wonderful with intense colors and a lot of contrast, ideal for shaping it with mixed media!

The supplies I have used to make this Autumn Layout are:

  • 12″x12″ watercolor paper
  • Gesso
  • An old credit card
  • A brush
  • A sponge
  • Some scrap paper with script
  • Some Dylusions inks spray: ground coffee, melted chocolate, lemon zest and pure sunshine
  • Paper towel
  • 12″x12″ Cosmic Swirl Template, The Crafter’s Workshop
  • Big shot and the Thinlit Sizzix Die – Doily by Rachael Bright
  • A cardstock
  • Autumn Leaves drawn in a cardstock (you could print it)
  • Primary Elements by ColoruArte: burnt amber, gold dust, hot cinnamon, sunburst
  • Silks Acrylic Glaze by ColoruArte: love struck, pretty peridot
  • Some stencils to make texture like punchinella
  • Gel medium
  • One photo

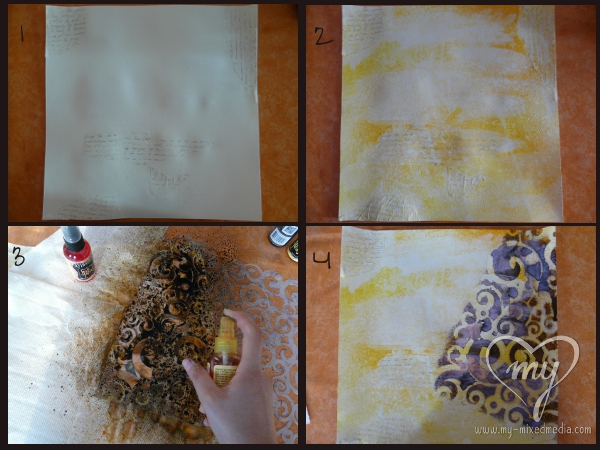
First of all I have pasted some scrap paper with gel medium over watercolor paper to add some texture (picture 1). Then, with the credit card, I have put a very thin layer of gesso, without covering the scrap paper and leaving without gesso some parts of the watercolor paper.

Then I have added a little color in the background with Lemon zest and Pure sunshine (Dylusions ink spray). I have used these colors to have a light background. Before the ink was dry, I have rinsed it with a piece of paper to clarify the color (picture 2).

As you can see in the 3rd and 4th step, I have put the template in a part of the paper, and the rest I have protected it. Then with the brown ink spray I have sprayed the template.

Making the background with collage, gesso and inks

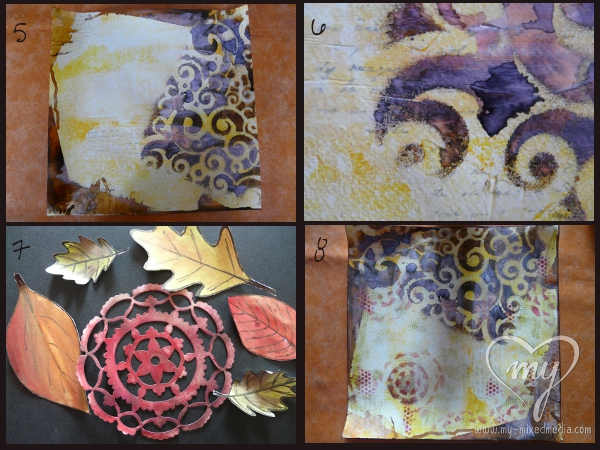
Then, also with the brown ink spray, I have made an irregular frame around the watercolor paper (picture 5). And in the picture number 6 you can see a detail of the background texture.

After I have drawn some autumn leaves on cardstock and I have cut them. And with the big shot and a cardstock I have cut the shape with the doily die.

I have painted all these figures with Silks Acrylic Glaze and Primary Elements. I have directly used the powders with a wet brush (picture 7).

And finally I have added more texture in the background. With a sponge and Silks Acrylic Glaze I have stencilled different templates with punchinella.

As you can see in the 8th picture, one of these textures was too intense and it did not like me. For this reason I have changed the focus of the LO and I have put my photo over this point.

Painting the shapes and adding more texture

As a last step I have stuck with gel medium all missing elements: doily shape, photography and leaves.

And this is the result: an Autumn Layout with a lot of texture and contrast.

Autumn LO with mixed media techniques

~*~*~*~*~*~*~*~*~*~*~*~*~*~*~*~*~*~*~*~*~*~*~*~*~

Sandra Parés loves working with mixed media. The colors and textures leave her amazed and she enjoys creating and getting their hands dirty with paint and gesso. She lives near Barcelona and works in her art workshop. On her site My mixed media you can find a mixed media online store, art and craft products, mixed media workshops in Spanish, tutorials, ideas and mixed media techniques.

~*~*~*~*~*~*~*~*~*~*~*~*~*~*~*~*~*~*~*~*~*~*~*~*~

.

.