Michelle G Brown | Mixed Media Art

Composition for Mixed Media Art

~ * ~

This article is written by Marilyn Harris Mills

Here is the third installment in Marilyn’s Good Design and Composition. You can read the first installment here: Good Design and Composition for Mixed Media Art, which covers the elements of a good design. You can read the second installment here:  6 Principles for Composition in Mixed Media Art and here we cover six principles of design.

Finally we look at a few principles of design that I threw into the mix myself: Emotions, Confidence and Remembrance.

Emotions/Moods

So many times I’ll view artwork and think to myself…well gee, I could have come up with that idea! What is it about a certain piece that evokes an emotion within us…or creates a type of mood we feel? Peacefulness, tranquility, craziness, loveliness, loneliness, encouragement? Design elements need to contribute to creating a mood or an emotion within the viewer. To do this successfully the elements all need to work together to evoke a certain mood or emotion the artist wishes to convey to the viewer. Think of this principle when viewing art. What do you feel? What is the artist trying to get you to feel?

i.e. Valentine’s Day…love is the mood when you’re creating a greeting card for someone special.

Confidence

Does your artwork speak confidently to the viewer? Are you certain of what you were trying to convey when you were creating? Did you feel wishy-washy with your approach to your painting? Were you confident with the techniques you employed? If you’re not confident while painting, this relational aspect will be noticed and felt by the viewer. Make sure you know the reason behind choosing the subject matter that you used. Make sure you paint with confidence, it will show in your final art piece and the viewer will be appreciative of your artistic art message.

Remembrance

Have you ever looked at a photograph and it was so striking to you that you remembered it days later? This would be considered a good piece of art. The photographer has captured his subject well. So too should your art piece….be remembered. Creating an art piece that will be remembered is hard to accomplish….we’re not Da Vinci. We have to “work” at our art, research, learn new techniques so that we can create our own style.

A style that will be captured in each of your paintings so that your art will be remembered. Think of visitors to your home…they will remember the way you decorated if you’ve chosen to emphasize a certain theme using a particular colour palette with complementary drapery, accessories etc. Be different than other artists. Create in your own unique style…then both you and your artwork will be remembered.

A successful art work will encompass all of these elements and principles of design. Don’t expect to get it right the first time. Trial and error. I have more canvases sitting in the “oh…that didn’t work” bin than I do canvases that did work. I have kept every yucky canvas…it helps me to remember what I did wrong and what I still need to learn. Any art journey is all about learning, creating, adjusting and first and foremost applying the principles of design.

Some artists tend to paint on a flat surface whereas other artists may paint on a variety of three dimensional surfaces. No matter the surface, composition refers to the overall arrangement of all the parts of the design, the six elements. How do we put these various elements together to create a good composition within the painting?

Composition

Now, let’s talk about composition briefly here. Composition refers to the arrangement of all the elements of a design. You can arrange the pieces in a few different ways. First though, you must choose a focal point….a point of interest or what I like to refer to as the “meat” of the painting….what is the most important part? Oh and the centre of interest is not in the centre of the painting….its slightly off-centre.

To help create a centre of interest, artists use The Golden Mean, a mathematical formula used by the Greeks and Romans to determine the most pleasing aesthetic proportions. To find the Golden Mean, divide your substrate into thirds vertically and again horizontally to make nine equal parts. The four center points at which the lines intersect are considered the best locations to place the focal point of your painting thus ensuring a successful composition. I encourage you to search the internet to learn more about the Golden Mean.

Here’s a few classic layouts for good composition dependent on your subject
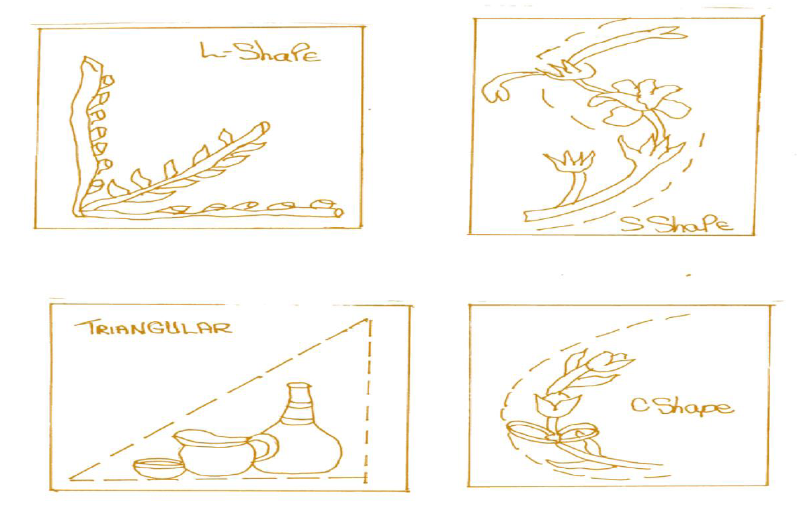
elements of good composition

So that’s about it….the elements and principles of good design and composition. Learn all this first and then you can go about breaking the rules!!!

Stay ARTistically Inspired…

Maer

Read Part One: Good Design & Composition for Mixed Media Art

Read Part Two: Six Principles for Composition in Mixed Media Art

~*~*~*~*~*~*~*~*~*~*~*~*~*~*~*~*~*~*~*~*~*~*~*~*~

Marilyn Harris Mills, aka Maer, is a Published Artist, Teacher and Designer, in Ottawa Canada.

You can read about Marilyn at Maer’s Muses. Her art has been published in “Creating Time: Using Creativity to Reinvent the Clock and Reclaim Your Life”

“I work in whatever medium likes me at the moment”-Mark Chagall

~*~*~*~*~*~*~*~*~*~*~*~*~*~*~*~*~*~*~*~*~*~*~*~*~
Handmade Greeting Card

~ * ~

This article is written by Melanie Statnick 

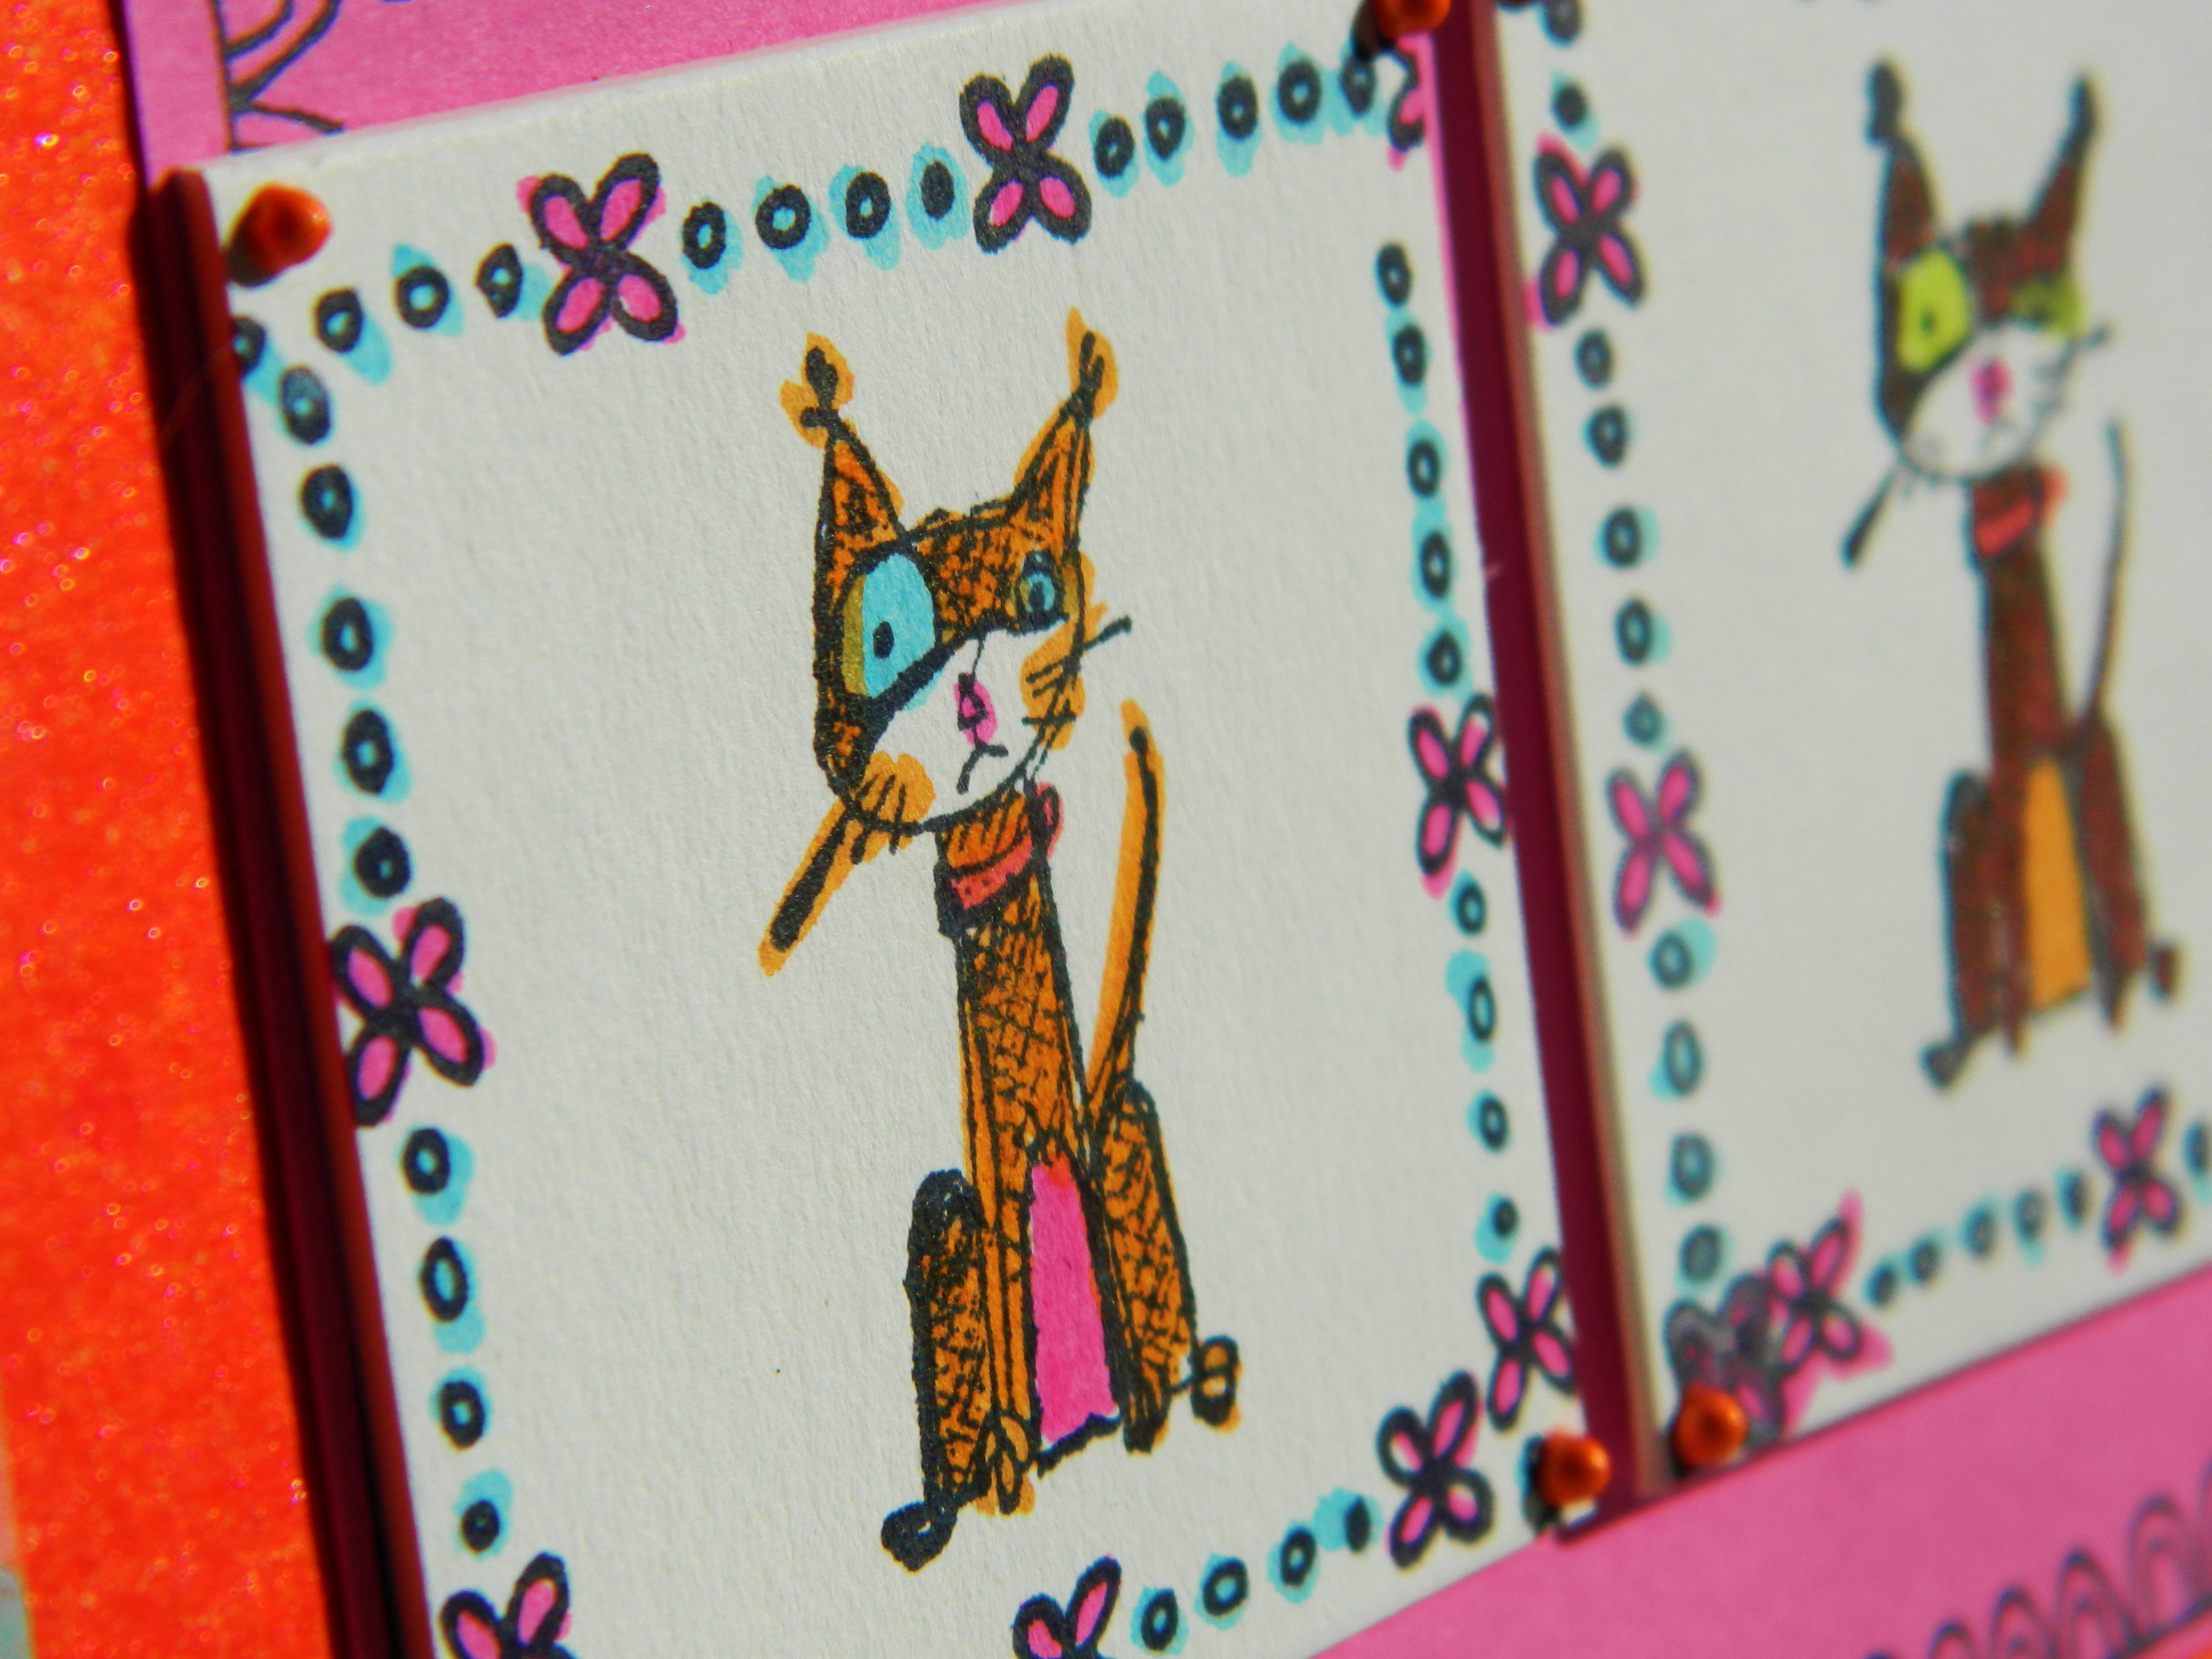
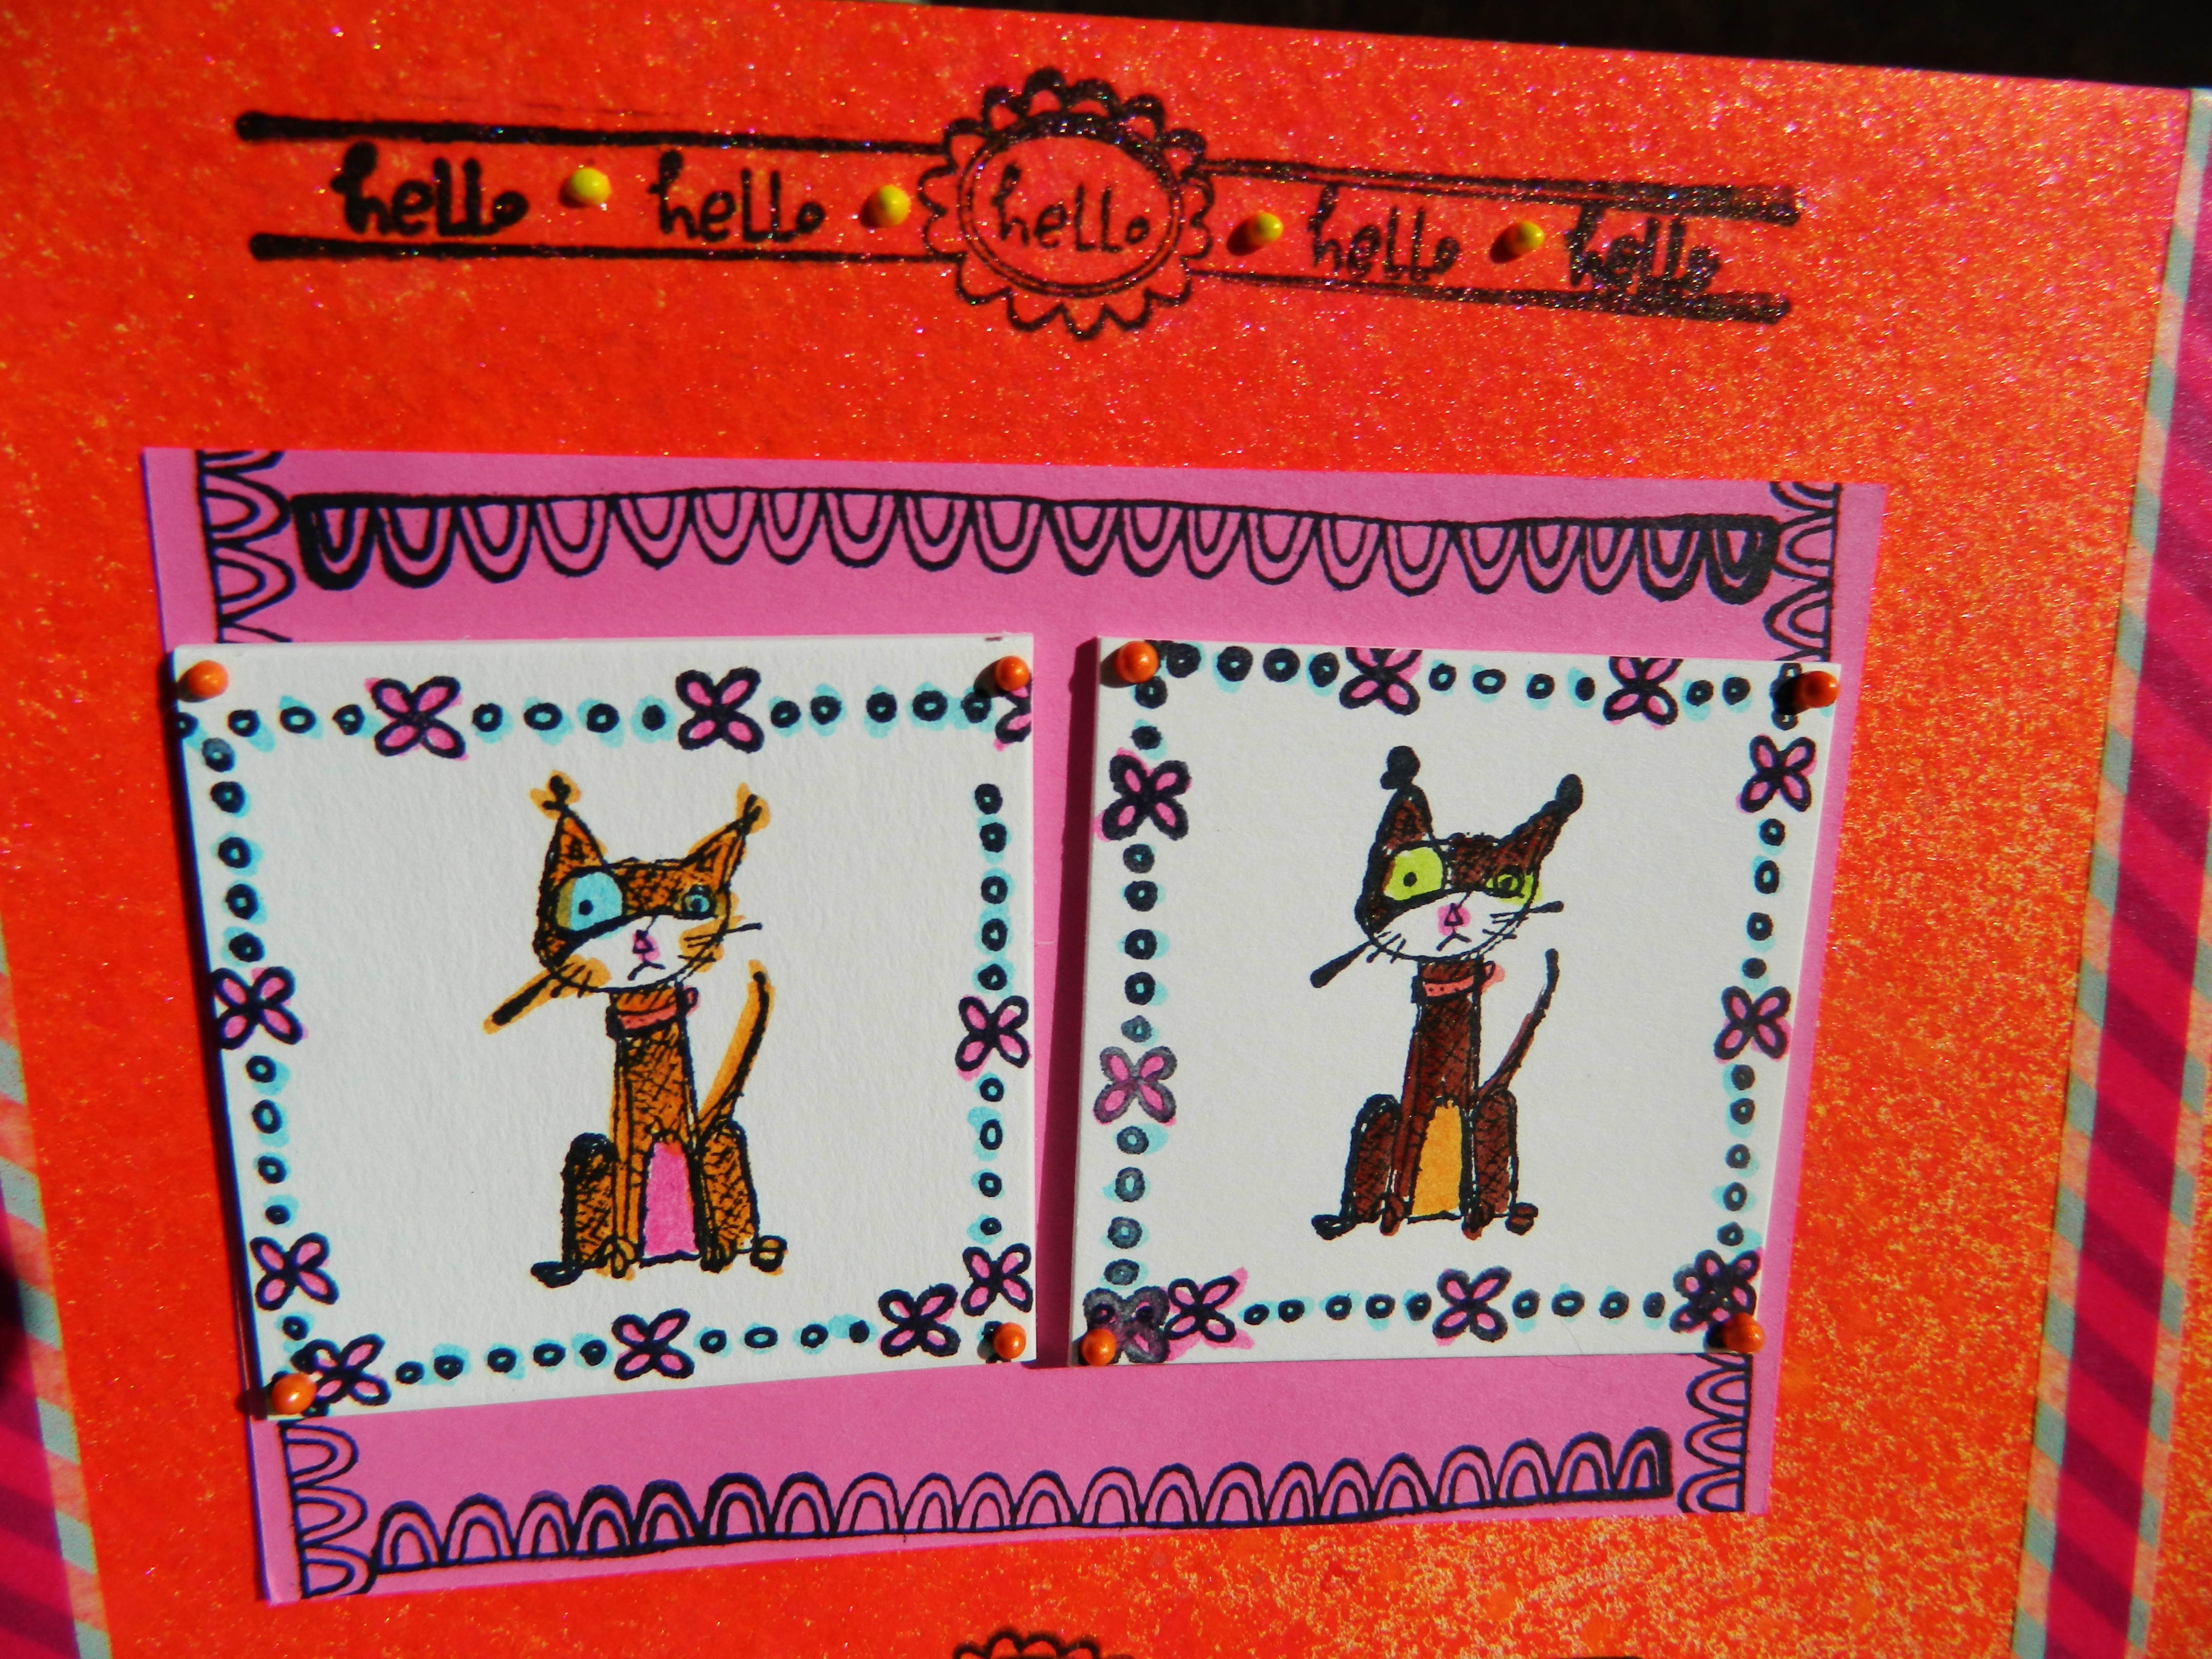
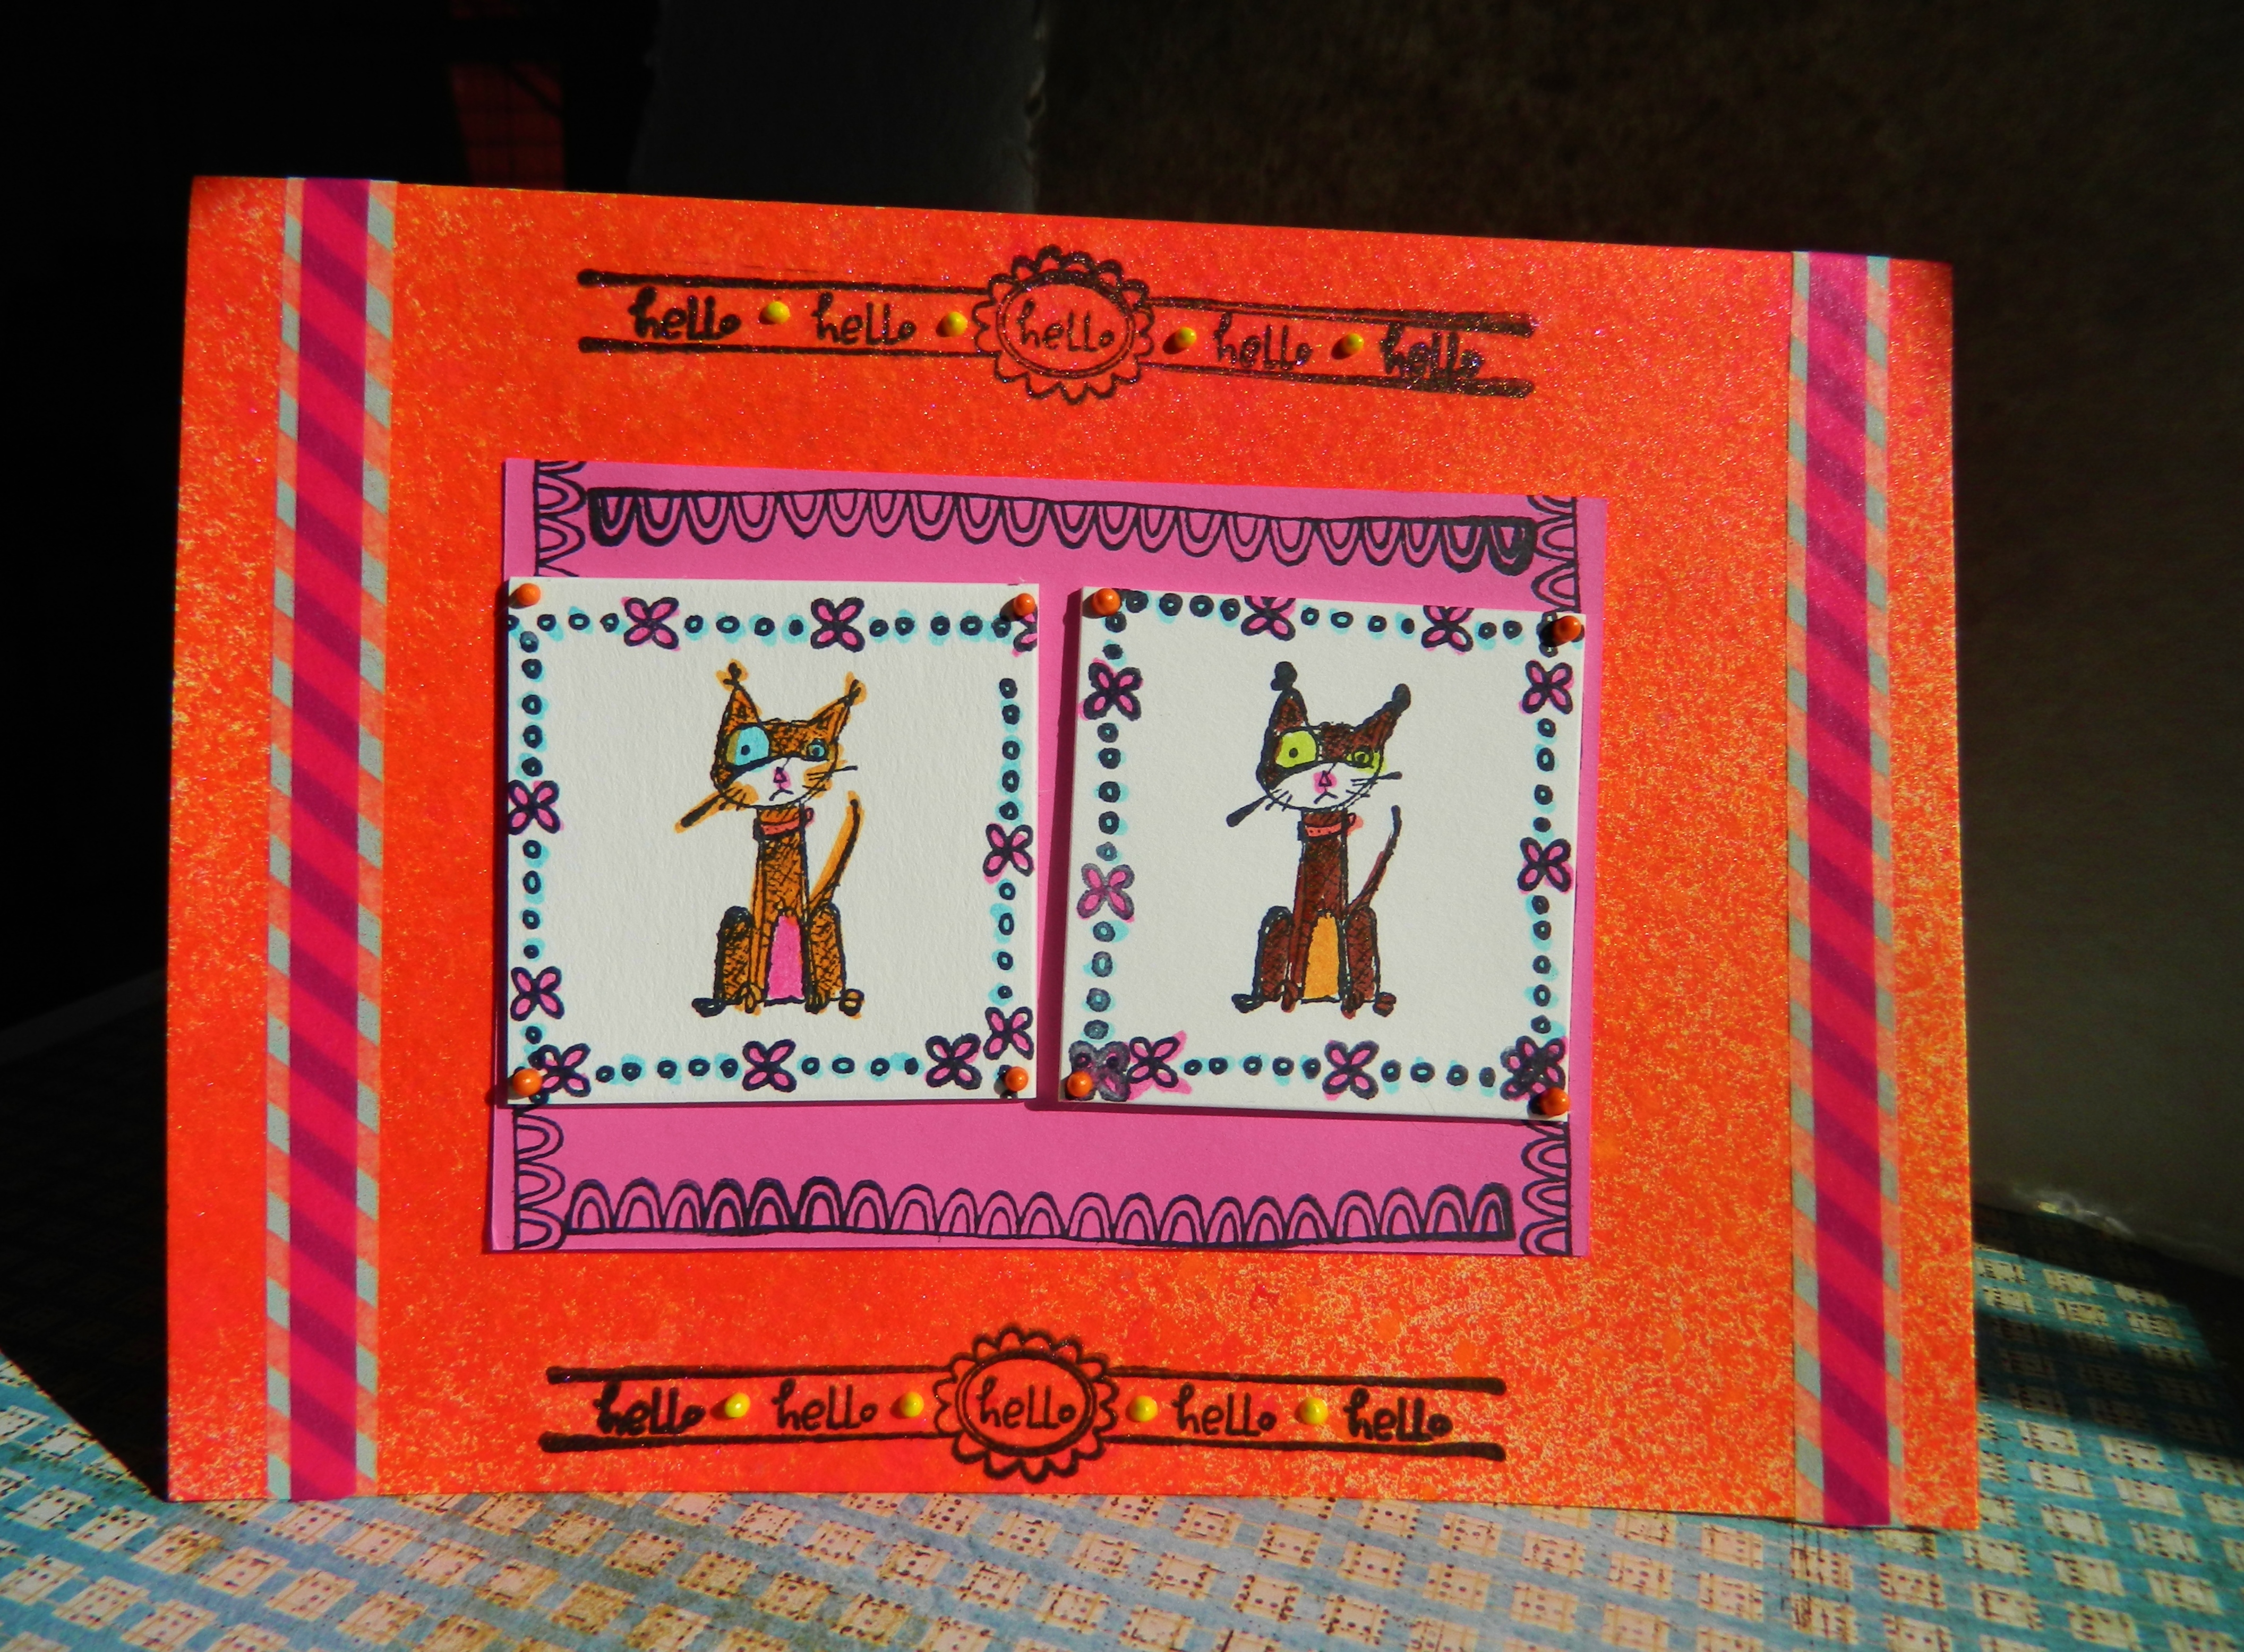
Handmade greeting card using watercolor paper

Greeting cards are so fun and quick to make. My mum and I would send cards to each other all the time. I really want to get in the habit of snail mail again.  I love to send gifts, happy mail, post cards and handmade cards.

Handmade greeting card using watercolor paper

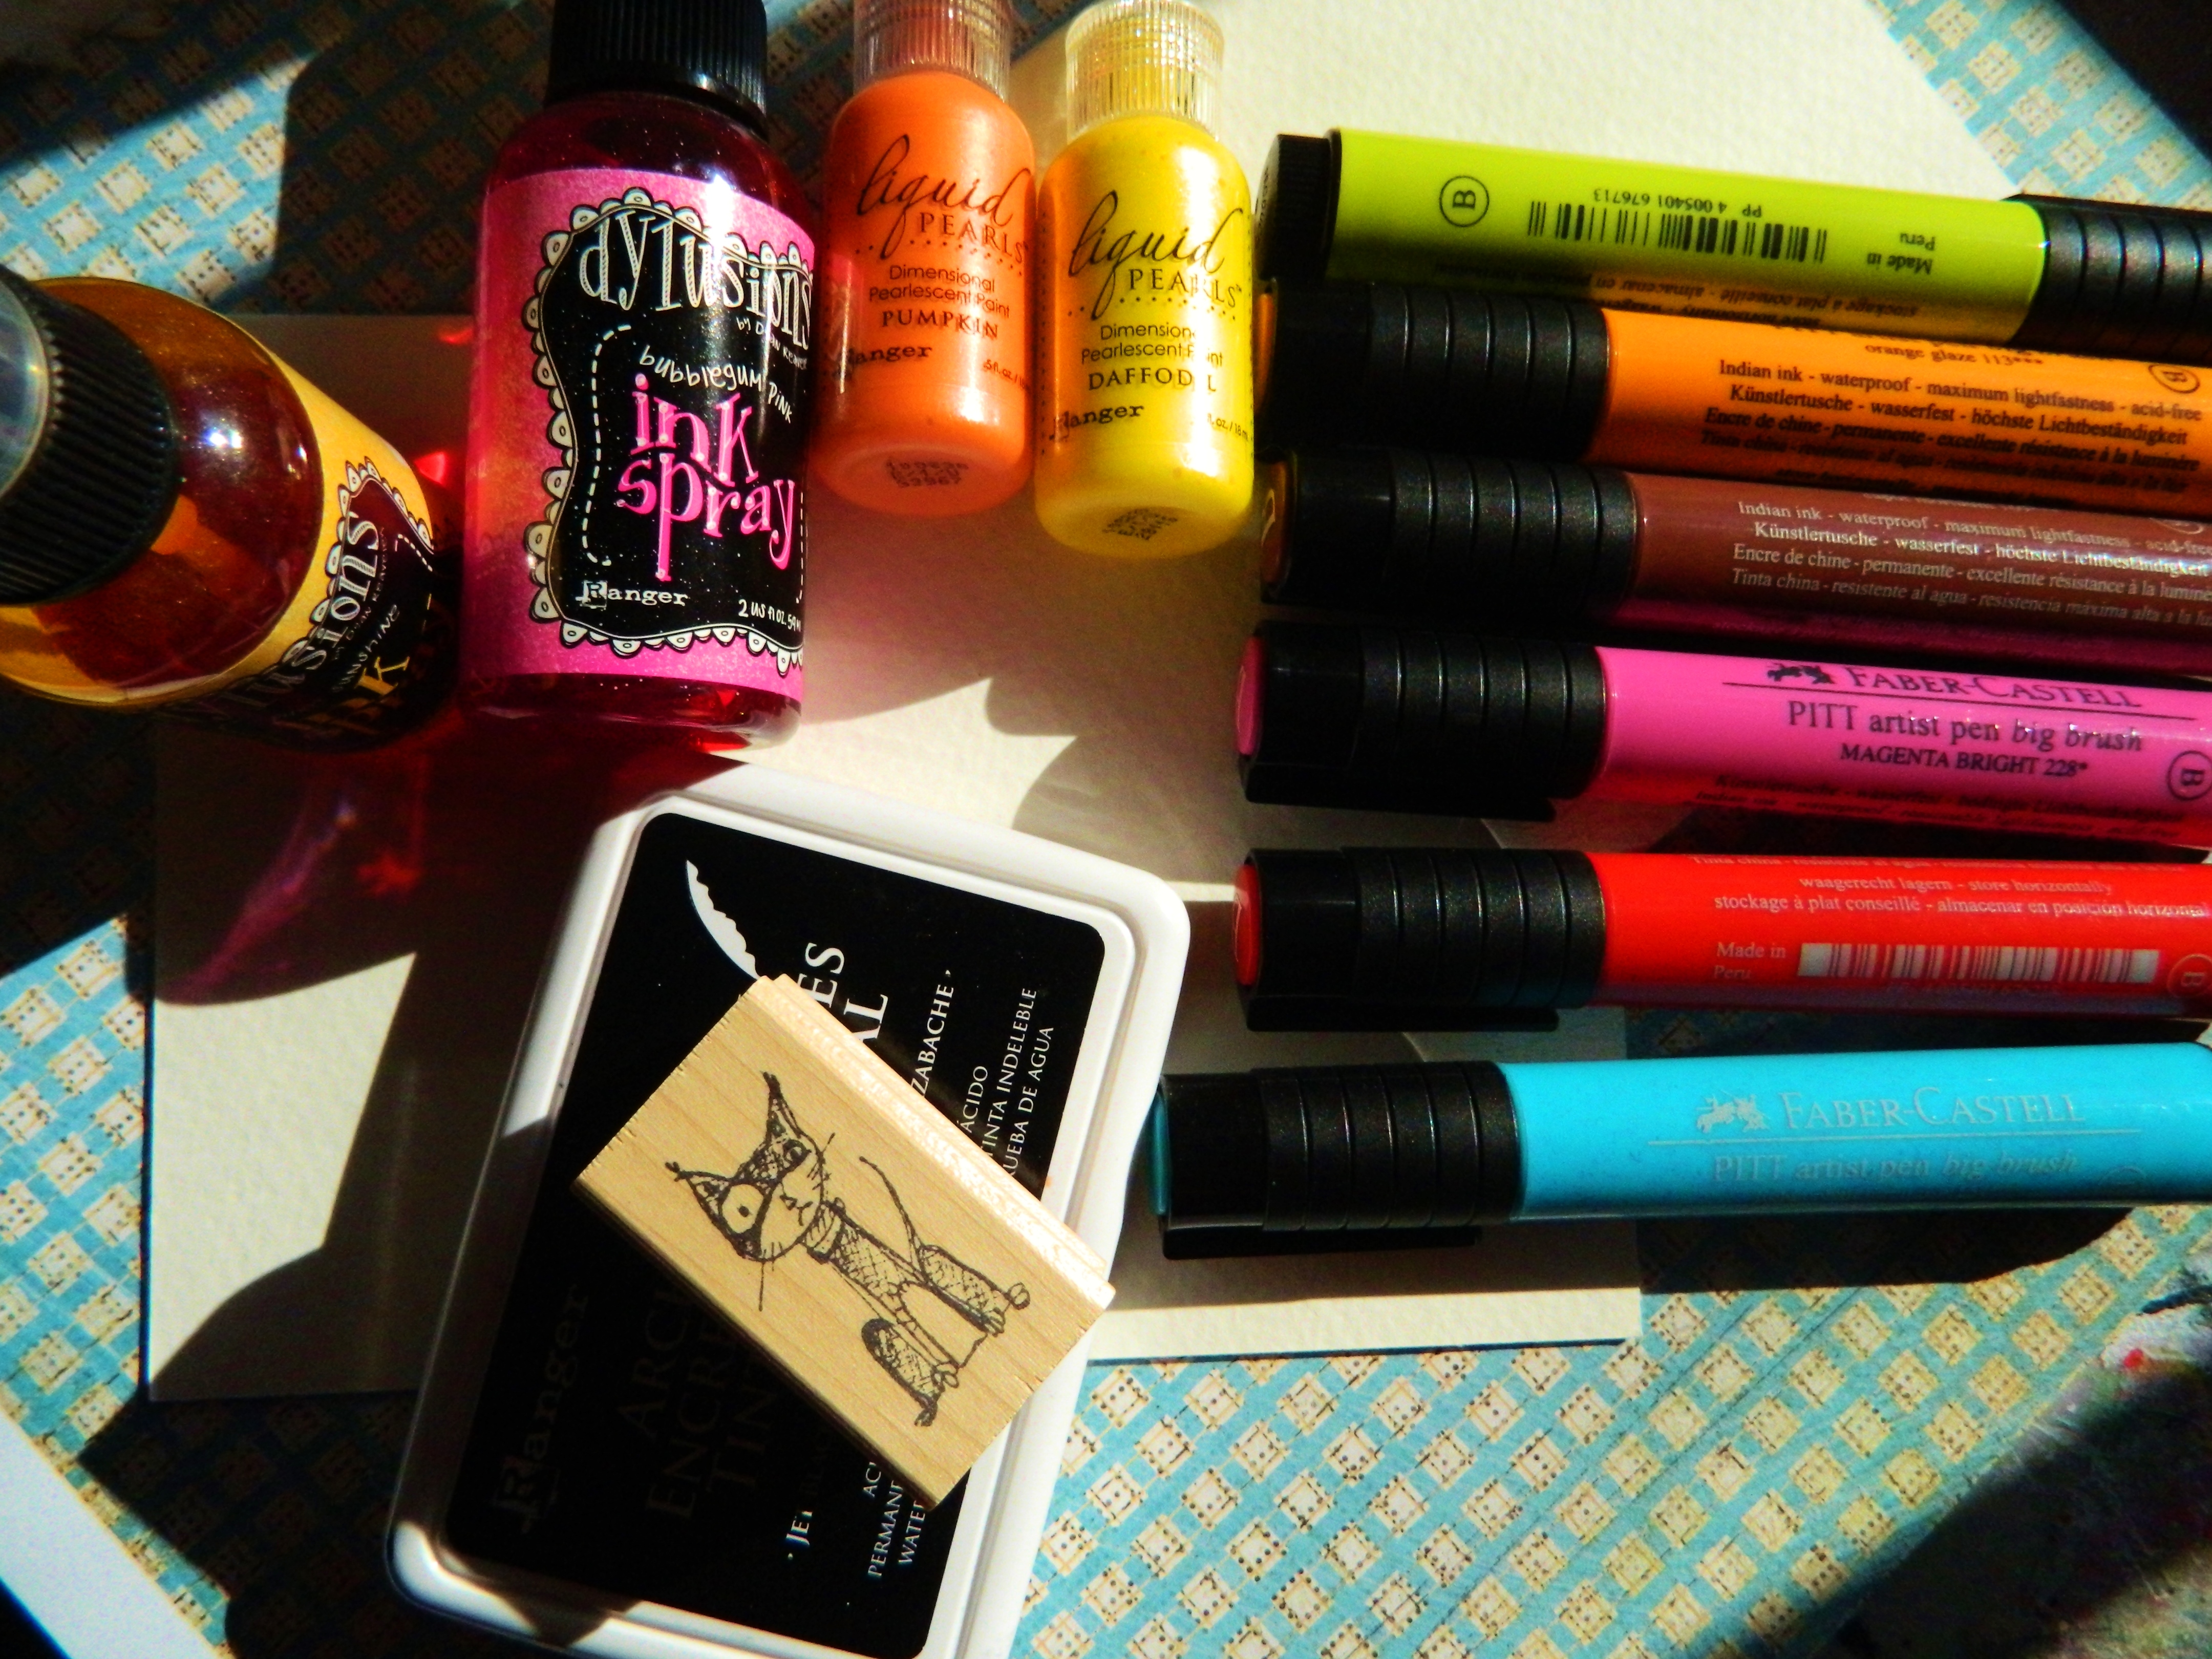
I hand folded 140lbs cold press watercolor paper into a card shape. Opened to lay card flat and spray with orange and pink Dylusions ink spray. These are my favorites. Air dry or dry with heat gun.  Cut pink card stock paper to smaller size to center in the front of the card and glue. Stamp all four sides of card stock. Stamp image of 2” art squares. Glue squares to cardstock.

Handmade greeting card using watercolor paper

Stamp your greeting on top and bottom of watercolor card. Using Pitt Pen Big Brush Markers color in the stamped images. Add Stickles in your favorite colors and washi tape to the edge.

Handmade greeting card using watercolor paper

*stamp can be found at Rubbermoon.com

~*~*~*~*~*~*~*~*~*~*~*~*~*~*~*~*~*~*~*~*~*~*~*~*~
Author bio: Melanie Statnick is a published artist/writer out of North Carolina. Melanie creates art daily from her private studio. Her style is happy and whimsy. Statnick’s artwork can be found in art galleries and shops extensively in NC with international private collections. Learn more about Melanie view her website at: www.melaniestatnickart.com

~*~*~*~*~*~*~*~*~*~*~*~*~*~*~*~*~*~*~*~*~*~*~*~*~
.

.

Creating Your Own One of a Kind ATC Backgrounds

~ * ~

This article is written by Shari Welch

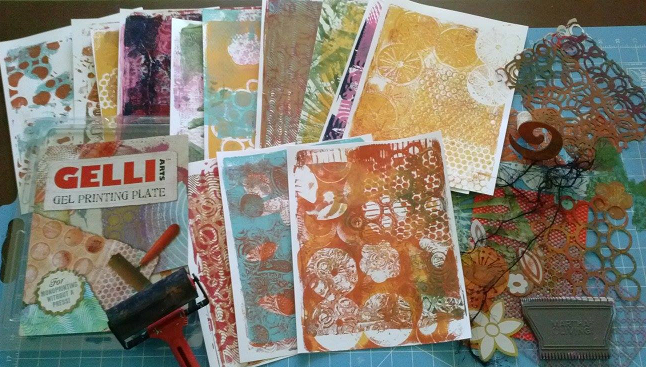
I came up with this tutorial out of need. I needed to find a way to produce a series of artists trading cards with the same background color scheme, with each one being an original little piece of art in itself. I needed to get these out soon so I had to be creative with my time as well. GelliArts gel printing plate to the rescue!

Those of us who have used a Gelli plate will admit, it is VERY addicting. A few of the many facts I love about the gel plate is that it is reusable and cleans up easily. If you haven’t used one, the link below takes you to the Gelli Arts website. Their site will give you a better understanding of what the gel printing plate is, and what you can create using it. Besides instructions, projects, and a You tube video, you can order a plate too. www.gelliarts.com

I thought that I would print up two or three pages. But like I said, it is very addicting.

gelli plate, printed papers, and stencils

Materials I used:

  • 8×10 printing plate
  • Rubber brayer
  • White card stock 8.5×11 (cut to 8×10 after printing)
  • DecoArt acrylic paints
  • Yarn, texture tool, cut out decorative paper
  • Flower masks and stencils by Heidi Swapp
  • Stencils by Tim Holtz
  • Stencils by Prima

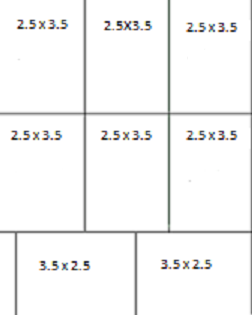
This template shows 8 artists trading card that can be produce out of a single gel print page if you are using the 8×10 size.

ATC template

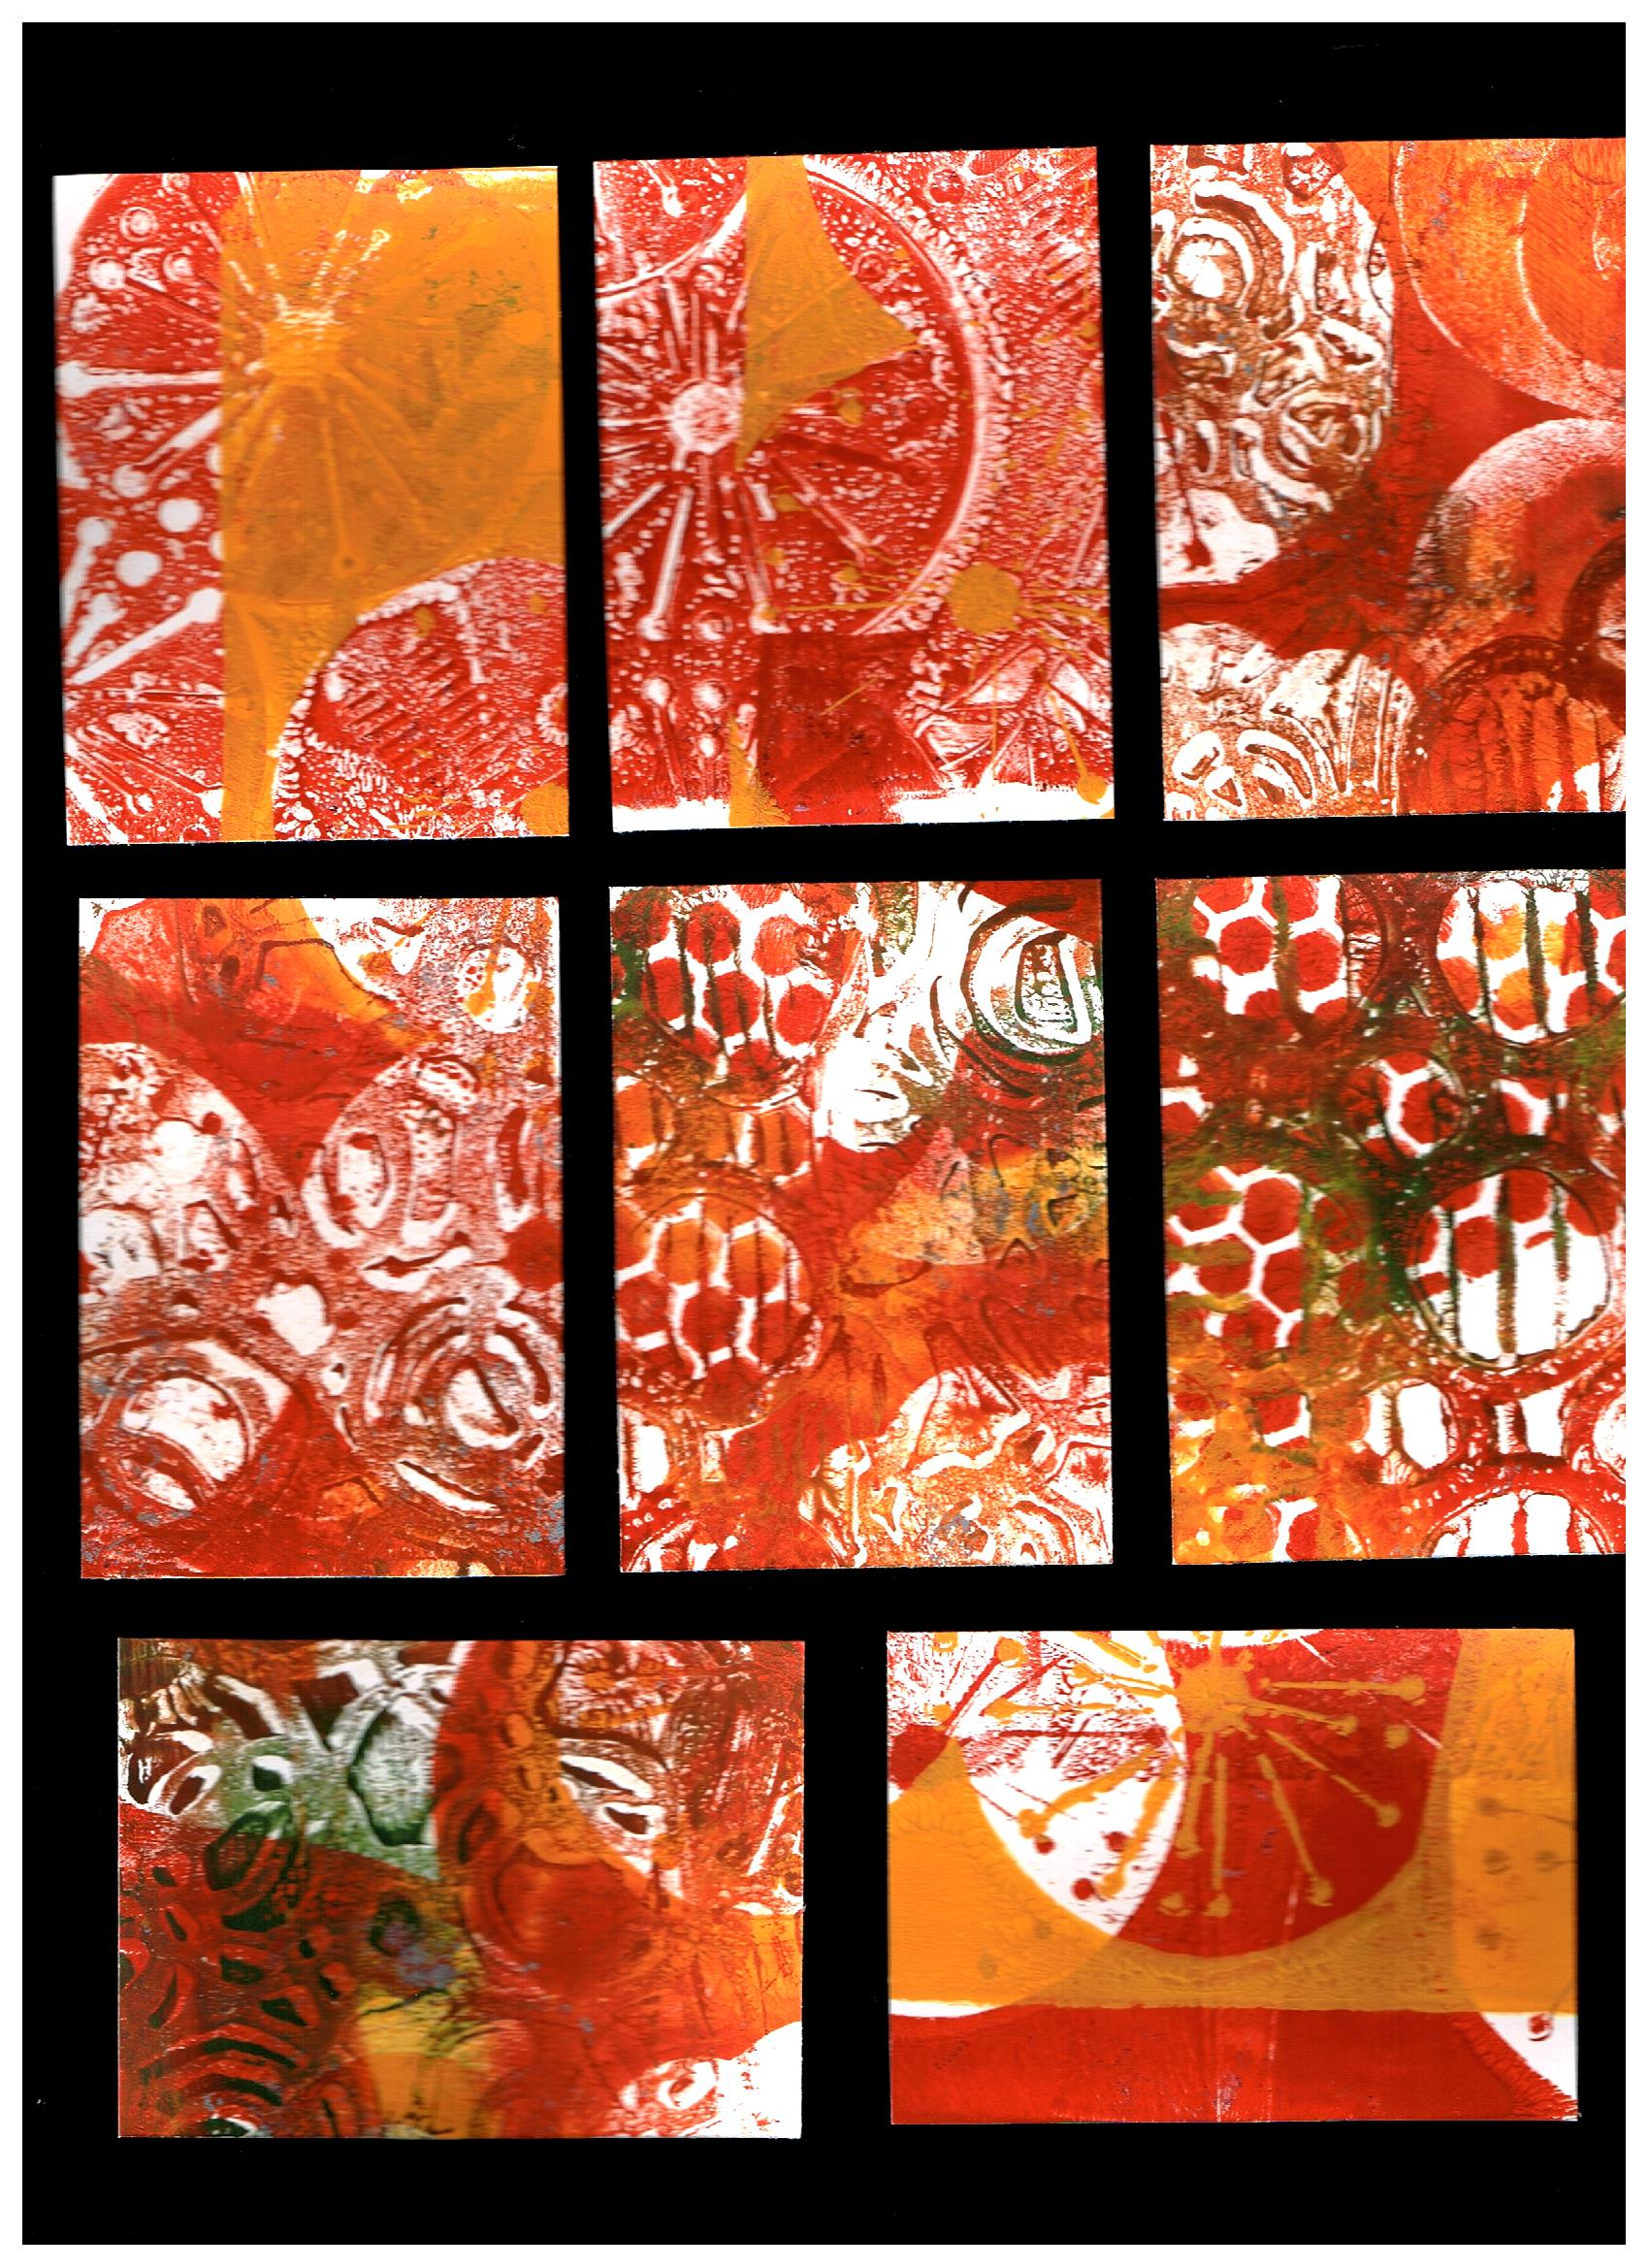
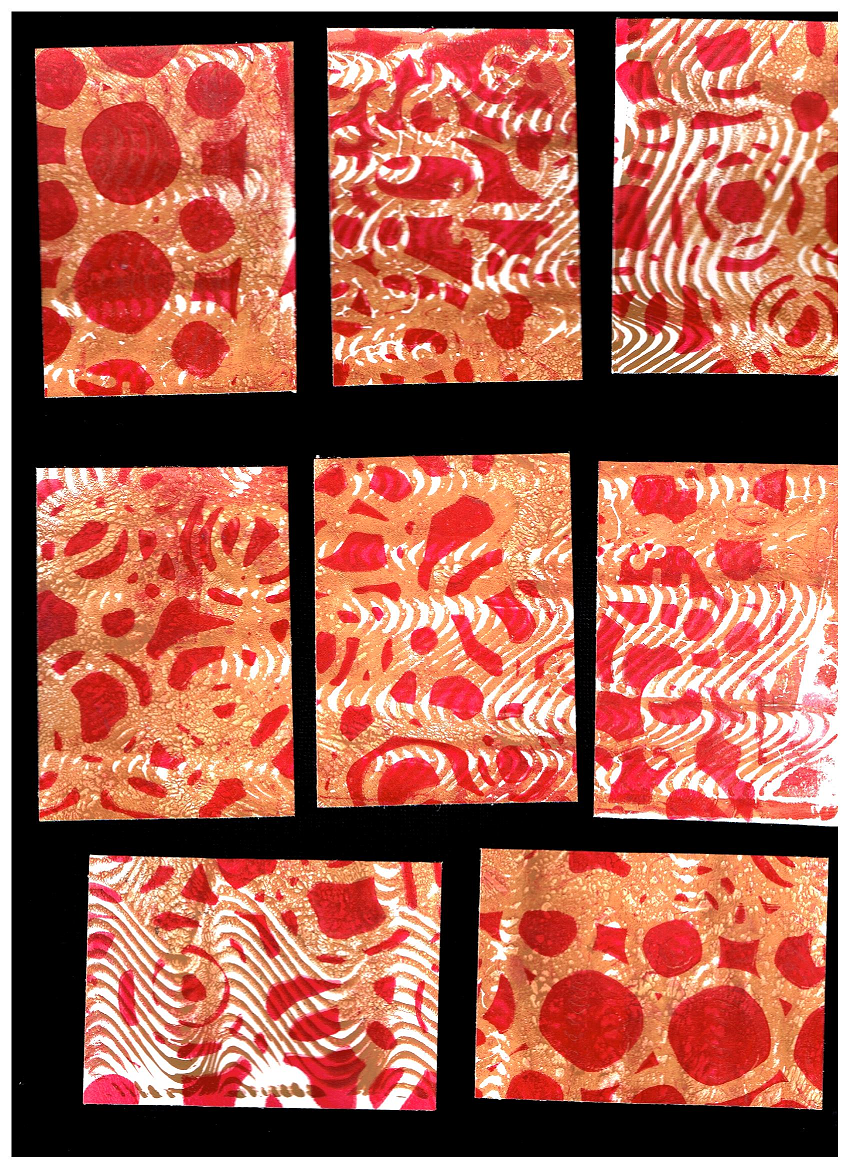
I had a fall color theme in mind, so here are the two finished ATC background sets I choose. I still have a lot of gel prints left for yet another project. I won’t complain.

Pic of 8 ATC cards
ATC cards 2nd sheet
~*~*~*~*~*~*~*~*~*~*~*~*~*~*~*~*~*~*~*~*~*~*~*~*~
Shari Welch is a mixed media artist living in Denton Texas. She is known for using reuse and recycle materials in her artwork. She volunteers for SCRAP Denton where she is on the education committee, teaches workshops, art camps, and performs art demos. She is passionate about mixed media art and enjoys helping others discover their creativity.

Shari studied graphic design in Portland, Oregon before moving to Denton. Besides writing for mixed media art, she is currently a blogger for DecoArt, was featured in Mixed Media May, and has been in a number of art shows in her hometown of Denton including GDAC “It’s in the bag”, Thirty for thirty art show, and 3arthwurks gallery show.

You can see more of Shari’s artwork at www.facebook.com/my.altered.life
and on her blog shariwelch.blogspot.com

~*~*~*~*~*~*~*~*~*~*~*~*~*~*~*~*~*~*~*~*~*~*~*~*~
.

.

Do It Yourself Handmade Halloween Decorations

~ * ~

This article is written by Kim Kelley

Does it drive you crazy when you walk into a store in the middle of September and there are Christmas decorations up, but no Halloween ones? It does me. Seems like we are fast forwarding through life, always looking too far ahead, skipping sections that could be memory makers, instead of stopping and enjoying what time is right in front of us.

OK, OK I know I am feeling like life is going way to fast right now. My daughter just turned 18, is a senior and is looking at college. Just yesterday I dropped her off at Kindergarten and she looked up at me like I hung the moon.

handmade Halloween decorations are easy

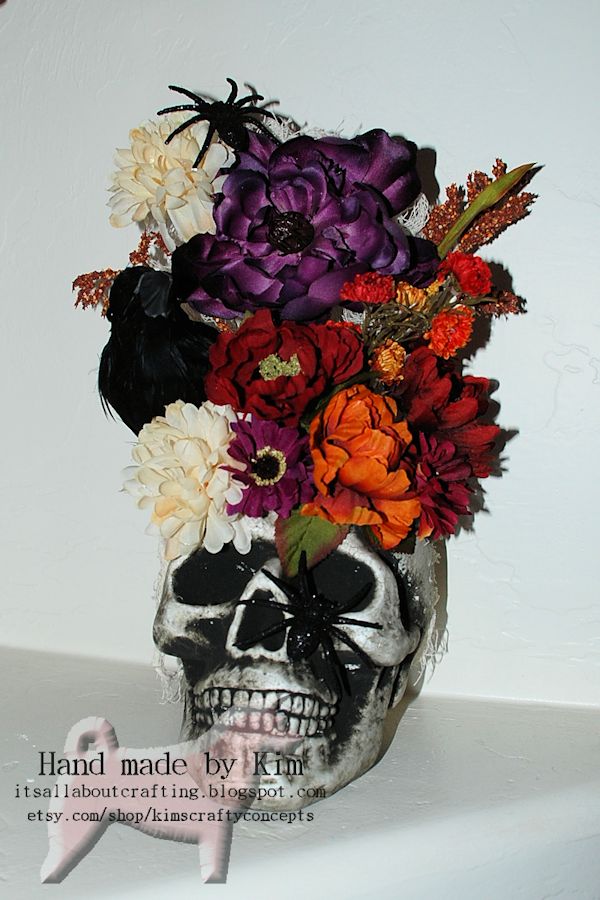
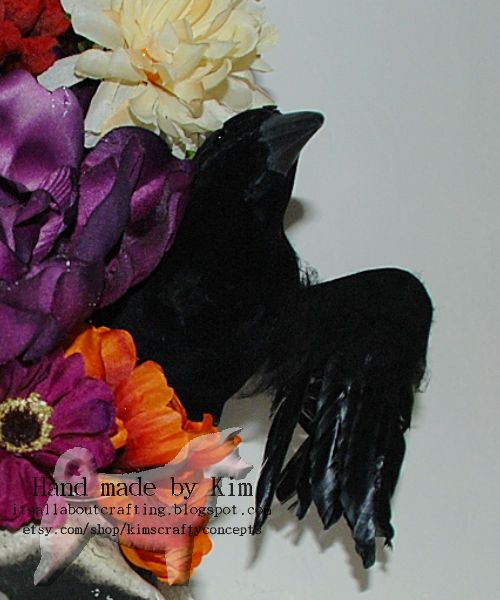
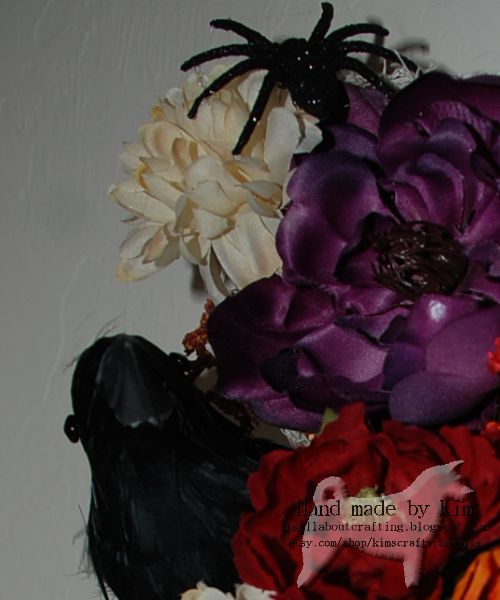
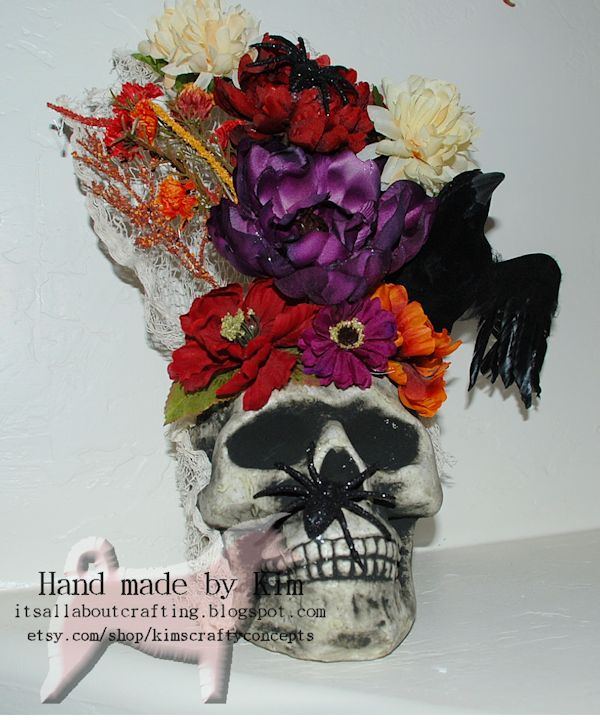
Anyway back to the task at hand…my Halloween project. This year I wanted to create something special for my BUNCO party. So I got an idea from Pinterest to decorate a skull. Now the photo I saw used real flowers, but needing something that would last I decided on fake ones. I also wanted to add a few spiders and a crow on each, thank God for Michael’s, I was able to get everything there and on sale for half off!

handmade Halloween decorations are easy

The Skulls

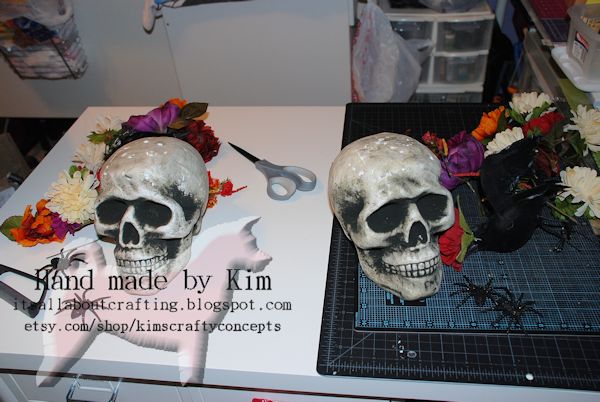
I used Styrofoam skulls so all I had to do was stick the flowers in where I wanted…you can see some of the holes in one of the pictures, I ended up pulling all of the stems out once and starting over wanting a different look. I did not like the way the stems showed from the back, so I added a thick, almost cheesecloth material hanging from the flowers and draping down the back of the skull. I glued one of the glitter spiders to the skull and one to the top of the highest flower and took my glue gun and created strings of webbing all over. All in all this was pretty easy to create.

handmade Halloween decorations are easy

Crow 1

handmade Halloween decorations are easy

Crow 2

I usually take a lot more pictures, but figured there are only so many angles you can take of fake flowers!

handmade Halloween decorations are easy

Skull 1

I hope this inspires you to get a little creative with your Halloween decorations!

Life is short, do something creative every day!

~*~*~*~*~*~*~*~*~*~*~*~*~*~*~*~*~*~*~*~*~*~*~*~*~
Kim Kelley is borderline obsessive about her crafting and her art. She loves mixed media art because you are free to go beyond your comfort zone, using your imagination and exploring an anything goes mind set. Kim loves to learn and explore new techniques and hopes that any art she creates leads someone to find their inner creative artist!

Sites: itsallaboutcrafting.blogspot.com and kimscraftyconcepts

~*~*~*~*~*~*~*~*~*~*~*~*~*~*~*~*~*~*~*~*~*~*~*~*~
.

.