Michelle G Brown | Mixed Media Art

Mixed Media Art As An Adjunct To Therapeutic Biography in Palliative Care

~ * ~

This article is written by Leeanne Oschmanns

The use of Biography writing as a therapeutic tool in palliative care was first developed in New Zealand and has become an approach used in some regions of Australia. One of the struggles that are faced by the dying and their carers is in finding meaning in the inevitability of death. Paradoxically, a meaningful death can be achieved only through the appreciation of a meaningful life. Quite often we overlook the day to day course of our lives as we get on with the business of living it. So often it takes a catalytic event for us to stop and take stock. To look back and ponder where it is we’ve been and the road we have traveled is to begin to find meaning and value.

Palliative Biography Writing is a special approach to helping the dying person to remember and find order in the recollections of their life. Through the use of voice recording, the story-telling process can be documented and written in such a way that the voice of the person whose life story is being told remains their own. Through the format of oral history, the person retains ‘ownership’ of their story and control over the memoir. Each story is unique not only through events, but also in the ‘voice’ of the story teller. Literary style and publishing conventions present no limitations and the exercise becomes open to creativity in a pure and unfettered way.

While some clients choose the option of a straightforward recounting of events in a traditional, sequential way, others are open to a variety of approaches. Some choose to recount the important aspects of their lives in a sequence of poems and verse. Others arrange the telling as a family history, firming up their place in the family tree. Some, musically inclined, will even sing their life story in a series of musical verse and performance poetry. Even the writing of a life play can serve the purpose.
Using Mixed Media Art As An Adjunct To Therapeutic Biography

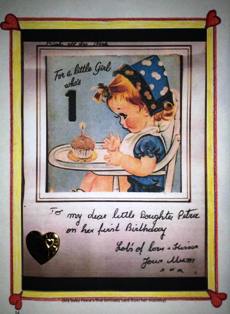
A common thread running through most lives recounted are the physical items that have been important along the way. Small gifts and treasures, favourite cards and hobbies, old photos and so forth are the ‘stuff’ of life.  Many clients request that some of their special items be somehow incorporated into their biography. There are so many ways this can be achieved. Sometimes there is the favourite painting or drawing from a child which can be incorporated into the piece along with tiny things and old photos. Small remembrances like birthday cards and little notes, often long-forgotten are suddenly recalled and brought to light as the story-telling process unlocks the door to memories long stored away. Below is one beautiful example that was used by a client. A vintage card that had special meaning for her and her daughter. It had been stored in an old shoe box and was found as she was looking for things to include in her story. As she had advanced brain cancer, it became increasingly difficult for her to articulate the things she wanted to say. Placing these items and arranging them in meaningful groupings with other things helped her to achieve some continuity and expression of what she wanted to say.

Many families choose to put Memory Boxes together as their loved one draws nearer the end. These contain items that hold meaning for the family members in relation to their loved one and special times and connections that they have shared.

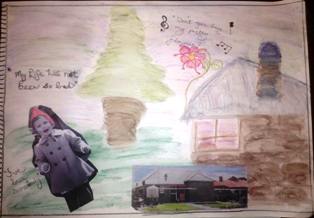
The Biography however, is put together by the palliative patient and holds the stories and ‘things’ that are important to him/her in relation to their own life. So it is a more personal account. Assembling a mixed media expression of meaning is (and should always be) a pleasurable activity. It does not have to be a commercial work of art because it is foremost a spiritual work of art.
Using Mixed Media Art As An Adjunct To Therapeutic Biography

Having worked with a number of these clients has allowed me to develop a new appreciation of art, and mixed media art in particular, as a tool of spiritual expression and mixed media is a way of encompassing so many aspects of a person’s life. Working in this area of biography brings so much reward and as one client, a child of World War Two said to me after reading her completed story “You know, I haven’t had such a bad life after all.” I think that is what we would all hope for.

~*~*~*~*~*~*~*~*~*~*~*~*~*~*~*~*~*~*~*~*~*~*~*~*~

Leeanne Oschmanns is a writer, poet, mum, teacher and an ‘opportunity’ artist, meaning she looks for every opportunity she can find to incorporate art into her life. She has a love of words and find they help her to weave literary pictures to go with her artistic endeavours. Leeanne finds mixed media is a way of melding the elements of so much of what she enjoys in life…Gardening, history, animals, people and storytelling.

~*~*~*~*~*~*~*~*~*~*~*~*~*~*~*~*~*~*~*~*~*~*~*~*~

.

.
A Little Scrapbooking Inspiration

~ * ~

This article is written by Kim Kelley

This last year has completely passed me by and given me whiplash as it did. Because of that and the holidays sneaking up I have not had the time to finish my latest project. So I decided to go a different route.

I am going to show you some the scrapbooking projects that I made but for whatever reason did not make it here or to my blog.

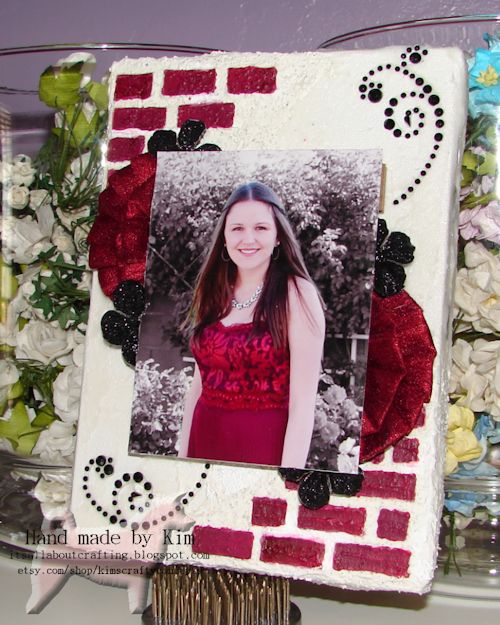
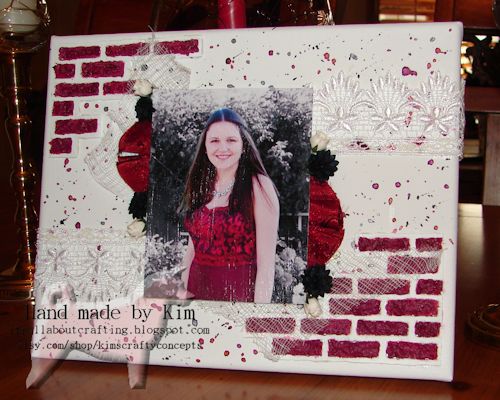
The first two are of canvases I made using my daughter’s prom picture. The first one is a 5×7 that I used texture medium, flowers, rhinestones, and brick chipboard pieces. The second is 10×8 and I used all the same stuff but also added netting and lace.

Kim’ s favorite scrapbooking projects

5 x 7 canvas

Kim’ s favorite scrapbooking projects

10 x 8 canvas

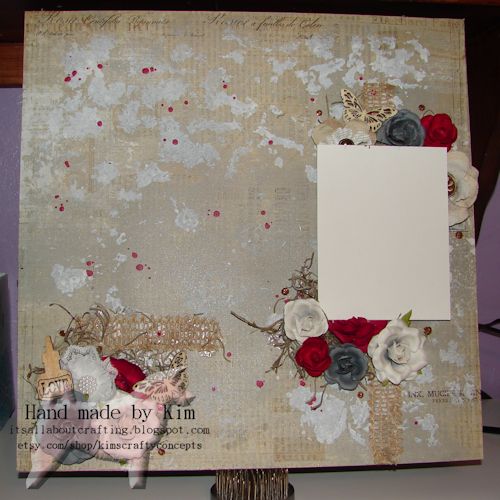
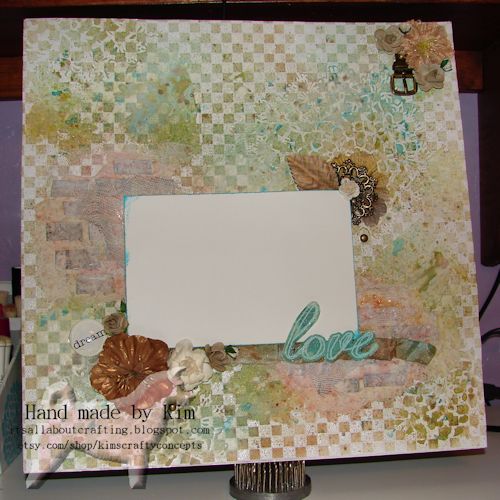
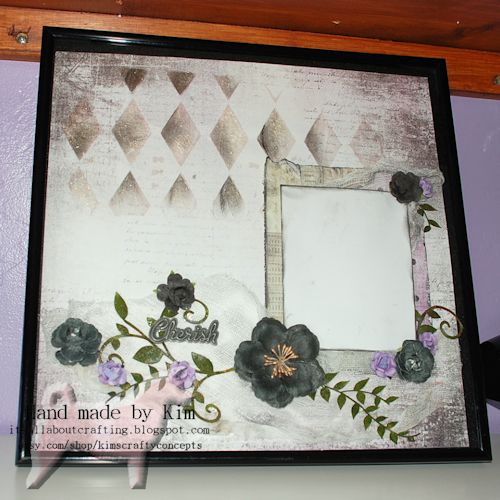
These next few are what I call fram-age pieces. I came up with the name by combining a framed piece of art and a scrapbook page to create a scrapbooking layout. All three are 12 x 12 and can be framed, hung on the wall or added to a scrapbook. The first one is pretty simple with just a minimal amount of stenciled on texture paste. Used red flowers for a pop of color rather than any spray or paint. The second I used a sheet of canvas resist paper, lots of spray mist and again stenciling with a heavy gel. The third is probably one of my favorites. I used a stencil and crackle gel to get the diamond pattern. Then I added just a touch of ink getting some of it in the cracks of the gel. I like the dimension that I got using this technique.

Kim’ s favorite scrapbooking projects

Red Love Fram-age

Kim’ s favorite scrapbooking projects

Colors of Love Fram-age

Kim’ s favorite scrapbooking projects

Cherish Fram-age

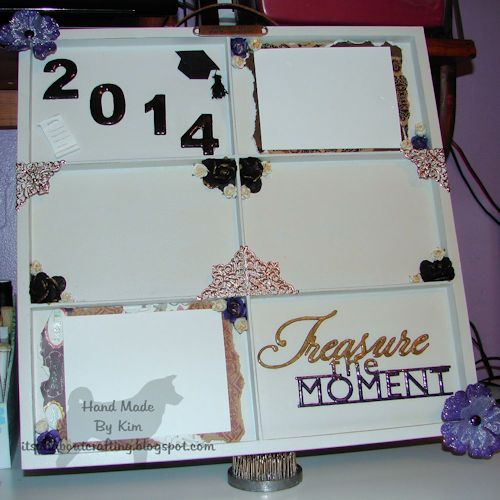
This is one of the first and only trays I have made. I purchase them when they are on sale and then hadn’t gotten around to making anything with them. When my neighbors daughter graduated last year I thought it was the perfect time to try a small tray out. I used the colors of her high school, added the year and she can add 4 pictures.

Kim’ s favorite scrapbooking projects

6 Spot Tray

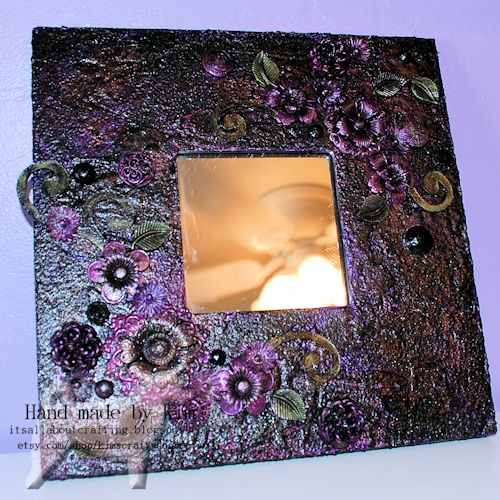
And last but not least I decorated a 12 x 12 mirror that I bought at ikea using mostly metal flowers and metal bits. Then using luminescent paints in purple and green I painted the heck out of it. Problem is with all of the shine of the paint I had a heck of a time getting a real good picture.

Kim’ s favorite scrapbooking projects

Dark Purple Mirror

I hope you can forgive me for not completing and showing my latest project and maybe, just maybe find a little bit of inspiration in these other things I have completed!

Wishing you all a wonderful holiday season, lots of love and happiness in the coming New Year.

Life is short, do something creative every day!

~*~*~*~*~*~*~*~*~*~*~*~*~*~*~*~*~*~*~*~*~*~*~*~*~

Kim Kelley is borderline obsessive about her crafting and her art. She loves mixed media art because you are free to go beyond your comfort zone, using your imagination and exploring an anything goes mind set. Kim loves to learn and explore new techniques and hopes that any art she creates leads someone to find their inner creative artist!

Sites: itsallaboutcrafting.blogspot.com and www.facebook.com/kimscraftyconcepts

 ~*~*~*~*~*~*~*~*~*~*~*~*~*~*~*~*~*~*~*~*~*~*~*~*~

.

.
Top 10 Mixed Media Articles for 2014

~ * ~

This article is written by Michelle G. Brown

This is a great time of year to reflect on the wonderful mixed media projects and inspiration that we have shared over the last 12 months – and what a year it’s been! I have dug into the data to see what our Top 10 articles have been for 2014 and would love to share them with you again!

#10 Transparent Stamped Collage Layered Technique by Elaine Brady Smith

.mixed media art technique with stamped layers

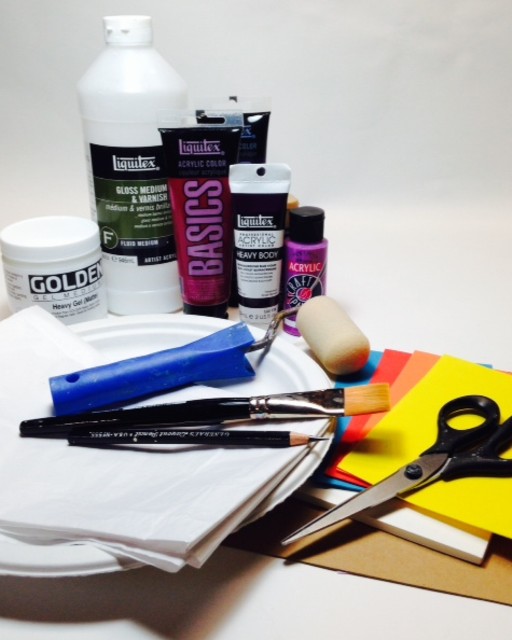
Want to learn how to make a Fun Foam stamp to print transparent collage papers for mixed media art? Layering patterns, colors, and designs allows what is underneath to show through. This layer is added as a second stage, so after collaging or painting a start, you are ready to add the first transparent layer. There are many ways to add transparent collage layers to your work. This technique is transparent stamped layers on tissue paper. When the process is complete, only the printed areas remain visible. Read more here…

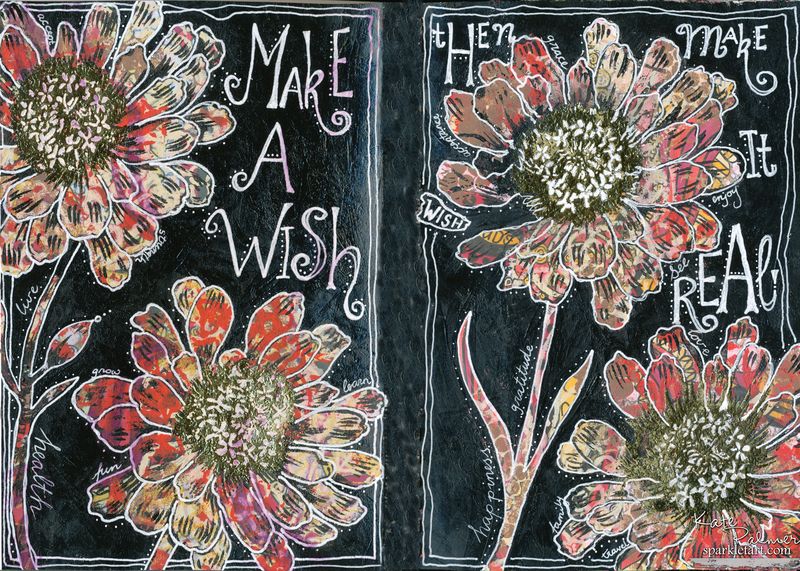
#9 Layering Mediums for a Unique Art Journal by Kate Palmer

.fun art journaling by Kate

Kate Palmer shows us her layering of paints, stencils, stamps and outlining to create this striking art journal layout, with white highlights on black Read more here…

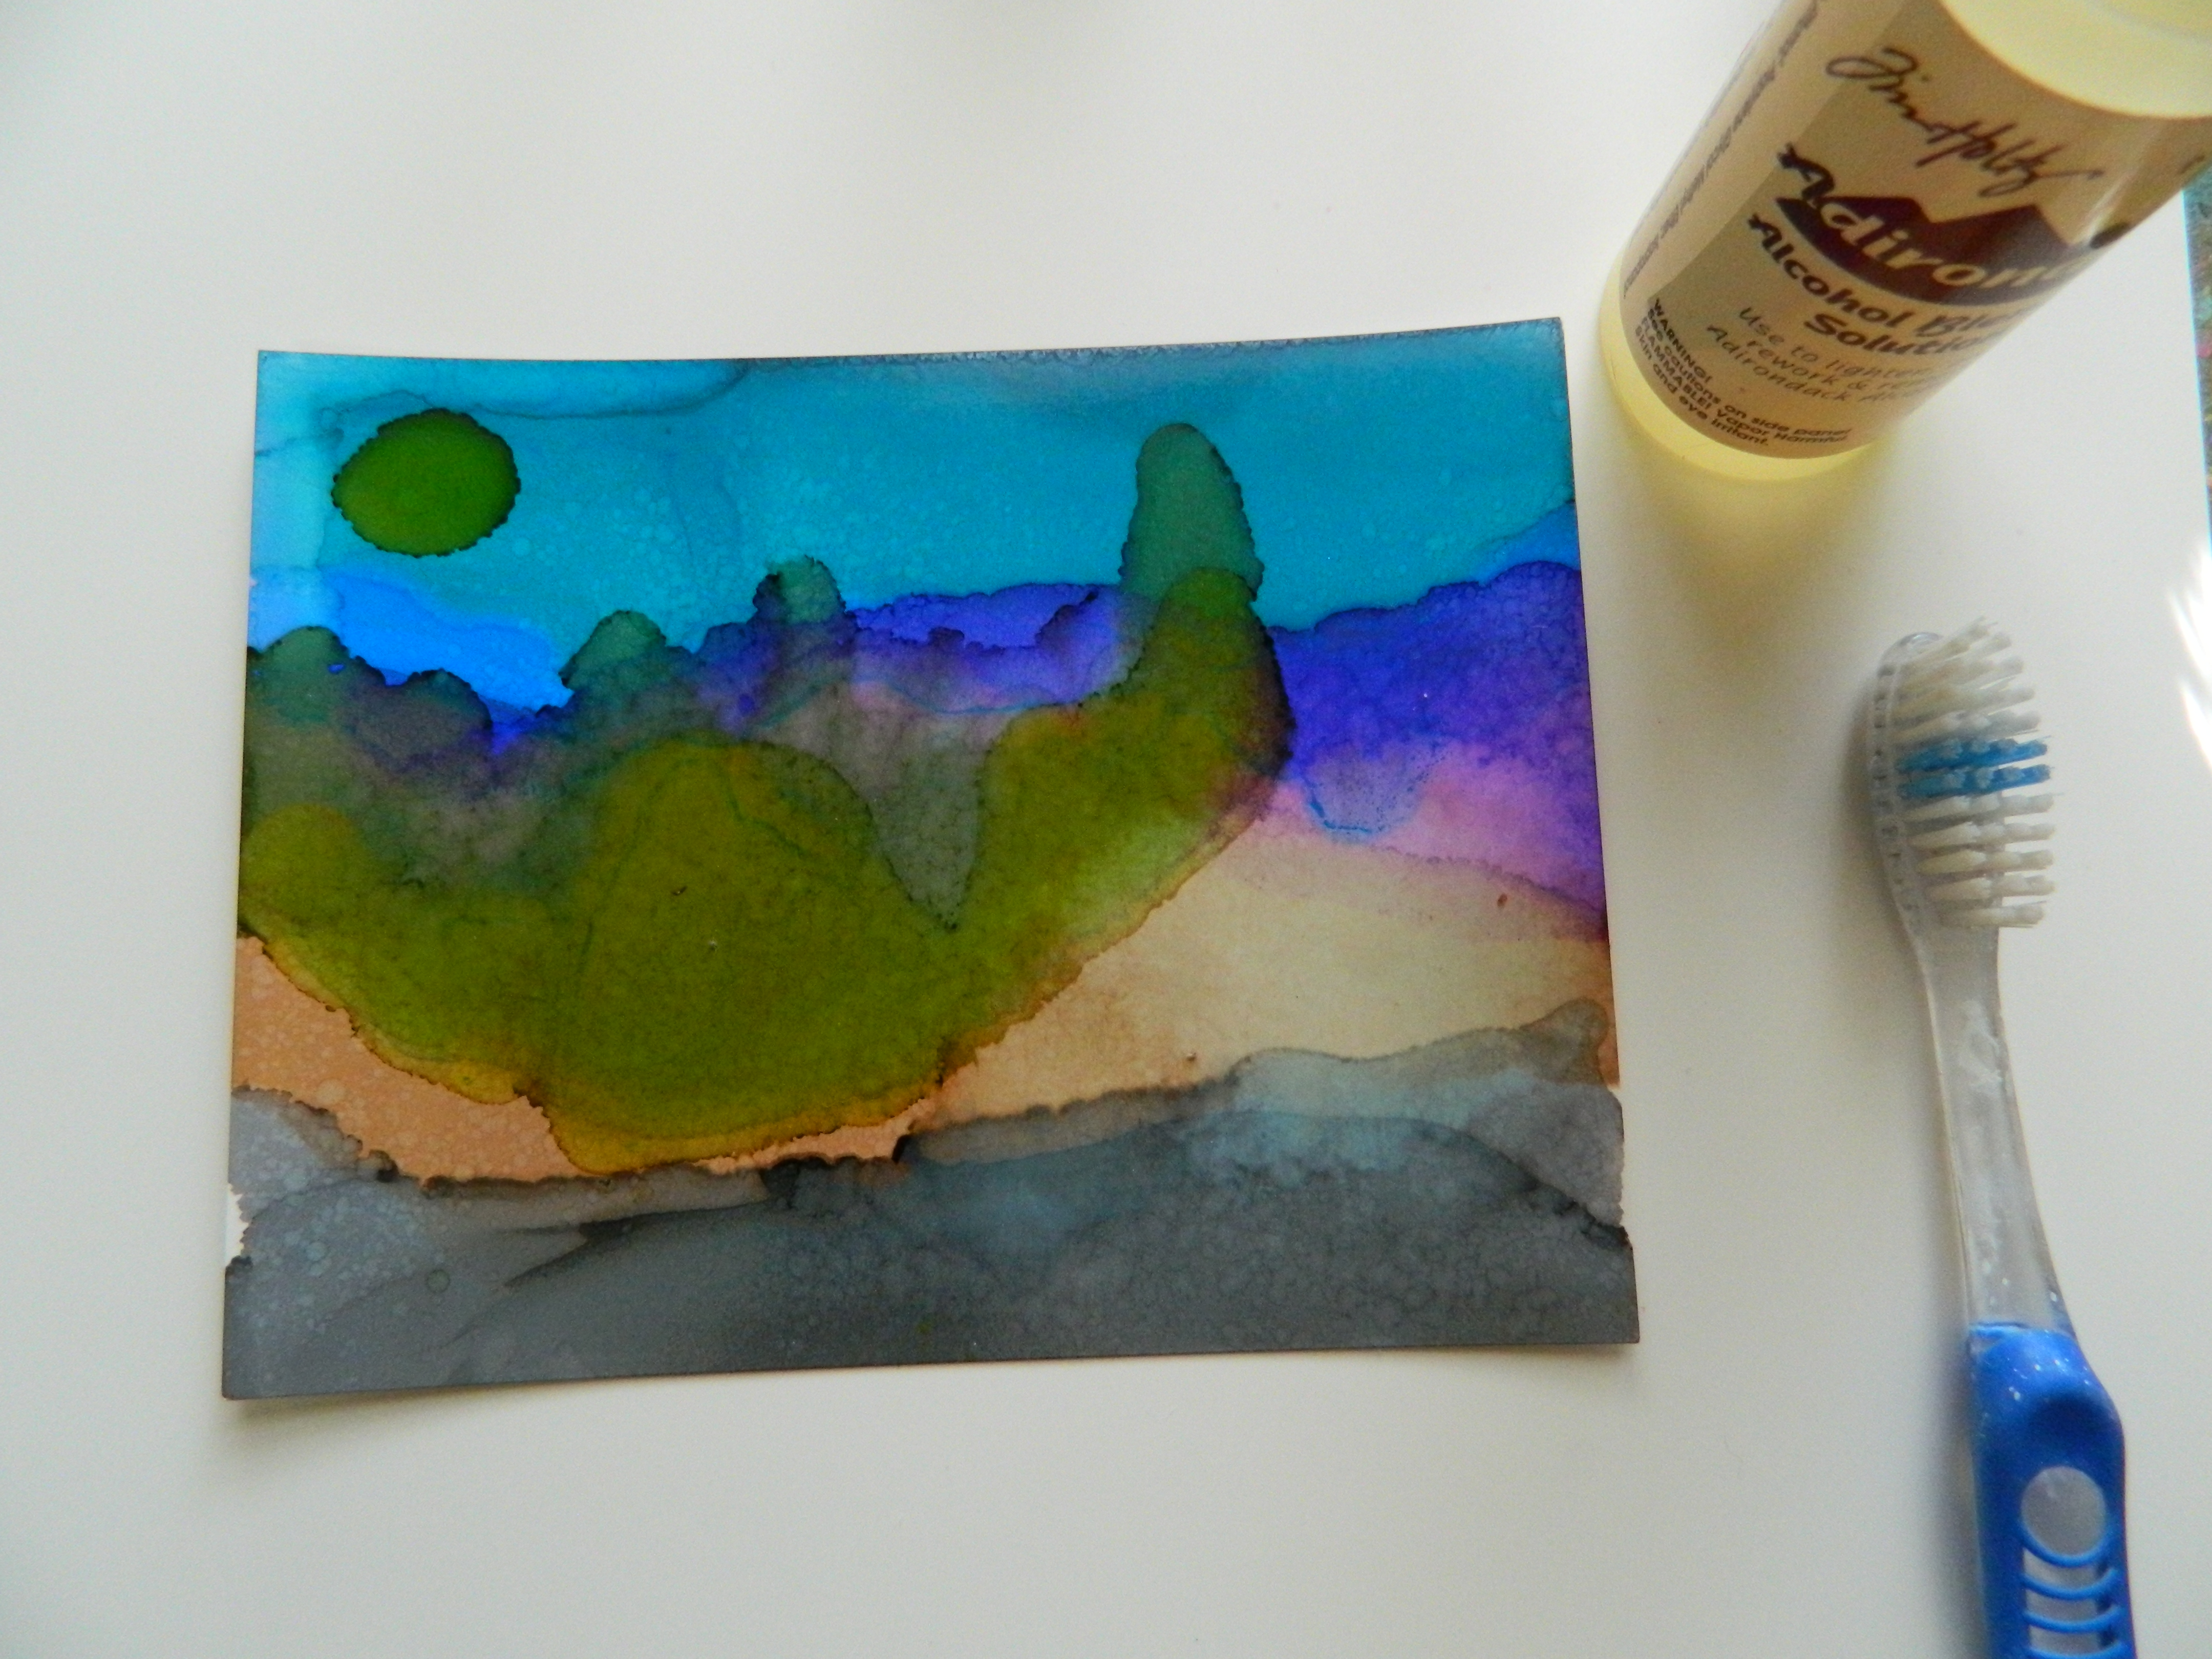
#8 Creating Landscapes with Alcohol Inks by Melanie Statnick

.

mixed media alcohol inks on Yupo

Melanie Statnick has had the Ranger Alcohol inks on hand since they were first introduced. Since then she have seen many different brands and ink tools to use with them. When she wanted to take advantage of what she already had invested in she started to create these colorful landscapes on Yupo. Read more here…

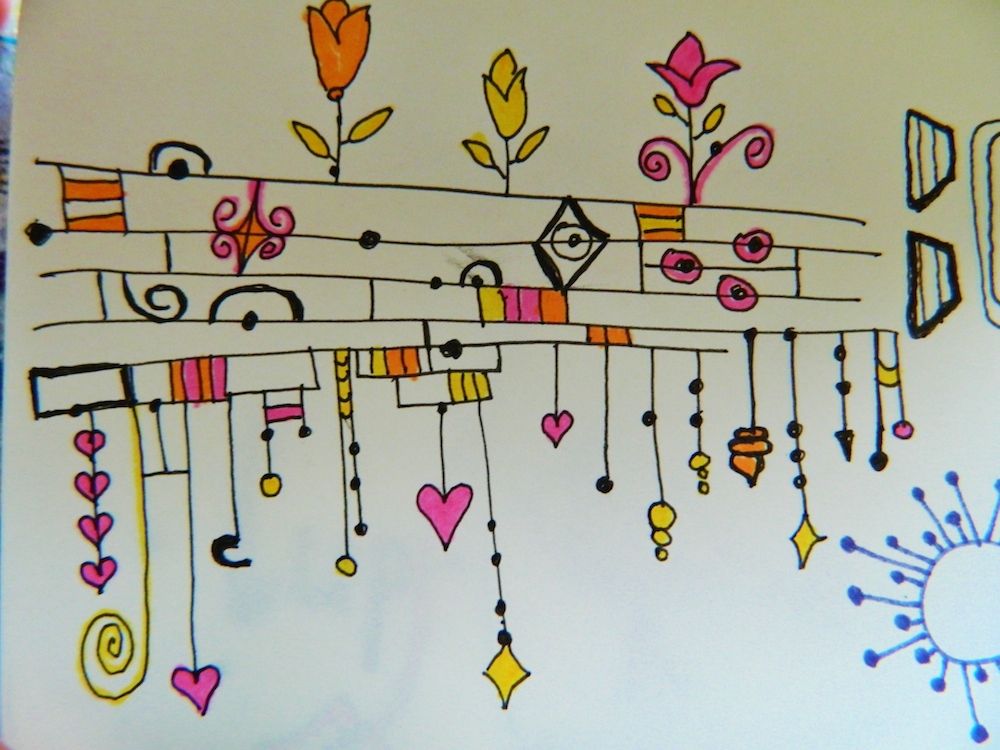
#7 Doodling: More than Mindless Drawing by Melanie Statnick

.the brain power of doodling

Melanie Statnick has been doodling in and on everything! To the doodler a canvas can be anything. When she’s talking on Skype, “watching” TV, talking on the phone, she doodles. The mind drifts and the pen drifts. Melanie uses these opportunities to hone her artistic skills and allows her mind to come up with great ideas. Read more here…

#6 Tracy Greer and her Button Art

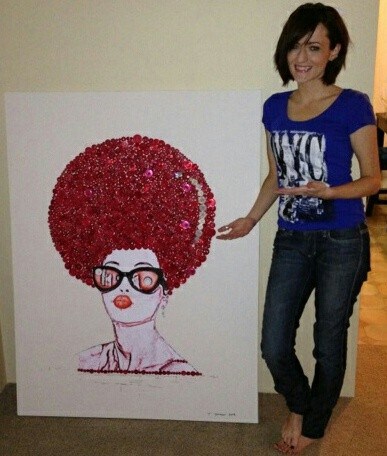
.Button art by Tracy greer

Tracy Greer first shared her colourful artwork on our Creating Mixed Media Art Facebook page and we wanted to hear more about the story behind the colourful button collection. Tracy shares six pieces of her artwork featuring these wonderful buttons. See more of Tracy’s art here…

#5 Get Off-line and Make Art by Melanie Statnick

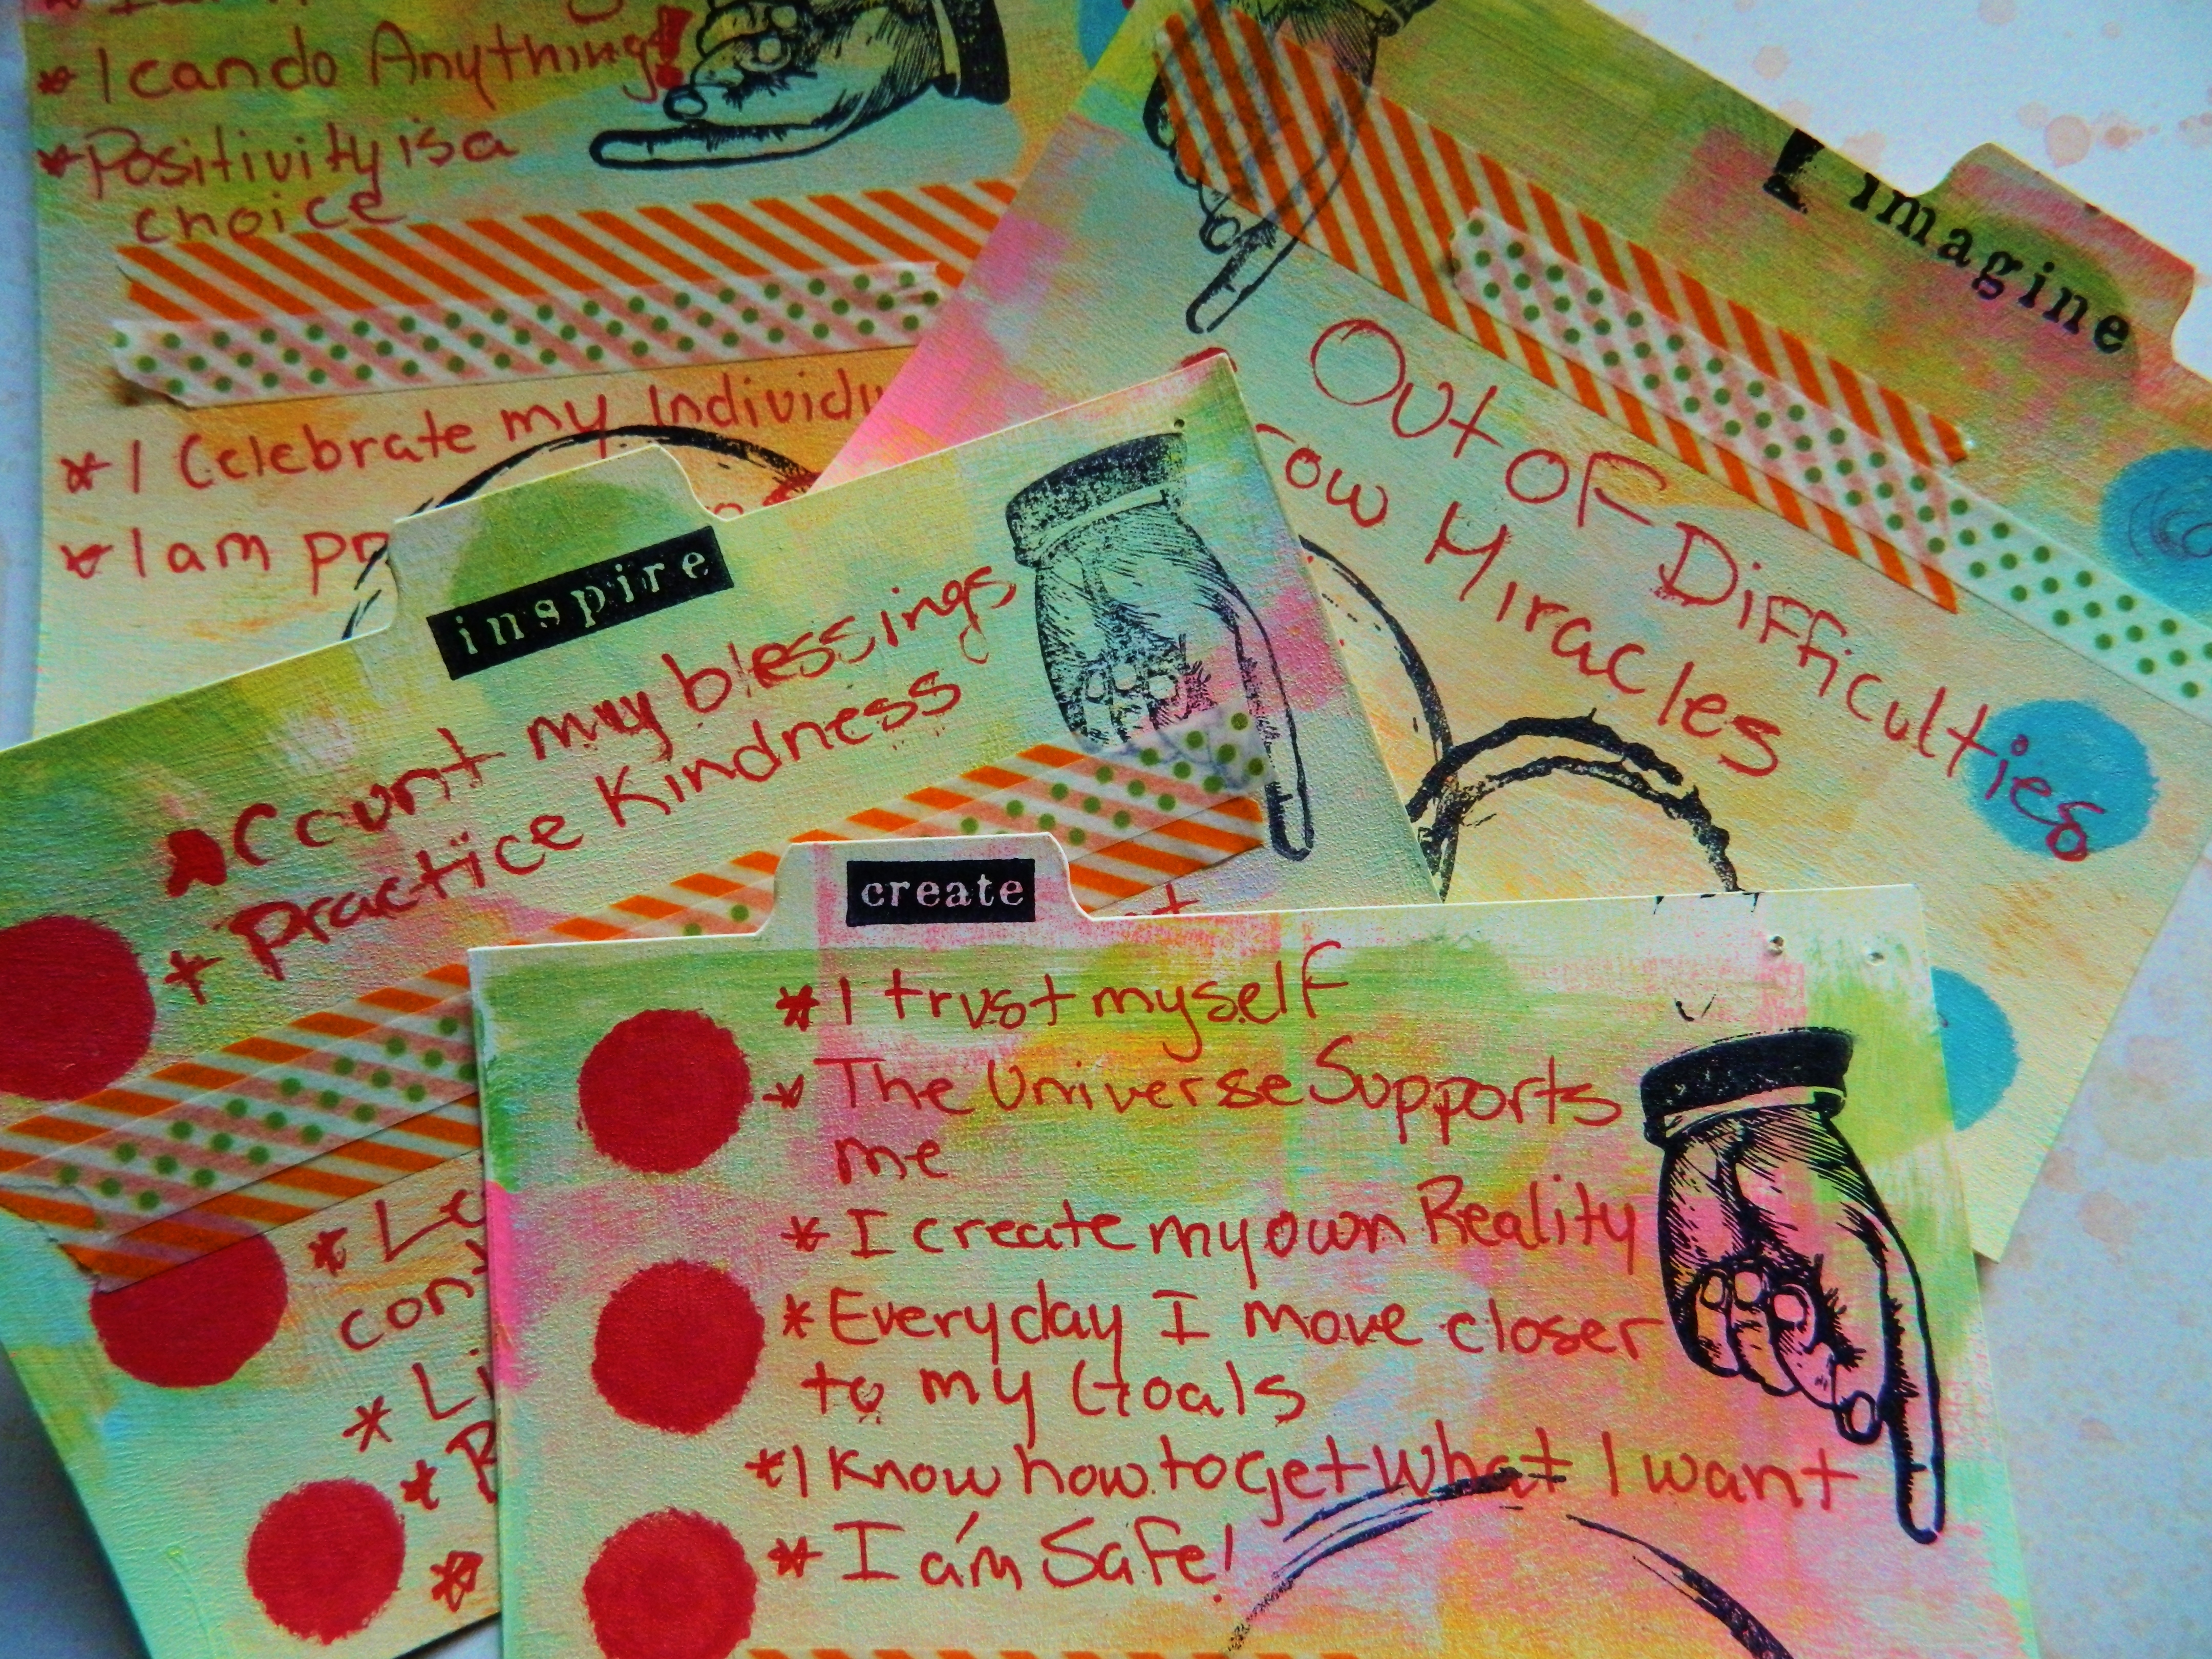
.Make art with mediatation cards

Find yourself spending WAY too much time online? When you work from home, it is a real trap that can sap time and your creative energy.  Melanie Statnick encourages us to get off-line, leave Facebook, Twitter, Pinterest, Flicker and blogging alone, and get to making art with these meditation cards. Read more here…

#4 Inspiring Quotes for Art Journalling

.use inspiring quotes to create art journal layout

Michelle loves art journalling and collecting quotes. So this months Mixed Media Ephemera sheet was born ~ Inspiring Quotes you can use as a jumping off point for your own mixed media art journals. Here are three ways to get you started with these art journal prompts. Read more here…

#3 Monoprinting with GelliArts Gelli Plate by Michelle G. Brown

.monoprinting with gelliarts gelli plates

Wanted to try mono printing with GelliArts Gelli plates? Michelle has given it a few goes and has come up with a “paint by numbers” approach to make sure you pull great prints each time. Read more here…

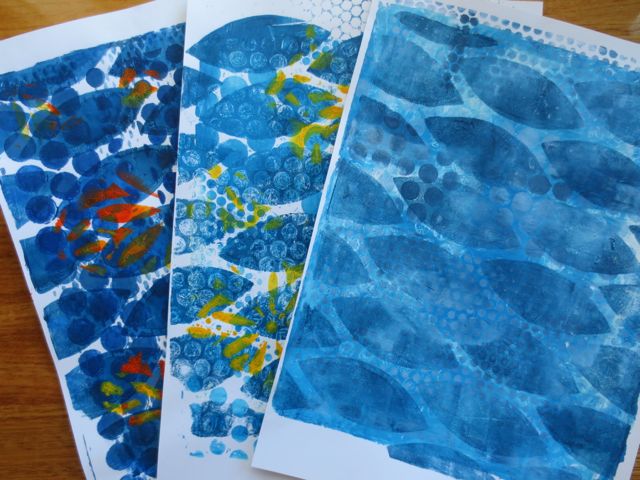
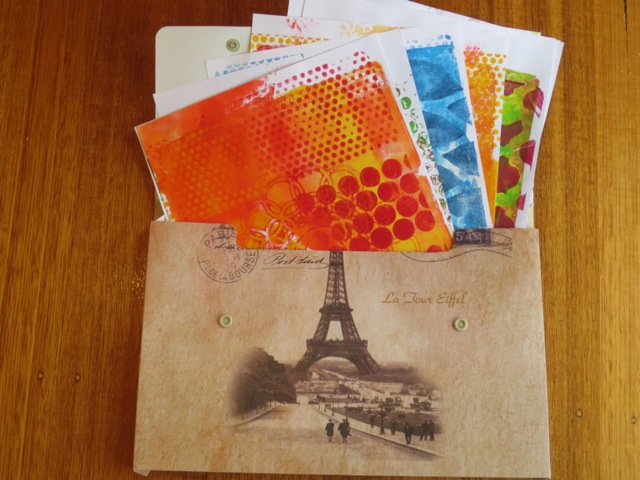
#2 What to do with your Gelli Plate Prints by Michelle G. Brown

.GelliArts Prints

For those of you who have been playing with your Gelli Art plates I’m sure you know have a huge collection of colourful Gelli plate prints. So what are we actually going to do with all of these prints? Here are some of the projects Michelle has undertaken to put these colourful prints to use. Read more here…

And finally, our #1 most popular article for 2014 is…

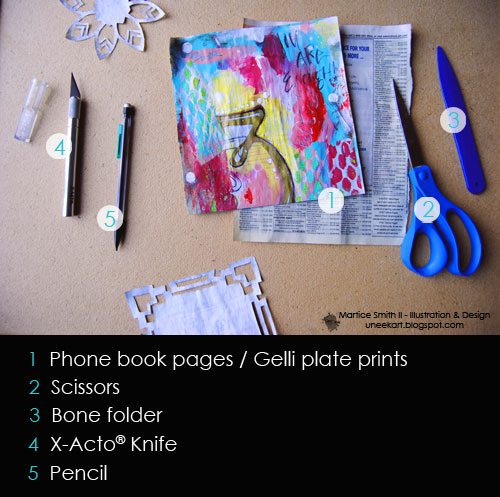
#1 Intricate Paper Stencils by Martice Smith II

.Martice intricate paper stencils

If you like geometric lines or fluid, organic shapes and curves, this project is for you! Mixed-media artist and designer, Martice Smith II, shows us how to create intricate, paper stencils from- believe it or not- the pages of a phone book! This tutorial is practically free (no need to go out and purchase any extra supplies) and at the end you will have a whole collection of stunning and unique stencils to use in various projects. Read more here…

~ * ~ * ~ * ~ * ~ * ~

 A BIG “Thank You” to all of you who have joined us for the fun and creativity throughout the year.

And we would *love* to hear from you – was your favorite article mentioned here? If so, then let us know which one it is!

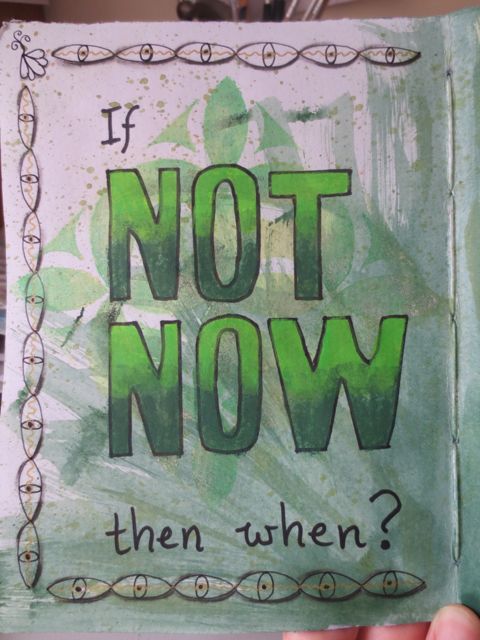
If NOT, then tell us in the comments below which was your favourite article!

The more we know about what you like, the more we can bring to you!

Happy Creating,
Michelle and the Mixed Media Art team

Making a Hand Painted Bubbly Gift Bag

~ * ~

This article is written by Shari Welch

Soon Christmas will be winding down and New Years Eve will be on our mind. Champagne and ringing in the new year go together like peanut butter and jelly. Here is a project that you can make in a few hours and will look so cute holding your bubbly until the clock strikes twelve.

SUPPLIES

1. DecoArt media fluid acrylics paint (cerulean blue)
2. DecoArt Americana acrylic paint (white wash)
3. DecoArt Glamour dust ultra fine glitter paint (ice crystal)
4. Plain fabric wine bag
5. Decorative ribbon
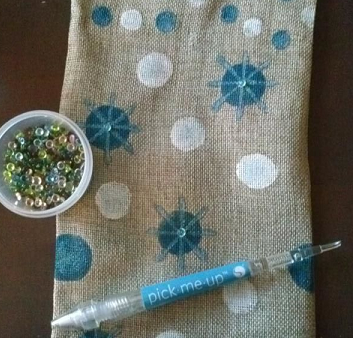
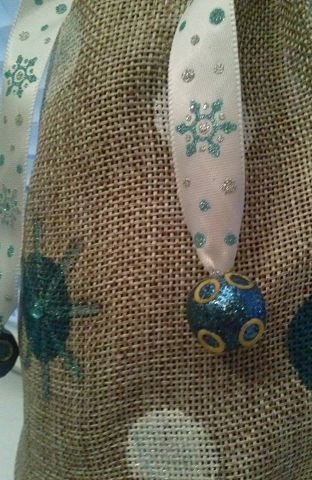
6. Decorative beads and robin’s nest dew drops
7. Assorted sizes of round sponge pouncers
8. Detail brush
9. Aleenes tacky glue

Note: DecoArt products work seamlessly together. You don’t need to worry that you were not using all of the same product line when creating.

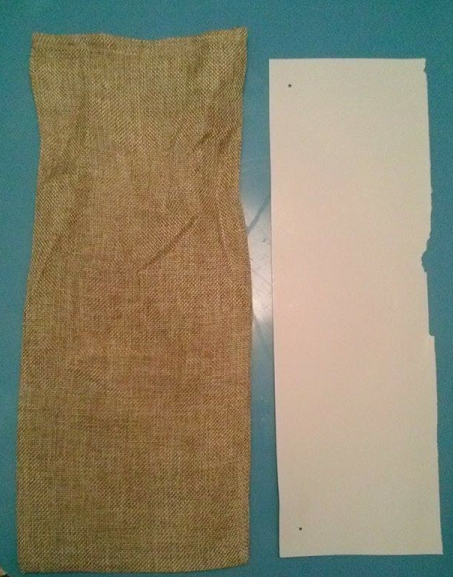
You will want to start out by cutting a piece of card stock or scrap paper the same size as your bag. Insert this into the bag. This will make sure your paint is not going to bleed on to the other side of the bag.

cloth gift bag

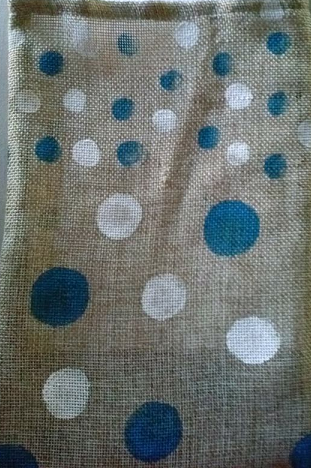
Put small amounts of your paint on a paper plate far enough apart to be able to blend together later on. Start with your largest pouncer. Load paint sparingly on the pouncer. Dab off excess on a clean paper plate. Do this same process with the other colors and sizes of pouncers. Let dry several hours or use a hair dryer on low setting.

alternative description

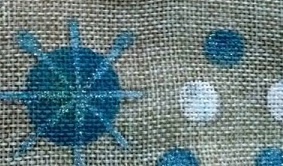
I added some interest to a few of the circles by mixing the blue and glitter paint together.

add any shapes you like

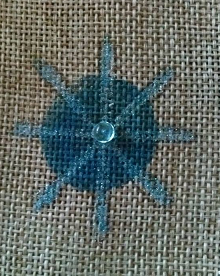
I added a few dew drop accents.

decorating a cloth bag

layer shapes for interest

I filled the inside of a large bead with glue and stuffed the end of each ribbon in the hole. Let dry

decorative ribbons and beads

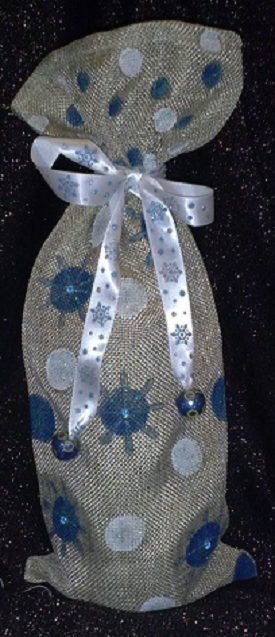
To finish, add your favorite bubbly in the bag, wrap the ribbon around, tie a bow, and
and it’s party time!

completed cloth gift bag

~*~*~*~*~*~*~*~*~*~*~*~*~*~*~*~*~*~*~*~*~*~*~*~*~

Shari Welch is a mixed media artist living in Denton Texas. She is known for using reuse and recycle materials in her artwork. She volunteers for SCRAP Denton where she is on the education committee, teaches workshops, art camps, and performs art demos. She is passionate about mixed media art and enjoys helping others discover their creativity.
Shari studied graphic design in Portland, Oregon before moving to Denton. Besides writing for mixed media art, she is currently a blogger for DecoArt, has been featured in Mixed Media May, and has been in a number of art shows in her hometown of Denton including GDAC “It’s in the bag”, Thirty for thirty art show, and 3arthwurks gallery show.

You can see more of Shari’s artwork at www.facebook.com/my.altered.life and on her blog shariwelch.blogspot.com

~*~*~*~*~*~*~*~*~*~*~*~*~*~*~*~*~*~*~*~*~*~*~*~*~

.

.