Michelle G Brown | Mixed Media Art

Using Pan Pastels in Mixed Media Art

~ * ~

This article is written by Terri Sproul

Pan Pastels are Artists color pastels with over 80 color to choose from.  Their latest colors include six pearlescent colors.
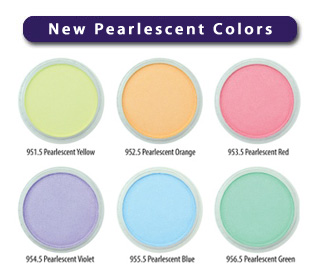
new colors from Pan Pastels

You can mix, blend, use with stencils, stamps and much more.  These Artists Color Pastels can be used just like you use paint.  As a Mixed Media artist you will not be able to put these Pans down, from Canvas, Art journals and stamping each day will be a new adventure.
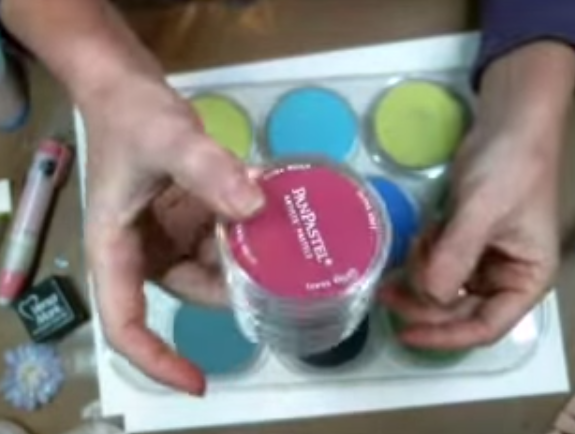
pan pastels used in art journal

In the video below, I run through some of the pan pastel features, showing you how they can be stored, as well as showing you some of the techniques you can do with the Pan pastels. Here I have used my art journal but these techniques can be applied to many different mixed media projects.


For further inspiration, you can check out the website for more video on how to use them at http://www.panpastels.com

I host a live Art Journal Show on Tuesday nights and here is a video on a page I did using Pan Pastels:


Hope you enjoy my review on Pan Pastels.
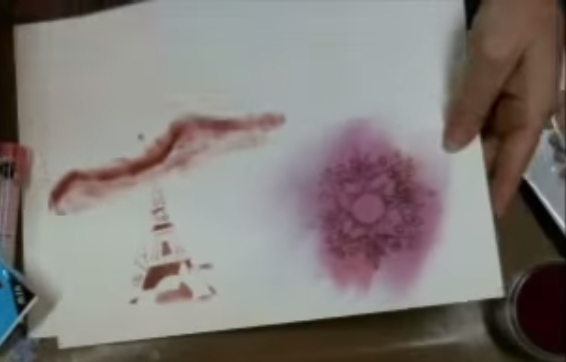
pan pastels used in art journal

Thanks for joining me, remember to like us on Facebook CreatingMixedMediaArt and leave me a comment please…

~*~*~*~*~*~*~*~*~*~*~*~*~*~*~*~*~*~*~*~*~*~*~*~*~

Terri Sproul is a CHA desinger and a Mixed Media Artist with her own line of stamps with Sincity Stamps and own paint line with Sakura Hobby Crafts.  She and her husband have the pleasure of living on Palomar Mountain, in San Diego county.  She is teaching an online live show on Tuesday night on her youtube channel

You can see more of her work at terrisproul.blogspot.com

art journaler Terri Sprouls

~*~*~*~*~*~*~*~*~*~*~*~*~*~*~*~*~*~*~*~*~*~*~*~*~

Disclosure: These products were provided by Colorfin LLC for the purpose of review. All opinions are that of the MixedMediaArt team.
.

.
Art Journal Jumps

~ * ~

This article is written by Vicki Ross

What is a Journal Jumpp? A Vicki-ism for a starter journal. A journal I’ve started for you. A jump-start.

All artists have a stash of untouched journals of all sizes…some designed for writing, some for painting, spiral bound, moleskin, etc. Always on the lookout for deals, we get them gifted, and somehow most of them are never touched. Saved for a rainy day.

WELL, that is changing! If I destroy a book, whether an altered old big book, or a new cheap composition book, and it has distressed pages and a color/image theme, you won’t feel so timid about ‘ruining’ it! I already did!

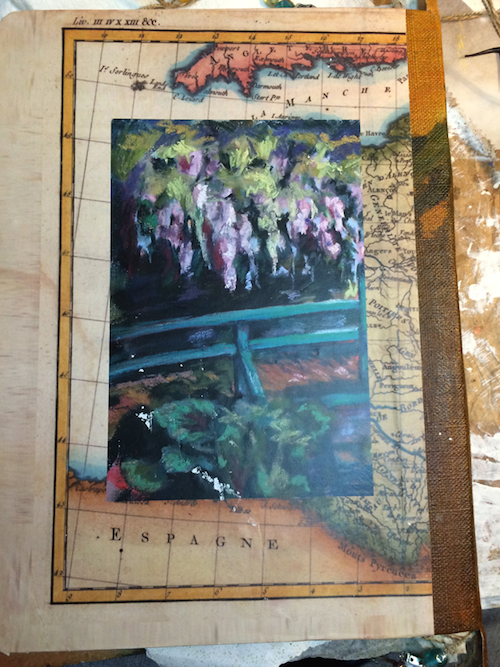
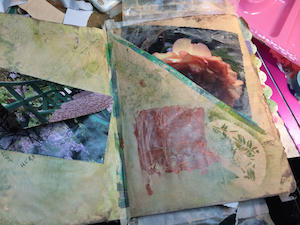
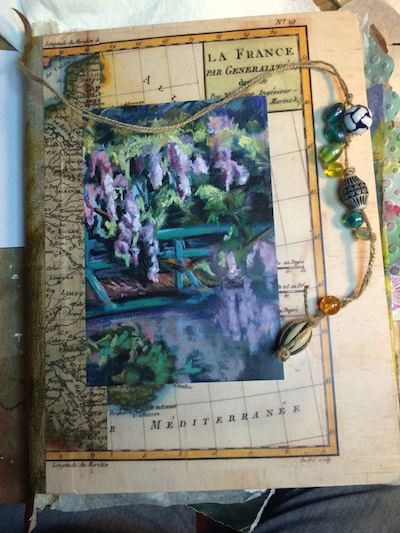
This is an altered composition book. It is based around a datebook I designed a long time ago that featured Ran-DEE’s photos from Giverny. I also included on the cover a painting I did at home after the trip, a pastel. The photo of the painting is mounted on an image of an antique map of France. The spine is a piece of linen canvas, actually has some oil paint from a studio session I did while in France.

mixed media art journal

Supplies for your Art Journal Jump:

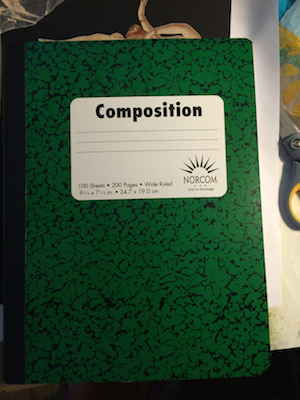
  1. Composition book
  2. Mat Medium or Glue Stick
  3. Gesso
  4. Acrylic paint for tinting the gesso
  5. Modeling paste
  6. Gloss Varnish
  7. Washi Tape
  8. Stamps, Stamp pads
  9. Stencils
  10. Various fibers, beads, other found objects

mixed media art journal with these steps

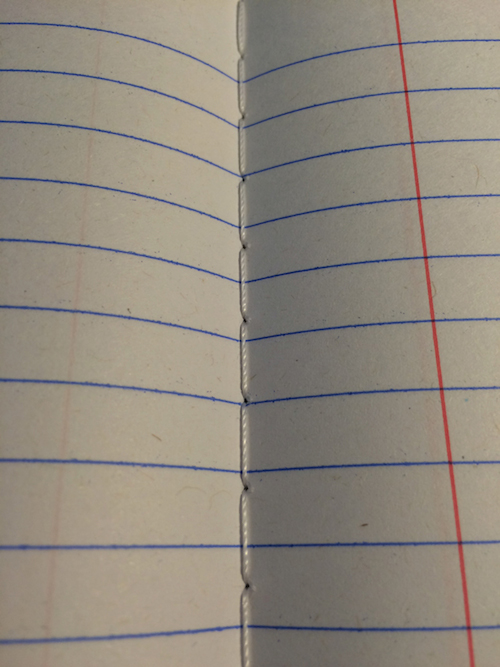
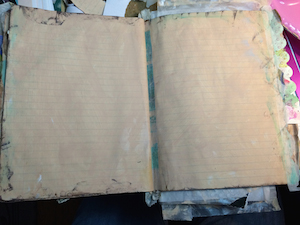
Step 1: Start with a blank composition book ($1.00). They have around 100 pages and a sturdy cardboard cover. Open it to the center and make sure it is stitched, not glued. Glued bindings will not hold up to the stress of our abuse.

mixed media art journal with these steps

mixed media art journal with these steps

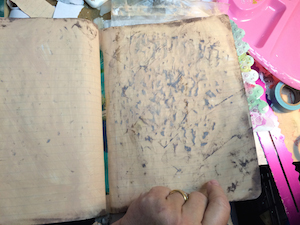
Step 2: These have around 100 pages, and you want to remove about 1/3 of them evenly throughout. Tear with straight edge, and glue the facing pages (on either side of the removed pages) together for thicker pages. Group several together to hold up to embellishments, cardboard, collage, etc. Place something heavy on top of book and let dry overnight. I used a mat medium gel, although cheap glue sticks work too.

Step 3: I mixed up gesso with an acrylic color that closely matched the inside pages of the datebook, and with a 2″ sponge brush, painted every page. The lines show through some because it dries translucent. It dries fairly quickly, and I hurried it along with a heat gun. Place waxed paper between each page and repeat! Heavy weight again, overnight.

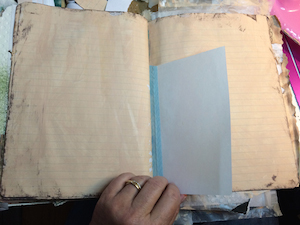
Step 4: It is best to wait until the pages are completely dry! No dampness at all. Of course, I couldn’t wait to continue. I folded some pages  at the corners and glued together to make pockets. If any of your pages are stuck, gently pull them apart. If a mark or tear occurs, cover it up or tear it out!

mixed media art journal with these steps

mixed media art journal with these steps

mixed media art journal with these steps

Step 5: I distressed the edges of every page using a Tim Holtz Distress Ink Pad, Walnut. Anything will work, just keep it rough.

Step 6: If any pages looked weak (in the binding area) after all the gesso and glue, I took a piece of deli paper, wash tape, or print masking tape (Scotch brand) and glued in the crease. MAKE SURE TO USE WAXED PAPER EVERY TIME YOU CLOSE A PAGE.

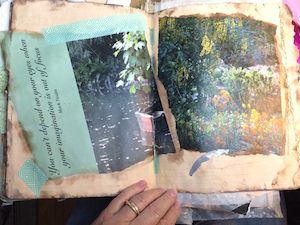
Step 7: Decorate! I used laser images printed from the original book, and decorated them with scraps of tape or printed deli paper. Deli paper prints cut in strips does great for edge trim.

mixed media art journal with these steps

mixed media art journal with these steps

mixed media art journal with these steps

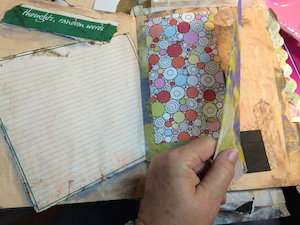
Step 8: I added “tip-ins” as you can see in the image above. Assorted pieces of acetate and note papers, ragged edges and odd sizes. These are glued or taped into the spine.

mixed media art journal with these steps

mixed media art journal with these steps

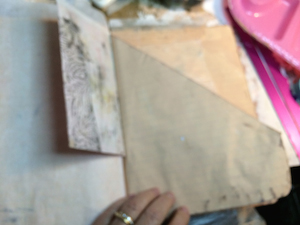
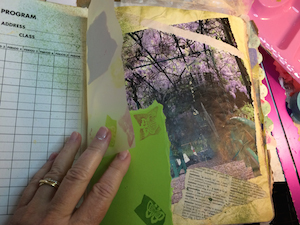
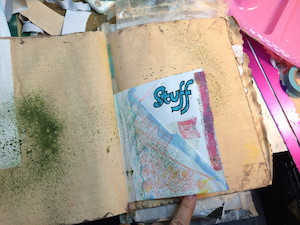
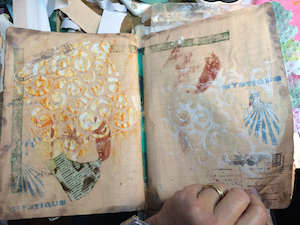
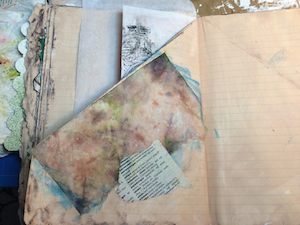
Step 9: I used a stencil pattern cut out of light card stock with my Cricut Explore, and modeling paste.  (image 1 below) Let it set up a few minutes, then remove the stencil. After it dries, rub over it with an ink pad to bring up the texture. Image two on the left page is an envelope made from one of the photos. Image three below shows a dried baby wipe I had used the day before as a clean-up. The colors were random, but same used throughout. Some pages torn from a French Dictionary added some text and visual interest.

mixed media art journal with these steps

mixed media art journal with these steps

mixed media art journal with these steps

Step 10: Glue die-cut paper scraps to some edges. As long as you stay in the theme colors (mostly), stamp, write, distress to your heart’s content.

I left at least half the pages empty for someone else to fill.

Step 11: Covers. I left these ‘til last so I didn’t have to worry about keeping them clean. First, I took some threads double the length of the book. I tied assorted beads to one end, about 5″. Make sure knots are tight…can add some glue for additional hold.

Leaving about a 3″ tail at the bottom, I glue this to the OUTSIDE of the spine. This makes a bookmark, so make sure the length extends so the beads fall outside the book at the bottom after wrapping through book.

I found a partial piece of painted linen canvas that I started an underpainting while in France. Not important, but I know where it came from 🙂 it was in the color palette of greens and oranges. Cut 2.5″ wide and extending 3″ beyond each end. Glue generously, wrap around spine and weight to dry overnight. DON’T peek. It has to cure.

In the meantime, I prepared a digital collage with antique map of France and one of my paintings from Giverny. This was laser printed, cut in half, and glued to each cover. I had 3/4″ overhang. Fold in the excess to the inside, and glue.

I cut the linen where it would fold inside the cover, but clear the pages, folded it in and glued, leaving the center piece of linen free.

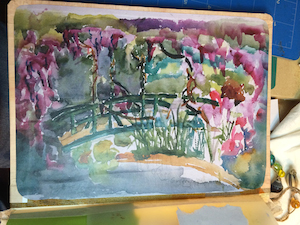
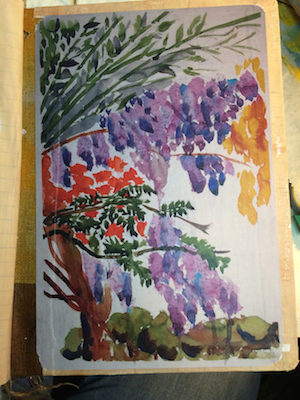
For the inside covers, I use laser prints of two watercolors painted on location in Giverney…one of mine, and one of Ran-DEEs.

mixed media art journal with these steps

mixed media art journal with these steps

As I keep going, I see a few places that need to be touched up. Stamps, stencils, or pieces of paper will cover any objectionable marks.

I tied a few beads to the bottom strings of the bookmark, and trimmed the linen at each end about 1/2″ from the book. I figured this added a bit of protection.

A final coat of acrylic varnish (Liquitex Gloss Medium & Varnish) and this puppy is ready for someone else to finish!

Let me know what you think!

All images © V.N.Ross

~*~*~*~*~*~*~*~*~*~*~*~*~*~*~*~*~*~*~*~*~*~*~*~*~

Vicki Ross is focused on sharing her journey to art and how life events can shape us through creativity. www.Axully.com Vicki has always been involved deeply in the creative arts, from professional soft crafts publications (knitting/crochet/needlework) to French Hand-sewing, stenciling to macramé, oil painting to encaustics. Whatever your leaning, she believes in the healing power of creating.

You can see more of Vicki’s work at VickiRossArt or via blog posts at Axully – Solid. Useful. Beautiful

~*~*~*~*~*~*~*~*~*~*~*~*~*~*~*~*~*~*~*~*~*~*~*~*~

.

.
Intuitive painting

~ * ~

This article is written by Melanie Statnick

Intuitive painting is painting by how you feel. The process is free style and uses your creative instincts to guide you through your painting with minimal instructions. The intuitive approach to painting allows for what I call happy mistakes. There is room for error that you can turn into a whimsy painting with effortless ease.  The step by Step instruction will help you with the bulk of the workshop, but there are times when you have to go with your gut.  In this workshop you will build layers of paint using different tools to create different shapes in your background. Using the shapes in the layered paint you’ll begin to see a whimsy Character. I’ll teach you how to bring it out and then layer and paint again, to create a fun, whimsy one of kind piece of art.

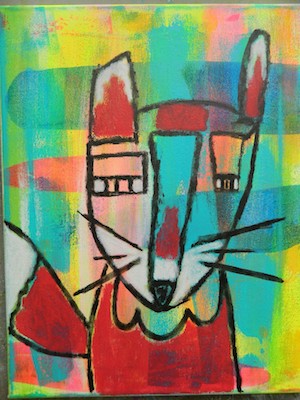
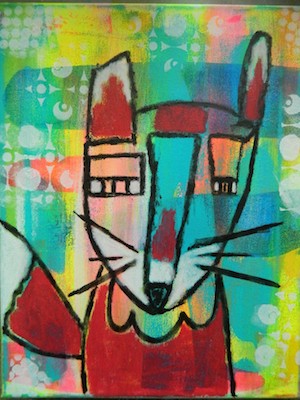
Mixed Media inspired fox painting

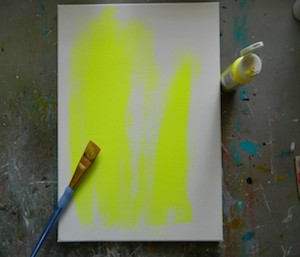
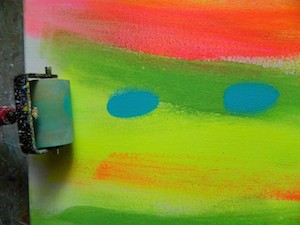
Start with a light paint colors first and apply a generous amount of paint directly to your 11x 14 canvas. Using your flat brush create bottom to top motion to spread the paint to your vertical surface. Use the same motion when you apply your other lighter colored paints like yellow, and pink. Rinse brush between colors and dry using your heat tool between layers. After you have applied at least three different colors of paint to your canvas turn your canvas horizontal. Apply a pea size amount of Teal directly to your canvas. Using your Brayer roller, roll over the paint in a side to side motion. The paint will spread in an uneven and grungy look. This will create a different shape than your flat brush.

Melanie and her Mixed Media inspired fox painting

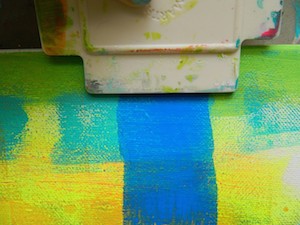
Keep your canvas in the horizontal position. Apply neon blue directly onto the canvas, using the large edge of the squeegee pull the paint in a bottom to top of canvas motion. Repeat this step with the dark yellow. Don’t forget to dry in between layers.

Melanie and her Mixed Media inspired fox painting

Melanie and her Mixed Media inspired fox painting

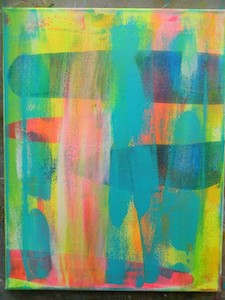
Your canvas should look something like this. You have created a painted layered background. Place canvas in vertical posing and using your flat brush and some of your lighter paint colors apply them to the spots on your canvas that are unpainted. Dry.

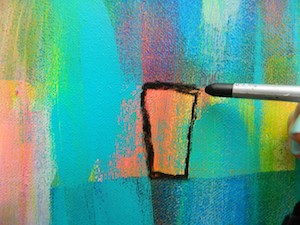
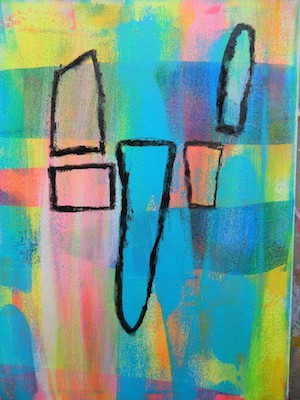
The next step is finding your character by intuitively looking for the shapes your paint strokes created. Wet your water soluble graphite pencil in 8B (very dark) and find your first shape by outlining it with the wet pencil. Take your time here to relax and become familiar with your piece. The shapes will start to pop out at you. Here I have found a nose.

Melanie and her Mixed Media inspired fox painting

Melanie and her Mixed Media inspired fox painting

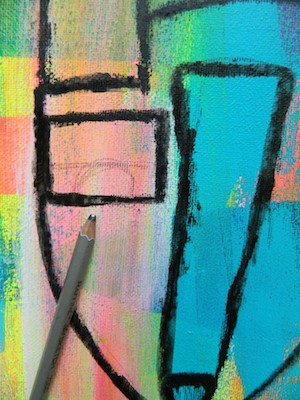
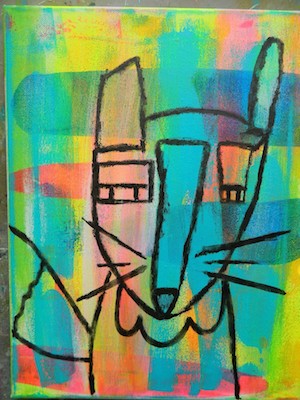
I have found a nose, eyes and ears. I do not see the shape of the head or body yet. This may or may not appear to you. If this does not appear to you, you’ll have to free hand draw the head and body shape. This sounds intimidating but it’s not. If you feel more comfortable use a 2HB pencil to lightly free hand. Draw in the head and or body shape. There is no need to erase these lines the graphite pencil when wet will go over this line. I will draw in a tail, whiskers, and collar on my character. These are details that you should add in while you’re creating your head and body shape should you not already see them.  This step allows for creative freedom in owning your piece.  Be sure to dry the lines and shapes before the next step. This graphite will run and move around should you re wet it on your surface. Beware of this is the next step.

Melanie and her Mixed Media inspired fox painting

Melanie and her Mixed Media inspired fox painting

Melanie and her Mixed Media inspired fox painting

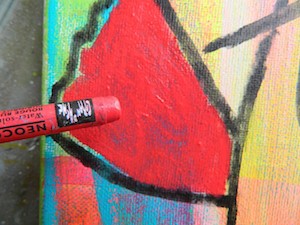
The character we have created will most likely not have traditional coloring should you be creating an animal. The next step is to paint in some of the areas using your Caran d’ache water soluble pastels.  This step is also intuitive as you go along. Here I have chosen to fill in the tail, body and ears. I have painted in only parts of the nose and face.  Wet the tip of the pastel like you did with the graphite pencil, and apply pastel directly to canvas in desired shapes.  If you are unfamiliar of what the color will look like once wet, use a scrap paper to test before you apply to areas of your canvas. Most are true to color.

Melanie and her Mixed Media inspired fox painting

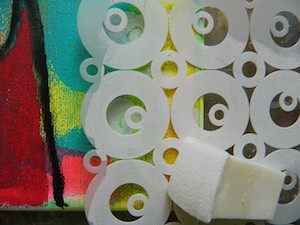
Once you have completed your animal/character the next step is to bring the painting together. Using a choice stencil we will randomly place the design around the canvas. Apply white paint using a makeup wedge or stencil brush. Pour a pea size amount of paint onto your palette. Place the stencil in the desired area of your canvas background, carefully avoiding your character. Use your hand to hold stencil still while you apply the paint over the stencil. Repeat this step using other desired stencils until you reach the look you like. This is another creative and intuitive process.

Melanie and her Mixed Media inspired fox painting

Melanie and her Mixed Media inspired fox painting

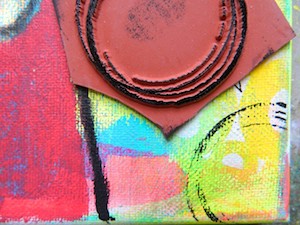
Your piece should look similar in process like the picture shown above. Now we’ll apply the cling mount/rubber stamps to the piece. This is similar in process to the way we did the stenciling. The canvas has a natural bow in the center. When you place your stamp inked in the desired spot you will need to place your free hand under the canvas were you about to stamp for support. This will ensure a more full images of the complete stamp. I prefer a more lose grunge look of a half stamp or just using the corner of your stamp. If this is our preference also, then proceed stamping around your character/animal.

Melanie and her Mixed Media inspired fox painting

This is your final piece. I encourage painting the sides of your canvas. This makes the appearance on the wall more pleasant. The black paint is suggested.

~*~*~*~*~*~*~*~*~*~*~*~*~*~*~*~*~*~*~*~*~*~*~*~*~

Published Writer/Artist Melanie Statnick was raised in Ontario Canada. For over 12 years Melanie has called eastern North Carolina her home. Melanie continues as a self-taught artist and teacher of visual arts and an article writer for Mixed Media Art co Melanie’s work can be found extensively throughout North Carolina with private collections abroad.

Melanie’s successes include written publication of articles in Interactive Artists Magazine, Publication in Somerset Studio magazine, Altered Arts magazine, and 2013 edition of Wilson Woman Summer issue.  Melanie’s awards are 1st place in viewer’s choice in Washington NC and 2nd place magazine cover choice with Altered Arts magazine. In 2015 you can find her work in Dawn DeVries Sokol book “A World of Artists Journal Pages”.

You can follow Statnick on her website at: www.melaniestatnickart.com

~*~*~*~*~*~*~*~*~*~*~*~*~*~*~*~*~*~*~*~*~*~*~*~*~ [center]
.

.
What is Viva Décor Paper-Soft-Color?

~ * ~

This article is written by Barbara Rankin

What exactly is Viva Décor Paper-Soft-Color?

How does it differ from other products you may already own?  This article is intended to demystify this product.

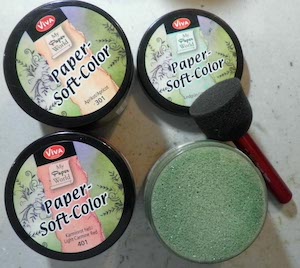
When you open the jar, you will see a jar that appears to be full of paint on a sponge.

Product picture with a view inside jar

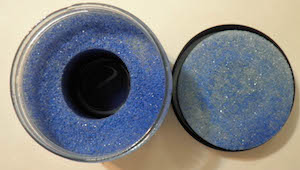
Removing the top sponge reveals the paint distribution system.  You will need to replace the top sponge for use.

Product picture with top sponge removed.

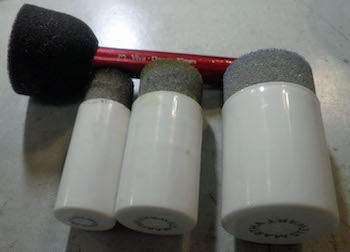
The best way to apply this product is with a sponge brush. Here are two examples of sponge brushes that I think work well.  The red handled sponge applicator is by Viva Décor, and the white handled applicators are by Martha Stewart.  A nice, dense sponge works best.

Viva Décor and Martha Stewart sponge applicators

Paper-Soft-Color is perfect for making soft, gradated colored backgrounds.  They blend extremely well and are super simple to use.  If you are familiar with distress inks and how to blend them, then you will find that Paper-Soft-Color is much easier to blend, and you can obtain more even coverage in a shorter amount of time.  The colors are very soft and they are quite transparent.  There are 20 colors.

First, load the sponge brush by dipping it into the jar’s sponge.  You will use very little paint, thereby making it excellent for stenciling with very little to no bleeding.  Using different colors will give you a graduated, soft effect, to make a beautiful background.  You can even stamp with Paper-Soft by dabbing the color onto your rubber or silicone stamp for amazingly crisp results.

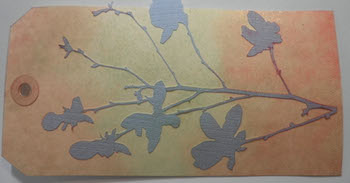
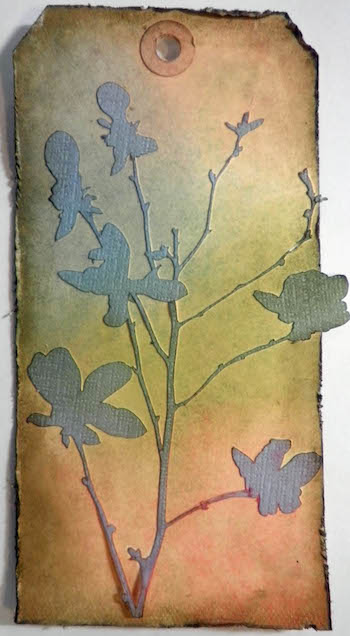
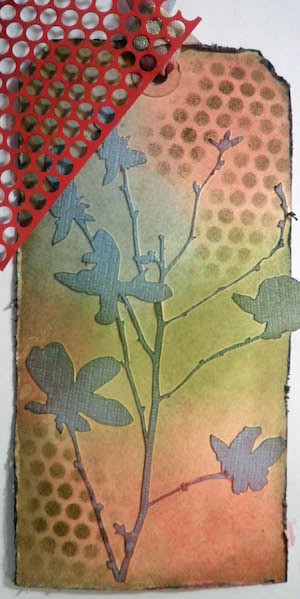
For my example, I first cut a silhouette flower image onto light blue adhesive-backed card stock with a cut file from my Silhouette machine.  I adhered it to a #8 manila tag and began coloring the background, beginning with the lightest colors:  Lime Green, Light Carmine Red, Moss Green, and Light Blue.   I used a heat gun to dry the tag between each color while using a separate sponge for each color.

Photo of tag with colored background

Not only can you see how well the colors blended into each other, but also how the colors on the light blue die cut changed, as well.

I love distressing the edges of most everything I make, and so I distressed the edges of the tag all around and colored with Walnut Brown Paper Soft.  The technique would be the same as when you do this with distress inks and a foam blending tool, but again, the Paper-Soft-Color process is much faster and just as effective.

Photo showing how to distress edges of tag with brown Paper Soft.

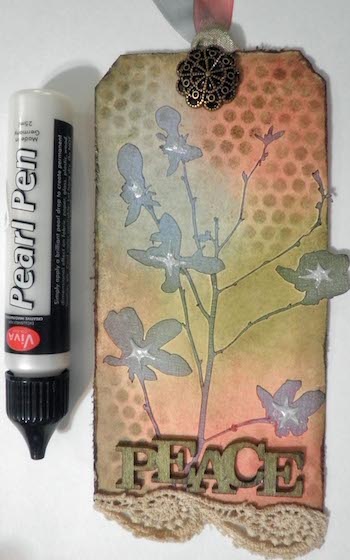
I wanted to share the stencil technique with you, also, so I used a scrap of Punchinella  to stencil the dots with the Walnut Brown Paper Soft.  I deliberately sponged some areas darker than others to show how you can blend the stenciled areas right into the background.

Adding color through a stencil.

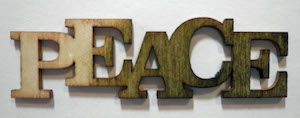
Moss Green Paper Soft was sponged directly onto the “PEACE” wood veneer and adhered at the bottom of the tag, thereby proving it works well on wood, too.

Adding Paper Soft to wood.

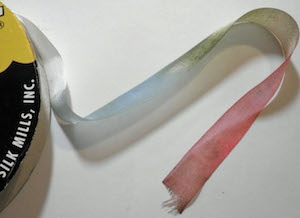
Moss Green, Light Blue, and Light Carmine Red Paper Soft colors were added in sections to a piece of off-white seam binding and thread through a decorative button, then through the tag hole at the top.  Again, this product works well on fabric, too!

Adding Paper Soft to fabric

Scrap lace was added to the bottom of the tag.

One last thing I wanted to share is how to take a simple silhouette image and give it some detail.  By simply adding a large dot of the Cream Pearl Pen and pulling it out towards the end of each flower with a pin, it dries shimmery and dimensional.  You can also apply the paint through a stencil with a spatula for a dimensional look. Add glitter to the paint while still wet for added sparkle.

Viva Décor Paint Pen uses

You can further embellish the tag to your heart’s content.

~*~*~*~*~*~*~*~*~*~*~*~*~*~*~*~*~*~*~*~*~*~*~*~*~

Barbara Rankin is a mixed media artist who loves to teach.  She loves to learn new techniques and to share her knowledge with other artists.    She is a contributing artist in a book:  Make it in Minutes: Mini Albums, and has been published in several paper and online magazines.  She is currently on two design teams, Sin City Stamps and Altered Pages, and has served as a design team member for The Robin’s Nest and Creative Paperclay®, as well as guest designer for Craftwell USA and an upcoming issue of Unruly Paper Arts.

She lives in the Memphis, Tennessee, with her very supportive husband of 32 years, and her two Yorkies, Chloe and Zoe.

You can see more of Barbara’s work on her blog at Black Hole Art Studio or via Facebook – Black Hole Art Studio

~*~*~*~*~*~*~*~*~*~*~*~*~*~*~*~*~*~*~*~*~*~*~*~*~

.
Aweber code:
.