Michelle G Brown | Mixed Media Art

Children Need Encouragement

~ * ~

This article is written by Ann Strecko Koeman 

I believe that children need to be encouraged in what ever they want to do, as long as no harm is caused.  It is a fundamental philosophy that I hold stead fast to and share with whom ever comes my way.  Even more so when I am approached by an adult with irrational concerns about a child pursuing anything creative.  What I mean is that too often I have heard a concerned adult, sometimes a parent or relative of a child who is concerned that the child in question has declared that they want to be an artist when they grow up.  I usually respond with delight and may even say how nice that is.  Sometimes the conversation takes, what I call, a negative turn as you see the said concerned adult thinks that the child is being foolish or irresponsible.
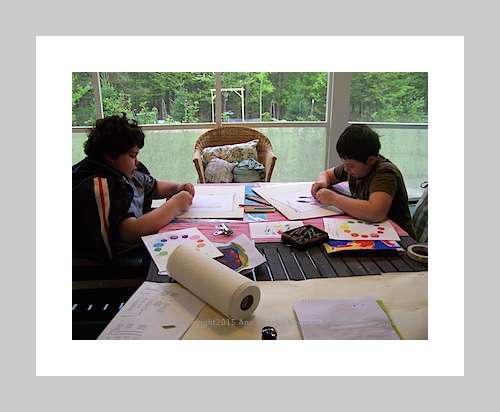
colour wheel

Now when that child is of pre school age I like to remind the parent that there is plenty of time for the youngster to explore many interests and that it is great if they can feel supported.  If the child is of school age I still say the same thing but will ask if this is something the child is seriously thinking about, and if so what is that adult doing to support the child.  Well, sometimes that is not what that adult wants to hear from me!  In such instances that adult is looking to me to admitting defeat.  In other words, I am expected to say something like: “Oh no don’t let any child grow up to be one of those starving artsy types.”  But, I won’t, and I can’t.  Here is what I prefer to say:

So your child has declared they want to become an artist when they grow up.  Fantastic!  Have you talked with them to understand what causes them to say this?  Is this something they are serious about?  Do they have any questions?  Are they interested in developing their creative abilities in order to help them in becoming better in their chosen field?  You know, being creative has a lot of value in many fields of work and professions.
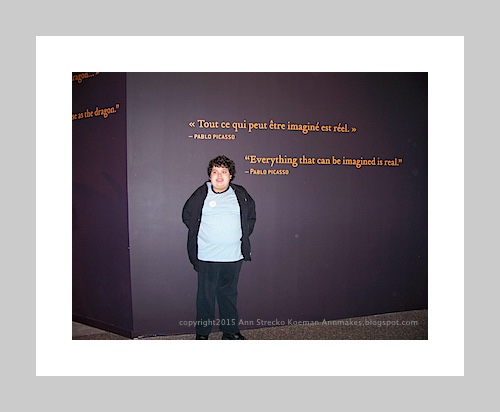
exploring museums and art galleries

Not all students of the Arts choose to work full time and gain employment  as a painter or sculptor!  Sometimes studying the Arts is adjunct to studying in other fields of interest, such as law, business, medicine, teaching, etc.  Did you also know that the majority of University and Post Graduate  graduates of Arts Programs are employed full time?  Did you also know that of that group the majority are working directly in a creative work environment?  Here I can give you links to some official studies.

My goal is to encourage everyone young and old to find their own creativity and see how it can enhance their lives.  One does not have to become a major artist represented in the finest galleries and earning massive amounts of cash to be declared successful.  Any person can declare themselves successful when they are truly happy with what they have chosen to spend their life doing.
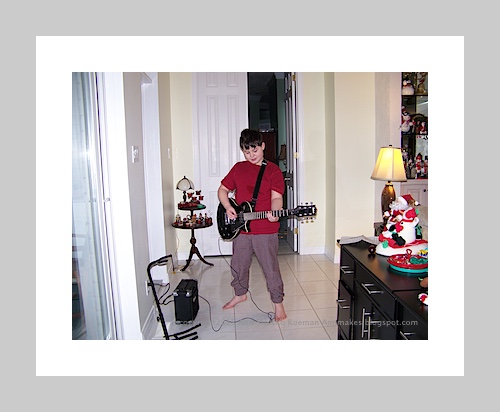
future Rock Star or Classical Musician?

I encourage anyone to encourage young and old people to pursue their creative interests.  Support these people emotionally first, and support them by giving them gifts of supplies they need.

If you want my advice on what you should get them, let’s talk.

For the sketching and drawing enthusiast I suggest  they get very good pencils, an eraser, a good sharpener, lots of paper, a surface to work on and good lighting. And Emotional support.

For the general all around craft enthusiast: a good pair of scissors, a glue gun, (OF course if age appropriate), white glue, a variety of adhesives and ways to fasten things, lots of papers and just about anything you can find! Plus, emotional support.

For the painter, I suggest an easel, good paints, canvas boards, good brushes and a bucket. Finally, emotional support.

For any type of creative endeavor I am very happy to recommend  supplies to help encourage your future budding artist, but you have to provide the support.

~*~*~*~*~*~*~*~*~*~*~*~*~*~*~*~*~*~*~*~*~*~*~*~*~

 Ann is a Mixed Media Artist Crafting Writer Home Schooling Stay at home mother and Domestic Engineer Business woman that believes that everyone has creative capacities and just needs encouragement and support to develop their abilities.

~*~*~*~*~*~*~*~*~*~*~*~*~*~*~*~*~*~*~*~*~*~*~*~*~

.

.
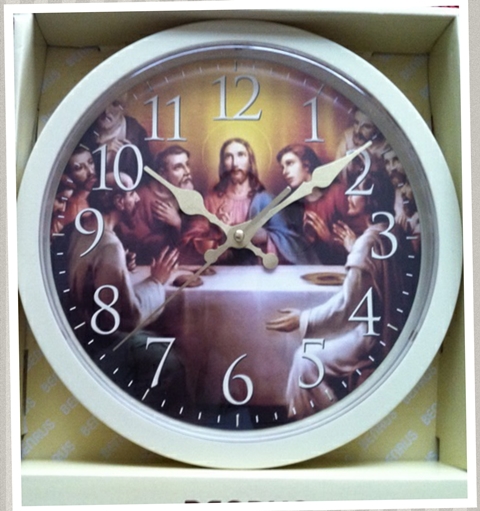
Altered Object – A Clock with a Mixed Media Facelift

~ * ~

This article is written by Katja Blum

Yep. They gave us a Jesus clock. It was a joke gift for my husband’s birthday. The fact that he is Jewish seems almost insignificant in the… well… face of this clock, because even if he wasn’t… Anyway, this is it.

The Jesus clock in all its glory

I’m not a huge fan of joke gifts, because most of them are expensive landfill fodder, but after taking a deep breath or six, I was able to see past the weirdly glowing disciples and realize that this was a working clock that didn’t have to stay the way it was. My husband was generous enough to give it to me.

What to do with it though? Somehow I didn’t just want to spray paint it a pretty color, add some ephemera and call it good. I wanted it to have personal meaning, because despite the garish decoration, the original subject has rather a lot of personal meaning to many people.

Mulling it over, the clock reminded me of my favorite piece of memento mori art. It’s an easy pick, because this piece is the only one I like at all. Most art of the genre reminding us of our own mortality is way too creepy for my taste. However, my German hometown of Hamburg has a famous park cemetery, Ohlsdorf Park. One wall of its crematory is adorned with a gilded metal clock. The lettering underneath reads “Eine von diesen” – one of these. Just that.

I wanted to create a clock that would remind me to use some of the hours on it to make more time for the most important thing in my life apart from my family – writing.

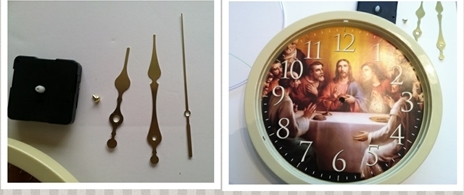
First, I took the clock apart. With most of the cheap plastic clocks, this is easy. The clear cover pops right off (if it doesn’t, you can always break it off and not use it again). Be careful when disassembling the clockwork. Again, it is not hard, but you obviously want the parts to be functional.

Taking the clock apart

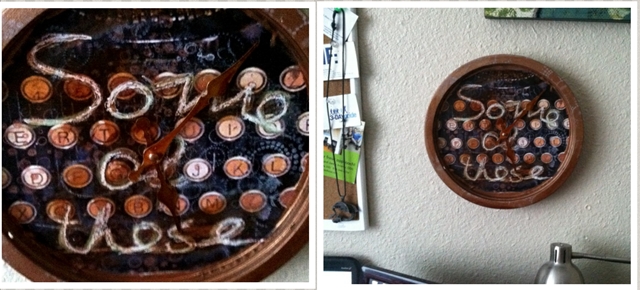
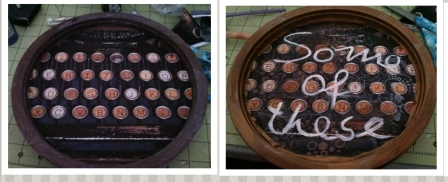
Once the clock was in pieces, I gave it a coat each of black spray paint and white gesso to lay the groundwork for a slightly distressed look. The frame was painted with a mixture of chocolate brown and copper. Then I covered the face with the image of an old typewriter, added a layer of Mod Podge and some alcohol ink. For a bit of texture, I used various stamps with white and copper ink.

The lettering, “Some of these”, I did freehand with my favorite method – white oil pastel and alcohol ink. I added a dab of paint here and there for depth and contrast.

The new clock face

The gold metal hands were colored with copper alcohol ink and got a thin coat of spray varnish. You want to mess with the hands as little as possible to ensure that the clock will work well. They should not be weighed down with too much decoration or have sticky layers of paint.

I reassembled the clockwork and decided to leave off the cover.

Some of these are for writing

Now it is hanging right above my desk reminding me to write more, make art and be happy for “all of these”.

~*~*~*~*~*~*~*~*~*~*~*~*~*~*~*~*~*~*~*~*~*~*~*~*~

Katja Blum is a writer and translator from Tulsa, OK. As an artist, she started with yarn, fabric and papier mâché (rarely together), branching out into collage and other paper arts about ten years ago. Her latest obsession is making soft stuffies and art dolls – to the delight of her son. She also likes to find creative solutions for ugly or broken things around the house – to the delight of her husband.

You can see more of her work with fiber, paper and words at www.thewaywardsheep.com

~*~*~*~*~*~*~*~*~*~*~*~*~*~*~*~*~*~*~*~*~*~*~*~*~

.

.
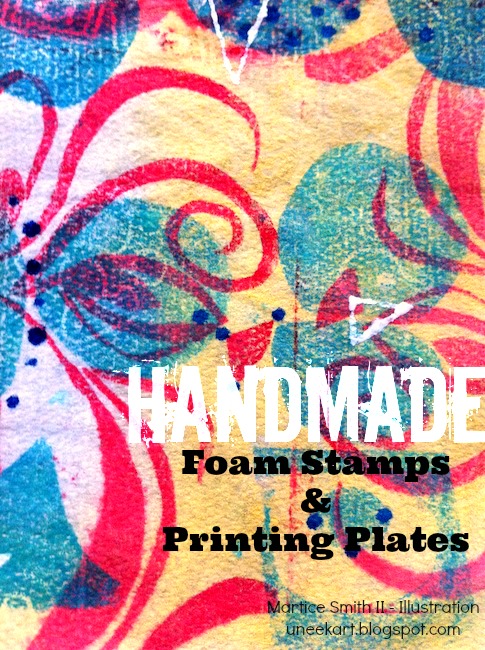
Handmade Foam Stamps & Printing Plates

This article was written by Martice Smith II

Handmade Foam Stamps & Printing Plates


Handmade Foam Stamps & Printing Plates, tutorial by artist Martice Smith II

Supplies to gather:

  • cardstock or cardboard
  • dried baby wipes or paper towel
  • craft foam (with adhesive backing)
  • glazing medium (DecoArt)
  • heavy-bodied acrylics
  • foam brush
  • brayer
  • scissors
  • IrRESISTible Pico Embellisher (optional)

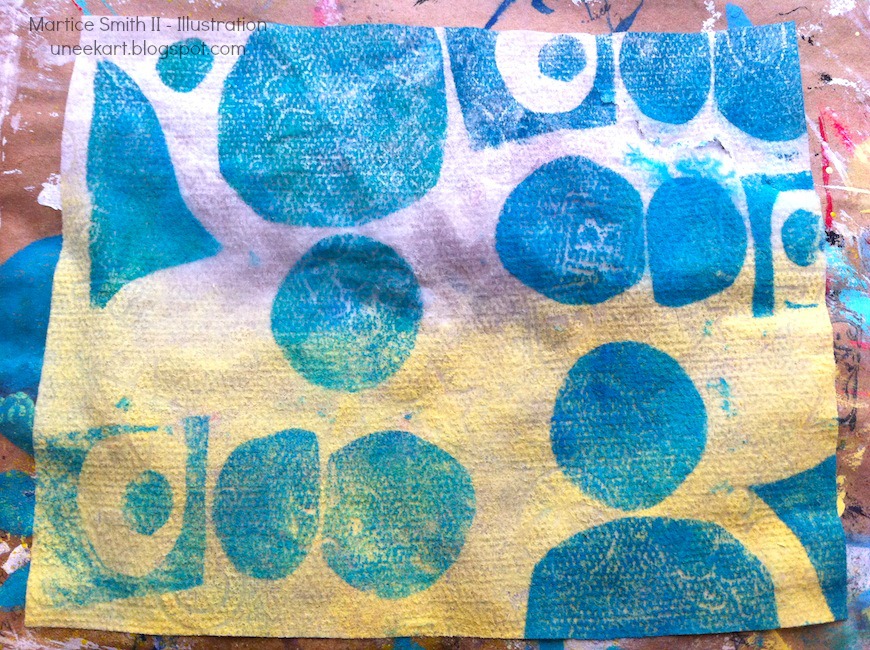
Handmade printing plate by artist Martice Smith II. Tutorial: 'Handmade Foam Stamps & Printing Plates'

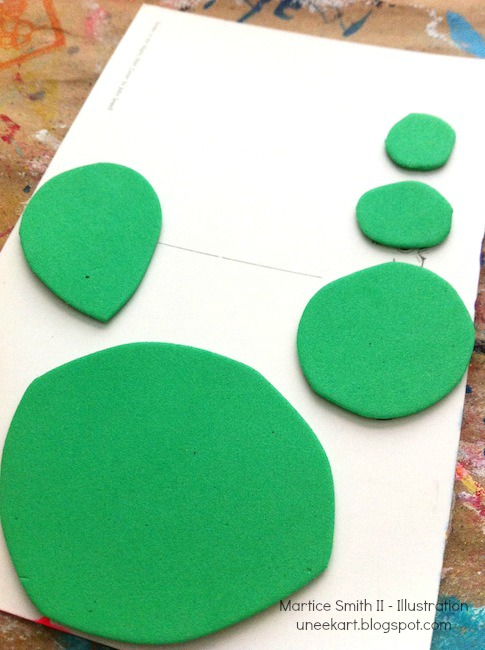
1. Create a printing plate with craft foam.

Cut shapes out of the foam, peel off the paper backing and adhere them to a piece of cardboard (or cardstock) to make a printing plate.

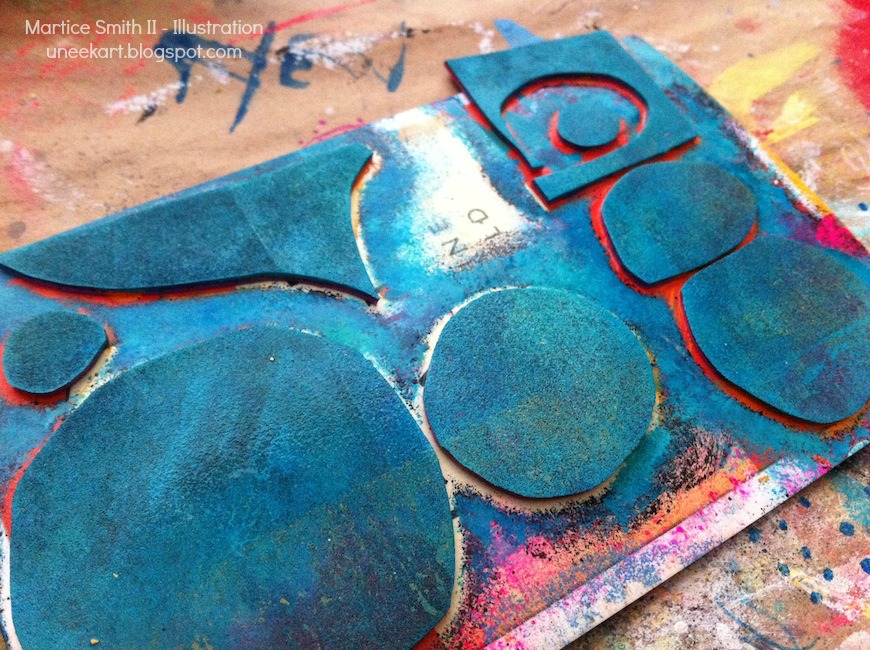
Handmade printing plate, with circles and paint by artist Martice Smith II. Tutorial: 'Handmade Foam Stamps & Printing Plates'

2. Add paint to the printing plate with foam brush.

Baby wipe printed with handmade foam printing plates'. Handmade printing plate on cardstock by artist Martice Smith II.

3. Stamp onto dry baby wipe.

Repeat the design by rotating your printing plate.

Use a brayer for a crisp impression onto the surface. Let dry for one minute.

4. Apply a glaze over the paint. 

Mix one part glazing medium to one part of the heavy-bodied acrylic color of your choice. (I applied DecoArt’s Banana Cream -Yellow, mixed with DecoArt’s Glazing Medium

Dip brush into water and then into the glazing mixture.

Apply a generous wash over a section of the baby wipe, using a clean foam brush.

There are many benefits of using acrylic glazes as you build up layers and texture on delicate surfaces. This method is great because it offers a very graphic way of featuring a stamp’s design. Layers of visual texture can be achieved without the bulk and concern of ruining a delicate surface.

Glazing medium allows you to work with the acrylic paint longer and creates layers that are slightly translucent. Although the glazing medium changes the paint color slightly, it’s very cool to see how the paints interact! Experiment with different colors to find your favorite color combos.

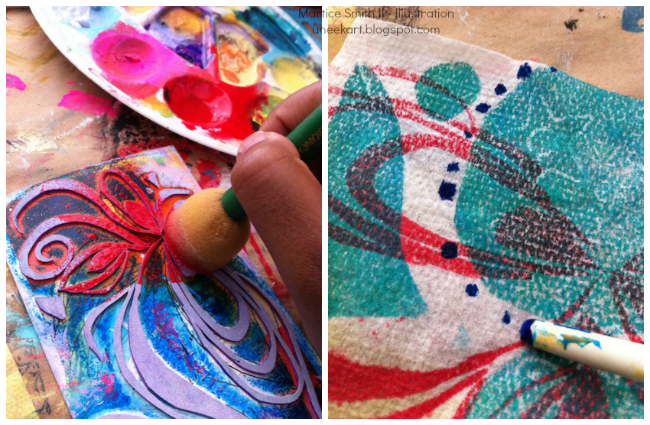
Adding paint to handmade stamp; painting dots with handle end of paintbrush; Tutorial: 'Handmade Foam Stamps & Printing Plates'

5. Add paint to another stamp. 

Using a foam brush, apply a mixture of one part glazing medium and another color of paint.

Stamp onto the paper, repeating the image a few times.

Try this! Use the handle end of a paintbrush to add dots, in varying sizes.

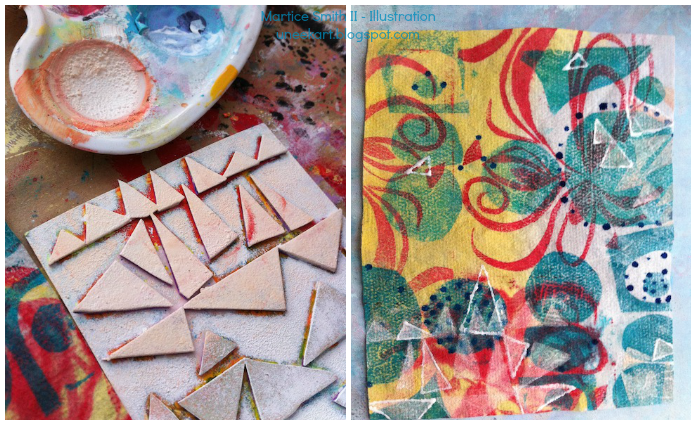
Adding paint onto handmade triangle stamp; stamping randomly onto baby wipe.

6. Add another stamp design.

Mix up a new color with more glaze, apply the mixture with a foam brush and press the stamp onto the painted baby wipe.

Continue layering the background with overstamping to get a look you like.

Try this! For dimensional texture, outline a few of the shapes with an IrRESISTible Pico Embellisher (Imagine Crafts/Tsukineko).

Happy stamping! Be sure to share a link to your creation, down in the comment section!

~*~*~*~*~*~*~*~*~*~*~*~*~*~*~*~*~*~*~*~*~*~*~*~*~

Photo of artist Martice Smith II

Martice Smith II is creative director of Martice Smith II – Illustration & Design Studio, based in Missouri and owner of Uneek Art Boutique. She established herself as a freelance Illustrator and graphic designer after receiving her Bachelor of Arts Degree. Specializing in mixed-media illustrations, Martice’s love for fashion, typography and wildlife are infused with a combination of traditional and digital art techniques.

Be sure to join the Uneek Art Letter, -Martice’s monthly newsletter- that offers art biz tips, advice and more digital goodness that will keep you inspired to be the artist you envision yourself to be!

~*~*~*~*~*~*~*~*~*~*~*~*~*~*~*~*~*~*~*~*~*~*~*~*~

.

.
Mixed Media Canvas – Have Faith

~ * ~

This article is written by Kim Kelley

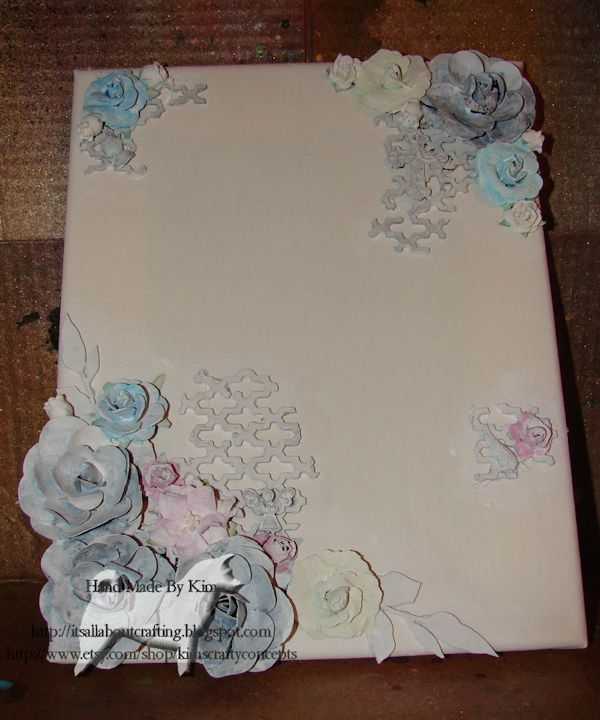
For this month’s project I decided to try something a bit different on this canvas, instead of using products that were all the same color and style; I chose anything I found in my drawers and jars. Found some metal pieces, flowers of different sizes and some charms to go with the faith theme.

Kim Kelly collects many elements to make a mixed media collage canvas

Finished Project 1

Here is a list of what I used:

~ 8 X 10 canvas

~ White gesso

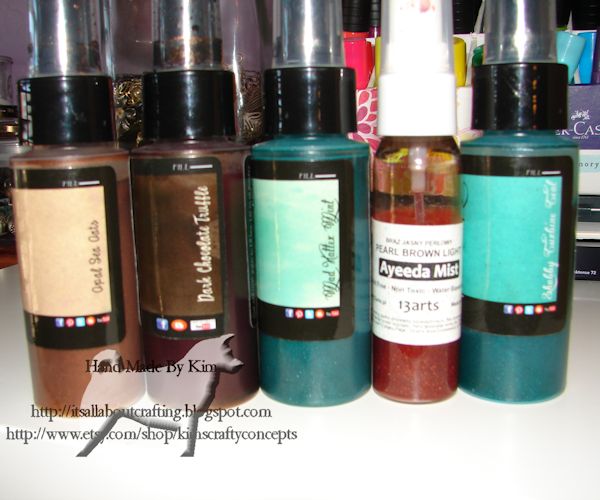
~ Spray mist by Lindy’s Shabby Turbine Teal, Mad Hatter Mint, Dark Chocolate Truffle, Opal Sea Oats

~Spray mist by 13 arts Pearl Brown Light

~ Spray mist by Smooch Vanilla Shimmer

~ Chipboard from Dusty Attic

~ Miscellaneous charms and flowers from stash

~ Glue gun

~ Finishing spray by Krylon

I glued them all onto the canvas with my glue gun and used gesso to cover all the pieces. I did not completely cover the canvas, just out a bit from each embellishment.

Kim Kelly steps through using many elements for her mixed media collage canvas

Gessoed Canvas

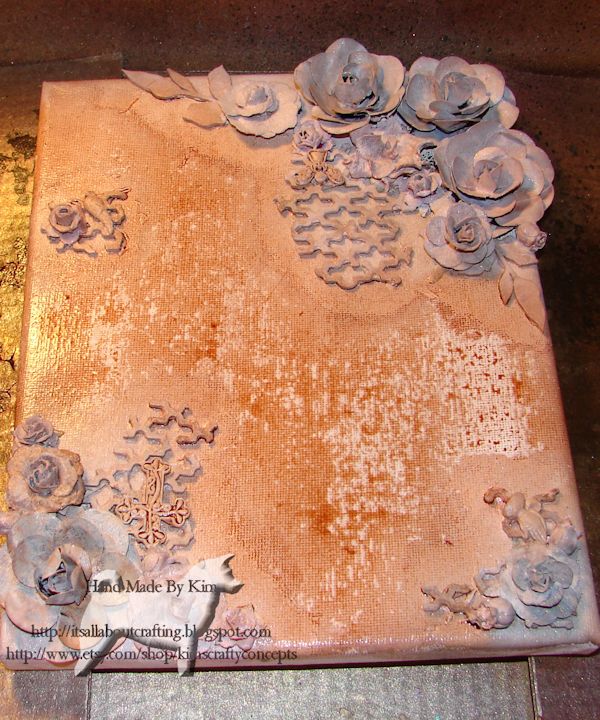
After a few hours of drying time I picked my mist colors, starting with a few shades of brown. At this point I realized I made a huge mistake, having not used the gesso over the entire canvas made the sprays puddle and not color the canvas.

Kim Kelly steps through using many elements for her mixed media collage canvas

Bad Spray

I dried off the wettest part and added more gesso. I used some that I watered down a little and

covered all the areas I missed. And after that dried I started in with my sprays. I really wanted a color palette that could complement any home décor, so sticking with browns I added some teals.

Kim Kelly steps through using many elements for her mixed media collage canvas

Chosen Sprays

Kim Kelly steps through using many elements for her mixed media collage canvas

Good Sprays

At this point my OCD kicks in and I start to question if I have added enough of one color or the other, if I need to add more embellishments, second guessing the color choices and even adding more of all the colors! Crazy, I know. Finally deciding it’s all good and making myself stop and just let it be!

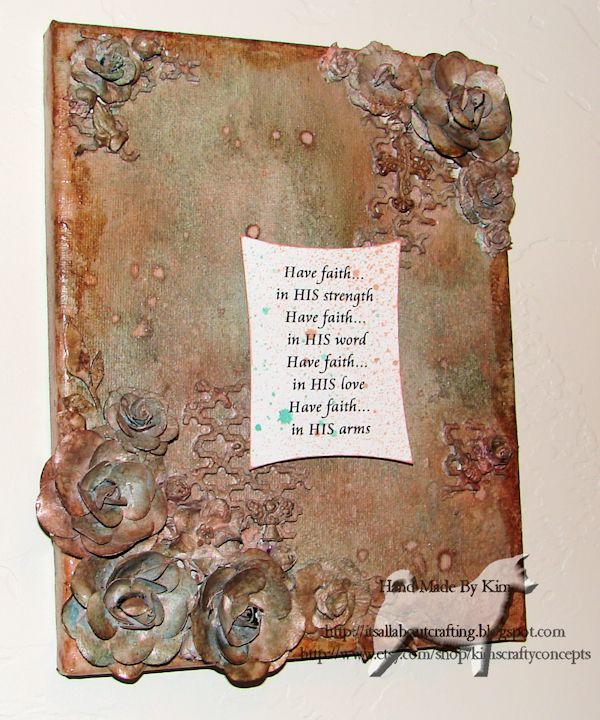
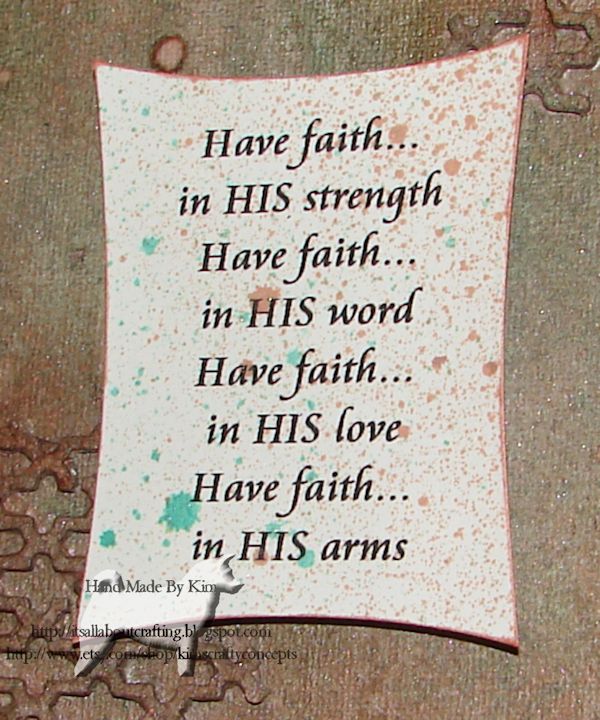
I printed a saying that I am hoping will offer some comfort to a friend of mine. She has been going through a lot the last 2 months and I thought creating this canvas as a little gift may give her a bit of a pick me up. I attached the saying to the canvas with foam dots and sprayed a little of the mists so the saying didn’t look so bright on it. I added the vanilla shimmer which helped mix some of the colors as well as adding the shimmer.

Kim Kelly steps through using many elements for her mixed media collage canvas

Saying

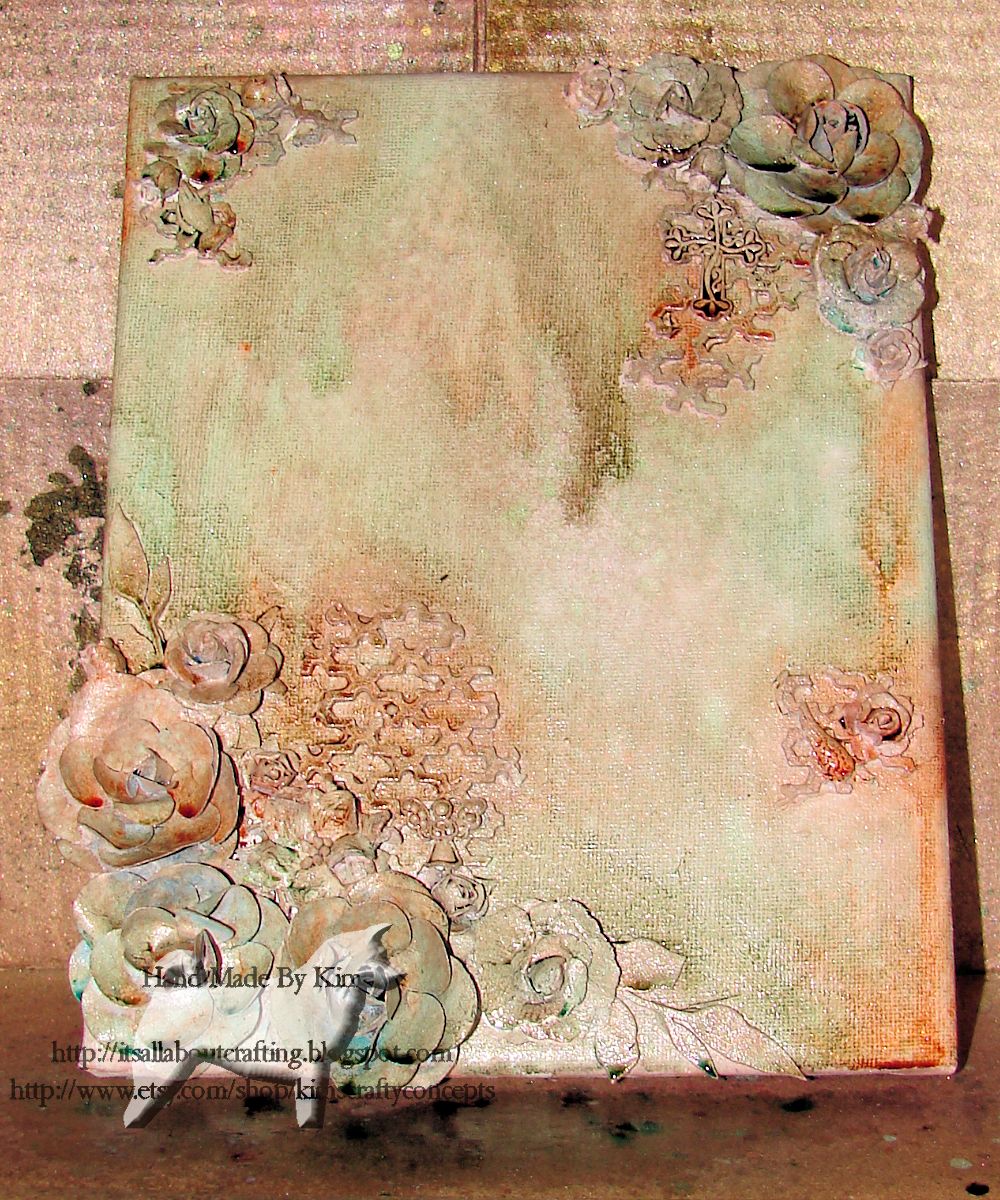
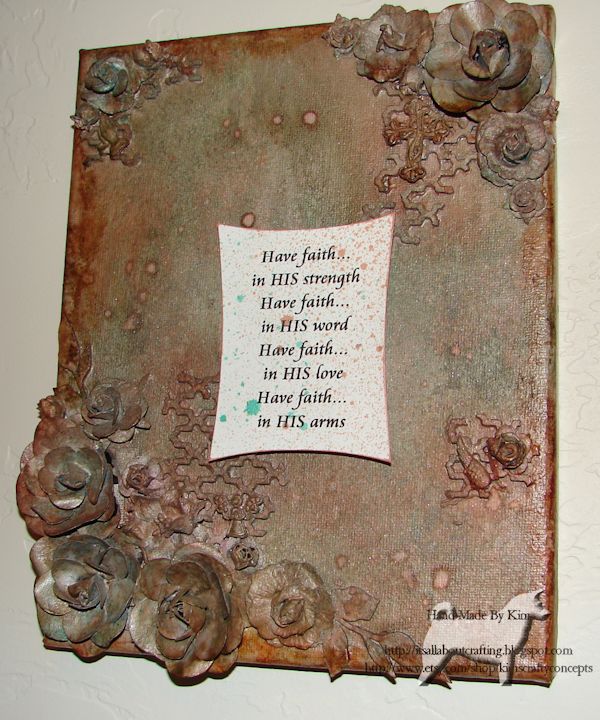
Final step after all is dry is spraying a finishing spray over the canvas in its entirety. Using the spray not only protects the creation but gives it some shine. Here is the finished piece:

Kim Kelly steps through using many elements for her mixed media collage canvas

Finished Project 2

Life is short, do something creative every day!

~*~*~*~*~*~*~*~*~*~*~*~*~*~*~*~*~*~*~*~*~*~*~*~*~

Kim Kelley is borderline obsessive about her crafting and her art. She loves mixed media art because you are free to go beyond your comfort zone, using your imagination and exploring an anything goes mind set. Kim loves to learn and explore new techniques and hopes that any art she creates leads someone to find their inner creative artist!

Sites: itsallaboutcrafting.blogspot.com and www.facebook.com/kimscraftyconcepts

~*~*~*~*~*~*~*~*~*~*~*~*~*~*~*~*~*~*~*~*~*~*~*~*~

.

.