Michelle G Brown | Mixed Media Art

Funky Calligraphy: Adventures in Hand Lettering

This article was written by Martice Smith II

Funky Calligraphy: Adventures in Hand-Lettering
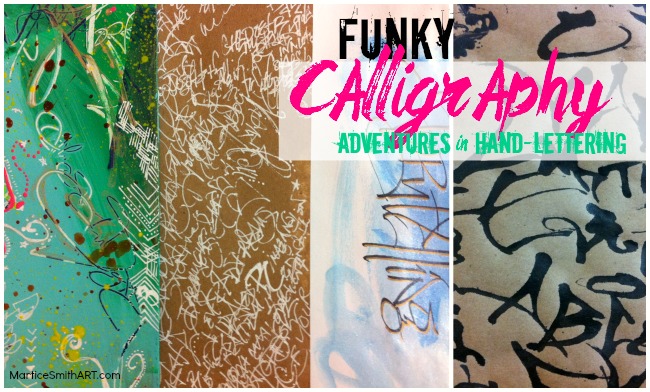
 

Funky Calligraphy: Adventures in Hand Lettering, Tutorial by artist Martice Smith II

My graffiti-style lettering is a fun mixture of bold, expressive calligraphy with a whimsical, urban vibe. It’s what makes my handwriting so recognizable and unique.

Sometimes, I prefer my letters to look imperfect and scribbly. It’s important to me that my spirit, at the moment, transcends into my artistry.

Today, I’ll be your guide for a quick adventure on finding your “voice” within your hand-writing.

So, where do I find inspiration? Literally, everywhere!

Look around you…the world is your oyster. Take an adventure!

I challenge you to look at your surroundings differently. Here are a few places of inspiration I like to start with:

  • graffiti murals / graffiti on trains
  • billboards
  • food packaging
  • tribal symbols and jewelry
  • kids’ writing
  • Expand your powers of observation. Photograph interesting walls and surfaces, print them out and add to a visual journal. Doors, facades, an vintage signage are my favorite things to look for!
  • Flip through architecture catalogs and fashion magazines for contemporary design inspiration.
  • Look at brand packaging. Notice how the typefaces exude various emotions for you.

Now that you’ve been inspired, let’s play!

Here are some basic supplies to get started with lettering: 
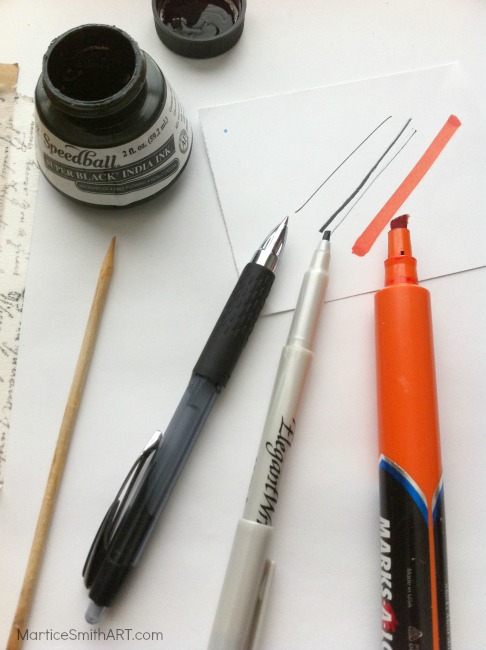
 

Funky Calligraphy; supplies to gather

  • Speedball’s Super Black India Ink (waterproof, free flowing, and contains a deep opaque pigment. It’s one of my favorites!)
  • skewer or toothpick
  • assortment of markers and fine point pens (include a chisel-tip marker / calligraphy pen)
  • paper

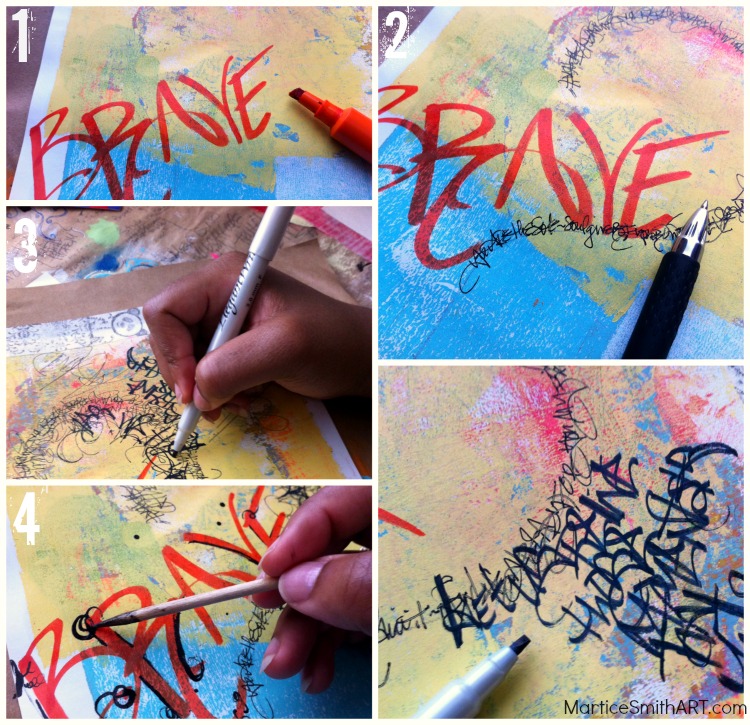
Funky Calligraphy and graffiti; step-by-step process by Martice Smith II

  1. First, grab your biggest chisel-tip marker or calligraphy pen. Write large letterforms and work randomly across the page.
  2. Next, use a pen with a smaller point. Try writing a phrase in a circular shape. Rotate the page for smoother writing. Allow the words to look like a series of marks. It’s OK to leave some words illegible. By layering letters and strokes you create interesting effects and backgrounds.
  3. Exaggerate letterforms and lines – make them your own! Vary their size by alternating your thicker, chisel-tip markers with fine point pens.
  4. Finally, draw scribbly flourishes with a toothpick or skewer dipped in India ink. (Do this part last to allow the ink to dry without being disturbed.) Set aside to dry for a few minutes. Spray varnish to seal the surface.

Your creative design potential is limitless if you think beyond traditional calligraphy methods. Take a playful approach, forget about the “rules” and allow your imagination to soar!

Think about this:

What kinds of fonts make you feel happy? Do they happen to be skinny, thick, bold or a mixture of all three?

What about fonts that help a product look timeless and fresh?

Analyze the differences of vintage style vs. a more kid-friendly look. What would they look like combined? Try it!

Remember, the key to developing your own style is to allow yourself to play and experiment.

JOIN the fun!

If you want to learn more about expressive, free-style hand lettering, be sure to sign up for Martice’s newsletter. Be the first to know about her upcoming mini-workshops, featuring in-depth handwriting techniques.

~*~*~*~*~*~*~*~*~*~*~*~*~*~*~*~*~*~*~*~*~*~*~*~*~
Mixed-Media artist, designer, and instructor Martice Smith II

Martice Smith II is creative director of Martice Smith II – Illustration & Design Studio, based in Missouri and owner of Uneek Art Boutique. She established herself as a freelance Illustrator and graphic designer after receiving her Bachelor of Arts Degree. Specializing in mixed-media illustrations, Martice’s love for fashion, typography and wildlife are infused with a combination of traditional and digital art techniques.

~*~*~*~*~*~*~*~*~*~*~*~*~*~*~*~*~*~*~*~*~*~*~*~*~

.

.
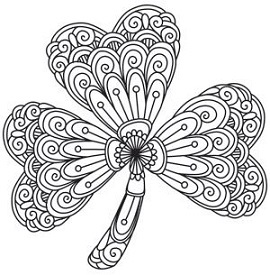
Create a Little Luck of the Irish – Hand Painted Wine Glass and Charm

~ * ~

This article is written by Shari Welch

Hand painting on glass is easier than you think, especially when using DecoArt Americana® multi-surface paints. They come in such a large range of colors it makes it so easy to bring your project to life.

One of my favorite things to do when invited over to a friends house is to bring a hand made hostess gift. I really enjoy making it and the recipient get to enjoy a gift made straight from my heart.

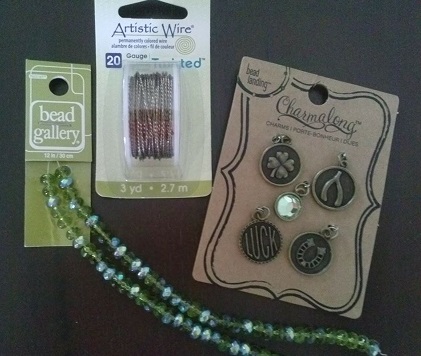
SUPPLIES
1. – Wine glass
2. – Rubbing alcohol
3. – Cotton makeup pad
4. – Paint brushes
5. – Americana® Multi-surface acrylic paints
6. – Beads
7. – 20 gauge wire
8. – Charm
9. – Wire bending and cutting tools

First I chose a large wine glass to paint my image on. I washed my glass in mild soap, rinsed it out really well, and dried it. I saturated a cotton make-up pad with rubbing alcohol and cleaned the areas I was going to paint.

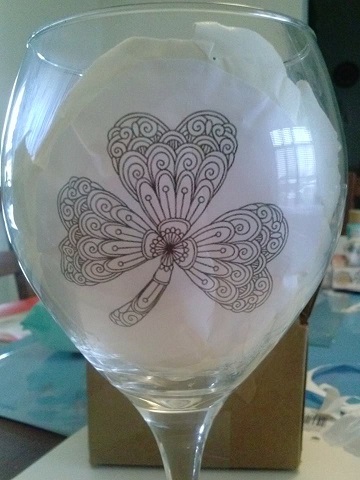
I searched for a shamrock inspiration image online. I didn’t need it to be exactly like I wanted my shamrock to turn out like. I was just looking for the size and something similar to what I wanted to create on my glass. I cut out the image just enough to fit inside the glass. I taped it on the inside making sure the image was centered on the glass.

alternative description

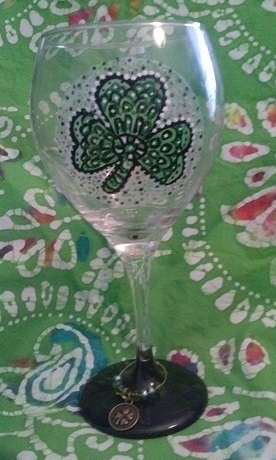
Using the image as a template I painted the shape of the shamrock. When this layer was dry, I painted my version of the shamrock details.

alternative description

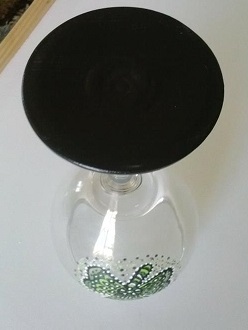
Instead of painting the top of the base of the glass I turned it upside down and painted the bottom. It is much easier to paint and it looks great when you turn the glass over.

bottom of wine glass

While the paint was drying I started on my charm for the neck of the glass.

charms, beads, wire

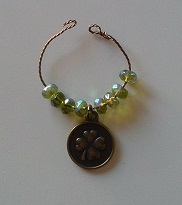
I measured out 5” of 20 gauge wire and cut. I made a small loop on one end. I added 4 beads, a charm and another 4 beads. I made a hook on the other end. I shaped the wire into a circle and it was ready to put on my glass.

charm


finished wine glass

Note: Let the paint air cure for 7 days.
If you would like a top rack dishwasher safe glass air cure for 4 days. Put in a non preheated oven and bake for 30 min at 325. Let cool in the oven with the door open.

I hope you enjoyed this quick and easy glass painting and wine charm tutorial.

Shari

~*~*~*~*~*~*~*~*~*~*~*~*~*~*~*~*~*~*~*~*~*~*~*~*~

Shari Welch is a mixed media artist living in Denton Texas. She is known for using reuse and recycle materials in her artwork. She volunteers for SCRAP Denton where she is on the education committee, teaches workshops, art camps, and performs art demos. She is passionate about mixed media art and enjoys helping others discover their creativity.
Shari studied graphic design in Portland, Oregon before moving to Denton. Besides writing for mixed media art, she is currently a blogger for DecoArt, has been featured in Mixed Media May, and has been in a number of art shows in her hometown of Denton including GDAC “It’s in the bag”, Thirty for thirty art show, and 3arthwurks gallery show.

You can see more of Shari’s artwork at facebook.com/my.altered.life and on her blog shariwelch.blogspot.com

~*~*~*~*~*~*~*~*~*~*~*~*~*~*~*~*~*~*~*~*~*~*~*~*~

.

.
Color Technique with Sharpie Markers on Tiles

~ * ~

This article is written by Kim Kelley

I was looking around on Pinterest the other day and saw a tile that had some beautiful colors on it, that said they used Sharpie markers to achieve it! So I clicked on the Sharpie site and decided to try it.

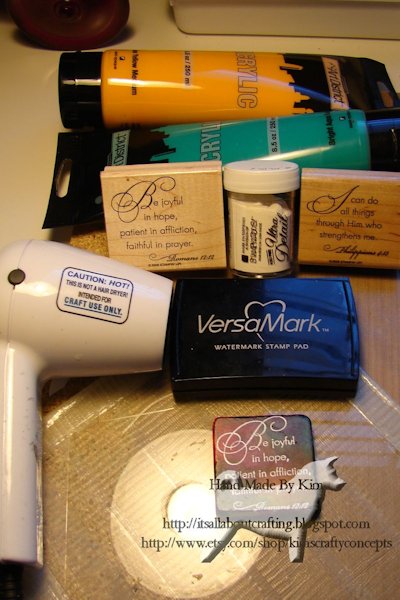
Here is a list of what I used:

~ 4   2” x 2” tiles

~ Sharpie markers

~ Rubbing Alcohol

~ Stampin’ Up scripture stamp:  Romans 12:12 and Philippians 4:13

~ Versamark watermark ink

~ White embossing powder

~ Heat gun

~ Teal and Yellow paint

~ Finishing spray by Krylon

sharpie markers on decorative tiles

Products

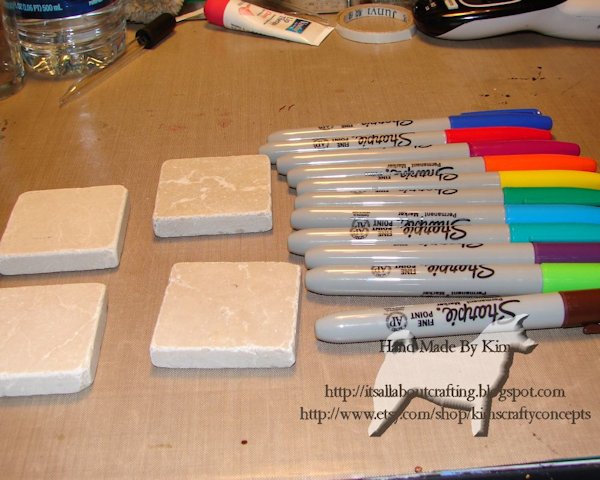
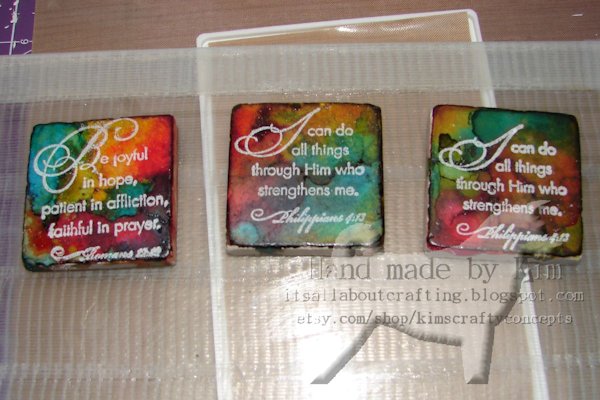
I started out with 4 marble tiles that I had in a kit. They are meant to be used as magnets for the fridge and are only about 2” x 2”. sharpie markers on decorative tiles

Tiles and Sharpies

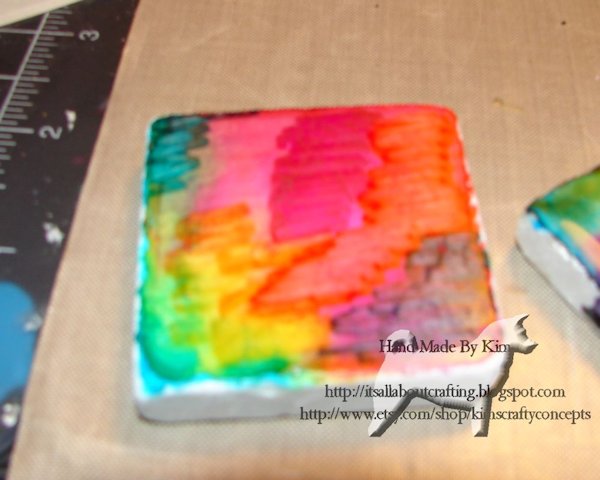
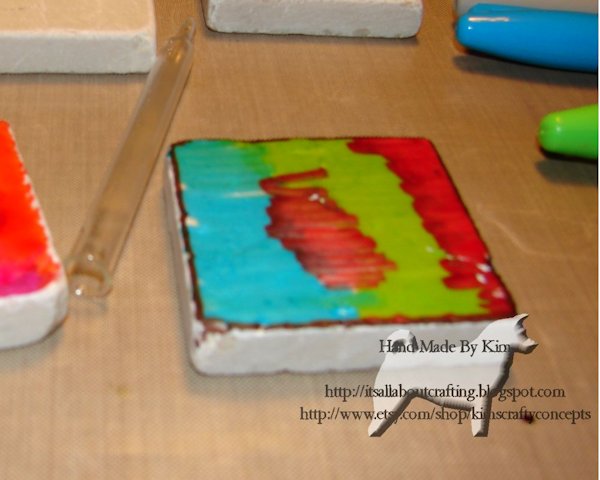
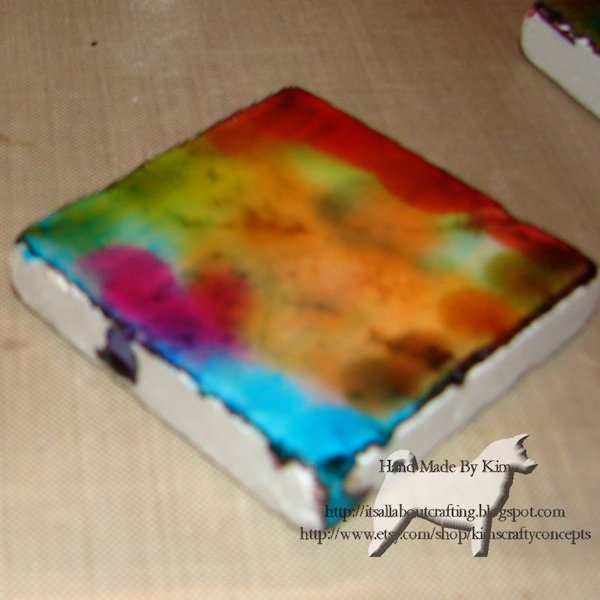
Then I chose a few Sharpie pens and started to color. Not knowing how the marker would react to the alcohol I just scribbled it on, over lapping some of the colors. sharpie markers on decorative tiles

My coloring 1

sharpie markers on decorative tiles

My coloring 2

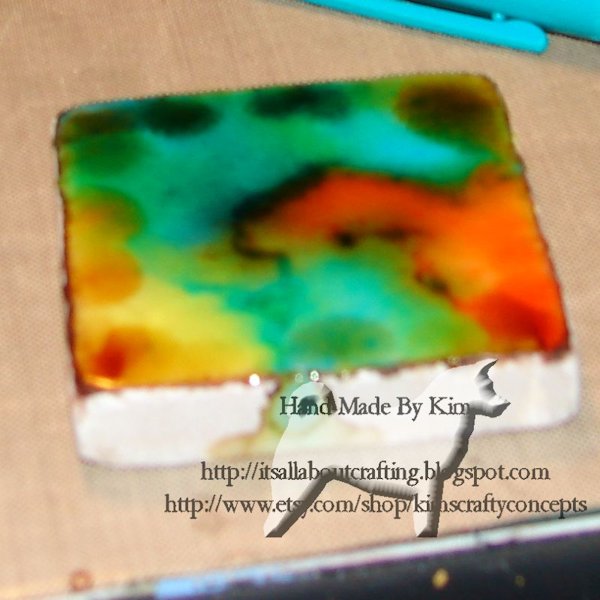
Then comes the fun part, using an eye dropper I started to drop the alcohol in spots and then cringed! It left dots. So I quickly added more alcohol, but covering the whole tile in one layer. It seemed to smooth it out a bit. sharpie markers on decorative tiles

Tiles with the Alcohol 1

sharpie markers on decorative tiles

Tiles with the Alcohol 2

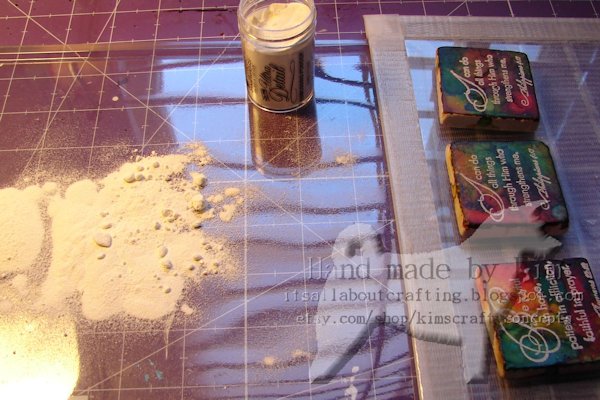
I let it dry for a few days because to be perfectly honest I was scared to try the Versamark on them. After 3 days I inked up my stamp, added my powder and it smeared, just what I was afraid of. So I wiped off the ink and started over with the markers and alcohol.  After allowing that to dry I added a finishing spray by Krylon, let that dry a day and restamped them. This time after adding the powder and using my heat gun it worked. sharpie markers on decorative tiles

Embossing Powder

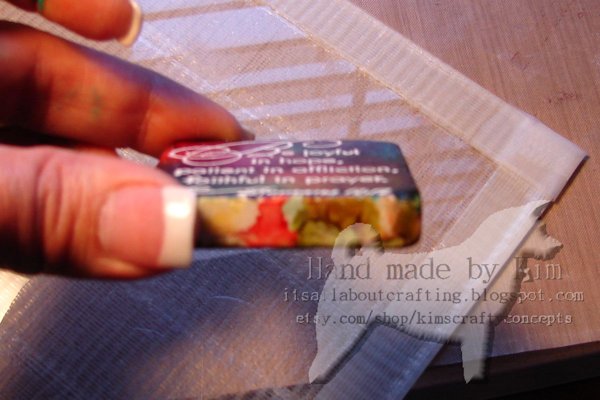
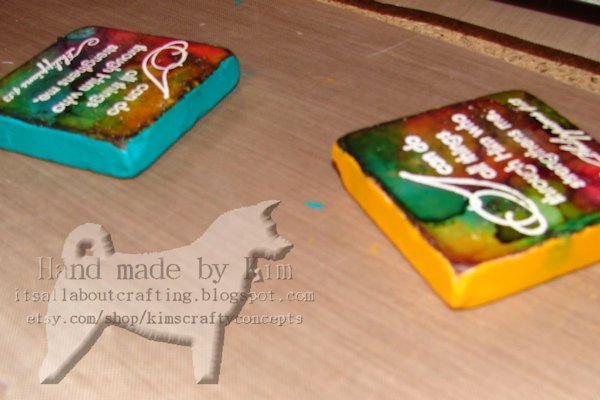
Upon looking them over I decided I did not like the look of the edges, just too messy. So I choose a teal and a yellow orange color to paint the edges. sharpie markers on decorative tiles

Tile edges 1

sharpie markers on decorative tiles

Tile edges 2

sharpie markers on decorative tiles

Painted edges

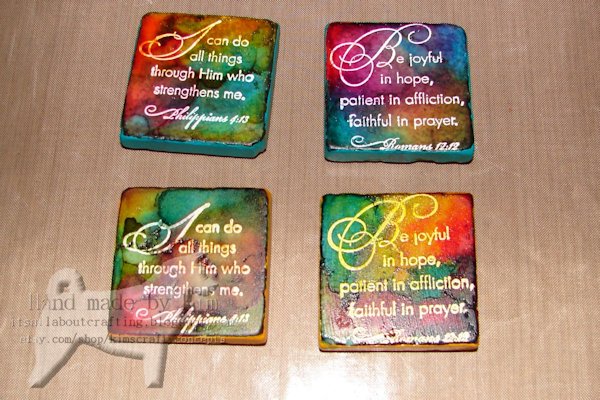
After painting the edges and letting them dry for a few days I noticed they had a dull finish. I know I should have left it, but any one who knows me, knows I can never leave well enough alone. So I added another layer of the finishing spray hoping it would make it shine…but if I am being totally honest here, I love the bold color this technique gives you but trying to add a stamp or ink to the top of it may be a bit much. Because after I added the finishing spray the stamp part, which was a white embossing powder ended up a bit yellow. Doesn’t look bad, but not exactly what I was going for. sharpie pens on decorative tiles

Final project 2

Life is short, do something creative every day!

~*~*~*~*~*~*~*~*~*~*~*~*~*~*~*~*~*~*~*~*~*~*~*~*~

Kim Kelley is borderline obsessive about her crafting and her art. She loves mixed media art because you are free to go beyond your comfort zone, using your imagination and exploring an anything goes mind set. Kim loves to learn and explore new techniques and hopes that any art she creates leads someone to find their inner creative artist! Sites: itsallaboutcrafting.blogspot.com and www.facebook.com/kimscraftyconcepts

~*~*~*~*~*~*~*~*~*~*~*~*~*~*~*~*~*~*~*~*~*~*~*~*~

.

.
Neocolor I v Neocolor II – A Funny Story

~ * ~

This article is written by Terri Sproul

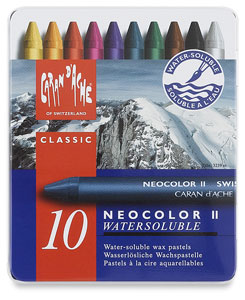
Funny story, I found a newer product for me called NeoColor II

Neocolor ii by Caran D’Ache

Off the the store to purchase, first off they do not have them at Michael’s.
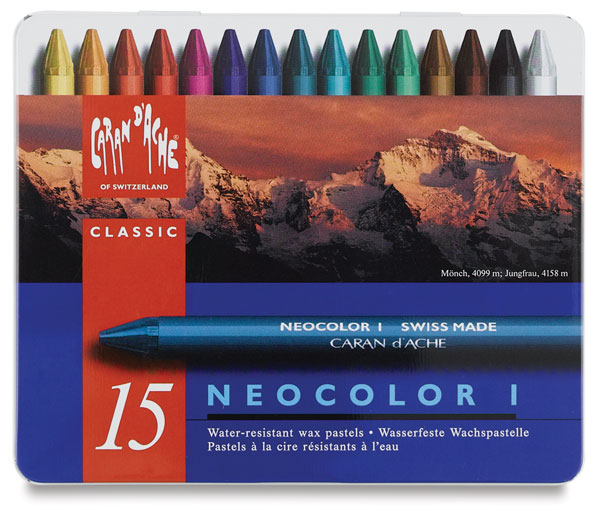
Got mine at Dick Blicks, BUT I did not purchase the right ones; I pick up NeoColor I

Neocolor i by Caran D’Ache

NeoColor I are Water Resistant Wax pastels

Well I came home with the NeoColor I and play with them and figured out they were NOT the product I was looking for??? Hum…. back to the store. This time got the NeoColor II, which are water solvent wax pastels, basically water color crayons.

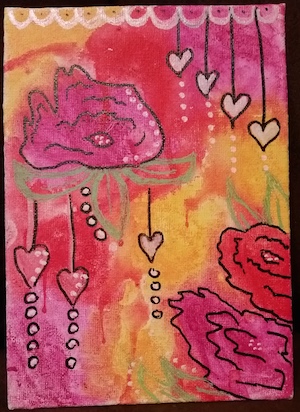
This is a canvas I made using NeonColor II

mixed media art canvas

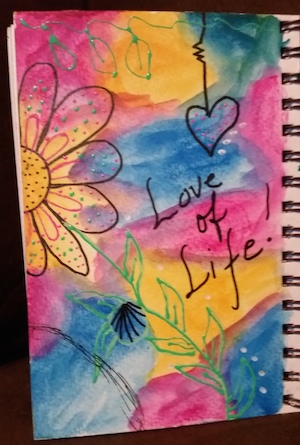
Are Journal page using Neoncolor II

mixed media art journal

~*~*~*~*~*~*~*~*~*~*~*~*~*~*~*~*~*~*~*~*~*~*~*~*~
You can see more of Terri Sprouls on her weekly show, live on Tuesday at 6 PM PST / 7 PM MST / 8PM CST / 9PM EST (New York Time)
Join her group on Facebook to get links weekly and details.

~*~*~*~*~*~*~*~*~*~*~*~*~*~*~*~*~*~*~*~*~*~*~*~*~

.

.