Michelle G Brown | Mixed Media Art

Positive Thoughts for your Side Table

~ * ~

This article is written by Shari Welch

Everyone needs a little positive thought to start your day. I created this pretty little art block of positive thoughts to jump start my mornings. You can make this easy project in a few hours once you have all your materials on hand.
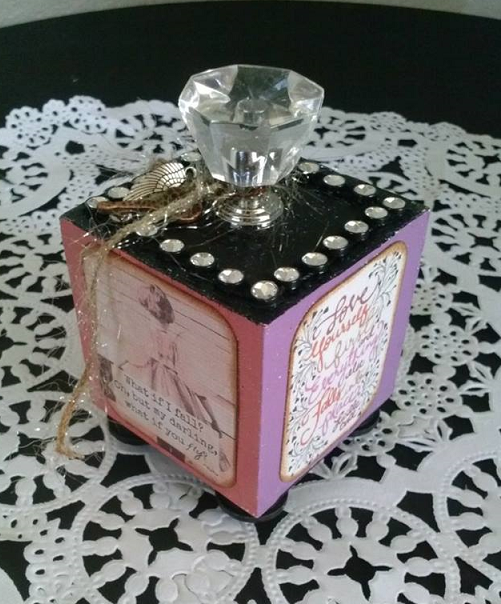
Positivity Art Block Final Product

Shari Welch creates a lovely DIY art block to keep beside her bed

Materials

  • Wooden block
  • Inspirational words
  • Drawer pull
  • Wood pieces for feet (optional)
  • Fibrous string
  • Embellishments
  • Diamond mesh ribbon
  • Americana multi-purpose® paint
  • DecoArt® glamour dust
  • Distress ink
  • Aleenes® tacky glue
  • E-6000® glue

Let’s get started!

1. You will need to find images that will fit on your art block.
To save time you can use online companies that sells images you can download and use right away. If you are using images you find on the internet make sure that they are truly intended for free use and are not copyrighted.
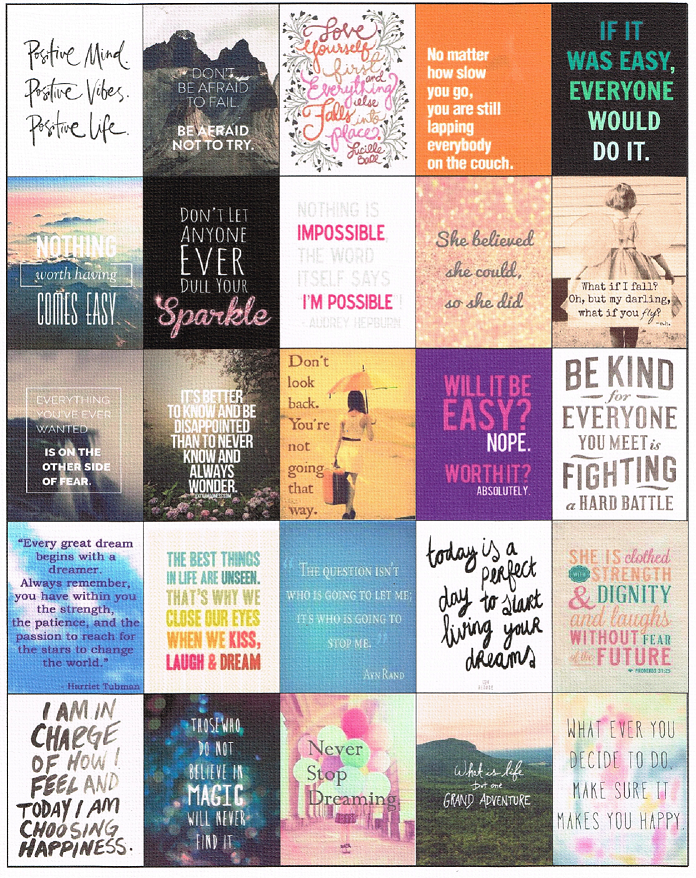
sheet of images for the positivity block

2. Cut out your images. I used a corner punch to make my edges rounded.
Define the edges with Distress ink.
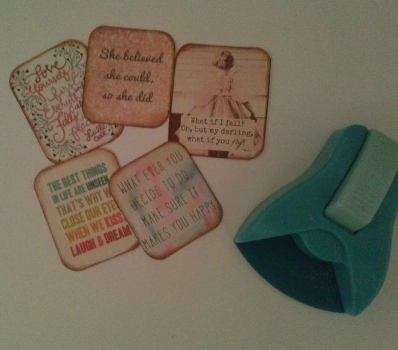
Images used for the positivity block

3. Paint the art block and the feet. I choose to paint each side a different color to coordinate with my images. You can use a hairdryer to speed up the dry time. Glue the feet on the block using E6000.
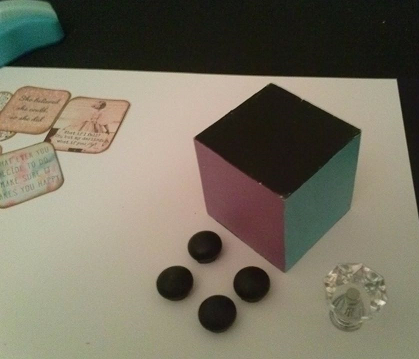
Materials for the project

4. Glue your images on the block with tacky glue. When Dry you can accentuate around the sides using the glamour dust. I added it around the images and not on the entire image. I did paint the entire top with glamour dust because I liked the look. Feel free to use your creativity.
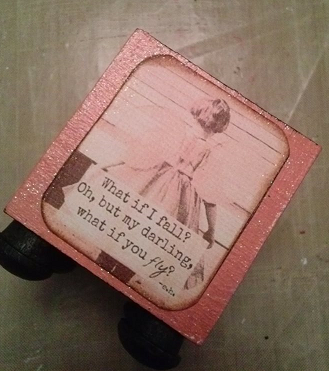
single image on the positivity block

5. Cut the diamond mesh ribbon to fit the block and glue with tacky glue.
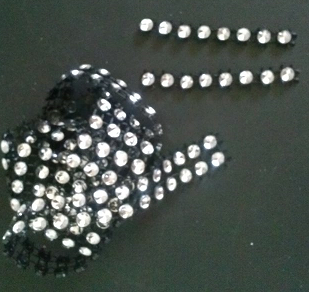
diamond mesh ribbon for embellishement

6. Tie your embellishments on the fibrous ribbon and then onto your drawer pull.
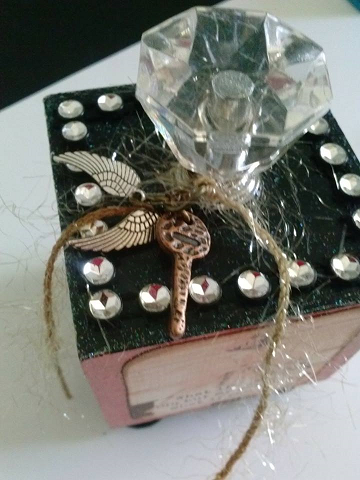
positivity box top view

~*~*~*~*~*~*~*~*~*~*~*~*~*~*~*~*~*~*~*~*~*~*~*~*~

I have been creating art for as long as I can remember. I studied graphic design in Portland,Oregon before moving to Denton, Texas and putting all my focus on mixed media art. In addition to being an article writer for mixed media art, I am on the Creative Paperclay®Design team, The Robin’s Nest ®Design team and a blogger for DecoArt®. I strongly believe in giving back. I volunteer at Scrap Denton Creative Reuse Center where I teach workshops, art camps, and perform art demos. I am very passionate about mixed media art and helping others discover their creativity.

You can follow my journey on my facebook page My Altered Life and  My Altered Life’s blog page

~*~*~*~*~*~*~*~*~*~*~*~*~*~*~*~*~*~*~*~*~*~*~*~*~

.

.
Creating Acrylic Backgrounds with Water


~ * ~

This article is written by Anjuli Johnson

As a self taught artist, I would say that I’ve experimented with a lot of paint.  Watercolor, oil, gouache- but I always come back to acrylic.  There’s so much to love about acrylic paint- how different brands react so differently to certain techniques, the fact that it dries fairly quickly, and especially how it reacts to water.  My spray bottle is one of the most used tools in my studio because of how often I use water and paint to create acrylic backgrounds for my mixed media paintings.  I have 3 paintings to show you, and I’ll outline how I created the backgrounds for each one.

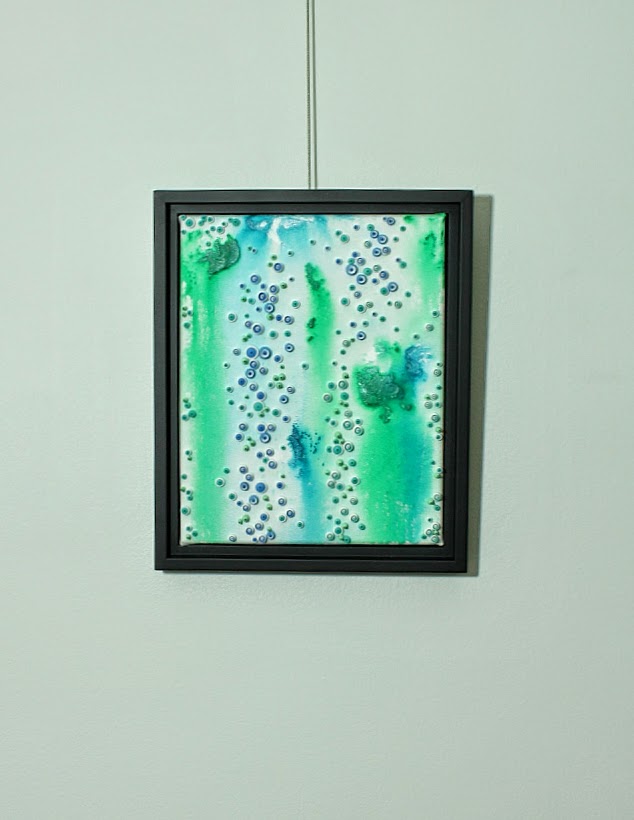
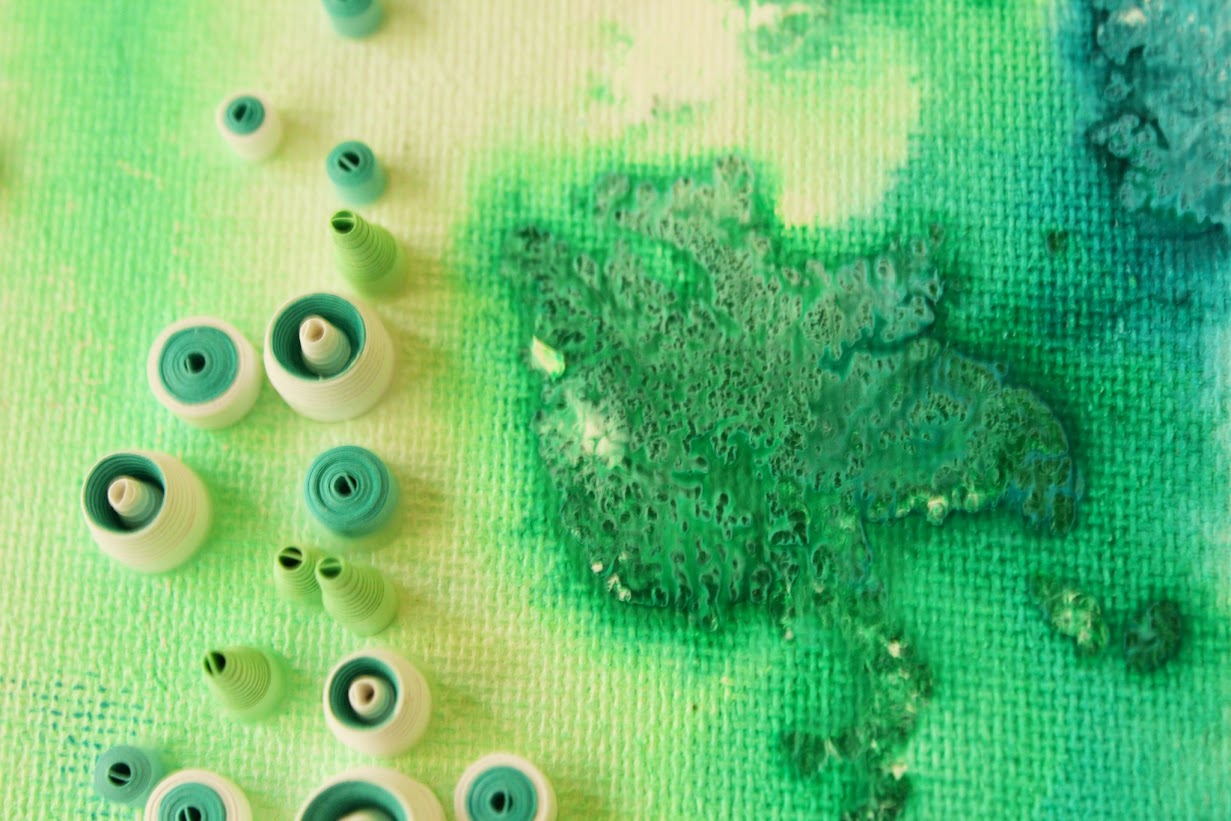
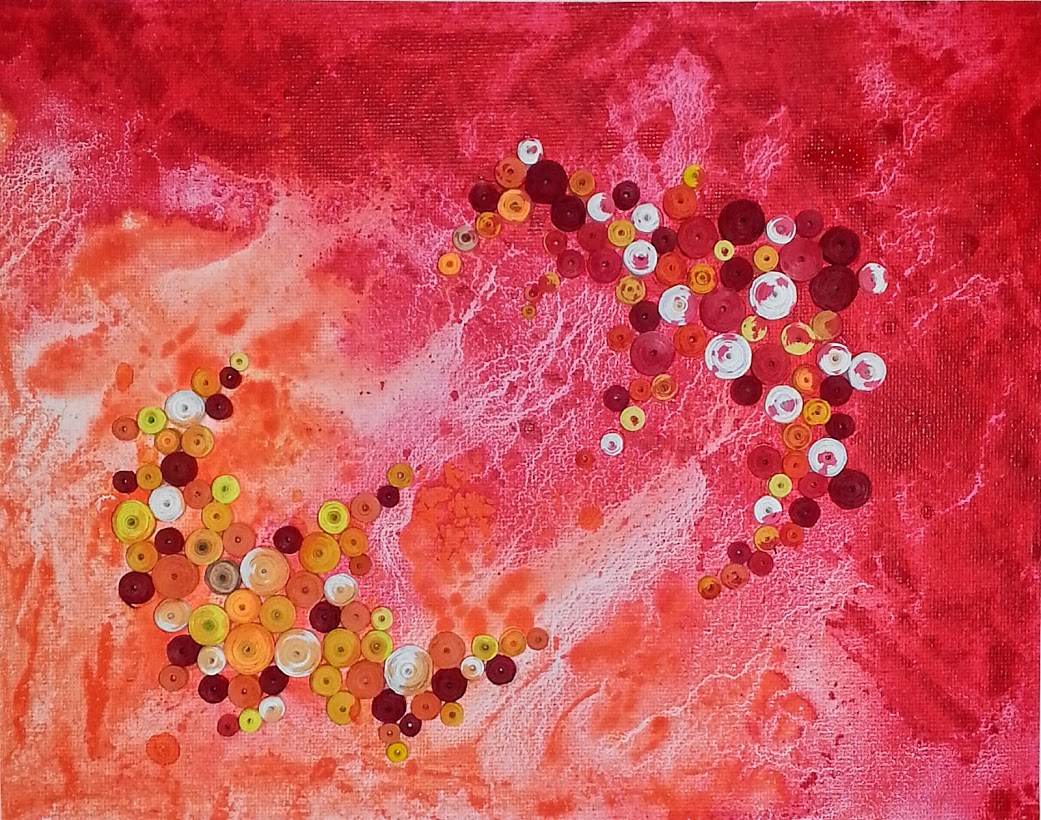
Texture paste and quilled paper pieces on an acrylic background

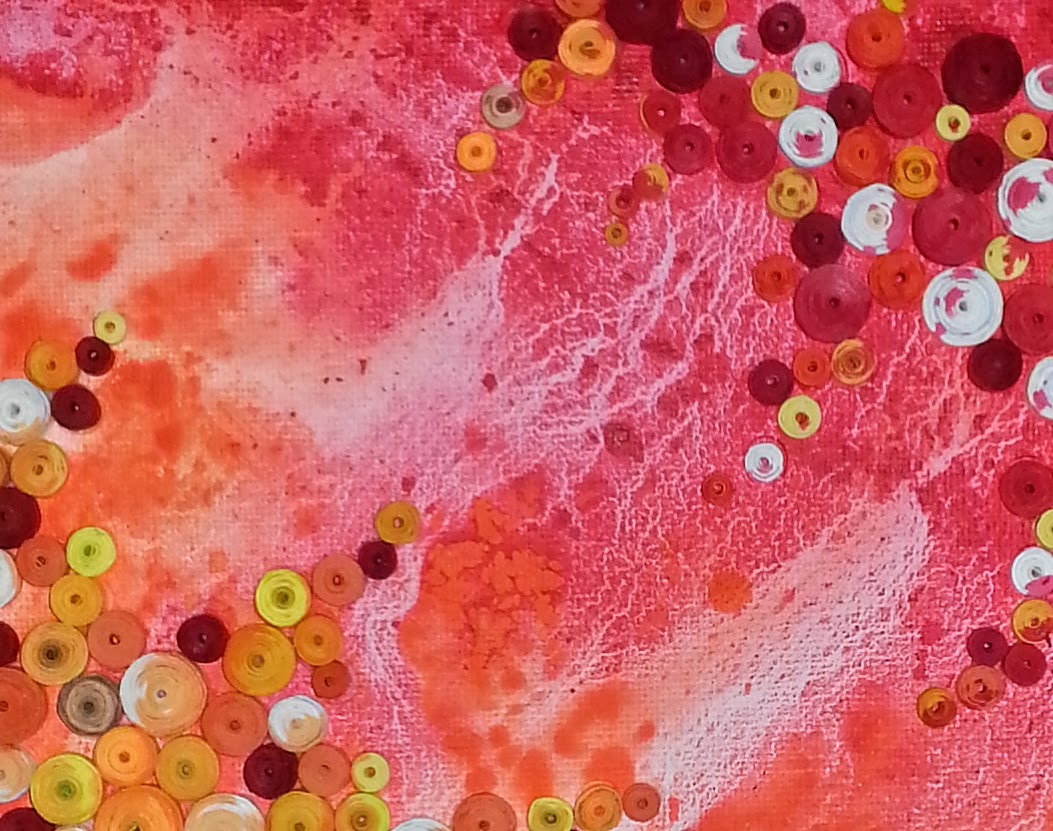
Magnetism- For this piece, I began with a dry canvas.  I used red paint on one corner, orange on the other.  I brushed the paint closer to the center without the two colors touching, and then used my spray bottle over the entire canvas.  The water is what brought the two colors together in the center of the canvas, and I tilted the canvas a little each way until I was satisfied with how the colors were blending.  If you start with a dry canvas, it may take some extra effort to get rid of any brushstrokes, which may or may not be a concern for you.  I don’t usually like to see my brushstrokes, so I’ll continue working until the water has blended the paint smoothly into the canvas.  One tip- this brand of acrylic paint is Liquitex Basics, which was an essential factor in achieving the lightning type blending you see here.  Other brands do not react the same way, which I find incredibly fascinating.

Close up of the point of blending colors orange and red

True North, mixed media painting with an acrylic background

True North- With this piece, I misted the canvas slightly before I began.  As you can see below, I used greater concentrations of paint in certain areas and worked until, once again, all the brushstrokes have disappeared.  I added some splatters of white and blue paint to add more color, which react with the water to blend slightly with the paint around it.  Super cool!

True North mixed media painting with acrylic background

True North progress shot of acrylic background

Mixed Media painting with acrylic background, Pacific Reef

Pacific Reef- For this piece I didn’t use a brush at all.  I started with a dry canvas, and added thick spots of paint in random places, many times overlapping, especially with the white.  I used my fingers to flatten and spread the paint as I sprayed the canvas with water. Make sure you’ve tipped it up so the water will draw the color down the canvas to create that flowing effect, and if you want the colors blended smoothly, make sure you wet the entire canvas.  I have mixed the brands I used with this piece- the craft brands usually spread very smoothly over the canvas, whereas the liquitex or winsor newton brands will spread in different ways.  I love it!

Mixed media Pacific Reef with acrylic background

So many awesome ways to use water with acrylic paint to create amazing colored backgrounds!  I’d love to hear how you create your acrylic backgrounds and if you come up with any new techniques for using acrylic paint and water together.

~*~*~*~*~*~*~*~*~*~*~*~*~*~*~*~*~*~*~*~*~*~*~*~*~

Author bio: Author bio:  Anjuli Johnson  is a Mixed Media Artist from Raleigh, NC.  She began her art career as a scrapbooker, and it’s been an evolutionary process every since.  She loves all things mixed media- paper, glue, paint, canvas, pens, wire, gears… the list goes on and on.  She is constantly trying to push through her fears to discover and develop her talents, meet new people, and learn from those around her. TheFarPavilion

~*~*~*~*~*~*~*~*~*~*~*~*~*~*~*~*~*~*~*~*~*~*~*~*~

.

.
Story Telling through Mixed Media

~*~

This article was written by Madeline Faiella

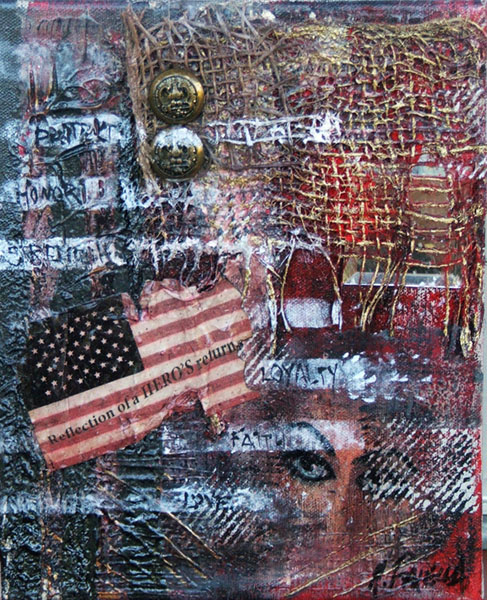
Hero’s Return

Mixed Media Art is a great way to tell a story with your art.  It can be a color theme that is beautifully put together or similar objects that tell their tale.  Mixed Media Art is a great venue for storytelling and I have a piece that I was inspired to do that tells a story.  It is called “A Hero’s Return”.

textured artwork using the irresistible Neon Pico Embellisher.

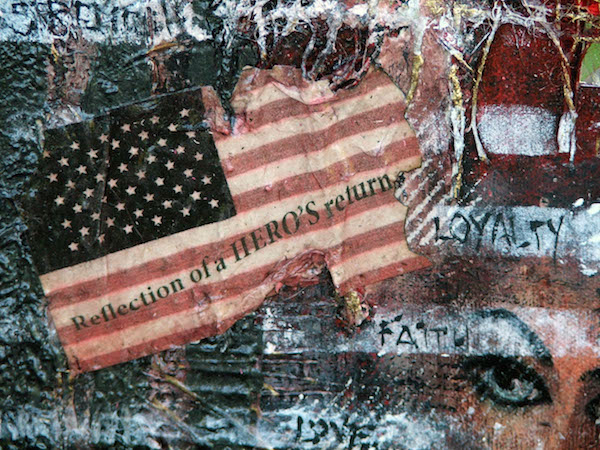
In this piece you a bit of mystery and strength in that the eyes are in the background and one can only imaging the many people who have lived and still live behind those eyes waiting and wondering about their loved ones.

There is layered texture and the color theme is strong.  The American Flag is paper that was put in water to age so it hassome life.  The soldier’s buttonsare “stand-out” elements that gives some call to your attention.  The burlap placed over the mirror allows you to see yourself and it causes you to think.  It is the reflection of yourself in the work.  The burlap adds that element of roughness and also stands to keep that reflection of you less clear; again, causing your mind and “eyes” to move (think) and look around the piece.  Keep the viewer’s attention. The color red is a great theme for a strong piece.

When creating your Mixed Media Art, ask yourself what is the story you want to tell.  It can be deep and intense or playful, fun and whimsical – or simply a work in colors.  No matter what story you are telling remember 3 things: 1) have a story to tell; 2) be sure your color theme is a good one; and 3) have fun while creating!!!

~*~*~*~*~*~*~*~*~*~*~*~*~*~*~*~*~*~*~*~*~*~*~*~*~

Author bio:Madeline Faiella is the owner of Madeline Faiella Designs, LLC.  She is a “tradigital” artist.  She works traditionally and digitally in Photoshop and Adobe Illustrator.  She is licensed and her work is featured on home décor, electronic devices, stationary, fabric and more.  Her arsenal of tools is large and broad and work is varied.  She is licensed, published, appeared on TV and radio and has written continuing columns for newsletters.  She also has a line of non-toxic acrylic paint “Art Jacket”   Her art education hails from The School of Visual Arts in Manhattan and the many years she absorbed global cultures during a 23 year singing career.  She’s been drawing, sewing and making since she was a child. Madeline sometimes exhibits at local galleries and she sells directly to a group of collectors of her fine art and jewelry. See more her work at www.madelinefaiella.com

~*~*~*~*~*~*~*~*~*~*~*~*~*~*~*~*~*~*~*~*~*~*~*~*~

.

.
Altered Daily Journal Cover

This article was written by Melanie Statnick

Save time and money by upcycling a notebook cover

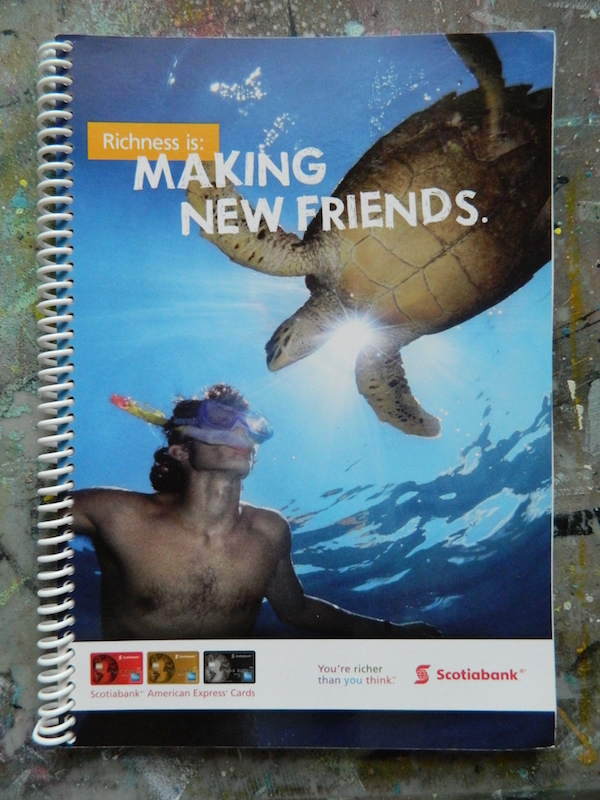
I have been looking for a journal big enough to write some reflections down daily. I didn’t want to spend the money. Upcycling is one of the best ways to use your imagination.

Save time and money by upcycling a notebook cover

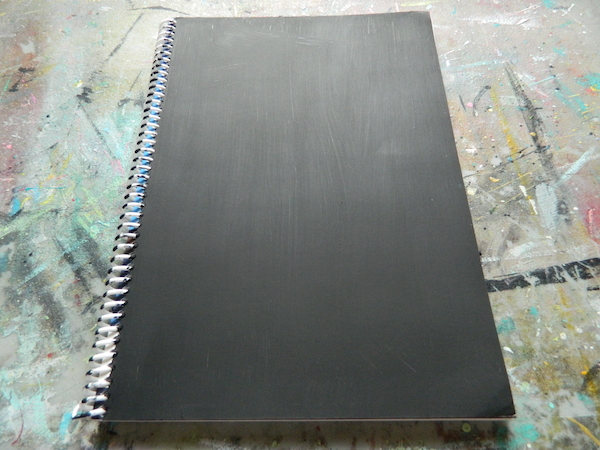
I used black gesso to cover the front of the journal. I like using black gesso, I find it covers more and leaves you with a primed black surface that is great to use white gel pens on.

Save time and money by upcycling a notebook cover

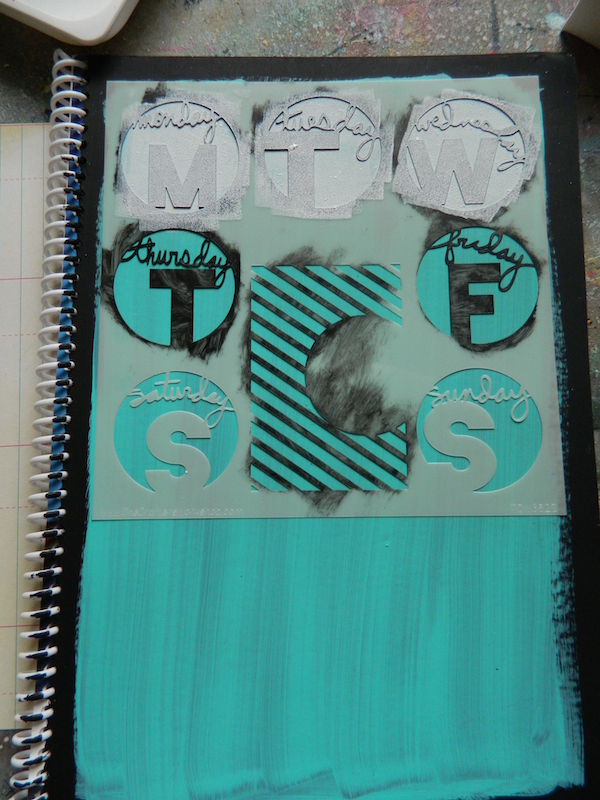
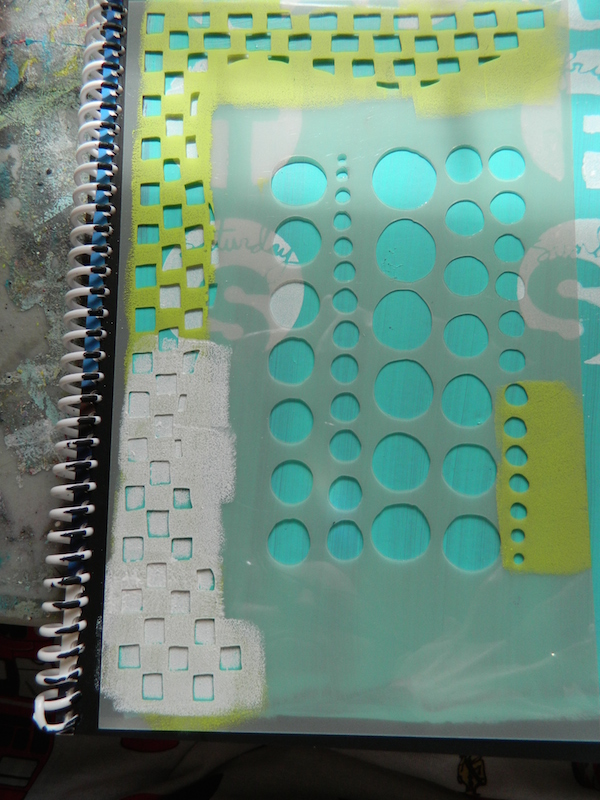
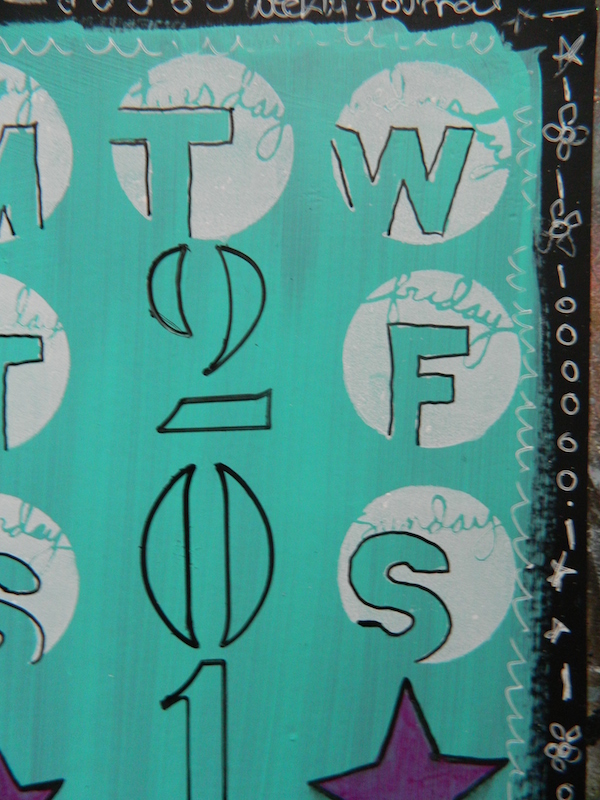
I painted a wide rectangle of turquoise paint over the gesso surface and added a weekly stencil an Artistcellar product.  I used various stencils to create a quick and easy stenciled back ground. Since this is for personal use only I felt more experimental then I did wanting a clean design.

Save time and money by upcycling a notebook cover

Save time and money by upcycling a notebook cover

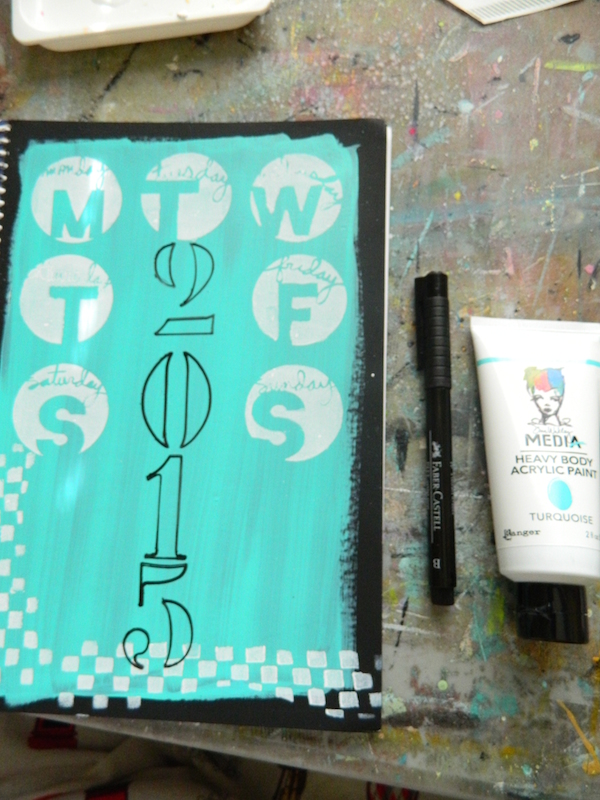
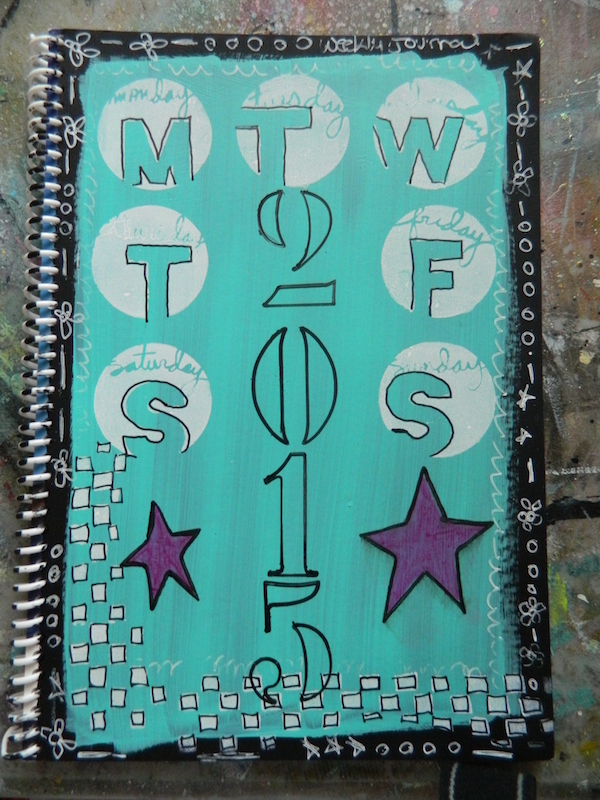
I added the year and later went in to outline the days of the week with a PITT pen, then added some detail to the cover with stars and good use of a white gel pen. Looks similar to a chalk board effect.

Save time and money by upcycling a notebook cover

 Upcycle Daily Journal Cover

~*~*~*~*~*~*~*~*~*~*~*~*~*~*~*~*~*~*~*~*~*~*~*~*~

Author bio:

Artist Melanie Statnick is a Published Artist/Writer out of North Carolina who writes and creates art daily from her private studio. Melanie is also the host of her own program via video and local PBS named The Brush & Pen  a Nash Community College production. Visit her website to learn more.

www.melaniestatnickart.com

~*~*~*~*~*~*~*~*~*~*~*~*~*~*~*~*~*~*~*~*~*~*~*~*~

.

.