Michelle G Brown | Mixed Media Art

For the Love of Kraft Paper

~ * ~

This article was written by Melanie Statnick
Creating artwork on Kraft paper

When I first saw photos on blogs from artists using Kraft paper for artwork and journaling pages I had to play with more of it myself. There are 1000 of great project you can use Kraft paper for. It’s very “Crafty”. From paper flowers, banners, cards, to table clothes and runners. The list goes on.
Creating artwork on Kraft paper{alternative description

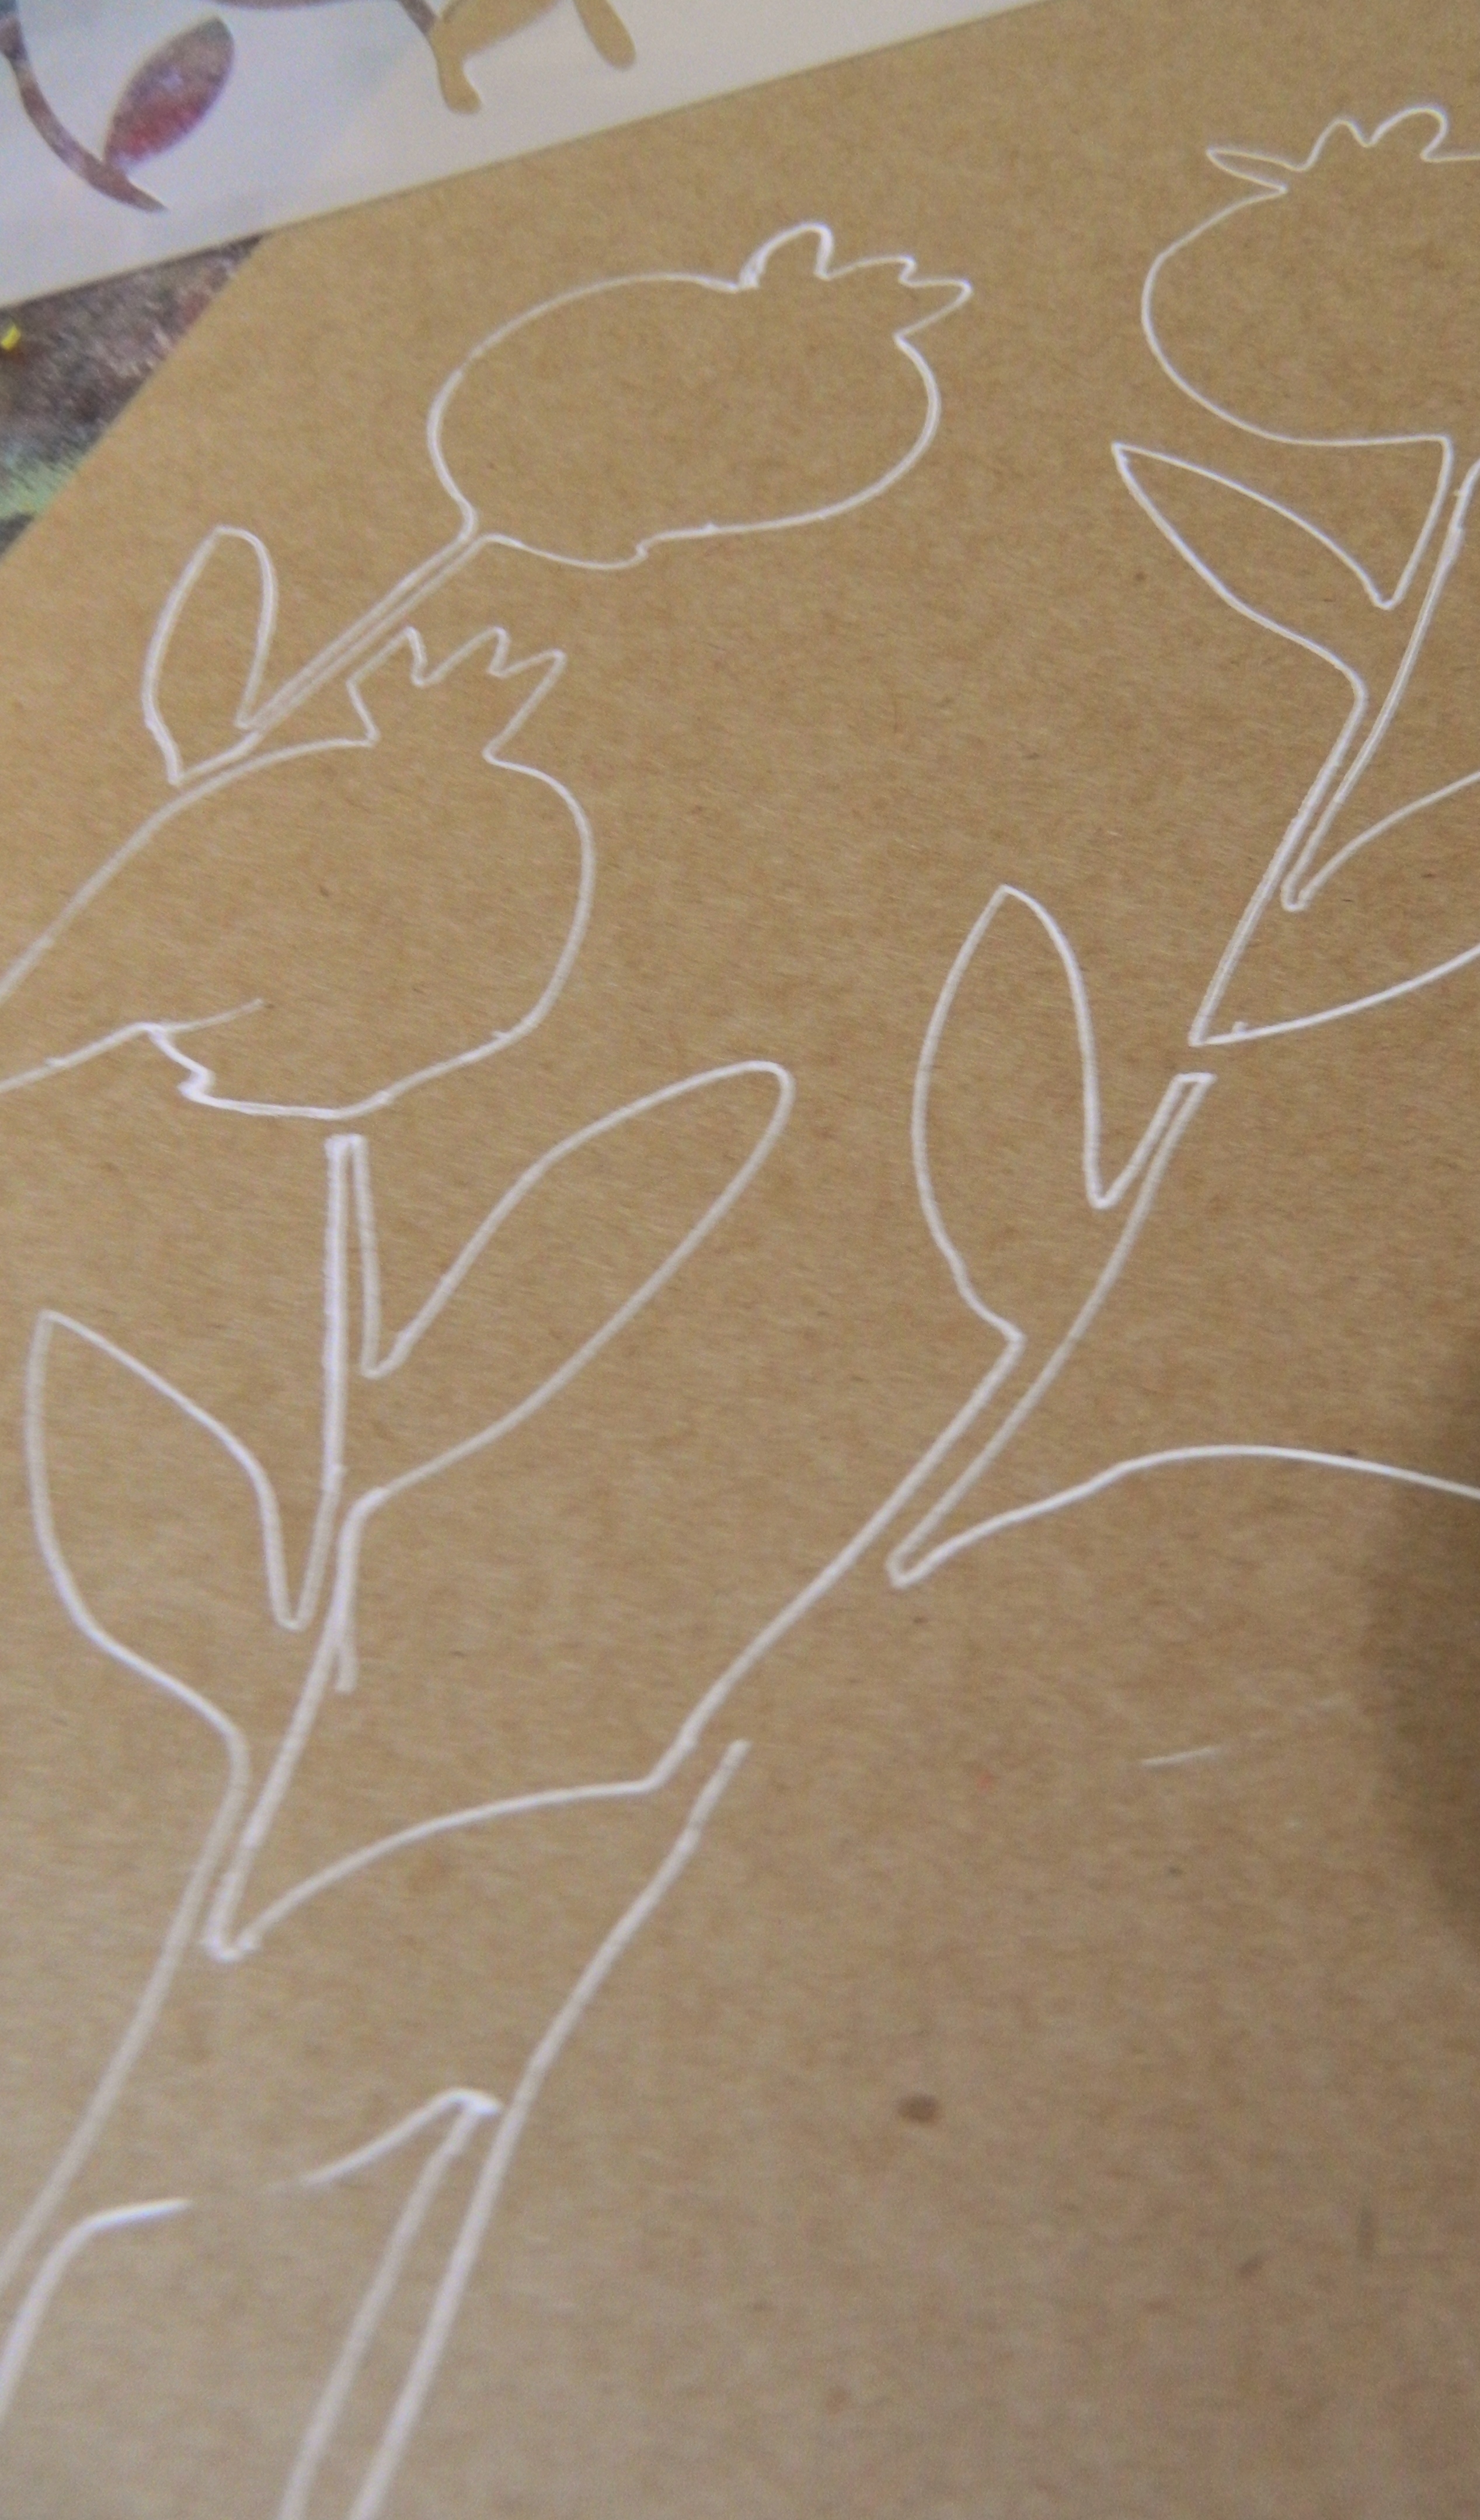
A mini project I created to later place on a canvas, was taking one my favorite stencils and outlining it using white gel pen or you can use a white chalk pencil. This can be a very bold first move if you are nervous about the permanence of the pen. I skipped using a pencil because I’m not worried about making a mistake here. I will be adding acrylic paint directly to the paper and I felt that the paint brush line would “cover” my mistakes. (Never be afraid to make mistakes, it is how we All learn)
Creating artwork on Kraft paper{alternative description

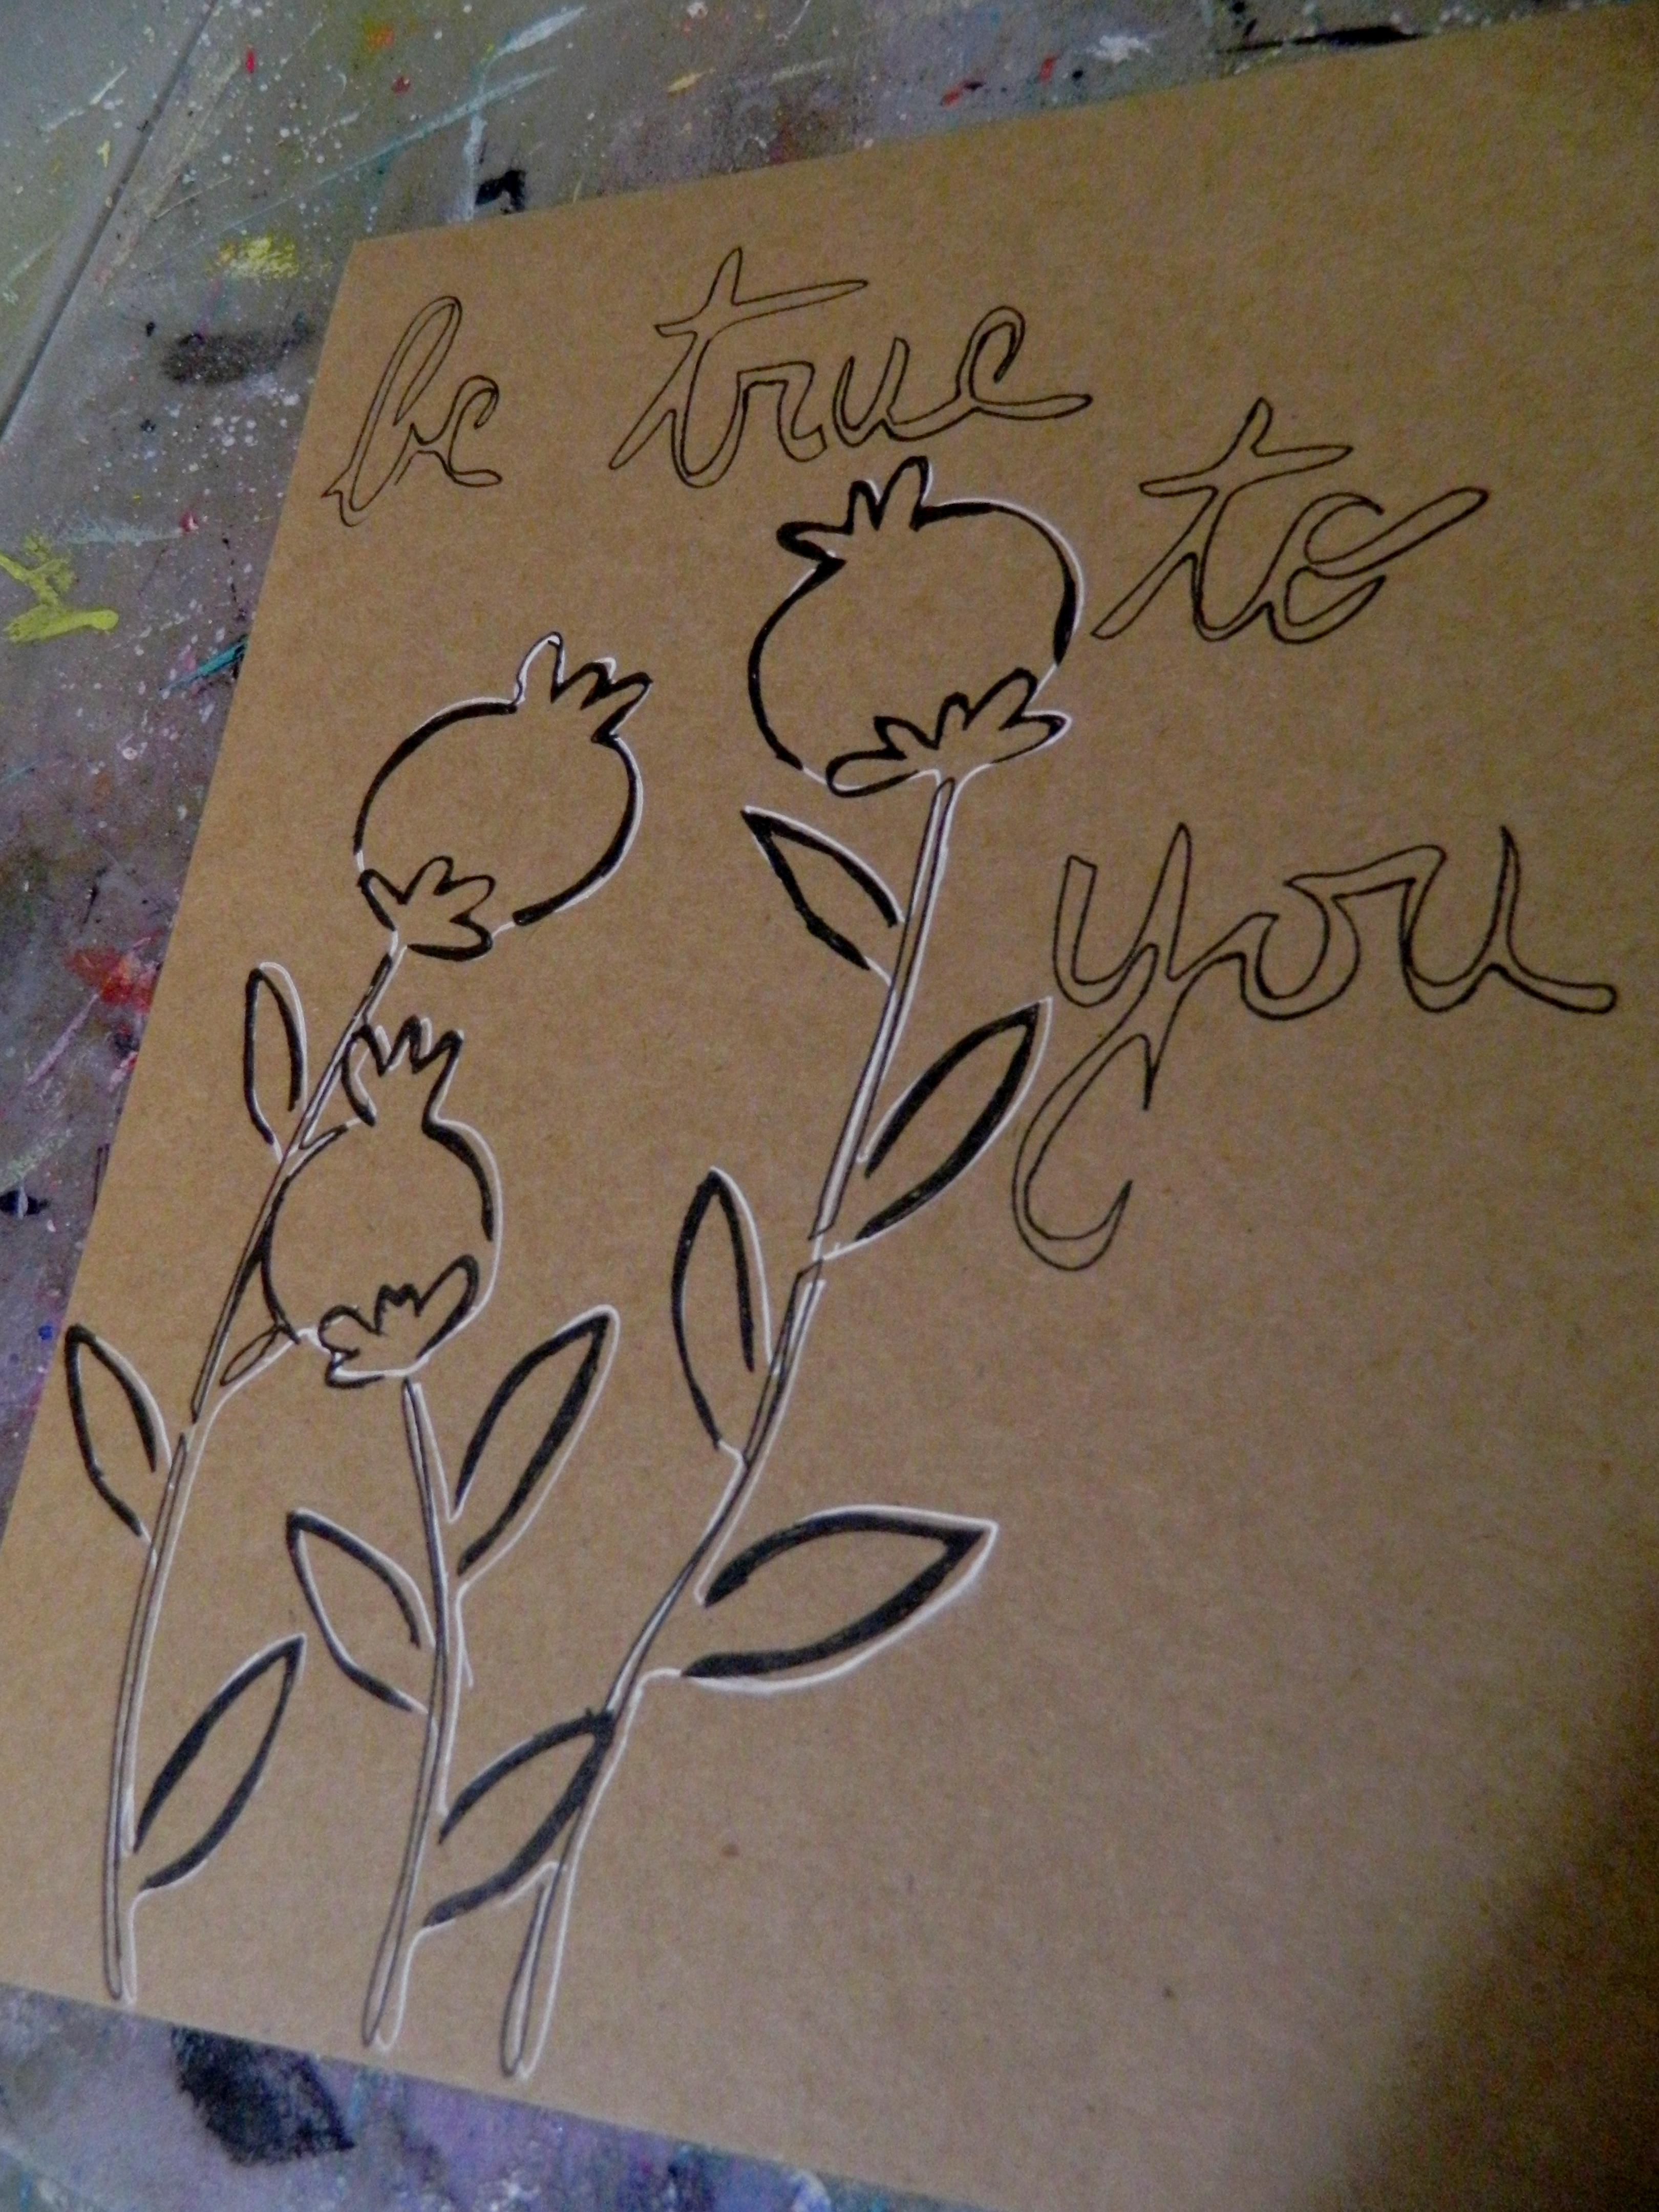
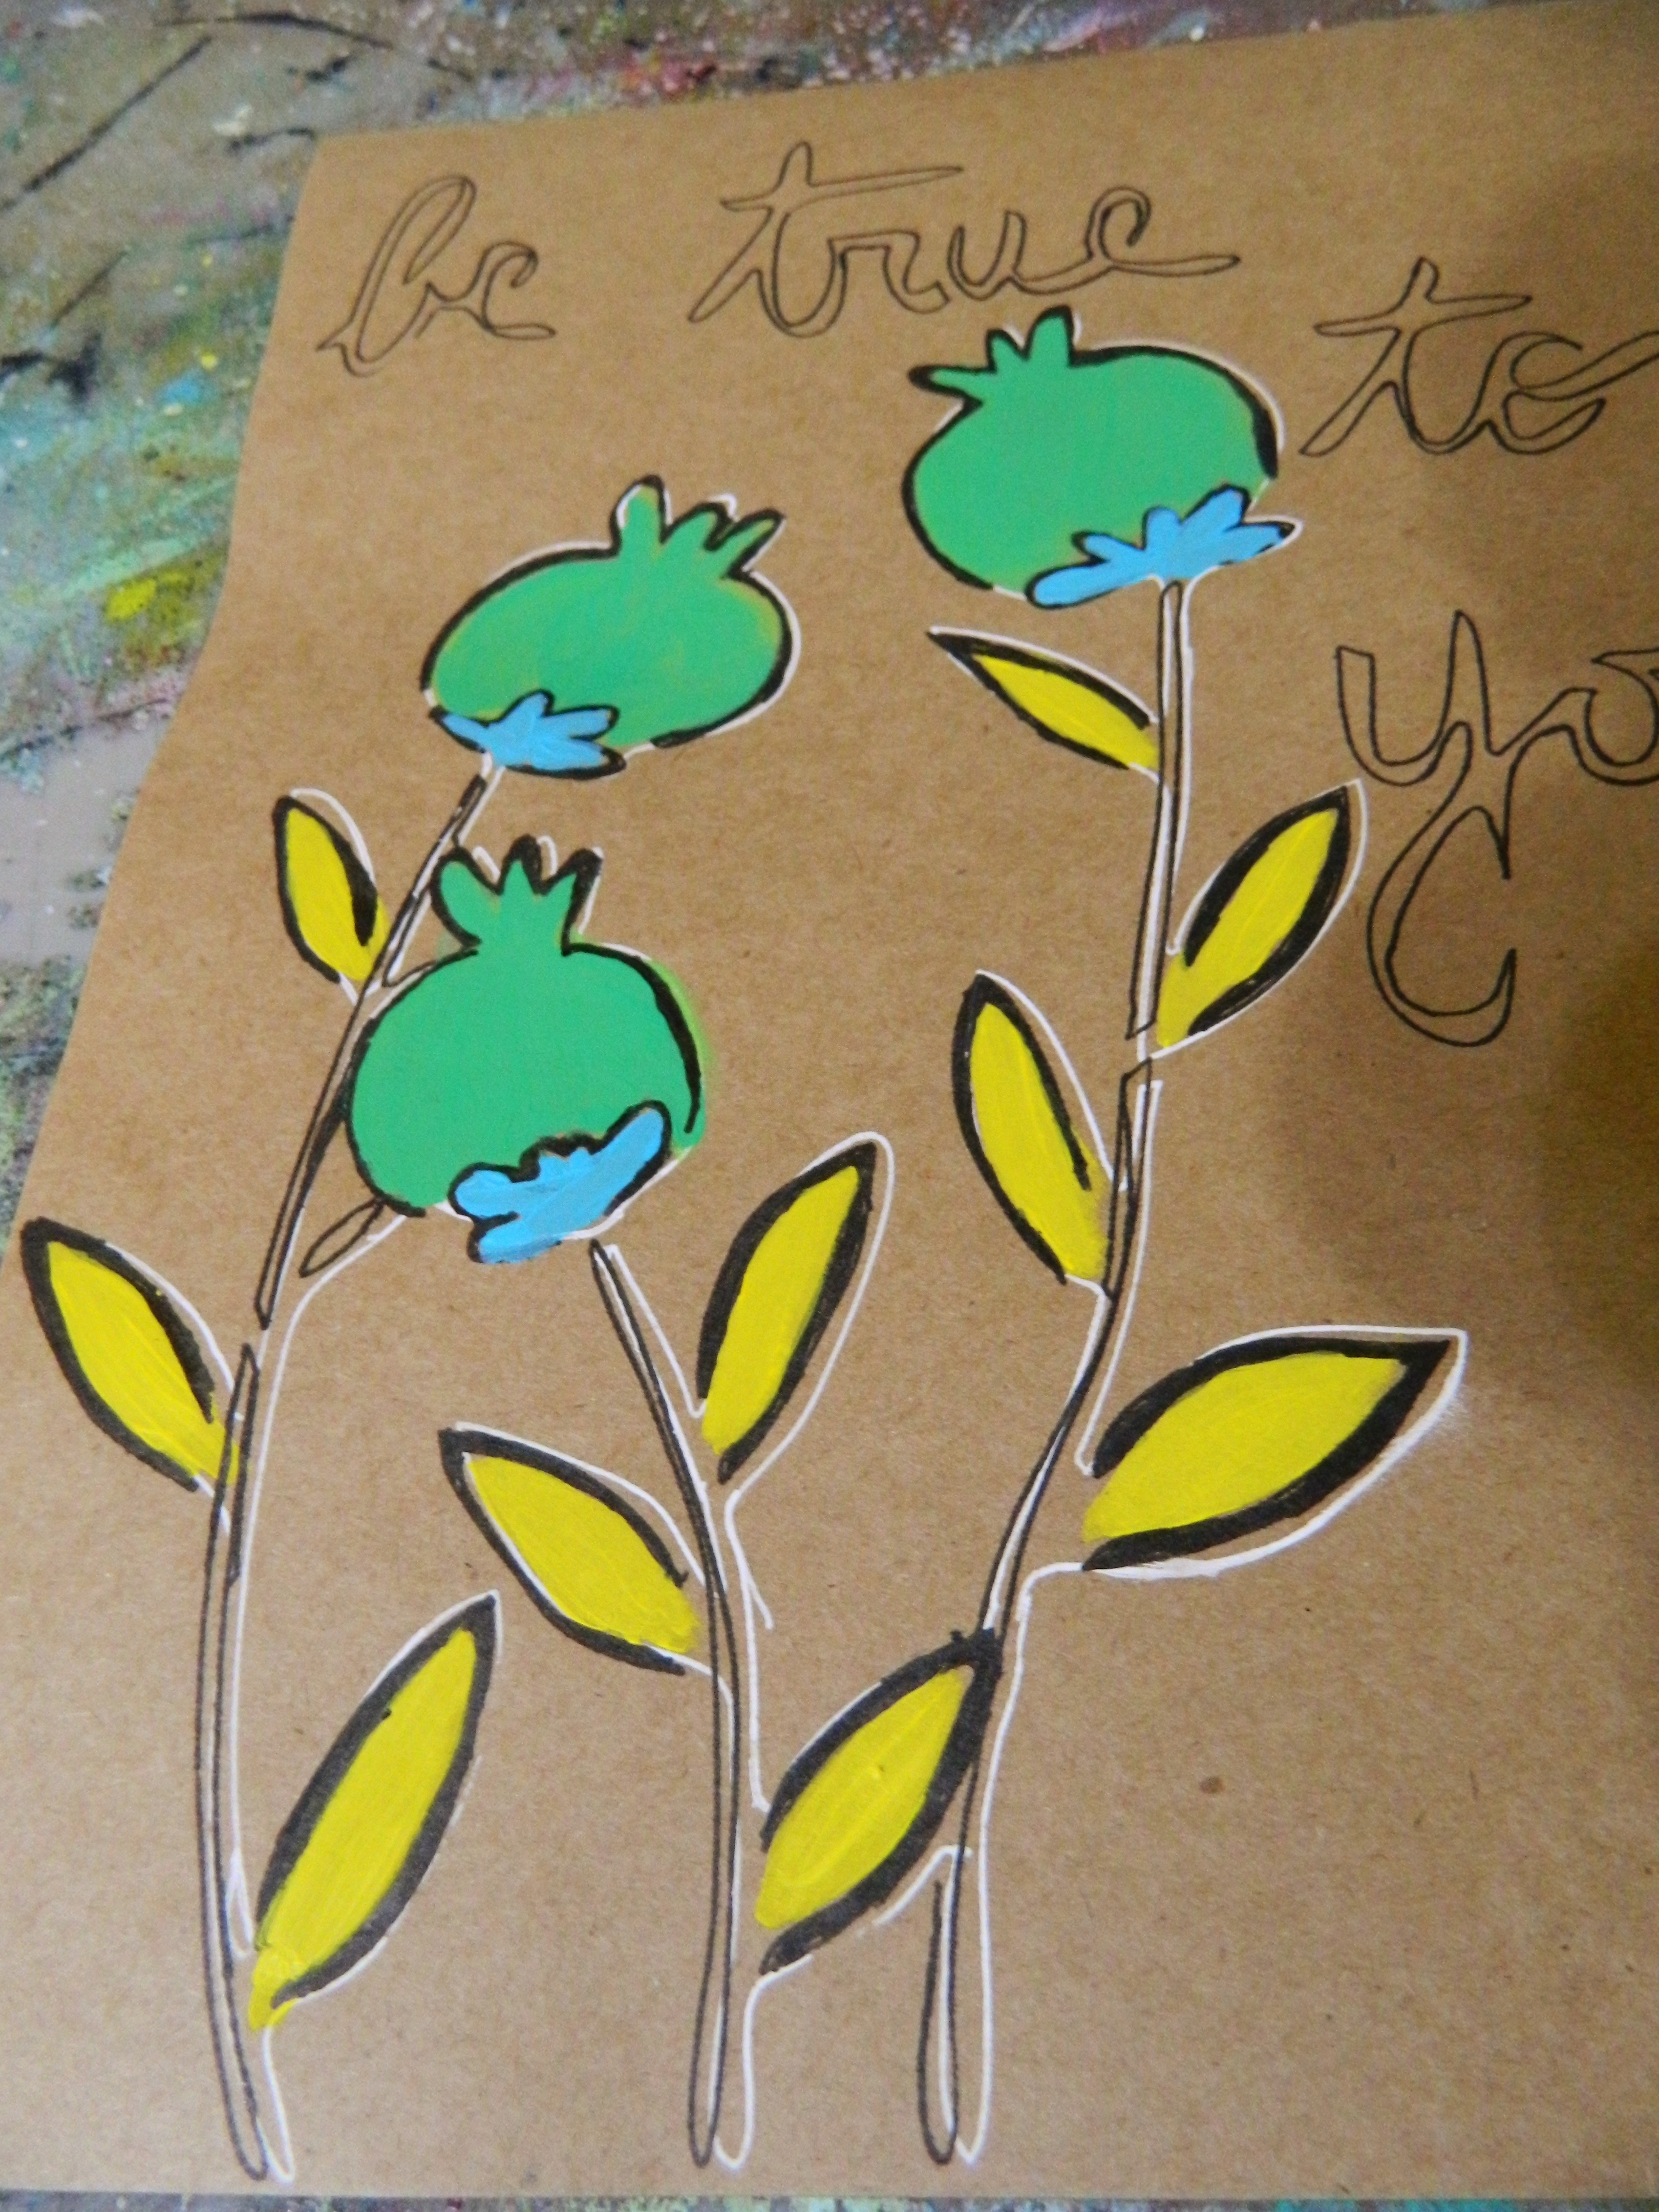
This stencil has two pieces to it. The outer edge of the poppy pod that creates the general shape and the inner piece of the pod that adds the detail. It’s so versatile. You can use one or the other or both. I layered this piece again with the inner stencil part using a Pitt Pen in bold black. I painted this with acrylic paint and added the words that also come with this stencil.  I used layers with mostly a dry brush because I found that too much wetting of the paper can cause buckling. So I used clear gesso as a sealer/primer on pieces after this one.
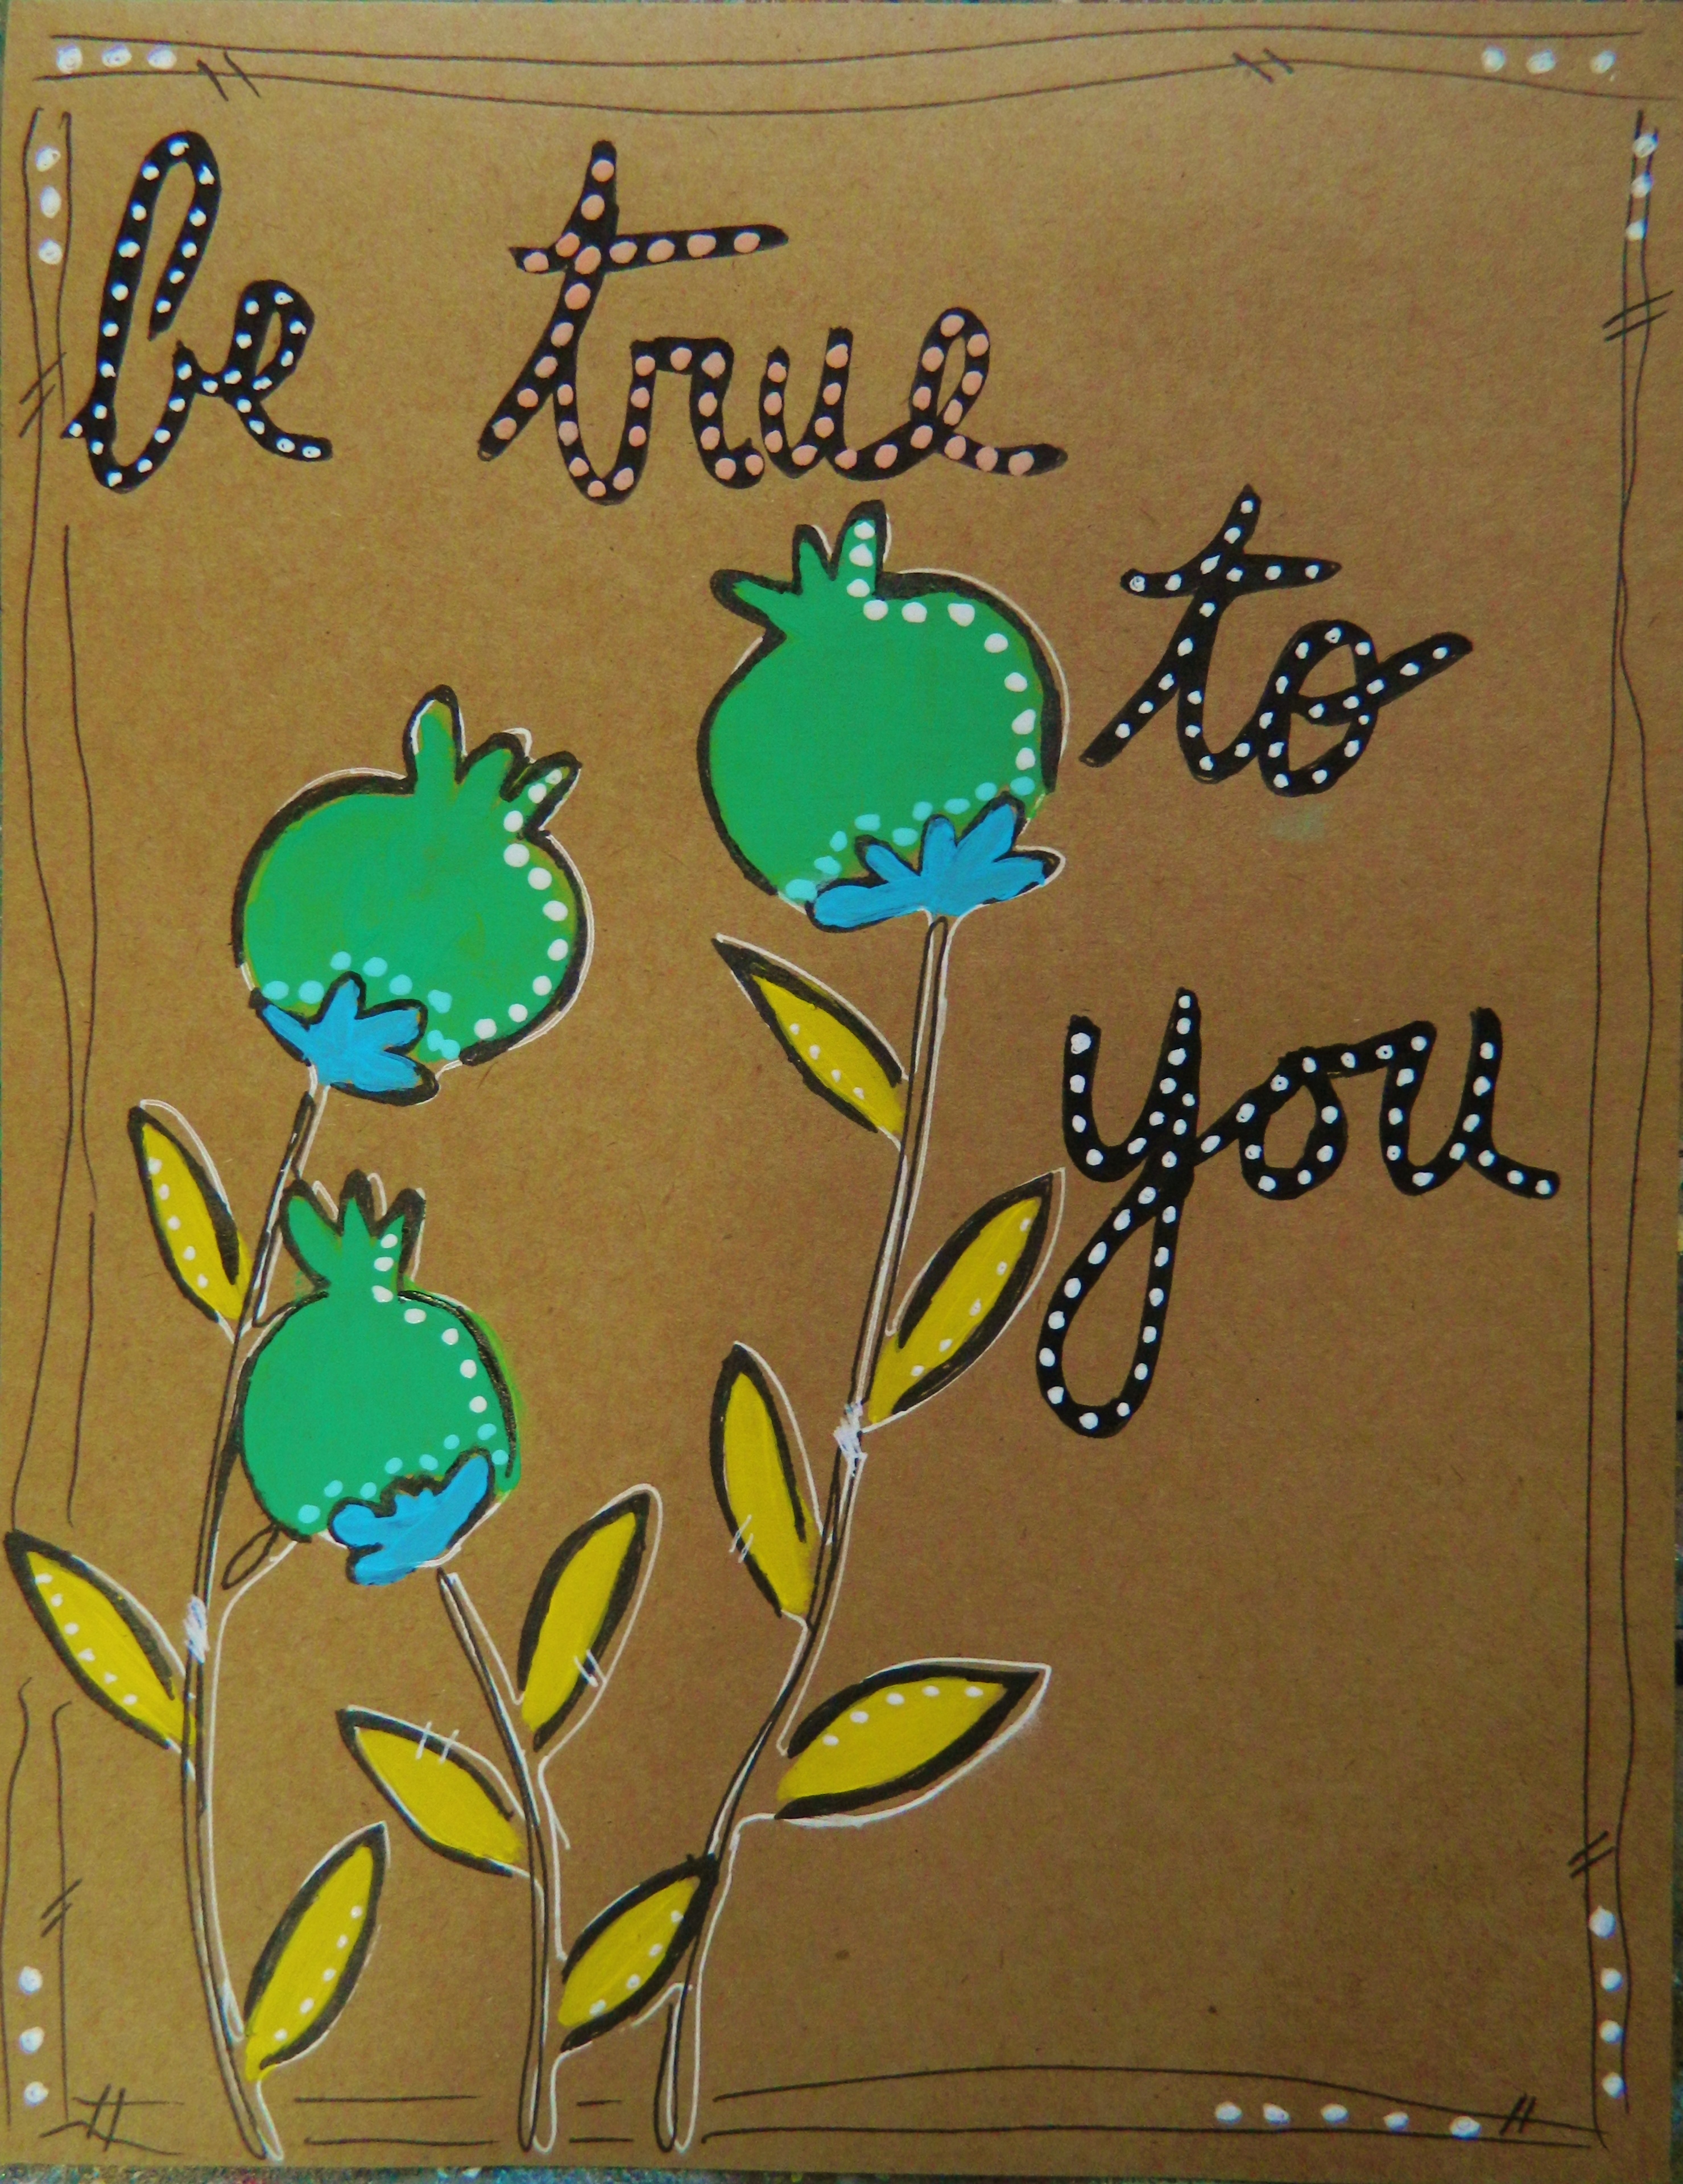
Creating artwork on Kraft paper{alternative description

I used the puffy gel pens over this in small dots and circles and sharpened the edges with the Pitt marker.
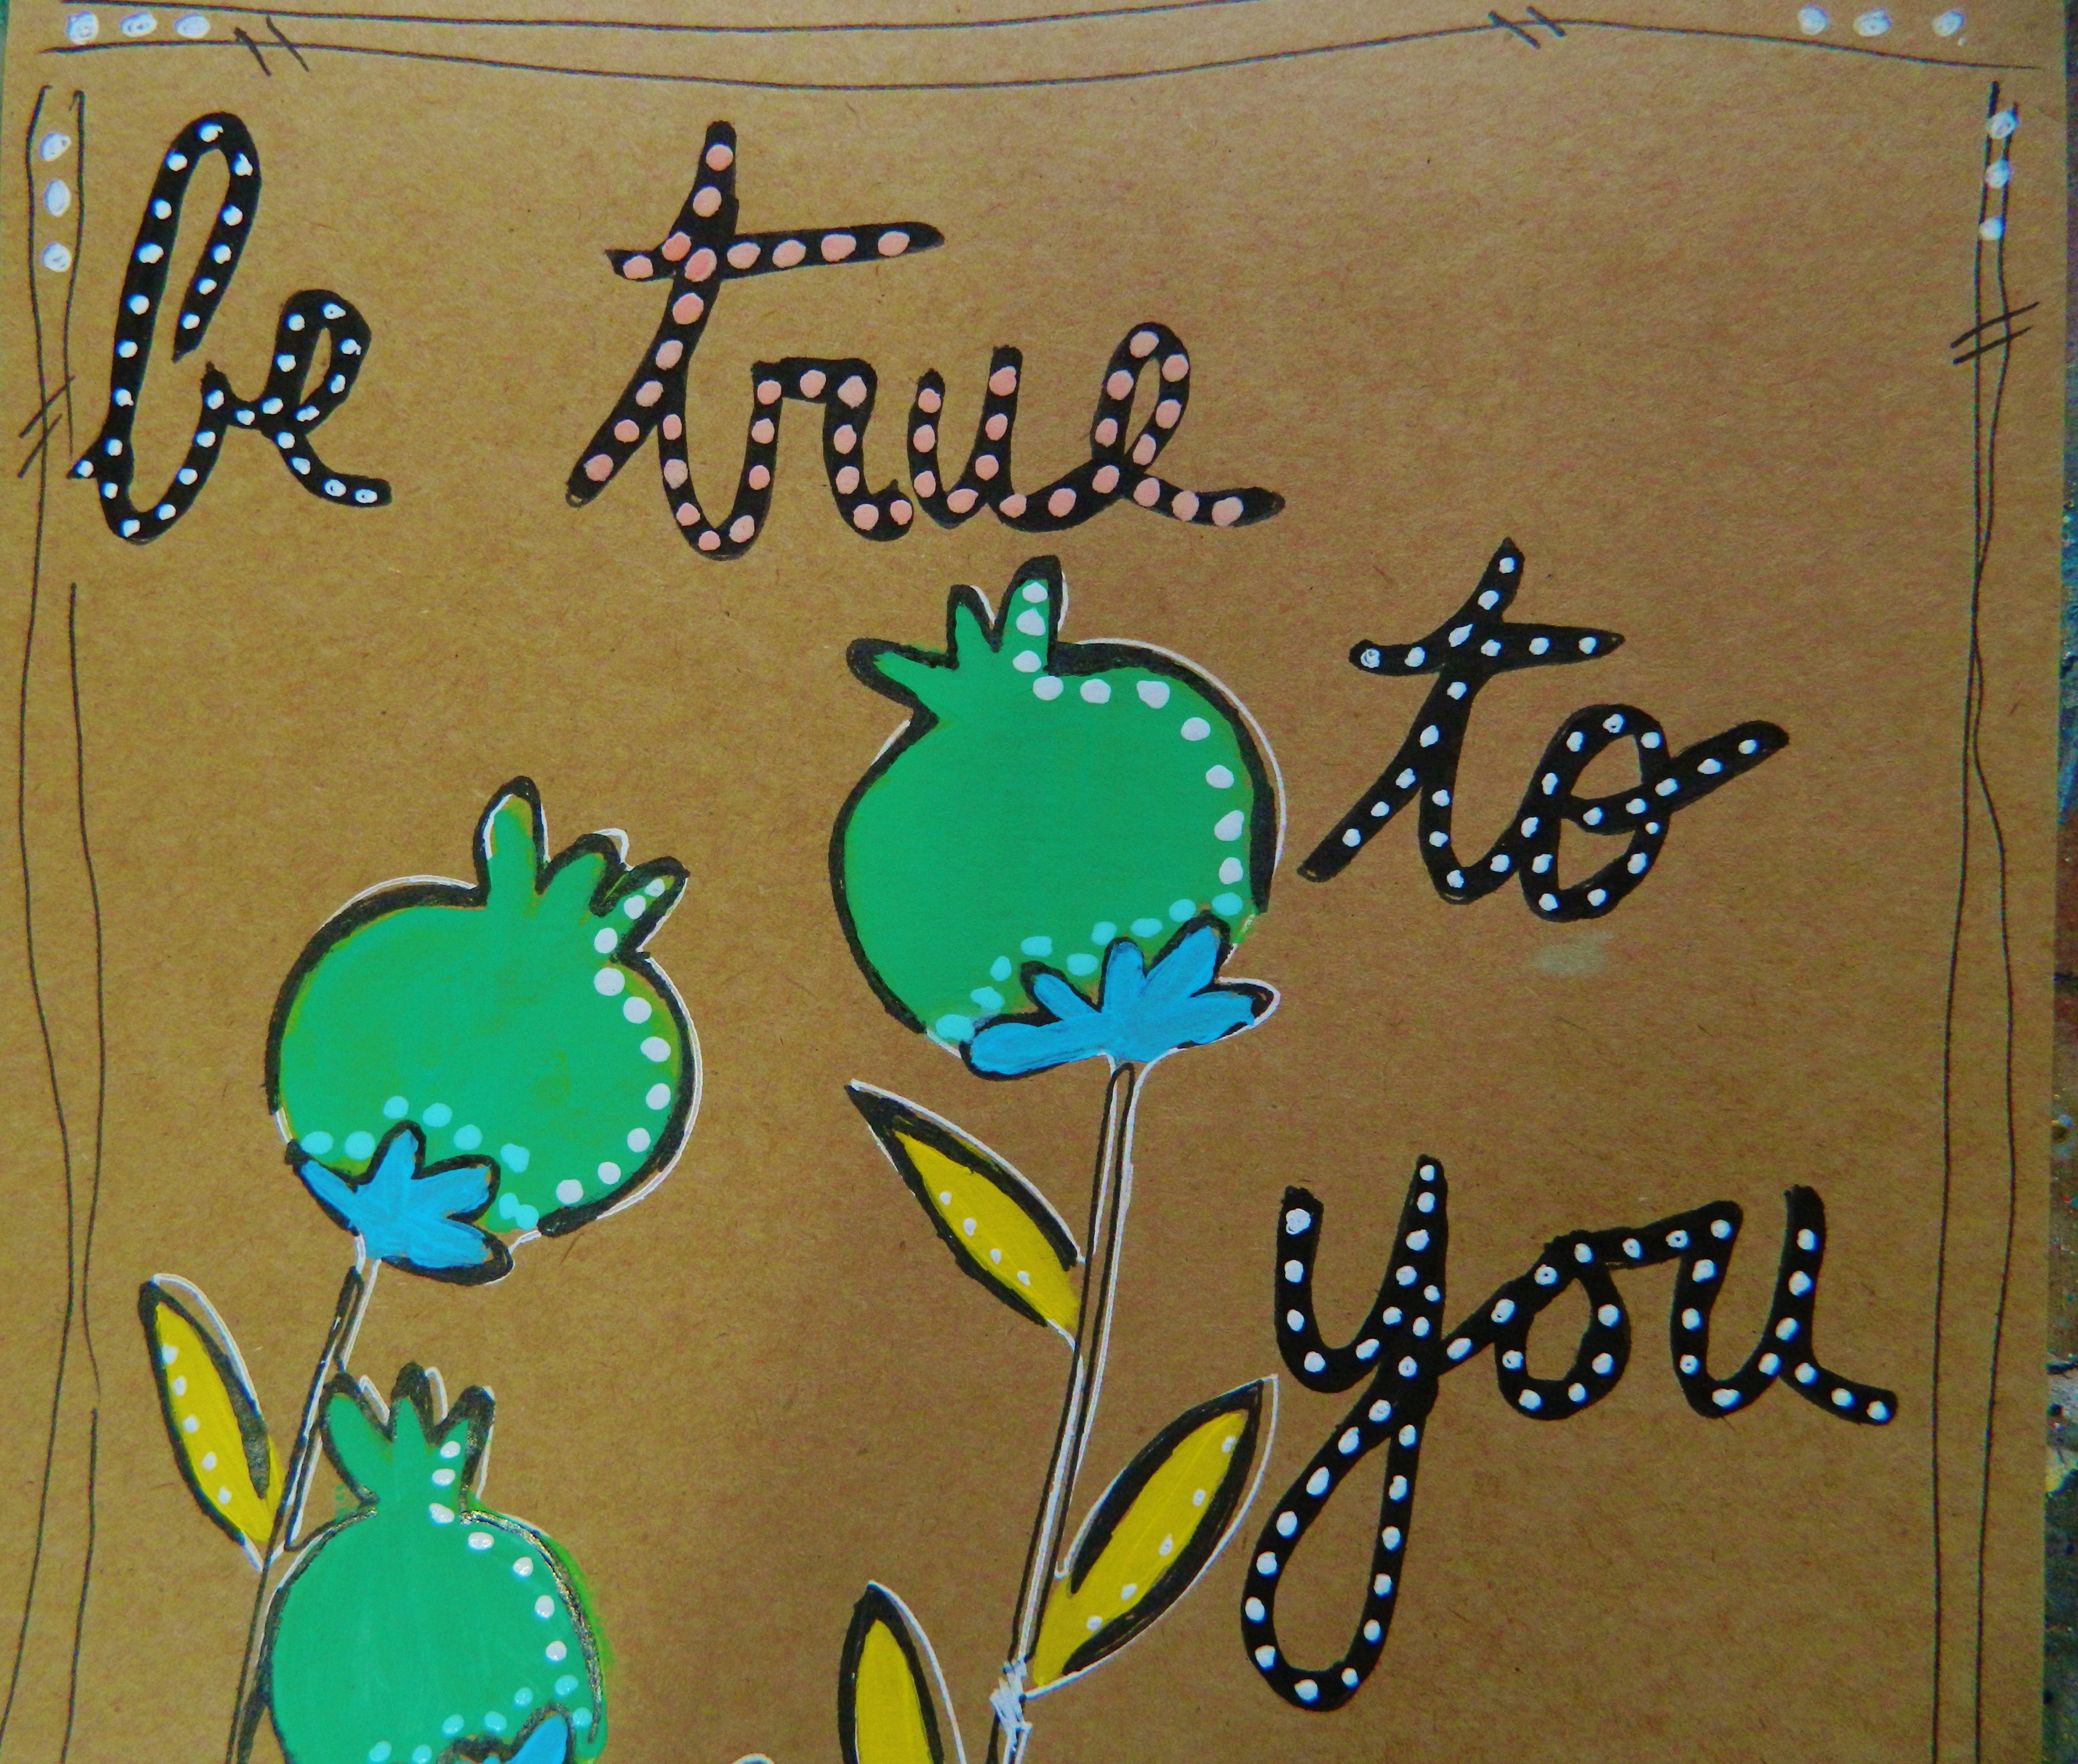
Creating artwork on Kraft paper{alternative description

I found this to be a delightful and easy little project. So many of us have busy days filled with work ,family and unexpected issues, that we don’t often have time to create large master piece s. This is just one of many things you can create as a journal page or as one piece.

~*~*~*~*~*~*~*~*~*~*~*~*~*~*~*~*~*~*~*~*~*~*~*~*~

Author bio: Artist Melanie Statnick is a Published Artist/Writer out of North Carolina who writes and creates art daily from her private studio. Melanie is also the host of her own program via video and local PBS named The Brush & Pen  a NCC production. Statnick’s artwork can be found in art galleries extensively in NC with international private collections.

~*~*~*~*~*~*~*~*~*~*~*~*~*~*~*~*~*~*~*~*~*~*~*~*~

.

.
Get Your Mixed Media Creative Mojo ON!

~ * ~

This article is written by Gail Green

Mixed Media is all about experimenting with interesting (and often unusual) combinations of materials, mediums and techniques. Color, texture, images, phrases, dimension and our own unique interpretation and story make our pieces come alive. It is also about the unexpected. And THAT’S what drives us creatively!

However, that doesn’t’ mean Mixed Media Artists need to spend hours creating unique components to use in their creative projects. While attending the Craft and Hobby January trade show (CHA Show) and a few other recent trade shows, I’ve discovered some really awesome new products and product lines that either help us feel the mojo or do the tedious time consuming parts for us…allowing us the freedom to just be CREATIVE!

This article will be the first of several product reviews.

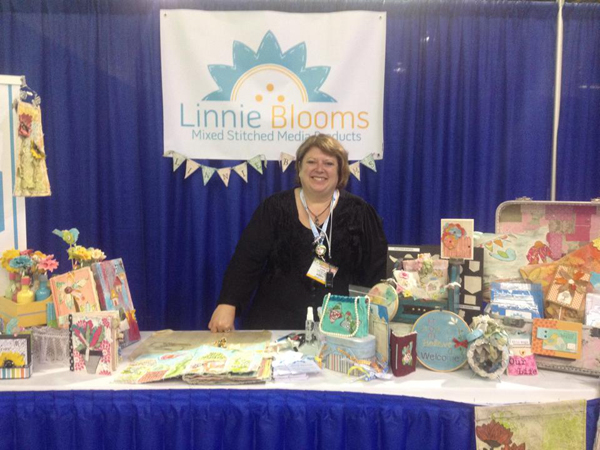
Do you love the look of Shabby Chic? Do you love the look of stitched canvas and embellishments? I know I do! Fortunately, I found the PERFECT line of canvas products at the CHA Show when I stopped by the Linnie Blooms booth! Owner and founder Linda Barutha was EVERYWHERE at CHA. I’m so glad I kept running into her because it offered us lots of opportunities to chat about her product line. Her products are amazing!

Here is Linda Barutha and just a sampling of her array of products (Photo used with permission, Linda Barutha, Linnie Blooms)

Simply put, Linnie Blooms products include canvas shapes (trees, hearts, leaves, stars, and much more) and canvas items like journals, bookmarks, envelopes and tags with a stitched component already added to them. How cool is this?! They are all ready to paint, sponge, spritz, stamp or stencil. These pieces are also very sturdy so they can hold up to lots of techniques, as well as for their intended use. It’s easy to attach embellishments by sewing or gluing because they have a secret in between the canvas layers that prevents glue drip –through…and also makes these products TOTALLY unique! This is definitely a new twist on the concept of re-purposing because recycled encyclopedia pages are part of the Linnie Blooms multiple layer canvas products.

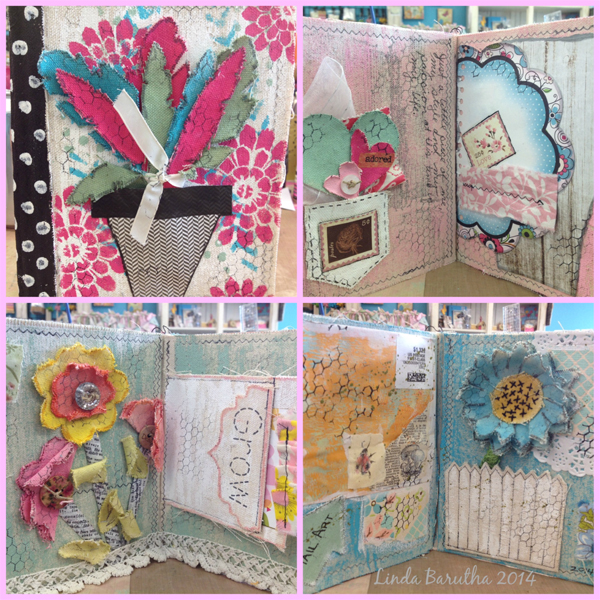
A Mixed Media Art Journal project (Photo used with permission, Linda Barutha, Linnie Blooms)

I personally love all the projects, but the journal is TO DIE FOR! The pages inside include pockets, tabs, stitched edges. They just cry and beg to be transformed into a Mixed Media Art piece!

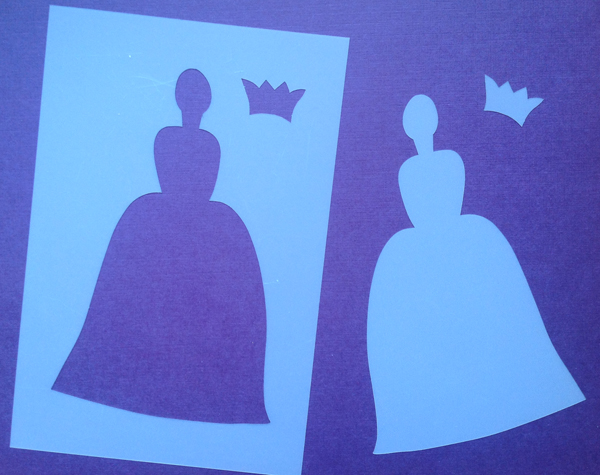
In addition to all the canvas items, Linnie Blooms also offers other products, including some very interesting stencils. Unlike most stencils, Linda also includes the “knock outs” (or inside cut sections) so mixed media artists can use both the negative space stencils for techniques like sponging, stippling, stamping, etc. AND the positive space “knock outs” to create masks for those same techniques…but with obviously different results! Plus, the shapes are so unique, they can be used very interpretively in multiple ways and combinations.

This photo shows a stencil with all the different components…both stencil and knock outs! (Photo used with permission, Gail Green)

As if that weren’t enough, Linda has also come up with fun stamps and phrases to use on the canvas pieces, as well as on traditional cardstocks for card making. For example, create a card on cardstock and then….insert it into an over-the-top-cool canvas envelope that has been turned into a Mixed Media work of art! Did you know that rubber stamping originally started as a way to decorate mail and envelopes? Now that you do, isn’t this a perfect way to go a little retro and celebrate the roots of stamping? After all, Mixed Media Art is ALL about TOTAL fun and creativity!

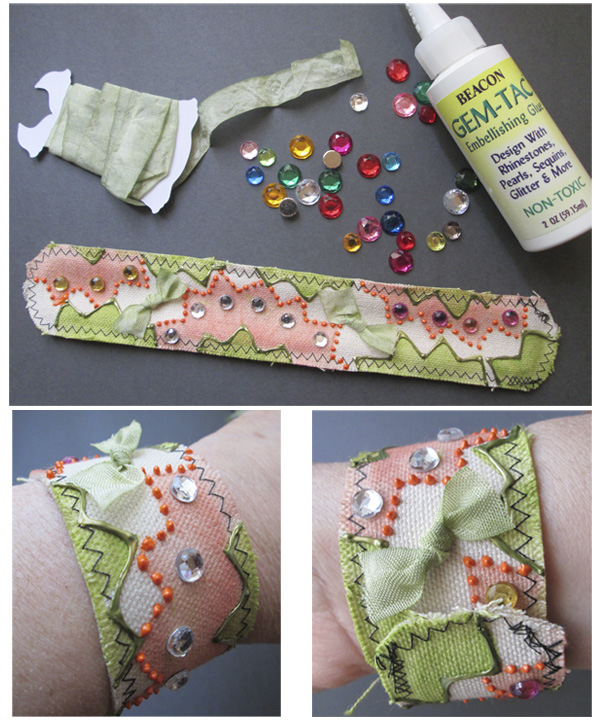
Linnie Blooms Canvas Bracelet is the perfect start to a Mixed Media project!(Photo used with permission, Gail Green)

You can find out more about Linnie Blooms by visiting their website www.linnieblooms.com. But know they are a lot like potato chips. You will never be able to just have one!

~*~*~*~*~*~*~*~*~*~*~*~*~*~*~*~*~*~*~*~*~*~*~*~*~

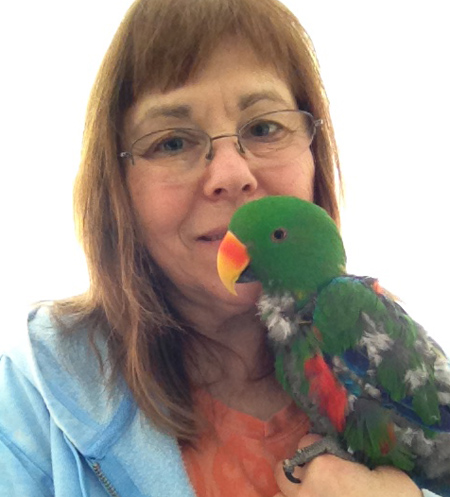
Gail Green is a Chicagoland crafty book author and feature article writer/columnist for Scrap & Stamp Arts magazine. Known as the “designer in the hat” and creator of the Sweet PETatoes® art brand, Gail has licensed her illustrations on products in multiple global markets, including her own line of rubber stamps with Impression Obsession. For more information, please visit her ETSY store sweetpetatoes.etsy.com or blog gailgreen.blogspot.com for fun adventures with Ollie, Gail’s crafting parrot and his pet doggie, Lacy Lulu.

~*~*~*~*~*~*~*~*~*~*~*~*~*~*~*~*~*~*~*~*~*~*~*~*~

Disclosure: These products were supplied by Linnie Blooms for the purpose of review. All opinions are that of the MixedMediaArt team. Some links on this page may be affiliate links and any purchases help to support the ongoing work by MixedMediaArt. 
.

.

ColourArte Products Review

~ * ~

This article is written by Barbara Rankin

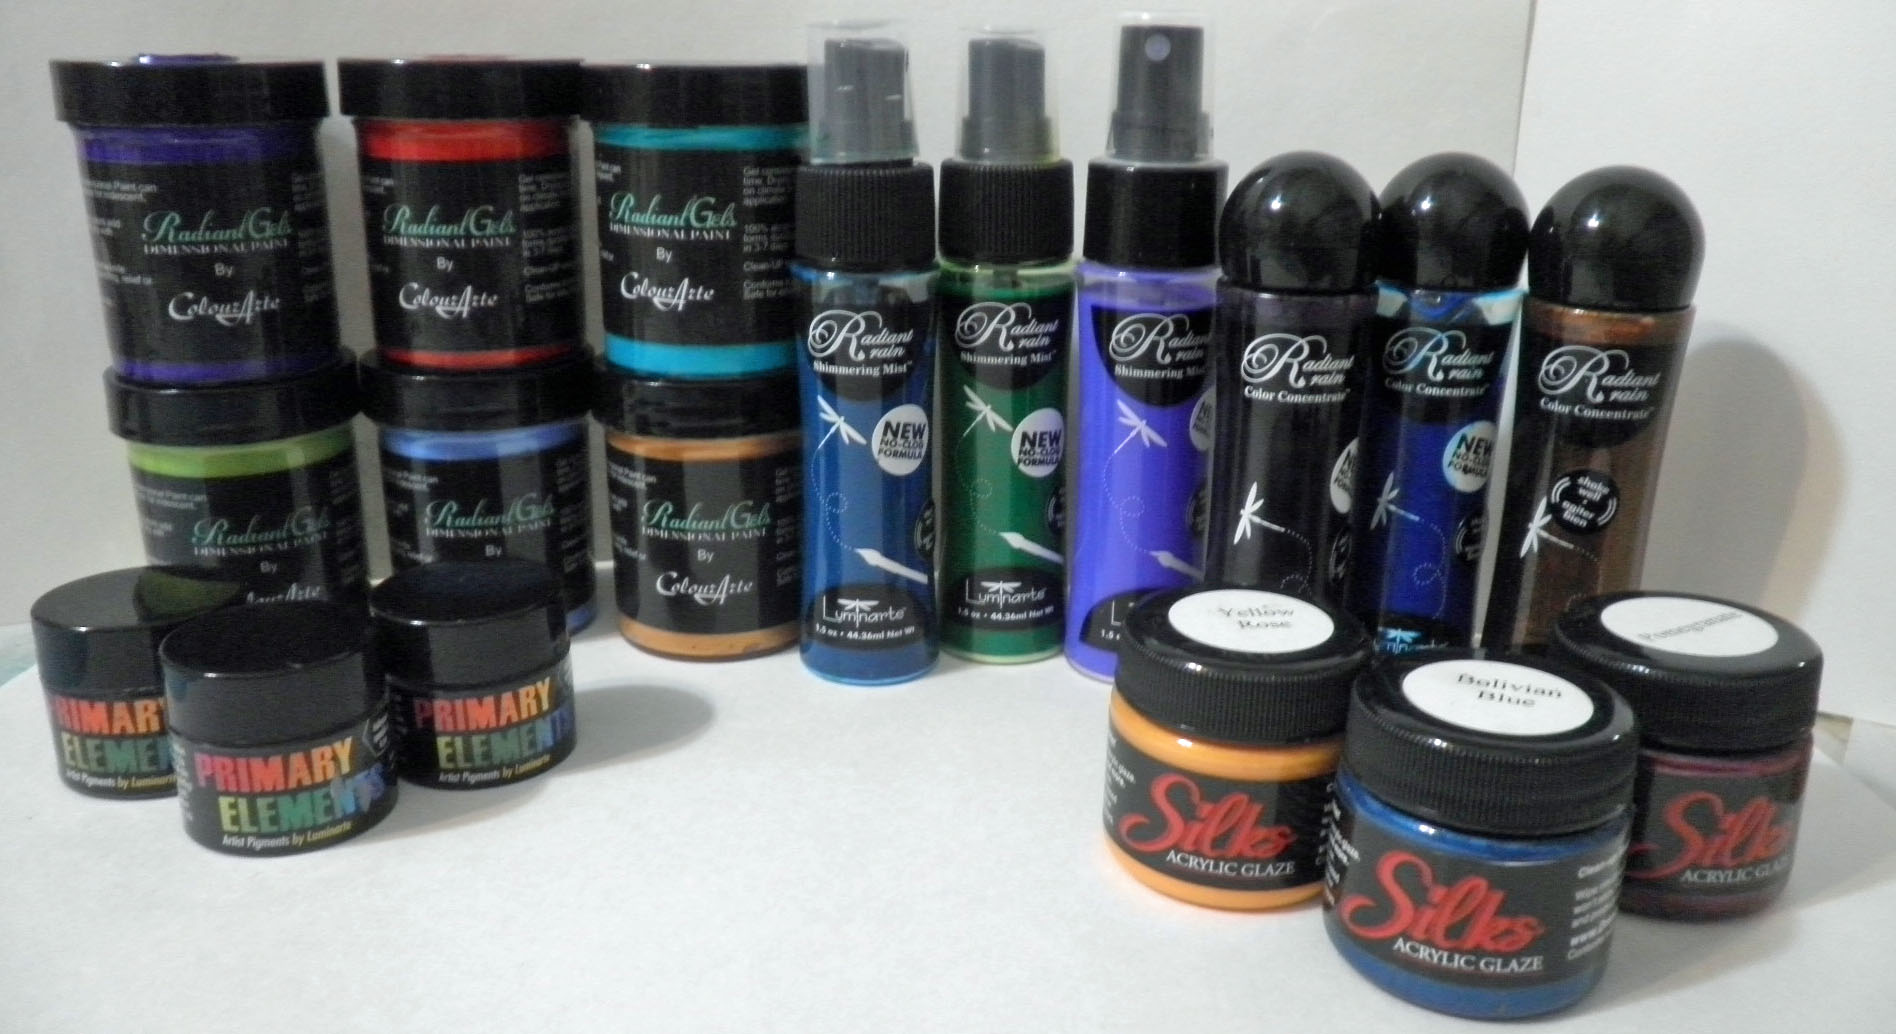
ColourArte is the manufacturer of some amazing paint products, such as Radiant Gels, Radiant Rains, Primary Elements Artist Pigments™, Silks Acrylic Glaze, and Twinkling H2Os In this article, I am going to share some examples of the diversity, as well as my observations, using these products.

Photo of a group of the products

Following each product description, I have prepared a white tag, all exactly the same, to show you the diversity of each ColourArte product, simply by varying the mediums.  For beautifully finished projects, I would invite you to visit the ColourArte Blog.

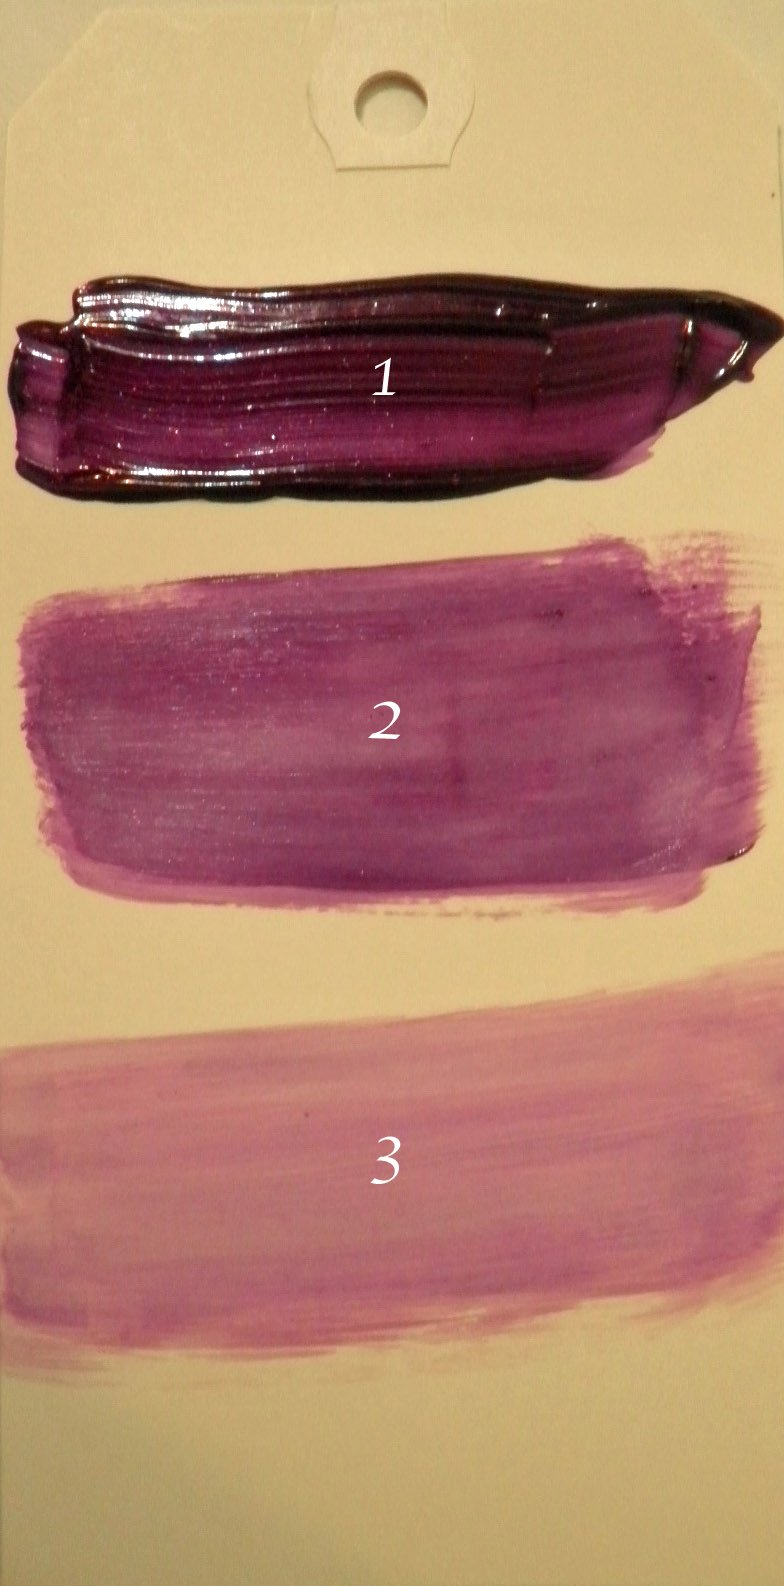
Let’s start with Radiant Gels Dimensional Paint, the newest product in the ColourArte line. This is a thick, shimmery paint that can be used for many different mixed media applications.  It not only can be used as a paint and brushed out to a beautiful, transparent color, but can also be spread with a spatula,leaving brush strokes and lots of texture behind.  It is perfect for applying through stencils, too. It currently comes in 20 luscious colors.

Tag Sample of Radiant Gels applications

  1. Gel brushed directly onto tag with paint brush, dries dimensional and textured    with my brushstrokes.
  2. Gel brushed directly onto tag with a wet paint brush, just enough water to thin the gel to a more spreadable consistency without losing color depth.  Some brush stroke textures remains.
  3. Gel brushed directly onto tag with paint brush and water to add a very smooth, light color to the tag.  The color value does not change.

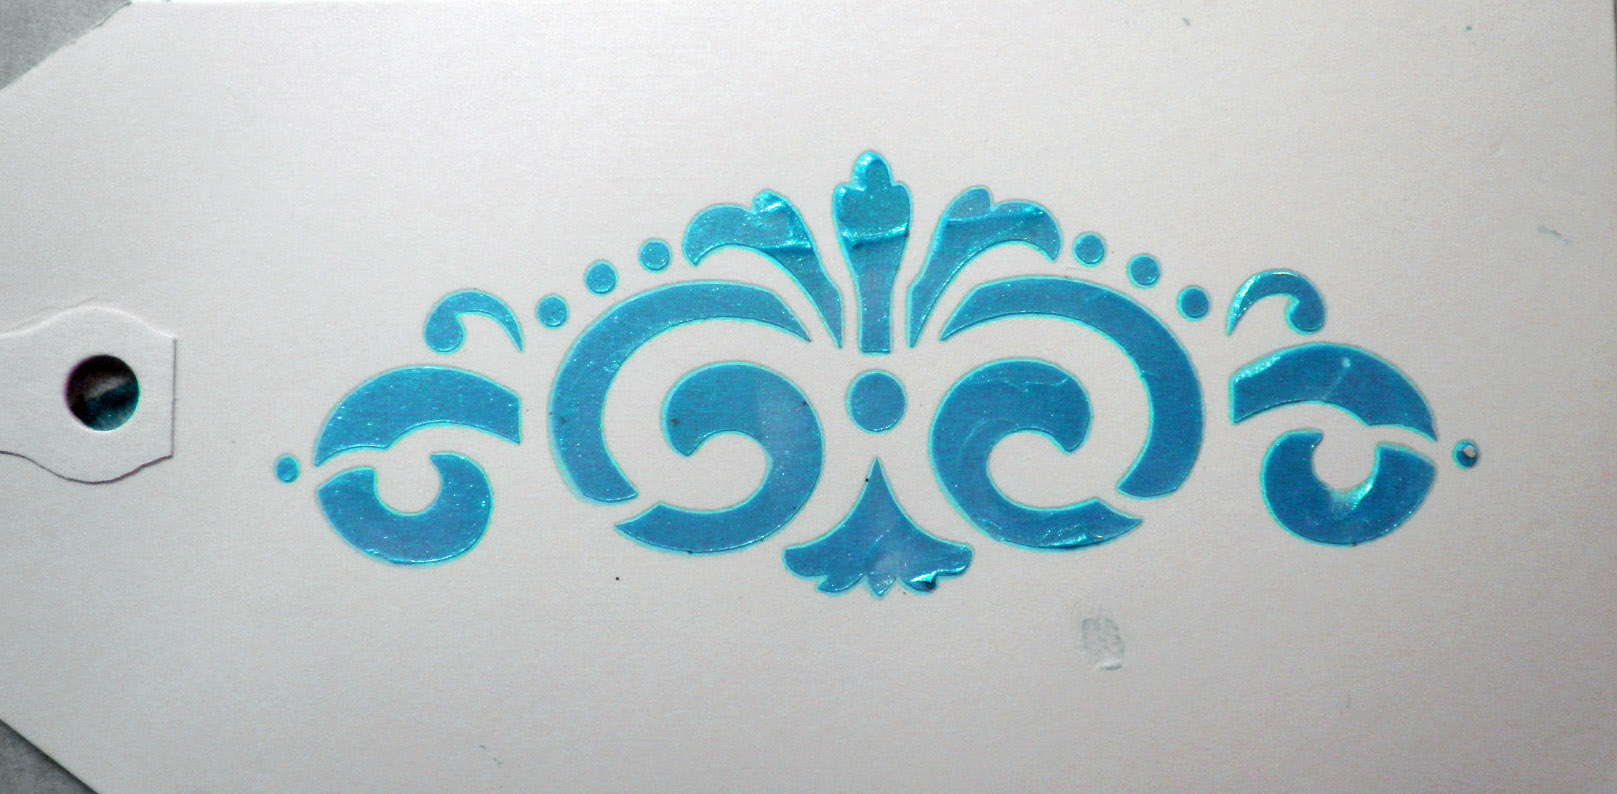
Radiant Gel spread through a stencil and left to dry.  A thicker image can be made by spreading more gel over the stencil, while the colors remain true.

Tag Sample of Stenciled Radiant Gels

Next up, we have Radiant Rains in two different bottles.  The Color Concentrates come in dauber bottles, while the Shimmering Mists come in, you guessed it, mister bottles.  There are 21 Color Concentrates and 26 Shimmering Mists.

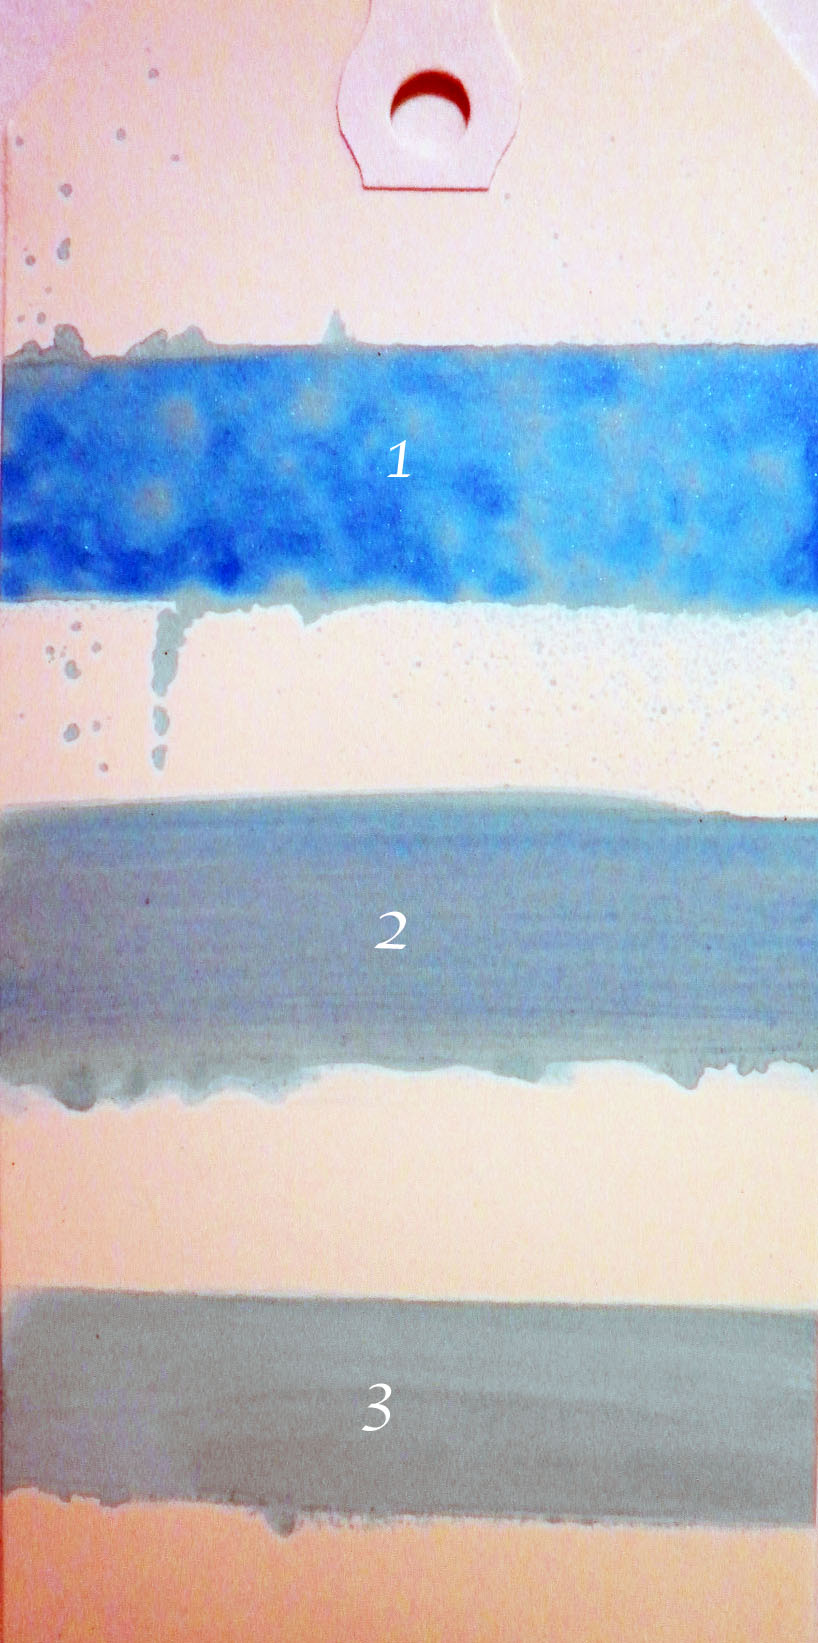
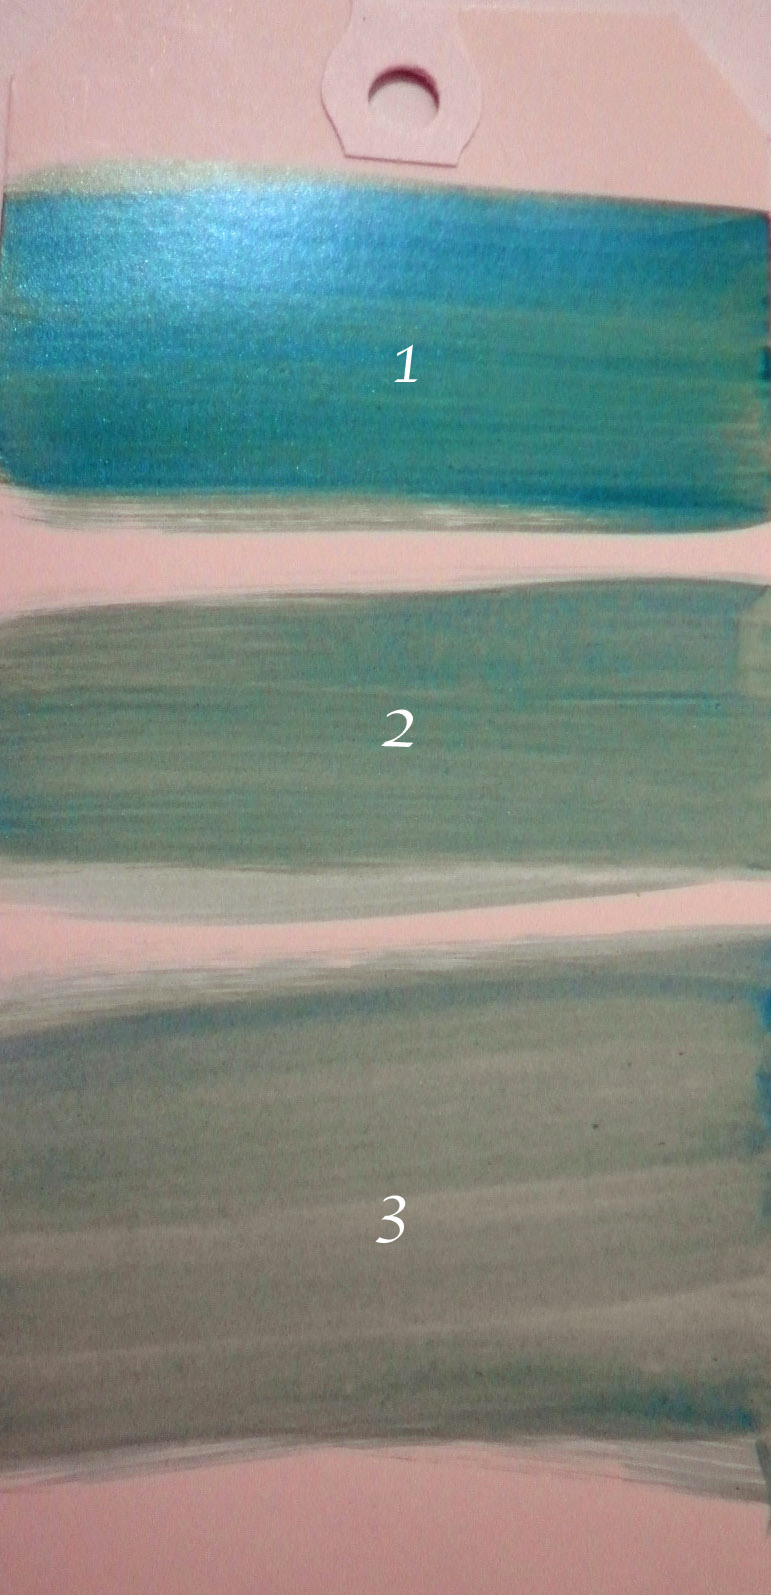
Tag Sample of Shimmering Mists applied with mister and paint brush.

  1. Mist sprayed directly to tag.  Variations in colors, textures, and shimmer are achieved with the mister bottle, and can be diluted with water when working on your mixed media projects.
  2. Mist sprayed onto a craft sheet and color picked up with a brush and painted onto tag.
  3.  Mist sprayed onto a craft sheet and color picked up with a very wet brush and painted onto tag.  The water lightens the color but does not lose its color value.

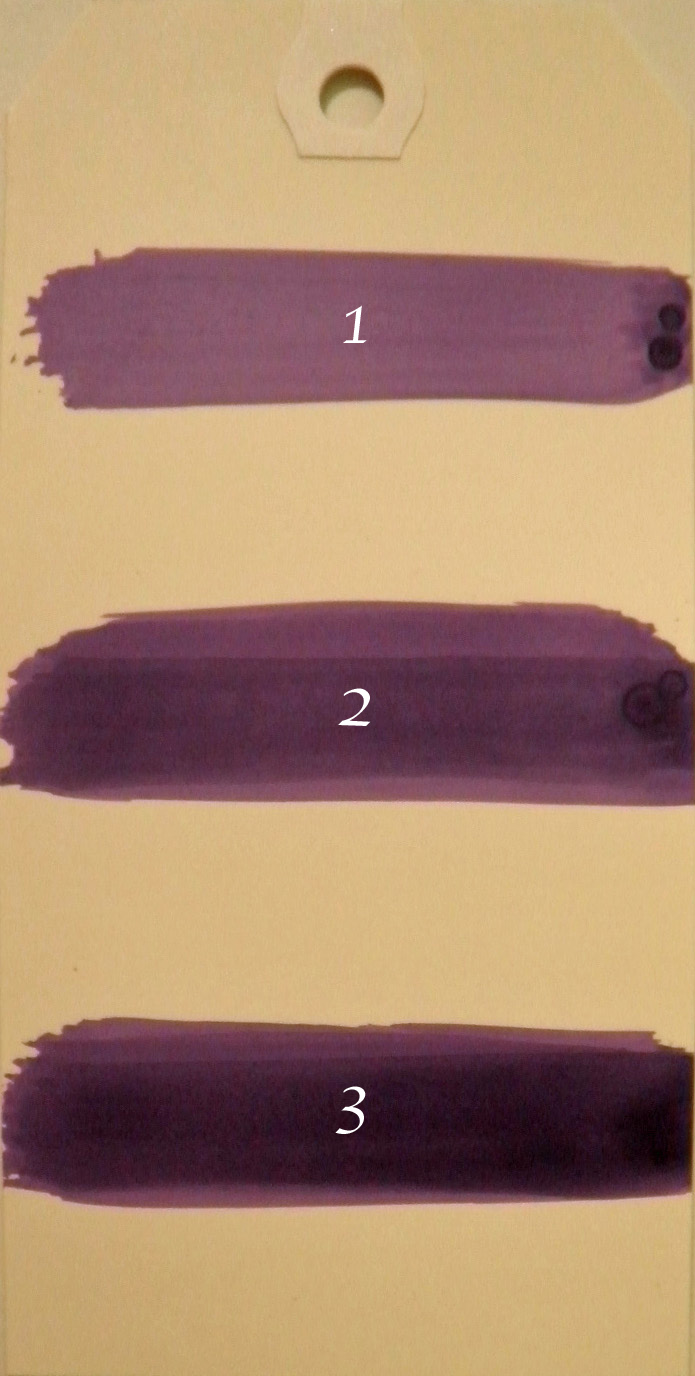
Tag sample of Radiant Rains daubers applied

  1. Dauber applied to tag with one swipe.
  2. Dauber applied to tag with 2-3 swipes, added color depth.
  3. Dauber applied to tag with 5 swipes for increased intensity.

Colors can be applied very quickly to backgrounds using the dauber bottles.

Then there are the well-known Twinkling H20s Shimmering Watercolors.  These are cakes of intense shimmering watercolor that you activate with water.  The colors are so concentrated that a little goes a very long way.  You can add less water to turn them into a creamy watercolor paint, or add more water to increase transparency without losing color value.  There are 210 colors and sold in sets or individually, as well as in two jar sizes.

Tag sample of Twinkling H20s color variations

  1. Twinks mixed with small amount of water to a creamy consistency for true color depth and shimmer.
  2. Twinks applied with a bit more water for lighter color and increased transparency.
  3. Twinks applied with even more water, increasing color lightness and transparency without losing color value.

Next we have the Primary Elements Artist Pigments™.  Artist Pigments are powdered, highly concentrated colors that are perfect for everything, including mixed media.  They can easily be mixed with gum arabicbinders or any acrylic medium to make your own paint.  They can also be mixed with water-based acrylic glazes, gel mediums, and even thicker mediums like molding pastes.  Imagine the possibilities.  And it takes the tiniest amount of powder to make vivid colors, or use less pigment and more medium to decrease it’s intensity. They are available in 198 sumptuous colors.

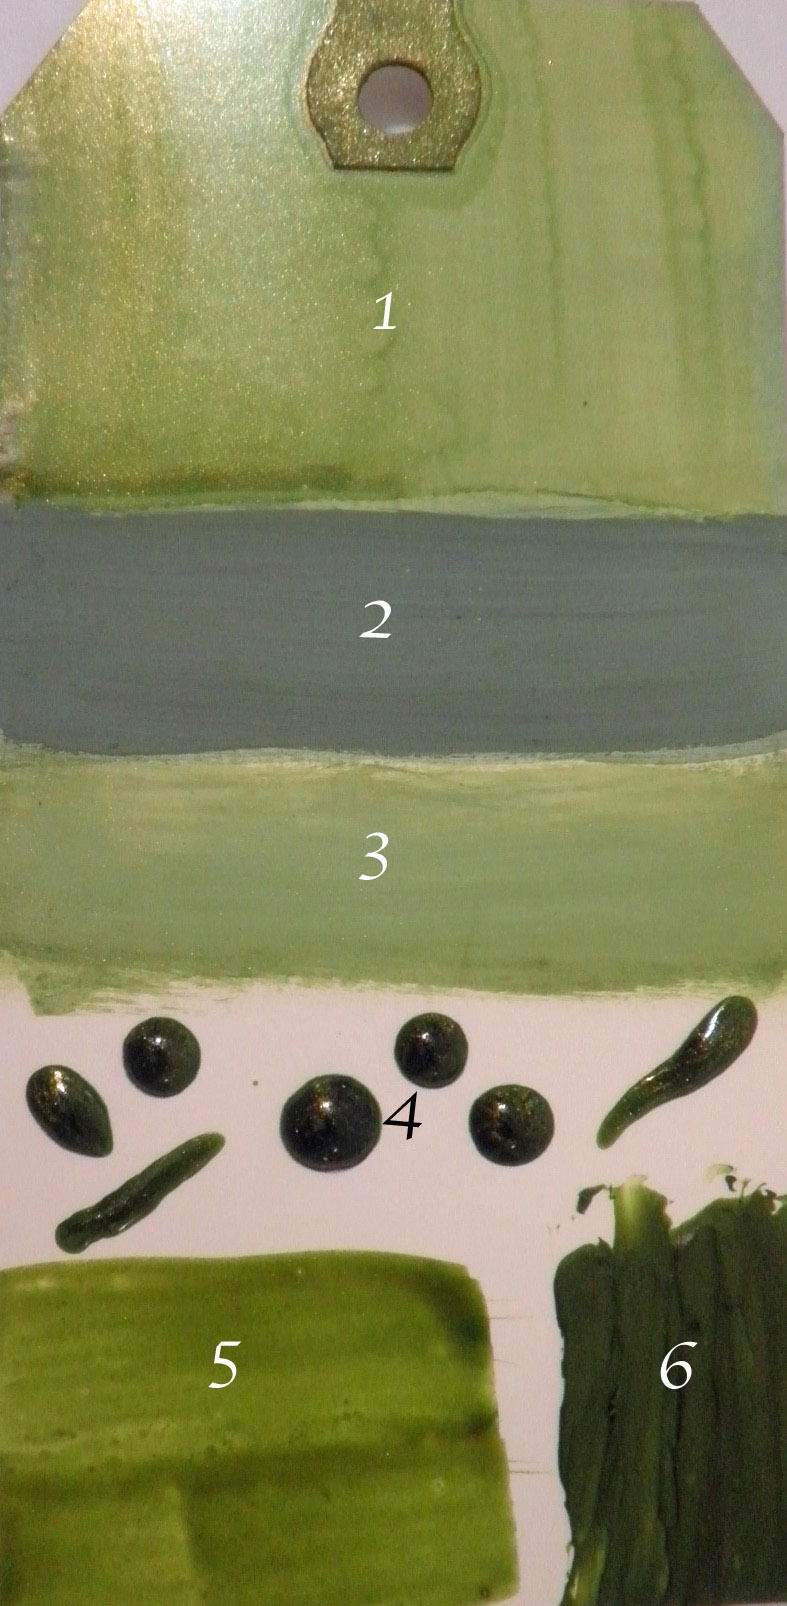
Sample tag of Primary Elements

  1. PE (Primary Elements) added to gel medium
  2. PE added to white gesso (gives a chalky appearance)
  3. PE added to clear gesso (feels chalky, but does not change the color)
  4. PE added to pouring medium (does not change the color and allows the shimmer to show through, as well as drying hard and thick.  Can be poured, dropped, or drizzled onto project for added dimension.
  5. PE added to Gum Arabic.  I think this gives the truest color and shimmer, most closely resembling Twinkling H20s.
  6. PE added to hard molding paste.  Dries with texture without losing color intensity.

Last, but not least, are the gorgeous Silks Acrylic Glazes. These are the most luscious, shimmery paints I’ve ever seen. They are iridescent, semi-transparent, and mix beautifully together, giving you even more color choices. They come in 92 colors, with six new colors just coming out this month.

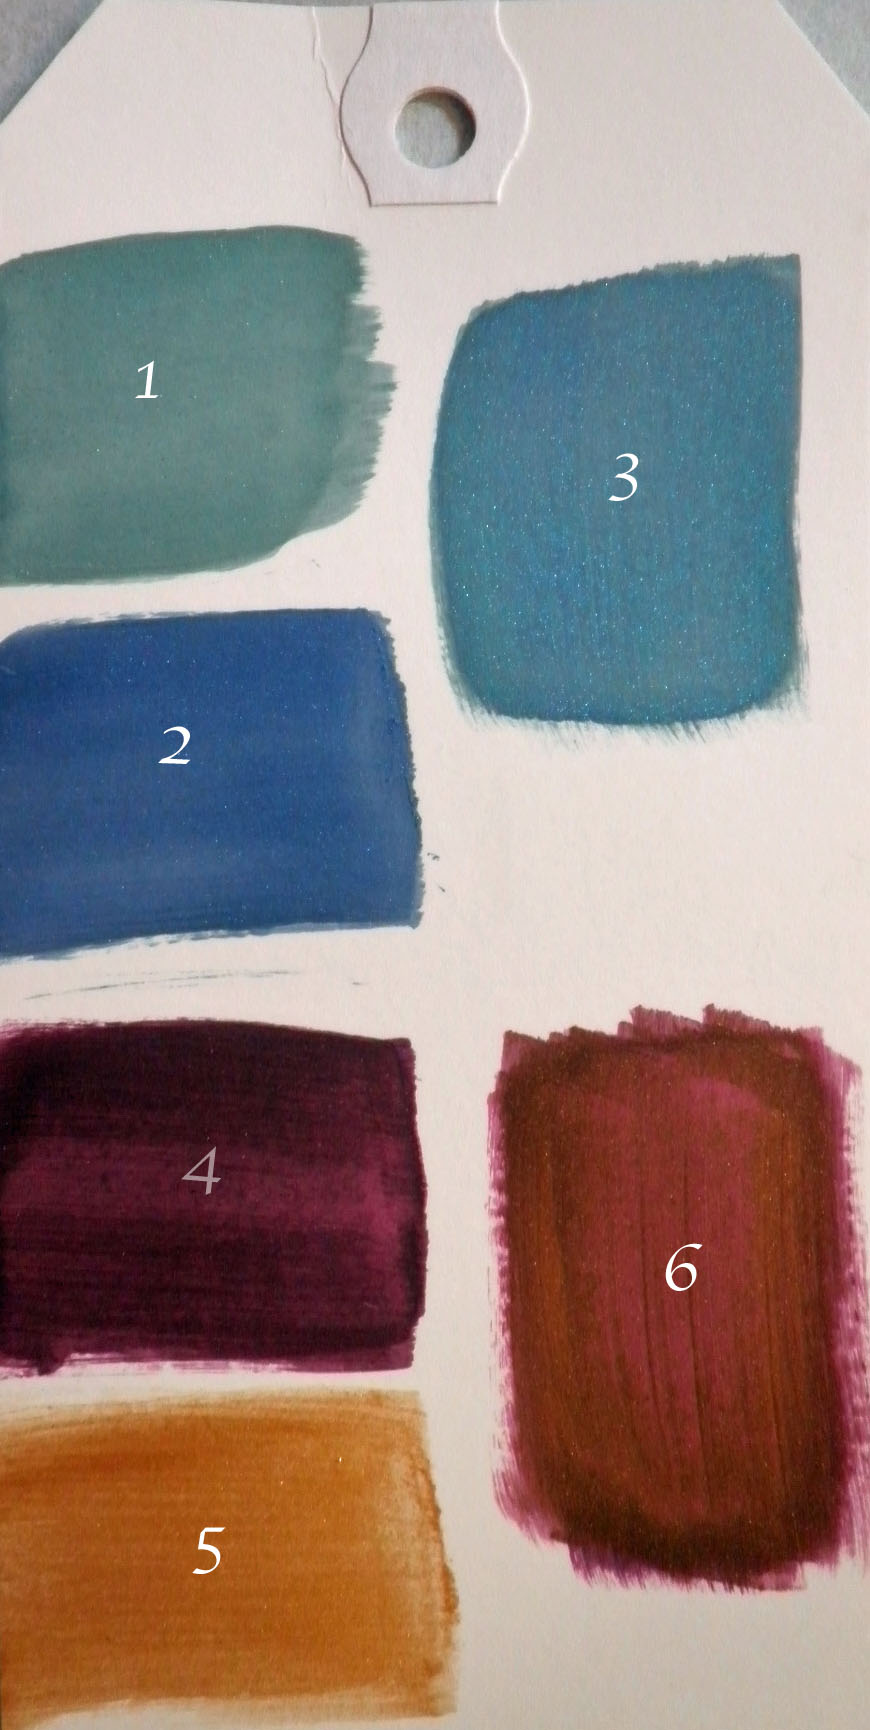
Sample tag of Silks Acrylic Glazes

  1.  Forest Green Silks
  2.  Bolivian Blue Silks
  3. Forest Green and Bolivian Blue Silks combined
  4. Pomegranate Silks
  5. Emperor’s Gold Silks
  6. Pomegranate and Emperor’s Gold Silks combined

This is just a “drop in the bucket” as to all of the possibilities for using these products.  I have touched on just a few.  Think about making your own sample book of “recipes” for color mixtures, using tags such as these, to refer to when you need just that right color or texture.

~*~*~*~*~*~*~*~*~*~*~*~*~*~*~*~*~*~*~*~*~*~*~*~*~

Barbara is a mixed media artist who loves to teach.  She loves to learn new techniques and to share her knowledge with other artists.    She is a contributing artist in a book:  Make it in Minutes: Mini Albums, and has been published in several paper and online magazines.  She is currently on four design teams, ColourArte, Sin City Stamps, Altered Pages, and House of Cards Challenge Blog, and has served as a design team member for The Robin’s Nest and Creative Paperclay®, as well as guest designer for Craftwell USA, Unruly Paper Arts.  She has also been asked to be the guest designer Gina’s Lasercut Designs in June 2015.

She lives in the Memphis, Tennessee are with her very supportive husband of 32 years, and her two Yorkies, Chloe and Zoe.

You can see more of Barbara’s work on her blog at Black Hole Art Studio or via Facebook – Black Hole Art Studio.

~*~*~*~*~*~*~*~*~*~*~*~*~*~*~*~*~*~*~*~*~*~*~*~*~

Disclosure: These paints were given to me by ColourArte for the purpose of designing projects as part of the design team.  All opinions are my own and may not reflect those of the MixedMediaArt team. Some links on this page may be affiliate links and any purchases help to support the ongoing work by MixedMediaArt.

.

.

The Story behind Linnie Blooms and Linda Barutha

~ * ~

This article is written by Michelle G. Brown

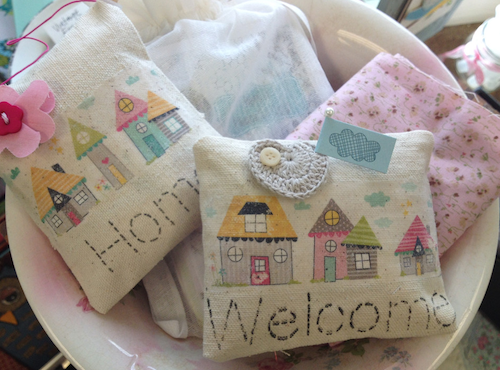
It’s not very often that we see something new in crafting that leaves us completely impressed, mesmerised and totally wondering why we didn’t think of that! That was how I felt when I came across the Linnie Blooms booth at CHA Winter Show 2015. The booth was filled with lovely stitched canvas pieces. That was not remarkable in itself; what was remarkable was here was a range of alterable, mixed media items, made from canvas and recycled ephemera, with stitching and I didn’t have to do any of the sewing! The products were all made up – I only had to decorate them!

canvas products by Linnie Blooms

That was my first introduction to Lindy Barutha and her company Linnie Blooms ~ Mixed Stitched Media Products. Their range includes both substrate items – 12×12 panels, stitched journals and mini folios, as well as canvas embellishments, in the shapes of flowers, butterflies and many other designs. Included with the canvas stitched pages are recycled ephemera, like old encyclopaedia pages, sewn into the pages to give them their unique feel.

Linnie Blooms debuted at the CHA New Exhibitors section, although Linda has been building Linnie Blooms since mid 2013. Based in Wisconsin, Linda has always been a creative one and loves to create her own designs, which she is now sharing with the world. As the business has grown, Linda has had to move from sewing all of the pieces herself, to having a few sewing assistants. Now Linda works with a US based company, who employs people with disabilities, to make all of her elements and pieces. Linda feels very strongly about keeping her projects made in the United States.

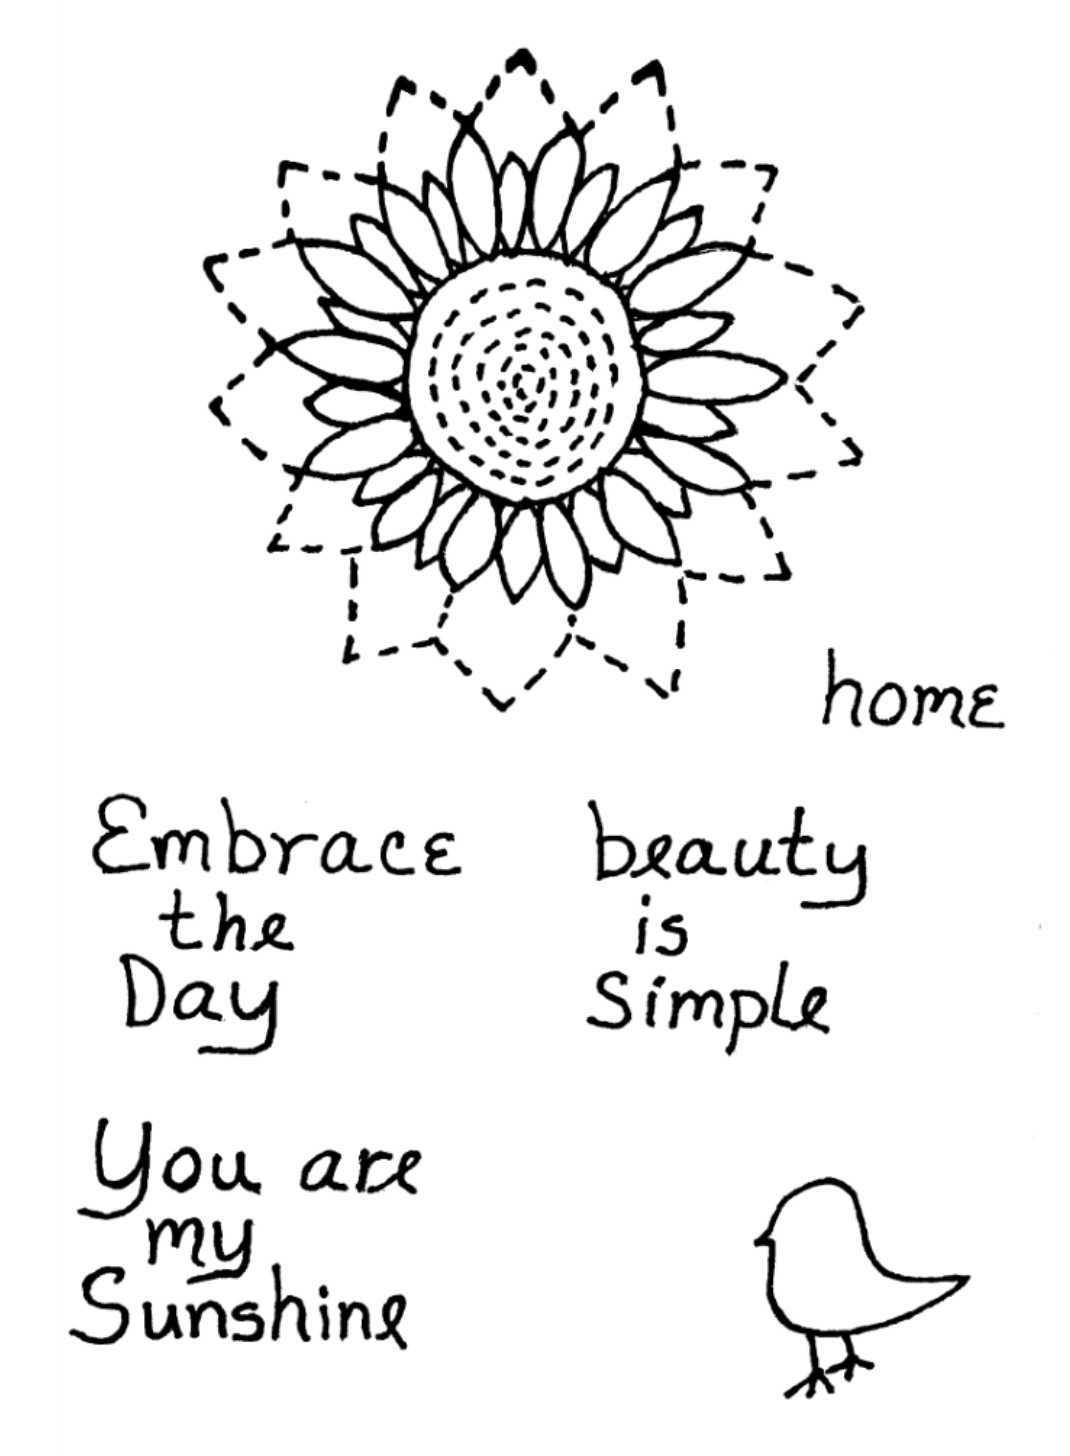
Once the excitement of CHA had quietened down, I caught up with Linda, via Skype, to see how Linnie Blooms is going.  Linda excitedly informed me that her new Design Team had been selected for 2015, with artists and crafters from across the USA, as well as Canada and Spain. Linda is also working with two major online retailers to provide stitched kits; the details are still being finalised, so we need to stay tuned for updates. As well as all of this, Linda will also be releasing over 40 new products and kits by the end of April 2015. These include a stamp set, with a stitched sunflower and greetings, more new stencils and masks and canvas die cut words.

matching stamps to go with the canvas products by Linnie Blooms

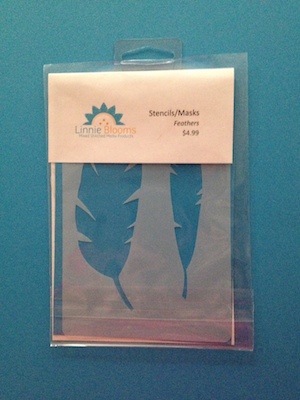
matching masks to go with the canvas products by Linnie Blooms

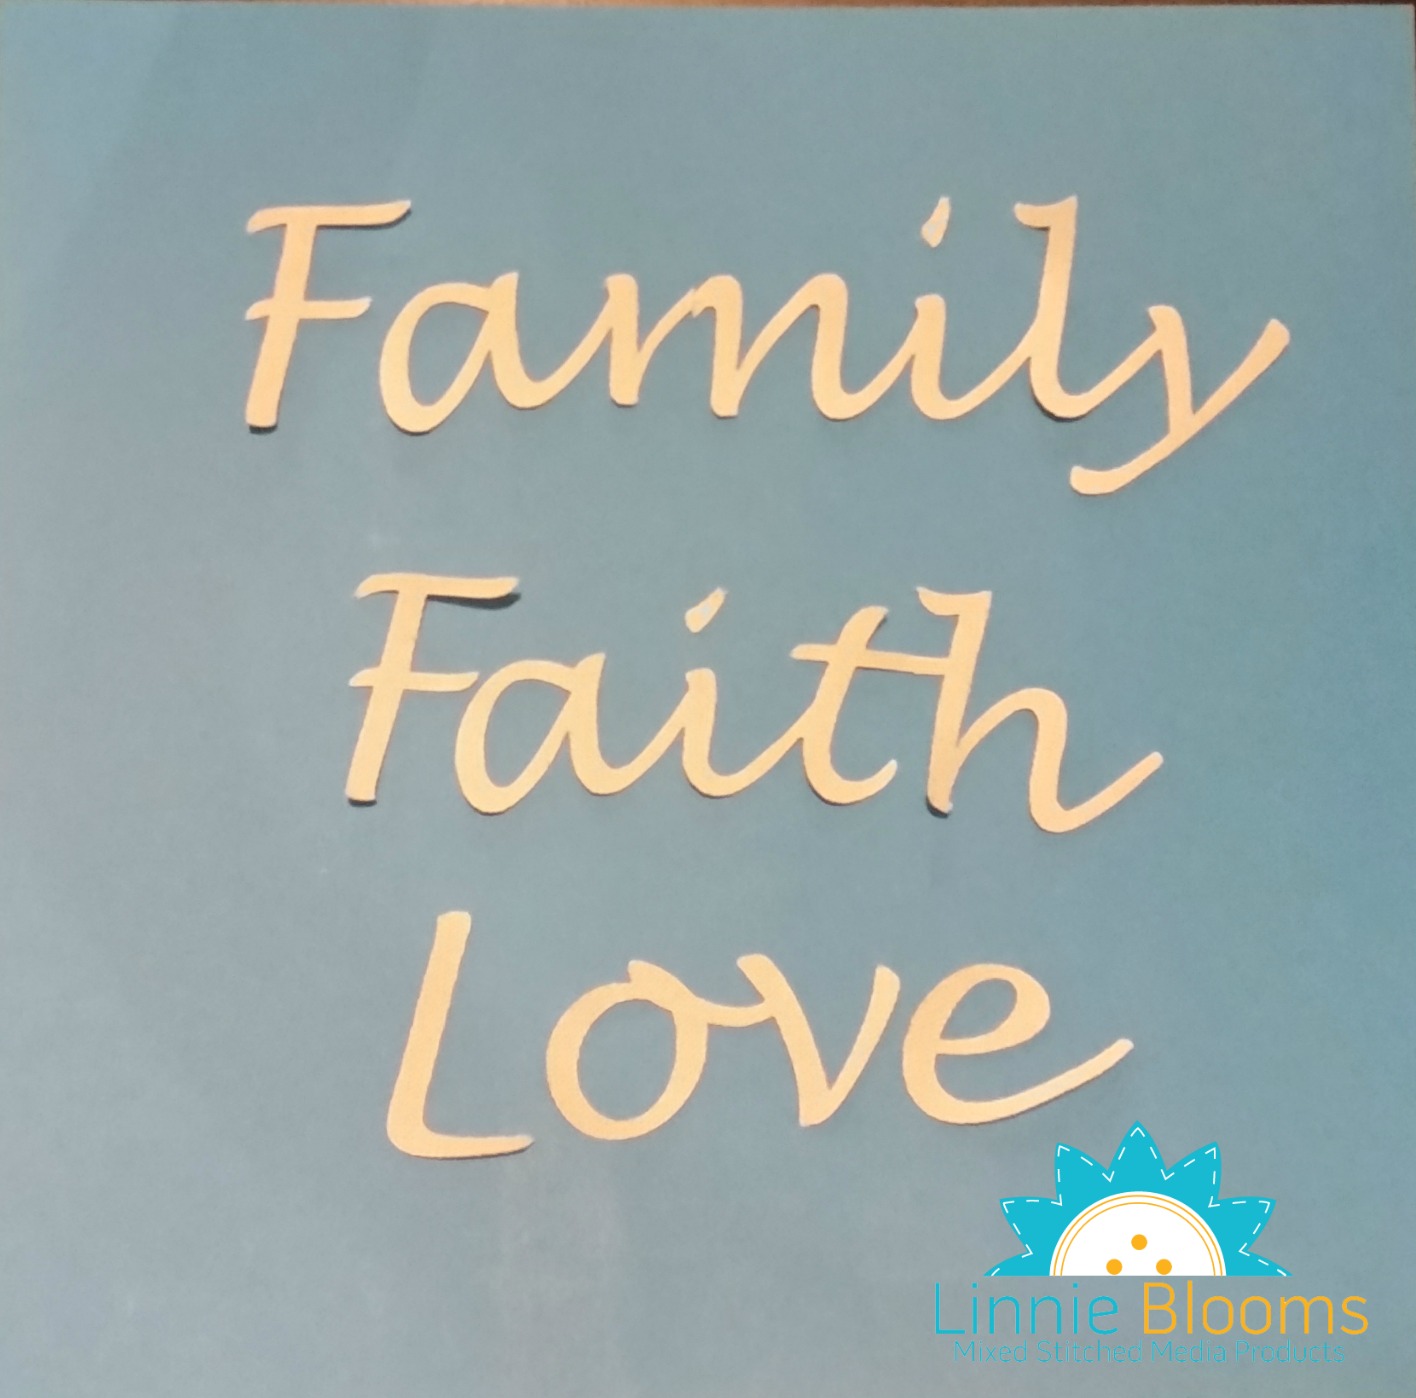
matching canvas cutout words to go with the products by Linnie Blooms

When it comes to decorating our pieces from the Linnie Bloom range, we can use our current art supplies. We don’t need any special fabric supplies – “I just use acrylic paints to add color,” Linda tells me, “and thinned with a little water so that the canvas doesn’t go too stiff. You don’t need to use fabric mediums unless you plan on washing your creation”. And when it comes to joining pieces together, we don’t need to sew a stitch, unless we want to.

“If I’m in a hurry, and I usually am,” says Linda, “I just use a hot glue gun to stick the flowers or leaves down. If I have time to let the pieces sit, I’ll use Aleene’s Fabric Fusion, but Mod Podge or any glues will work”.

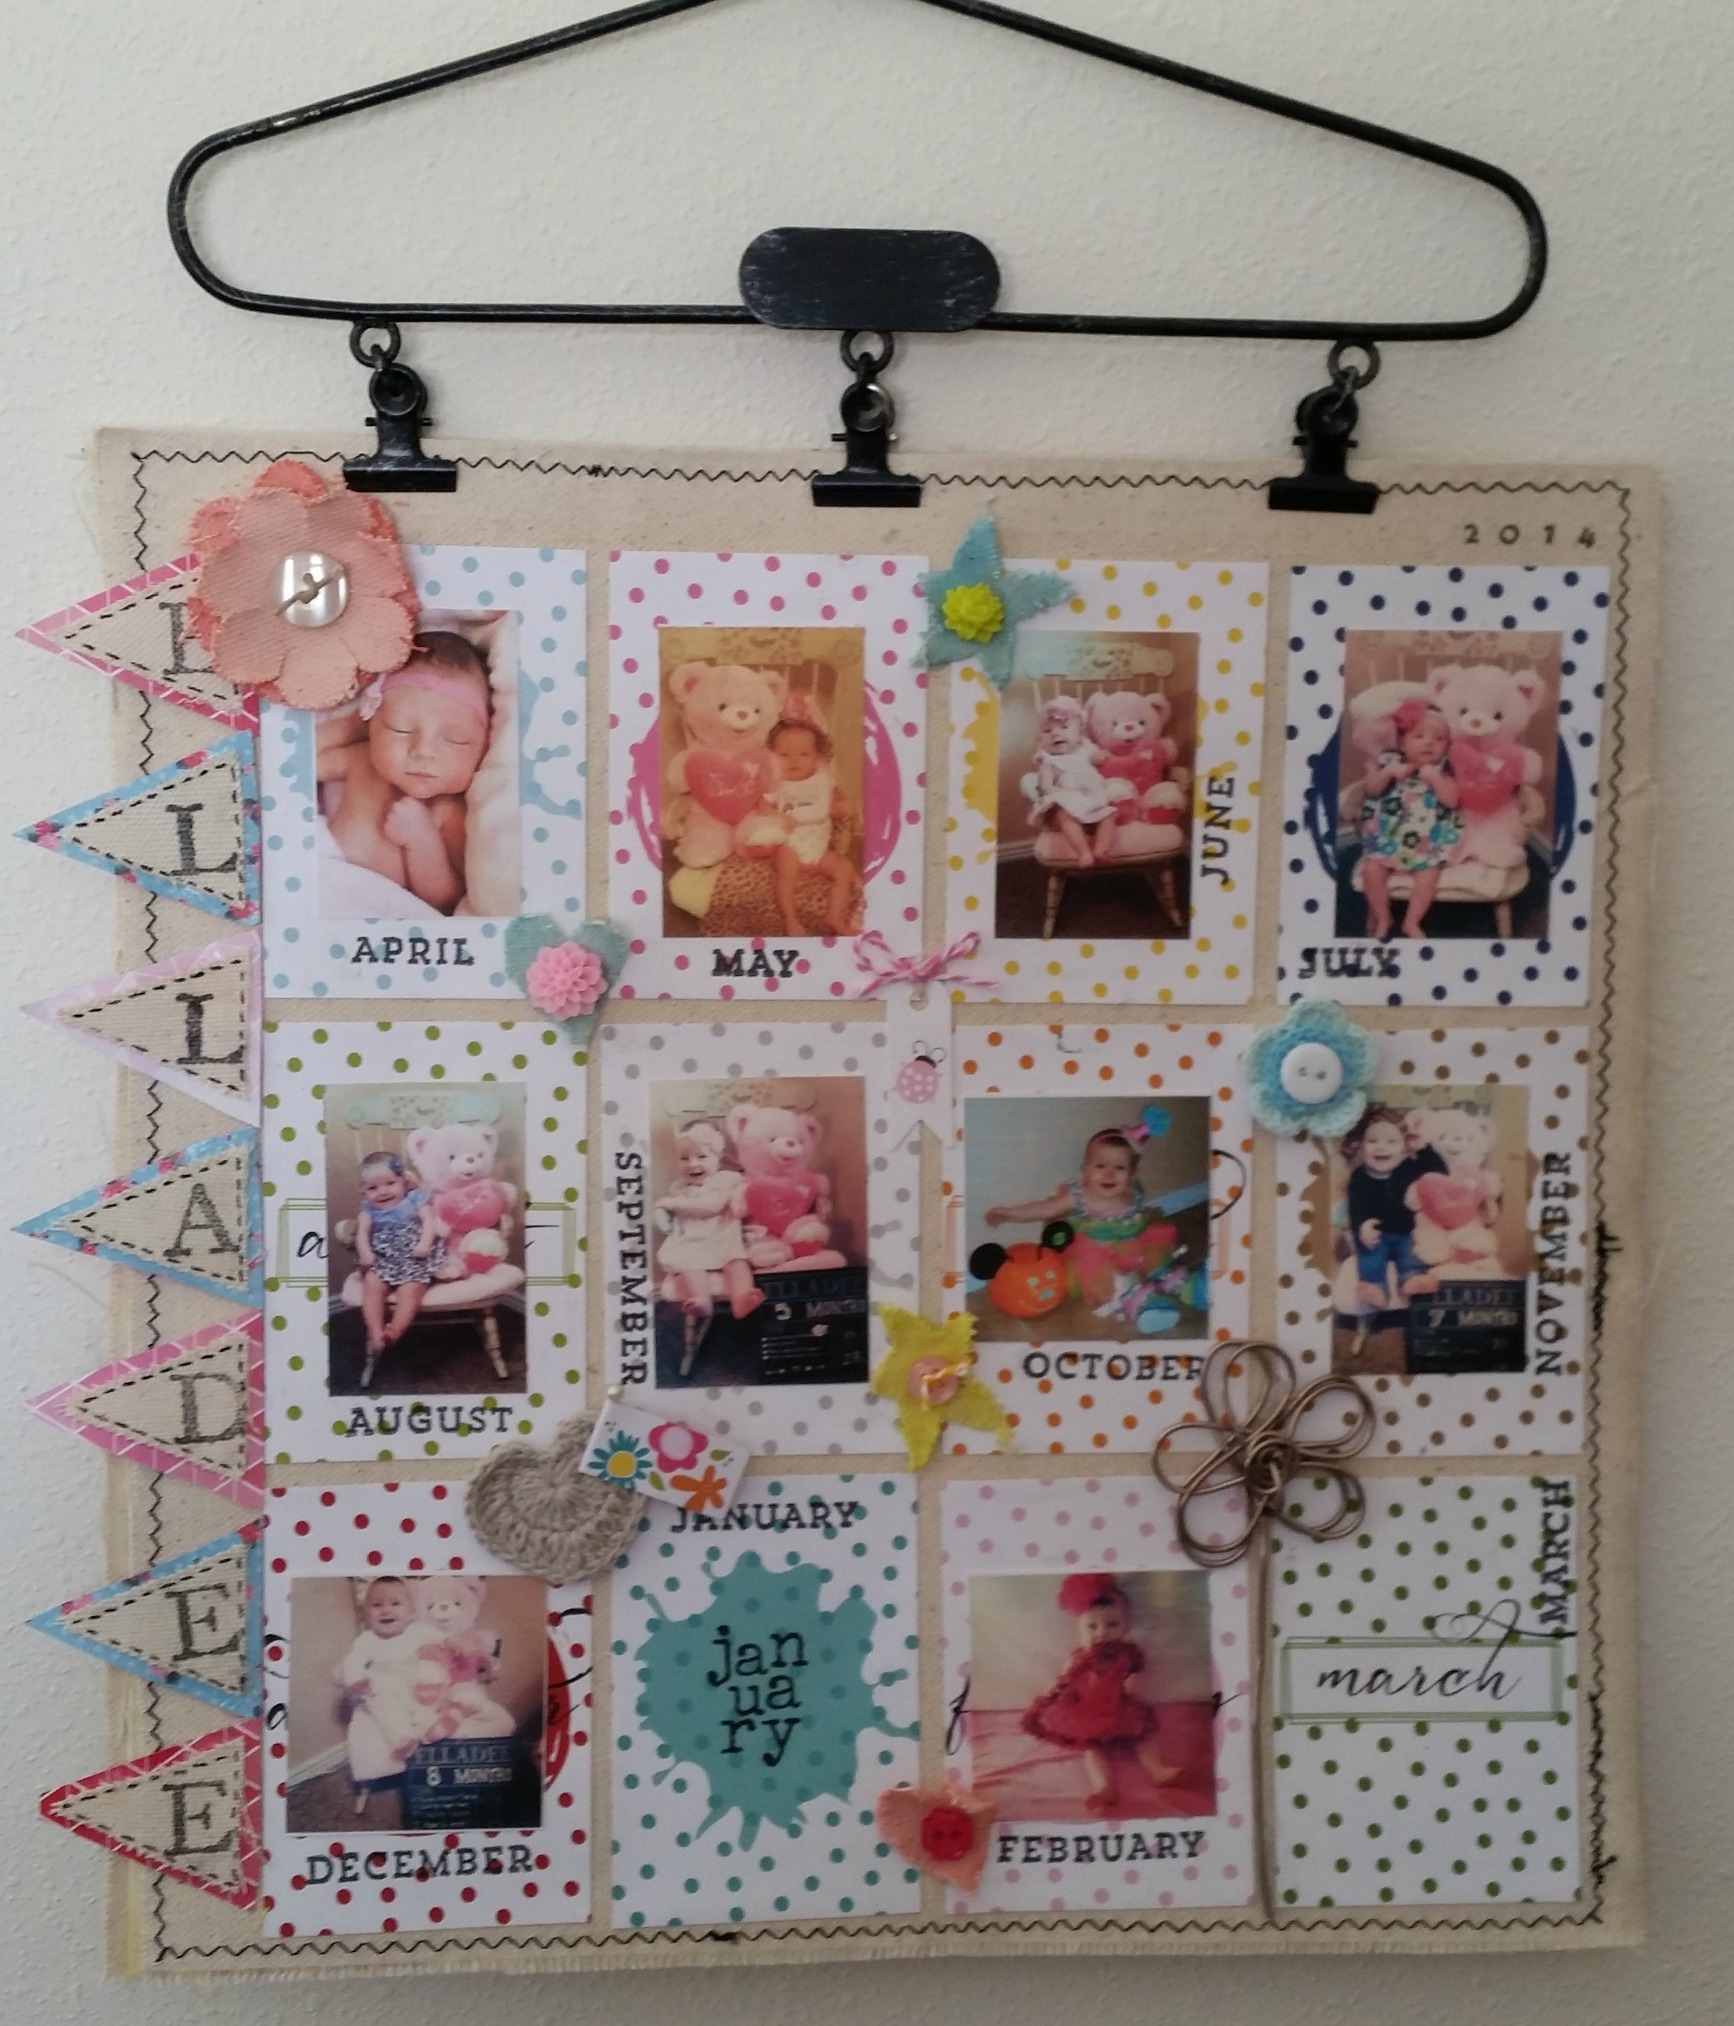
One of Linda’s favourite kits is the “Watch me grow” kit which uses a 12”x12” stitched canvas panel as the substrate. You add the scrapbooking papers and photos to capture the first 12 months of a baby’s life or any other event you would like to capture. This makes either a great gift or a lovely keepsake to put on display as your child grows through those first 12 months.

image of LinnieBloom-12x12 Watch Me Grow Kit

The next few months will continue to an exciting time for Linda and Linnie Blooms. In April, CHA will be featuring an online workshop, hosted by Linda, which features the Linnie Bloom kits. Linda is also heading to Chicago for the Society of Decorative Painters Conference in May 11 to 16, 2015 and the CHA Paper Arts Plus show in Illinois, July 21 to 23, 2015.

Keep an eye out for the Linnie Bloom range – you can browse through their online store or through your local retailer.

~*~*~*~*~*~*~*~*~*~*~*~*~*~*~*~*~*~*~*~*~*~*~*~*~

Michelle G. Brown is passionate about mixed media art and enjoys sharing her knowledge and techniques with you to allow you to express your own creativity. Michelle understands that many of us have an inner need to create. By learning a few basic techniques the amazing world of mixed media art is accessible to everyone!

Michelle lives with her husband and two boys in Melbourne, Australia. When she is not creating or on Facebook, she’s at karate training. Just to make sure she’s properly busy, she has also adopted the From Picture to Page Scrapbooking and Papercrafts Show.

~*~*~*~*~*~*~*~*~*~*~*~*~*~*~*~*~*~*~*~*~*~*~*~*~

.

.