Michelle G Brown | Mixed Media Art

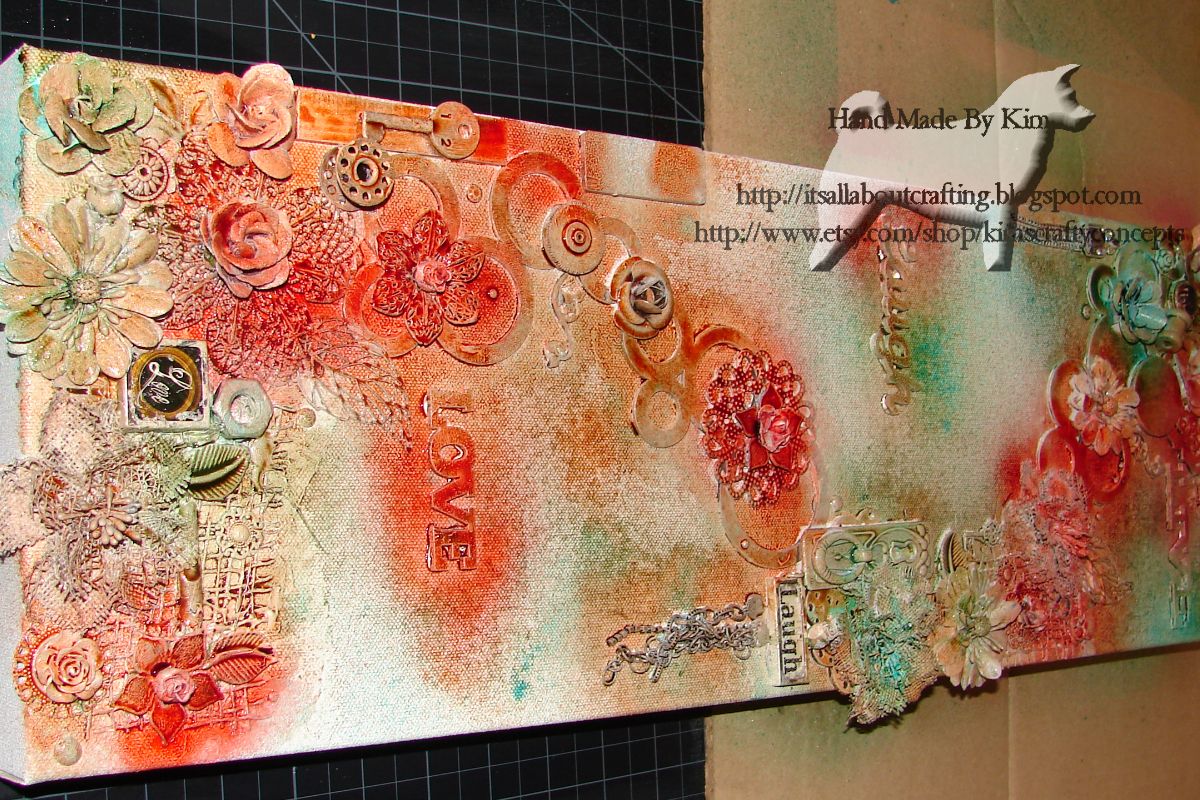
Live, Laugh, Love Mixed Media Canvas

~ * ~

This article is written by Kim Kelley

In one of my other articles I had added that I constantly have several projects going at once, sometimes so many I forget what I was going to do with them! My biggest problem with doing that is remembering to take pictures of each step along the way and then where I put them on my computer. Literally I have picture floating around that I have no clue where they are. I have looked, but it seems they are like that one lost sock…doomed to never be found.

Any way back to the task at hand: this month’s project is a canvas that is a little larger than what I usually do, so let’s see how it turned out!

Here is a list of what I used:

~ 8” x 24” canvas

~ White gesso

~ Spray mist by Lindy’s Shabby Tuxbine Teal

~ Ayeeda  mist by 13 Arts – Chalk Burnt Sienna and Pearl Brown Light

~ Miscellaneous charms, flowers, metal pieces, wooden pieces, and jewelry pieces

~ Chipboard from Dusty Attic

~ Heavy Gel by Golden

~ Glue gun

When I start a canvas I usually have some idea of what I am going to create, knowing the theme, colors and style, with this one I just start throwing a bunch of random items into a box. As far as the colors go, I had just received an order with the 13 Arts sprays and decided I had to try them out. The teal I added because it seemed to work so well.

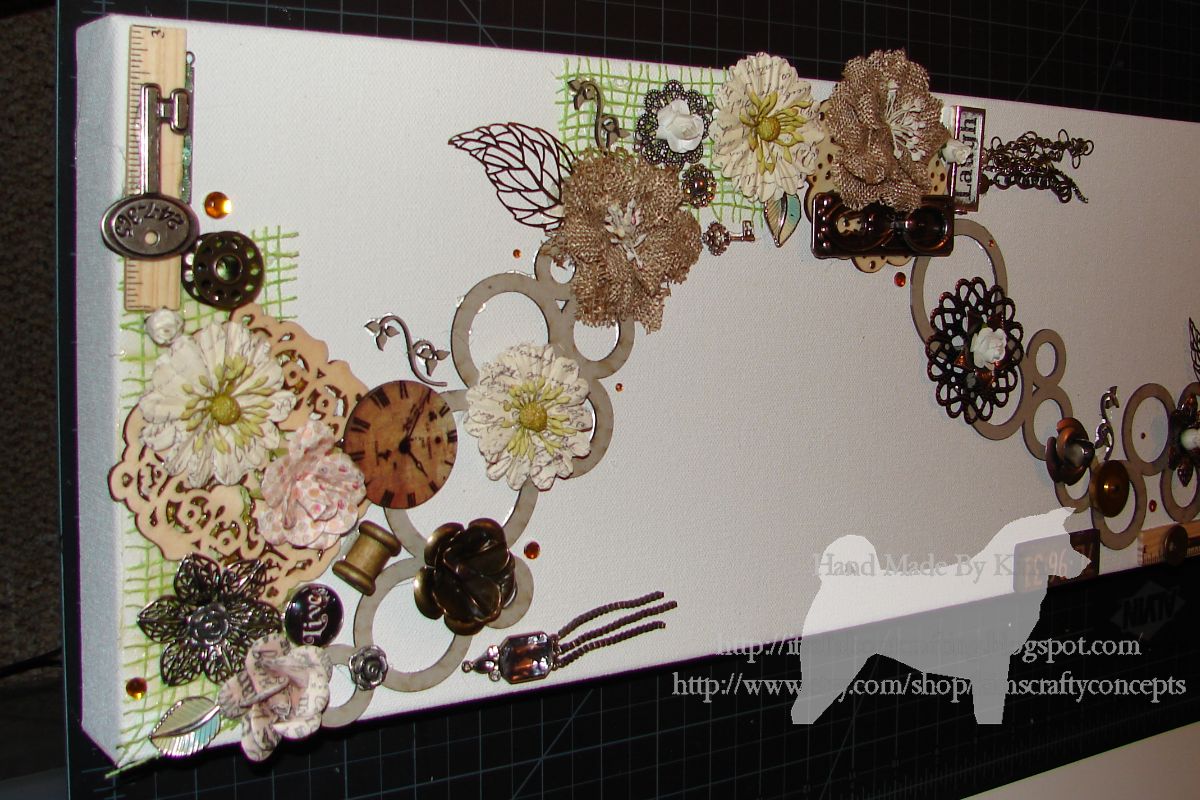
When I buy canvas I usually get the already primed, but still add my own gesso. So after the added gesso dried I started laying out my pieces…turning, moving until something finally stuck and I liked it. Grabbing my Heavy Gel I started attaching some of the bigger pieces and using my hot glue gun attached the smaller ones.
Dusty Attic with Spray mist by Lindy’s on this canvas

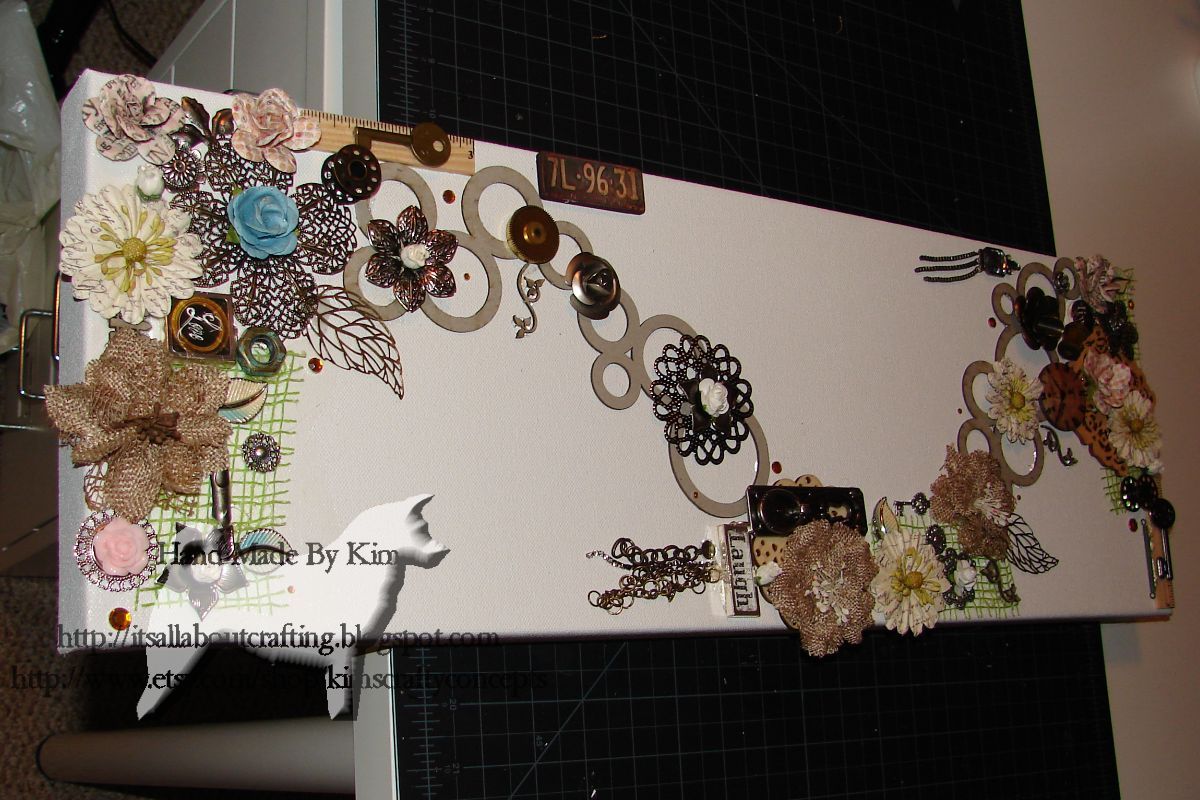
Canvas with embellishments 1

Dusty Attic with Spray mist by Lindy’s on this canvas

Canvas with embellishments 2

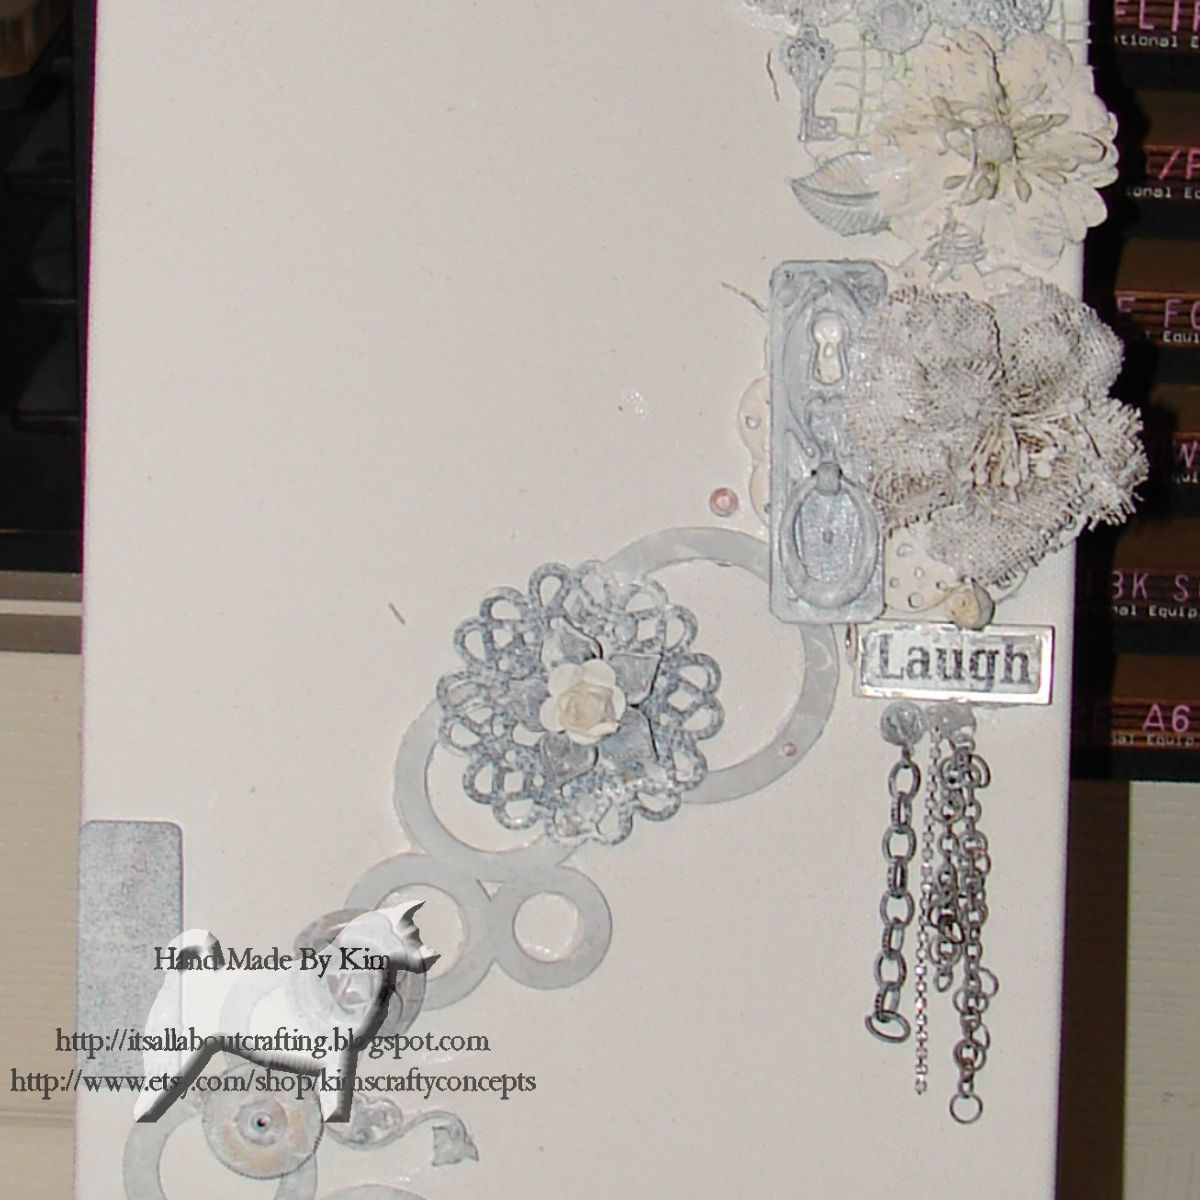
As you can see by the pictures color and material did not matter to me. I just grabbed and glued, knowing I would be painting over everything with gesso.
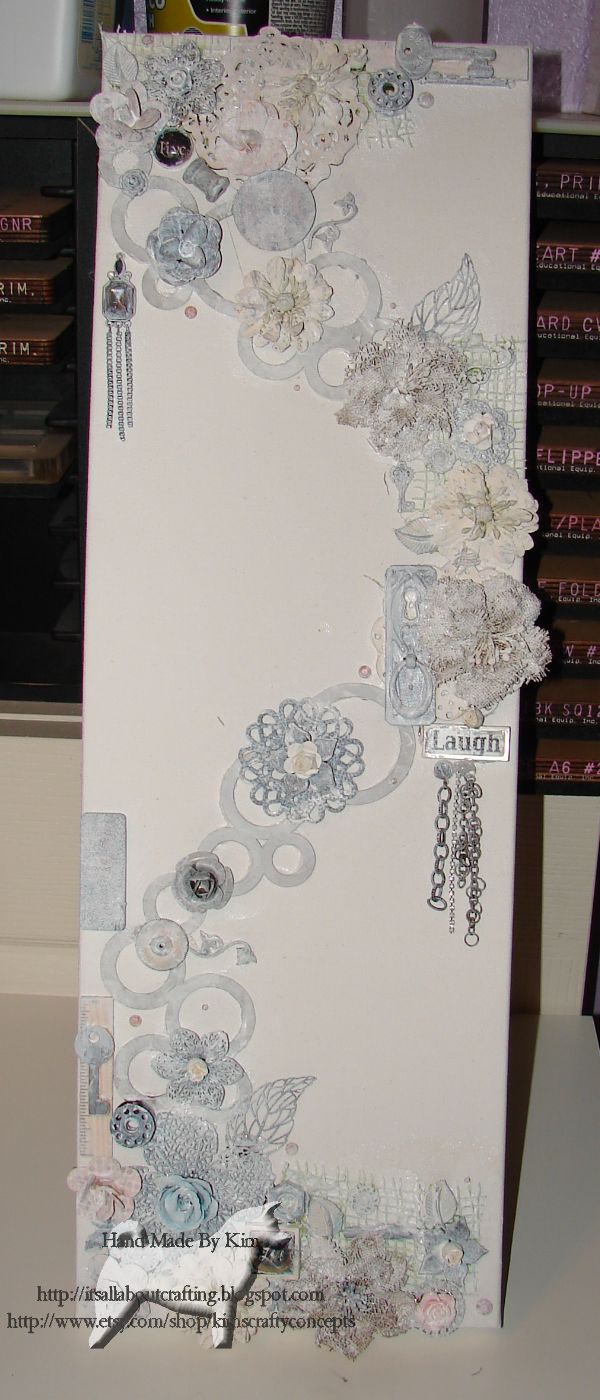
Dusty Attic with Spray mist by Lindy’s on this canvas

Gessoed embellishments 1

Dusty Attic with Spray mist by Lindy’s on this canvas

Gessoed embellishments 2

After it dried I started in with my sprays. Now I am one of those people that cannot wait for anything, I don’t like to use the word impatient too often but yes I am impatient, and with sprays it is not a good thing to be. You truly want your spray to dry before going onto the next color…it can get ugly real quick!
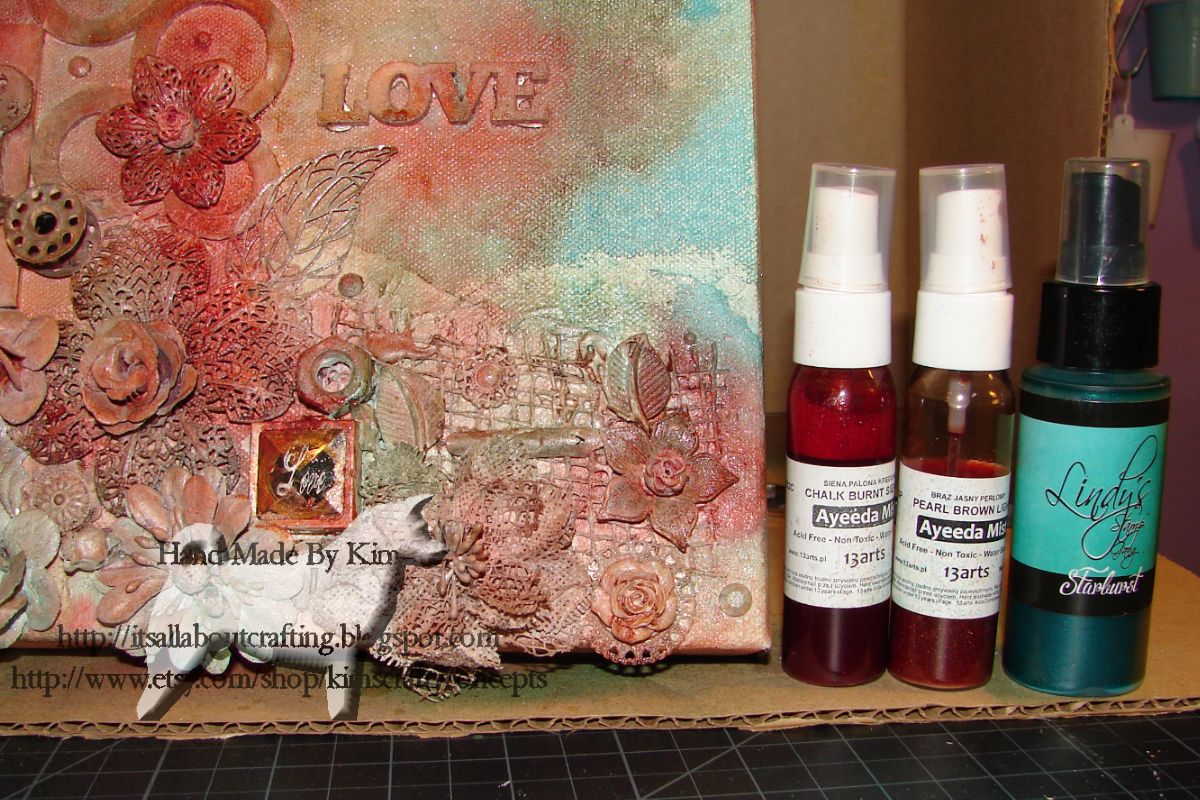
Dusty Attic with Spray mist by Lindy’s on this canvas

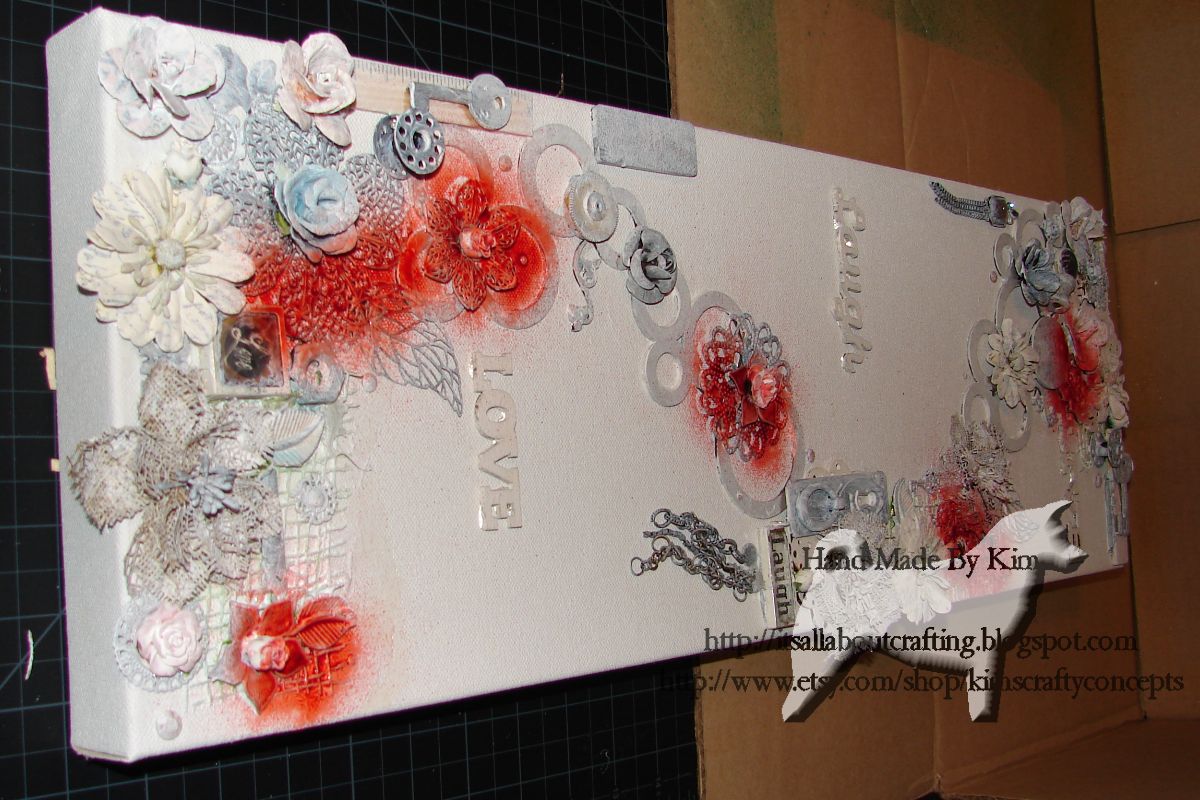
Sprays used

Dusty Attic with Spray mist by Lindy’s on this canvas

Spots of spray 1

Dusty Attic with Spray mist by Lindy’s on this canvas

Spots of spray 2

Dusty Attic with Spray mist by Lindy’s on this canvas

Spots of spray 3

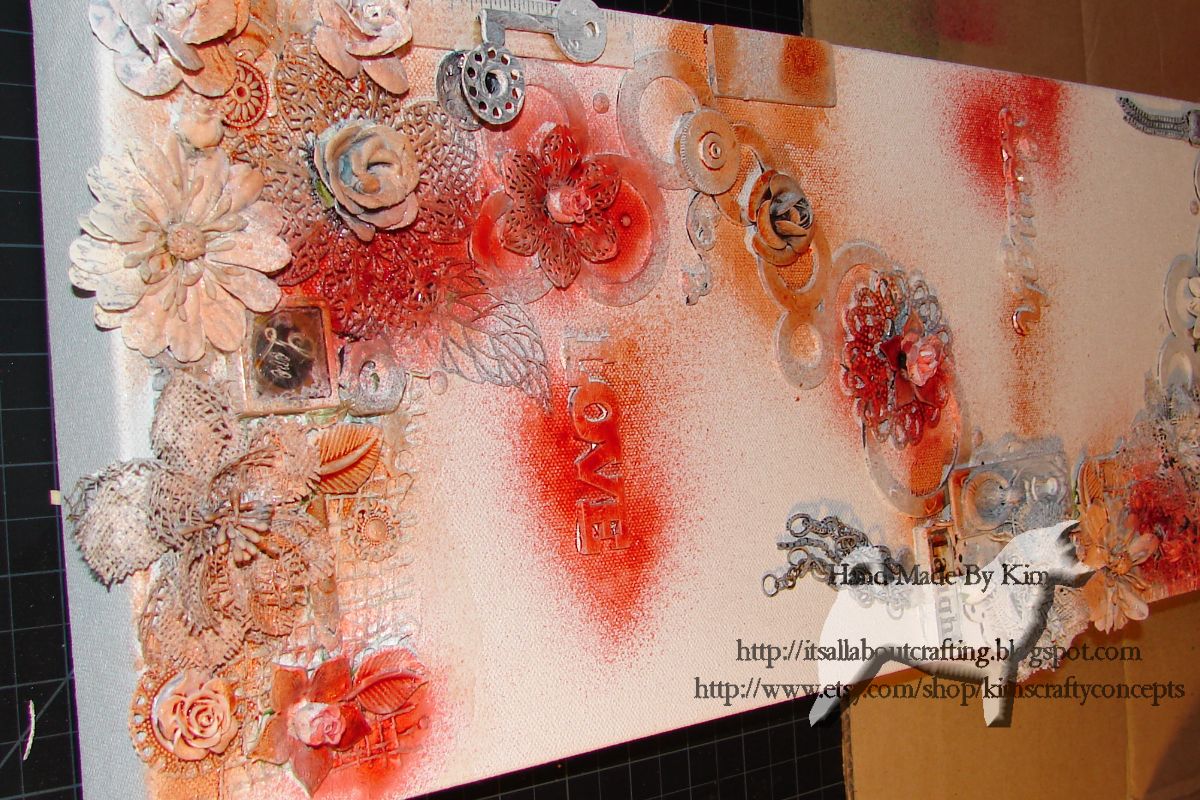
So I was very patient with this one. I continued to spray alternating each color until I felt like I was happy with it. SO….here I is my finished project.
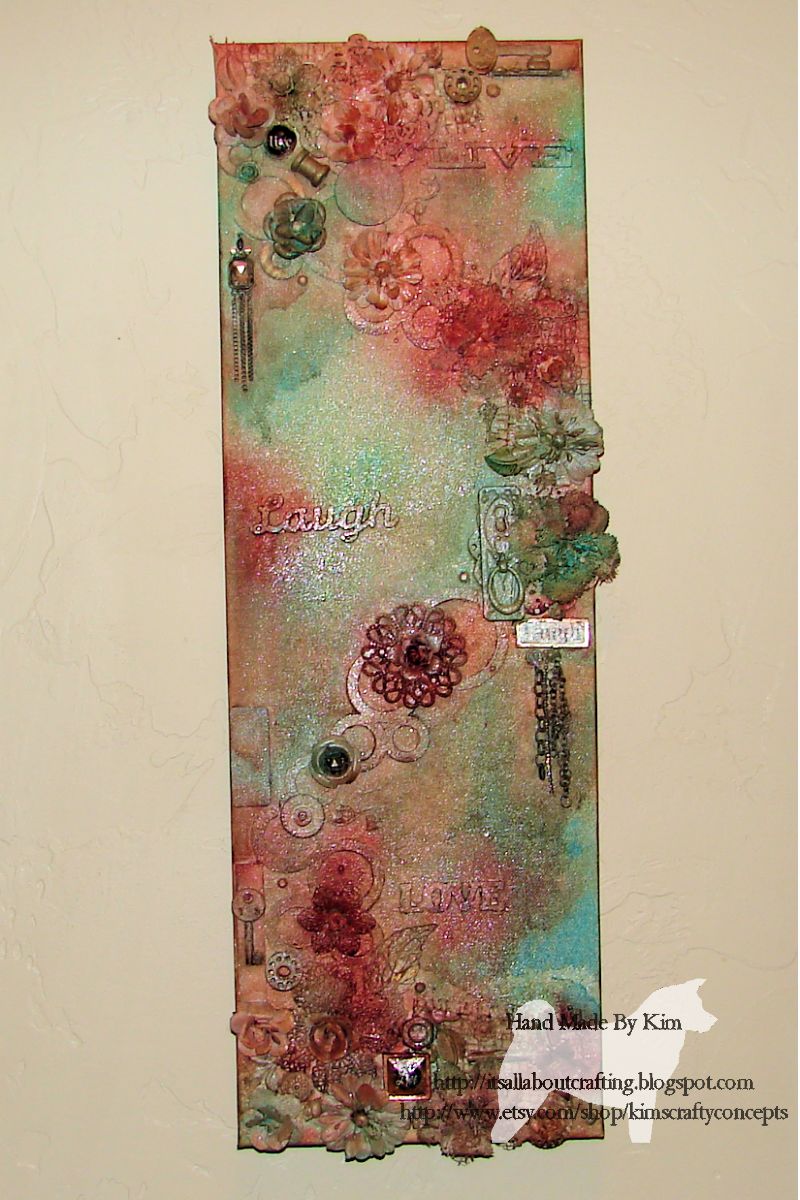
Dusty Attic with Spray mist by Lindy’s on this canvas

Finished project

I was pleasantly surprised when my husband decided he wanted to hang it up, usually unless it is something I made specifically for him it goes in an area to be sold. (if I ever get my act together to do a show!) But this time he loved it so much he hung it right on the wall!

Life is short, do something creative every day!

~*~*~*~*~*~*~*~*~*~*~*~*~*~*~*~*~*~*~*~*~*~*~*~*~

Kim Kelley is borderline obsessive about her crafting and her art. She loves mixed media art because you are free to go beyond your comfort zone, using your imagination and exploring an anything goes mind set. Kim loves to learn and explore new techniques and hopes that any art she creates leads someone to find their inner creative artist!

~*~*~*~*~*~*~*~*~*~*~*~*~*~*~*~*~*~*~*~*~*~*~*~*~

.

.
What if Scrapbooking is dead? Other uses for Tools and Supplies

~ * ~

This article is written by  Ann Strecko Koeman

While I attended the last Craft and Hobby Association Conference and Trade Show in Anaheim, California in the United States, I often heard the following phrase:  “Scrapbooking is dead.”  Now, I also heard several people bemoan that statement and even express complete denial, while others nodded in agreement and expressed their own agreement.

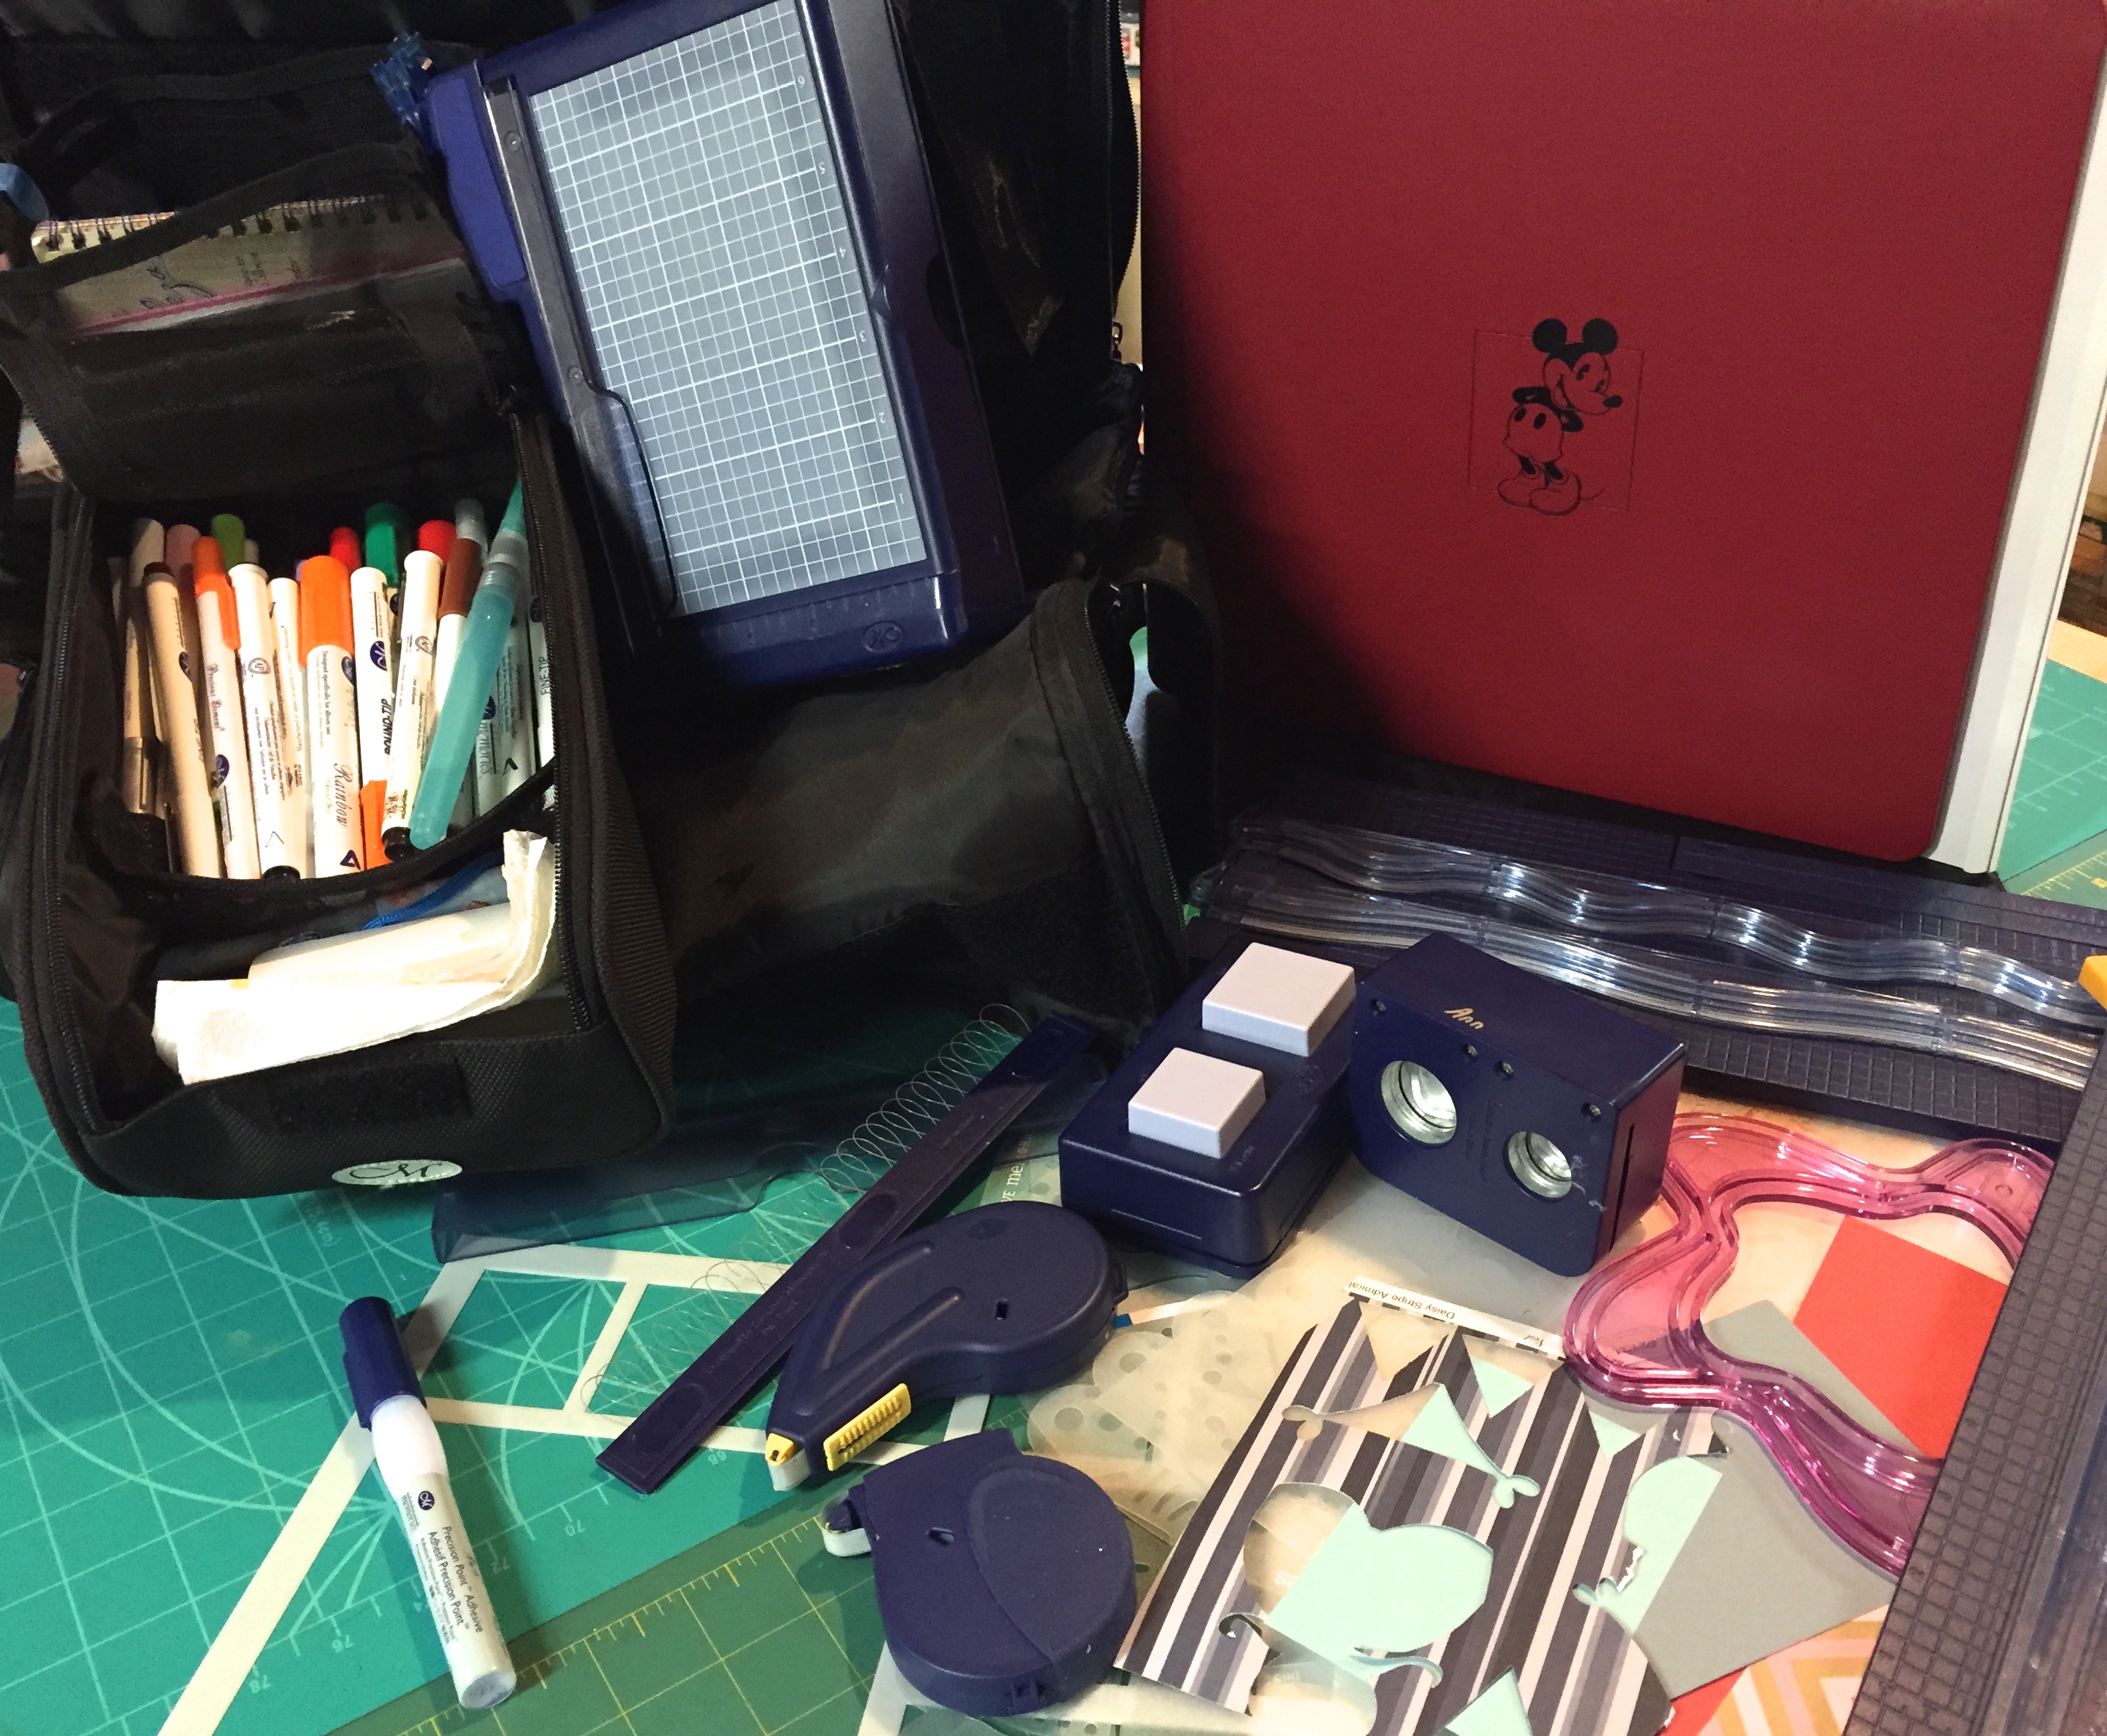
Crop bag with Scrapbooking tools and supplies now used as Mixed Media tool kit

Although I do believe that the commercial and retail aspects of selling scrapbooking supplies has reached its peak and is quickly declining as so many fads do, I don’t believe it will completely disappear.  After all the concept of collecting and cataloguing memories in paper form has been around since the invention of paper, it also continues to be essential to our existence and to the history of our future generations.  Although the accumulation and collection of memories is done differently these days and appears to be the wave of the future.  We take a lot more digital images now and record a lot more of our experiences, we just do it differently.

So what are we to do with all of those tools and supplies we have invested in over the decades?  I say, keep them and use them.  If however you have chosen to completely give up on anything handmade then please send your unwanted tools to another loving home.  But if you are reading this, I gather that you still have a love for the handmade process.  Mixed Media artists now is the time to take advantage of all those clearance sales and cast offs of unwanted scrapbooking tools.  Just because a tool or supply is marketed to be sold in one market does not mean it cannot be used in another.  Over the years I have collected a variety of skills and thus a vast collection of tools including an overpriced collection of intended for scrapbooking tools.  I am keeping my best tools for my Mixed Media work.  As a Mixed media artist any supply is game and any tool is game.  I will use my straight edge 12 inch trimmers, my punches, and even my page layout guides in my art.  I still need to cut things, make shapes, and those plastic page layout guides, well they make great stencils!

Mixed Media Art background made with the help of Scrapbook doodles templates and punches

As for all those 12 x 12 papers I have collected, they are great in mixed media making, especially in making my own books.   so are those stickers they make great masks.  All those embellishments are just that, embellishments.  I am also hanging on to my old scrapbooking supplies and tools because I am way behind in my memory album keeping.  For example I have yet to finish my now 18 year old son’s baby album!  In the mean time I am having fun collecting more of my neighbours unwanted  out of date scrapbook papers, and buying out lots of discontinued embossing folders at low prices.  Scrapbooking may be a dying fad but Mixed media art making is very much alive.

Art journal page with layer of scrapbook paper fussy cut images and die cuts

~*~*~*~*~*~*~*~*~*~*~*~*~*~*~*~*~*~*~*~*~*~*~*~*~

Ann loves to collect and organize as many tools and supplies as possible because she is always making things.  Incredibly she finds a use for most of her collections.  She enjoys making Mixed Media Art because it allows her to use all her skills and collections.

~*~*~*~*~*~*~*~*~*~*~*~*~*~*~*~*~*~*~*~*~*~*~*~*~

.

.
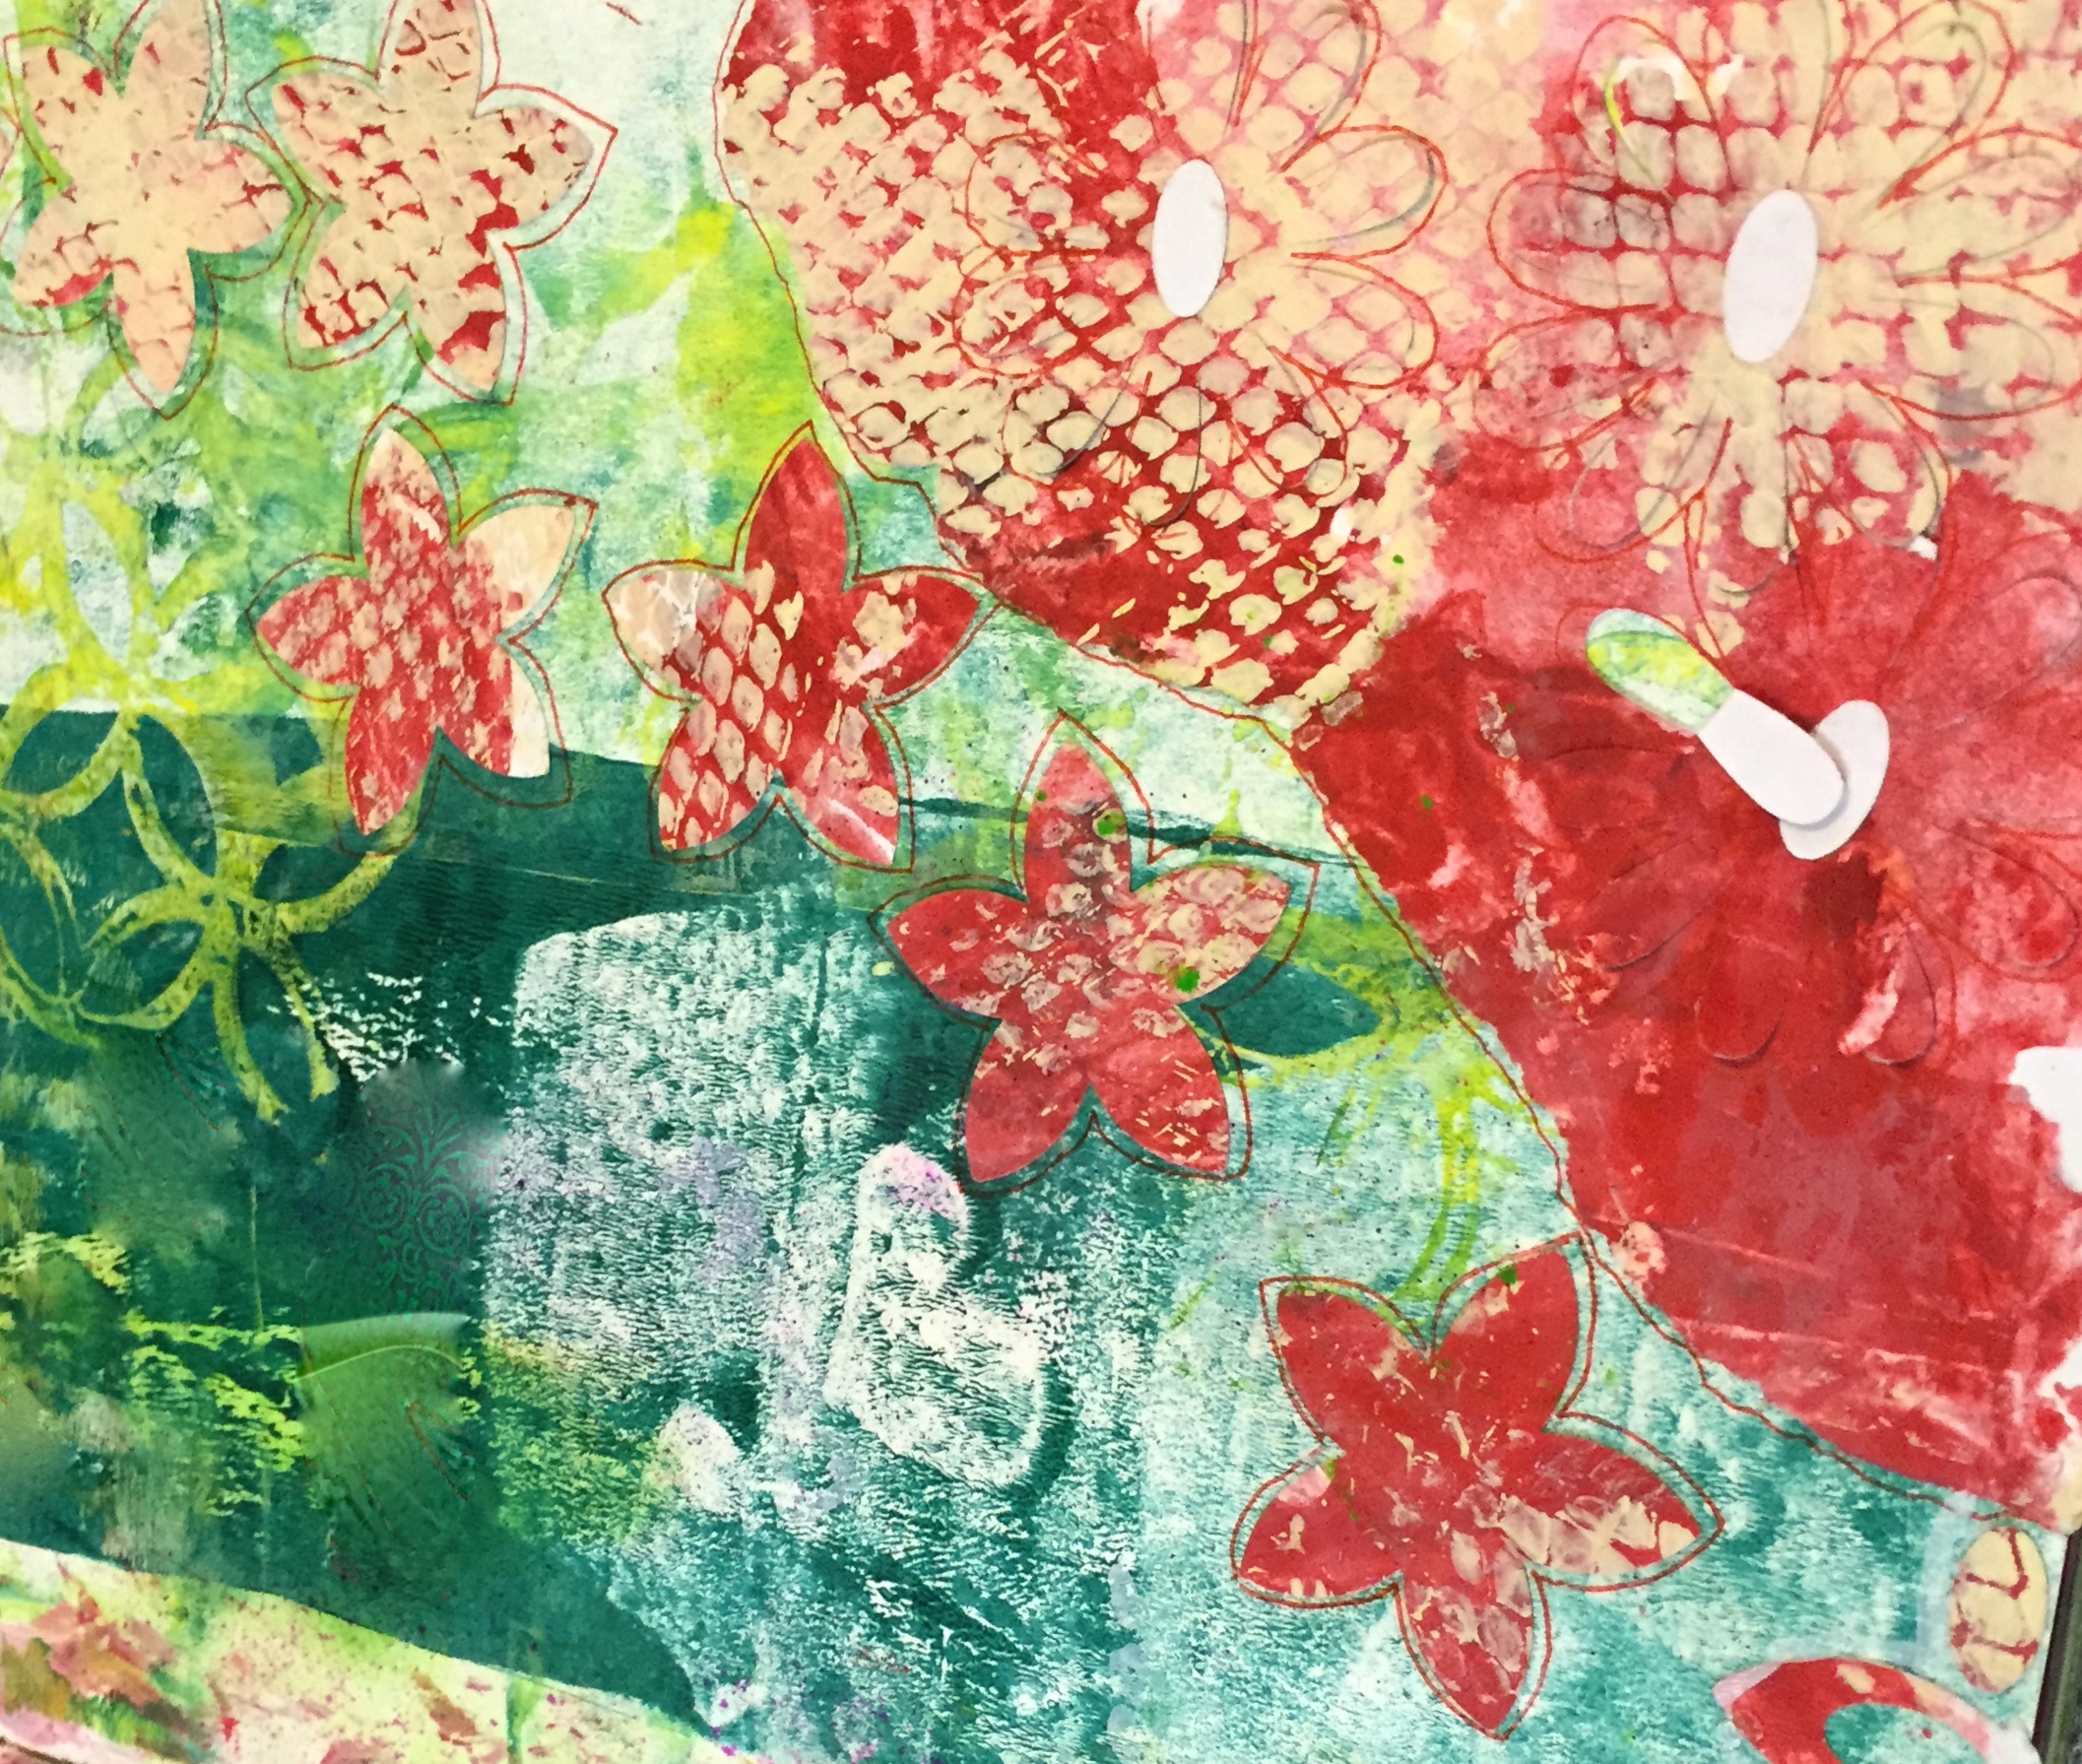
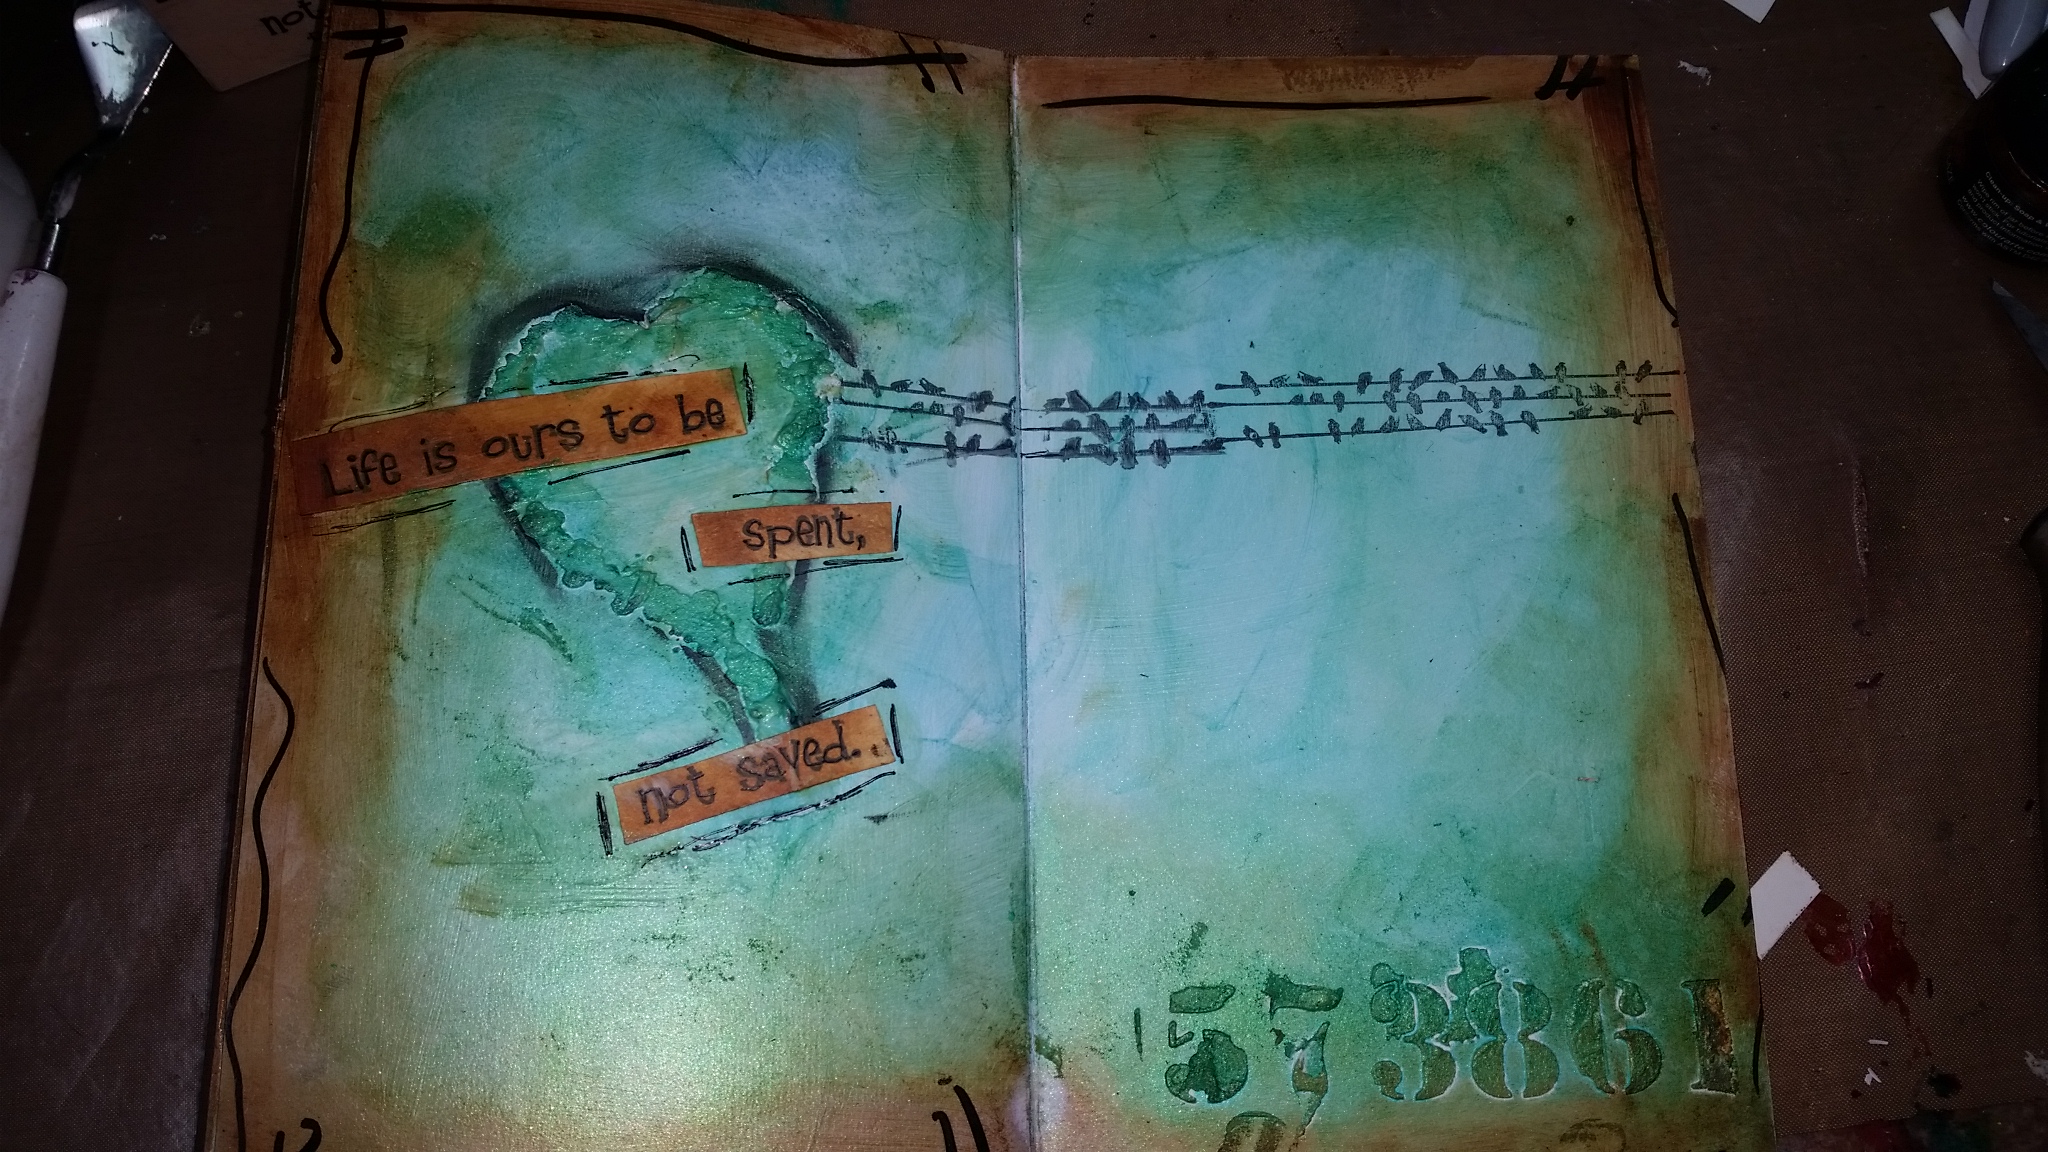
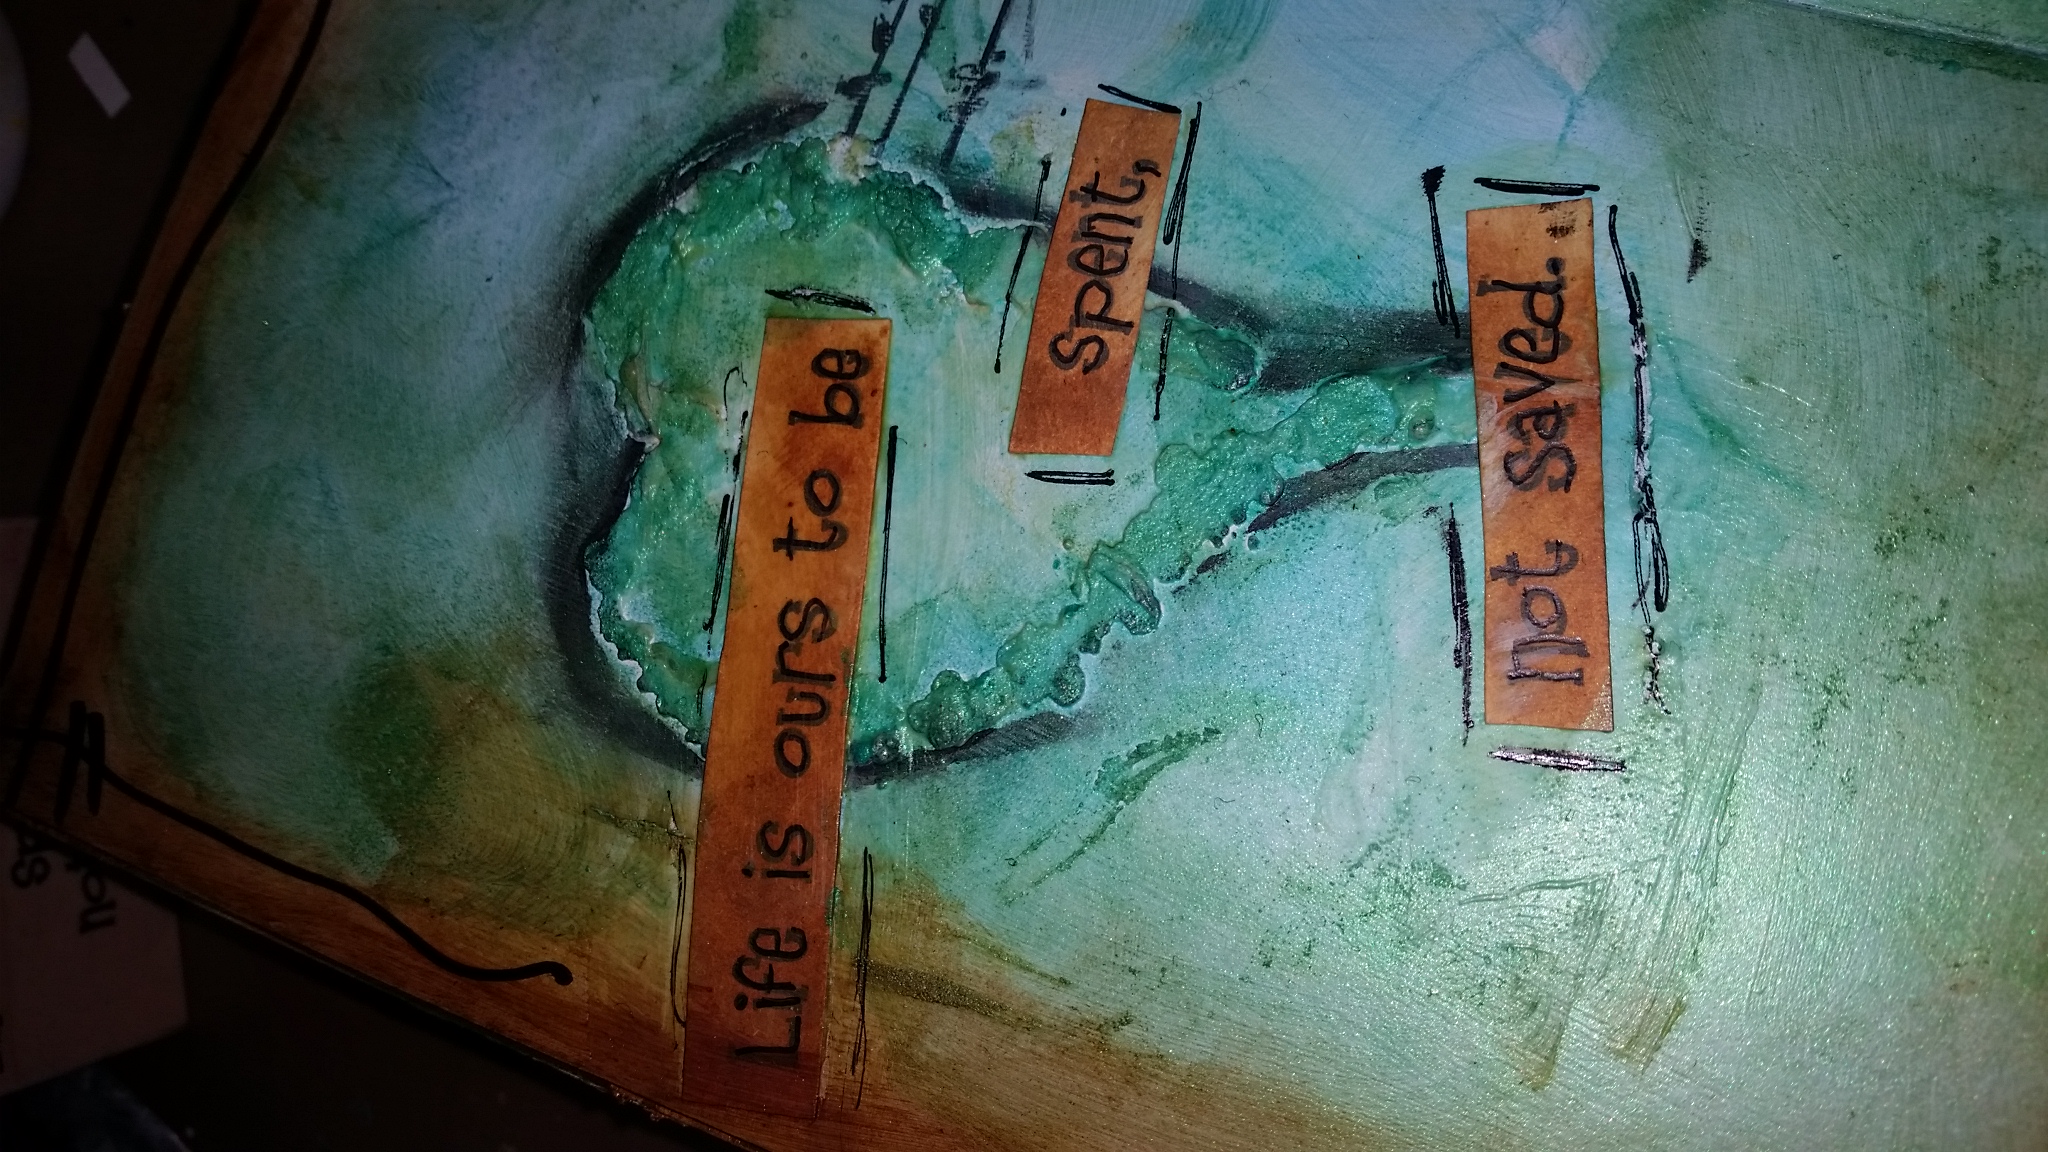
Life is Ours – Mixed Media Art Journal

~ * ~

This article is written by Terri Sproul

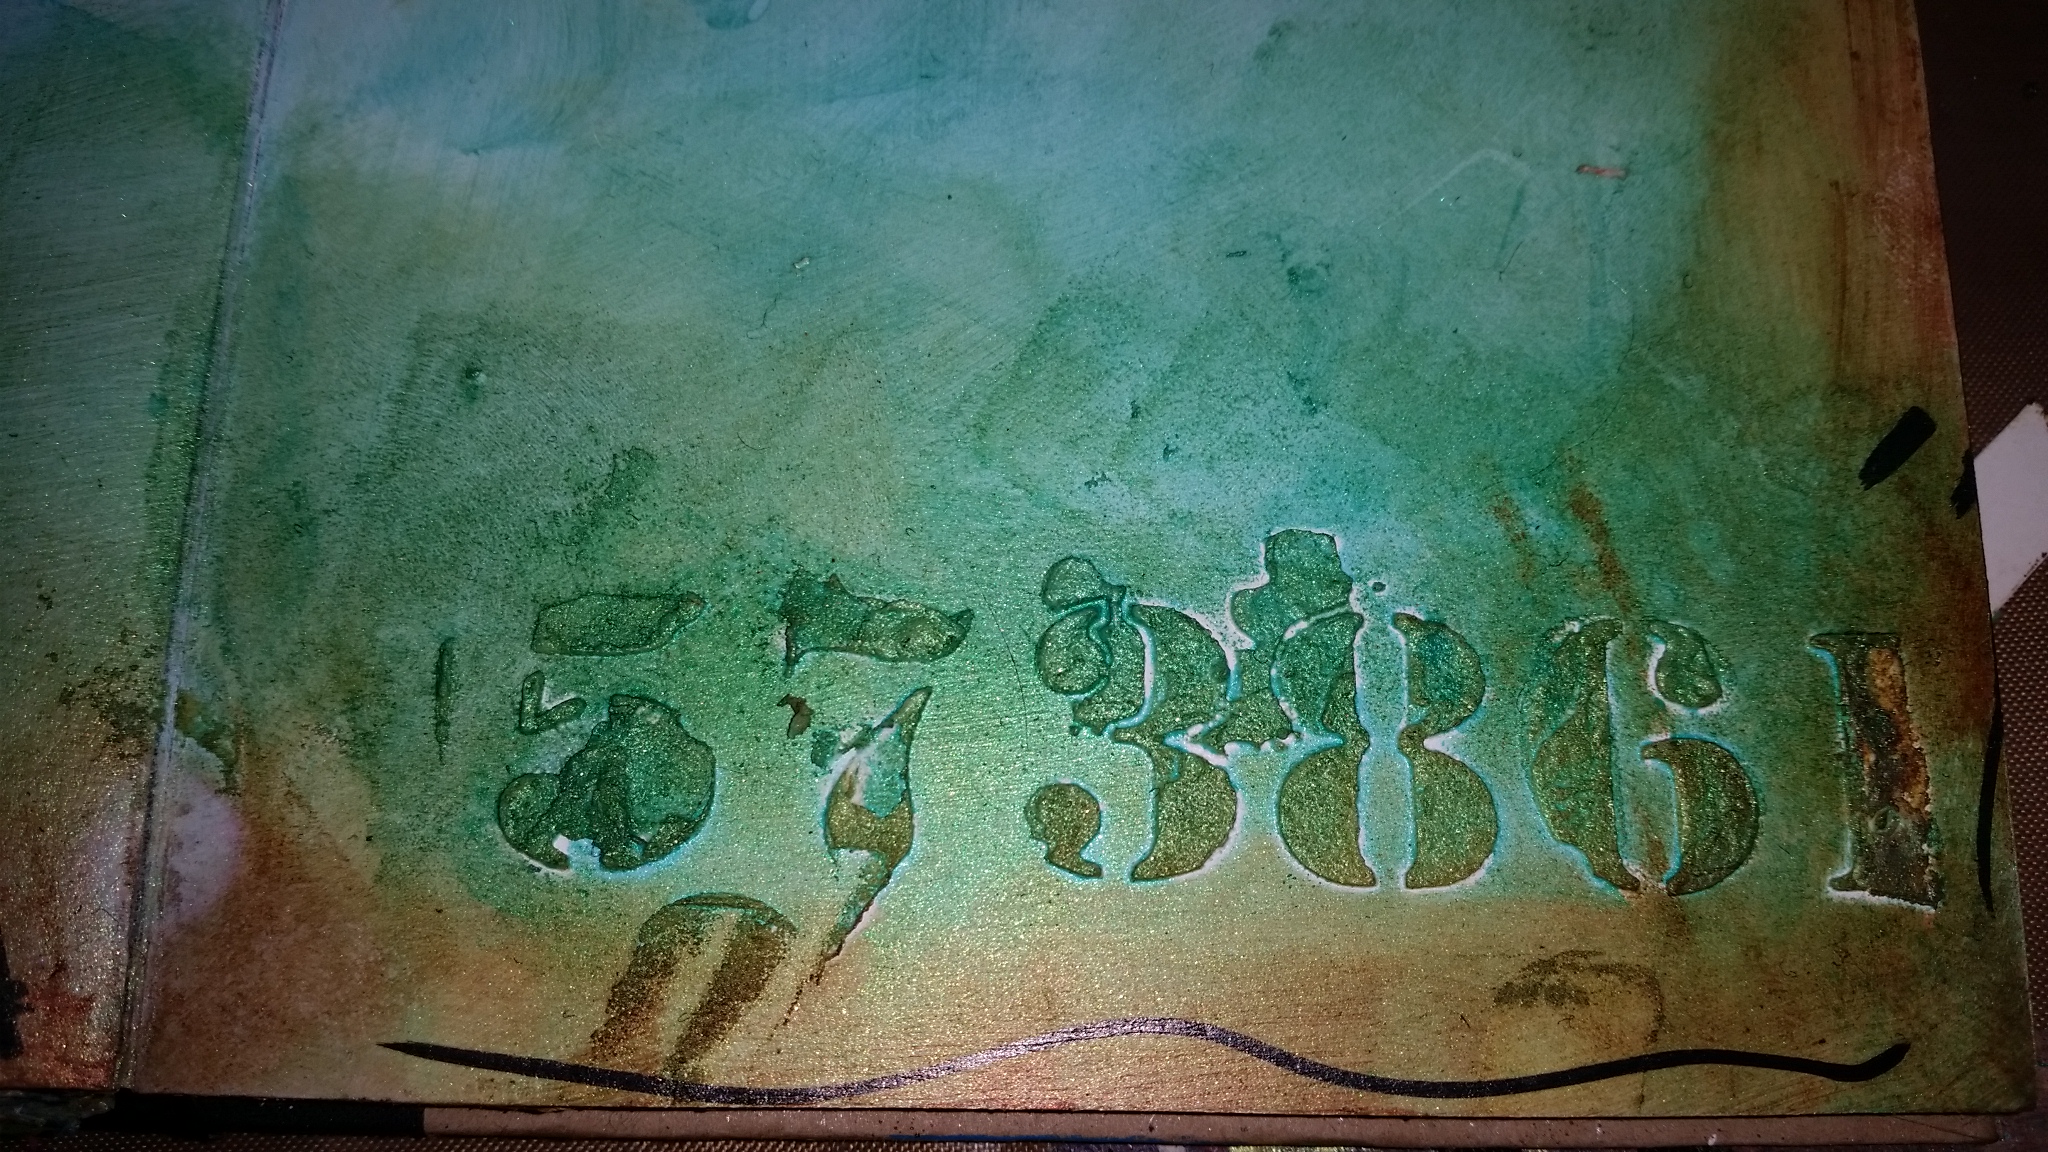
Art journals are a place to let yourself free.  There are no wrong or right way to play in your journals, so just sit down and have fun.  Playing with lots of medium made your experience even more fun, so step out of your box and purchase something new.

Alternative text: video of art journaling by Terri Sproul

Have fun with Details, Color and Texture to complete a fun experience and Art journal page

video of art journaling by Terri Sproul

Product that were used in this Art Journal page are listed below.


Products used in this Art Journal page:

CottonWood Art Journal

Silk Acrylic Glaze from ColourArte:  Guatemalan Green and Autumn Leaf

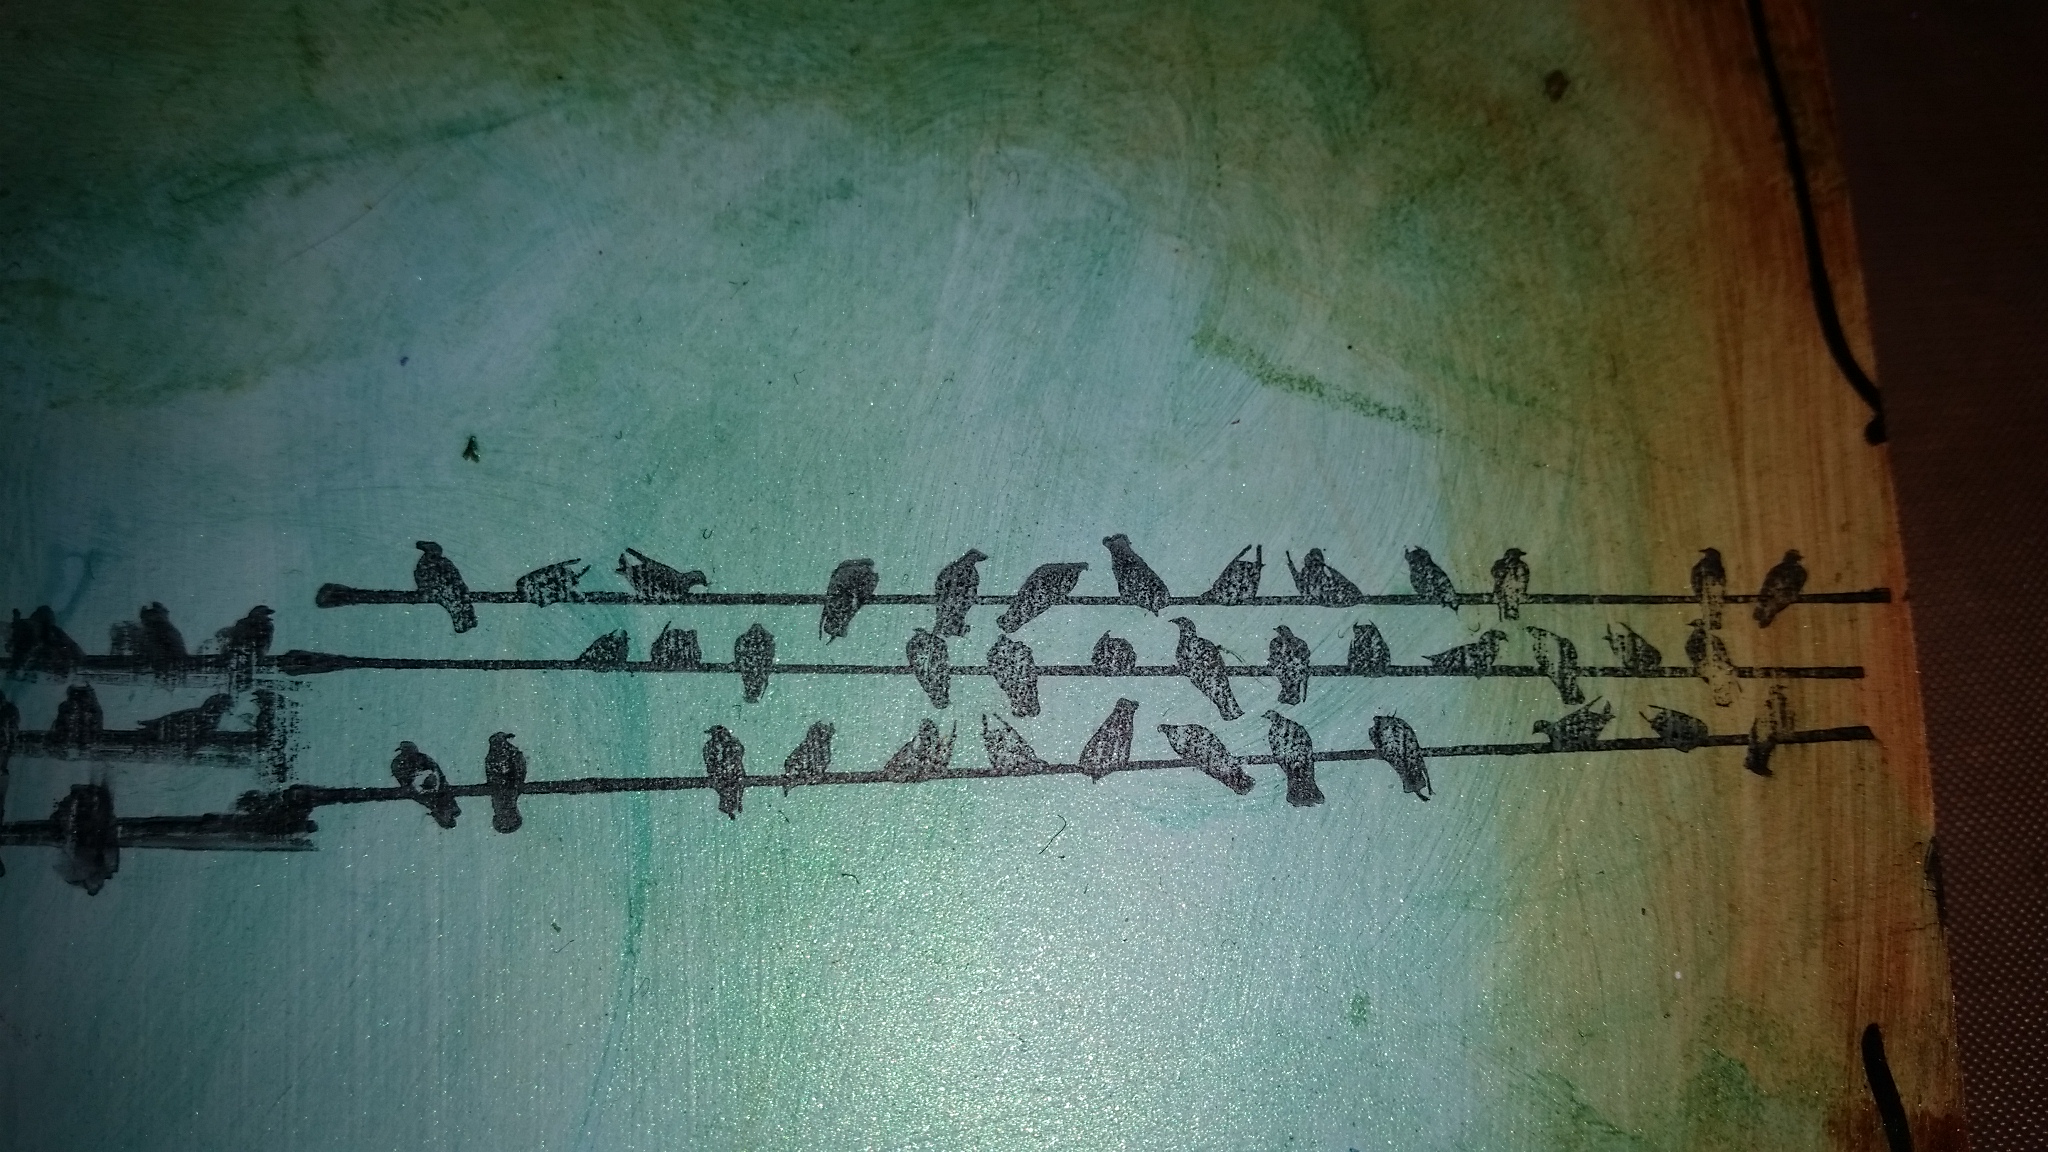
Stamps:  SinCity Stamps, and Verses Rubber Stamps

Stencil:  Unknown

Golden:  Regular Gel Matte, Light Molding Paste

Gesso

India Ink

Faber-Castell – Pitt Pens Black

FineLine Applicator

Paint Brushes, Baby Wipes

video of art journaling by Terri Sproul

video of art journaling by Terri Sproul

~*~*~*~*~*~*~*~*~*~*~*~*~*~*~*~*~*~*~*~*~*~*~*~*~

Terri Sproul is a CHA designer and a Mixed Media Artist with her own line of stamps with SinCity Stamps and own paint line with Sakura Hobby Crafts.  She and her husband have the pleasure of living on Palomar Mountain in San Diego County in California.  She present host a live show about Art Journals on Tuesday night, find all that info at her Facebook group “All things Terri Sproul”

Find more of her video at youtube.com and her blog:  terrisproul.blogspot.com

~*~*~*~*~*~*~*~*~*~*~*~*~*~*~*~*~*~*~*~*~*~*~*~*~

.

.
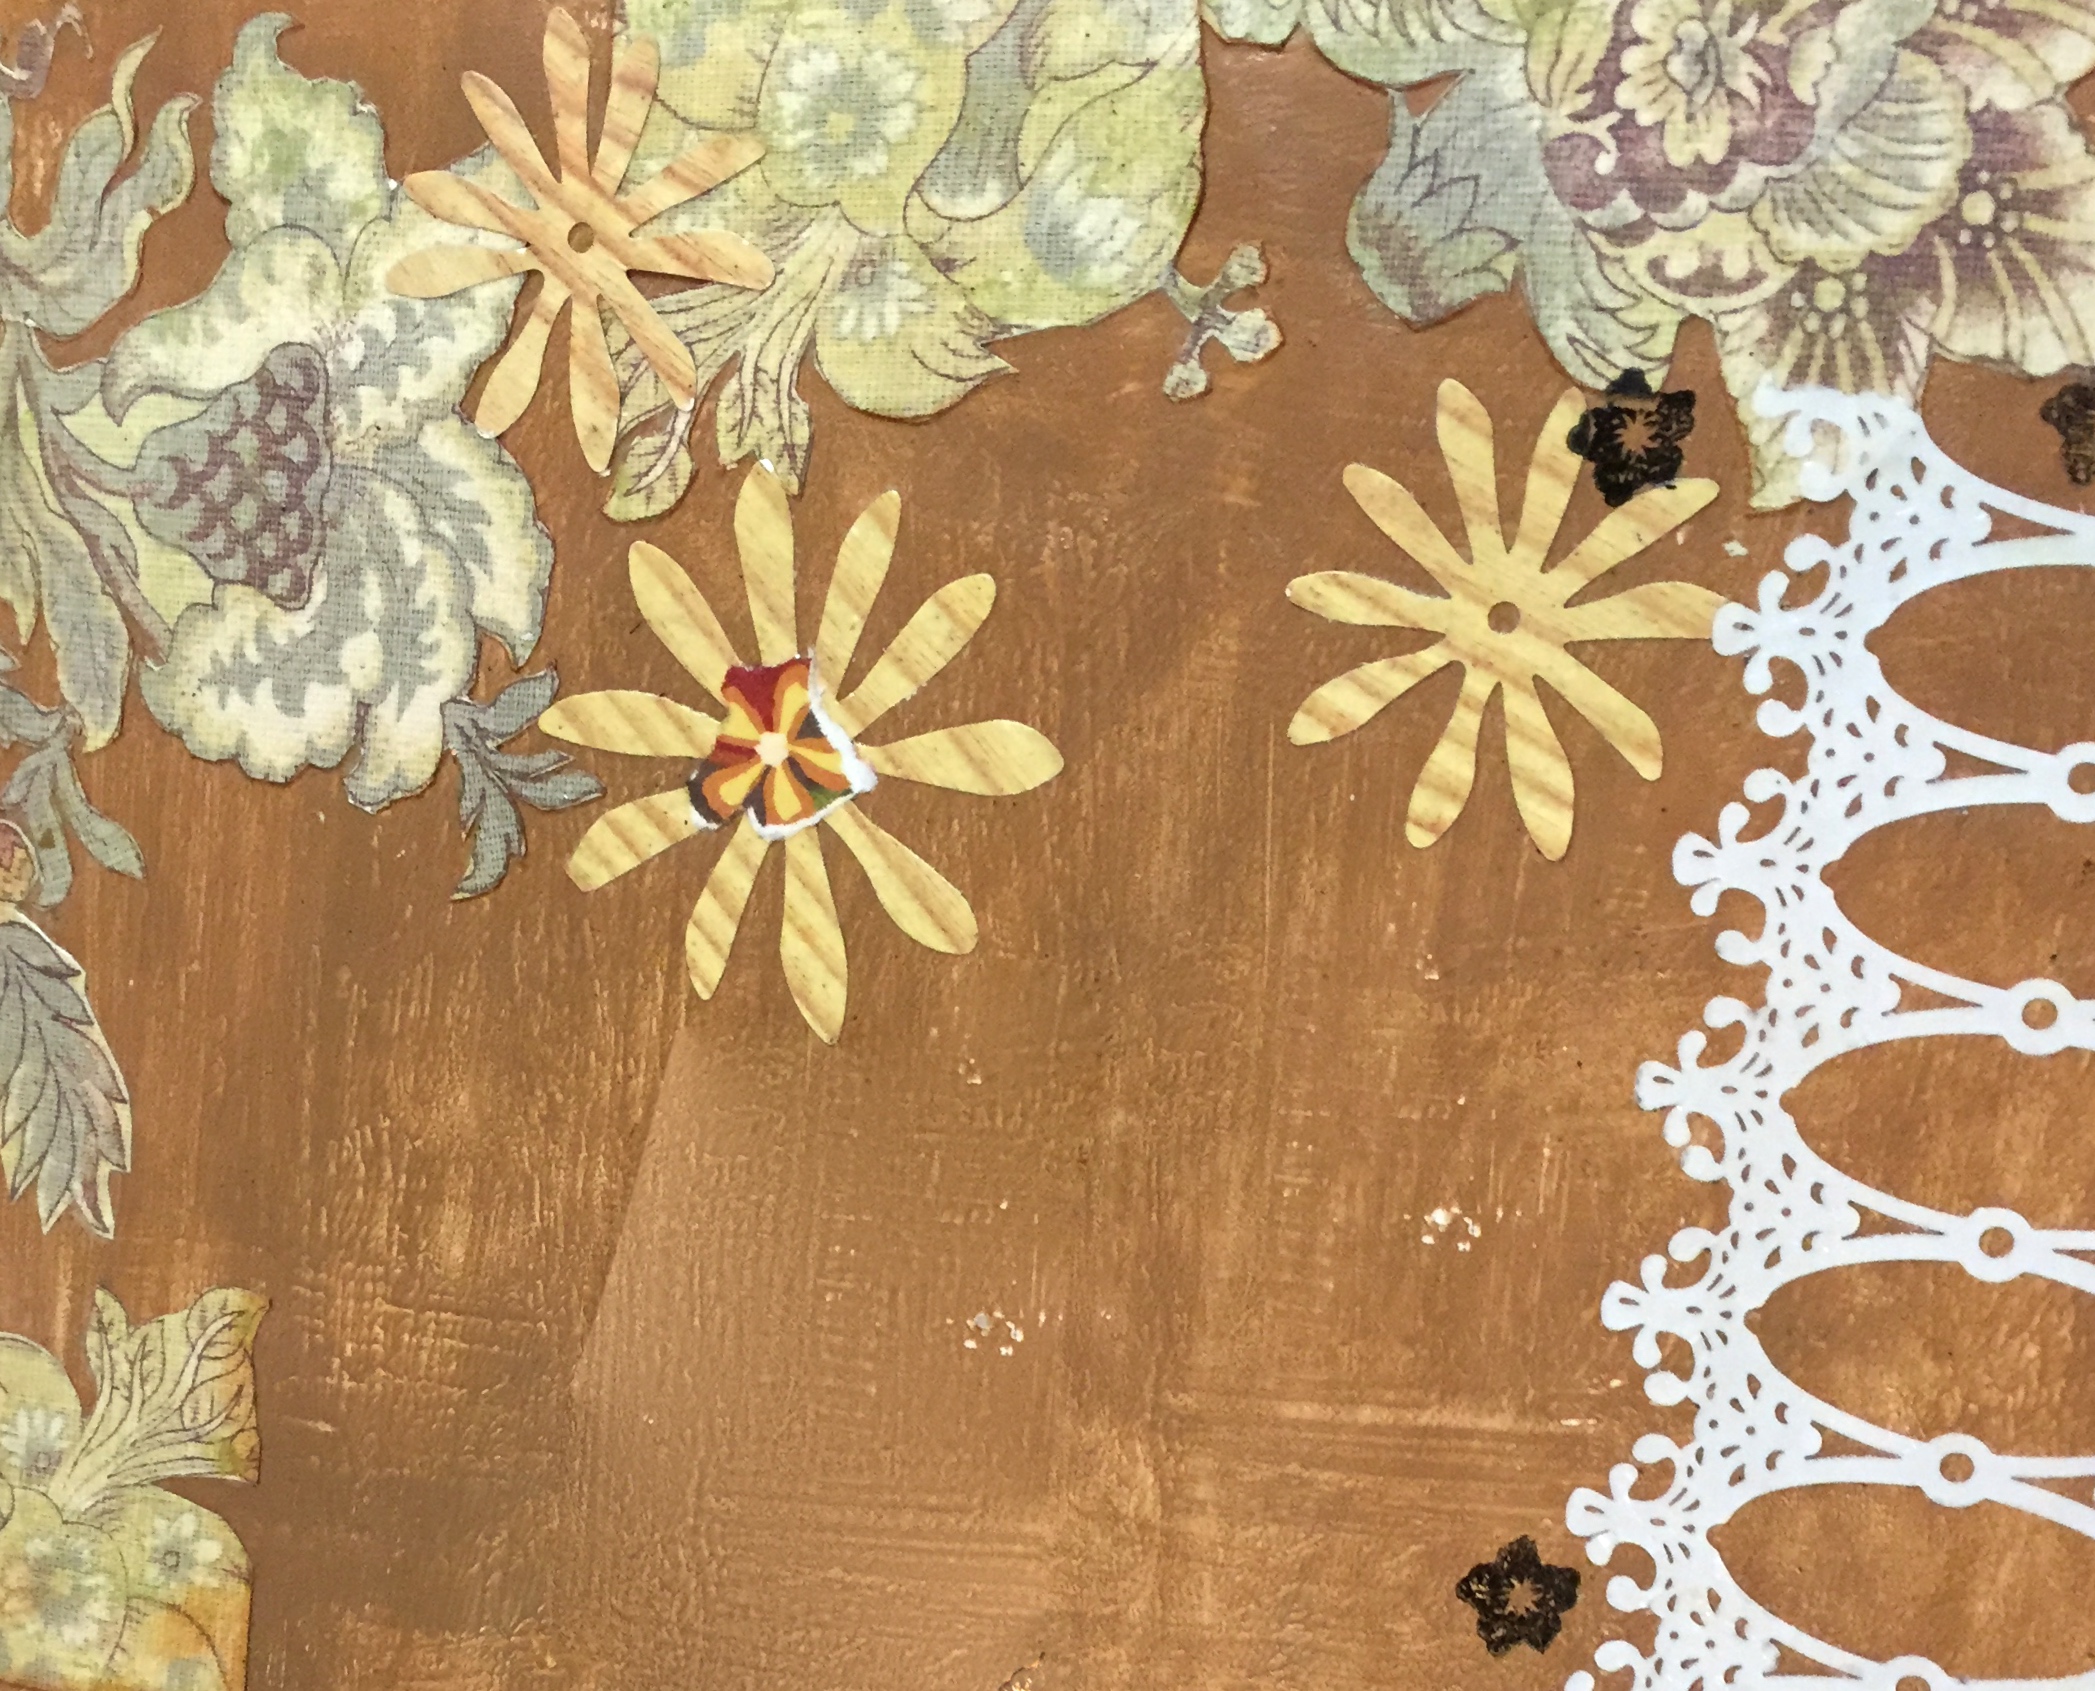
Creating a Mixed Media Art Bag

~ * ~

This article is written by Tamara Dinius

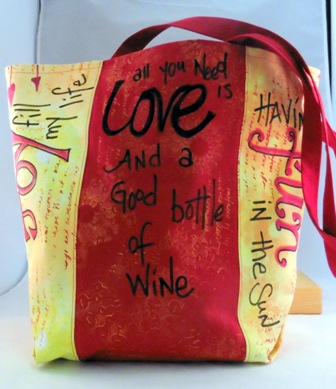
Tamara created this functional mixed media tote bag using canvas fabric and Tattered Angels High Impact paints. Though the creamy, rich colors of Tattered Angels High Impact paints make painting canvas fabric a breeze, one could use almost any brand of acrylic or fabric paints and receive similar results. Tamara created the sewing pattern for this bag but any store bought sewing pattern or canvas tote could be used as well. Even though Tamara will focus on the mixed media techniques of the project and not the sewing of the bag, she will be sharing some sewing tips that will add interest to the final product.

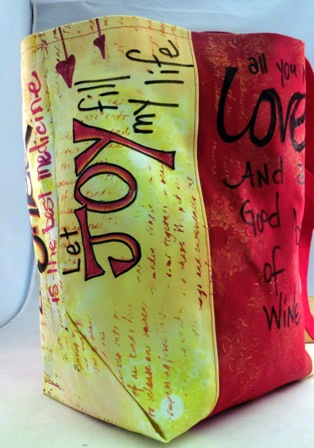
Completed mixed media art bag project

Whether you use your tote for groceries, travel, or about town, you can add a little panache to your day with this stylish bag.

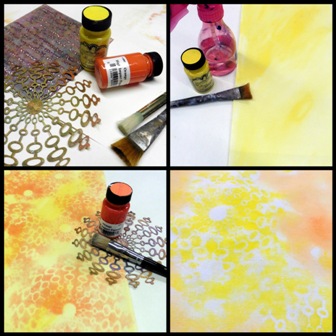
Supplies and first background layer

Top left: Items used are a spray bottle, Tattered Angels High Impact Paints (or acrylic/fabric paints of your choice), stencils, brushes, and permanent markers (not shown).

Top right: Spray your canvas fabric with water and then apply your yellow paint in a haphazard motion.

Bottom left: While still damp, apply your orange paint using a stencil and stencil brush. Please do not try to be precise as this is just your background. A casual approach will give your finished piece a more artsy feel.

Bottom right: In another area of your bag, add water and your yellow paint using a stencil of your choosing. I added the stencil work before the orange background paint so that I would not lose the vibrant yellow color. Next, add some orange around your yellow pattern. Again, this is to keep the vibrancy of the yellow.

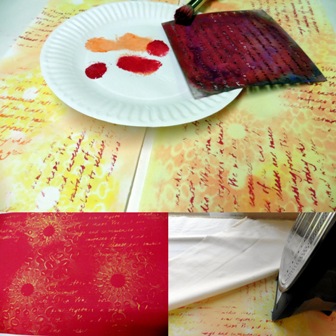
Adding script and heat setting the fabric

Top left: I added additional interest by applying script writing with a stencil and red fabric paint.

Bottom left: Spray water on your contrasting canvas fabric and apply orange and yellow paint using your stencils. At this point we are creating some consistency across the fabrics.

Bottom right: Heat set your paints by using a piece of muslin as a pressing cloth. I ironed both sides of the fabrics on a cotton setting.

Sewing the bag and the transformation of fabric

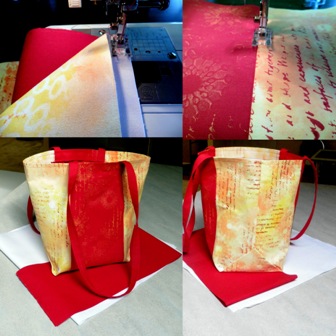
Top left: I sewed the bag together using a 16 needle as the fabric is quite heavy.

Top right: By using a contrasting thread and topstitching the seams you create some wonderful details on the finished bag. It would also be fun to add some freestyle quilting to the bag using different colored threads. I may try this on my next bag.

Bottom left: I added long handles to the bag using the same red canvas fabric that I used for the middle portion of the bag.

Bottom right: Side panel of the bag. You will also notice the transformation of the original fabric by the white and red canvas fabric that the tote bag is sitting on.

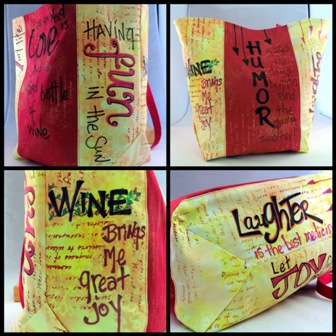
The really fun part! Adding the lettering

The really fun part of the project! I took permanent markers in varying colors and started adding wording and a few doodles. You can let your imagine run free and embellish the heck out of your bag. I will be adding more doodles and lettering as time allows.

The really fun part! Adding the lettering

I hope you have a great time creating your own tote and wishing you much joy in your life!

~*~*~*~*~*~*~*~*~*~*~*~*~*~*~*~*~*~*~*~*~*~*~*~*~

As well as mixed media tote bag, Tamara Dinius creates from her studio on five acres in the Pacific Northwest with her husband and chocolate lab. Most days you will find her covered in flecks of paint, with a cup of coffee in her hand, and a smile on her face.

Her love for mixed media has taken over most aspects of her creative life. She believes mixed media allows for a broad range of styles and anyone can find success in this form of artistic expression.

You can find more of Tamara’s work, and on her website www.womenwineandwords.com or via her Facebook

~*~*~*~*~*~*~*~*~*~*~*~*~*~*~*~*~*~*~*~*~*~*~*~*~

.

.