Michelle G Brown | Mixed Media Art

Don’t Forget the Embellishments!

~*~

This article is written by Laura Shelton

Hello all! It is wonderful to be back here writing articles for Mixed Media Arts again! Hope you have been being super creative, and I really hope that this new articles gives you some new inspiration to make a lot more neat things! Today I am going to talk about embellishments. We all love them, buy them, and even stockpile them. At least I was, and spending way more money than I wanted on them!
 

Embellishments

Embellishments can run into quite a bit of money, at least mine did, until I made a decision – I decided that any embellishments I wanted, I was going to make myself…no small undertaking, and needless to say, my embellishments fell off a bit, lol! That was, until I just made up my mind, and really got serious about it… Now I would rather have my own, handmade embellishments than anyone elses!
Embellishments

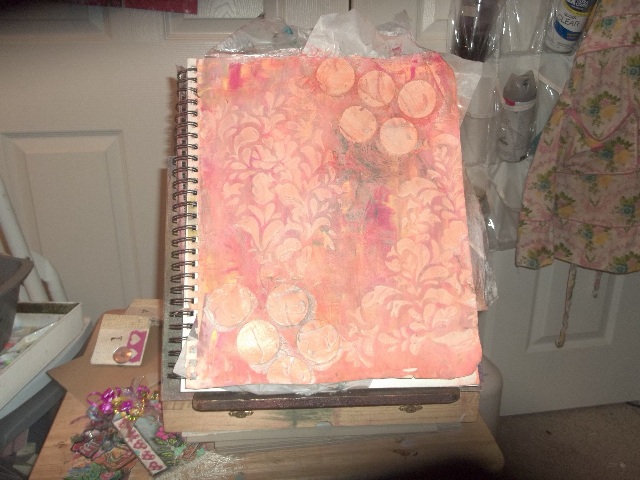
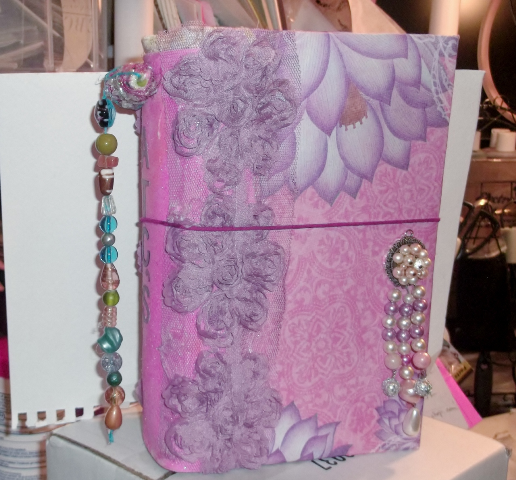
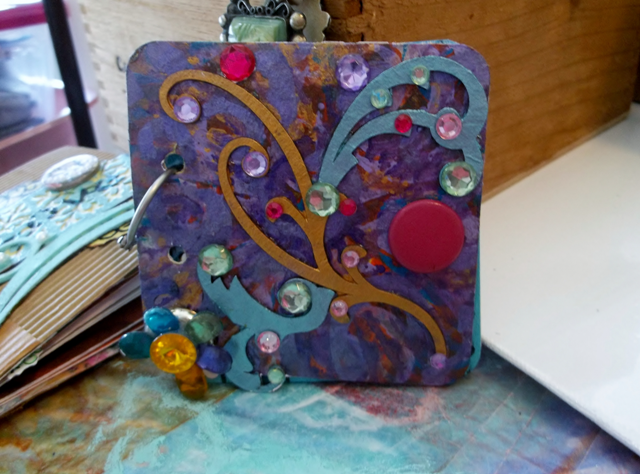
The first embellishments were a bit primitive as you can guess, but as I went I picked my battles, and then things started coming together. Above is an extra large journal page using modeling paste for the lighter sections of the piece. Below you will see an album that I made, where I utilized what I call a “bead tail” coming off of the back of the album, and attached with a handmade bead I made recently
Embellishments

Toward the front, you can see that the closure is made of a vintage bead earring attached to a pendant jewelry finding…on the other side of the album, for the second part of the closure, I have another handmade bead mounted, and it is all held together with a reddish/purple leather cord. The closure alone really dressed up the album a lot!
Embellishments

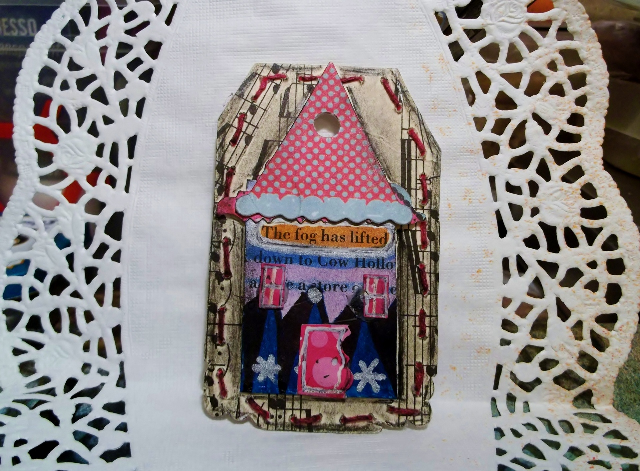
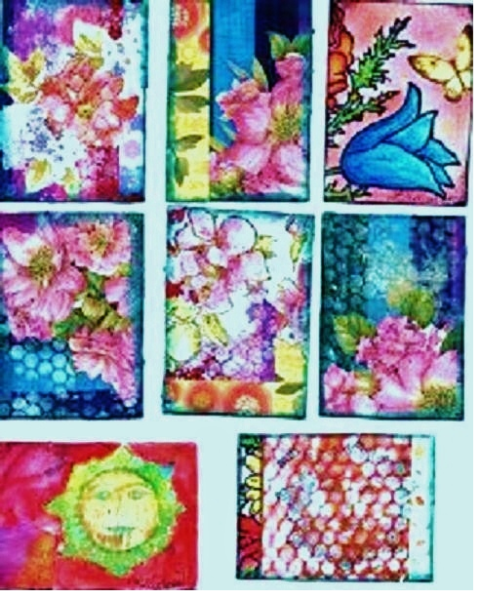
Other embellishments I have made are more suited for your art journal. There are many, many times that I will use an ATC (Artist Trading Card) embellishment for an embellishment to dress up an art journal page or maybe a mixed median art piece I am working on. These are some of my really old ATC examples, and they have been used at some time for an embellishment.
Embellishments

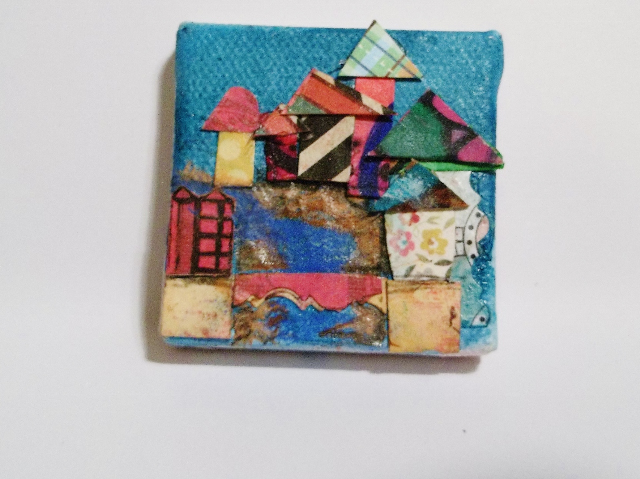
There are so many things you can make from paper and paint.
Embellishments

What I also enjoy is making embellishments out of beads and old jewelry findings! I have a ton of old beads and fittings from all of the broken necklaces, bracelets and earrings down through the years. I am so glad that I held onto all of them because they are perfect for making your own unique embellishments! Some that I make regularly are what I call my “bead tails”.

These are basically just strings of glass beads, faux pearls, and other stones that I thread onto a heavy string, and then place a charm at the bottom of the string. These end up being the decorative touch that I add at the back spine of my prayer and scripture books that I make, as well as any other type of book, album or anything that is made that way.

A perfect example is the bead tail at the back of above album. These bead tails seem to add so much to a project! I wouldn’t know how to finish out the albums without adding them! Seriously though-embellishments can make or break a project, at least in my mind. Even if you just string a few beads together and maybe add a little fancier clasp to your project, you will be amazed at the difference just a little addition can make!
Embellishments

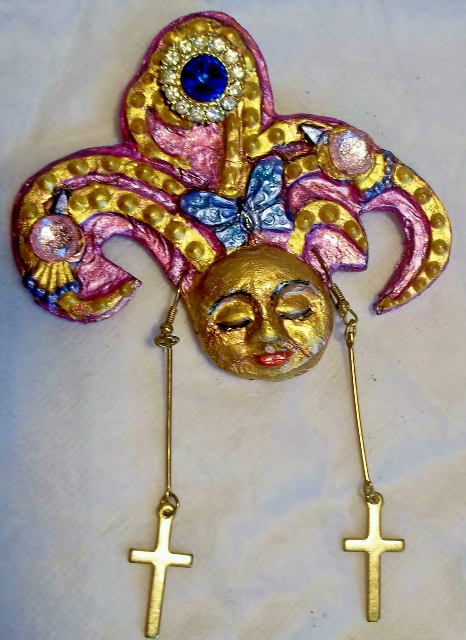
This is Hester, the Court Jester –  she is just one of several art pieces I have made. I can write about them next time!

Laura Shelton

~ * ~


Decluttering for the New Year; Creative Goals

The start of the New Year has been a good time to get organised and so far in our decluttering process, we have reflected on our achievements (or lack of them) for the last 12 months and we have considered which crafts get us excited and which ones we need to leave behind. From here we have been able to determine which craft supplies we need to create the artwork that most excites us. This allows us to move out everything else, giving us space to store our supplies with some order. Now we are ready to look ahead.

Regardless of where we are on our creative paths right now, there is always somewhere we have come from and where we are heading. To help us get to where we want to be it helps to have an idea of there that is and what it may look like. Goal setting and creating action plans to get there is a huge topic and we won’t even attempt to cover it here.

My suggestion to you is to keep your artistic goals simple; outline how we are going to set aside time to allow our creativity to develop, have a broad idea about which projects we may want to start, and leave the rest to our creative muse. A mind map is one of my favourite tools for creating simple plans where we can use simple headings for each branch.

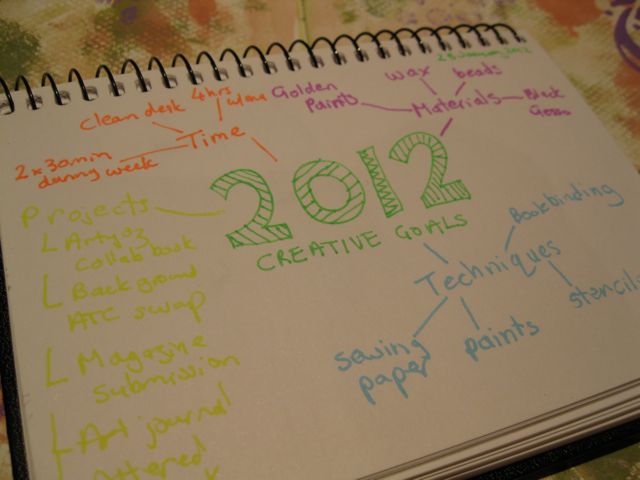
Here is mine for 2012. The main branches are:

– Time
– Supplies
– Techniques
– Projects

Use a mindmap to outline your crafting goals for the year ahead

From each branch I will outline a few points for each one. And it doesn’t need to be boring but also don’t get too caught up in making it look pretty; we are getting the bones of a plan out there so we can see it and think about it and add (or prune) to it over the coming 12 months.

So what are you waiting for?!? Get sorting, get inspired and start creating!

*

Making Your own Handmade Art Journal

This article was written by Michelle G. Brown

Through my journey into mixed media there have been times where I have been brave and other times when I need to urge myself to put pen, or paint, to paper! I hate the feeling of potentially “ruining” a substrate or “wasting” some material that I have bought.

To help me overcome this creative worry, I have turned to using reasonable priced materials to help minimise the fear of ruining or wasting away. Making my own art journal was a perfect way to help with my creativity – I can always make another art journal if I “ruin” this one! I love the freedom this mindset gives me; it takes away the worry and lets me jump, head first, into creative play.

So today I want to share my technique for creating a handmade art journal with you.

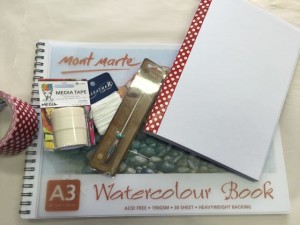
watercolor paper art journal

Handmade Art Journal

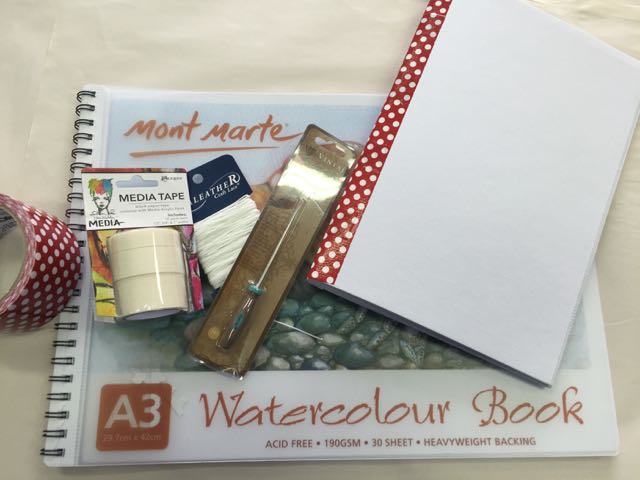
Gather materials

  • A3 watercolour sheets – a total of 12
  • Awl
  • Waxed string
  • Fabric or duct tage
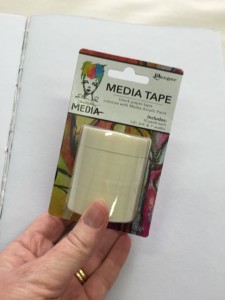
  • Masking tape or Dina Wakely Mixed media tape
  • Upholstery needle (optional)

Technique to make Art Journal Signatures

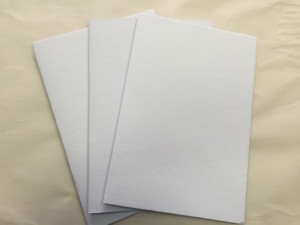
1. Fold A3 pages in half, to A4 size. Crease fold firmly. Separate into 3 signatures with 4 folded pages in each.
Set 2 signatures aside and work on one.

Art Journal singatures

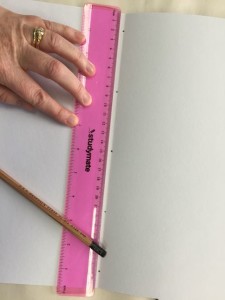
2. Taking one signature, open to middle role and mark locations for binding holes.
Here I centre the ruler on the page, with 2mm out either end then I have marked in the middle at 15cm, the top and bottom holes (at 2cm and 28cm) and then between the other holes (at 8.5cm and 21.5cm)

holes for art journal pamphlet binding

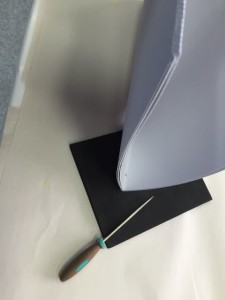
3. Using the awl, stand the signature up to help make sure the holes go through the centre of each page. Gently much awl through each marked spot to make 5 holes. Make sure you push the awl into a cutting mat or appropriate surface.

awl for handmade book binding

Art Journal 5-Hole Pamphlet Binding

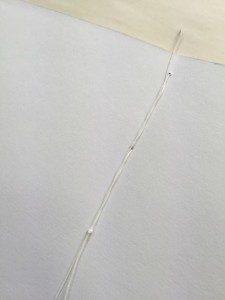
Now we are ready for the binding. This is called pamphlet binding and can be done with 3 or 5 holes; I prefer 5 here as the journal is large. to cut your binding string to length, use the signature as a guide, and cut the binding string 3 times the length of the spine.

handmade journal binding string length

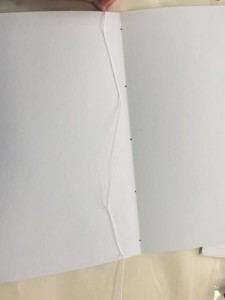
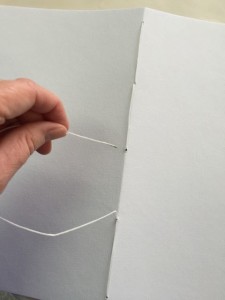
1. From the centre of the signature, thread the string through the middle hole, from inside to out. Pull through and leave a tale of about 10cm.

start of binding

2. From the outside thread the string in the next hole down. Pull firm.

art journal binding

3. On the inside thread the spring through the bottom hole.

handmade book pamphlet binding

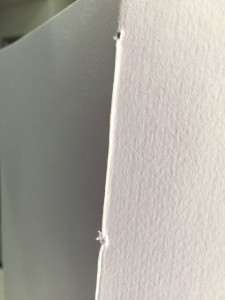
4. From the outside, thread the string in the next hole up, through the same hole that we have already threaded the string through. This can be a bit tricky. Use the awl to enlarge the hole if needed.

step by step binding

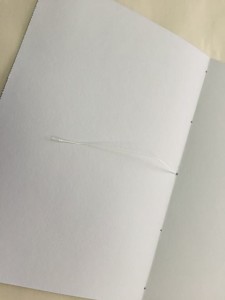
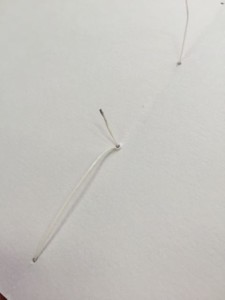
5. On the inside, run the thread up the middle, past the centre hole and into the next hole.

continue binding with waxed string

6. From the outside, thread the string from the second top hole and in through the top hole.

handmade journal

7. Thread the string back through the second top hole from the inside to out.

almost there with binding

8. And finally, thread the string through the middle hole, from outside to in.

final step for handmade  book binding

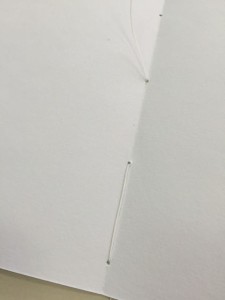
9. Check the tension of the string. We want it firm but not pulling on the holes.

handmade binding tension

Adjust the string so the ends are even by pulling it through the holes and checking the tension.

even ends for handmade pamphlet binding

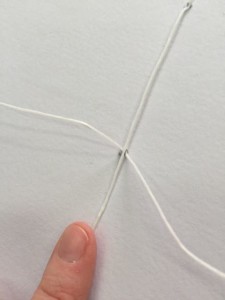
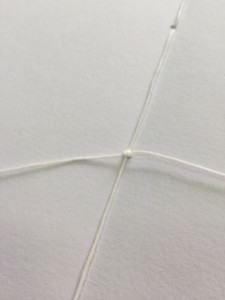
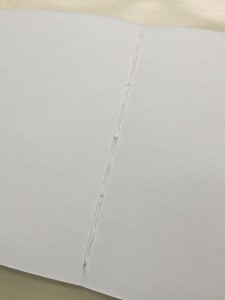
10. To finish the binding off, have the two ends either side of the thread and tie off with a reef knot (right over left and left over right)

reef knot to finish binding

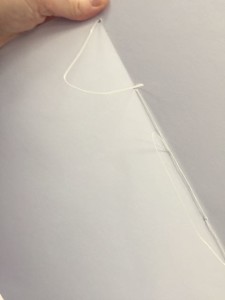
11. To tidy up the ends thread one end through the top stitches and the other end through the bottom.
tidy ends of handmade pamphlet binding

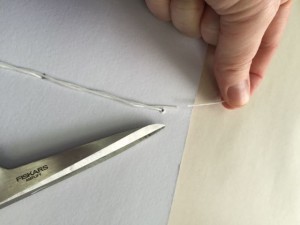
12. Cut ends of the binding string if they are too long and poke out past then edge of the page.

cut ends with scissors

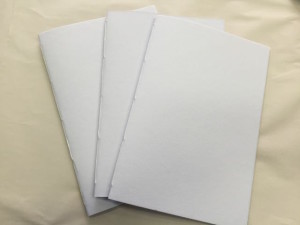
13. Now this signature is complete. Repeat with the other two signatures.

3 signature art journal

Binding the Signatures Together

Now that we have three completed signatures, each with 4 sheets of paper, we can now bind the three signatures together into one art journal.

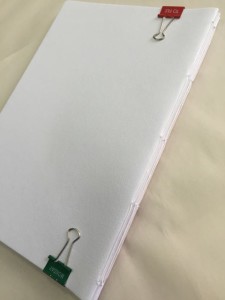
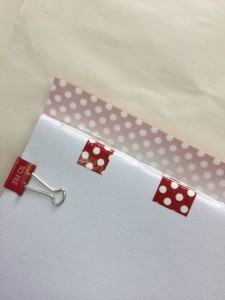
1. Use bulldog clips to hold the three signatures together.
hold signatures together

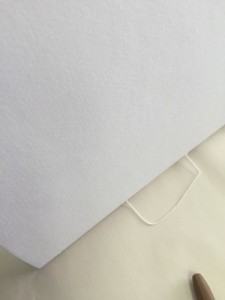
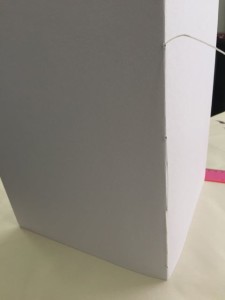
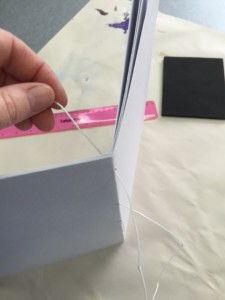
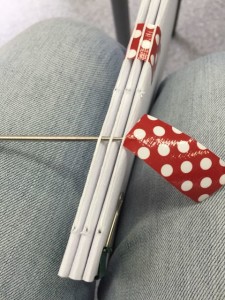
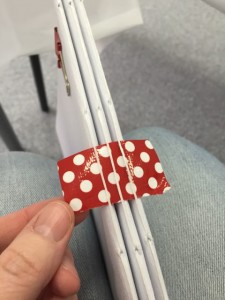
2. Cut a strip of tape 15mm wide and tread under the string and, pressing the signatures together, stick the ends down onto the covers of the journal. If the binding is tight, use the awl to guide the tape under it.
use awl to help bind signatures

art journal binding signatures

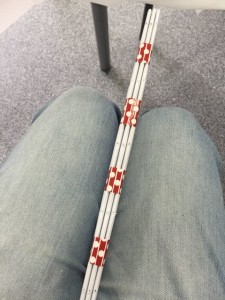
3. Repeat three times so there are 4 pieces of tape holding the signatures together.

tape to joing signatures together

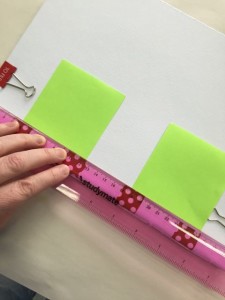
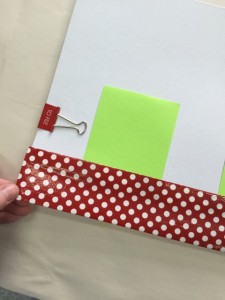
4. Use a ruler and post it notes to mark a line and make it easier to align the tape. This will keep the tape straight on the front cover.

align binding tape to cover

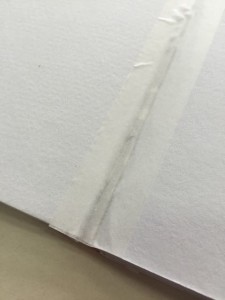
5. Run a piece of tape the full length of the art journal, using the post it notes as a guide. Cut to length.

front cover ot journal binding

6. Place the journal front down and wrap the tape around the spine and onto the back cover, keeping it firm.

tape binding

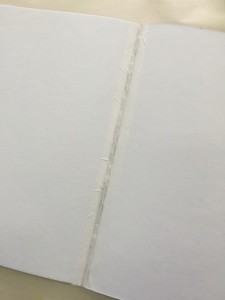
7. To finish binding the art journal, use the masking tape or Dina Wakely tape to tape the spine between two signatures. This makes the binding firmer and makes it easier to decorate with the spine sealed. Repeat with the second the third signatures as well.

use Dina wakely tape

tape spine between signatures

tape signatures with tape

8. You may also want to tape the centre of each signature to secure the binding string.

final steps for art journal

Your art journal is finished and ready to decorate.

watercolor paper art journal

Happy creating,

Michelle

Book Review: Creative Girl – Mixed Media Techniques for an Artful Life

~*~

This article is written by  Teresa Abajo

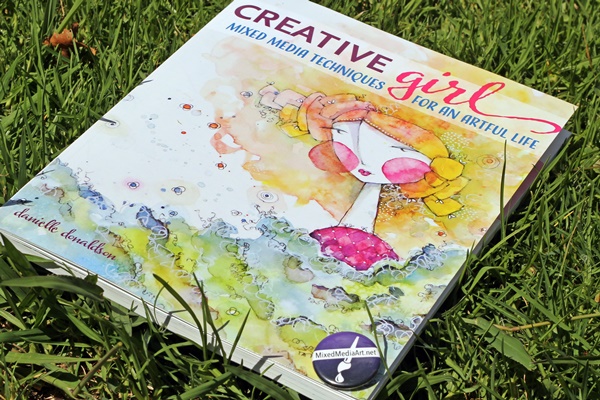
Hello! Teresa Abajo here and I will be reviewing Danielle Donaldson’s book Creative Girl – Mixed Media Techniques for an Artful Life. It was published in 2015 by North Light Books, who bring us a number of other wonderful art related titles.

book review

Danielle Donaldson is a graphic designer and has focused her artistic efforts on watercolour and graphite drawing techniques. Her work is wonderfully colourful, with lots of details she adds with pencils and markers.
The introduction invites us to discover our very own creative happy place by organising our time, personalising the process, creating stashes and sorting supplies. Throughout the book, the emphasis is on staying active creatively – never on productivity or creating to a particular standard.

We start (as many art books do) with a list of all of the supplies Danielle uses to create. I’m happy to say there aren’t too many specialised materials required. In fact, you’ll likely find you already own most items, or can substitute with the brand you already use. There are many household items she uses too – things like glass jars, salt, pins and old books.

book review

In the first chapter, Danielle talks about where much of her crafting takes place – on her couch surrounded by distractions I for one would find too much to bear! She puts together handy little stash stations containing creative tools and materials and she indulges in small snippets of creative time throughout the day. Again, the emphasis is on crafting often, rather than crafting for long periods of time. I found I could very much relate to that – I certainly find it easier to steal moments from my day rather that schedule a huge block of time for crafting. Organisation is key, and Danielle explains how she uses and collates Inspiration Folders.

The next couple of chapters focus on watercolour specific techniques and contain lots of ideas for mini projects and art exercises.
In Chapter 5 Danielle covers developing your own signature style – putting ‘you’ into your art work. She walks us through the creation of various girl figures in very simple, well photographed steps. Here’s where I am with these lessons:

book review

The next part of the book gives us lots of examples of “hot mess solutions” or how Danielle fixes components of her work with which she isn’t happy. Cover ups, work arounds, walk aways, let it go – simple self explanatory terminology.
The last part of the book has a beautiful gallery of Danielle’s work. Now that I’ve read her book I feel inspired to deconstruct a piece and have a go at replicating the components that appeal to me.

Creative Girl – Mixed Media Techniques for an Artful Life is part drawing and watercolour play manual and part realistic guide for those of use wanting to inject a little more art into our daily lives. It’s a beautifully presented book, written in simple and encouraging language and I’m sure you’ll be as thrilled as I was to add it to your craft library.

.

.