Michelle G Brown | Mixed Media Art

Documenting your Creative Process with an Art Journal

~ * ~

There is nothing more frustrating to have created a wonderful mixed media painting or when you have mixed paints to create new, wonderful colors, and then not being about to repeat the process or outcome because you can’t remember what you did in the first place. That’s where an Art Journal or visual diary can make all the difference. By jotting down a few key steps and materials you used in your artwork, in creative journal, you will have a reference when you are looking for ideas or wanting to replicate a certain technique.
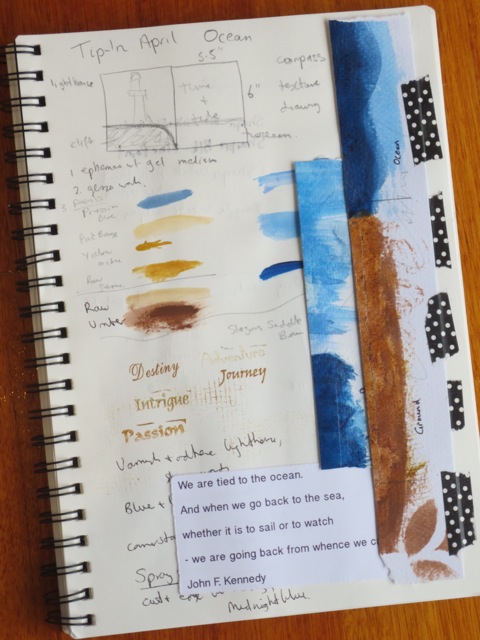
Have an art journal at hand to note down colours and materials used

Tips for using your Art Journal

Here Michelle shows you her art journal and the kind of things she documents.

Here is the final mixed media painting Ocean that Michelle was creating while documenting the process steps and the acrylic paints used.
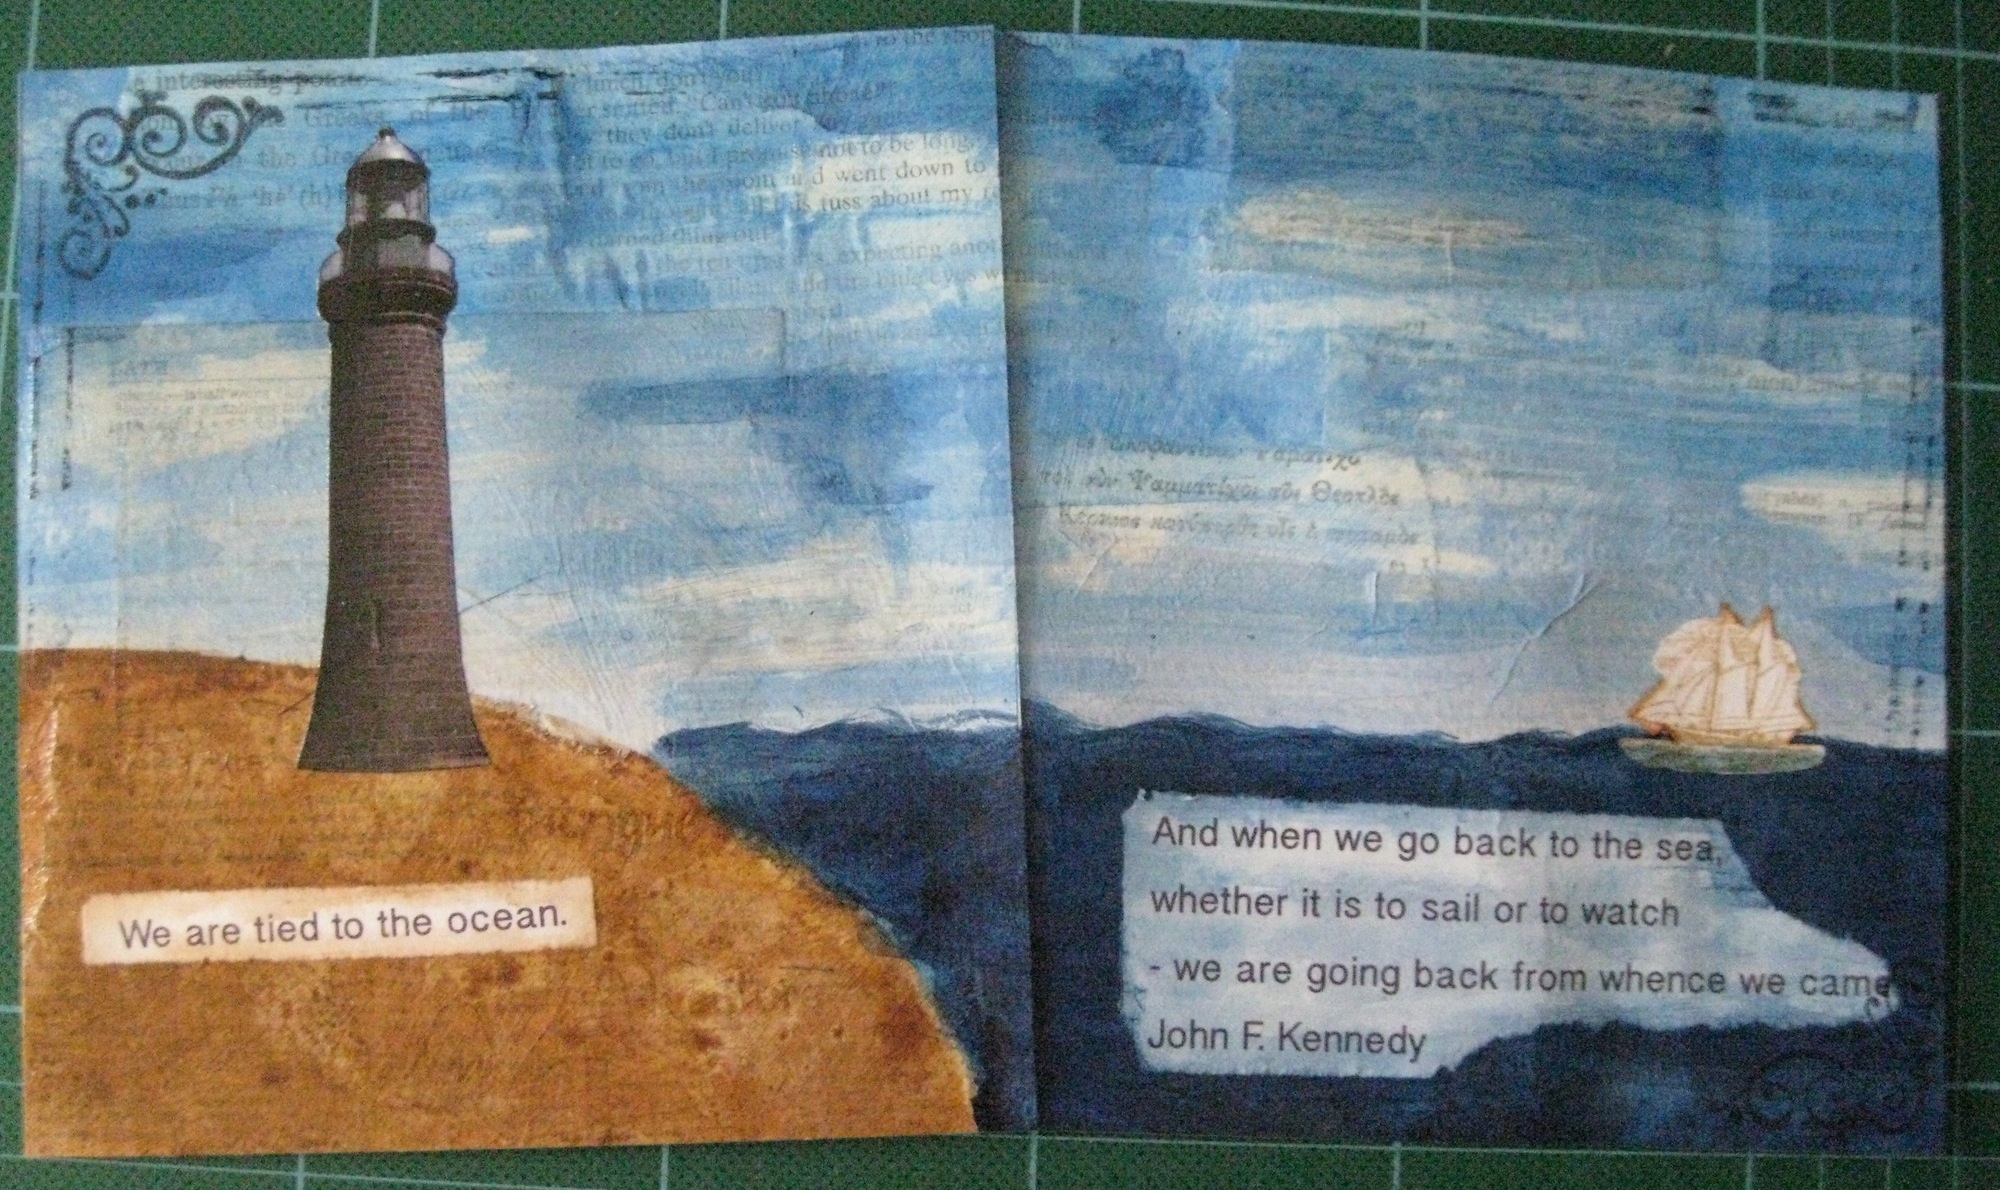
tip in swap spread with "Ocean" as the theme

When you compare the initial sketch at the top of the page in the art journal, shown above, with the finished piece, you can see the sketch is only a rough outline of how the final piece turns out. That’s fine. The art journal is to simply document any thoughts and ideas that you have at the start. then you can show the layers, as you have added them. Note that paints or mediums you have used.

When selecting a book to use as an art journal, consider the different types of mediums you are most likely to use and choose one with paper that matches. Here I’ve used a visual journal, which is great for sketching and adding little samples of paints and adhesives. Some inks and too much paint will run through the pages, so keep the paints fairly dry.

I tend to use both sides of the pages but will always start an important piece of work on a new page. That way I have a nice clean sheet, without any lumps of bumps underneath the paper. Then I can use the backs of pages for straight sketched or to develop and document ideas for future projects.
Faux Stitching

This article is written by Dawn Stegall of Faithfully Yours

I don’t know about you, but I love the look of stitching on my craft projects.  However, I really don’t want to drag out my sewing machine. Actually to be perfectly honest, I don’t want to take the time to learn the proper needle to use, tension, etc. So instead I prefer an easier and quicker method.

Supply list:
• serrated tracing wheel
• gel pen, markers, pens
• soft surface (mouse pad, etc)

Step 1: Create Holes

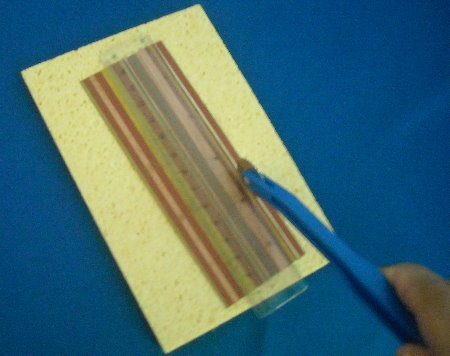
Using tracing wheel, create your holes where you want your stitching to be. I traced around the border of my patterned paper.

 Mixed media art technique

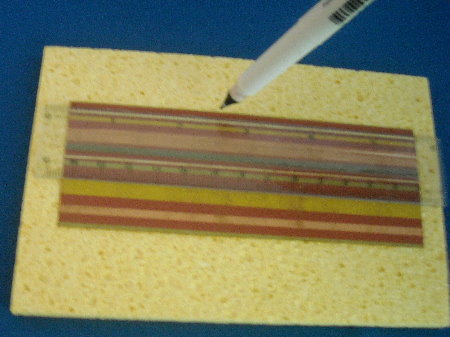
I have a clear 6 inch ruler I like to use as a guide. Be sure to press hard enough to create the holes. This is why a cutting matt will not work, you need a softer surface to create the holes.


Step 2: Faux Stitch

Using gel pen or marker of your choice, “connect the dots”.  I keep the ruler in place and simply draw a line.

Mixed media art technique

Close up of “stitches”.

Mixed media art technique


Super simple, yet effective!


Method 2:

Use a marker and draw lines freehand to create your own faux stitching. I like to use glaze pens as they dry with a slightly raised surface. This gives your stitches a more realistic look. Note: for this method do not use a ruler as the pen tends to bleed under the ruler leaving smudges on your finished project. (plus allows for a more realistic hand stitched look)

Sample card:

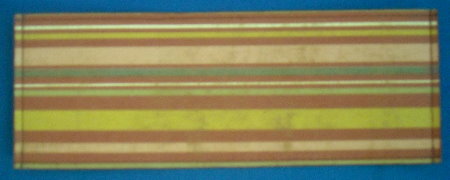
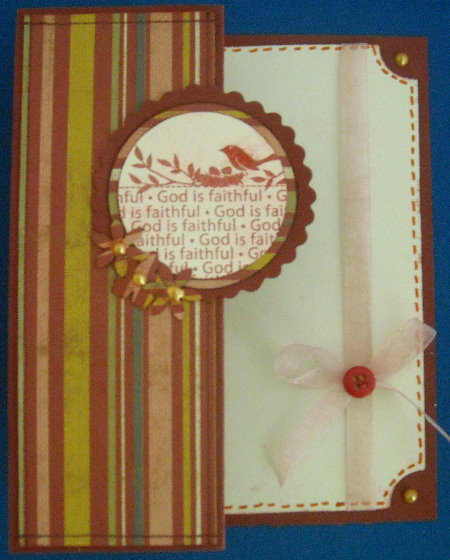
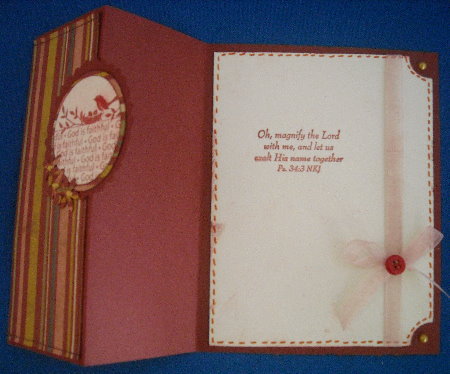
Notice the striped panel of patterned paper from the tutorial above. Inside the card I used method two and drew the stitches freehand with a glaze pen. Under the circle, I stamped a sentiment on the inside of the card.

Mixed media greeting card

Mixed media greeting card

~*~*~*~*~*~*~*~*~*~*~*~*~*~*~*~*~*~*~*~*~*~*~*~*~

Dawn Stegall strives to be a good steward while remembering God in her scrapbooks.

For a free guide and weekly inspiration visit http://www.FaithfullyYours.net

~*~*~*~*~*~*~*~*~*~*~*~*~*~*~*~*~*~*~*~*~*~*~*~*~

.

.

Joy Bathie’s Little Fat Books

~*~

This article is written by Joy Bathie

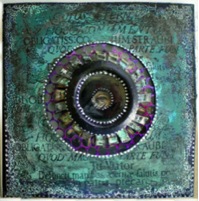
I have always loved books and my interest was expanded after attending a workshop at the State Library of NSW in Sydney some years ago, where I learned how to construct a basic hard cover codex book.  Since then I have experimented further and my repertoire now covers “handmade artist’s books” of various types and sizes, filled with colour and texture.  I’m now creating smaller books and enjoy making ‘LFB’s” (Little Fat Books) which are generally 10.5cm x 10.5cm (4” x 4”) square; I love this size, which sits so nicely in the hand.

making Little Fat Books

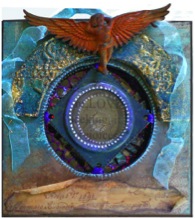
This page from an LFB looks through the central circular  cut-out to the following page

making Little Fat Books

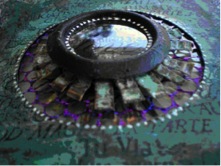
Here is a the page beneath

making Little Fat Books

and the close-up view.

Altogether there are five layers of colour and texture, plus clear and printed acrylic windows. Amongst other recycled materials these pages incorporate painted curtain rings and other circular metallic pieces, soft drink bottle caps cut, rusted, and patinaed, and also pulcinella (sequin waste).

making Little Fat Books

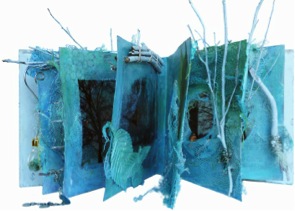
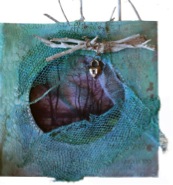
Here is another LFB, called “Twigs”, with two of its pages.  Again, each page in this book has a central cut-out section to view adjacent pages.

making Little Fat Books

making Little Fat Books

~*~*~*~*~*~*~*~*~*~*~*~*~*~*~*~*~*~*~*~*~*~*~*~*~

Joy Bathie lives in Port Stephens, NSW, Australia. You can see what Joy is up to over on her Facebook page.

~*~*~*~*~*~*~*~*~*~*~*~*~*~*~*~*~*~*~*~*~*~*~*~*~

.

.

Creating Seamless Transitions

Bringing a variety of elements together is what mixed media art is all about. The challenge is how we do this so that our finished artwork looks cohesive and pleasing to look at. The ability to do this is a skill we develop over time and through practice. Here we will look at the three main elements to be considered when putting your mixed media piece together.

1. Layering

Creating a background that has lots of interest and visual texture is done through adding many layers. The use of collage elements, paints, markers and images can be blended in many ways. Using areas with darker colours will provide contrast. Using text and shapes will create interest as our brains try to recognise and make connections with familiar elements. Drawing words or images into texture pastes or Gesso will creates shapes that can show through layers. As each layer is added, consider if you need to allow it to dry or whether blending while wet is preferable.

2. Blending

As the background layering is being added, some blending may also be needed. When paint is applied more thickly, it can cover up parts of the underlying elements. In other areas, removing some paint with a damp cloth will allow bits to show through.

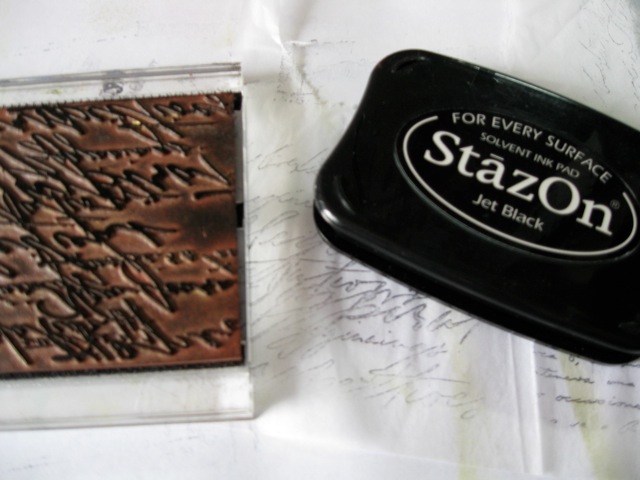
Tissue paper is great for adding images when the background is too hard to stamp on but you want the image and background to blend seamlessly. Stamp directly onto the tissue paper with permanent ink (like StazOn Ink Pads– Jet Black), tear around the outline and use gel medium (Golden Matte Medium) or varnish to stick it to your piece. Coat all surfaces with lots of gel medium, gently remove any bubbles from under the tissue paper and allow to air dry.
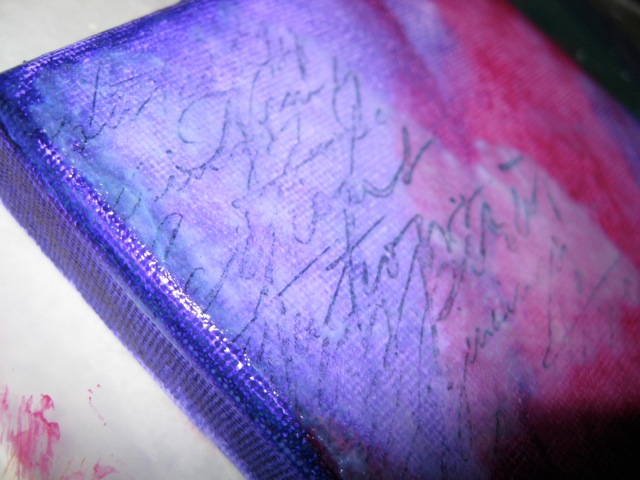
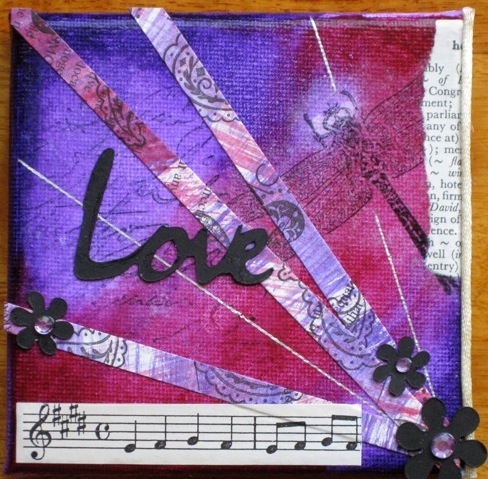
Using torn, natural lines will make blending the images into the background easier. Hard straight lines will stand out and break up the seamless transition we are trying to create.

The paint colours also need to be blended. Considering the colour pallet you have chosen, it is easier to blend similar colours. Blending the paints directly onto your artwork, using a little water, will help the transitions come together.

3. Arrangement

The arrangement of each element will influence the final balance and transitions of your work. Having images and text overlapping with the elements in the background will help to blend the edges of each element. If you are sticking many heavy embellishments, you need to consider if the backing piece will be strong enough to support these layers.

And remember, as with any mixed media work, there are no rules, only guidelines, so give yourself permission to play and experiment. Try not to over-think your work.

Happy creating!
.
.