This article was written by Michelle G. Brown
Through my journey into mixed media there have been times where I have been brave and other times when I need to urge myself to put pen, or paint, to paper! I hate the feeling of potentially “ruining” a substrate or “wasting” some material that I have bought.
To help me overcome this creative worry, I have turned to using reasonable priced materials to help minimise the fear of ruining or wasting away. Making my own art journal was a perfect way to help with my creativity – I can always make another art journal if I “ruin” this one! I love the freedom this mindset gives me; it takes away the worry and lets me jump, head first, into creative play.
So today I want to share my technique for creating a handmade art journal with you.
Handmade Art Journal
Gather materials
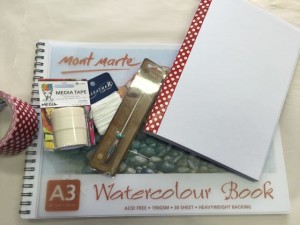
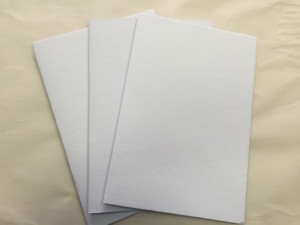
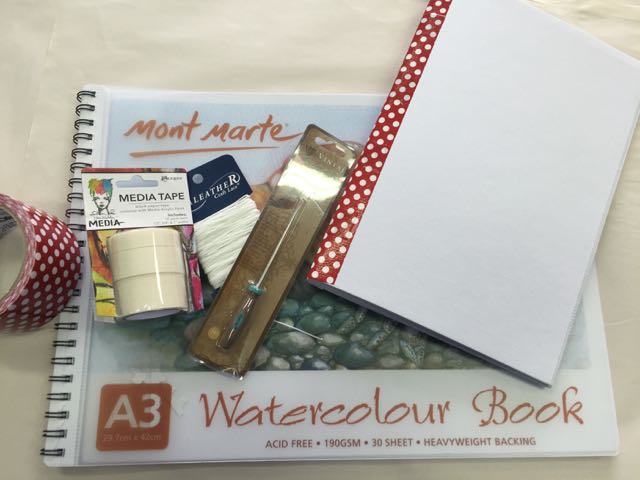
- A3 watercolour sheets – a total of 12
- Awl
- Waxed string
- Fabric or duct tage
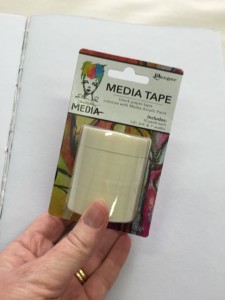
- Masking tape or Dina Wakely Mixed media tape
- Upholstery needle (optional)
Technique to make Art Journal Signatures
1. Fold A3 pages in half, to A4 size. Crease fold firmly. Separate into 3 signatures with 4 folded pages in each.
Set 2 signatures aside and work on one.
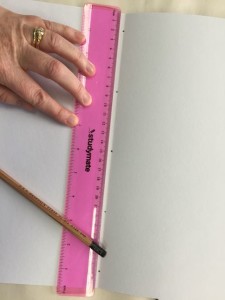
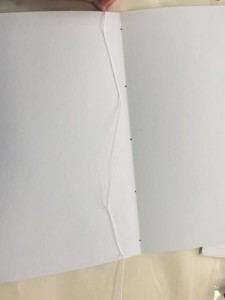
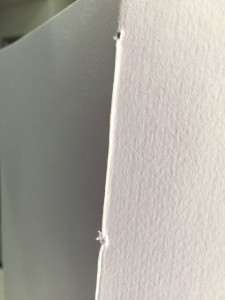
2. Taking one signature, open to middle role and mark locations for binding holes.
Here I centre the ruler on the page, with 2mm out either end then I have marked in the middle at 15cm, the top and bottom holes (at 2cm and 28cm) and then between the other holes (at 8.5cm and 21.5cm)
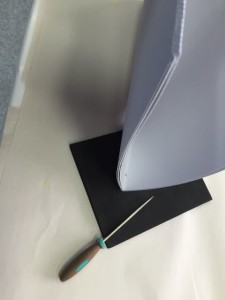
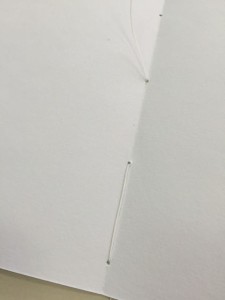
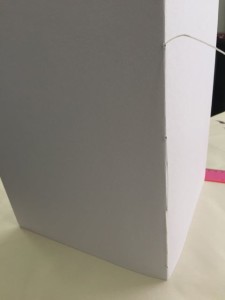
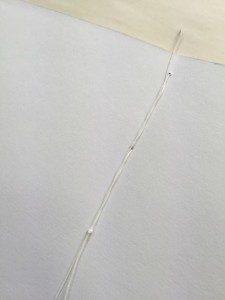
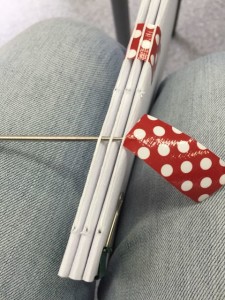
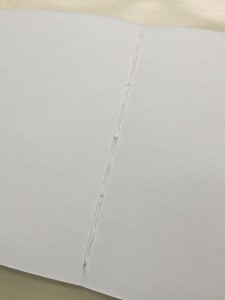
3. Using the awl, stand the signature up to help make sure the holes go through the centre of each page. Gently much awl through each marked spot to make 5 holes. Make sure you push the awl into a cutting mat or appropriate surface.
Art Journal 5-Hole Pamphlet Binding
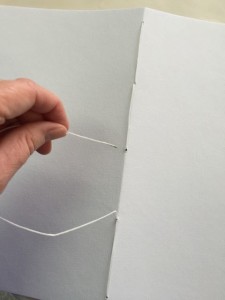
Now we are ready for the binding. This is called pamphlet binding and can be done with 3 or 5 holes; I prefer 5 here as the journal is large. to cut your binding string to length, use the signature as a guide, and cut the binding string 3 times the length of the spine.
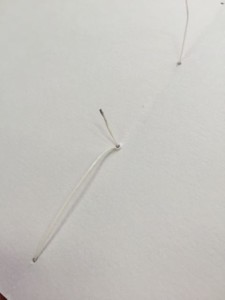
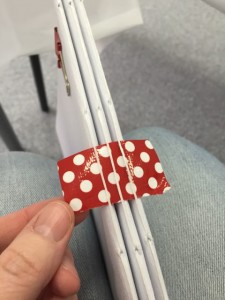
1. From the centre of the signature, thread the string through the middle hole, from inside to out. Pull through and leave a tale of about 10cm.
2. From the outside thread the string in the next hole down. Pull firm.
3. On the inside thread the spring through the bottom hole.
4. From the outside, thread the string in the next hole up, through the same hole that we have already threaded the string through. This can be a bit tricky. Use the awl to enlarge the hole if needed.
5. On the inside, run the thread up the middle, past the centre hole and into the next hole.
6. From the outside, thread the string from the second top hole and in through the top hole.
7. Thread the string back through the second top hole from the inside to out.
8. And finally, thread the string through the middle hole, from outside to in.
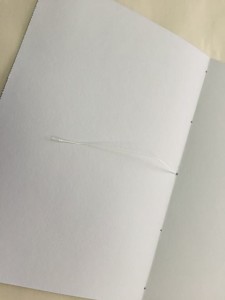
9. Check the tension of the string. We want it firm but not pulling on the holes.
Adjust the string so the ends are even by pulling it through the holes and checking the tension.
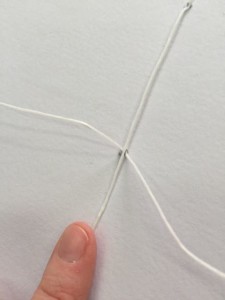
10. To finish the binding off, have the two ends either side of the thread and tie off with a reef knot (right over left and left over right)
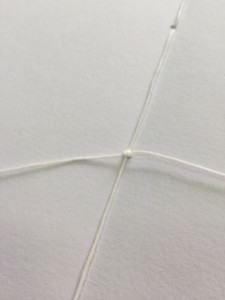
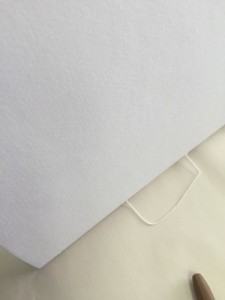
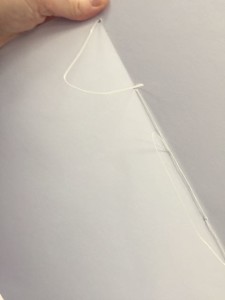
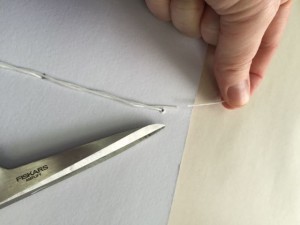
11. To tidy up the ends thread one end through the top stitches and the other end through the bottom.
12. Cut ends of the binding string if they are too long and poke out past then edge of the page.
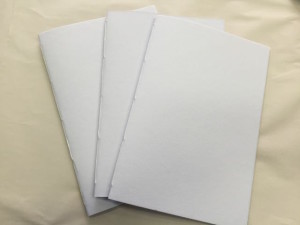
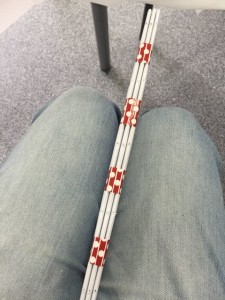
13. Now this signature is complete. Repeat with the other two signatures.
Binding the Signatures Together
Now that we have three completed signatures, each with 4 sheets of paper, we can now bind the three signatures together into one art journal.
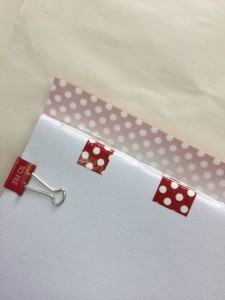
1. Use bulldog clips to hold the three signatures together.
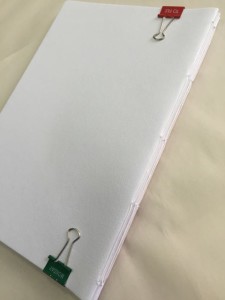
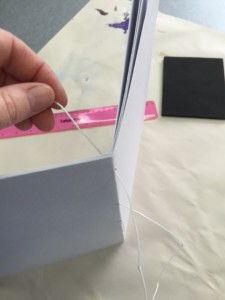
2. Cut a strip of tape 15mm wide and tread under the string and, pressing the signatures together, stick the ends down onto the covers of the journal. If the binding is tight, use the awl to guide the tape under it.
3. Repeat three times so there are 4 pieces of tape holding the signatures together.
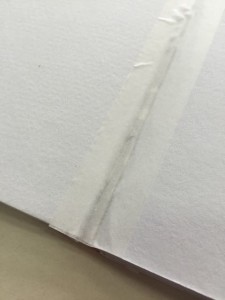
4. Use a ruler and post it notes to mark a line and make it easier to align the tape. This will keep the tape straight on the front cover.
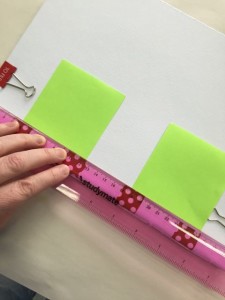
5. Run a piece of tape the full length of the art journal, using the post it notes as a guide. Cut to length.

6. Place the journal front down and wrap the tape around the spine and onto the back cover, keeping it firm.
7. To finish binding the art journal, use the masking tape or Dina Wakely tape to tape the spine between two signatures. This makes the binding firmer and makes it easier to decorate with the spine sealed. Repeat with the second the third signatures as well.
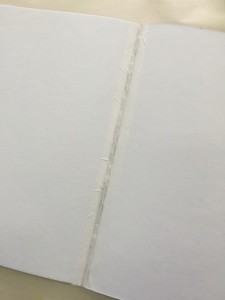
8. You may also want to tape the centre of each signature to secure the binding string.
Your art journal is finished and ready to decorate.
Happy creating,
Michelle


This is a great tutorial for getting a blank journal assembled. Thanks for the info!
This tutorial has wonderfully clear instructions! I also prefer it written rather than a video, which can be inconvenient, stopping, rewinding, repeating. Having made a few (poorly) before I’m looking forward to going through with your directions. Many thanks Michelle!