Michelle G Brown | Mixed Media Art

Jewellery Elements – Setting Eyelets

Incorporate jewellery elements into our mixed media art introduces a whole new world of embellishments and tools, as well as new skills. In this series we will look at the basic tools and elements needed to get us started.

Previously we looked at the basic tools we need to begin using eyelets in our mixed media art work. Here we will continue with the skills needed to add eyelets into our work.

Eyelets

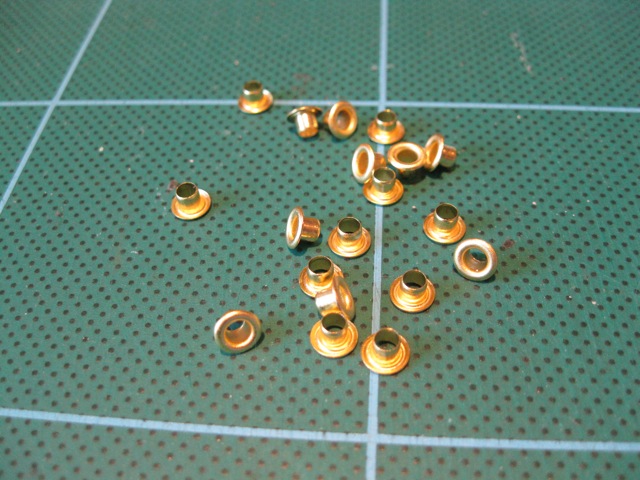
Eyelets come in a range of sizes and colours. To get you started, I’d suggest buying a bulk set of gold or bronze with 1/8″ diameter.
mixed media art embellishments

These will complement many different pieces of work. The colours can be changed by using a metallic leafing pen, like Krylon.
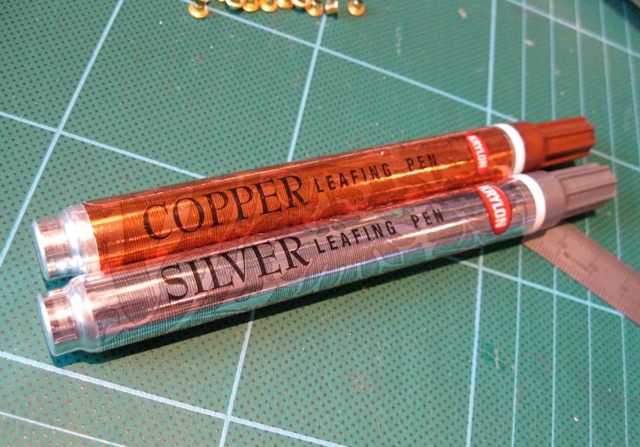
mixed media art embellishments

While there are lots of pretty colours out there (many of which I have bought!) I find that I don’t use them unless I have bought them for a current project. Those pretty colours can be distracting.

With the different diameters, the eyelets also come in different lengths. If you are planning on using the eyelets into thick board, the consider choosing a longer length. For most mixed media artwork, the standard sizes will be okay.

Making the hole
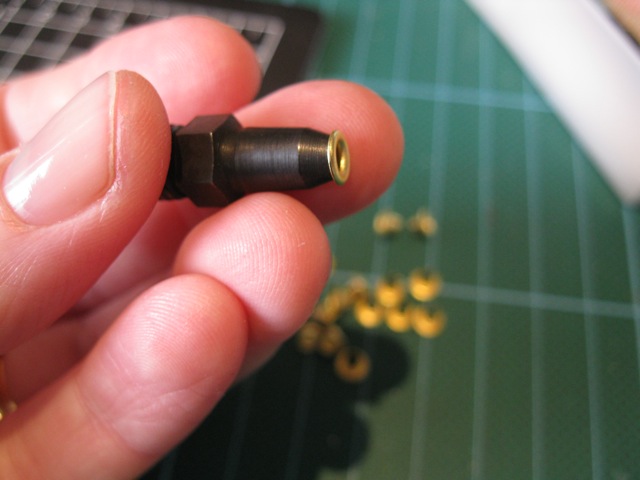
Take the eyelet you want to add and check the size compared to the hole punch.
mixed media art embellishments
The body of the eyelet needs to fit neatly but the head needs to nestle onto the work surface. A little movement in the hole is okay but too much will make the eyelet move when setting. This makes getting them in the right place a little tricky, making a pair or row of eyelets look untidy. Once set, eyelets are very hard to move.

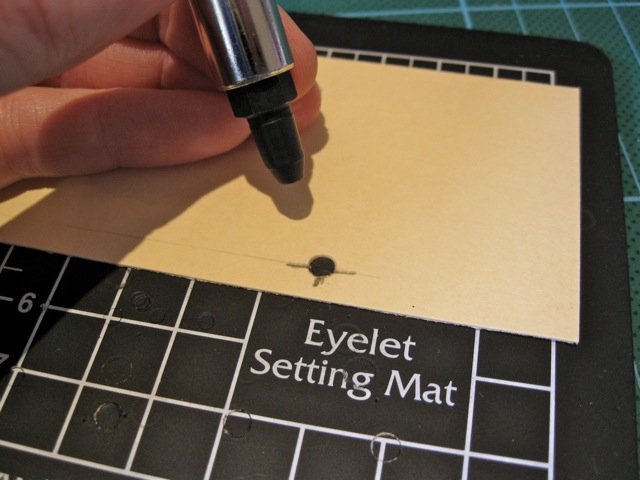
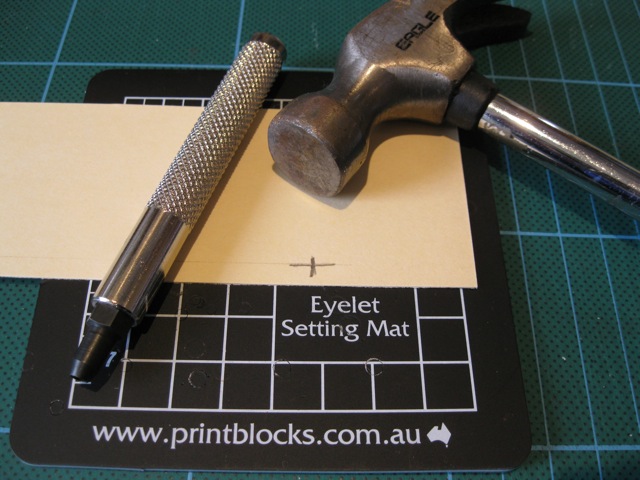
Lightly mark the position on your work where the eyelet is to go.
mixed media art embellishments
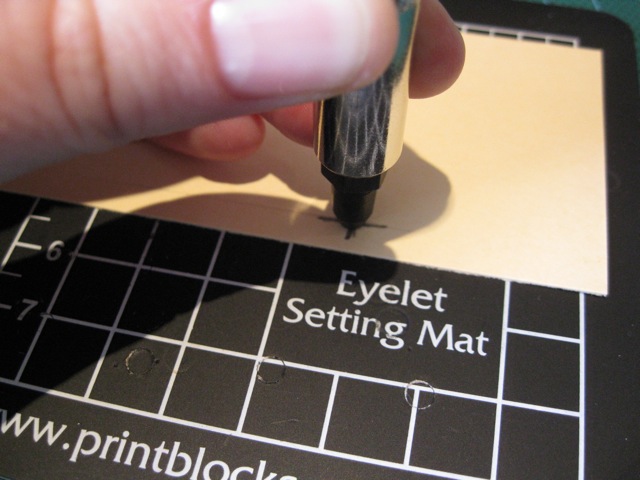
Line up the punch, hold it straight up and down, and hit it firmly with a hammer. If the punch hasn’t gone right through, line it up again and hit it a few more times.
Embellishments in mixed media artmixed media art embellishments

Getting the hole positioned exactly where you want it takes a little practice, so do a few test holes on scrap cardboard to get the hang of it.

Setting the eyelet
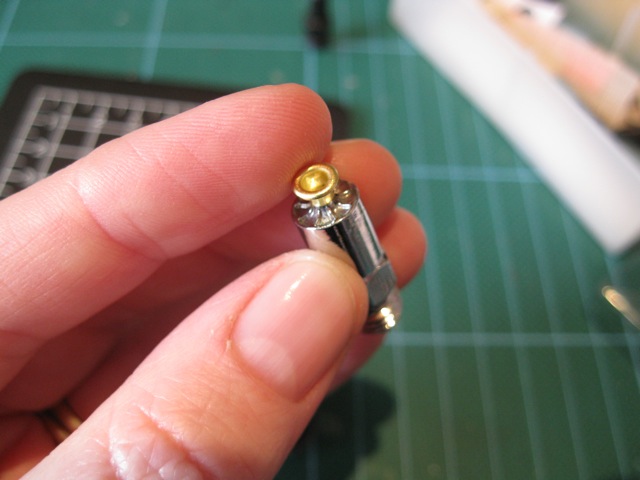
Check the eyelet size against the setter diameter to check the setter head will fit into the shank of the eyelet, without being too sloppy.
mixed media art embellishments

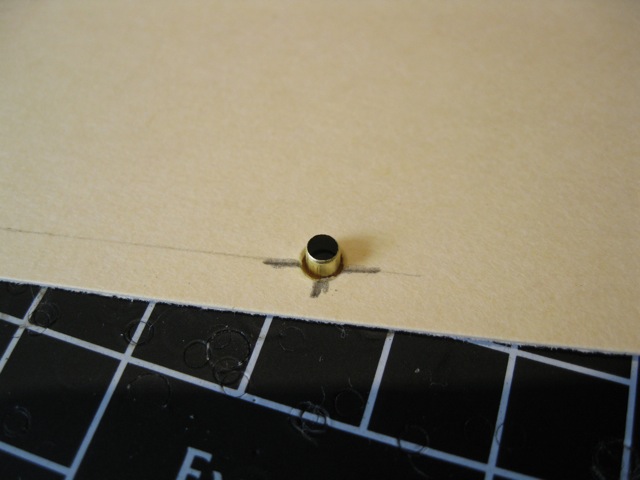
Put the eyelet into your work with the head onto front side you want visible. Turn the piece over and lay it flat onto the mat.
mixed media art embellishments
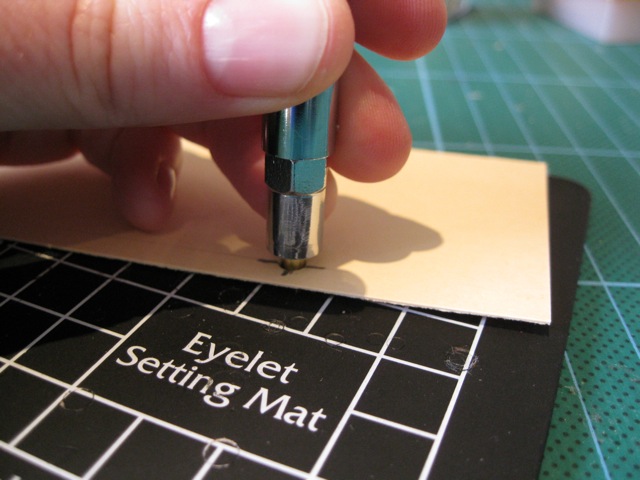
Check the position of your work and the eyelet. Place the setter into the end of the eyelet and hit it firmly with the hammer.
mixed media art embellishments
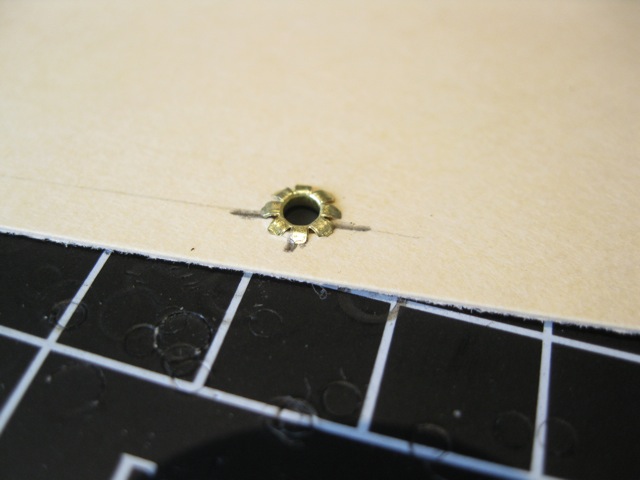
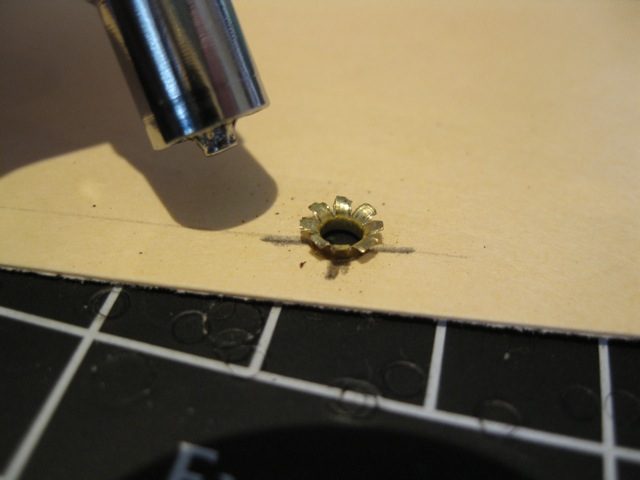
Have a look at the tail; if it has opened more that halfway, hit it with a hammer to flatten it. If it hasn’t move much, use the setter again.
Embellishments in mixed media artmixed media art embellishments

Using a Crop-a-dile
Using a crop-o-dile is a similar process. There are two sizes to choose from (1/8″ and 3/16″), so chose the one that fits your eyelet best. Lightly mark where the eyelet is to go. Line up the punch side and make the hole.

Then put the eyelet through your work, insert it into the right sized setter and gently squeeze the crop-o-dile to set your eyelet.

There you have it; a finished eyelet!
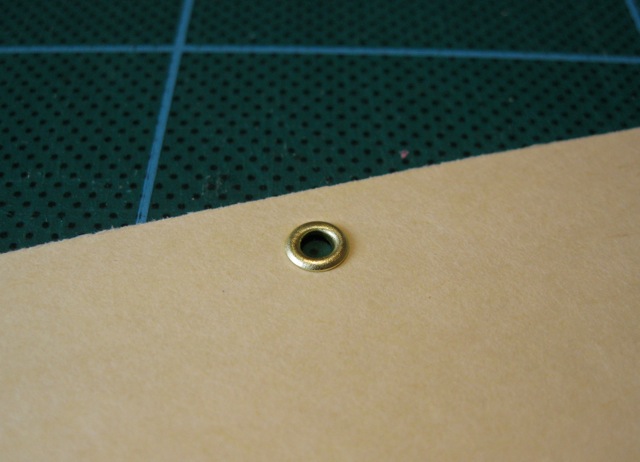
mixed media art embellishments
Repeat the process with next eyelet until they all are set.

Happy creating!

.

.

.
Mixed Media Artist ~ Laura Thykeson

Our Mixed Media Art community is a diverse bunch; from all around the world, with different interests, reasons why we create and a wide range of skills.  Over the next few weeks we will be featuring a range of mixed media artists to tell their stories and share their artwork.

Laura Thykeson is our featured artist this week.

~*~*~*~*~*~*~*~*~*~*~*~*~*~*~*~*~*~*~*~*~*~*~

Mixed media art journal

Hello!

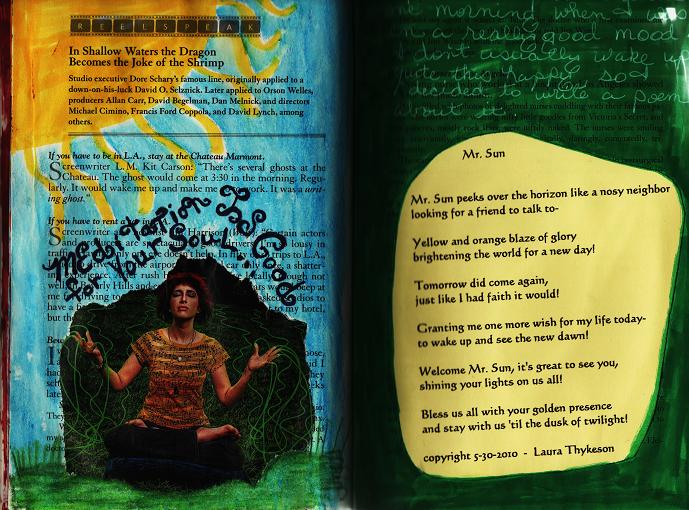
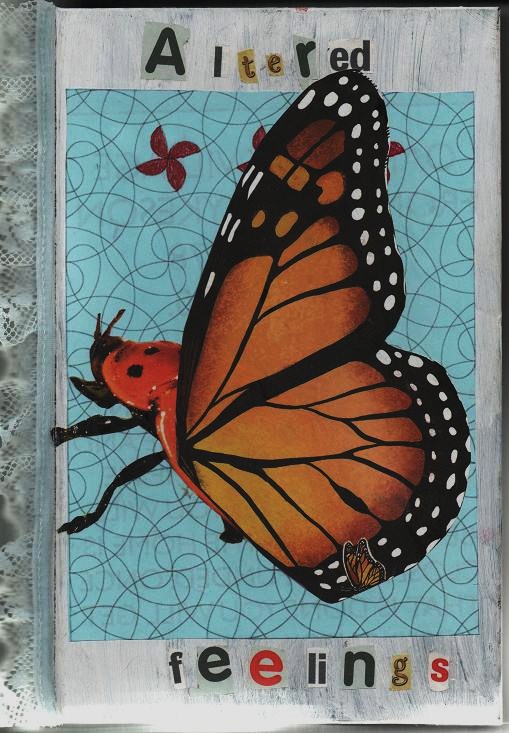
I am Laura Thykeson, and I have been totally immersed in mixed media art for many years. If it will “take paint”, I have probably painted on it! I discovered altered books and art journals about a year ago and have been hooked ever since!

I am 50, married to a wonderful man named Kris, and live in Granbury, Texas USA with our two rescued dogs and two rescued cats.

I have always loved mixed media art because of the variety and the “no rules” aspect! I get bored easily, and although I started out a fine art oil artist, I soon transitioned into my own line of wearable art, purses and jewelry, along with decorative items for the home. I have both owned my own art shop, as well as working from home and selling my items to wholesalers in Texas and Colorado in the past.  I have done many of the art shows when I was younger, but my health keeps me close to home these days.

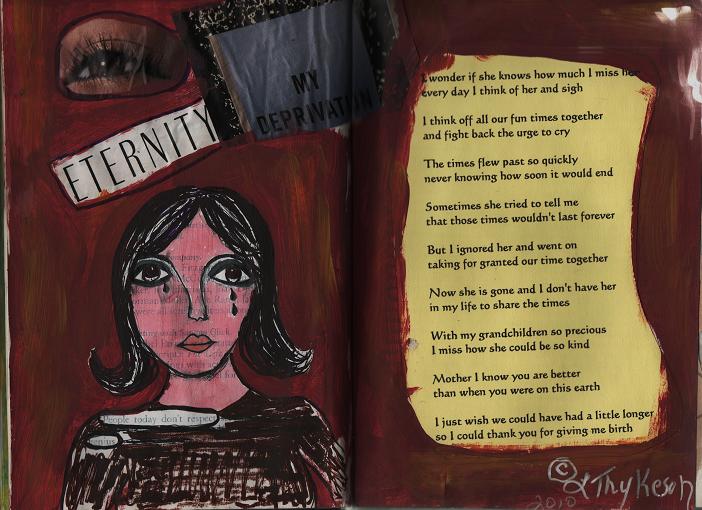
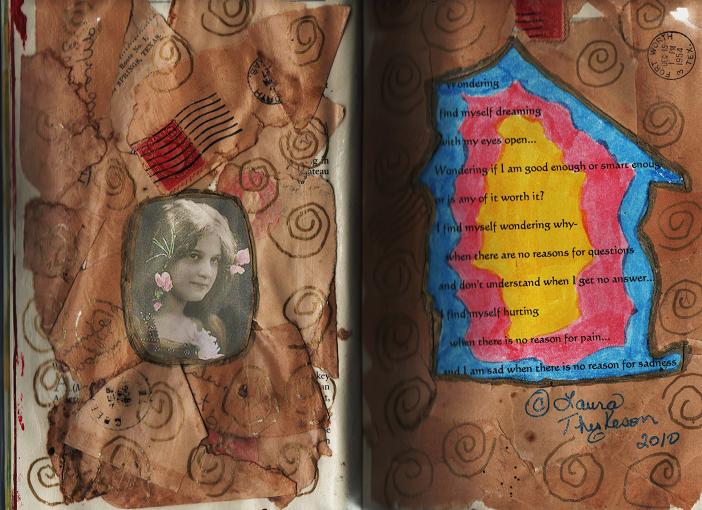
I am attaching photos of my altered book that combines my own unique style with my own original poetry. My style is a bit different from many that you see, as I live rich color and a lot of contrast. I did all of the pages with a coat of gesso, some collage, and then acrylic paints, finished up with Sharpie markers for some vibrant color (love ’em, especially for the price…!) and added in a computer graphic of the latest poem I have written. This has been an ongoing project for the last year, along with the 8 other altered books with altered text I am working on, as well as various other ongoing artistic projects! I always stay busy, that’s for sure!

~*~*~*~*~*~*~*~*~*~*~*~*~*~*~*~*~*~*~*~*~*~*~

Mixed media art journal

~*~*~*~*~*~*~*~*~*~*~*~*~*~*~*~*~*~*~*~*~*~*~

Mixed media art journal

~*~*~*~*~*~*~*~*~*~*~*~*~*~*~*~*~*~*~*~*~*~*~

mixed media altered journal art

~*~*~*~*~*~*~*~*~*~*~*~*~*~*~*~*~*~*~*~*~*~*~

Thanks for sharing your art with us Laura.
.

.

Mixed Media Artist ~ Pat Upton

Our Mixed Media Art community is a diverse bunch; from all around the world, with different interests, reasons why we create and a wide range of skills.  Over the next few weeks we will be featuring a range of mixed media artists to tell their stories and share their artwork.

This week we are talking with Pat Upton – we will let her tell us about herself…

~*~*~*~*~*~*~*~*~*~*~*~*~*~*~*~*~*~*~*~*~*~*~
I am Pat Upton. I live in Durham, North Carolina, USA. I have a husband, Eric, who is a retired fire captain. We have 2 grown daughters: Sarah, who lives in Wilmington, NC, and is a 911 operator, and Laura, who is currently living at home and working as a customer call representative at Eurosport, an online soccer supply company.  We are owned by a dog, Luna (a flat coated retriever) and a cat, Birdie (gray tabby).

I have only discovered mixed media and really art in the last couple of years! I am one of those people who thought if you can’t draw photo realistically, then you are not an artist. In finding mixed media art, I have found my outlet! I do have what I consider a whimsical take on most things; others may call it demented!

I have attached a picture of a piece that was created for a challenge.

mixed media art

I belong to a group called the Carolina Mixed Media Art Guild. Once a year they have a challenge; this year it was called the Take 25 Challenge. The first 25 artists to sign up chose something that was required to be included in the piece (for instance, the letter ‘c’, a piece of broken jewelry, a nut (organic or otherwise), lace, etc). Of the 25 items, each artist must include 23 and was allowed to add 2 items not on the list. Paints, colors, glues and attachments were free. And there was no theme! Boy what a diverse mix of art! Truly wonderful! But mine as you can see, is again whimsical, nay, demented! The experience was tremendous fun and I will indeed join in again!

~*~*~*~*~*~*~*~*~*~*~*~*~*~*~*~*~*~*~*~*~*~*~

Thanks for sharing your art with us Pat.

You can find out more about the Carolina Mixed Media Art Guild
from their Yahoo Group or their Blogspot blog.
.

.
.

Jewellery Elements – Eyelet Tools

Incorporating jewellery elements into our mixed media art introduces a whole new world of embellishments and tools, as well as new skills. In this series we will look at the basic tools and elements needed to get us started.

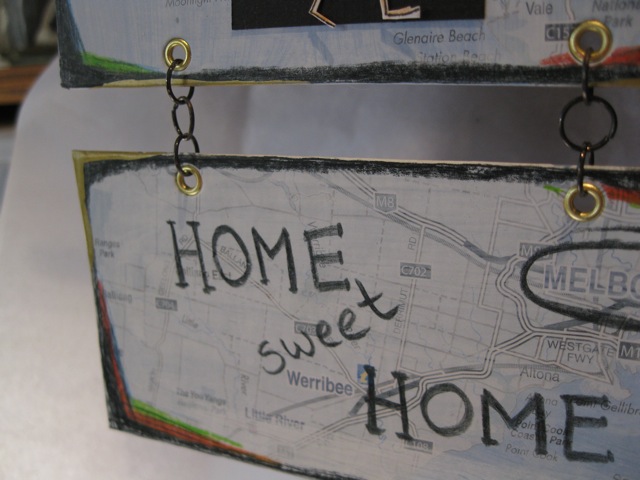
Here I have used eyelets to join two sections of this wall hanging together.

eyelets as embellishments

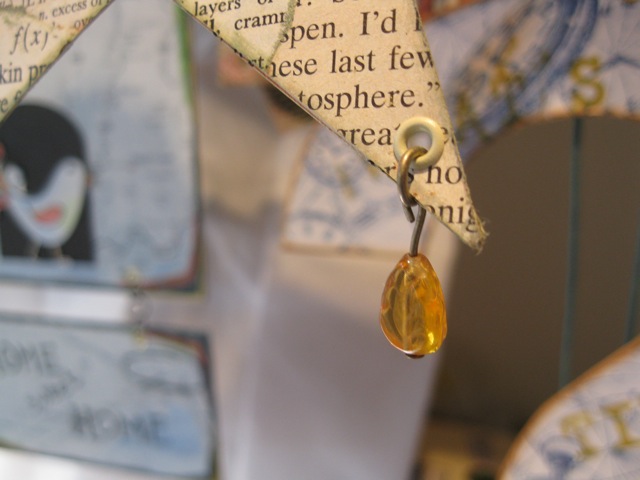
Here I used eyelets to reinforce the corners to hang beads in making this Christmas decoration.

eyelets for decorations

Tools needed for eyelets
Eyelets are those fantastic embellishments that originated to reinforce a hole in fabric or paper  and allow us to thread things through.

The tools needed to start using eyelets will require an initial outlay and can be expensive. Like any tools, you do get what you pay for. Once bought, these tools can be used again and again.

Hole punches
To add eyelets into our mixed media artwork we need to make a hole that is the right size for our eyelets. They come in a range of diameters and lengths and need a hole to match the size.

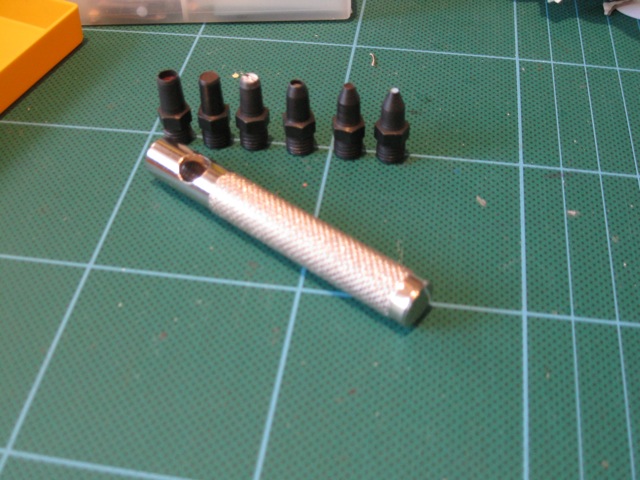
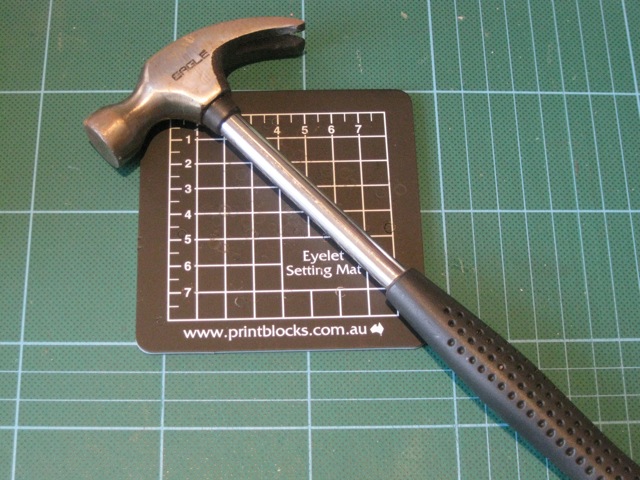
I have a universal hole punch set, which has interchangeable heads so I can make different hole sizes, anywhere on my artwork. To go with this, I need a hammer and a mat to protect the work surface.

mixed media art

mixed media art tools

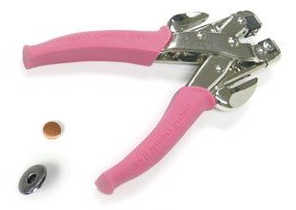
The bees-knees of hole punches is the Crop-a-dile punch – this has two different hole sizes and punches with ease through a range of cardboard thicknesses. It is much quieter than the hammer and punch approach.

crop-o-dile punch

Eyelet Setters
Eyelets need “setting” by splitting the end and laying them flat, so the cardboard is clamped between the head and tail of the eyelet. We need a setting tool to do this.

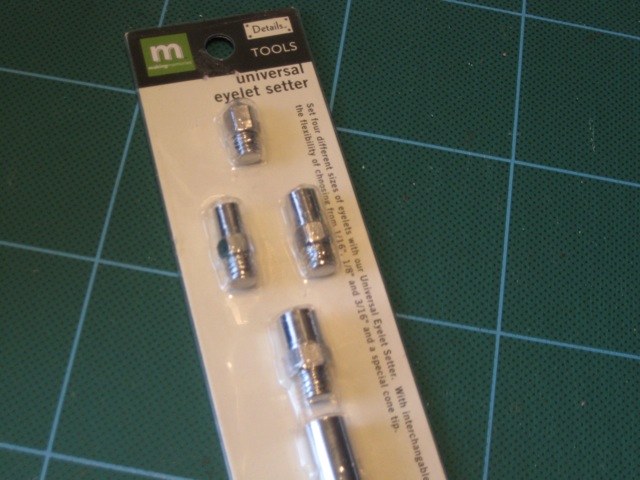
These also come in different sizes to suit the eyelet. The one I use is a Making Memories brand with interchangeable heads. To go with this, I need the hammer and a mat I use to punch the holes.

mixed media art tools

Again, the bees-knees of eyelet setters is the Crop-a-dile , which can also set the two different sizes that match the hole punches. This works really well with the soft eyelets.

I hope this article has got you thinking about incorporating jewellery elements into your artwork. In the next article we will show how to make the right hole for your eyelet and how to set it to get a great finish.

.

.