Incorporate jewellery elements into our mixed media art introduces a whole new world of embellishments and tools, as well as new skills. In this series we will look at the basic tools and elements needed to get us started.
Previously we looked at the basic tools we need to begin using eyelets in our mixed media art work. Here we will continue with the skills needed to add eyelets into our work.
Eyelets
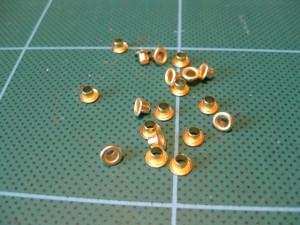
Eyelets come in a range of sizes and colours. To get you started, I’d suggest buying a bulk set of gold or bronze with 1/8″ diameter.
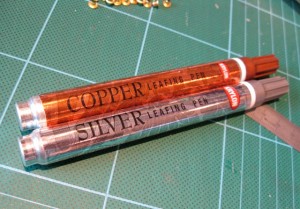
These will complement many different pieces of work. The colours can be changed by using a metallic leafing pen, like Krylon.
While there are lots of pretty colours out there (many of which I have bought!) I find that I don’t use them unless I have bought them for a current project. Those pretty colours can be distracting.
With the different diameters, the eyelets also come in different lengths. If you are planning on using the eyelets into thick board, the consider choosing a longer length. For most mixed media artwork, the standard sizes will be okay.
Making the hole
Take the eyelet you want to add and check the size compared to the hole punch.
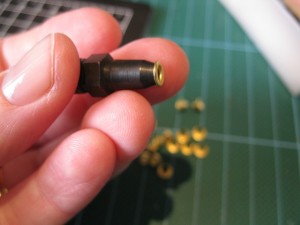
The body of the eyelet needs to fit neatly but the head needs to nestle onto the work surface. A little movement in the hole is okay but too much will make the eyelet move when setting. This makes getting them in the right place a little tricky, making a pair or row of eyelets look untidy. Once set, eyelets are very hard to move.
Lightly mark the position on your work where the eyelet is to go.
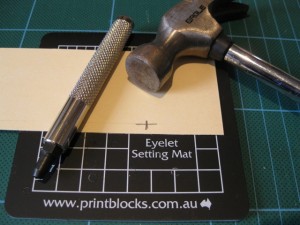
Line up the punch, hold it straight up and down, and hit it firmly with a hammer. If the punch hasn’t gone right through, line it up again and hit it a few more times.
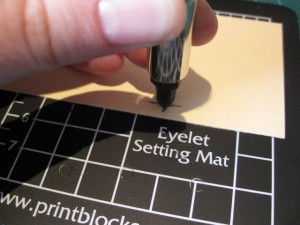
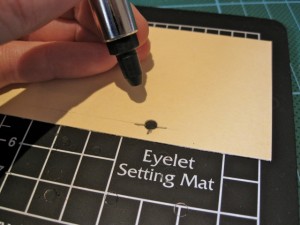
Getting the hole positioned exactly where you want it takes a little practice, so do a few test holes on scrap cardboard to get the hang of it.
Setting the eyelet
Check the eyelet size against the setter diameter to check the setter head will fit into the shank of the eyelet, without being too sloppy.
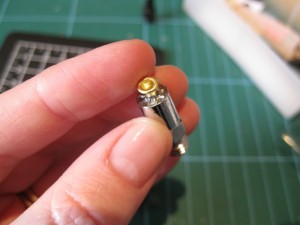
Put the eyelet into your work with the head onto front side you want visible. Turn the piece over and lay it flat onto the mat.
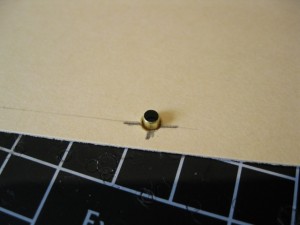
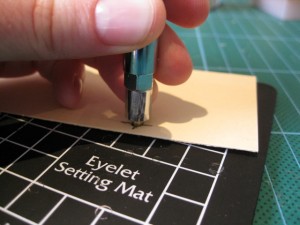
Check the position of your work and the eyelet. Place the setter into the end of the eyelet and hit it firmly with the hammer.
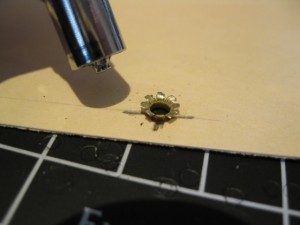
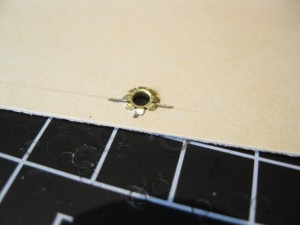
Have a look at the tail; if it has opened more that halfway, hit it with a hammer to flatten it. If it hasn’t move much, use the setter again.
Using a Crop-a-dile
Using a crop-o-dile is a similar process. There are two sizes to choose from (1/8″ and 3/16″), so chose the one that fits your eyelet best. Lightly mark where the eyelet is to go. Line up the punch side and make the hole.
Then put the eyelet through your work, insert it into the right sized setter and gently squeeze the crop-o-dile to set your eyelet.
There you have it; a finished eyelet!
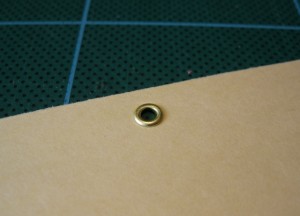
Repeat the process with next eyelet until they all are set.
Happy creating!
.
.
.


We would love to hear from you