Michelle G Brown | Mixed Media Art

Mixed Media Artist – Margie Diamante

~ * ~

Our Mixed Media Art community is a diverse bunch; from all around the world, with different interests, reasons why we create and a wide range of skills.  Margie Diamante has come along this week to share a very special piece.

~ * ~ * ~ * ~ * ~ * ~ * ~ * ~ * ~ * ~ * ~ * ~ * ~ * ~ * ~ * ~ * ~ * ~ * ~

Mixed Media Sculpture

Margie tells us a bit about her piece Out of Gesso; “The mannequin was very easy to alter. I used a sack from Jerry’s and made the logo to use on the little Tee shirt and his art apron, and just added what I thought he needed.”

“Love mixed media the best because I can use any materials I want,” Margie continues “I really had fun with him and he is sitting in my glass cabinet now.”

~ * ~ * ~ * ~ * ~ * ~ * ~ * ~ * ~ * ~ * ~ * ~ * ~ * ~ * ~ * ~ * ~ * ~ * ~

Thank you for sharing him with us Margie. He certainly makes me smile.

.

.
Mixed Media Artist ~ Jenny Panda


Our Mixed Media Art community is a diverse bunch; from all around the world, with different interests, reasons why we create and a wide range of skills.  This week Jenny Panda shares her work and a bit about herself.

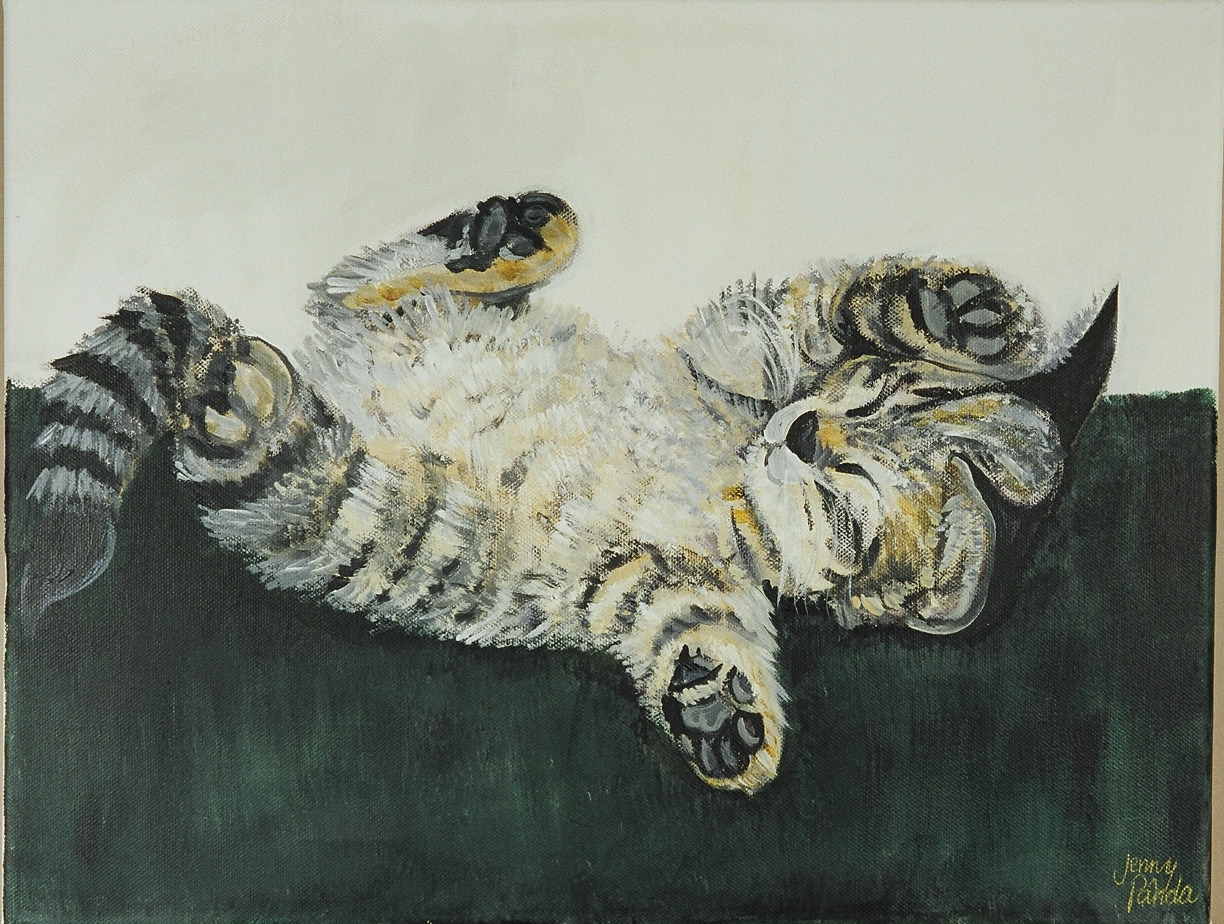
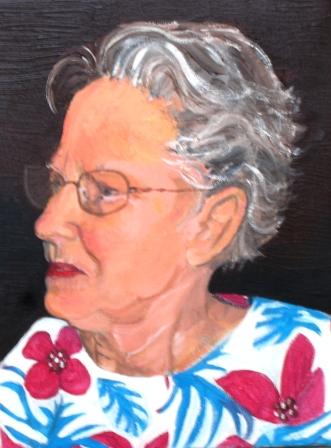
Jenny was born in India, during British Raj, educated in England, then moved to Canada in 1970. She has taught in England and Canada for 34 years with an emphasis on creativity; art, drama, music, children’s literature and computer exploration.

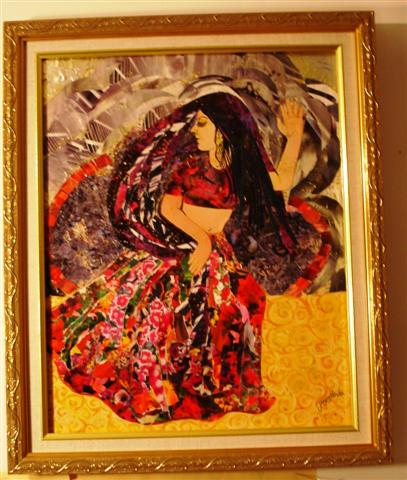
“I like to play with different media,” Jenny says, “but I know I enjoy portrait painting which I seem to be doing quite often these days! I also love collage.”

Jenny is now an Executive Member of Fine Arts Society of Milton and has published several books primarily for children.

You can see more of Jenny’s work on her Blog: Jenny Panda.

Jenny Panda fiine painting

Jenny Panda Mixed Media

Jenny Panda

Jenny Panda

Jenny Panda

~*~*~*~*~*~*~*~*~*~*~*~*~*~*~*~*~*~*~*~*~

Thanks for sharing your work with us, Jenny.

.

.

.

Mixed Media Artist ~ Stacy Steinborn

~ * ~
Our Mixed Media Art community is such a diverse bunch; from all around the world, with different interests, reasons why we create and a wide range of skills.  This week Stacy Steinborn will tell us her story and shares some of her artwork with us.

Enter Stacy…

~*~*~*~*~*~*~*~*~*~*~*~*~*~*~*~*~*~*~*~*~*~*~

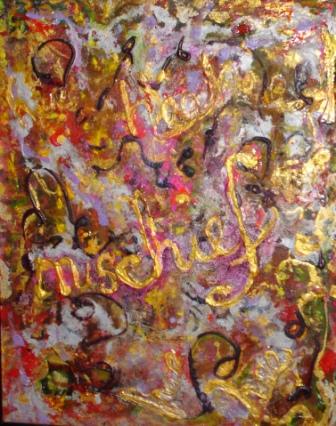
My name is Stacy Steinborn and my home is in a little suburb outside of Nashville called Spring Hill TN in the USA.  I am a happy wife of almost 14 years and one of the reasons I am so happy is because I agree to agree with my husband that we both march to our own drum, but somehow it produces harmony.  And in the drumming of our life, we have been joined by two little girls that have their own little percussion section going! We have a 14 year old diabetic min pin and the most wonderful evil kitty in the world!

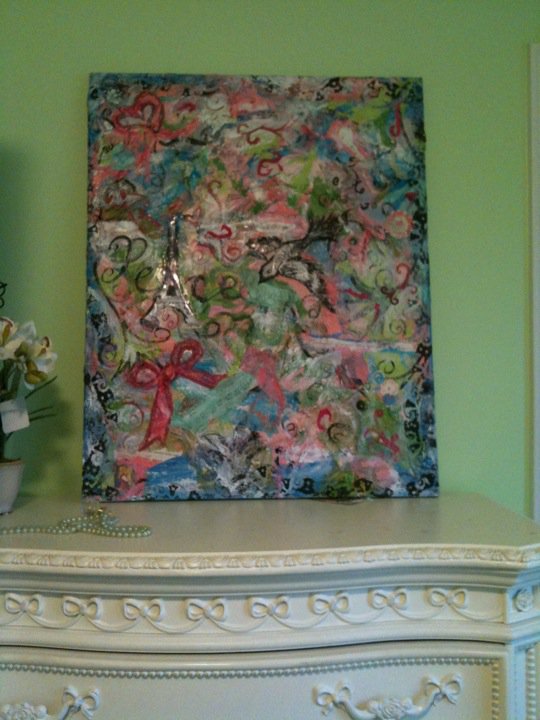
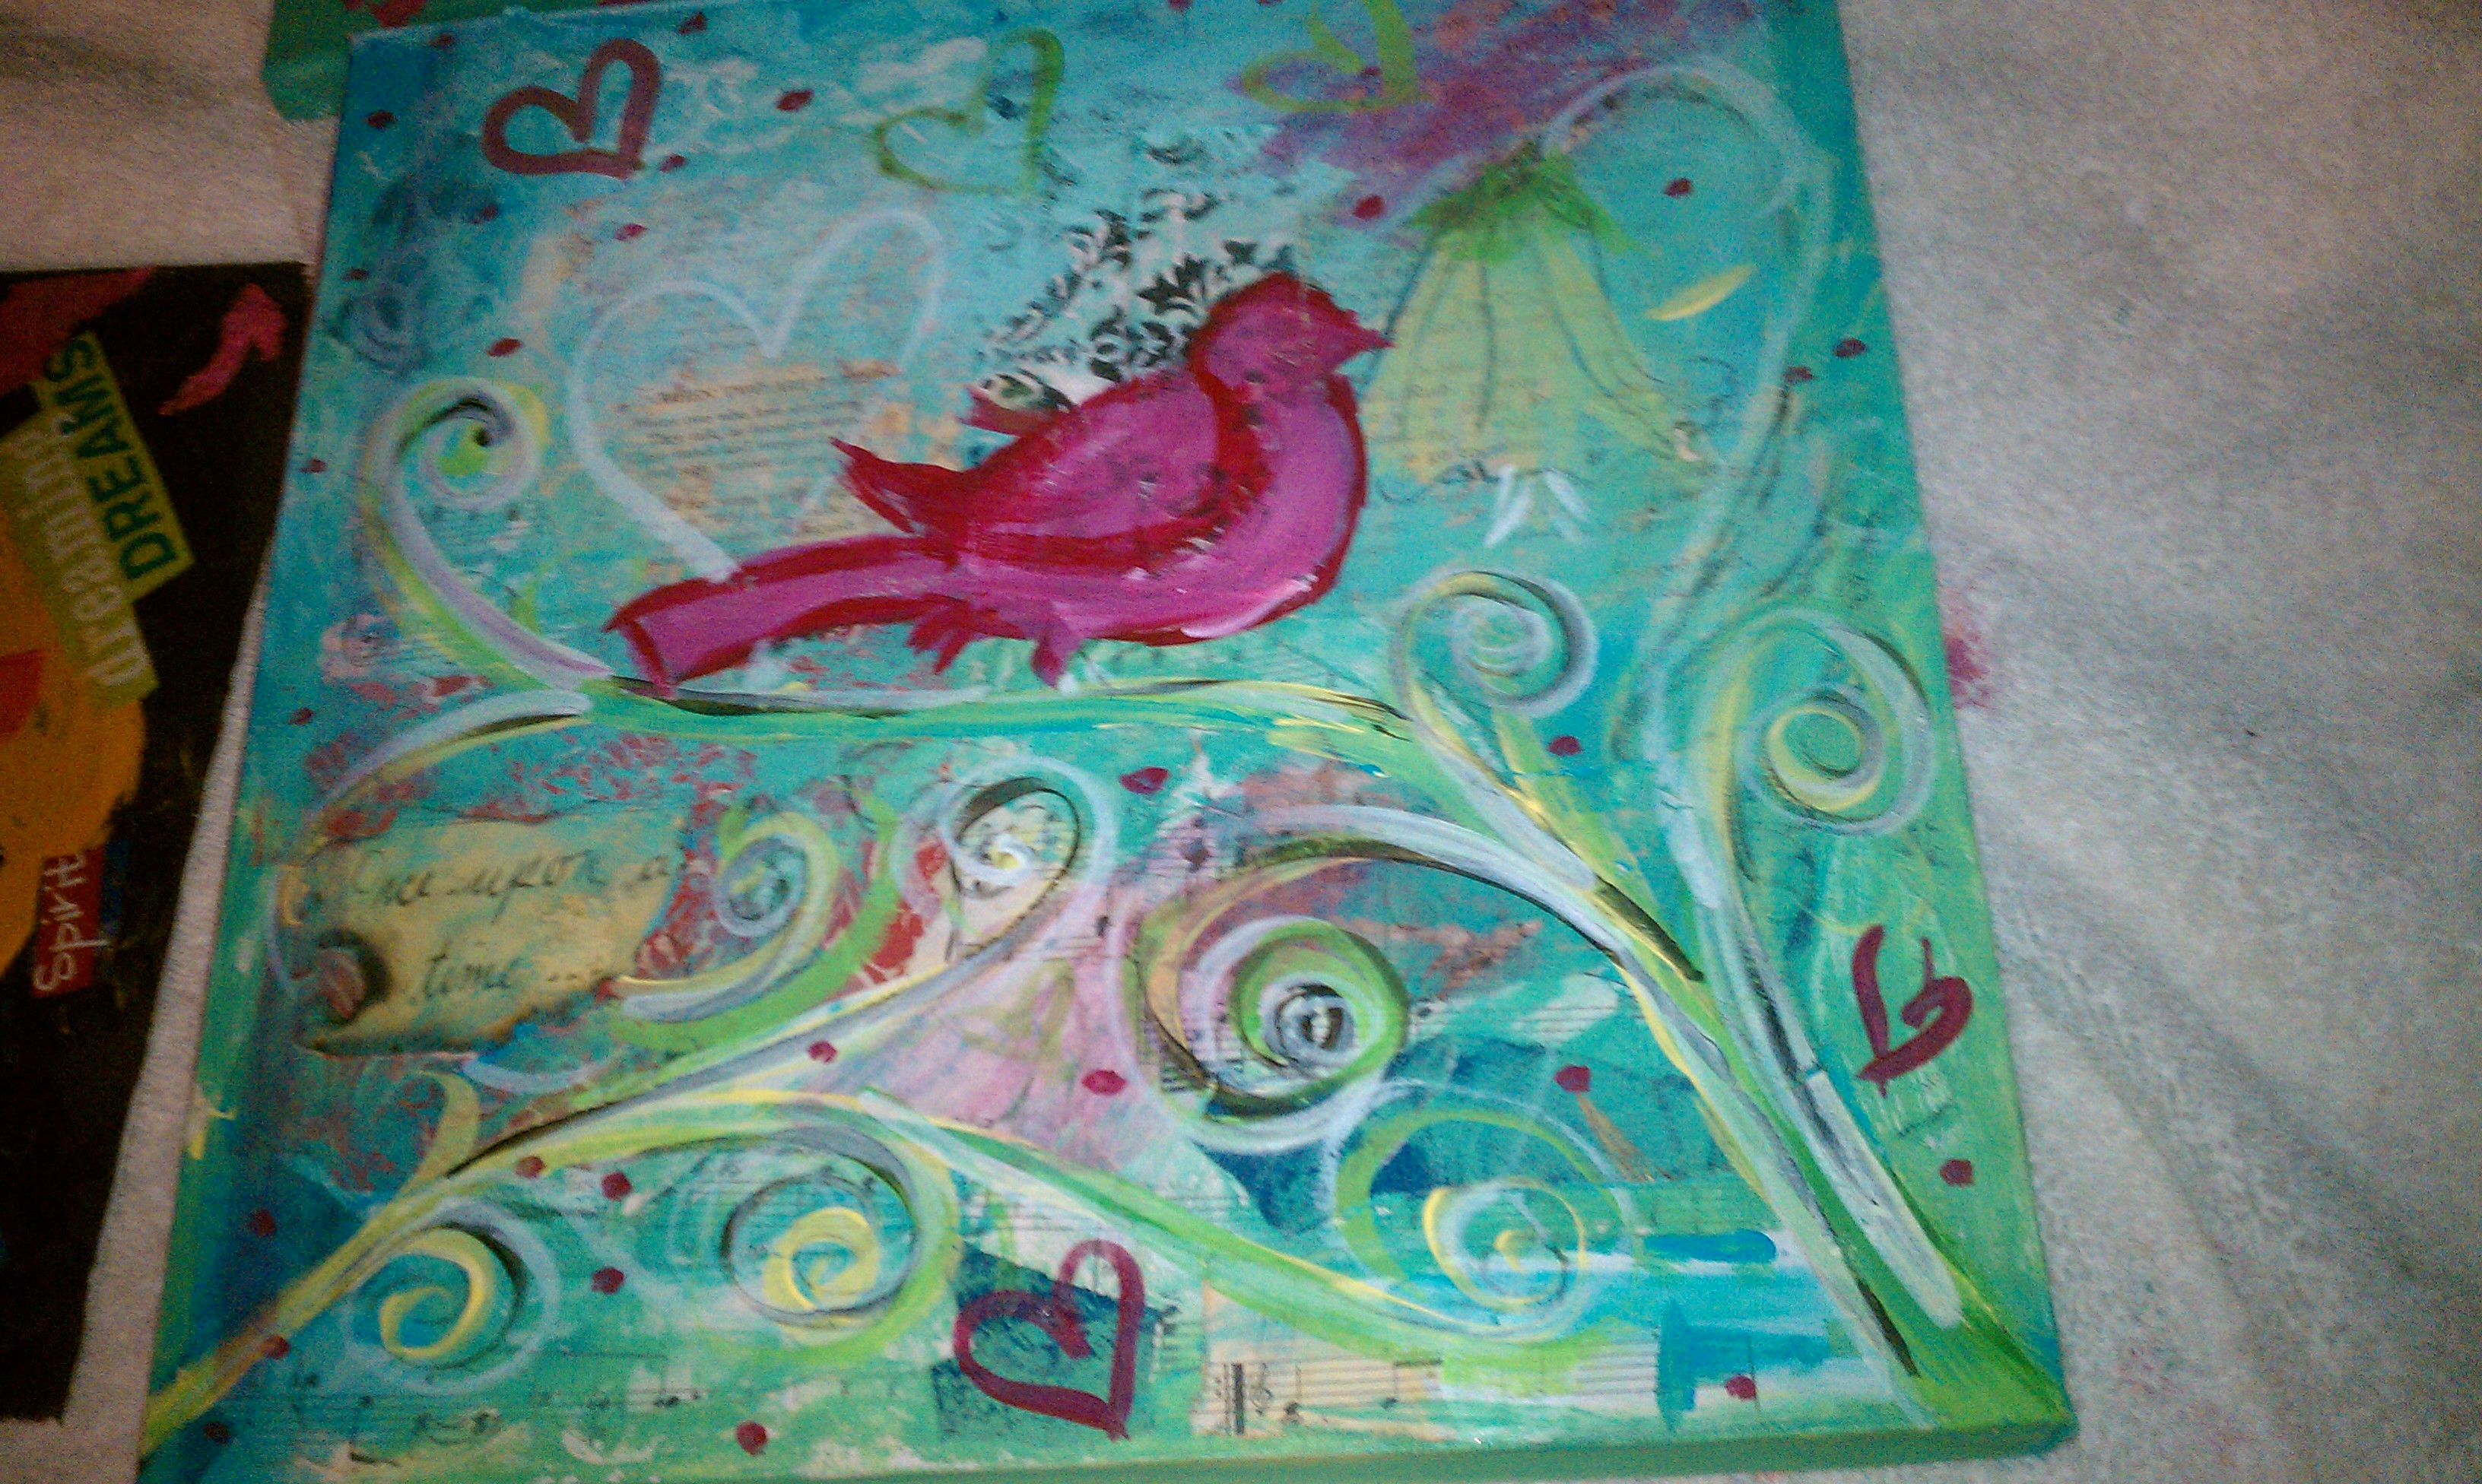
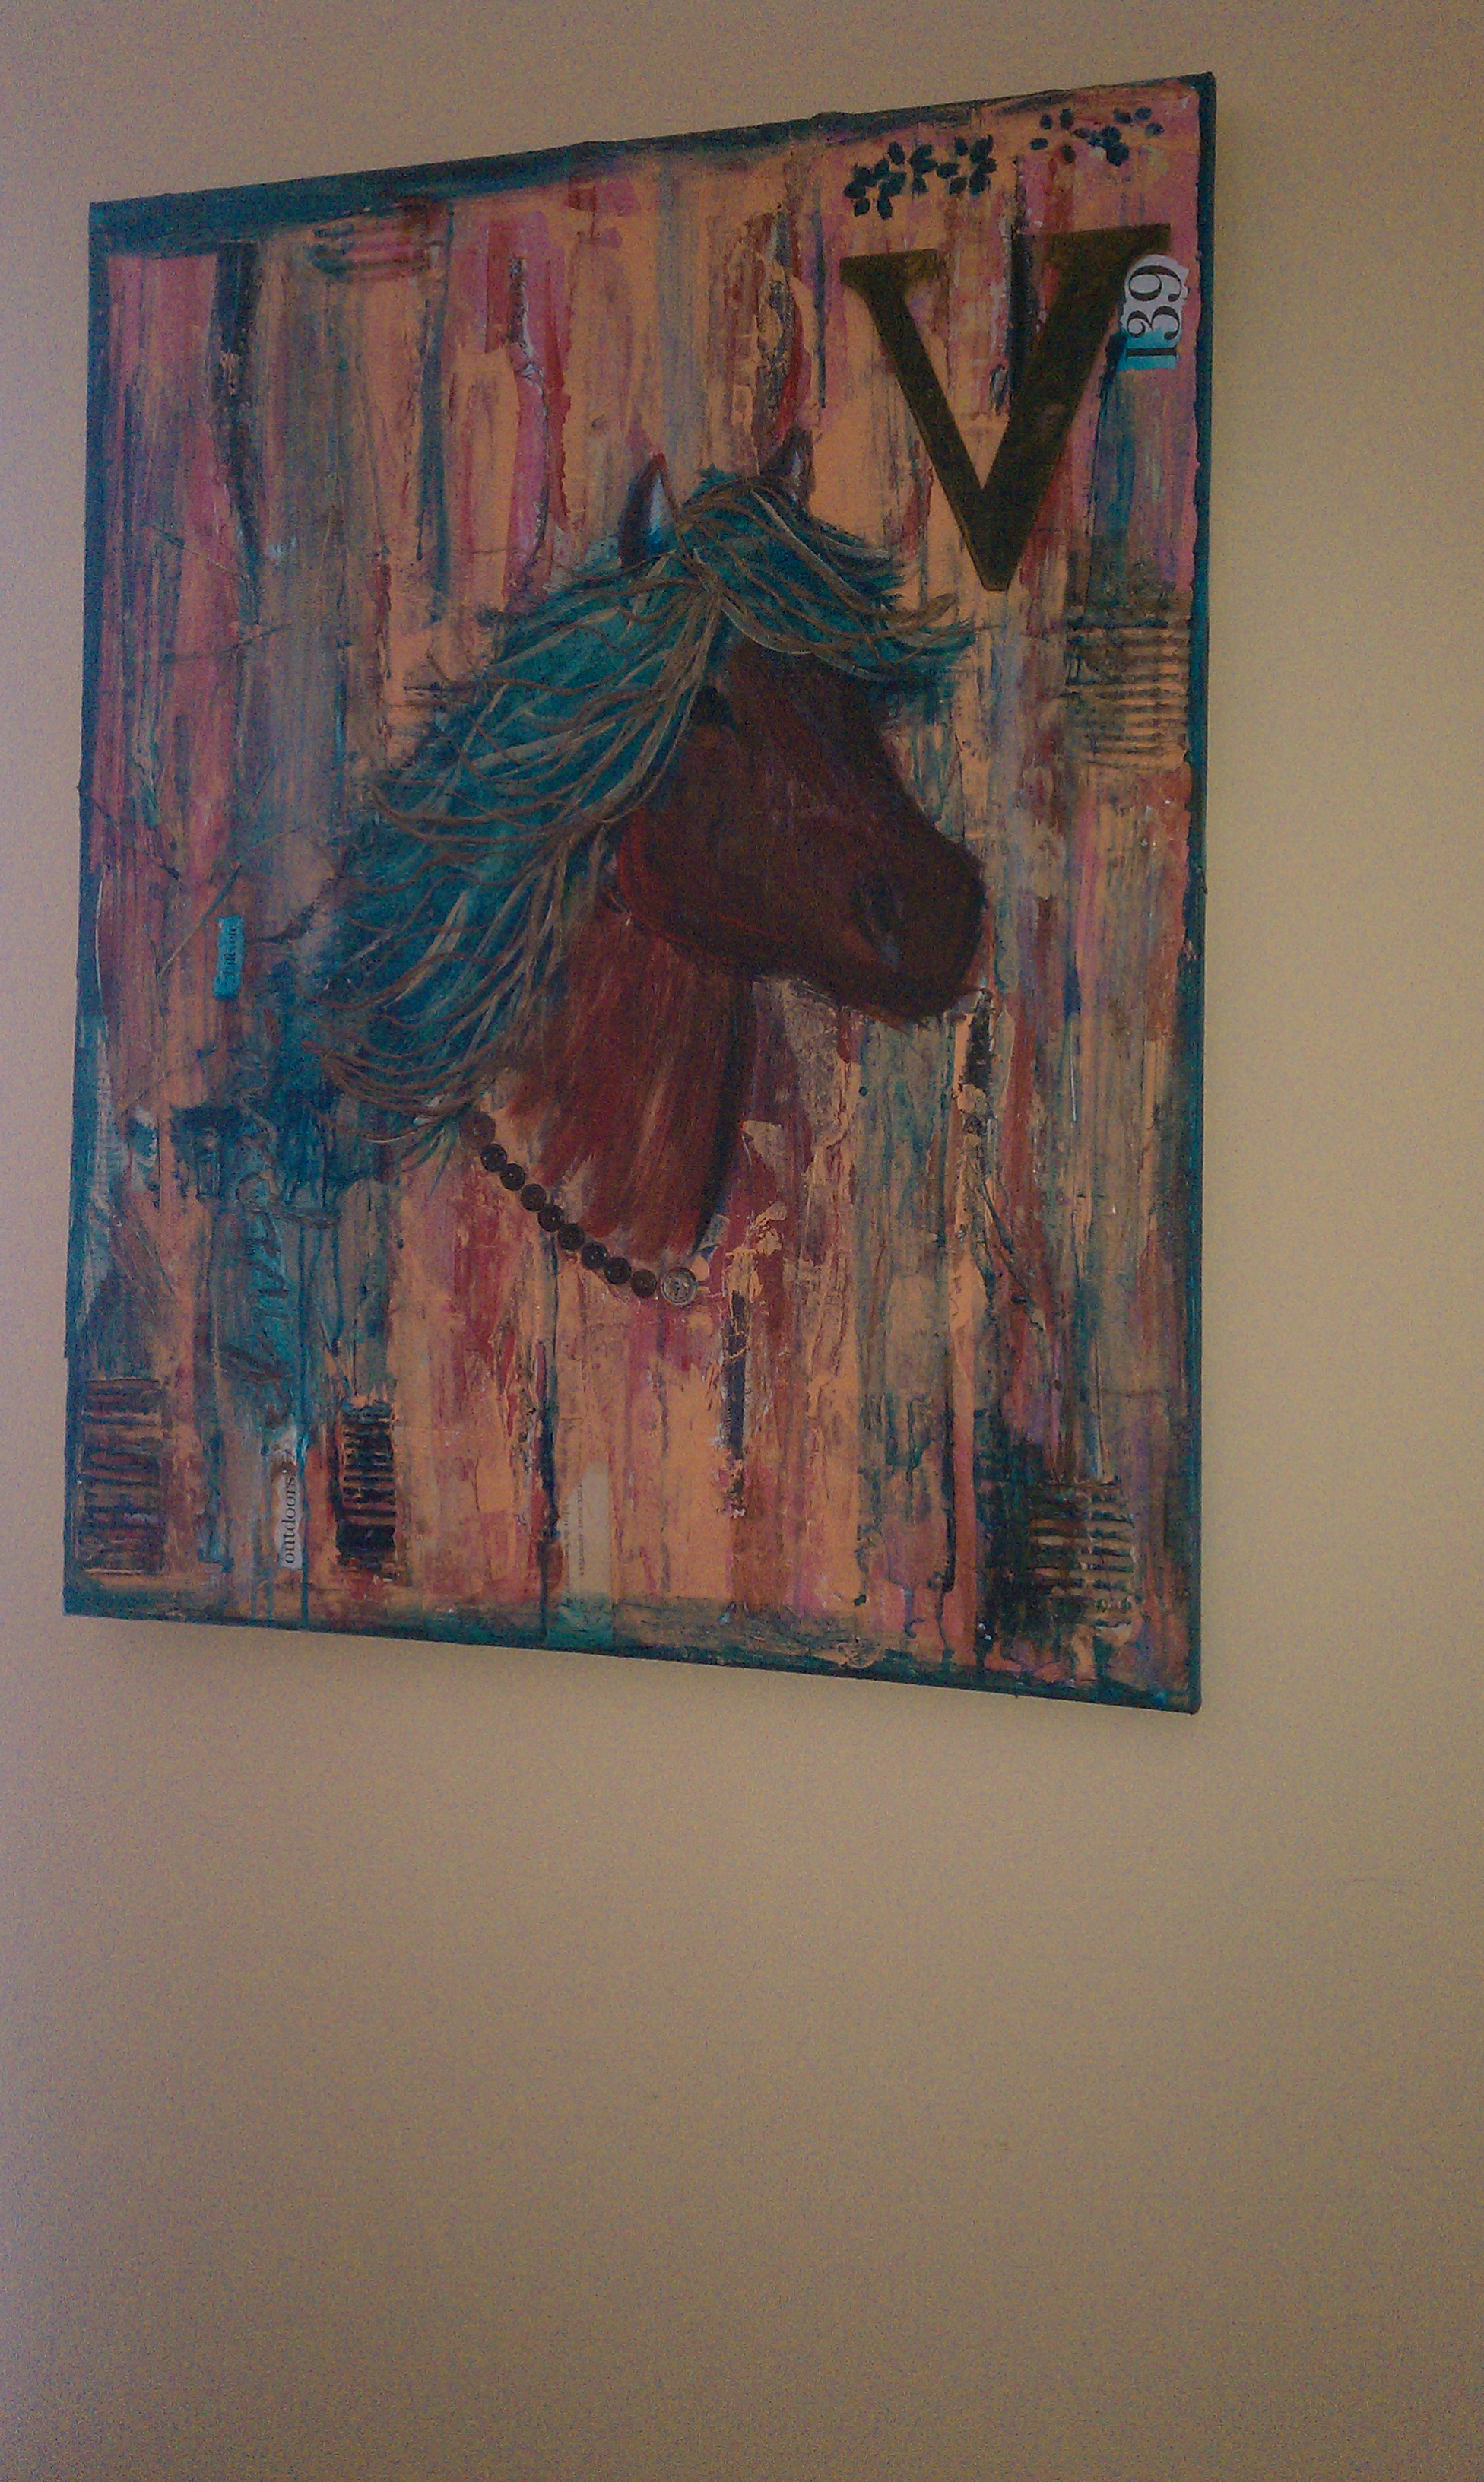
I am the kind of girl who prefers swirls over rigid lines, I read my magazines from back to front, and I love making a mess to make something completely amazing in the end.  That is one reason why I love mixed media.  My mixed media journey is rather young.  I have always painted, but my hands were needing to get more involved.  I started around September of 2010.  I love using things such as recycled paper, magazines, lace, blue jeans, gauze and rope to collaborate into something that was not, into something that is inspiring or completely different.

I don’t know if I have a certain style, I do some sculpting in a lot of my art with my fingers, paste and some lucky recycled item.   I believe that I can start with something in mind and in the process of adding and sculpting in a mixed media piece, the work changes into what it wanted to be.  I have loved art my entire life.  I read a quote once and it is the closest thing to what my soul feels when I look and admire art.  It is:

“Art enables us to find ourselves and lose ourselves at the same time.” ~ Thomas Merton

This is exactly why I love art.

~*~*~*~*~*~*~*~*~*~*~*~*~*~*~*~*~*~*~*~*~*~*~

by Stacy

~*~*~*~*~*~*~*~*~*~*~*~*~*~*~*~*~*~*~*~*~*~*~

More of Stacy’s work can be found on her Flooded in Light blog.

Thanks for sharing your art story with us, Stacy!

.

.

.

Jewellery Elements Project; Wall Hanging

This article is written by Michelle Brown

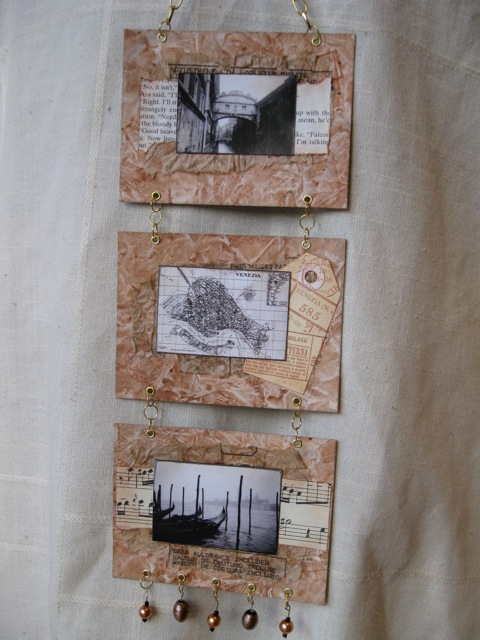
Over the last few weeks we have covered the tools and skills you need to add jewellery elements to your Mixed Media Artwork. Here we bring all of those together to create this wall hanging.

mixed media jewelry elements

~*~*~*~*~*~*~*~*~*~*~*~*~*~*~*~*~*~*~*~*~*~*~*~*~*~*~*~*~*~*~*~*~*~*~

Materials you will need:

  • Background card, decorated to suit theme
  • Eyelets (15)
  • Jump rings (19)
  • Chain (20cm / 8″)
  • Head pins (5)
  • Beads
  • Ephemera, tags and images to decorate

Tools you will need:

  • Ruler & pencil
  • Stamps & ink
  • Hole punch & Hammer with mat
  • Eyelet setter
  • Pliers – flat nosed and pointy nosed
  • PVA glue
  • Inking sponge and brush

~*~*~*~*~*~*~*~*~*~*~*~*~*~*~*~*~*~*~*~*~*~*~*~*~*~*~*~*~*~*~*~*~*~*~
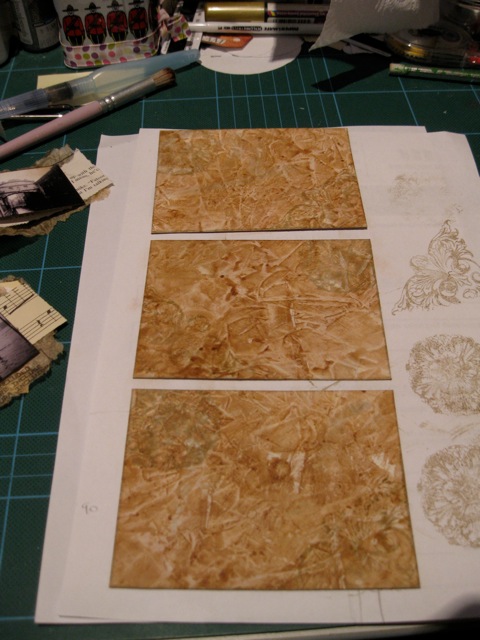
1. Cut three panels of your decorated card (12cm x 9cm or 4 3/4″ x 3 1/2″). Put them in order and lightly number them 1, 2 & 3 in pencil; this will help keep them in order.
Mixed media art jewelry elements

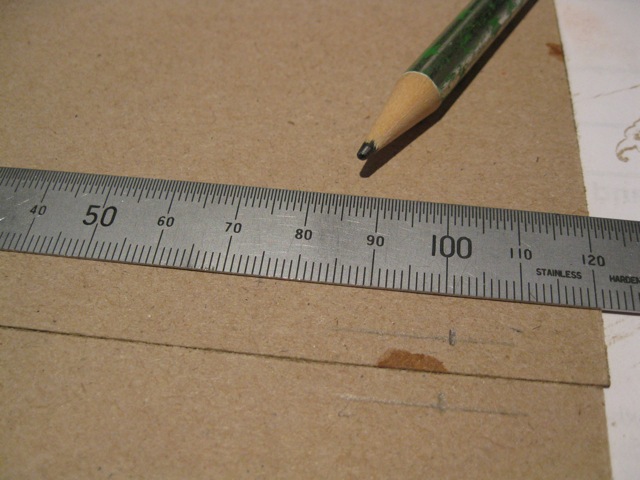
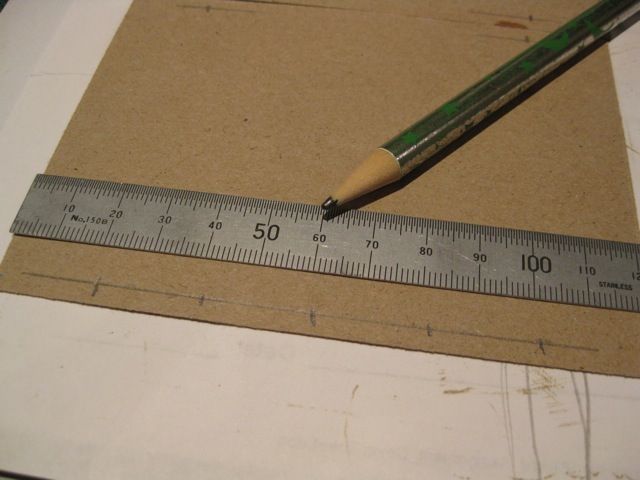
2. Lightly mark where the eyelets will go. As they need to be in pairs, I have marked them that way. The exact location will depend on the size of your eyelets and jump rings. Here I can in 2cm from the outer edge and up 0.5cm.
Mixed media jewelry elements
Across the bottom where the beads will be attached, mark 5 places; one in the middle, in 2cm from each side and in 4cm from each side
mixed media jewelry elements

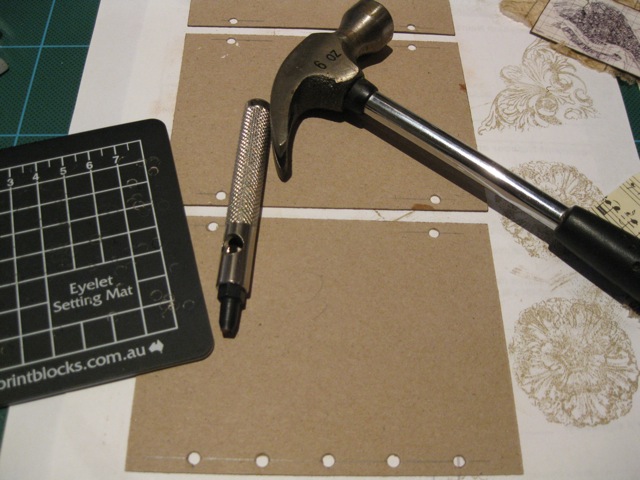
3. Punch holes using a punch and hammer or crop-o-dile

mixed media jewelry elements
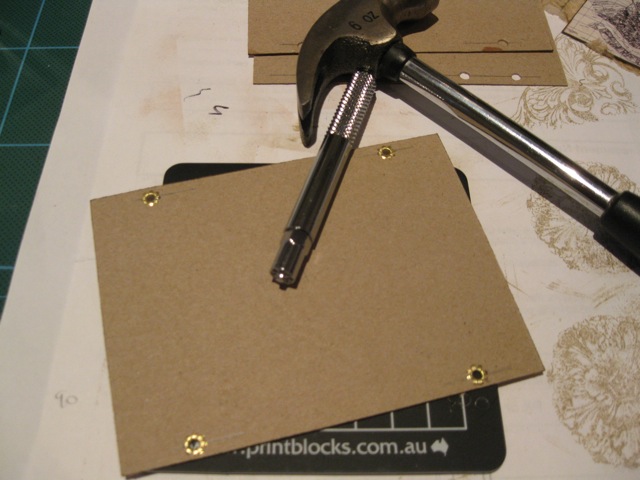
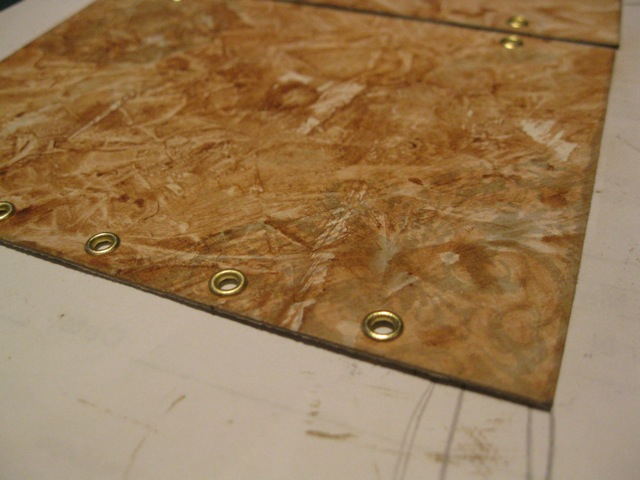
Set eyelets, taking your time. Put the three panels back into order when finished.
mixed media jewelry elements

4. I decided to join the panel together before adding the ephemera and images. You can do it either way.

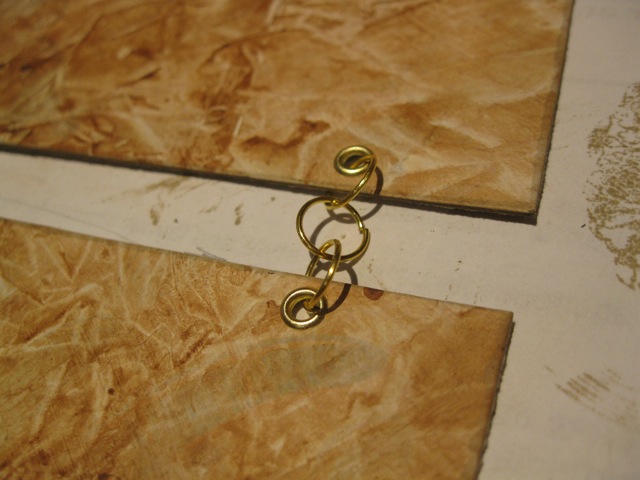
To join the panel together we need three jump rings; an odd number is needed to make sure both panels will sit parallel, as each ring will sit at 90 degrees

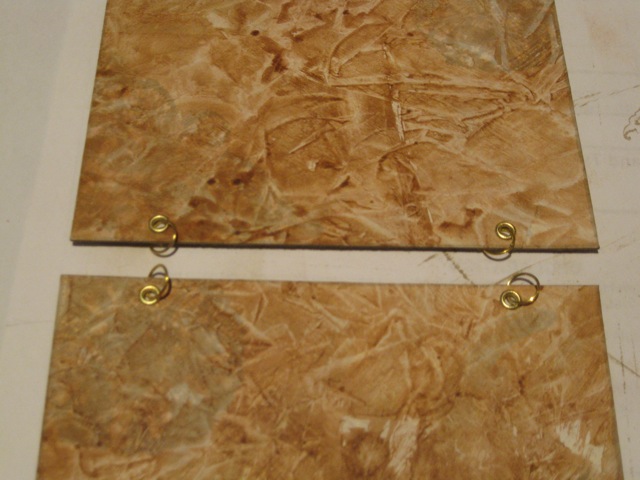
5. Insert the jump rings into the eyelets, in both sides of the two panels
mixed media jewelry elements

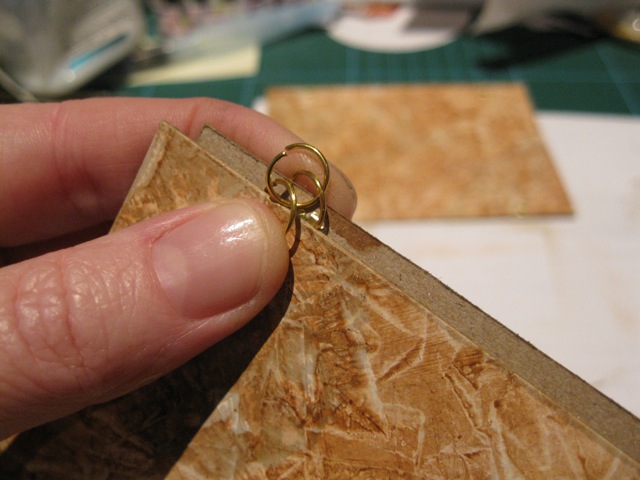
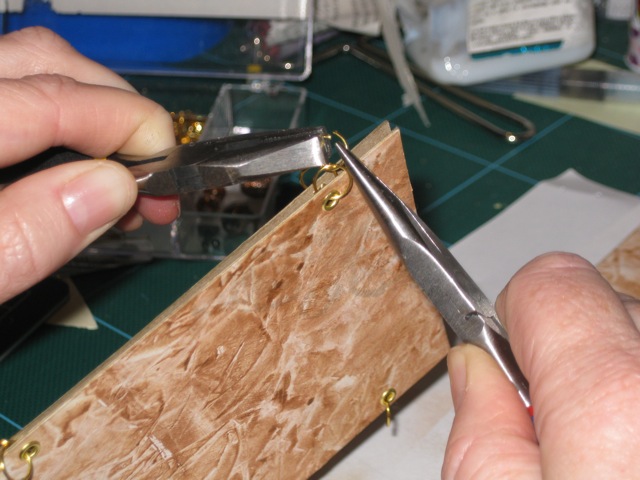
6. Take two panels, back to back to insert the third jump ring.
jump rings
Check it will sit neatly before closing it up and that you haven’t got the rings twisted. Close up jump with with pliers

Now we have the two panels joined.

Repeat with other eyelets pairs

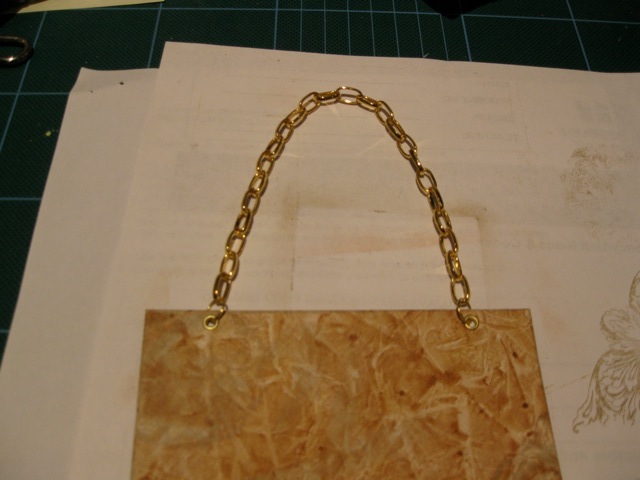
7. Add chain arose the top of the hanging, using two jump rings to attach the chain to the eyelets

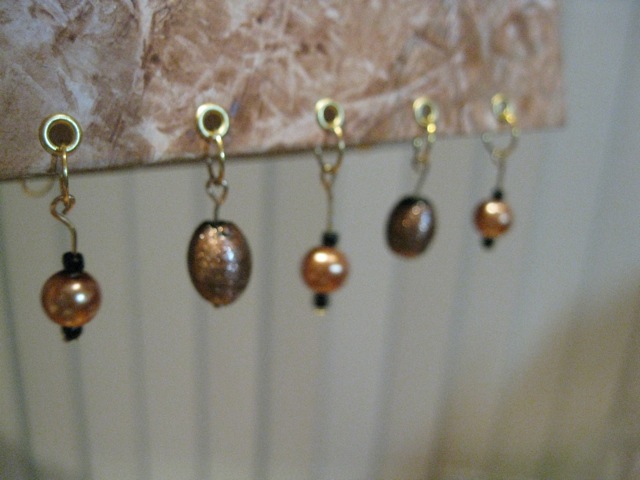
8. Now we can attached the beads across the bottom.

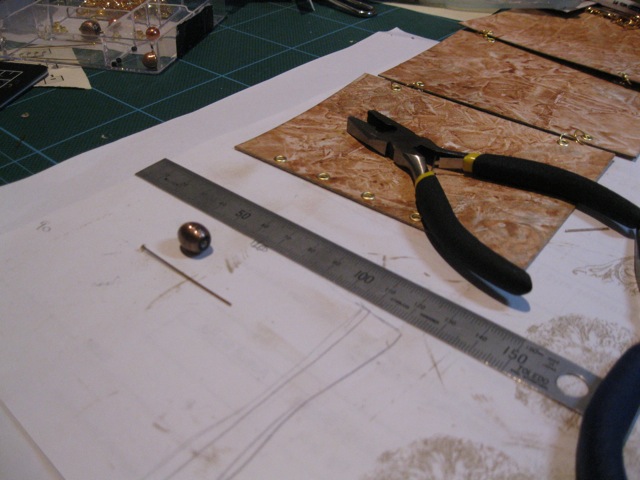
Prepare your beads on the headpins as shown previously. This is fiddly and frustrating, so make sure you have a few extra head pins in case you need to start again.

9. Attach the beads on headpins to the bottom panel with jump rings

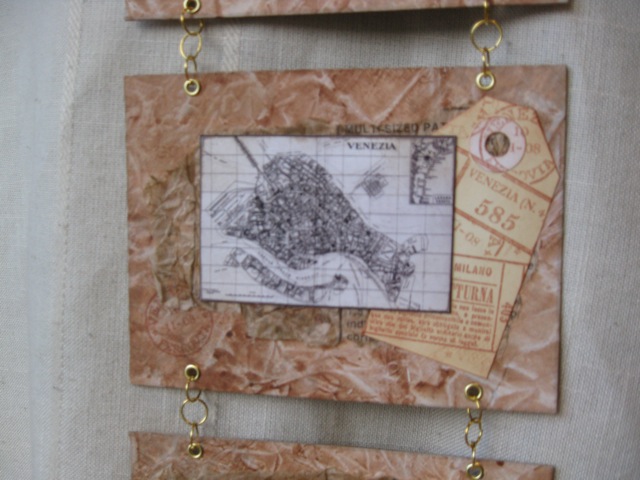
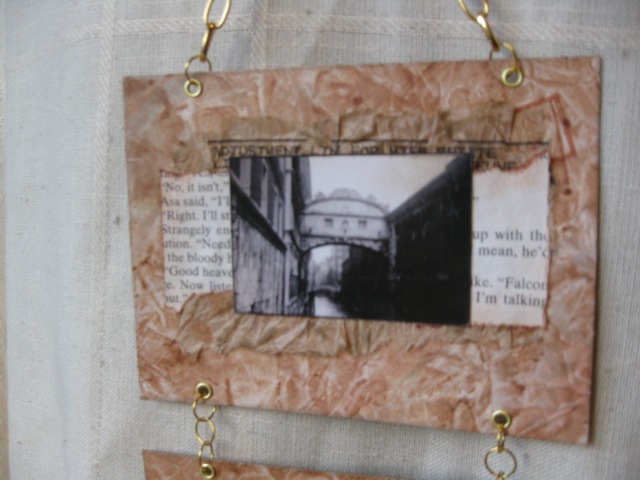
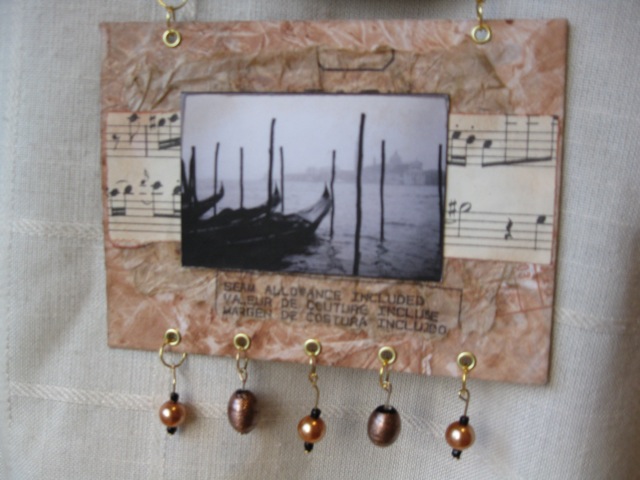
10. The base of your wall hanging is complete. Now you can decorate it with ephemera, tags, stamping and images.

Here I have used:

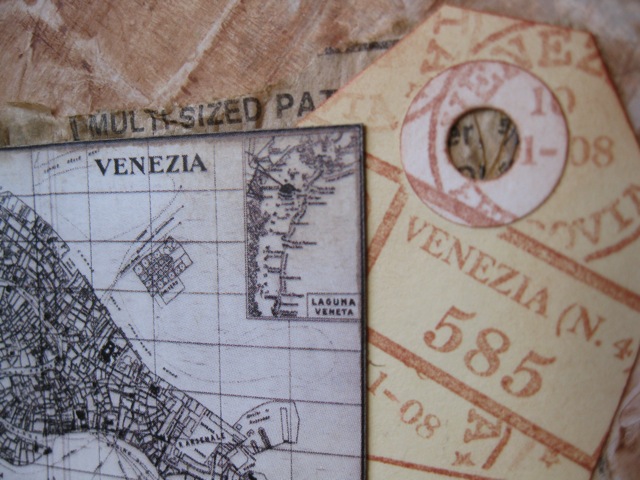
Sepia ink was used to stamp manilla tag and edge the music and book page.

Frayed burlap was used to edge the images and brushed across scrunched tissue.

All elements were glued with PVA glue.

~*~*~*~*~*~*~*~*~*~*~*~*~*~*~*~*~*~*~*~*

Now the wall hanging is complete.

We do hope you have enjoyed out series on adding jewellery elements to you mixed media artwork.

Happy Creating!

.

.

.