Creating your own mini book is so much fun and easy for any age to master! Let’s turn these colourful A4 gel prints into a mini book, ready to decorate with your favourite mixed media techniques.
What you need to create a mini book:
Materials:
• A4 Gel Print
• spare gel prints
• gel print circles
• ephemera
• Art by Marlene Die Cut image
Tools:
• Scissors
• Circle Punches
• Glue Stick
• Washi tape
• Dina Wakley Scribble Sticks
• paint brushes
• mini ink pads
• ink blenders and handles
• stencils
Step-by-step instructions to create a mini book
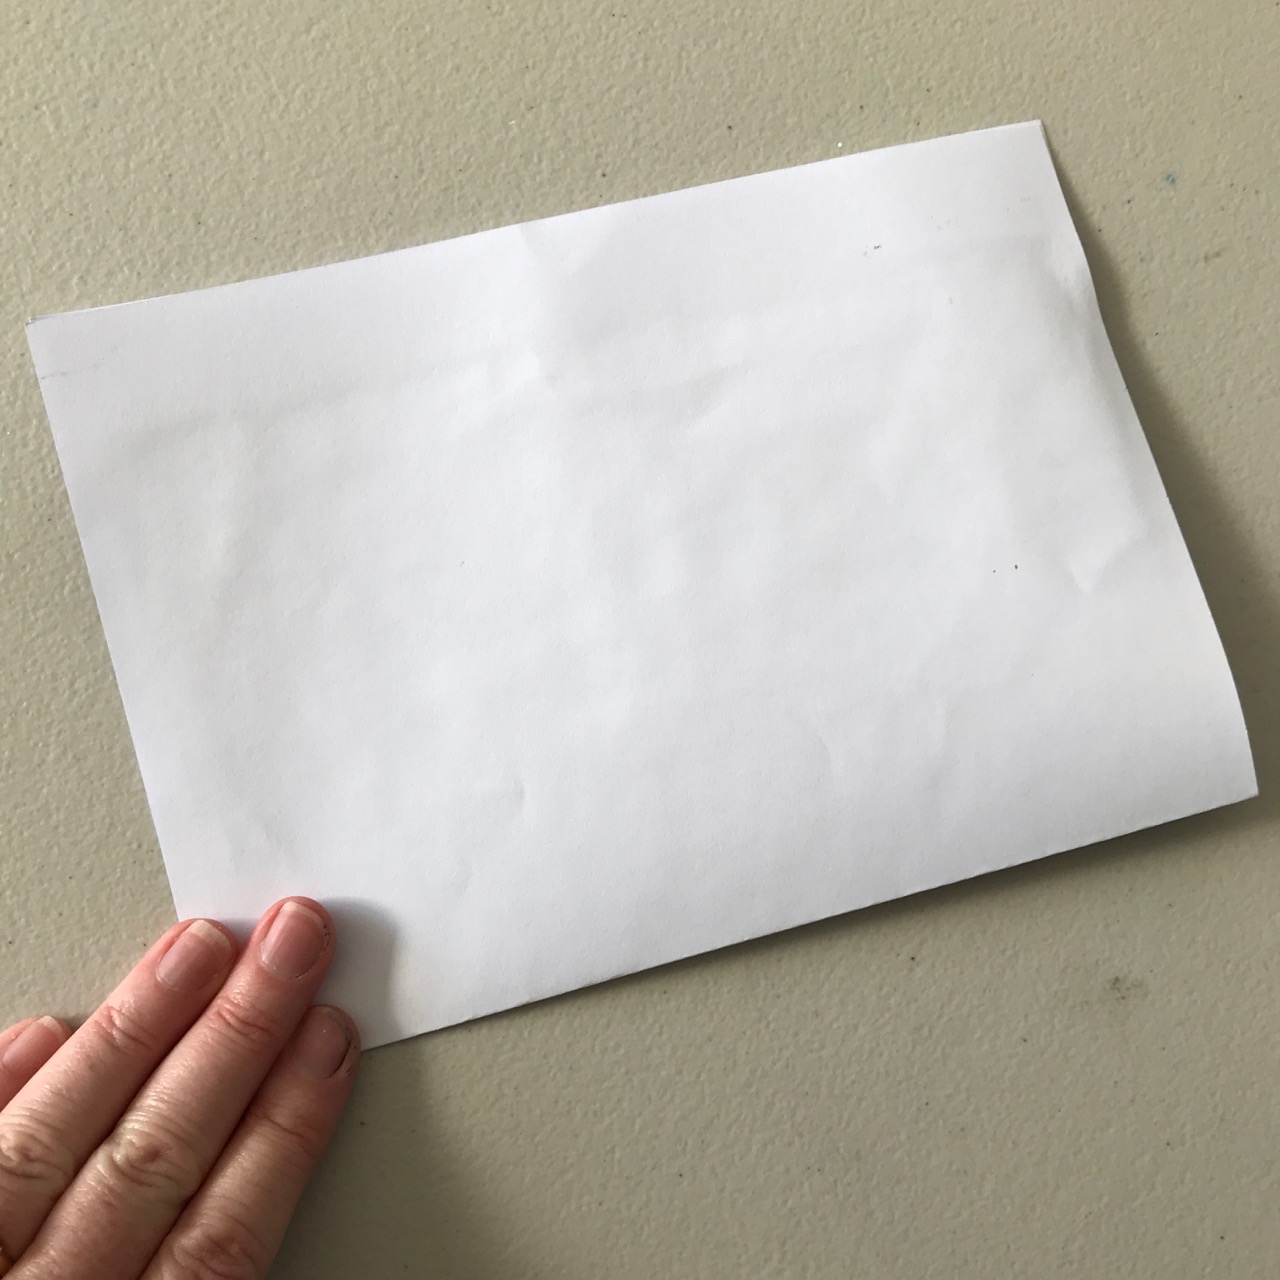
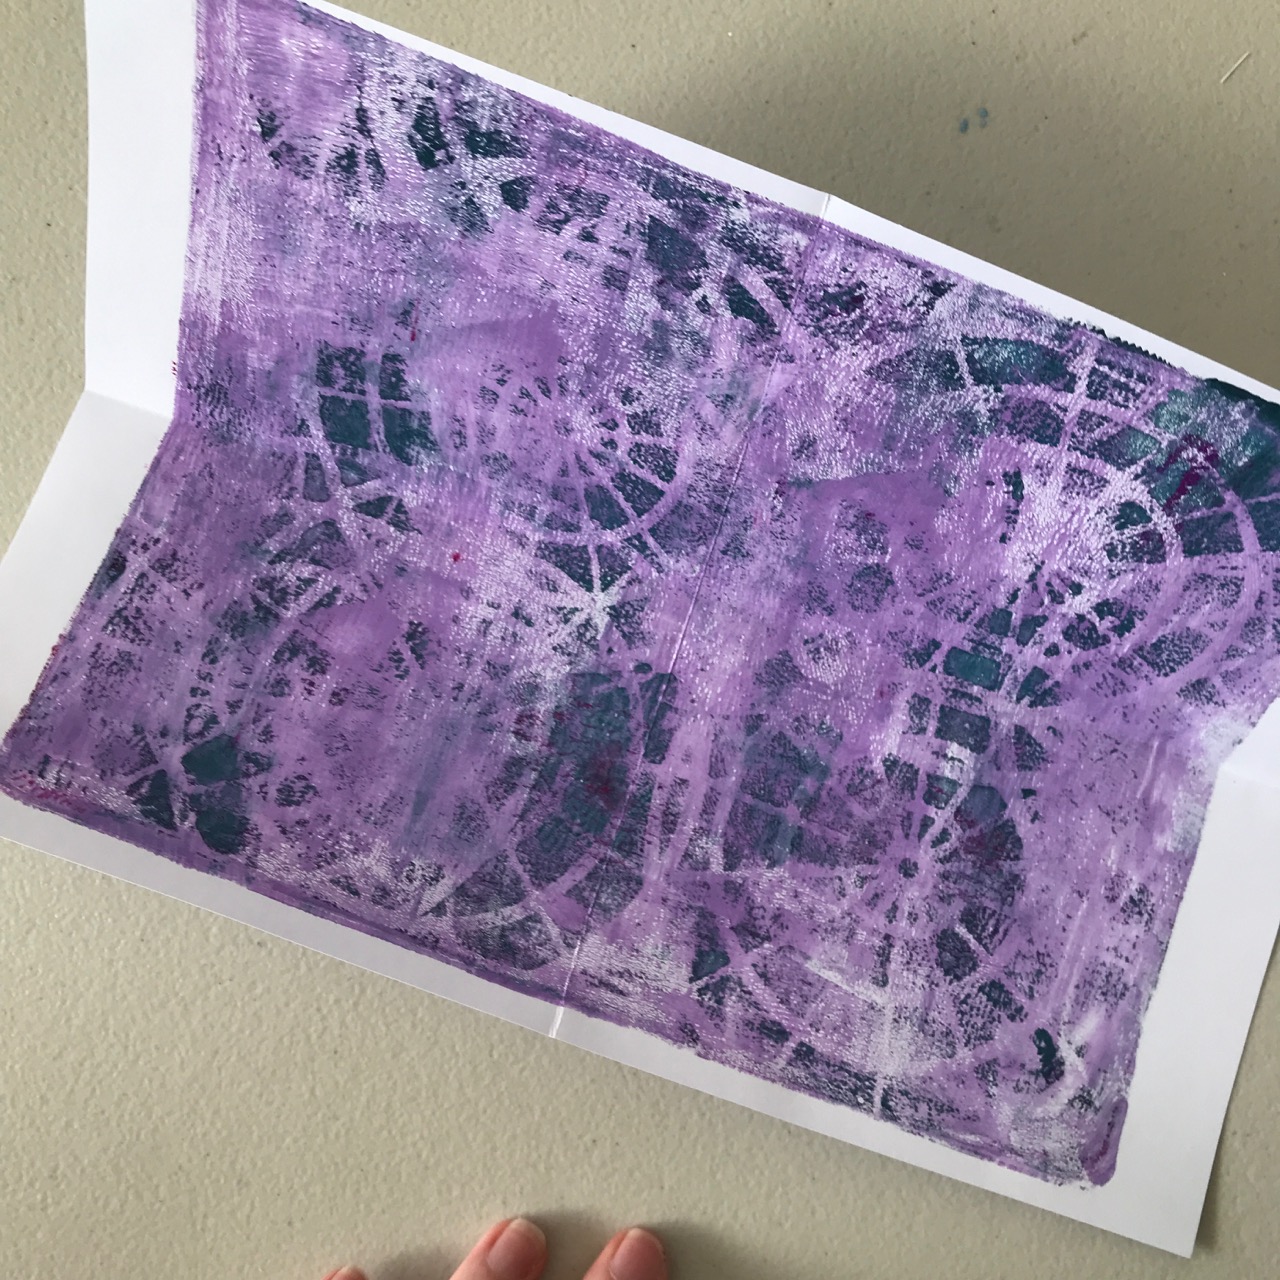
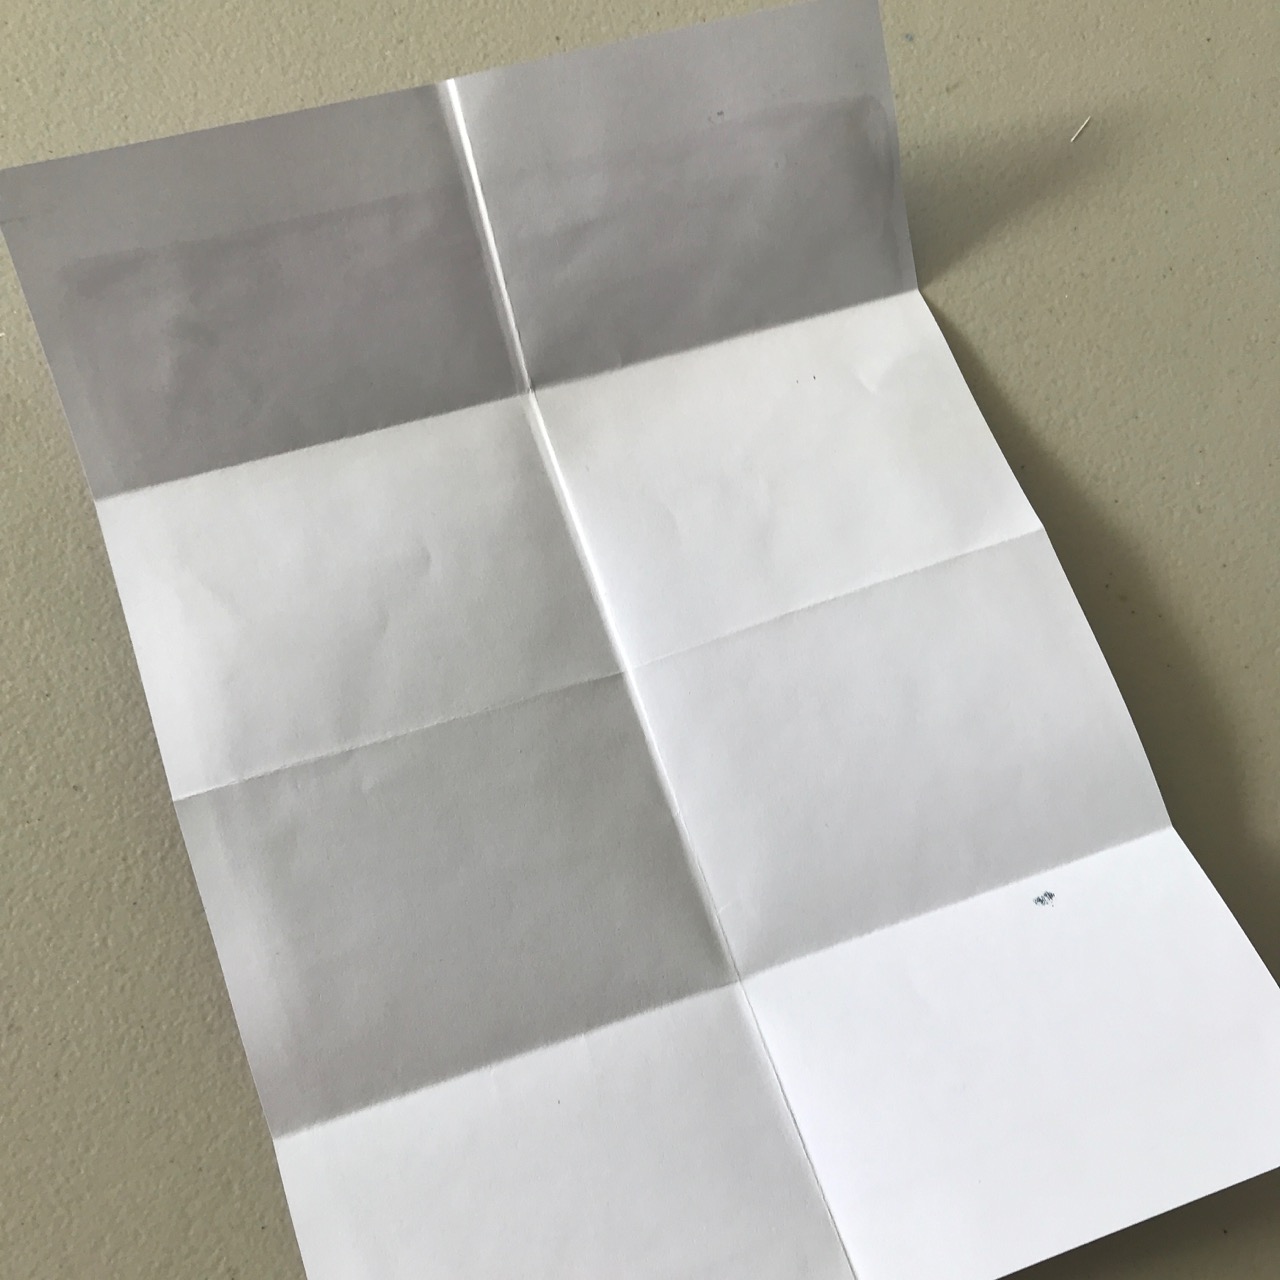
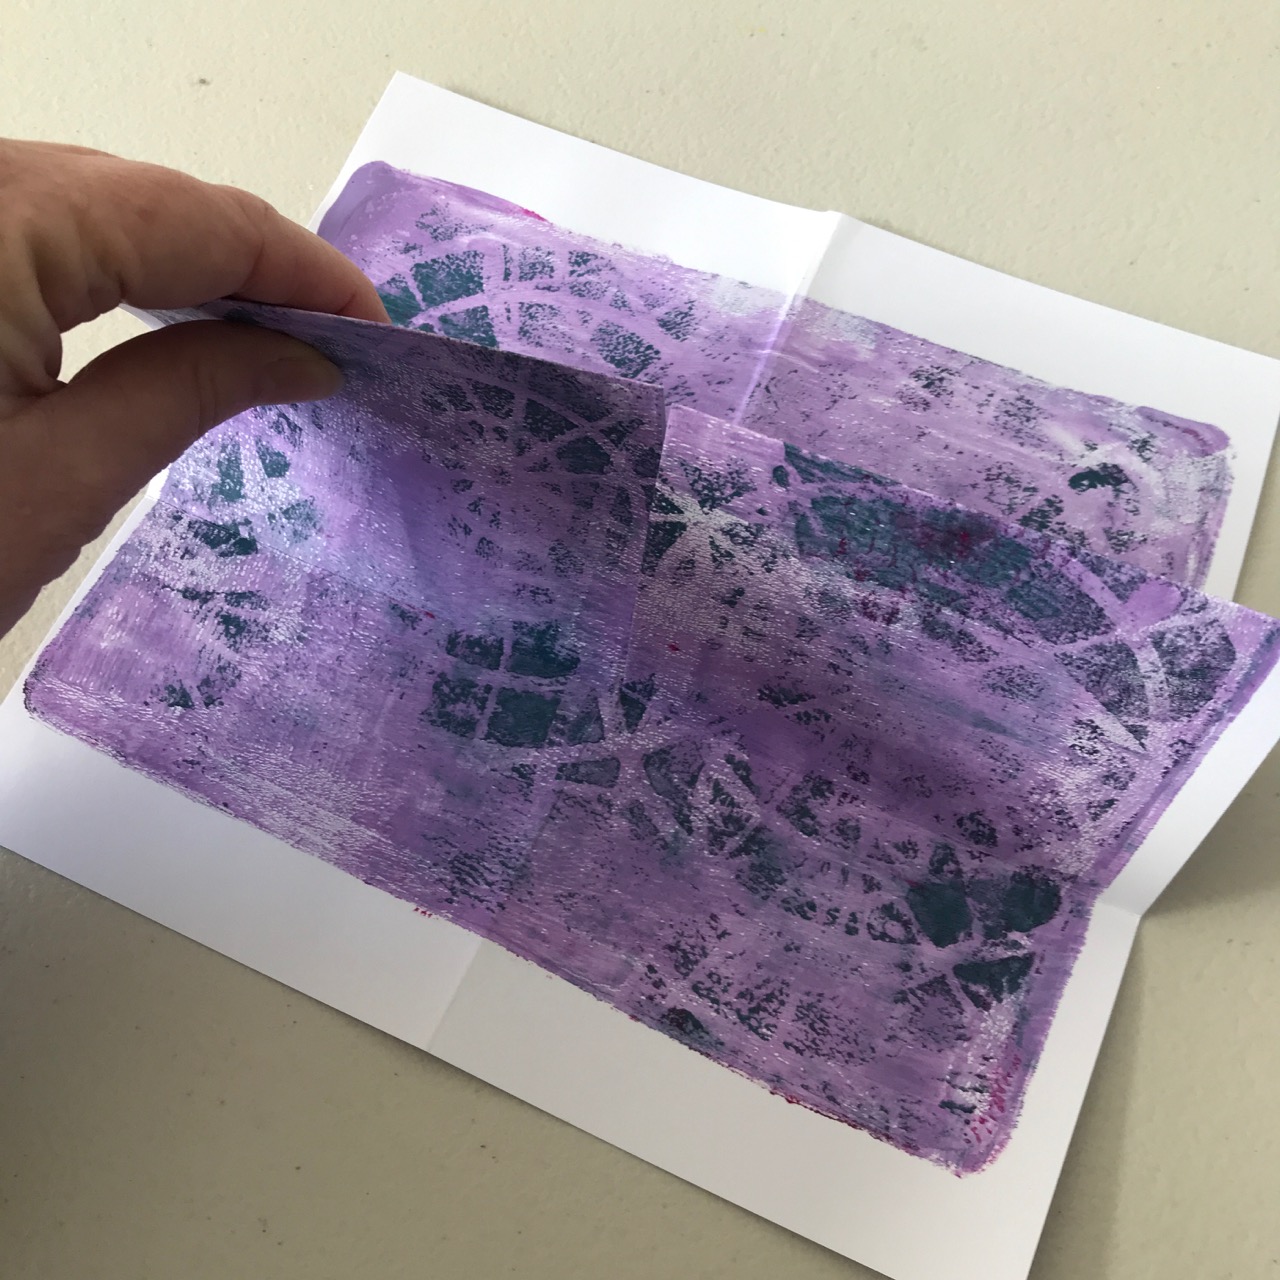
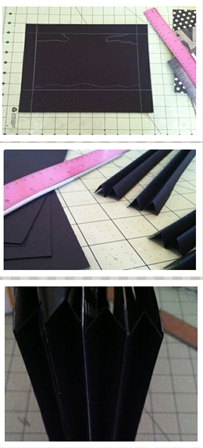
Take 1 piece of A4 gel print.

Fold in half; use finger nail to crease fold

Open paper
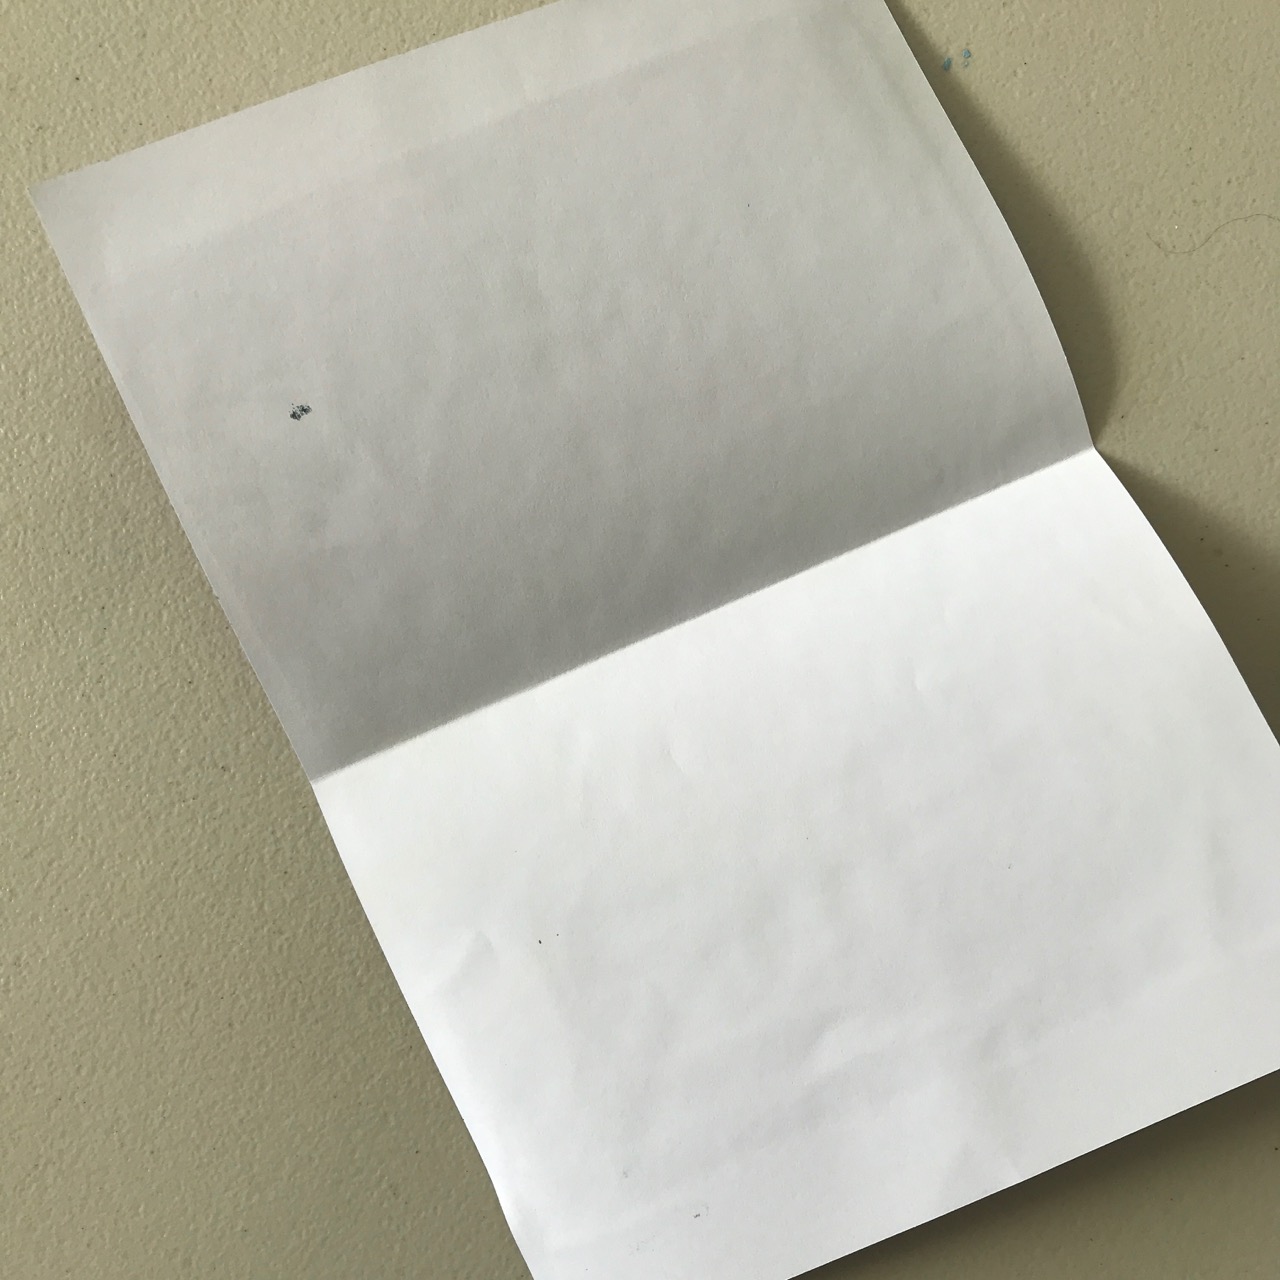
Turn over and fold the opposite way, along the same fold. Crease well with fingernail.
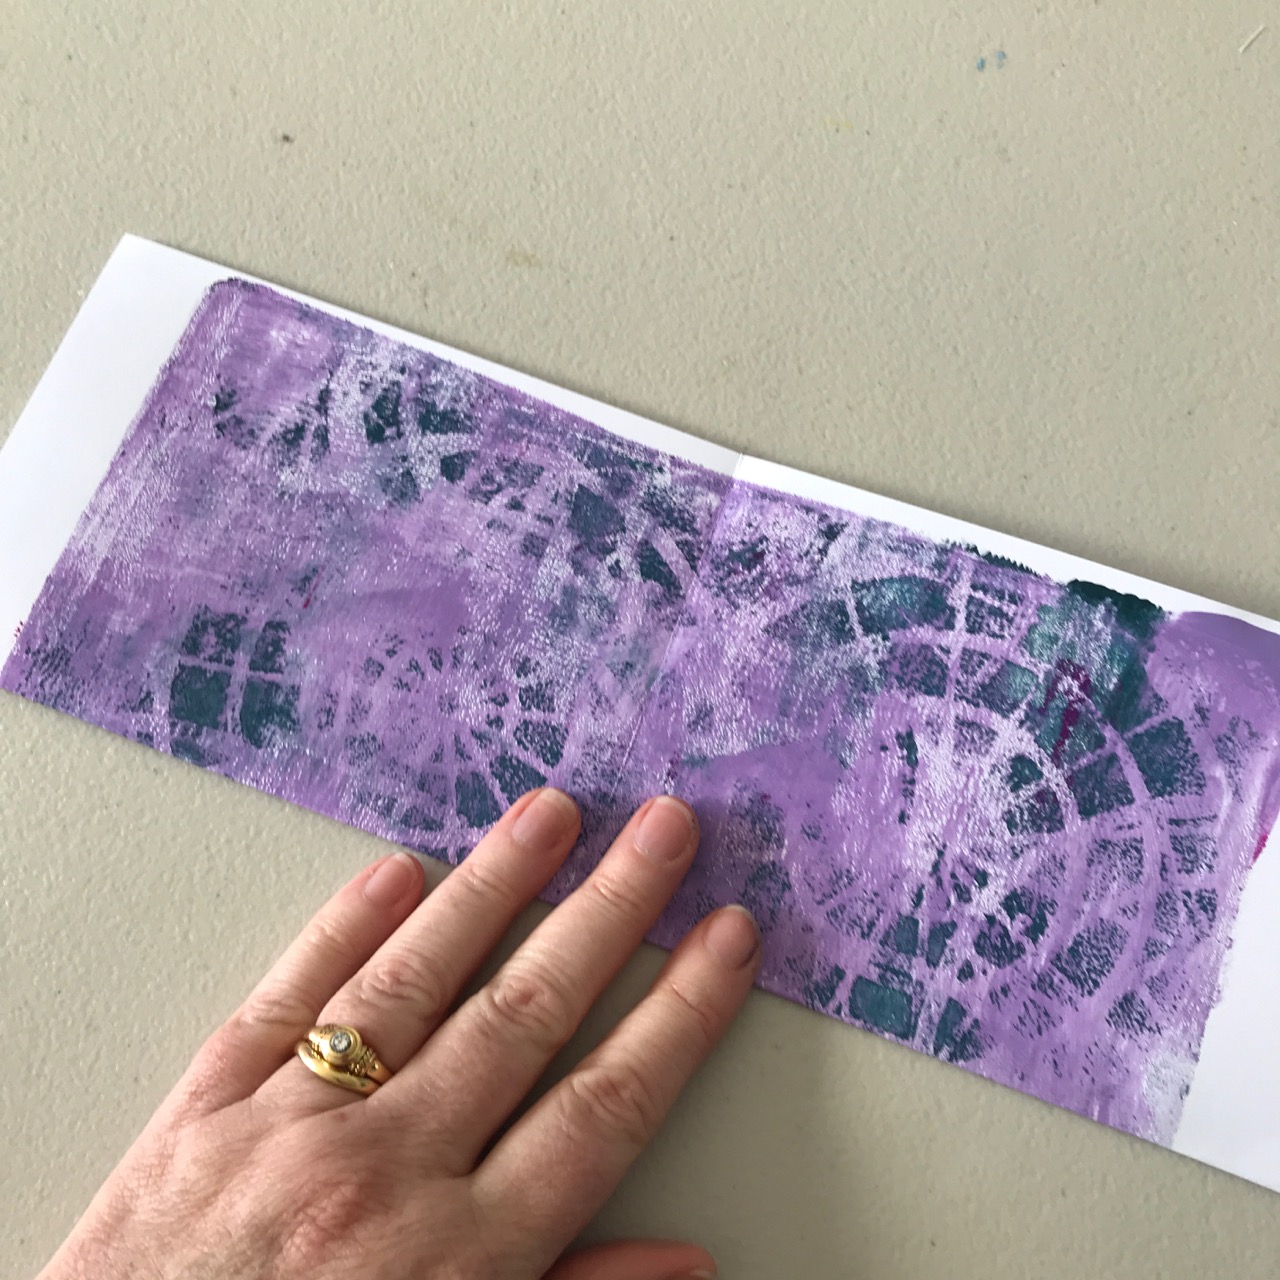
Fold in half, long ways; use finger nail to crease fold
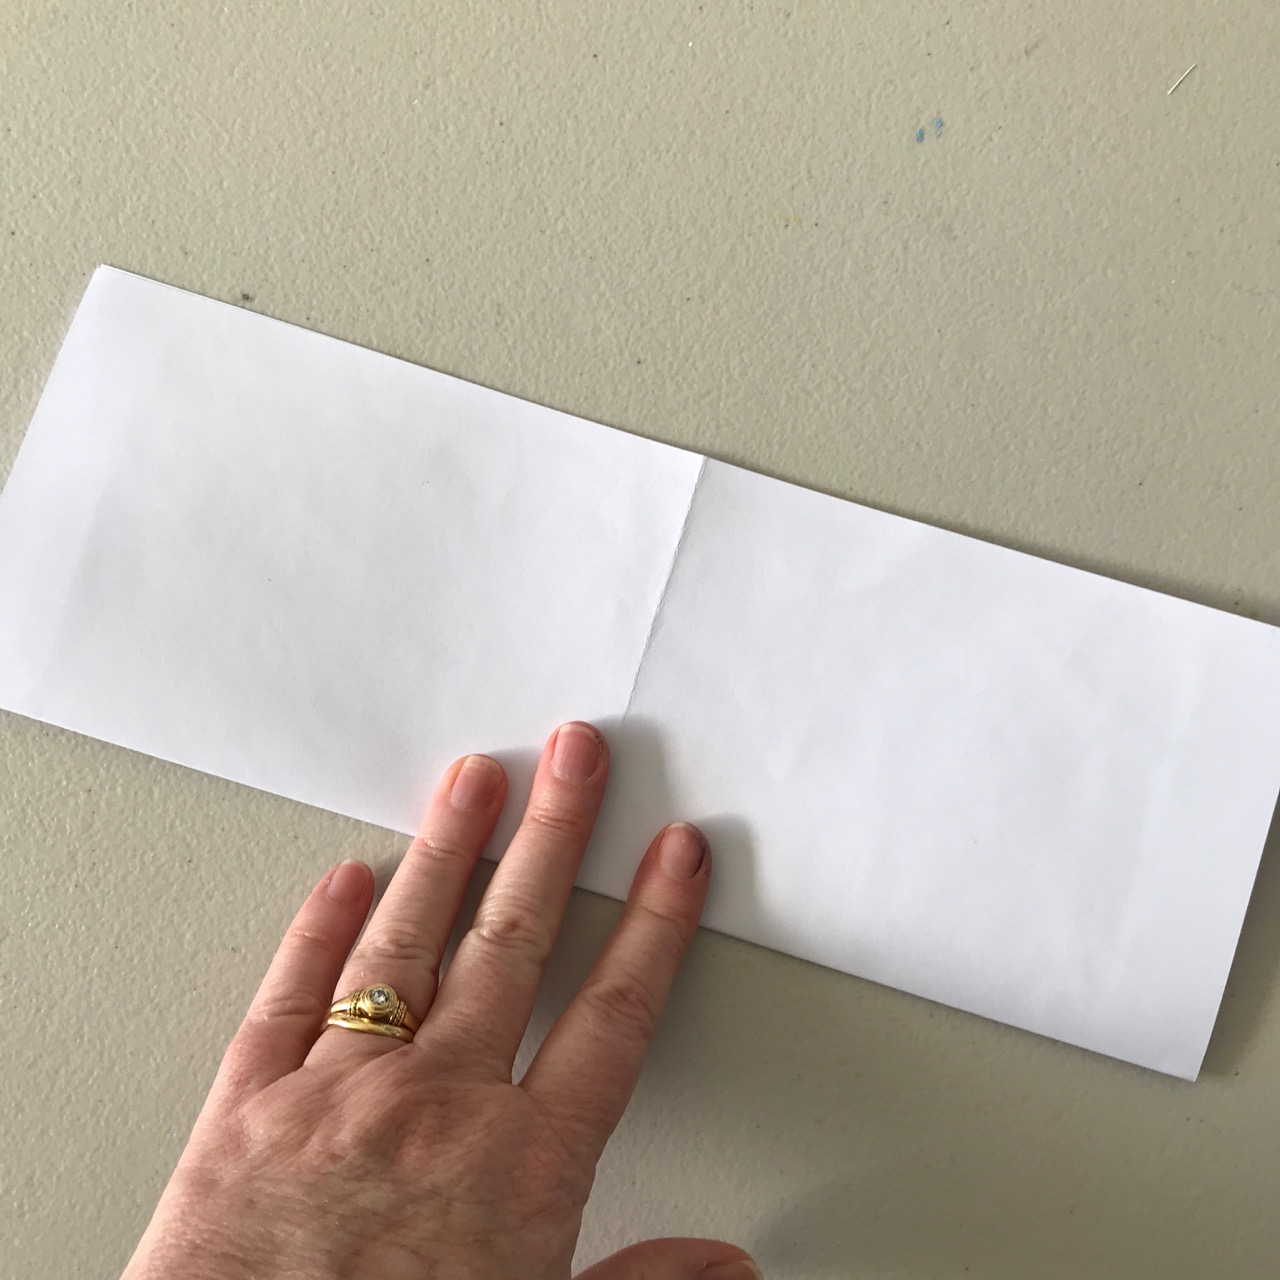
Open paper
Turn over and fold the opposite way, along the same fold. Crease well with fingernail.
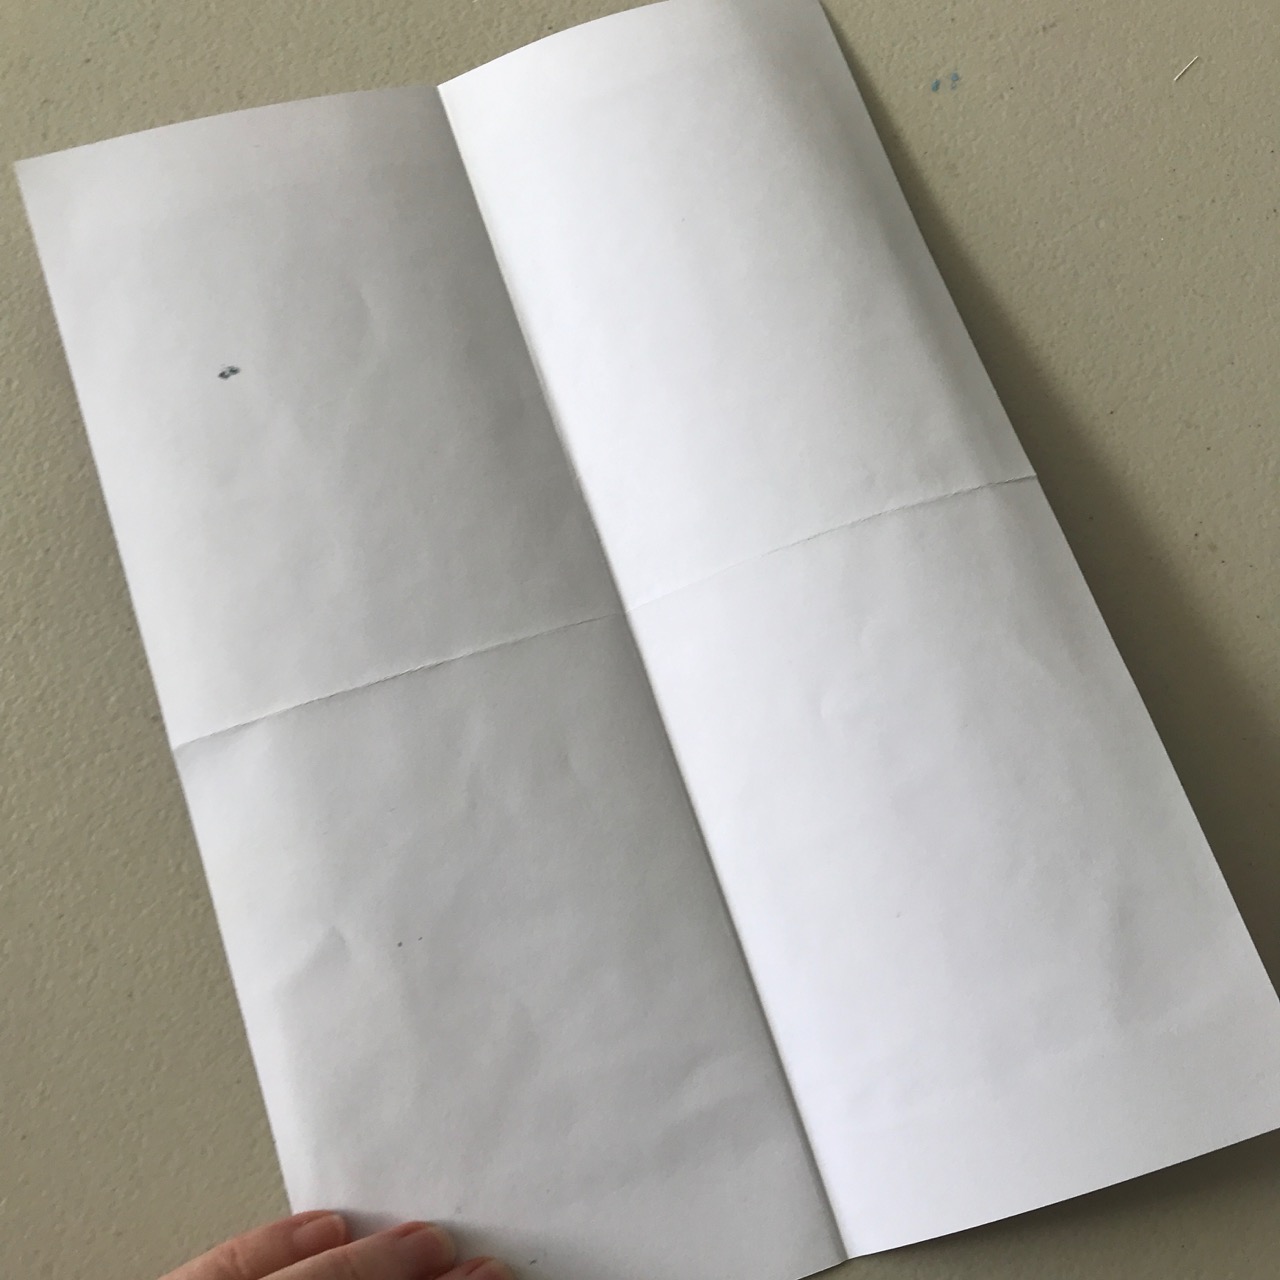
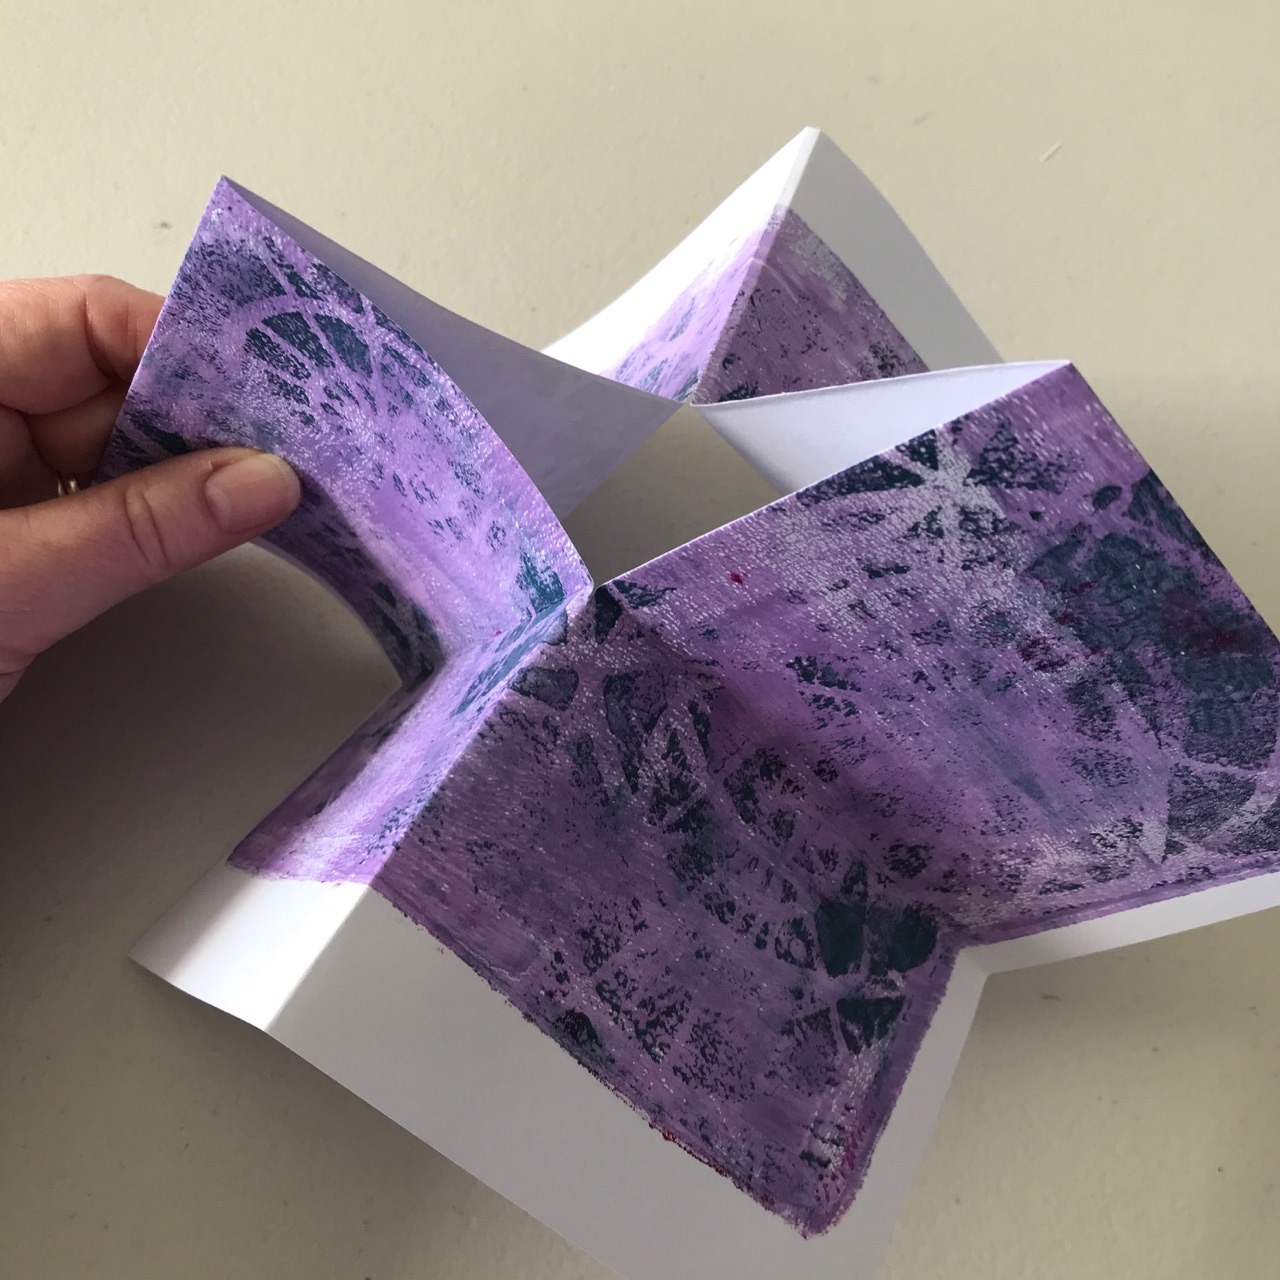
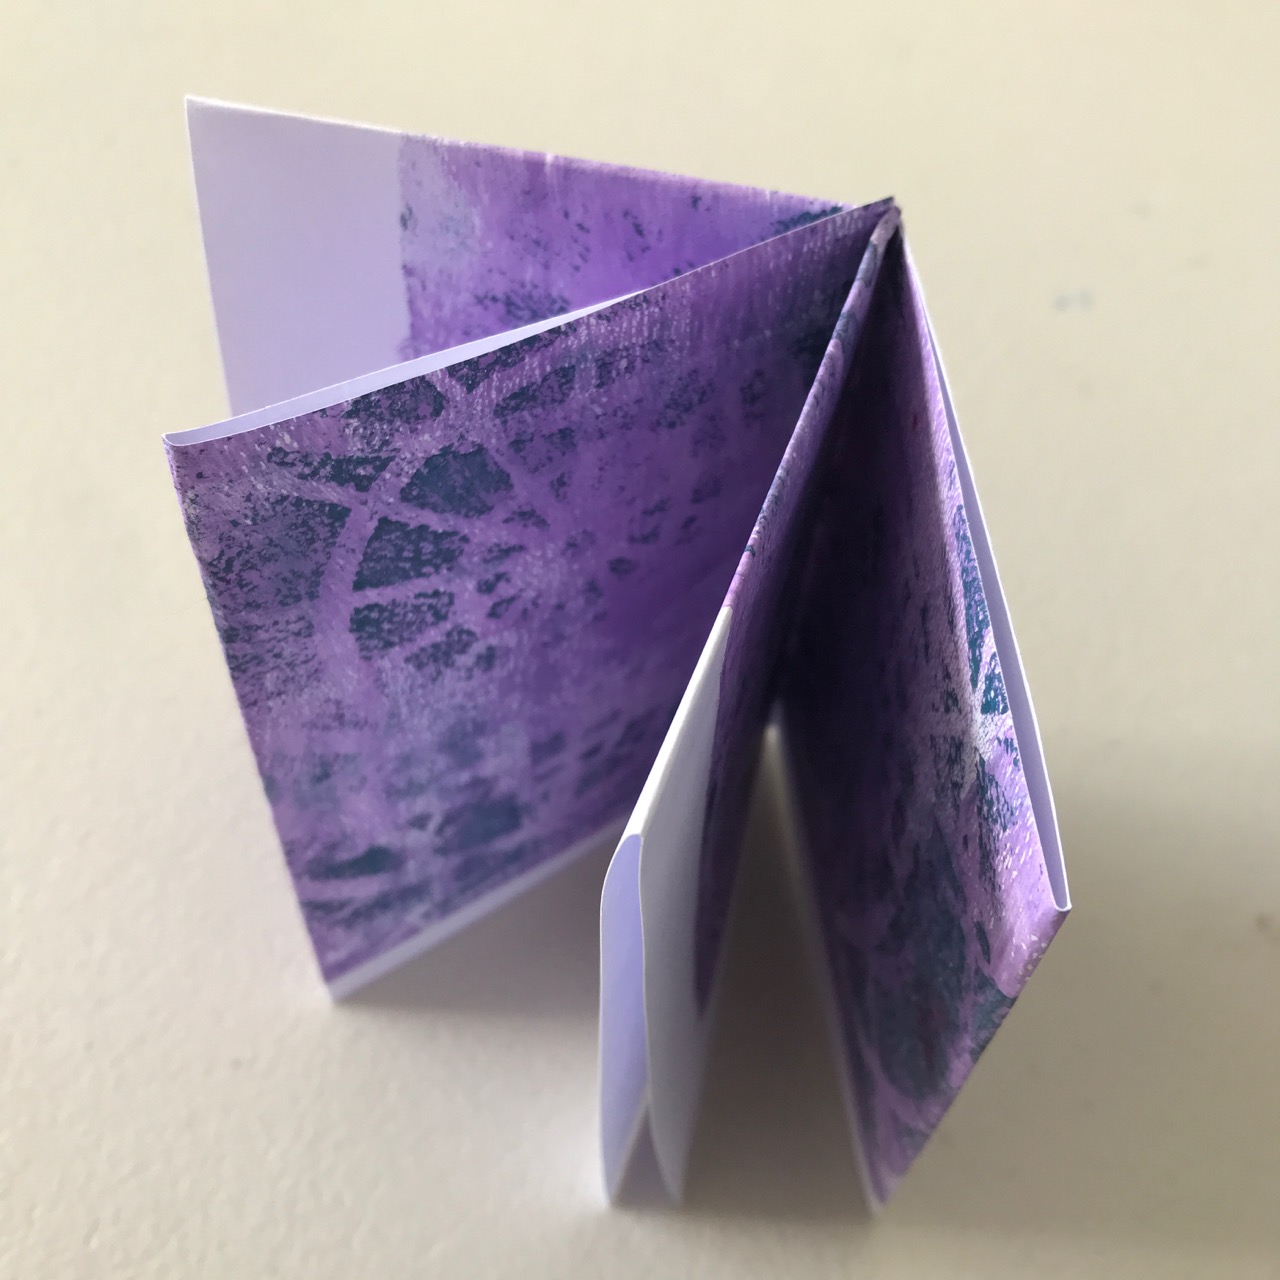
Open paper; it should look like this
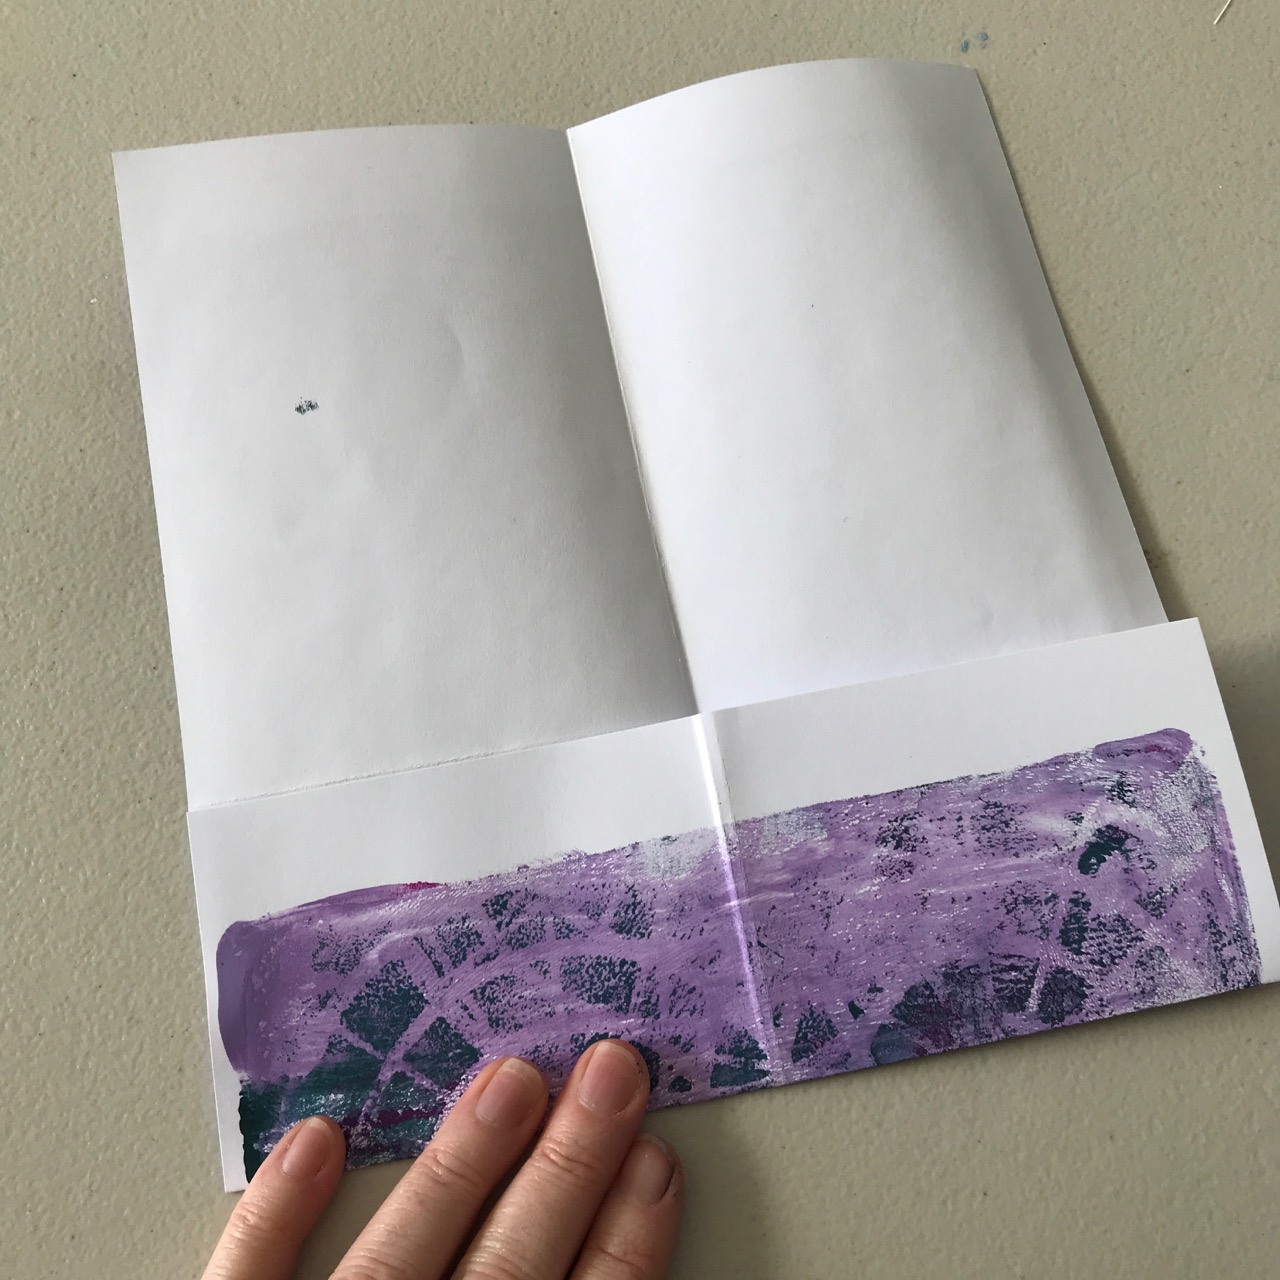
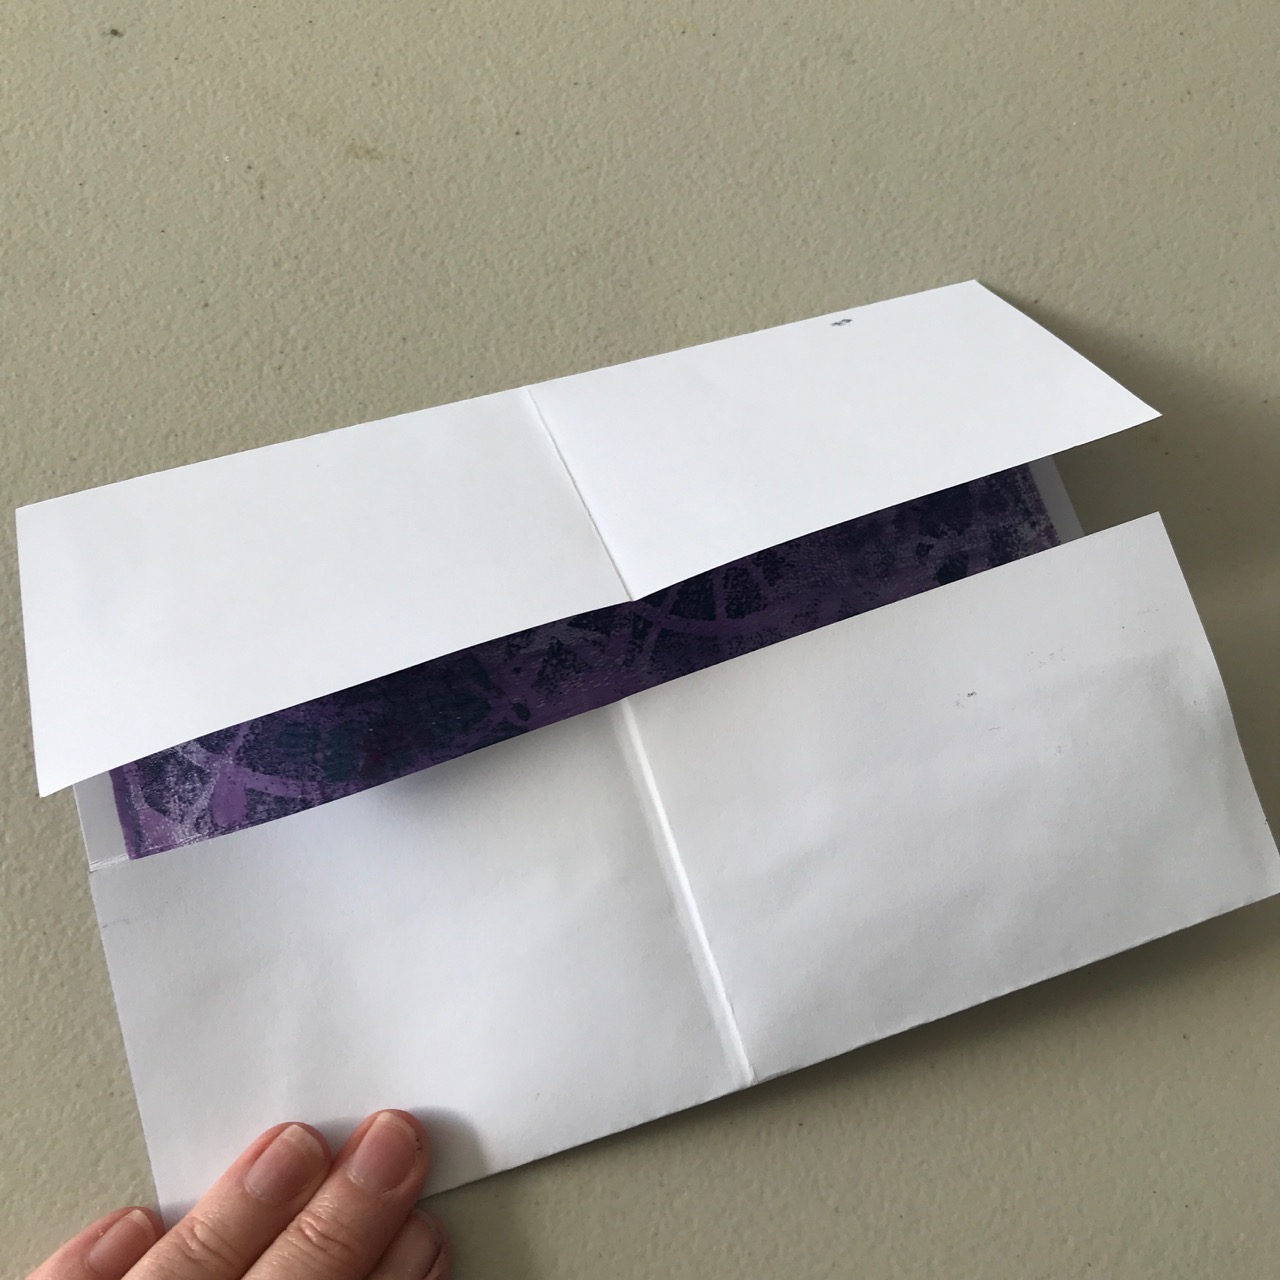
Fold one of the short ends into middle; Crease well with finger nail
Turn around and fold other end

Open folds
Turn over and fold the opposite way, along both folds. Crease well with fingernail.
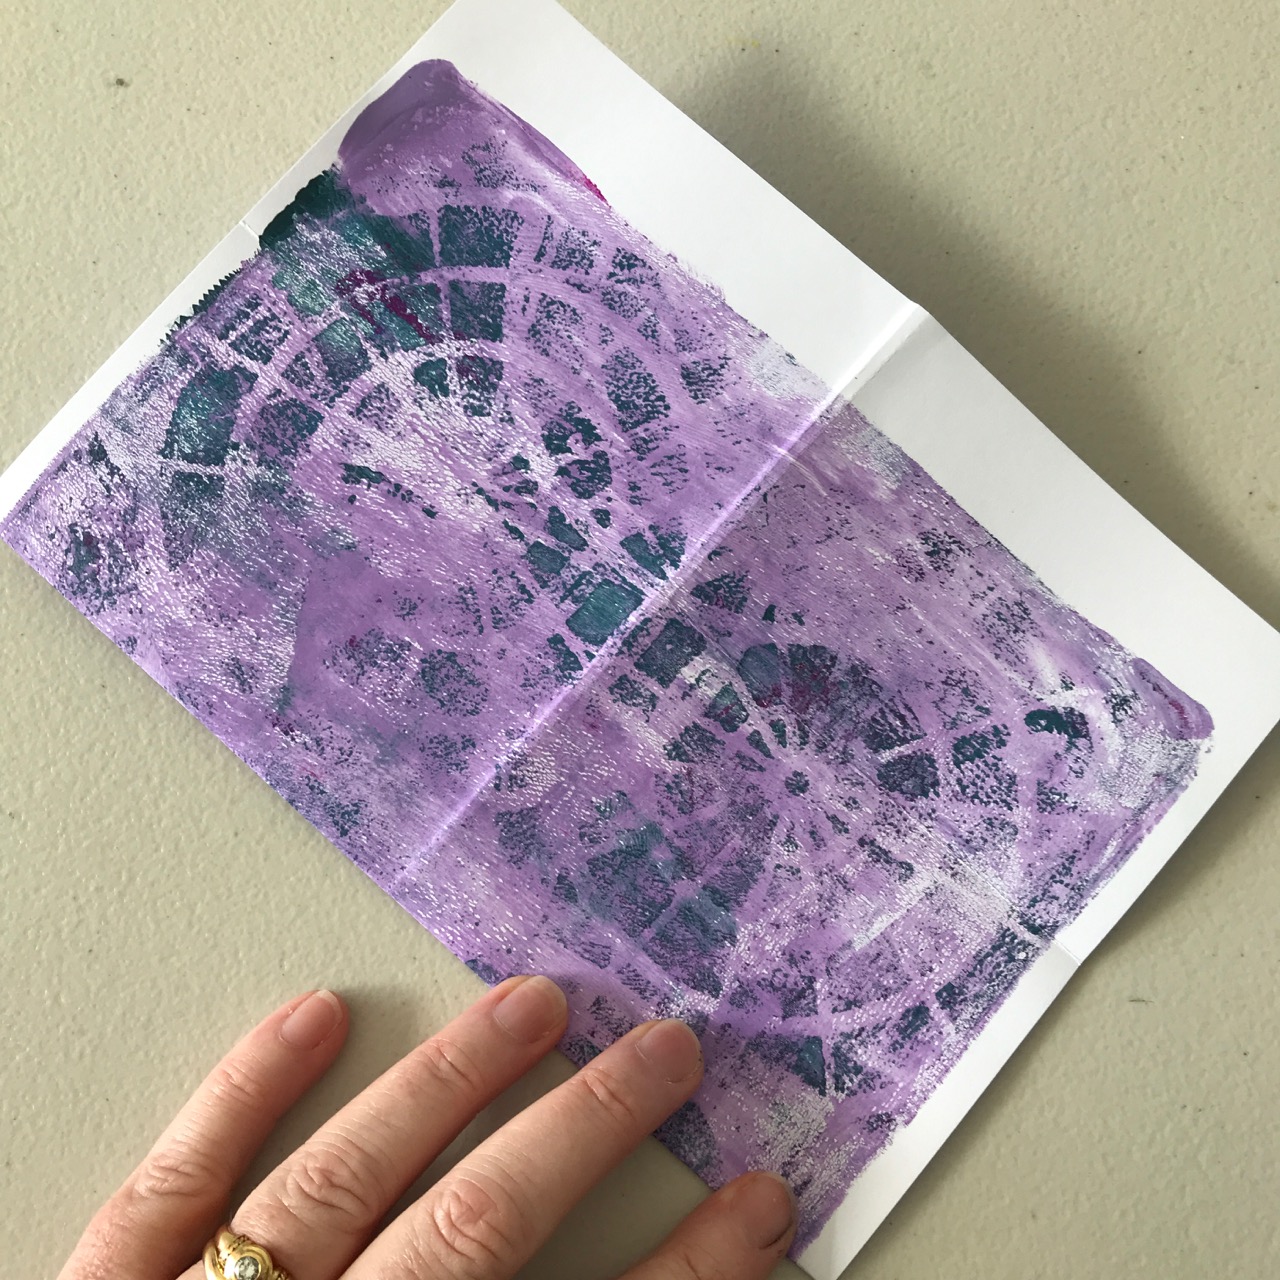
Fold in half, along short side
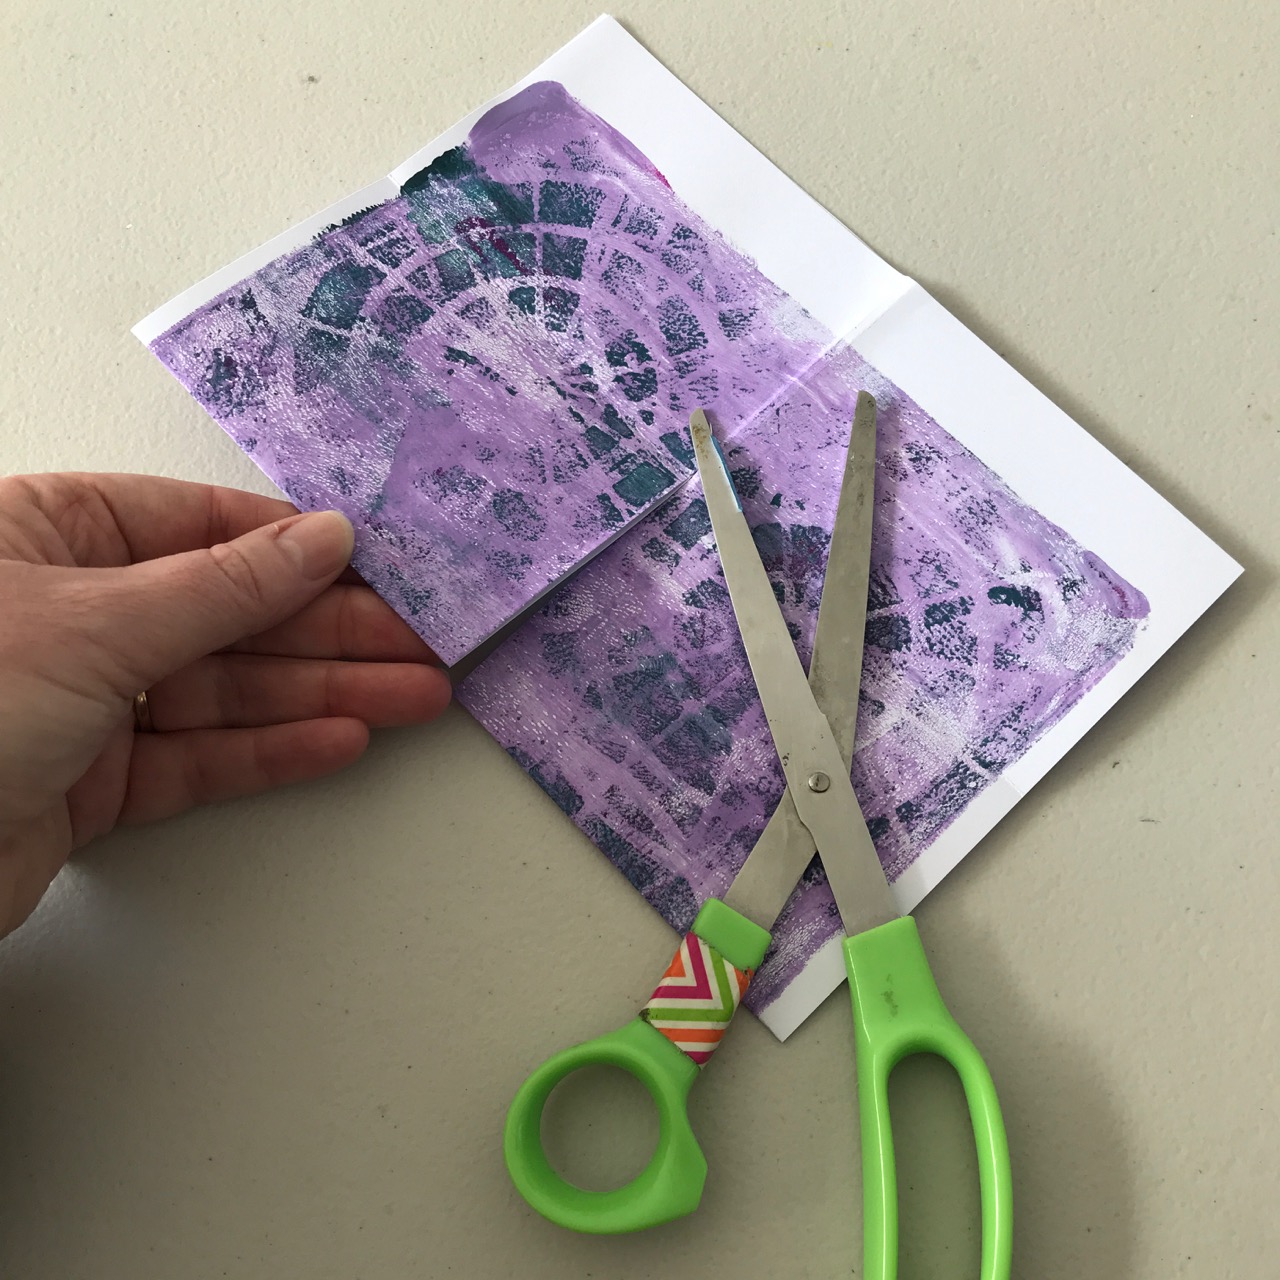
Use scissors to cut one segment, along the folded edge.
Pinch middle section and fold out bottom flaps
Pull middle section forward and backward
Fold Flat
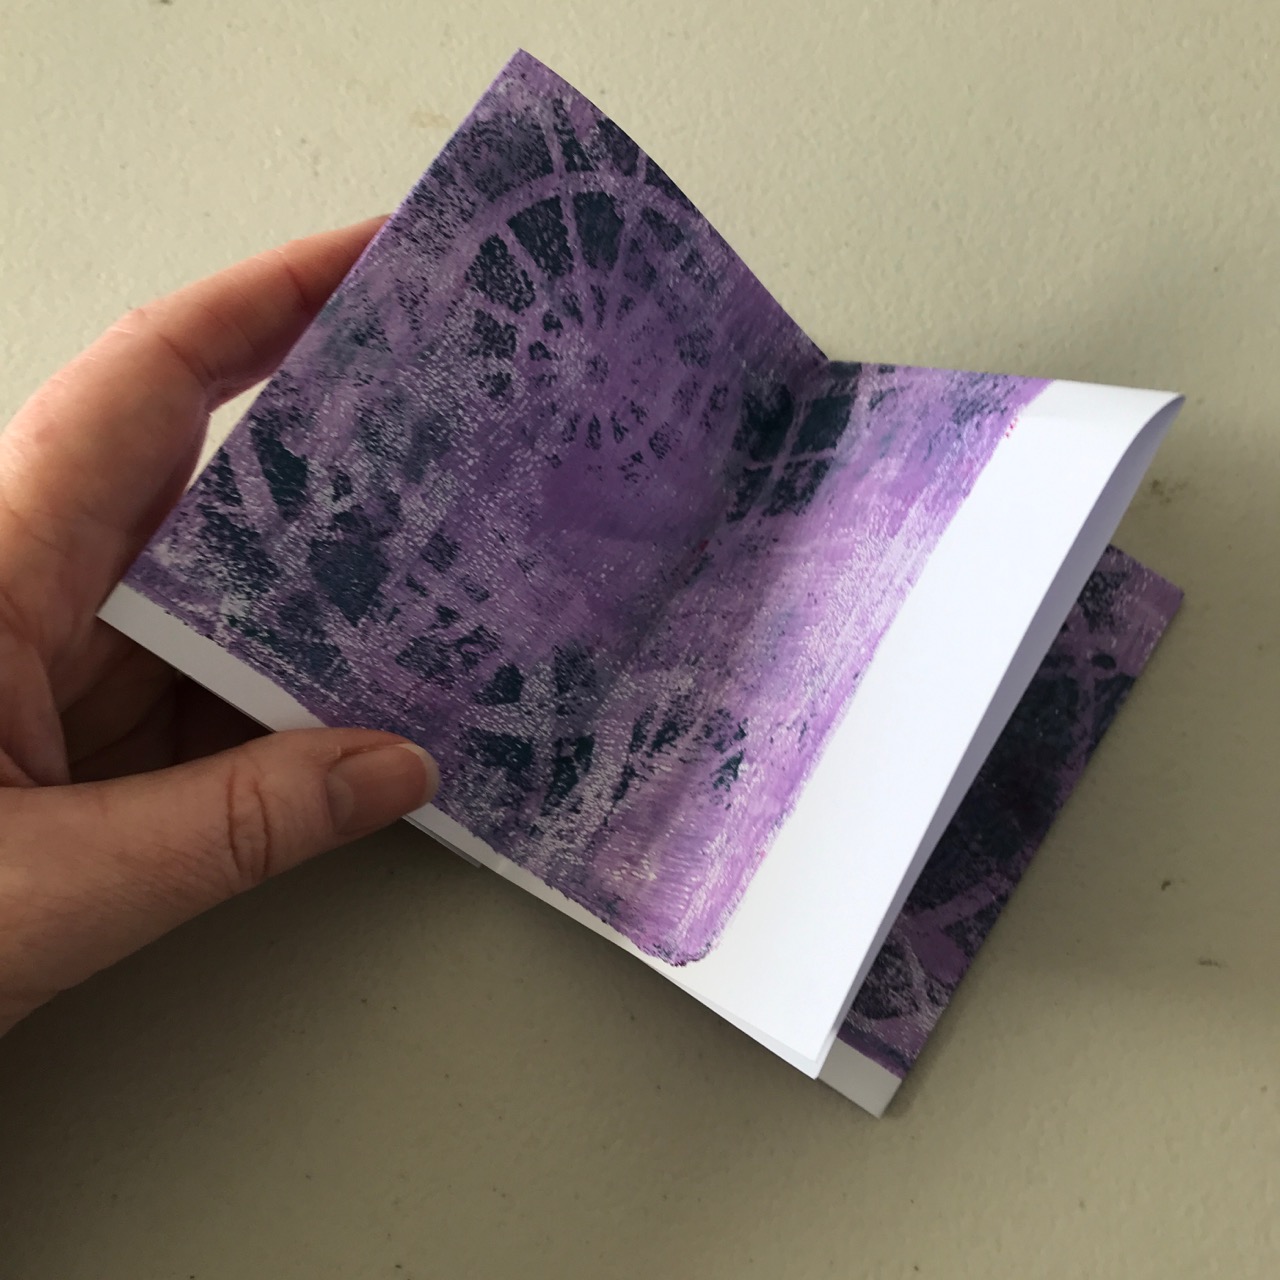
Juggle to get mini book to fold flat and close.
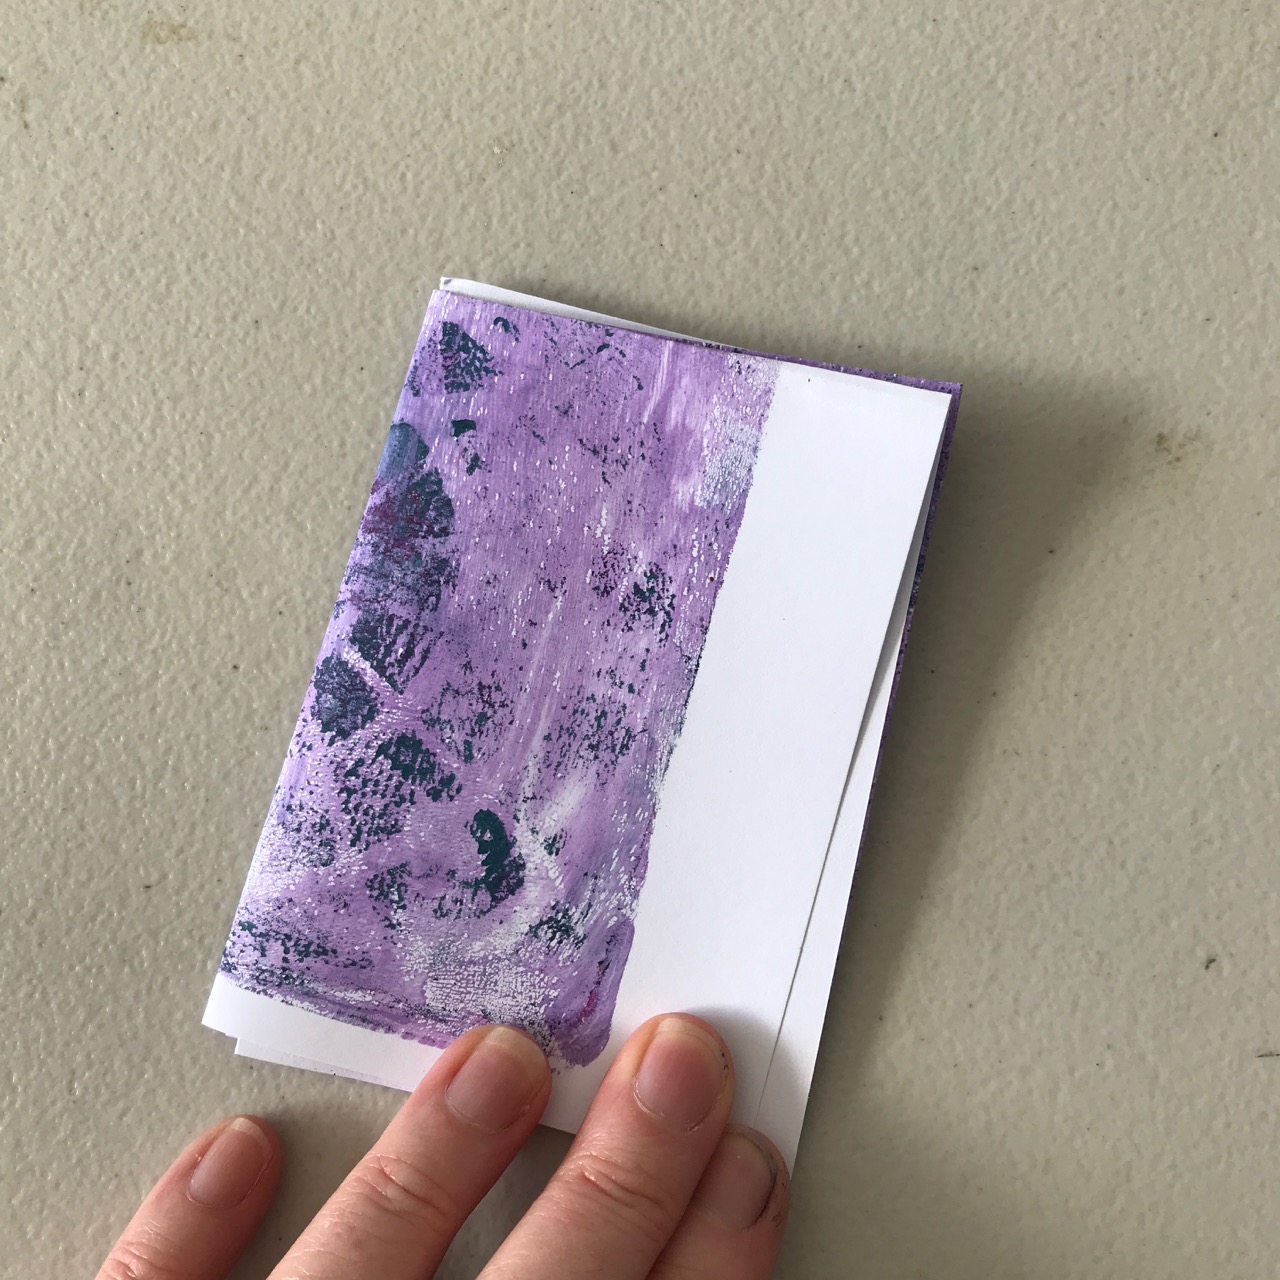
Finished mini book.
Now you are ready to decorate your mini book
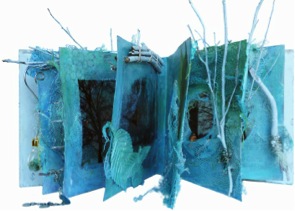
Decorating your mini book
All of your mixed media and papercraft techniques can come into play to decorate your mini book!
Mini book cover ideas
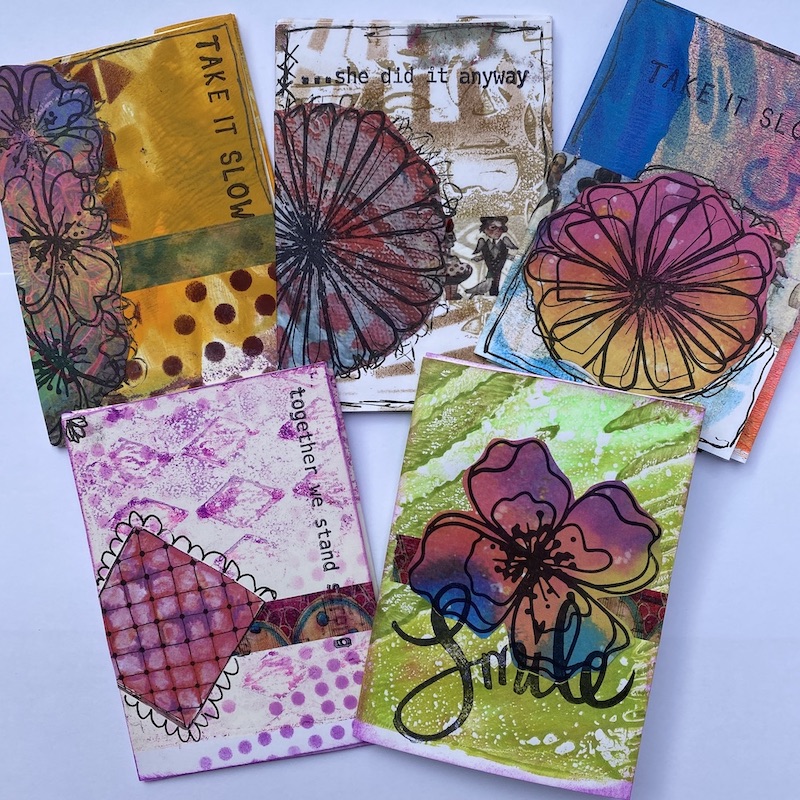
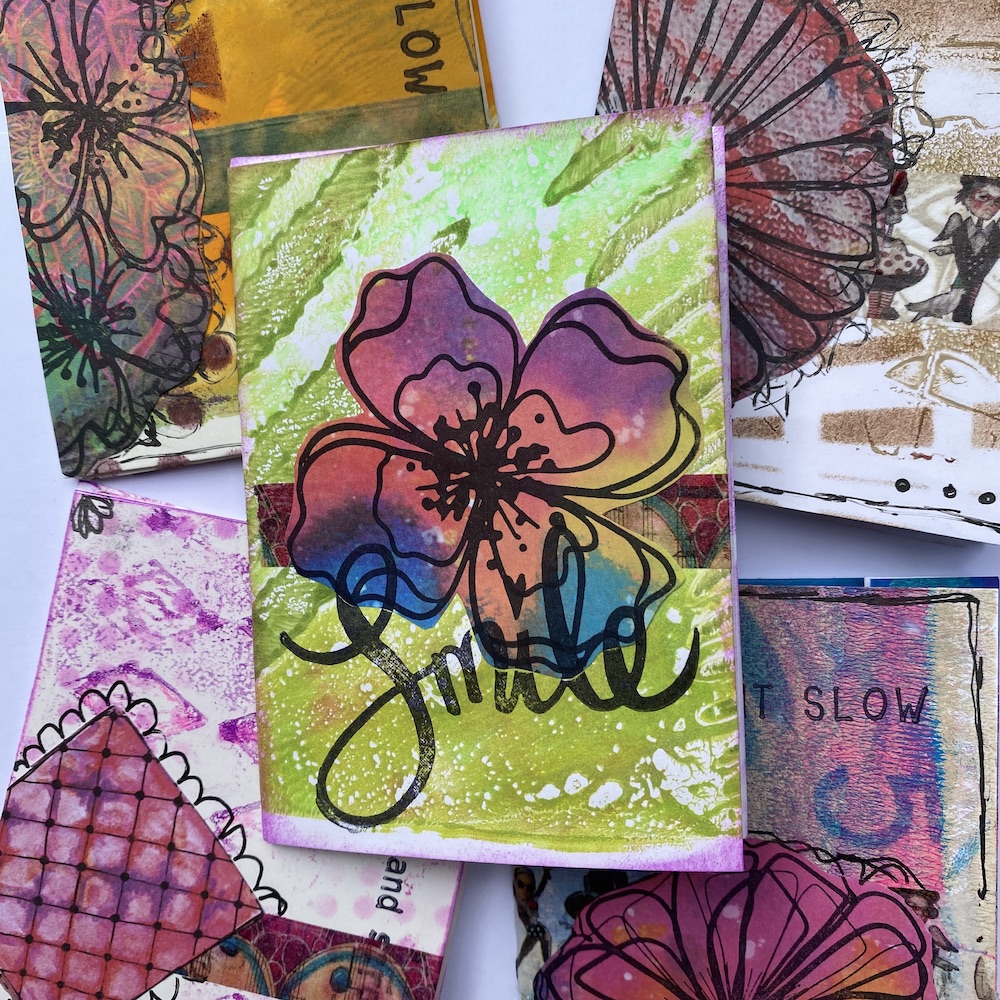
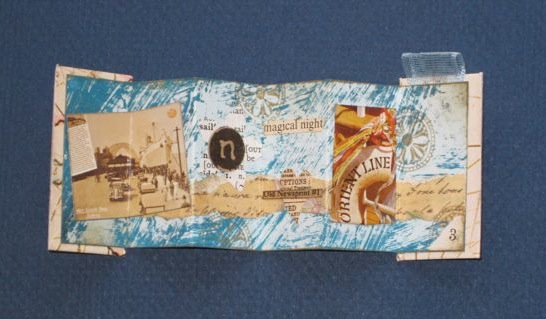
Here we have added washi tape to create a horizon, about a third of the way up. Then we have added an image, stamped a sentiment and finished off the cover with doodles and markings using a black Fudeball pen to finish off our mini book covers.


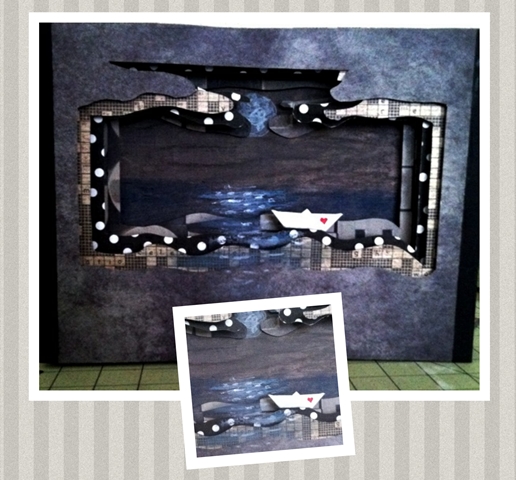
Decorating the inside of our mini book
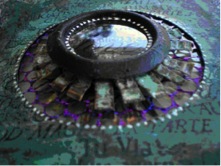
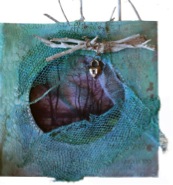
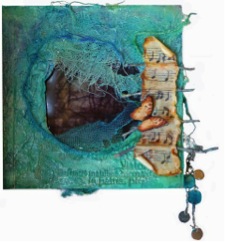
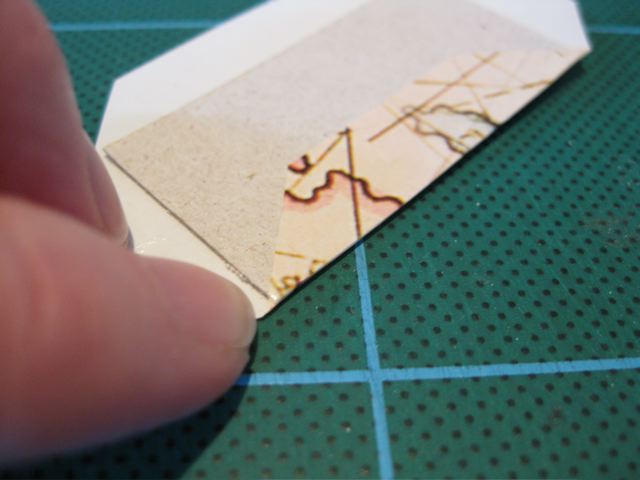
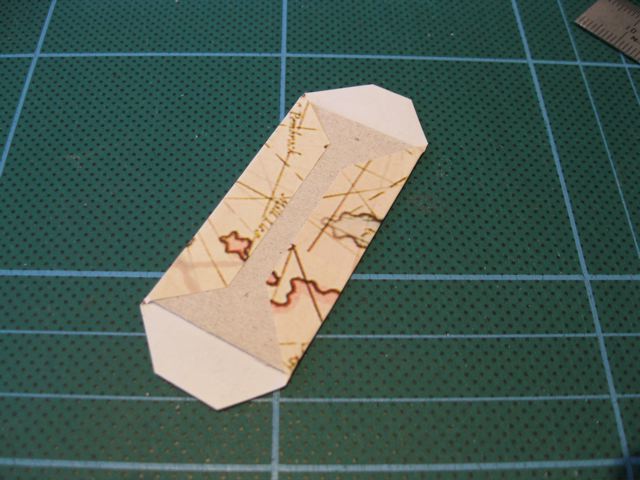
The two ideas we used here to decorate our mini book included using a circle punch to create a window, then adding an image of interest behind it. We also created a mini picket by sealing the base of the opening with washi tape and using a smaller circle punch to create a finger pull at the top.


We hope you have enjoyed making your mini book from A4 gel printed paper!
Please SHARE your creation in our Facebook Group / Mixed Media Studios Australia
Or on Instagram with the hashtag #MMAStudio
Happy creating,
Michelle


Recent Comments