Adding colour to your chipboard

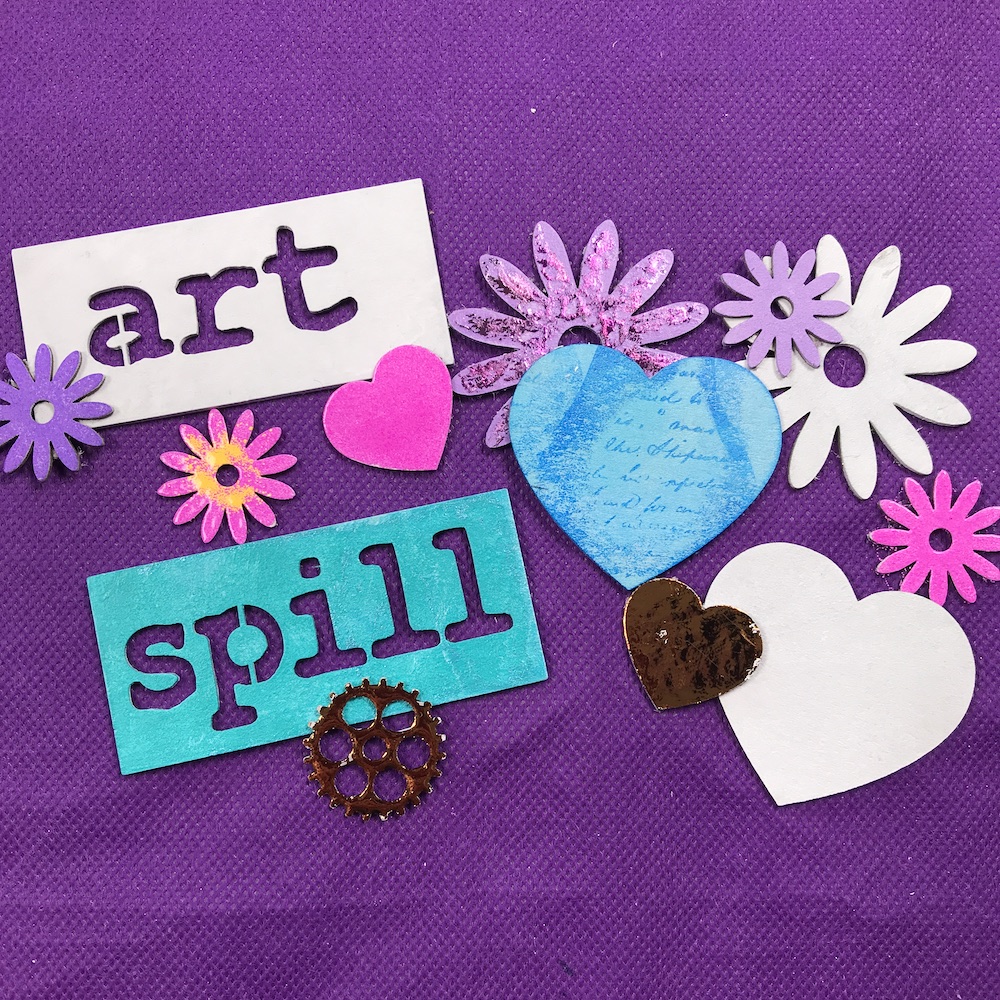
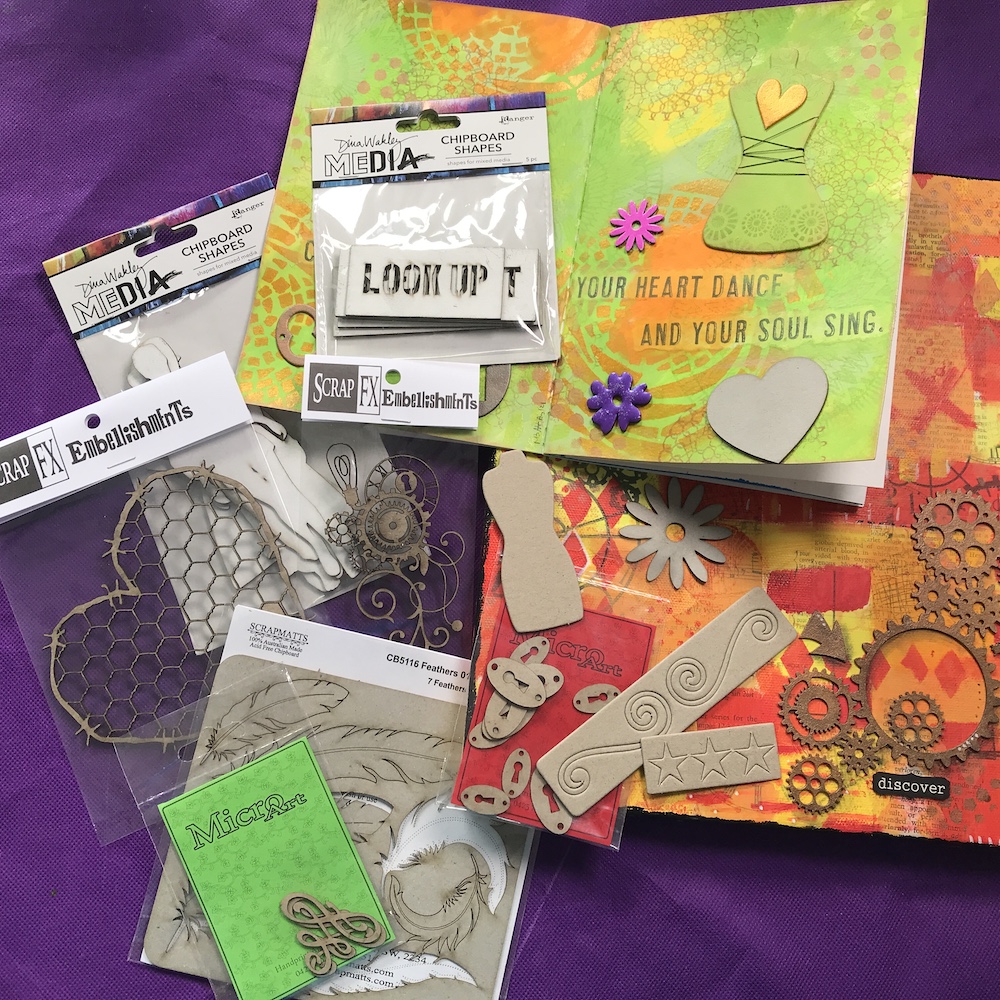
Join Michelle in this video as we break out that CHIPBOARD STASH and add colour to our chipboard embellishments for our mixed media projects, art journaling and more. Michelle runs through the different types of chipboard, using gesso to create a good foundation.

Then she demonstrates four different ways to add colour to your embellishments, making sure they match your art journal background or mixed media canvas perfectly!

It’s so easy to collect craft supplies and NOT use them but with a few hints and tips like these, you will be ready to get the chipboard out of your stash and put it to good use!

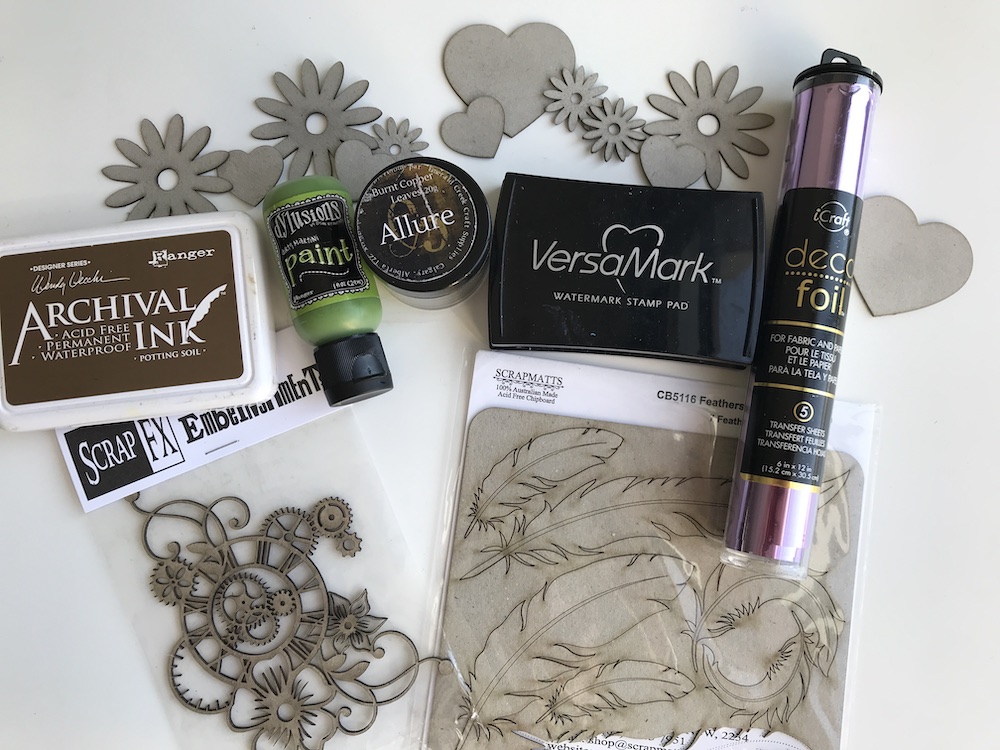
Materials list:

Versatile Chipboard Embellishment Kits from Eye Connect Crafts

~ * ~

This article is written by Gail Green

I recently discovered some super cool new chipboard kits that TOTALLY got my creative juices flowing! They are made by a new company Eye Connect Crafts, who have definitely designed some of the most unique embellishments around.  Made from recycled, environmentally conscious chipboard for a reduced footprint, Eye Connect Craft’s kits are just perfect for mixed media projects. And they simplify the process by doing some of the difficult work for the crafter.

Gail Green creates these cute eye connect creatures

Here ’s the skinny!

“Totem Poppets” are multiple component kits that appear to be very easy to use for all ages and skill levels. With pre-punched holes and multiple body parts, they can be used by children in school projects, as well as for imaginative play. I love that animals are the main theme and can see their potential in helping raise awareness of nature and teaching respect for all living things. At the same time, adults can create interesting embellishments for Mixed Media art, craft and/or home decor projects.

What is especially unique about Totem Poppets kits is that the components are assembled in a way that allows realistic posing and movement. They totally remind me of marionette puppets!

Another group of kits–appropriately named “Lace ups” also have the holes already perfectly positioned and punched on each piece so all crafters have to do is decorate and lace them up with ribbon, leather, fibers, string, wire and more.  These items are SO perfect for Mixed Media projects, my head started swirling with creative ideas the minute I saw them!

Both types of kits provide the user with a blank canvas…which means mixed media artists can use a variety of mediums or combination of mediums and techniques to decorate them. I don’t even know where to begin because there are so many possibilities!

All kit items can be painted or sponged with ink. Add decorative designs with stamps, stencils, draw doodles with pen or marker or decoupage layers of torn paper, tissue, magazine pages, and other paper items.  In reality, the sky is the limit when designing with these kits and creating all types of mixed media projects.

While I wanted to make a bunch of finished embellishments, I had to settle on just one for this article. IÕm thrilled with how it came out. In fact, I was SO inspired I decided to make two versions–one on each side!

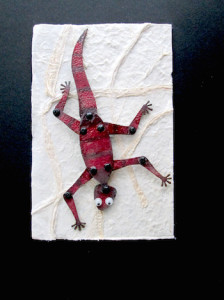
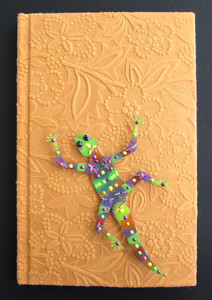
Here are just two examples of how easily a Totem Lizard can be decorated using multiple mediums.

Gail Green creates these cute eye connect creatures

Using a cosmetic sponge (or Art Daubers) and the straight edge of a scrap of card stock for a mask, gently sponge irregular stripes on each body piece using ink, acrylic paint or another quick-drying medium. Choose multiple colors in related or contrasting tones/hues, as desired. (Note: If possible, avoid mediums that over-saturate or require long drying times.) Dry completely before embellishing or assembling.

Gail Green creates these cute eye connect creatures

Or, you can heat emboss with clear embossing powder and ink in a related color family or value. Begin by base-coating the pieces with ink or paint. Next, apply colorful pigment ink in sections and heat emboss one color at a time. You can do this step either assembled or unassembled, as you wish. My Lizard was already assembled so I did this version assembled. While it was a little tricky to apply the ink, it was easier to hold when using the heat tool. I used a Colorbox PetalPoint pigment inkpad so I could take each color section out and apply it direct-to-paper (DTP). If you choose to use full size inkpads, I would recommend doing this project unassembled and/or applying the ink with a tool like an Art Dauber or Color Blender.

When dry, assemble all the pieces using tiny brads or eyelets. If desired, add dimensional elements by gluing on beads, wiggle eyes, or glitter. I used dimensional paint to add accents on the heat embossed version. You can also draw patterns on the pieces using a waterproof pen in a doodle, stylized or Zentangle style.

Add the finished Lizard to a journal cover or scrapbook page or use to decorate a gift, frame or a dozen other possibilities. The sky is the limit on how many types of mixed media projects you can create with products from Eye Connect Crafts!

For more information of where you can purchase these fun kits and products, please visit the Eye Connect Crafts website.

~*~*~*~*~*~*~*~*~*~*~*~*~*~*~*~*~*~*~*~*~*~*~*~*~

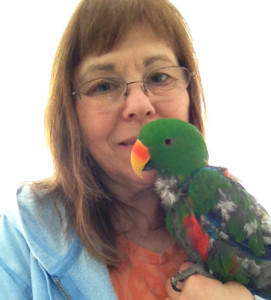
Gail Green is a Chicagoland craft book author and feature article writer/columnist for Scrap & Stamp Arts magazine. Known as the Òdesigner in the hatÓ and creator of the Sweet PETatoes art brand, Gail has licensed her illustrations on products in multiple global markets, including her own line of rubber stamps with Impression Obsession. For more information, please visit her ETSY store or blog for fun adventures with Ollie, Gail ’s crafting parrot and his pet doggie, Lacy Lulu.

Gail Green creates these cute eye connect creatures
~*~*~*~*~*~*~*~*~*~*~*~*~*~*~*~*~*~*~*~*~*~*~*~*~

Disclosure: These products were supplied by eye Connect Crafts for the purpose of review. All opinions are that of the MixedMediaArt team.
.

.

A Book with a Different Look

~ * ~

This article is written by Kim Kelley

About a year ago I made my very first altered book, I had just found out my uncle Rocky was dying of cancer; was given just a few months to live, and I wanted to make something that might give him and the family a bit of hope. So I started playing around with a book I happened to have had two of and viola… a masterpiece was created…

Altered Book Art by Kim KelleyFirst try at an altered book

After that, I was hooked.  Since I enjoy going to antique stores anyway, going through bins and shelves of; well wonderful pieces of junk, I started searching around for books.  Looking for the heavy, hard cover monstrosities that will make fantastic art!

There are a few ways you can alter a book…altering page by page, making a shadow box of sorts, fanning pages, even cutting shapes out of the pages, but I chose to create a stand up, 2 opening frame display.

For this project I used Jacquard Lumiere paints in …. , harlequin chipboard pieces, some other chipboard pieces, bead texture, flake texture, texture gel, and a digital image from Rebecca Sinz named Wither purchased at www.sweetpeastamps.com. Oh and of course a book!

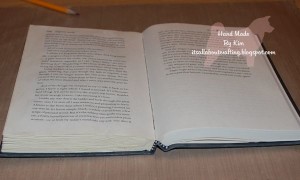
So to start, I find the middle of the book and pretty much break the spine by bending and wringing the book back and forth. If you could see my hands you would tell what to do. Ha-ha. Then I start to glue the pages together. This takes a little time because even though you are not gluing each and every page you do not want to skip too many, maybe every five pages or so. I used mod podge and made sure I got it right up to the spine of the book as well as right to the edges of the page. If there seems to be too many without glue you can always go back and add more.

Altered Book Art by Kim KelleyBending of book, start of gluing

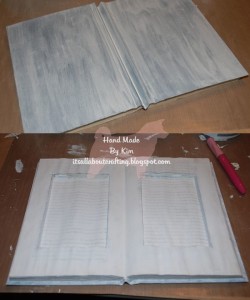
Depending on the size of your book is going to depend on the size of your opening that you cut out. I usually go in about an inch from the edges, draw my lines where I want to cut and then cut down about halfway through the pages. You want to leave the showing page to have some writing.

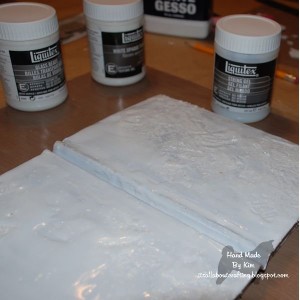
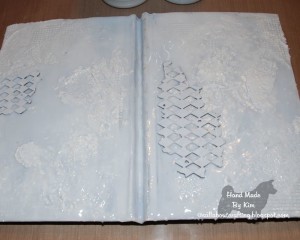
Now bring out your gesso! I like to put at least two coats of gesso on both the cover and the inside, making sure you get all the cracks and crevices.

Altered Book Art by Kim Kelley

I usually decorate the cover side first. Even if the cover side may not be seen at all times you know someone will pick it up and look at it! I started with my palette knife and several texture mediums; spreading anywhere and everywhere, getting them spread around so that you can see and feel each texture style.

Altered Book Art by Kim KelleyOutside

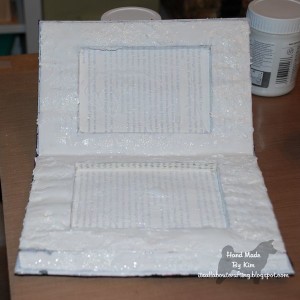
You want to continue doing the same on the inside, trying to keep it away from the cut out portion. If some drips onto the cut out edge, that’s fine, but keeping the bottom pretty clean is good, so that when you add your image and/or saying it will adhere the way it needs to. I initially added drips and splotches of string gel and then had to cut out the bottom page. Live and learn! Ended up just using some mists instead to give some color to the inside page.

Altered Book Art by Kim KelleyInside

Once you get the texture the way you want it, you can start to add your chip board pieces. I added mine while the texture was still a bit wet, makes for adhering it a lot easier. I used both the outline of the harlequin chipboard and the little pieces that you take out. At this stage I also used my glue gun on the pages, giving both texture and strength to the book.

Altered Book Art by Kim KelleyChipboard

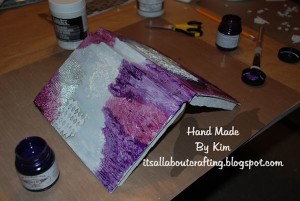
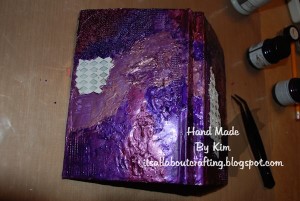
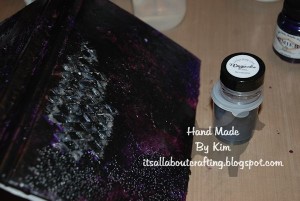
For some reason purple colors jumped off the shelf and onto my craft table, so I figured purples it shall be. I used Burgundy, Grape and Halo Violet Gold; alternating colors and brushes. After the purples dried, I also added black, misting with water and sponging some color off.  The chipboard pieces I colored with black and silver.

Altered Book Art by Kim KelleyPainting it up

Altered Book Art by Kim KelleyPainting it up 2

Altered Book Art by Kim KelleyPainted chipboard

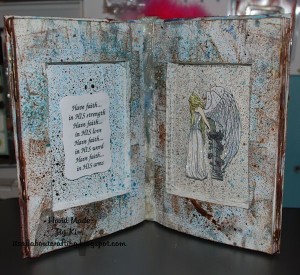
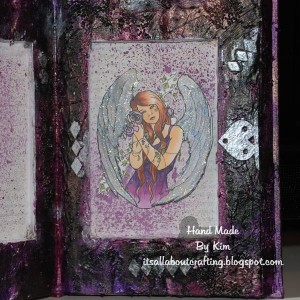
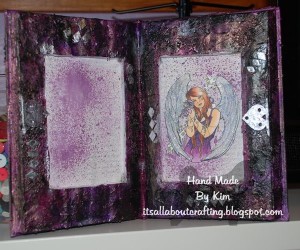
I chose to use an angel for this altered book, I mean who couldn’t use an extra angel around their house. I printed my image twice so that I could make her wings pop out, colored her with Copics and then added glitter to her wings. I will add a scripture or poem once I know who this belongs too, just to make it more personal for them.

Altered Book Art by Kim Kelley Close up of Angel

Altered Book Art by Kim Kelley Finished Project!

~*~*~*~*~*~*~*~*~*~*~*~*~*~*~*~*~*~*~*~*~*~*~*~*~

Kim Kelley is borderline obsessive about her crafting and her art. She loves mixed media art because you are free to go beyond your comfort zone, using your imagination and exploring an anything goes mind set. Kim loves to learn and explore new techniques and hopes that any art she creates leads someone to find their inner creative artist!

Sites: itsallaboutcrafting.blogspot.com and www.facebook.com/kimscraftyconcepts

~*~*~*~*~*~*~*~*~*~*~*~*~*~*~*~*~*~*~*~*~*~*~*~*~

.

.