Book Review: 101 Mixed Media Techniques

~ * ~

This article is written by Barbara Rankin

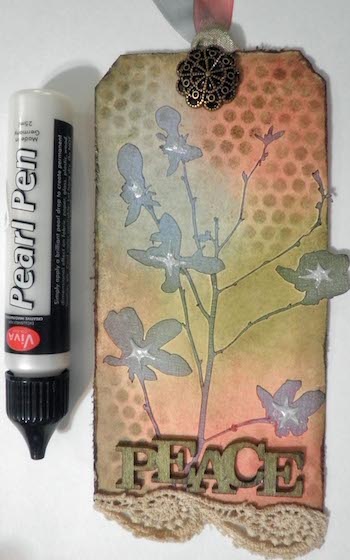
Mixed media is really hot right now, and whether you are a novice or a skilled mixed media artist, this book would be a wonderful addition to any artist’s library.

Book cover

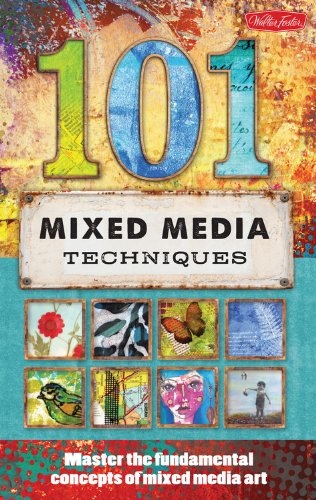
The book is a compilation of a myriad of mixed media techniques by several artists, and is published by Walter Foster. It retails for $19.99 in the United States.  I particularly like the way it is spiral-bound, allowing it to lay flat while referring to a particular technique.

The book begins with:  “There are no mistakes in art.”  I could not agree more.  Every artist has their own style, and this book will help you evolve as an individual artist, in your own way and in your own creative manner.  Next, there are suggestions for how to use this book, and it explains that with mixed media, the techniques can either be used individually or combined to create your very own masterpiece.

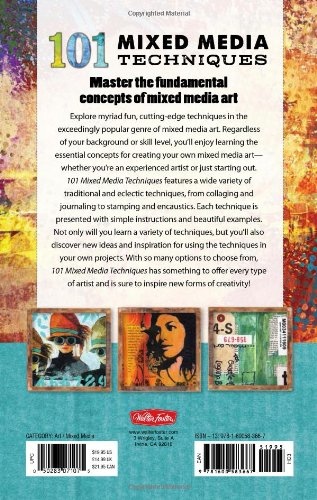
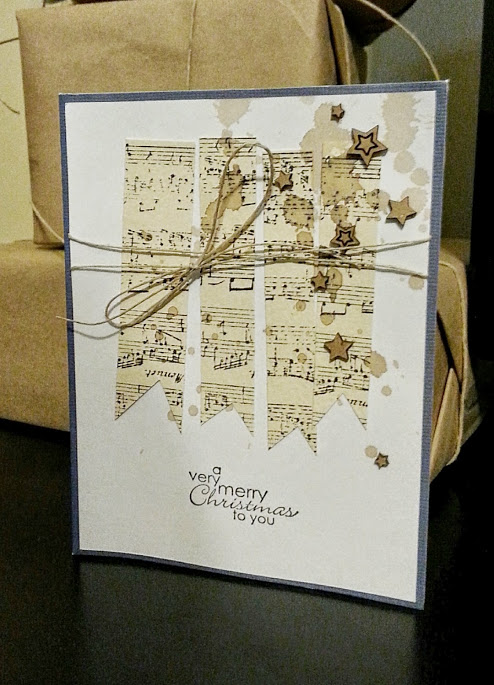
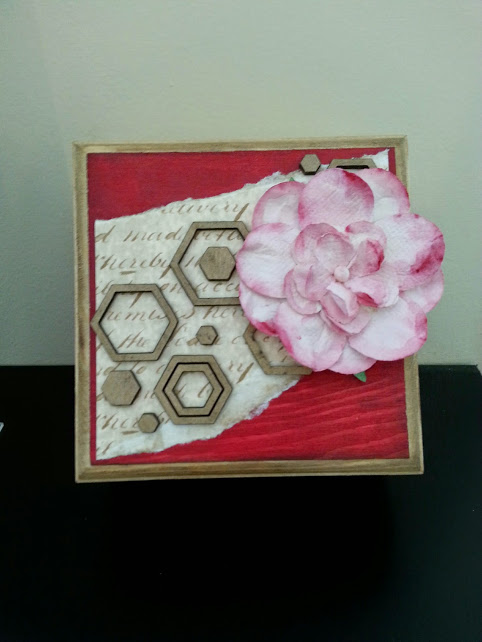
The topics covered in this book are painting backgrounds, gesso and mediums, found and re purposed materials, stamping, stenciling, altering photos, transferring images, encaustics, playing with paper, adding texture, and the ever-popular art journaling.

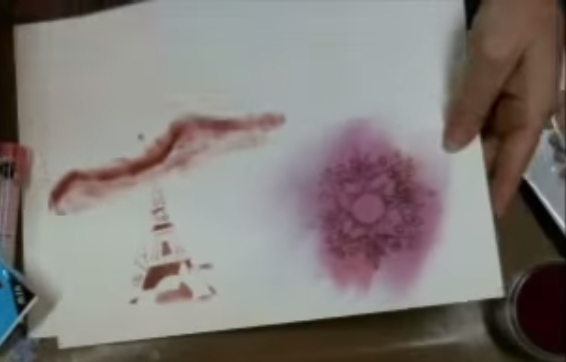
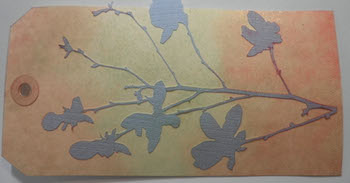
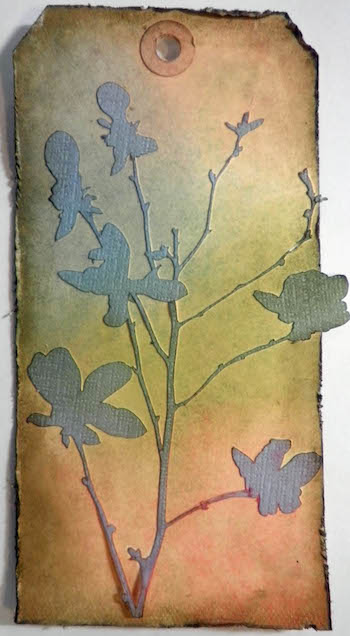
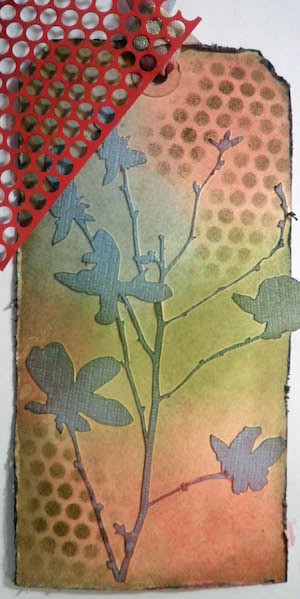
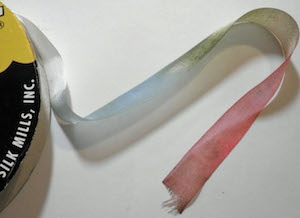
Each chapter addresses various techniques pertaining to the topic, with a list of supplies.  For instance, under “Painting Backgrounds”, you will find techniques for dry brushing, rolling paint, scraping, washes, and so on.  Each technique is presented with excellent examples, a brief explanation, and tips from the artist.

Book cover

I like to compare mixed media artists with a scientist in a laboratory, one who is always experimenting, always looking for just the right combination of ingredients.

This book will definitely be on my desk at all times, not only for inspiration, but I will consider it my workbook, or notebook, of all things mixed media, only someone else did all the work of taking notes and writing them down for me.  Even if I already know how to perform a specific technique described, It will be something I can refer to over and over again to either refresh my memory as to a specific technique, or to help me get my mojo back when it takes a leave of absence. You know those times when you have to walk away from your work because you are stuck for ideas.  This book should alleviate some of that.

When it comes to mixed media, the most important thing to remember is that there are no rules.  Try the techniques in the book, and experiment with them.  You just might come up with the most amazing technique that will be your “go-to” for years to come.

~*~*~*~*~*~*~*~*~*~*~*~*~*~*~*~*~*~*~*~*~*~*~*~*~

Barbara is a mixed media artist who loves to teach. She loves to learn new techniques and to share her knowledge with other artists. She is a contributing artist in a book: Make it in Minutes: Mini Albums, and has been published in several paper and online magazines. She is currently on two design teams, Sin City Stamps and Altered Pages, and has served as a design team member for The Robin’s Nest and Creative Paperclay®, as well as guest designer for Craftwell USA and the February 2015 issue of Unruly Paper Arts.

She lives in the Memphis, Tennessee, with her very supportive husband of 32 years, and her two Yorkies, Chloe and Zoe.

You can see more of Barbara’s work on her blog at Black Hole Art Studio or via Facebook – Black Hole Art Studio

~*~*~*~*~*~*~*~*~*~*~*~*~*~*~*~*~*~*~*~*~*~*~*~*~

.

.

Using Pan Pastels in Mixed Media Art

~ * ~

This article is written by Terri Sproul

Pan Pastels are Artists color pastels with over 80 color to choose from.  Their latest colors include six pearlescent colors.

new colors from Pan Pastels

You can mix, blend, use with stencils, stamps and much more.  These Artists Color Pastels can be used just like you use paint.  As a Mixed Media artist you will not be able to put these Pans down, from Canvas, Art journals and stamping each day will be a new adventure.

pan pastels used in art journal

In the video below, I run through some of the pan pastel features, showing you how they can be stored, as well as showing you some of the techniques you can do with the Pan pastels. Here I have used my art journal but these techniques can be applied to many different mixed media projects.


For further inspiration, you can check out the website for more video on how to use them at http://www.panpastels.com

I host a live Art Journal Show on Tuesday nights and here is a video on a page I did using Pan Pastels:


Hope you enjoy my review on Pan Pastels.

pan pastels used in art journal

Thanks for joining me, remember to like us on Facebook CreatingMixedMediaArt and leave me a comment please…

~*~*~*~*~*~*~*~*~*~*~*~*~*~*~*~*~*~*~*~*~*~*~*~*~

Terri Sproul is a CHA desinger and a Mixed Media Artist with her own line of stamps with Sincity Stamps and own paint line with Sakura Hobby Crafts.  She and her husband have the pleasure of living on Palomar Mountain, in San Diego county.  She is teaching an online live show on Tuesday night on her youtube channel

You can see more of her work at terrisproul.blogspot.com

art journaler Terri Sprouls

~*~*~*~*~*~*~*~*~*~*~*~*~*~*~*~*~*~*~*~*~*~*~*~*~

Disclosure: These products were provided by Colorfin LLC for the purpose of review. All opinions are that of the MixedMediaArt team.
.

.

What is Viva Décor Paper-Soft-Color?

~ * ~

This article is written by Barbara Rankin

What exactly is Viva Décor Paper-Soft-Color?

How does it differ from other products you may already own?  This article is intended to demystify this product.

When you open the jar, you will see a jar that appears to be full of paint on a sponge.

Product picture with a view inside jar

Removing the top sponge reveals the paint distribution system.  You will need to replace the top sponge for use.

Product picture with top sponge removed.

The best way to apply this product is with a sponge brush. Here are two examples of sponge brushes that I think work well.  The red handled sponge applicator is by Viva Décor, and the white handled applicators are by Martha Stewart.  A nice, dense sponge works best.

Viva Décor and Martha Stewart sponge applicators

Paper-Soft-Color is perfect for making soft, gradated colored backgrounds.  They blend extremely well and are super simple to use.  If you are familiar with distress inks and how to blend them, then you will find that Paper-Soft-Color is much easier to blend, and you can obtain more even coverage in a shorter amount of time.  The colors are very soft and they are quite transparent.  There are 20 colors.

First, load the sponge brush by dipping it into the jar’s sponge.  You will use very little paint, thereby making it excellent for stenciling with very little to no bleeding.  Using different colors will give you a graduated, soft effect, to make a beautiful background.  You can even stamp with Paper-Soft by dabbing the color onto your rubber or silicone stamp for amazingly crisp results.

For my example, I first cut a silhouette flower image onto light blue adhesive-backed card stock with a cut file from my Silhouette machine.  I adhered it to a #8 manila tag and began coloring the background, beginning with the lightest colors:  Lime Green, Light Carmine Red, Moss Green, and Light Blue.   I used a heat gun to dry the tag between each color while using a separate sponge for each color.

Photo of tag with colored background

Not only can you see how well the colors blended into each other, but also how the colors on the light blue die cut changed, as well.

I love distressing the edges of most everything I make, and so I distressed the edges of the tag all around and colored with Walnut Brown Paper Soft.  The technique would be the same as when you do this with distress inks and a foam blending tool, but again, the Paper-Soft-Color process is much faster and just as effective.

Photo showing how to distress edges of tag with brown Paper Soft.

I wanted to share the stencil technique with you, also, so I used a scrap of Punchinella  to stencil the dots with the Walnut Brown Paper Soft.  I deliberately sponged some areas darker than others to show how you can blend the stenciled areas right into the background.

Adding color through a stencil.

Moss Green Paper Soft was sponged directly onto the “PEACE” wood veneer and adhered at the bottom of the tag, thereby proving it works well on wood, too.

Adding Paper Soft to wood.

Moss Green, Light Blue, and Light Carmine Red Paper Soft colors were added in sections to a piece of off-white seam binding and thread through a decorative button, then through the tag hole at the top.  Again, this product works well on fabric, too!

Adding Paper Soft to fabric

Scrap lace was added to the bottom of the tag.

One last thing I wanted to share is how to take a simple silhouette image and give it some detail.  By simply adding a large dot of the Cream Pearl Pen and pulling it out towards the end of each flower with a pin, it dries shimmery and dimensional.  You can also apply the paint through a stencil with a spatula for a dimensional look. Add glitter to the paint while still wet for added sparkle.

Viva Décor Paint Pen uses

You can further embellish the tag to your heart’s content.

~*~*~*~*~*~*~*~*~*~*~*~*~*~*~*~*~*~*~*~*~*~*~*~*~

Barbara Rankin is a mixed media artist who loves to teach.  She loves to learn new techniques and to share her knowledge with other artists.    She is a contributing artist in a book:  Make it in Minutes: Mini Albums, and has been published in several paper and online magazines.  She is currently on two design teams, Sin City Stamps and Altered Pages, and has served as a design team member for The Robin’s Nest and Creative Paperclay®, as well as guest designer for Craftwell USA and an upcoming issue of Unruly Paper Arts.

She lives in the Memphis, Tennessee, with her very supportive husband of 32 years, and her two Yorkies, Chloe and Zoe.

You can see more of Barbara’s work on her blog at Black Hole Art Studio or via Facebook – Black Hole Art Studio

~*~*~*~*~*~*~*~*~*~*~*~*~*~*~*~*~*~*~*~*~*~*~*~*~

.
Aweber code:
.

UmWow Studios and their Chipboard Confetti

~ * ~

This article is written by Anjuli Johnson

UmWow Studios main banner

As an art supply junkie, I have to confess that walking into an art supply store or surfing the internet can be pretty dangerous.  I usually try to keep my browsing and searching to a minimum for the sake of my bank account.  However, every once in a while something new comes along that is not just hard to resist, it’s the perfect supply I’ve been missing and just what I need to finish multiple projects.

I recently had such a moment when I discovered UmWow Studios.  They sell a variety of scrapbooking supplies, but their main product is laser cut chipboard.

This year’s Christmas card I designed

I’ve been working on a variety of things lately- Christmas cards, altering some small wooden boxes, and of course my mixed media canvases and scrapbook layouts.  UmWow’s chipboard embellishments are perfect for any and all of these projects, and really anything else you could think of.  I began with an order of their confetti , which comes in several shapes and sizes, and I love that they can cut so neatly and still have extremely tiny pieces.  All of the edges are finished and it’s rare to find any rough paper on the edge from an unfinished cut.

Flower box with hexagon confetti

With my first order they included a piece of their flair; I’ll be adding a few of those to my next order as well.  Maybe it’s my desire to keep my spending to a minimum, but I’ve never seen the type of flair they have anywhere else.

UmWow Studio’s flair banner

Give UmWow Studios a shot and follow their blog.  I am so happy I stumbled upon them and can’t wait for my newest order to arrive.  My husband will have to do all the dishes for next couple weeks since I’m already brainstorming more ways I can use all my new chipboard.

You can find their Star Conffetti here

And their Hexagon Confetti here

~*~*~*~*~*~*~*~*~*~*~*~*~*~*~*~*~*~*~*~*~*~*~*~*~

Anjuli Johnson is a Mixed Media Artist form Raleigh, NC.  She began her art career as a scrapbooker, and it’s been an evolutionary process ever since.  She loves all things mixed media- paper, paint, pens, wire, gears, clay… the list goes on and on.  She is constantly trying to push through her fears to discover and develop her talents, meet new people, and learn from those around her.  To see more of Anjuli’s art and techniques, check out her website at www.thefarpavilion.com  and like her Facebook page. Don’t forget to follow her blog! www.thefarpavilion.blogspot.com

~*~*~*~*~*~*~*~*~*~*~*~*~*~*~*~*~*~*~*~*~*~*~*~*~

.

.