Michelle G Brown | Mixed Media Art

Decluttering for the New Year; Reviewing our achievements

The start of a New Year always seems like a good time to reflect in the year just past and set some goals for the year ahead. The art / crafting area of your life is no different; it is needed to balance your life and needs as much attention as your health, job/career and family.

Over the next few weeks we will look at  a few tips to review last year, set a plan for getting organised and decluttering your space and stash, and get ready for the creative year ahead!
mixed media art collage painting

Last year’s achievements
Before we plough into the New Year, let’s take a few moments to reflect on just how far we have come over the last 12 months.

Projects
Can you find a project, or photos of a project, that you started 12 months ago? Did you finish it? Do you still like it today? Can you see how your style has changed and developed when comparing this piece with one recently made?

I am always amused when I review my artwork – I can remember how I felt when I created it (sometimes happy with it, other times, not so happy). there are bits I like and bits I would do differently. Even my colour selection changes

Techniques & Materials
What techniques did you use to create this piece 12 months ago? What have you learn and tried? Which ones worked for you? which ones need more practice? Which techniques won’t be tried again?

I find I don’t often discard new techniques but they add into what I already do, adding to my range of skills I can draw on. There are so many techniques that can be used in mixed media art, drawn on from other crafts. Many of them fit together.

What new materials have you added to your collection last year? Which ones were used often? Which ones did you use only once to find they weren’t what you expected?

These questions will help us as we step through our decluttering process!

Time spent
Did you spent as time as you wanted to on your crafting last year? Is there even enough time to complete all of your projects and fulfil all inspirations?

In these time-challenged days, ti is hard to find time to be selfish and get stuck into creating. I’m a firm believer of scheduling in time to create and give myself permission to play and not get some jobs done. Often I find I can get the basic housework jobs done extra quick when I know crafting time is ahead. We all have the same amount of time; we must choose where we spend it. And recognising it can be a conscious choice as to how we spend our time is the first step to finding that time to create.
blue mixed media painting

Take a few moments
In your art journal, take a few moments to reflect on what you have achieved over the last 12 months; projects started (and completed), new materials and techniques and when the best times for crafting were for you.

We will return later to set some direction for the year ahead, but for now, just reflect and celebrate your achievements.

.

.
Travel Journalling Tips

This article is written by Francesca Albini

A cruise on the Nile may sound like a calm, relaxing experience, but the truth is, most of the excursions start at 4-5 am, you are often dragged from one monument to another, and in the evening there may be special dinners, dances, music and other entertainments. There are only a few moments where, if you have the energy, you can sit down and sketch, glue, paint, or write.

I find it is actually better when visiting a completely new place to absorb the atmosphere and collect material to then work on my journal once I’m back home. I make mental notes about things like colours, sounds, impressions, temperature. I write key-words  and a few diary entries on a document app on my mobile (I handwrite too, but calligraphy is not what I do best). I also have a folder to collect ephemera, ticket stubs, postcards, brochures, and, why not, the letter paper of the hotel or boat I’m staying in.

I hardly use my big camera these days, I prefer a more compact one, but still with an slr chip. I also bring with me a few plastic cameras and mobile camera apps. I very often find that the lo-fi images record the atmosphere better than the higher quality ones. Lo-fi also means you can capture images quickly, for instance when riding on a coach (less pixels or 35mm film are faster).

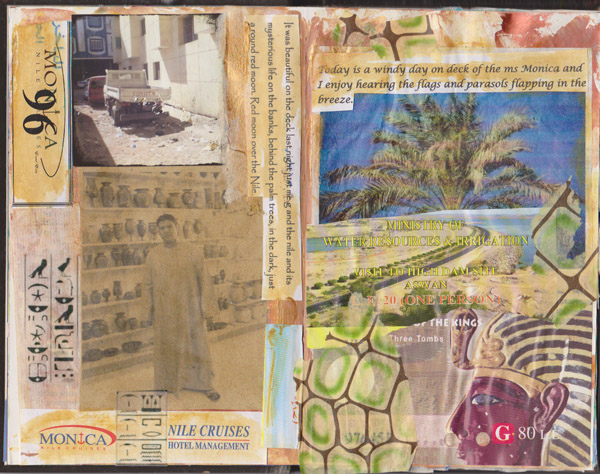
Here are three spreads from my Egyptian trip.

The first is more collage-based with bits of ephemera, my cut-out diary entries and some photos, one of which printed on a piece of brown manila envelope.

Art Journalling by Francesca Albini


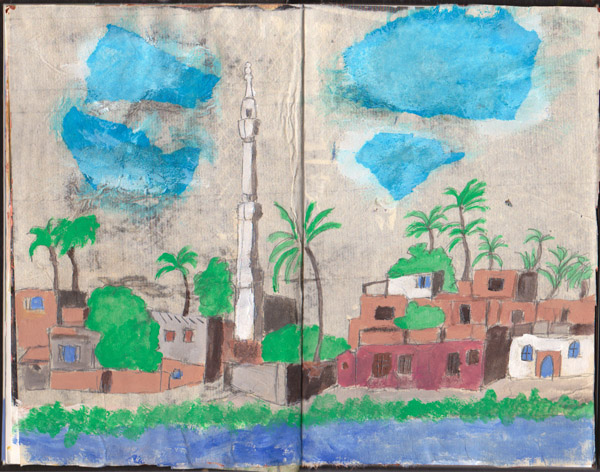
The second is a sketch of the view from the boat. I laminated the book I’m working on with rice paper died with a tea bag. I used pencil, gouache and bits of coloured tissue paper. The reference for the image were a photo I took and some quick sketches I did on deck at the time.

Art Journalling by Francesca Albini

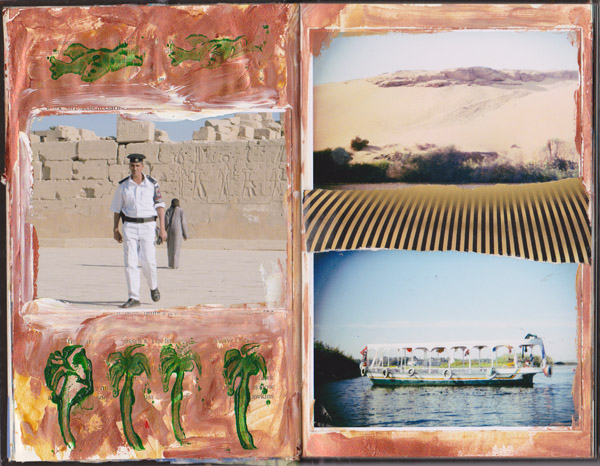
The last spread shows three photos I took, the one on the left is a candid taken with the good compact kept at waist level, the two on the right were taken with a 35mm plastic camera. I spread brass, ochre and white acrylic around the pictures and completed with rough homemade eraser stamps of birds and palm trees.

Art Journalling by Francesca Albini


~*~*~*~*~*~*~*~*~*~*~*~*~*~*~*~*~*~*~*~*~*~*~*~*~

Francesca is a visual artist using pretty much everything she finds around her to record and relive feelings and memories of places and emotions. She collages, paints, draws, photographs. Francesca loves mixing modern technology, such as mobile phone apps, with the simplest of tools such as glitter glue, crayons and other children’s art supplies. Read her blog at http://franjournal.blogspot.com/

~*~*~*~*~*~*~*~*~*~*~*~*~*~*~*~*~*~*~*~*~*~*~*~*~

.

Red Poppies

This article is written by Gloria Malour-Marsh

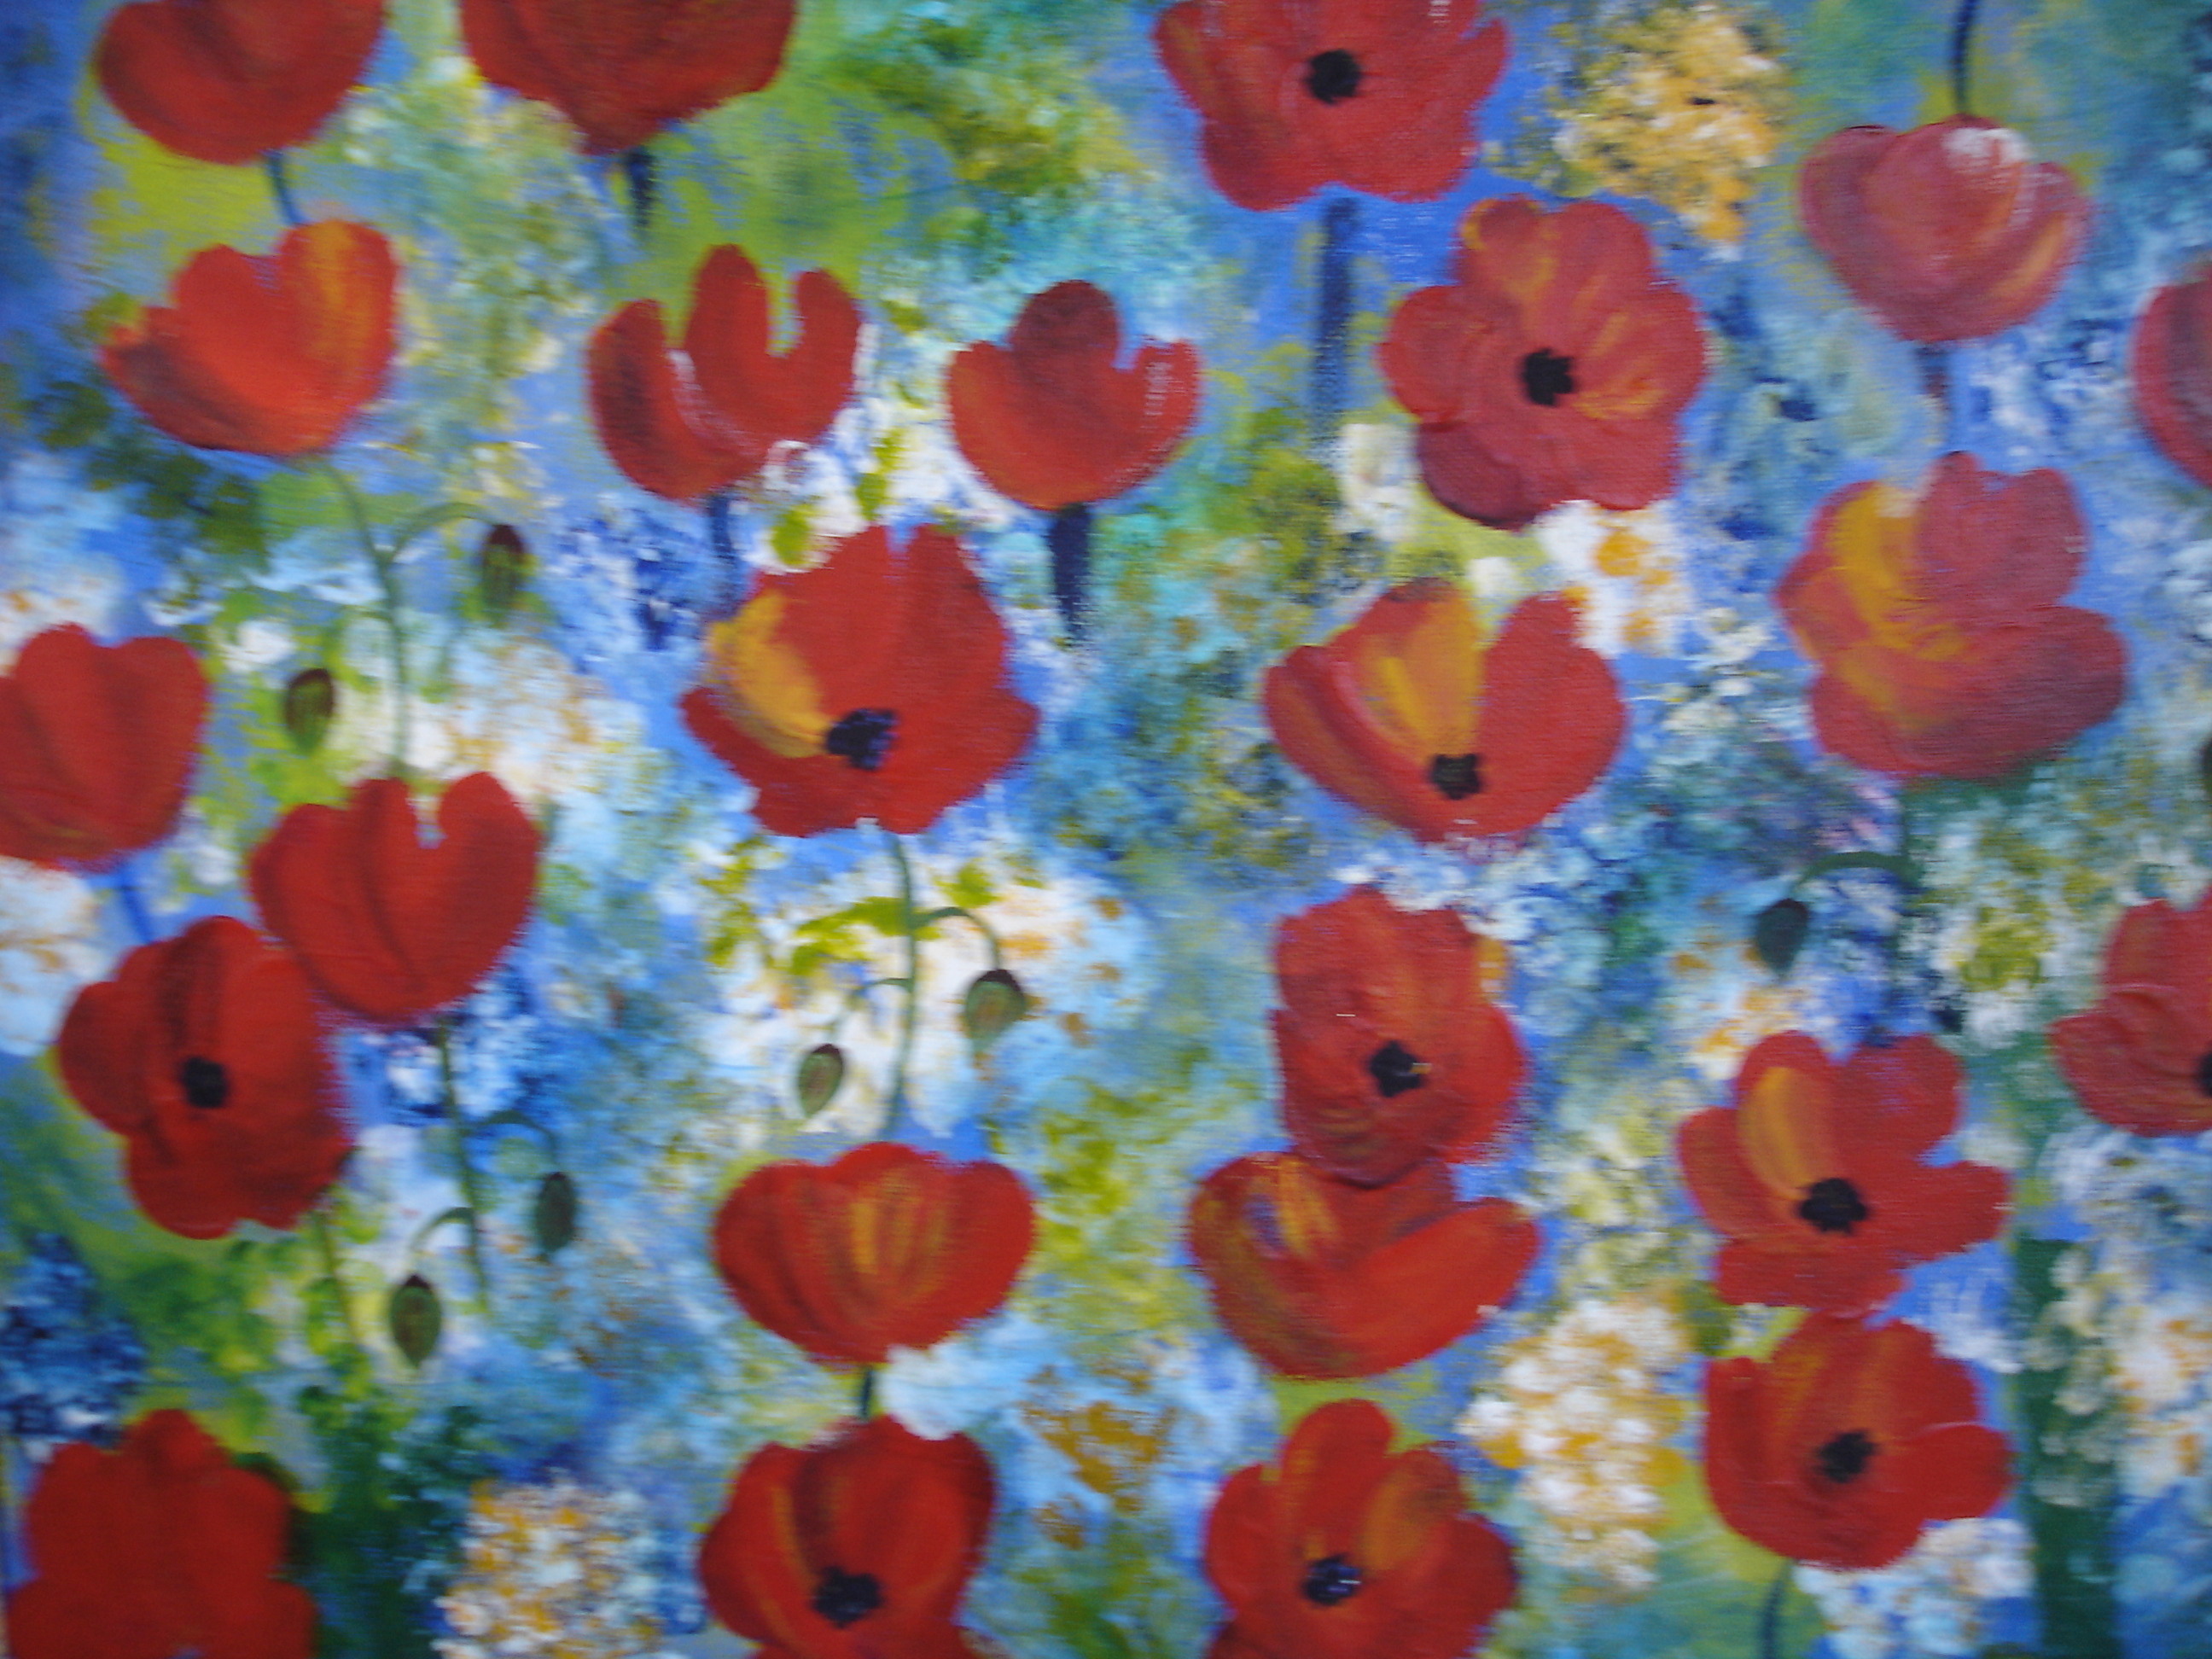
I love bright colours, so this is why I chose to paint a field full of blooms with brilliant red poppies as the focus point, and a back drop of cobalt blue. Firstly, I found covering the canvas with cobalt blue enabled this vibrant color to shine through on a maximum level and gave a very contrasting effect.

Red Poppies symbolise renewal and life, blossoming, loyalty, beauty, and courage.

Mixed media artist painting

They also signify a promise of resurrection after death.  It also has many medicinal qualities.

The red poppy is an annual herbaceous plant with a straight stem, covered with big hairs.  The red poppy flowers are single with 2 big sepals and 4 big bright red petals.

I painted the whole canvas with cobalt blue. The composition started with finger painting.  I used my thumb, the index finger and the middle finger, to create a raised effect with each petal of the poppy.  You’ll begin to notice the texture is building layers. Something that was very foreign to me.  It took some practice to be confident. As I would finger paint, I’d manipulate my fingers with a twist to form one petal of the poppy, and yet maintained a confident hand.   The finger twist created a raised texture, and this is something new I learned in mixed media.  I needed to build layers and this developed the texture. This gave a vibrancy to the composition and an easy manner of manoeuvring began with my fingers.

The colour red kept me thinking of human life, of blood and of hearts beating.  A feeling of fascination set in for me as I started to apply this new found technique.  I added tiny flower centers and they were done with the head of a cotton bud, and I chose white and yellow. I was still somewhat apprehensive as to the outcome.

But I have learned so much with mixed media, that this form of art is very forgiving and one can make mistakes and rectify them immediately. I still have so much more to learn in this art medium. As I sit and paint, I’m transported to another time in space. At this point, I feel the art medium is a form of meditation. The mind becomes very absorbed in what you are doing and a sense of stillness settles inside. We are learning newfound techniques and are applying them to our lives. Philosophically speaking, we take one step at a time, make mistakes, learn from them, and we develop confidence with the brush and with life. We look on life with a very positive and happy attitude. We take one step forward and two steps backwards, and any mistake is a stepping stone forward and a good teacher.  This is the time to hang in there.

This started me with overcoming the risk factor of making mistakes with the brush and my confidence took a leap. I started to like what came from my imagination. This brought alive one’s freedom and abandon without conforming to structure and build on our childish sense of imagination and fun. This truly frees up one’s rigidity and encourages our creative unique style to flow.  Positive self regard builds one’s self esteem and we start building on our own identity. A sense of trust settles in and we start powering on with the brush with confidence.

I worked hard to maintain a free flowing consistency with my fingers. I know that practice, practice and more practice are the recipe to unleashing the artist within.

Enjoy!

~*~*~*~*~*~*~*~*~*~*~*~*~*~*~*~*~*~*~*~*~*~*~*~*~
About the author:

My name is Gloria Malouf-Marsh. I live in Brisbane, Australia, in a suburb called Indooroopilly. I live with my husband Greg and my daughter Salwa.

I have been on a personal journey for over 20 years. I am a very analytical person. I am a Yoga Chi Gung Teacher.  I have been teaching for nearly 5 years. I now have taken up voluntary work in that field. I have been studying Ayurveda and Taoism, and apply the knowledge and benefits to my life.  It’s a life long journey. I enjoy the rhythms of  nature and ground myself when I walk. Among the interests I enjoy are singing, chanting, history and the study of different faiths. I also take time out to meditate, to be mindful and understand the power of the breath. I’m involved in voluntary work in the capacity of newsletter editing and I have a penchant for the love of cooking.

In the last four years, I have taken up drawing, water colour painting, collage, iconography and acrylic medium, which I love so much.  My artwork takes me on a journey with my title.  It could take me 3 months to finish a painting or 6 weeks, depending on what’s going on in my life.  I sometimes have dry patches, and I know that is for a reason.

I’m itching to pick up the brush and discover new horizons in the techniques of mixed media. The best teacher is practice, practice and more practice. I’m trying to organise a special place for my art work. I feel this will give me momentum and more encouragement to continue my journey in this creative medium.

Emails are welcome: gloria@radiantpathways.com.au

~*~*~*~*~*~*~*~*~*~*~*~*~*~*~*~*~*~*~*~*~*~*~*~*~

Easy DIY Holiday Gifts

~*~

This article is written by Holly Watson of Belts and Bangles

Spending money on store-bought gifts for the holidays is so last year.   This year, give the gift of personally crafted, handmade DIY goodies. You can’t go wrong with a one-of-a-kind gift, made with the love and care only you can create, with these three handmade gift ideas.

Alright, fine — it’s a little cheesy, but giving a handmade gift says “I care about you more than a last minute, grocery store purchased, gift card’s worth”, right?

Check out these creative, original gifts to give to the arts and crafts lover in your life. Whether it’s for mom, grandma or the aunt you avoid year-round, these gifts are affordable and easy to make!

1) Painted Vases
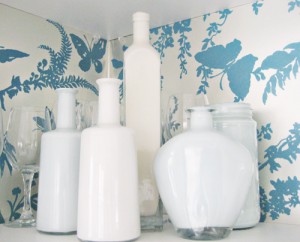
Hate overpaying for gifts that look simple, but somehow carry a price tag in the hundreds of dollars? Who doesn’t? This handmade gift idea is to recreate these beautiful painted vases, and you’ll just need a few jars and/or vases, white or colored oil-based emulsion paint of your choice and white spirit. If you don’t have vases or jars lying around, you can find great deals on used items at thrift or vintage stores. Wash out the jars to be sure they are free of dust and dirt. Soak in warm soapy water to help remove any labels cleanly. Mix the oil paint with a dash of the white spirit until the paint is at a good consistency for pouring. Pour a small amount into the jar and swirl until the paint covers the interior completely. Pour out extra paint and wipe the outside lid area clean. Let dry and fill with flowers or display empty on a neat shelf!

Handmade gift ideas for this Holidays or Christmas


2) Custom Corkboards
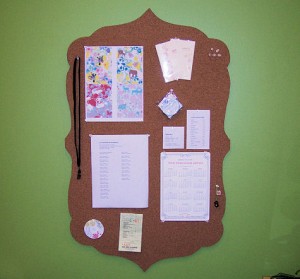
Corkboards are a totally overlooked design element for just about any room in the house. Sure, the corkboards in offices and classrooms aren’t so great to look at, but a custom corkboard can look amazing in any space! You’ll need lightweight fiberboard, a 1/4-inch sheet of cork, saw tooth picture hangers, heavy craft paper, utility knife, liquid nails and a jigsaw.

First, you’ll need to create a template. You can sketch freehand onto heavy drawing paper, project an image or use software to create a file and then have it printed to a poster size. Using your template, you’ll cut a base out of the fiberboard using a jigsaw or other cutting tool. Lay your fiberboard base on top of your cork and cut it around the pattern with your utility knife.  Cover the fiberboard with liquid nails, or another heavy-duty glue. Carefully lay the cork on top, smooth it down and flip it over. Then, let it dry overnight with weights or heavy books on top. Finally, you’ll need to nail small saw tooth picture hangers on back and a few at the side, depending on which direction you want to hang it. Then, you’re ready to place it! This handmade gift idea could be modified into a range of sizes to suit any home.

Holidays or Christmas Handmade gift ideas

3) Wine Cork Monogram
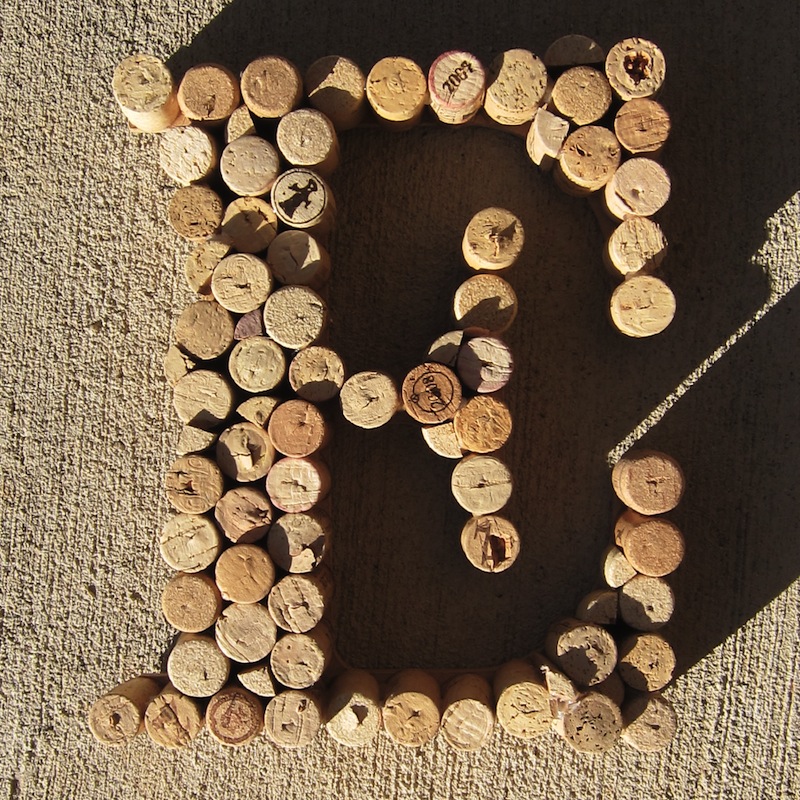
For this gift, you’ll need wine corks (100% cork works best), a wooden letter cut out, a hot glue gun and hanging brackets. If you don’t have corks stockpiled, you can order them online. Choose the corks you’d like to use and save the nicest ones for the outside trim. Use the hot glue gun to add them one by one. Place a strip of glue up the side of the previous cork, and a dot on the bottom of the cork you’re placing. Set in place and hold a few seconds until the glue dries before moving on. Be sure to clean up any loose strands of glue while you’re working. Attach hangers onto the back and display proudly in a spot where everyone can see it!

Handmade gift ideas for you to make

These DIY gifts will make the perfect holiday keepsake for that special someone on your list! And the best part? When people ask them where they got their painted vases, they can answer, “Oh, they aren’t store bought. A friend made them for me last year. Sorry.”

~*~*~*~*~*~*~*~*~*~*~*~*~*~*~*~*~*~*~*~*~*~*~*~*~

About the Author: Holly is a full time graduate student working towards her doctorate in literature. She enjoys blogging and crafting in her spare time. You can find her on Twitter at @hollyemily7.

~*~*~*~*~*~*~*~*~*~*~*~*~*~*~*~*~*~*~*~*~*~*~*~*~

.