Michelle G Brown | Mixed Media Art

Mixed Media Art in the Round

~ * ~

This article is written by Melanie Statnick

One of the things I like most about creating mixed media art is the numerous amount of different surfaces you can use to paint or alter. I thought the embroidery hoop was a fantastic idea and it steps away from the average square shape of the canvas.
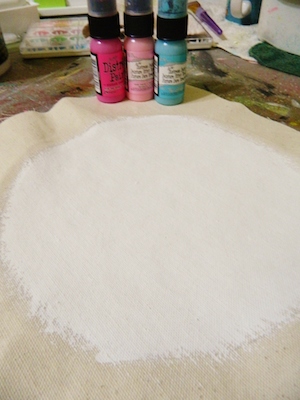
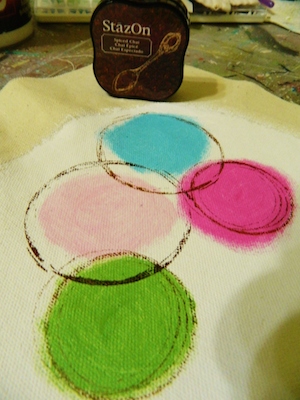
using embroidery hoop as a framed canvas

using embroidery hoop as a framed canvas

Using a loose sheet of canvas fabric that can be found in most craft stores, I found this in with the scrapbook paper. Trace the inside hoop using a pencil. Gesso the inside of the circle and dry well. Paint shapes with acrylic paint, here I used Distress paint dabber, and I stamped images with Stazon ink pad.
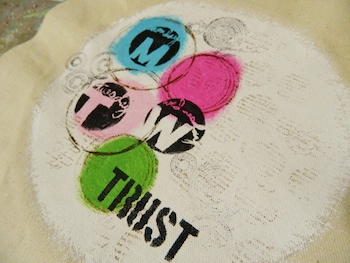
using embroidery hoop as a framed canvas

Pick your favorite stencil and stencil in images and/or write words. Because your surface is primed with gesso you can accomplish the same effects as you would on a regular square canvas.
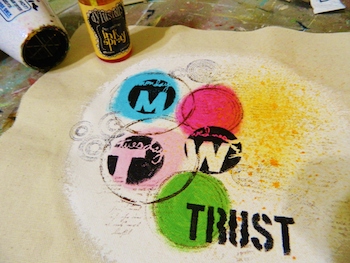
using embroidery hoop as a framed canvas

Dry well and spray with a matt finish. Flip your artwork over to the back side match the gesso circle you made. Push smaller hoop through the inside. Cut remaining fabric off.
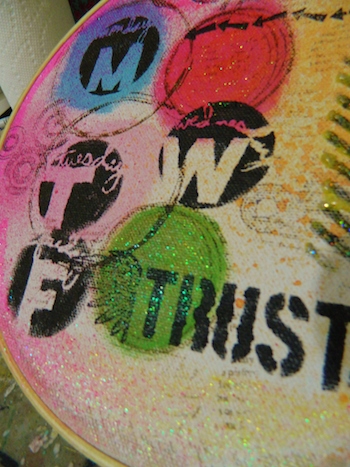
using embroidery hoop as a framed canvas

You can see more about this Julie Fei-Fan Balzer’s Weekly Circles stencil here

~*~*~*~*~*~*~*~*~*~*~*~*~*~*~*~*~*~*~*~*~*~*~*~*~

Melanie Statnick is a published artist/writer out of North Carolina. Melanie creates art daily from her private studio. Her style is illustrative and whimsy. Melanie’s artwork can be found in art galleries and shops extensively in NC with international private collections. Learn more about Melanie view her website at: www.melaniestatnickart.com

~*~*~*~*~*~*~*~*~*~*~*~*~*~*~*~*~*~*~*~*~*~*~*~*~

.

.
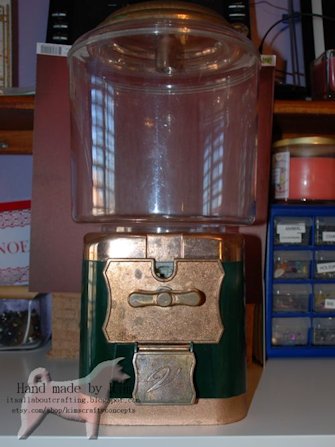
Gum Ball Machine ~Not Just For Gum

~ * ~

This article is written by Kim Kelley

By now you have probably figured out that I love to reuse and repurpose products. Just seeing how you can change the look of something with a little paint and spackle makes me smile. So today I am going to show you two projects I created using gum machines that I found at an antique store.

I never knew that these dang machines could get so expensive! But from what I have been told there are some machines out there that are considered collector’s items. For me, I just like the look of them with something other than gum.

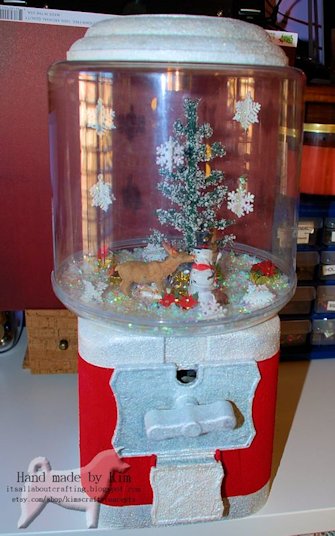
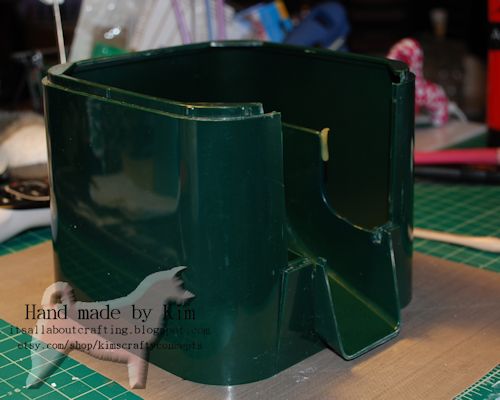
The first one I am going to show you is a snowman theme, using a plastic and metal machine that started out green and copper. Honestly, I should have looked the “ball” portion over better because it does have some scratches and as this one is plastic it is impossible to get all of the scratches out. If anyone has any ideas let me know!

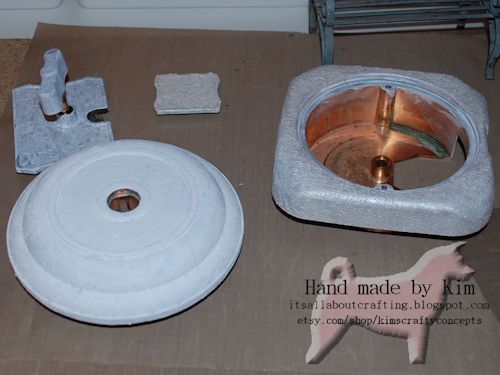
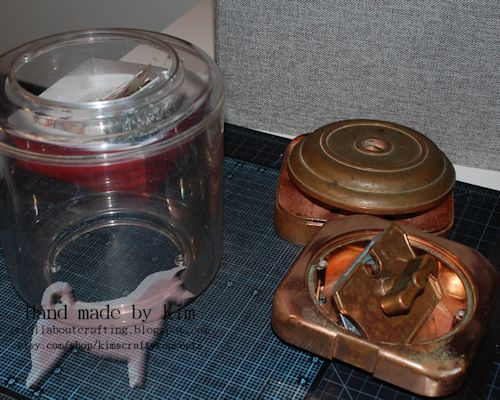
I first took the machine apart, cleaned each part and let them dry completely. Using gesso on the bottom base, base, collar and top I let them dry overnight.

altered art and gum ball machine scenesBefore remake

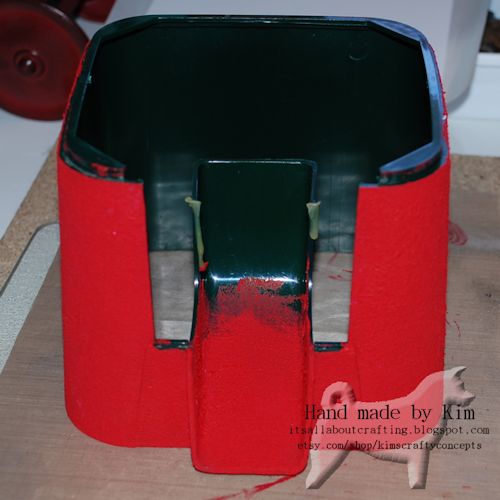
altered art and gum ball machine scenesBase

altered art and gum ball machine scenesPieces and Parts

Using a mixture of red paint and Golden crackle paste (yes, crackle paste, weird I know, but it worked) I went over the base 3 times. Making sure the green was not going to show through. I found that Golden’s crackle paste does not really crackle, especially with paint added, but leaves it with an almost spongy,velvet look and feel to it.

For the pieces and parts I used a mixture of gloss gel, 2 types of iridescent paint and even a bit of iridescent glitter, sponging it on to create a lot of texture. I ended up with 3 coats of this as well.

altered art and gum ball machine scenesBase New Paint

altered art and gum ball machine scenesPieces and Parts Painted

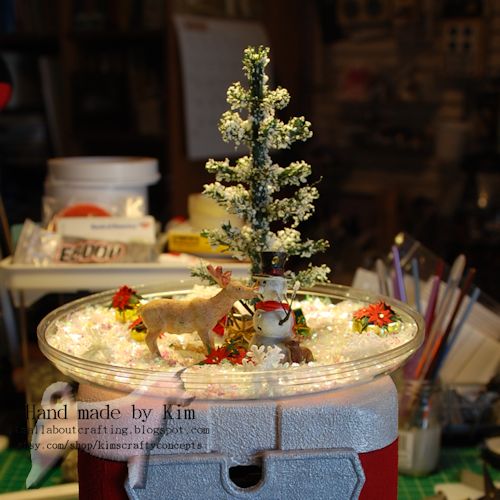
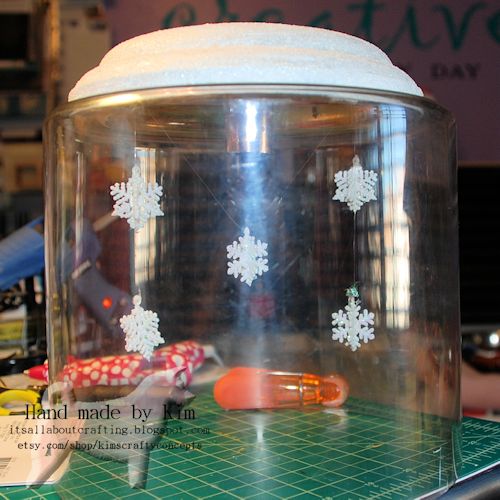
The ball of the machine, being plastic, actually comes apart and let me tell you it made it easier to put everything together! In the bottom of the opening of the ball I added a cardboard sheet to fill in the hole and started to created my scene. The snowman and tree came from Michael’s Lemax collection. I added a few wrapped presents and some poinsettias for added color. And then let the snow fall, even including some plastic flakes here and there.

altered art and gum ball machine scenesScene (before top of “ball” was added)

altered art and gum ball machine scenesScene 2 top of ball with snow

altered art and gum ball machine scenesFinished project

I glued the ball together and then glued everything but the top together so it can be all together without the metal rods running through the ball. Creating this really put me in the mood for Christmas!

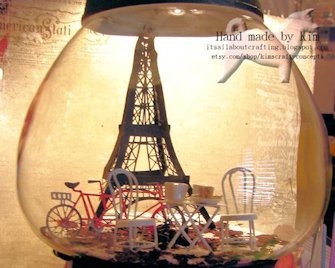
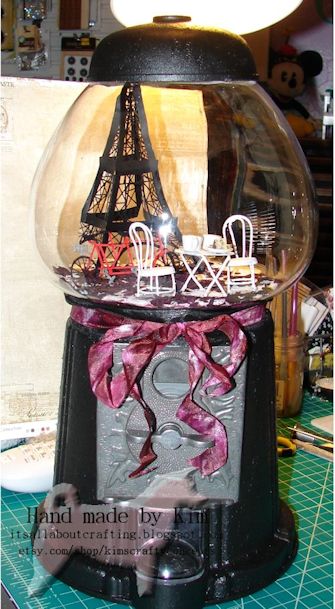
Here are 2 other pictures of a gumball machine I created in the theme of Paris.

altered art and gum ball machine scenesJust the ball

altered art and gum ball machine scenesCompleted project

Life is short, do something creative every day!

~*~*~*~*~*~*~*~*~*~*~*~*~*~*~*~*~*~*~*~*~*~*~*~*~

Kim Kelley is borderline obsessive about her crafting and her art. She loves mixed media art because you are free to go beyond your comfort zone, using your imagination and exploring an anything goes mind set. Kim loves to learn and explore new techniques and hopes that any art she creates leads someone to find their inner creative artist!

Sites: itsallaboutcrafting.blogspot.com and www.facebook.com/kimscraftyconcepts

~*~*~*~*~*~*~*~*~*~*~*~*~*~*~*~*~*~*~*~*~*~*~*~*~

.

.
Aged Background using Pan Pastels

~ * ~

This article is written by Tamara Dinius

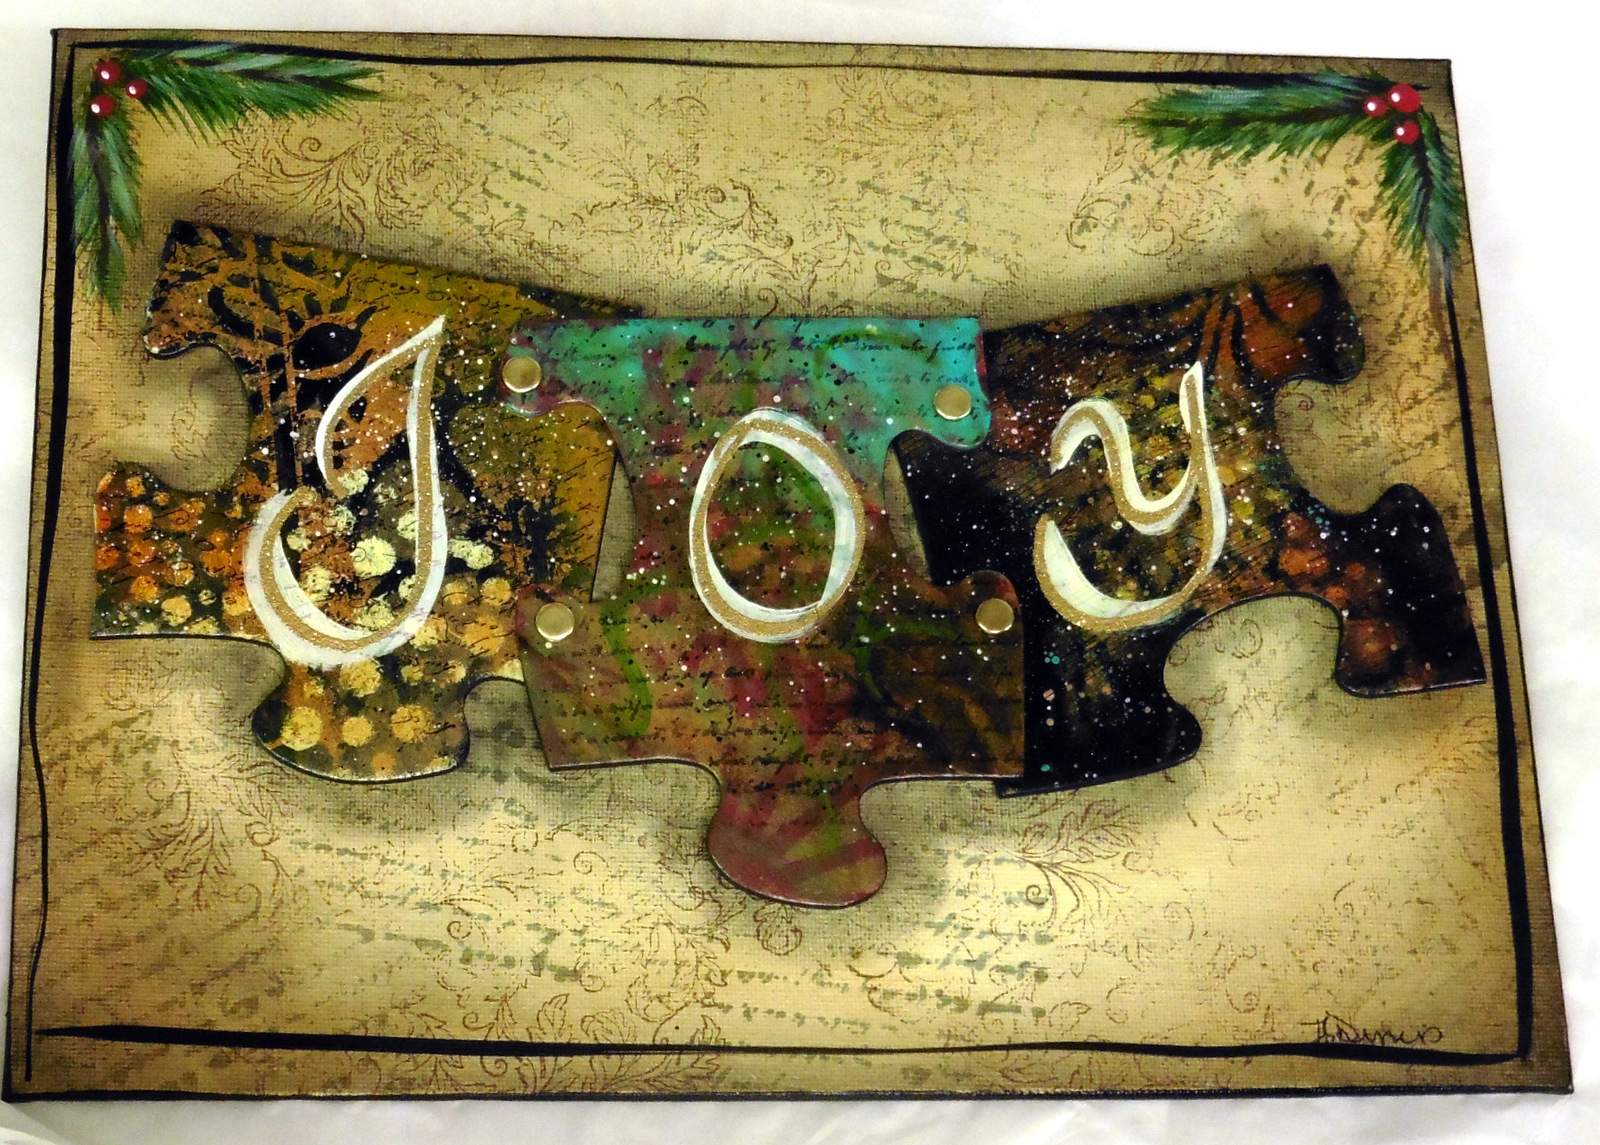
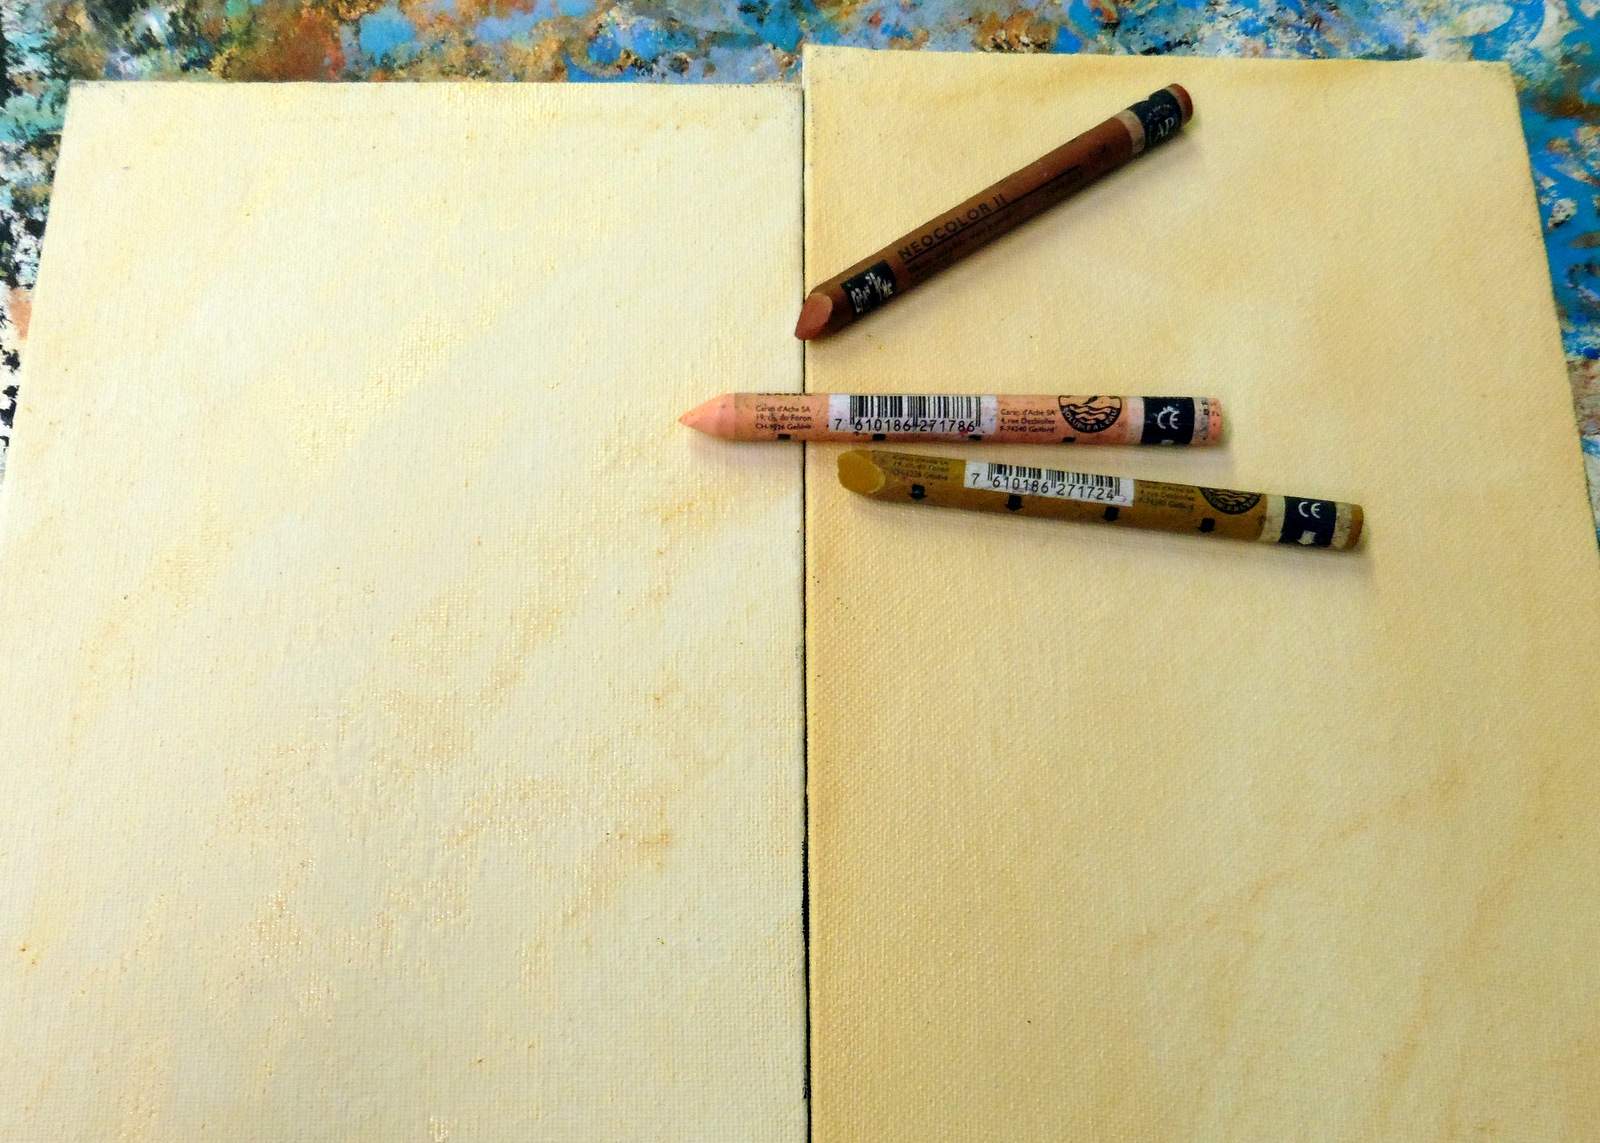
Here we’ve taken canvas panels or water-colour paper to create this cute wall hanging.

Aged Background using Pan Pastels

This video will demonstrate the use of Pan Pastels and rubber stamps to create an aged background for use in your mixed media artwork.


Here is a snap shot of the background with the first few layers

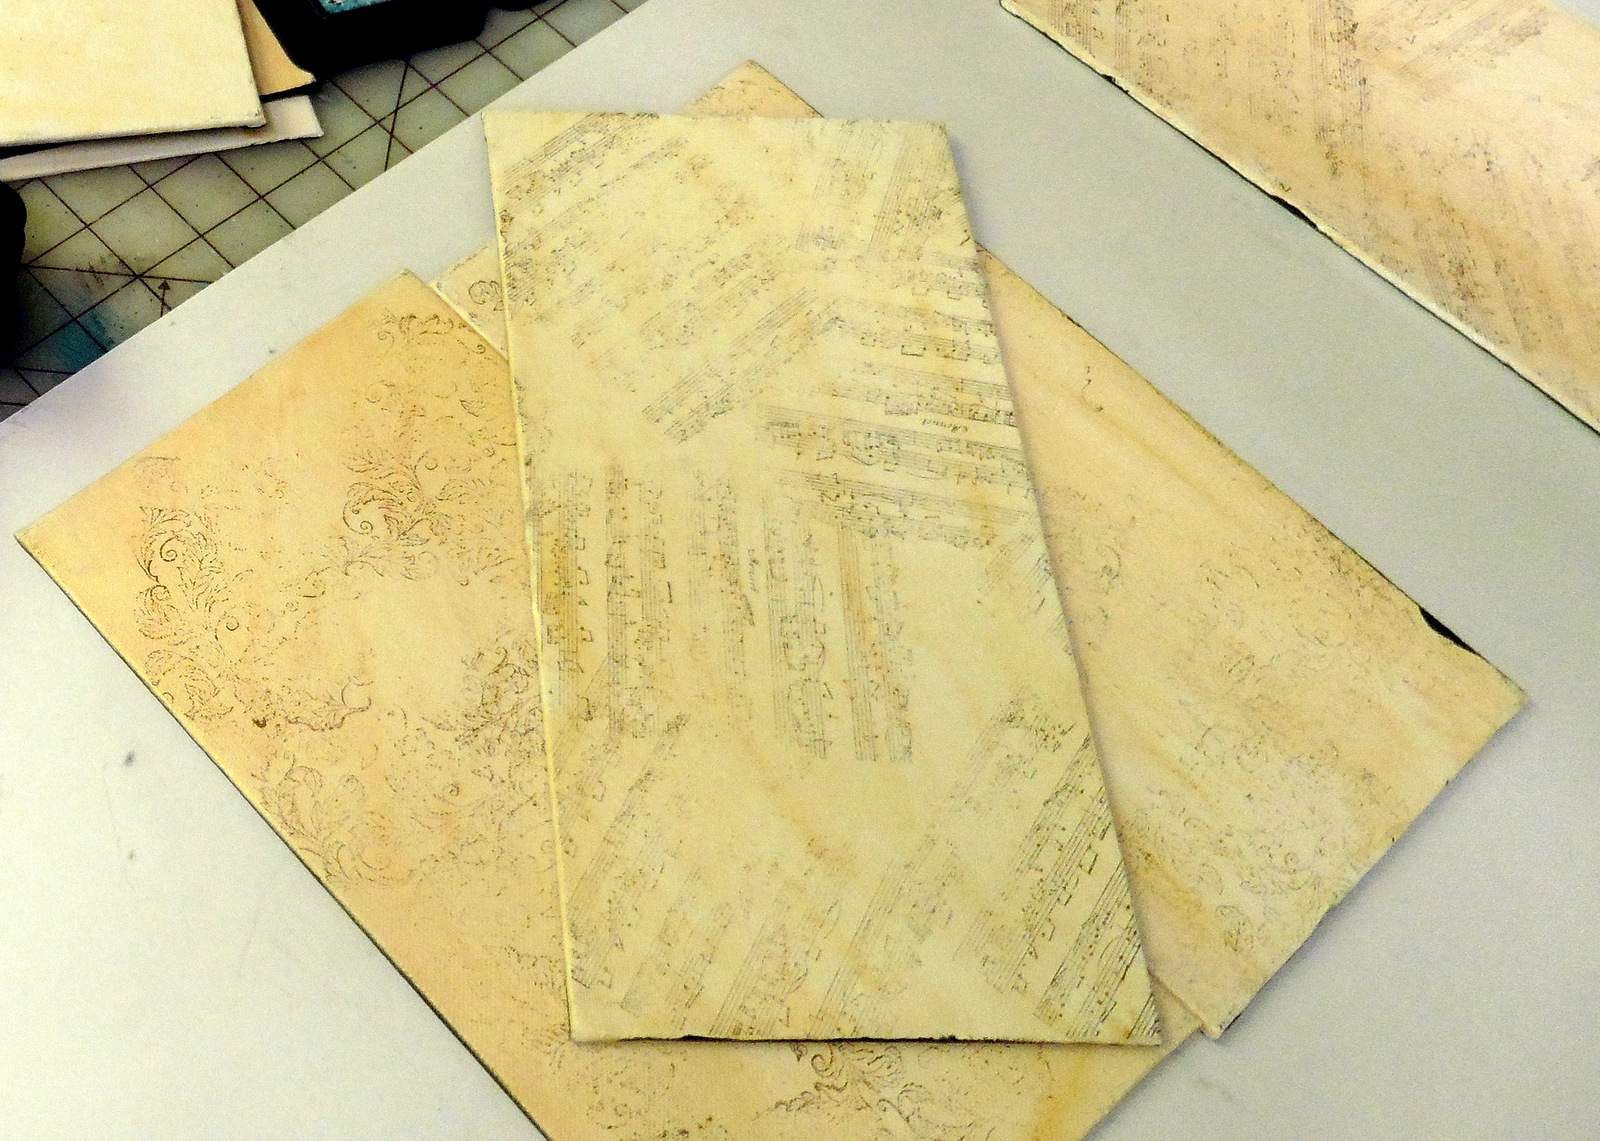
Using Texture Plates to add dimension

And here we’ve added the stamping:

Aged Background using Pan Pastels

~*~*~*~*~*~*~*~*~*~*~*~*~*~*~*~*~*~*~*~*~*~*~*~*~

Tamara Dinius lives in the Pacific Northwest with her husband and chocolate lab. She has two grown daughters who make her life meaningful. They support her, ground her, embrace her, and are amazing people in their own right. Her love for mixed media has taken over most aspects of her creative journey. She believes mixed media allows for a broad range of styles and anyone can find success in this form of artistic expression.

You can find more of Tamara’s work, and on her website countrycraftersusa.comEtsy shop,  or via her Facebook

~*~*~*~*~*~*~*~*~*~*~*~*~*~*~*~*~*~*~*~*~*~*~*~*~

.

.
Creating a Make-up Case with Image Transfer

~ * ~

This article is written by Cecilia Sanchez Peralta

The good thing about Mixed media techniques, is that you can use everything you have at your fingertips, and you can do all kinds of jobs.

A month ago, I launched my collection of digital stamps “Cecily Worlds”, a project I’ve been working a long time and will come out little by little.

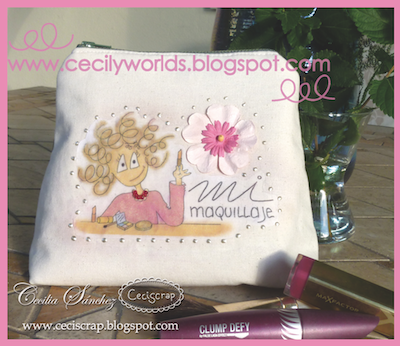
A Makeup case

Supplies:

Fabrics, digital stamp, printer, gel medium, beads, flowers, stickles, etc

Process

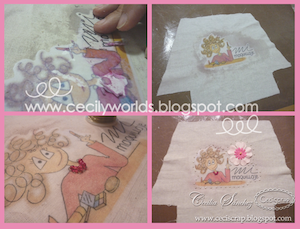
* First I used one of my digital stamps and paint it with photoshop. Then I printed as a mirror image to make the transfer.

* Then I searched several scraps of fabric and I cut the pieces to form my makeup case.

A Makeup case

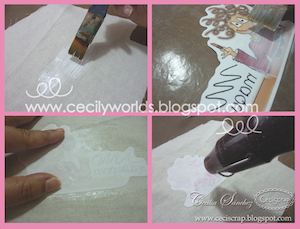
* I put a generous layer of gel medium on fabric and over the printed image.

* Carefully I put the picture face down onto the fabric and pressed to stick it everywhere.

* Then let it dry for 24 hours. (You can also use a heat gun).

A Makeup case

* You must wet the paper with a sponge or “flus flus”
* You have to remove all paper using fingertips gently.
* At the end I decorated a little: A string of beads, some dots with Perfect Pearls, some Prima flowers with a brad … and everything you want.

A Makeup case

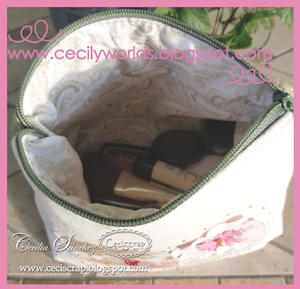
* Then I sewed the different pieces of fabric, I’ve lined and I put a zipper, and ready. Now I have my custom makeup case.

A Makeup case

A Makeup case

~*~*~*~*~*~*~*~*~*~*~*~*~*~*~*~*~*~*~*~*~*~*~*~*

My name is Cecilia Sanchez (CeciScrap) and I live in Málaga, Spain. I am married and we have three gorgeous sons. They inspire me every day with their crazy ideas.

In 2006, a few months after birth my twins, I discovered scrapbooking, digital first and then the traditional. I love to do 30X30 pages, cards and mini albums, and for a while now I am fascinated with the Art Journal and Mixed Media, and I do not imagine scrapbooking without getting my hands dirty.

I am inspired by everyday things, feelings … The art journal is a real diary for me, because sometimes I need to express feelings with colors and shapes.

I love learning and discovering new techniques and materials.

You can see more of me at: ceciscrap.blogspot.com.es or at www.facebook.com/ceciscrap

~*~*~*~*~*~*~*~*~*~*~*~*~*~*~*~*~*~*~*~*~*~*~*~*

.

.