Michelle G Brown | Mixed Media Art

Intuitive Art Listening

~ * ~

This article is written by Honorata

I would like to tell you the story of the creative magic that happens to me every time I let my inner voice to talk to me through the creative process.

Honorata creates wonderful mixed media art journals

We all love to create- don’t we? But thinking a little bit more about how we create brings one simple questions- is it us, creators making what we plan in our mind or is it actually art talking to us through the process of creation? As I started my innocent journey into art I have realised that the more we trust our intuition we actually can get answers from the art making process.

Honorata creates wonderful mixed media art journals

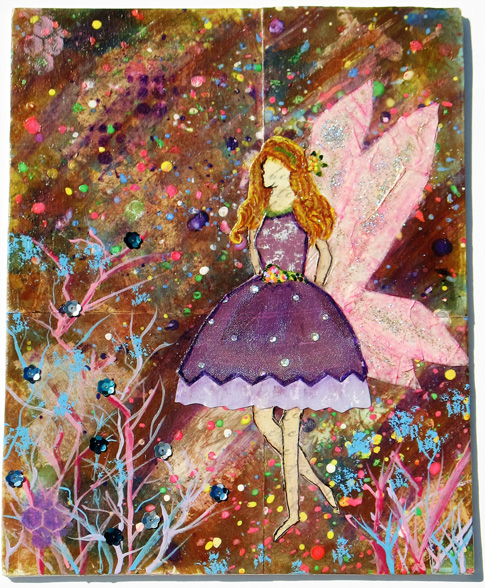
My favourite medium is a mixed media art journaling where I never really plan exactly what is going to be on that page. I have the feel, general vision and may have an urge to use certain colours but the final results is always unknown and very much unexpected. I trust the process and let it lead me. I strongly believe that art is giving us answers if we let ourselves to be guided.

Honorata creates wonderful mixed media art journals

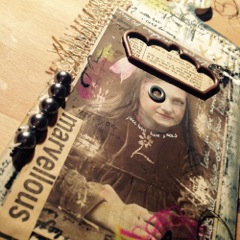
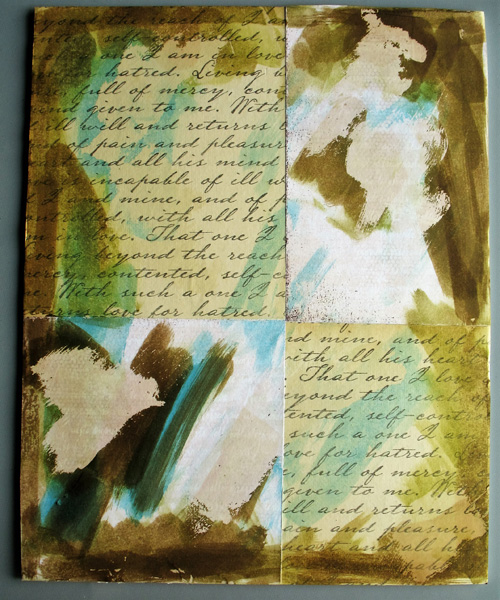
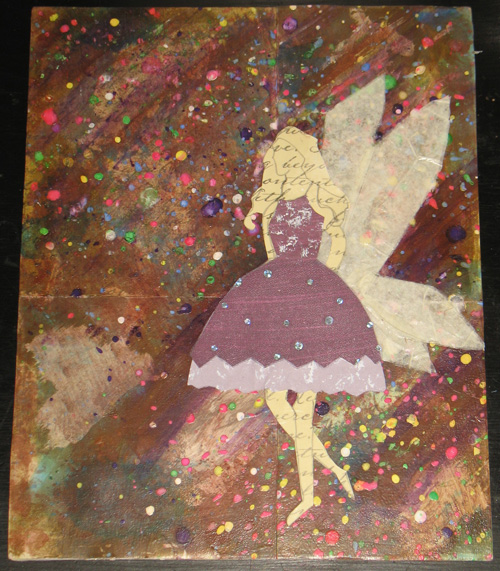
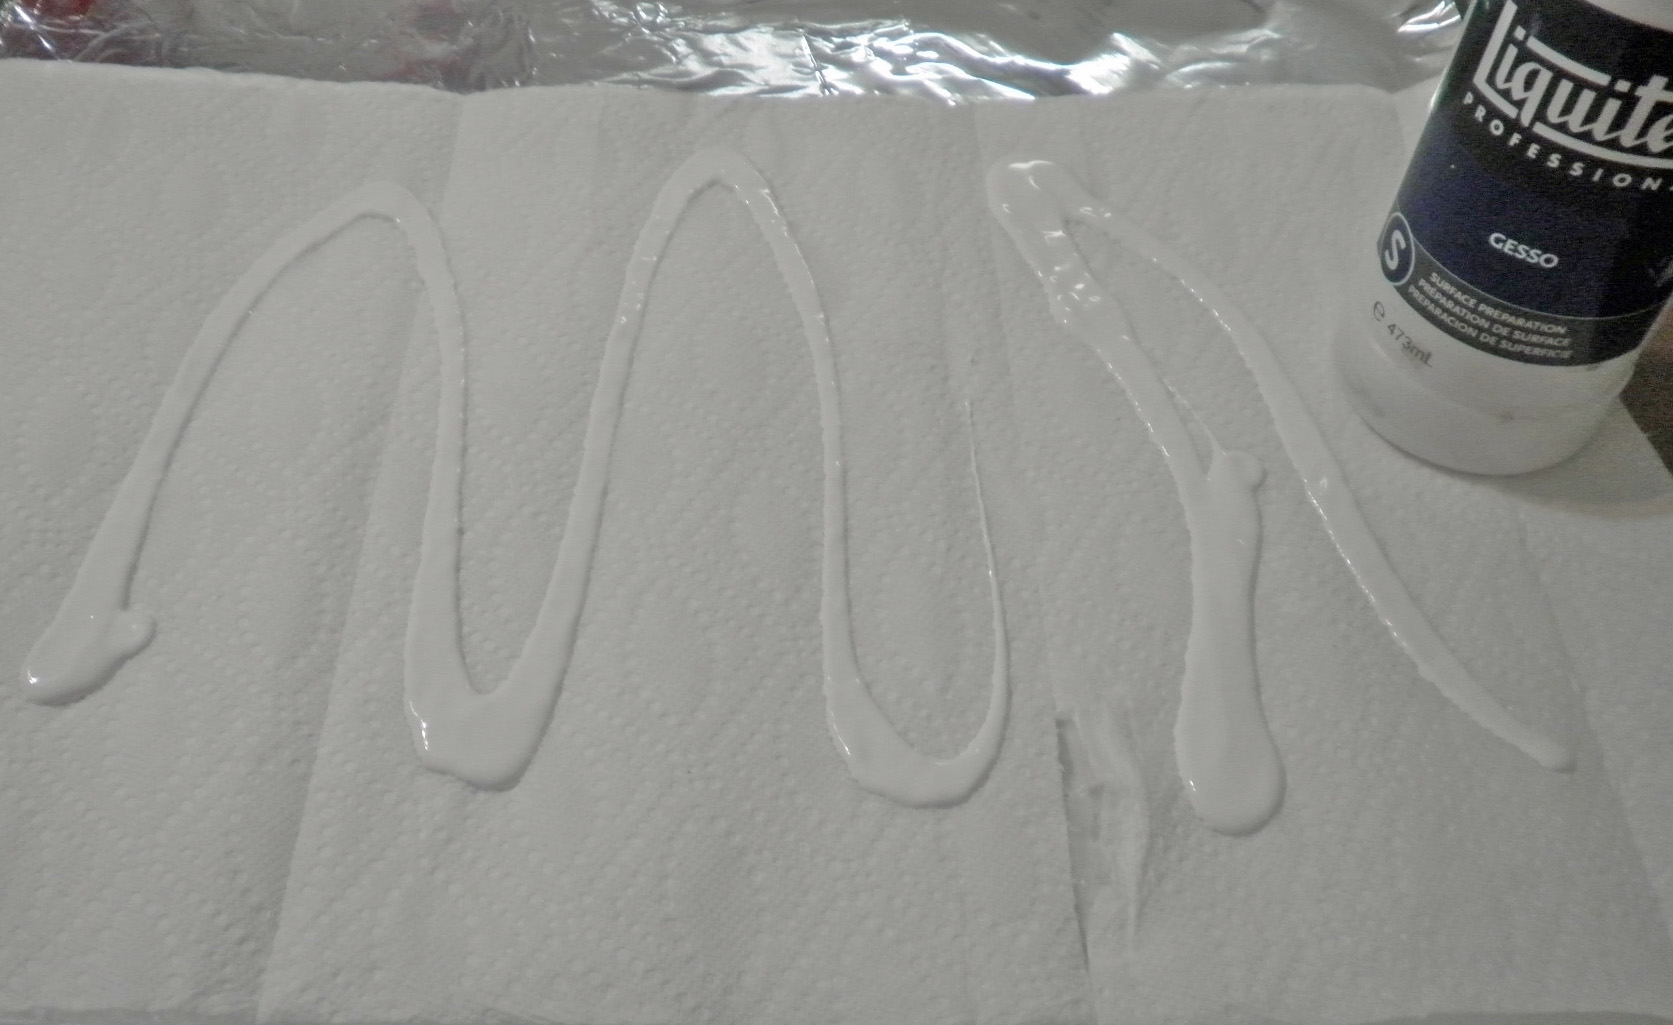
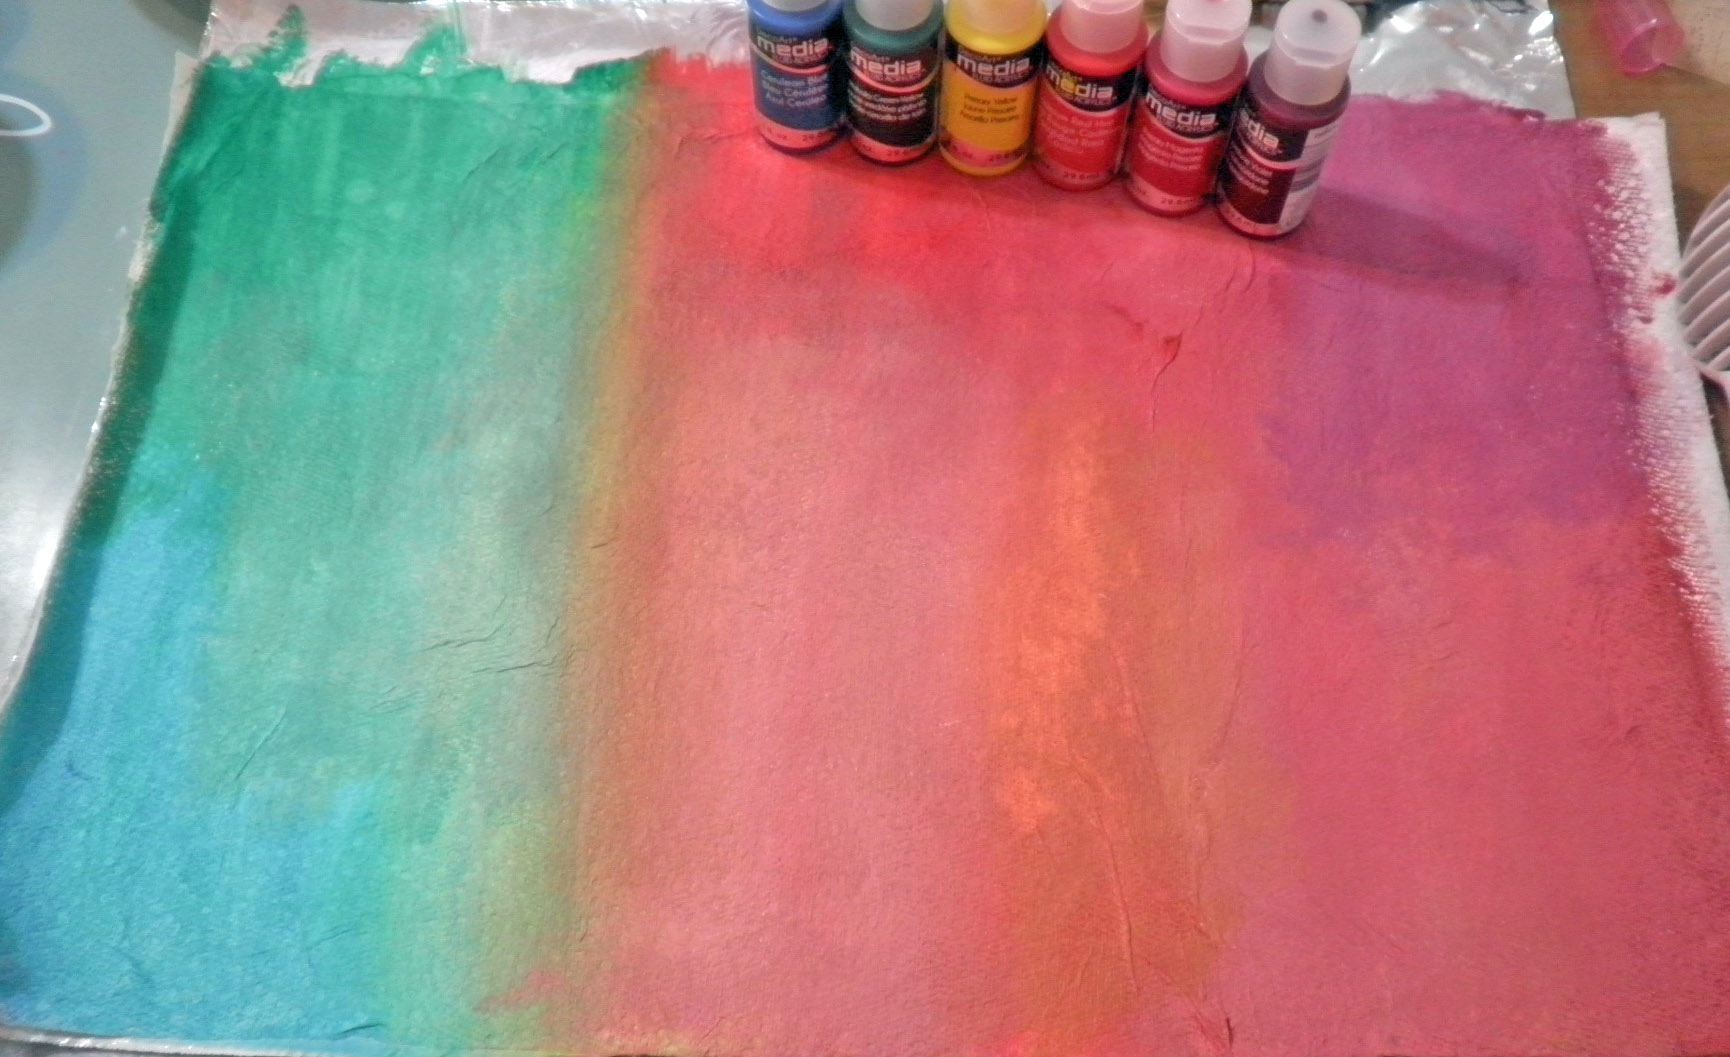
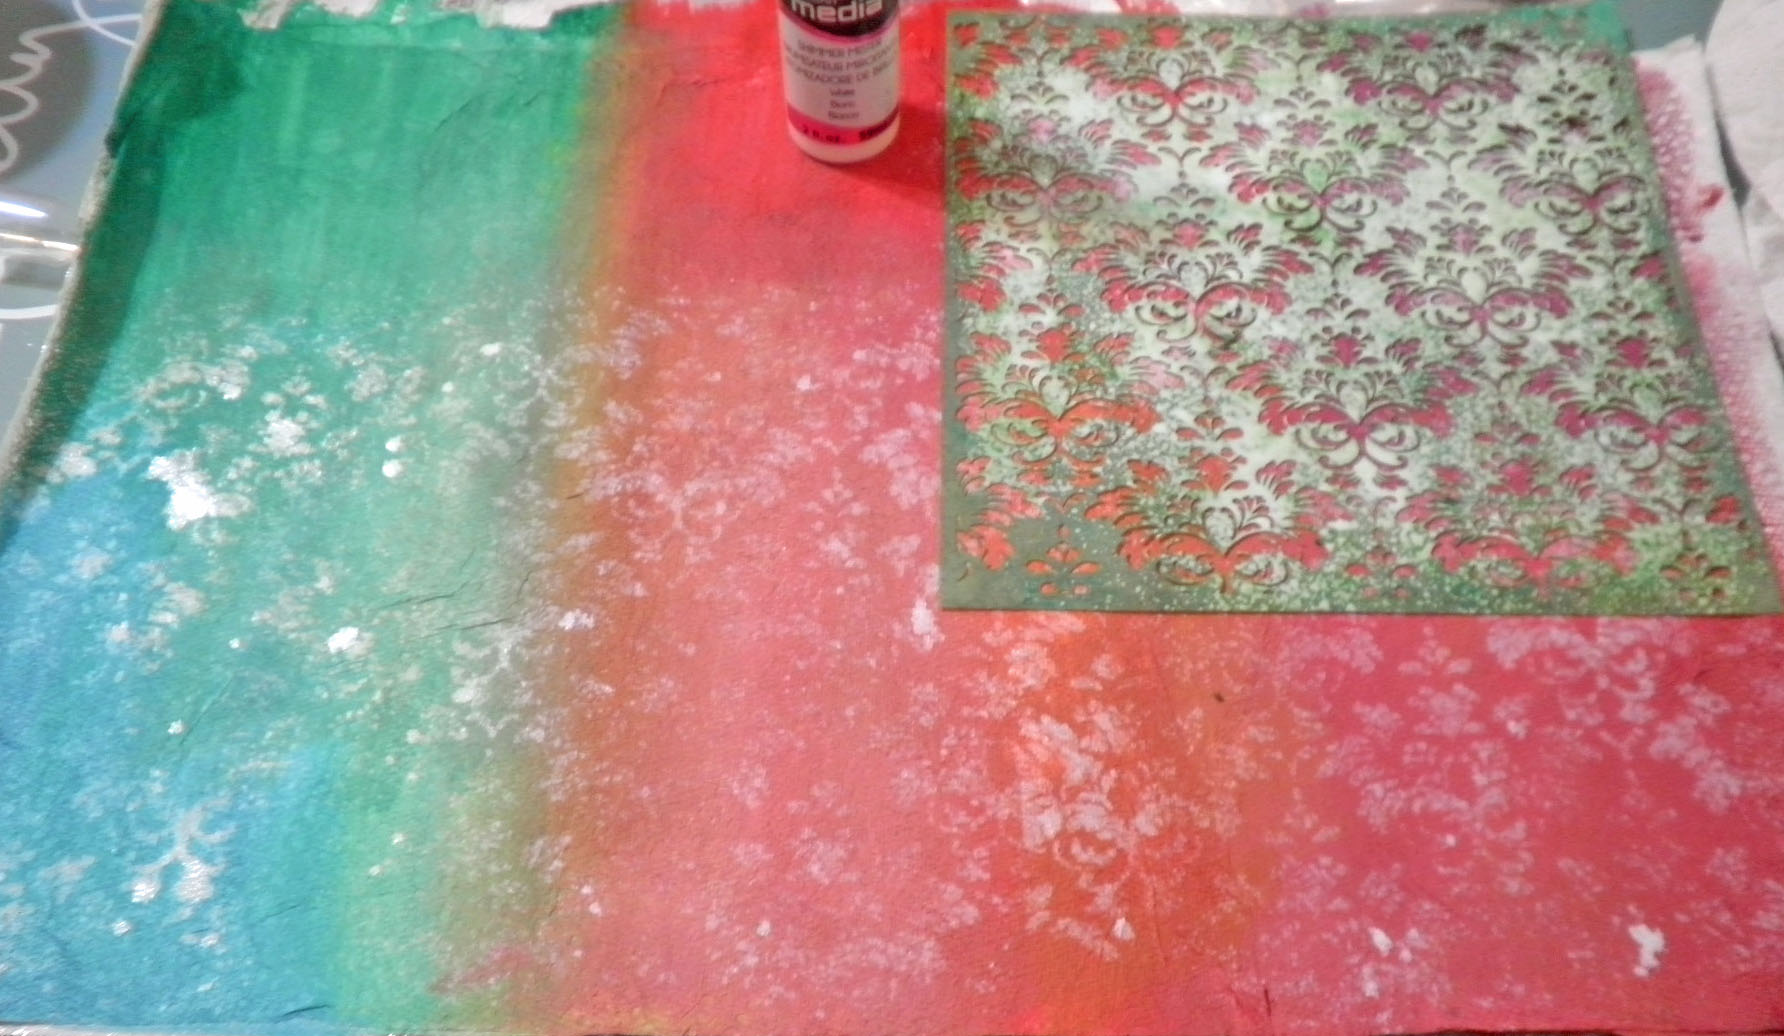
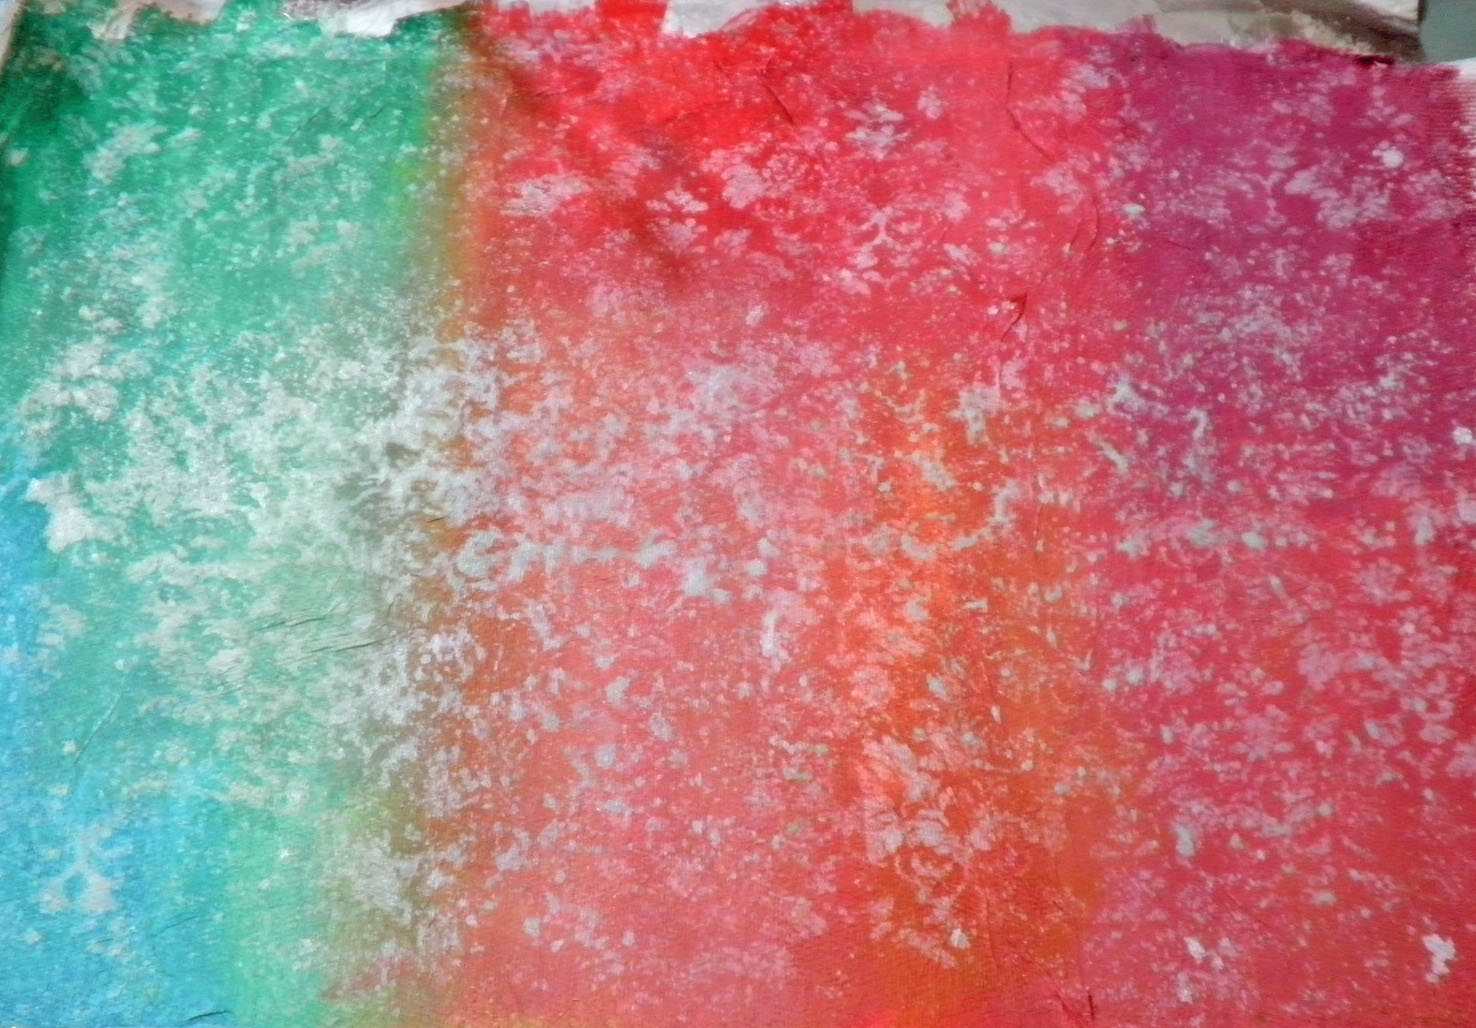
After putting the background by using variety of mediums like acrylic paints, ink sprays and watercolours I wait and by looking at the background see if there are any hints what to do next. Is there a shape formed from a random paint application, any interesting ink stains? If I feel like painting is the answer I go this route but if something is telling me the collage would be good I start flicking through the magazines. Some people would have the cut outs ready and categorised but I just simply browse my collection of old magazines and see what images are appealing to me. Next step is to alter the imagines so I would colour them, add paper hats, change the outfits, and add freckles or even moustaches! This is the stage when breaking any conventional rules is such fun….

Honorata creates wonderful mixed media art journals

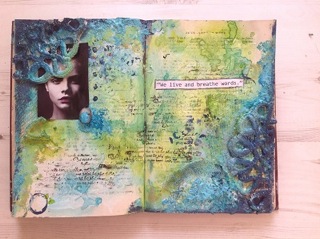
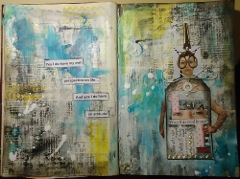
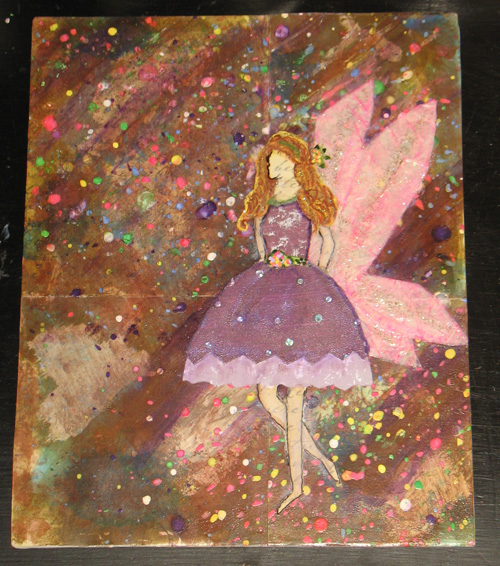
Once all images are completed and I liked the final collage I would see what meaning it has. Was there the message for me? Then something may pop in my head and a quote or sentence giving full interpretation appears. Sometimes I would browse books and magazines for some text or titles to give me a clue. This is how page “Find your soul” was created-the leftover cut out formed something like an empty person so that was a symbol of soul being lost. Another page “We live and breathe words” was simply an answer to may search for a quiet time without speech clutter.

Honorata creates wonderful mixed media art journals

This is how I developed my art journaling when started and was still too afraid to go into painting area. I would just start with random collages and enjoyed it more and more. Sometimes I would open my journal without any plan but the final creation would tell me more about myself that I could imagine. Journals would be telling me to be brave, to heal, accept and seek for my soul. Art is simply sometimes talking from our inner self…And what is your art whispering to you?

~*~*~*~*~*~*~*~*~*~*~*~*~*~*~*~*~*~*~*~*~*~*~*~*~

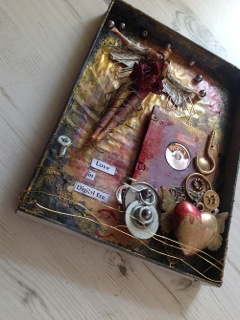
Honorata – I am a mixed media artist based in the heart of England. I love to art journal, paint mixed media and collect random objects to create quirky assemblage frames. I am the creative releaser, art listener and convention shaker strongly believing that we can connect with our true selves through the creative journey.  I am planning to run on line workshops when my mixed media art process is shining and sharing that magic. You can find me on Facebook or visit my new website artlysing.com.

~*~*~*~*~*~*~*~*~*~*~*~*~*~*~*~*~*~*~*~*~*~*~*~*~

.

.

Janelle Nichol’s Online Class: Glow-Paint Using Watercolors and Acrylics for a Fantasy-like atmosphere

~ * ~

This article is written by Peg Rounds

All of the details have been added & the project is now finished

The “Glow” class by Janelle Nichol is perfect for the beginner who wants to learn how to do a mixed media canvas to the advanced person who would love to have some more creative ideas to use.  The class is an online class and is easy to sign up using the Skillshare website.  I found the site really easy to use and get around on to find the videos every time I signed into it.  The class is broken down into 14 videos which is helpful in going through it step by step and you are able to go back to a video and view it again if needed.  The only downside I found was at times the sound was really low and I would have to turn my speakers way up to hear.

Janelle does an awesome job walking you through the supplies you will need and what you can use if you don’t have the same things.  She has a dedicated video just on the supplies, but be sure to also look below the video for a print list as not everything is covered in the video.  There were a couple of things she used in later videos that weren’t mentioned in the supply video or on the list such as magenta paint and chunky glitter so if you can watch through the videos before starting that is very helpful to make sure you have everything.  I didn’t have the glitter and couldn’t get it so I substituted for a glitter I hand on hand.  I, also, could not find locally the same types of materials she suggested for the dress so I have a different type and color for mine.  By using the list and video she has created, you will find that you have many things on hand already and for those that you don’t, you will be able to readily get from your local craft stores.

One of the beginning steps is to create color and texture using Distress Stains and Mod Podge on the patterned paper.  It is fun to watch how these beginning steps help lay the foundation for the rest of the piece.  The heart in the corner of mine was not knowingly created and I found it after the piece had dried.  It was fun to see what happened with it as the layers were added.

Scripted Paper with Inked with Blue & Brown Distress Stain

After several more layers of paint and Mod Podge, you will really start seeing the canvas taking shape.  Again, Janelle does a wonderful job at showing you how to create the fairy to attach to the project.  If you don’t think you can draw a fairy, don’t worry she’s got it covered with the addition of printable pieces to help you create your own.  She, also, helps you with creating the wings which are really easy to do, too.

The fairy & her wings have been attached and the painting of the waistband and hairband are done

You will learn how to finish the fairy and then move on to how to paint the details such as her hair, the waistband and headband.  You will, also, find out how to add shading to her dress, skin and wings.

The trees have been painted and the another layer using sequins have been added to the piece

I found this to be an excellent class to take and the finished project is well worth the time and effort put into it. The videos are easy to follow and the items used are already on hand for most mixed media artists or are easily obtainable.   I would recommend it highly for everyone who enjoys creating mixed media pieces from the beginner to the advanced.

You can jump straight into Janelle’s Glow; Create a Mixed Media Fairy here

~*~*~*~*~*~*~*~*~*~*~*~*~*~*~*~*~*~*~*~*~*~*~*~*~

Peg Rounds has been seriously creating many types of art since 2007.  Her focus has become mixed media, card making and jewelry making.  She is often found on social media sites Pegs Crafting Corner where she enjoys sharing all that she has created.

~*~*~*~*~*~*~*~*~*~*~*~*~*~*~*~*~*~*~*~*~*~*~*~*~

Disclosure: Access to this course was supplied by Janelle Nichols for the purpose of review. All opinions are that of the MixedMediaArt team. Some links on this page may be affiliate links and any purchases help to support the ongoing work by MixedMediaArt. 

.

Mixed Media 3D Flowers

~ * ~

This article is written by Barbara Rankin

Barbara shows you how to make these beautiful 3D altered art flowers using simple household products.  All you will need is a roll of heavy duty aluminum foil and a roll of paper towels, along with some white gesso, acrylic paints, and flower dies or punches.  Barbara will also show you several ways to colorize and alter these beauties, and how to apply them in your art.

Spread some white gesso over the foil, lay paper towel on top and continue spreading gesso over the paper towel, ensuring the two adhere to each other well and there are no air bubbles.  You may find that you need to do this in sections before the gesso dries. Do not worry about wrinkles; they add texture.

applying gesso to paper towel and aluminum foil

Add DecoArt fluid acrylics in colors of your choice.  I used Phthalo Green-Yellow, Cerulean Blue, Titanium White Primary Yellow, Cadmium Red Hue, Primary Magenta, and Quinacridone Violet.

adding fluid acrylics to paper/aluminum foil

Spray DecoArt white mist through a damask stencil.  The white spray mist will pick up some of the color beneath it and give you a lighter shade of each color.  Perfection is not necessary because this is all going to be die cut into smaller pieces.

DecoArt white mist sprayed through damask stencil

As you can see, this disguises the separation of colors and makes it all cohesive.

photo of colored/stenciled sheet

Die cut flowers with any flower die.  I used the Tim Holtz Tattered Florals die.  You could also free-hand cut them.  You will have a nice selection of tattered floral pieces that all work well together.

die cut flowers from each colored section of paper/aluminum foil sheet

Use two sets of the flowers from the same or similar colors to make a single, fluffy flower. Before layering the petals, ink the edges with Vintage Photo distress ink. This will give some added depth and dimension.

Photo of the die cut petal shapes used to make a single flower

Layer the petals, largest to smallest. Make a hole in the center of each petal and add a decorative brad to keep them together.  Pinch and twist the petals to form a fluffy and full flower.  I used tweezers in one hand so I could grab each petal easier, while pinching them with my other hand.

Flower formed with help of tweezers

Here are all three flowers from this one sheet.

three finished flowers

Here are a couple of cards I made using two of the flowers.  I can think of many uses for these. I think they would look absolutely lovely in a mini album, scrapbook, page layout, or canvas.

two cards using two of the three flowers

two cards using two of the three flowers

~*~*~*~*~*~*~*~*~*~*~*~*~*~*~*~*~*~*~*~*~*~*~*~*~

Barbara is a mixed media artist who loves to teach.  She loves to learn new techniques and to share her knowledge with other artists.   She is a contributing artist in a book:  Make it in Minutes: Mini Albums, and has been published in several paper and online magazines.  She is currently on several design teams:  ColourArte, Sin City Stamps, Altered Pages, Gina’s DesignsLasercuts, House of Cards Monthly Challenge Blog, and Craft Hoarders Monthly Challenge Blog.  She has served as a design team member for The Robin’s Nest and Creative Paperclay®, as well as guest designer for Craftwell USA, Unruly Paper Arts, and Gina’s Designs.

She lives in the Memphis, Tennessee area with her very supportive husband of 32 years, and her two Yorkies, Chloe and Zoe.

You can see more of Barbara’s work on her blog at Black Hole Art Studio or via Facebook – Black Hole Art Studio

~*~*~*~*~*~*~*~*~*~*~*~*~*~*~*~*~*~*~*~*~*~*~*~*~

.

.

Clock Work Inspiration Canvases

~ * ~

This article is written by Peg Rounds

Some days just don’t go right and other days do

There are some days that everyone has things that just don’t go right.  I know I sure do, but I sometimes need to make it a point to stop and think that every day isn’t like those days.  I decided to create these inspirational canvases so that I can see them and remember that there will be good days and not so good days, too.  These are really fun to make and can be done with any inspirational reminder that you may need so be sure to make some of your own and place them where you can see!

Begin by painting the canvas with a base coat.  This will be the paint color that shows through.  Allow it to completely dry.

Next, die cut a piece of acetate with a die cut machine to create the stencil pieces that you will be placing on the canvas.  Spray each piece with Easy Tack by Krylon so that they can be easily removed.  Place them in position on the canvas.

Die cut acetate to create a stencil

Dab paint, using a second color of paint, into the open areas of the stencils so that the paint gets into the smaller areas.

This is the second step to painting the canvases.  First use a dabber brush to dab paint into the open areas of the stencils after they are applied.

Now, paint straight brush strokes across the entire canvas from top to bottom to cover it.

Allow the paint to dry and carefully lift upward on the edges of the stencils to remove them.

Lay those aside and begin the work on the spiral pieces that will be the inside springs.

Start with a piece of jewelry wire.  The length will depend on how large you will want the spiral,

Curl one end of the wire using a pair of pliers,

Create a loop in the end of a piece of jewelry wire.

Continue to wrap the wire until you have all of it wrapped into the spiral.  As you work each new wrap should lay beside and against the last one.

Wrap the jewelry wire so that it creates a spiral

Take the pliers and grasp the center of the wire and lightly pull it up and outward to create the pieces that have sprung.

Pull the center of the spiraled jewelry wire out.

Age the coils by applying a patina to them.

Allow them to dry slightly and sand them with a fine sand paper to shine them up a little.

Create the second canvas in the same way, but when creating the coils do not pull the centers outward or patina them.

Finish both of the canvases by adding the inspirational message using wooden letters and attach everything with glue.

~*~*~*~*~*~*~*~*~*~*~*~*~*~*~*~*~*~*~*~*~*~*~*~*~

Peg Rounds has been seriously creating many types of art since 2007.  Her focus has become mixed media, card making and jewelry making.  She is often found on social media sites pegscraftingcorner where she enjoys sharing all that she has created.

~*~*~*~*~*~*~*~*~*~*~*~*~*~*~*~*~*~*~*~*~*~*~*~*~

.

.