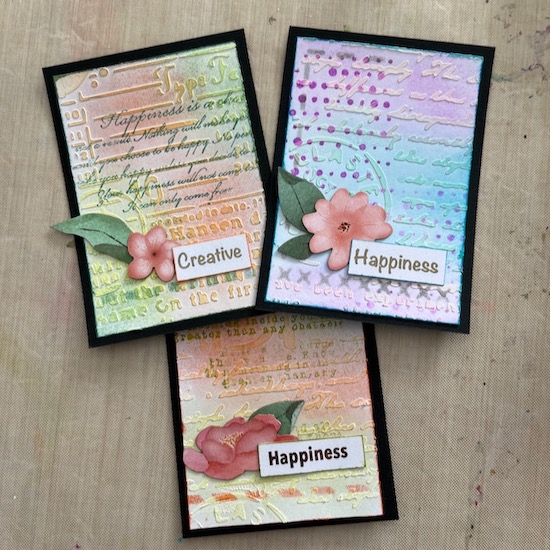
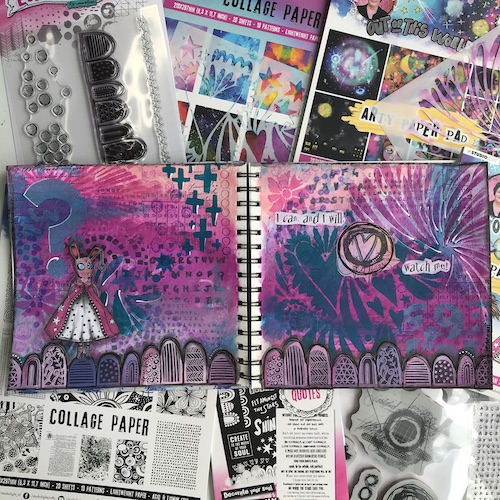
We are LOVING the Create Happiness release from Stamperia and Vicky Papaioannou – AND – we LOVE making little pieces of art like ATCs!
ATCs are Artist Trading Cards and are 2 1/2″ x 3 1/2″ in size. They are the perfect platform to practice your mixed media techniques and to swap with friends; think of them as your creative business cards!
Today we are making an ATC inspired by the range from Stamperia and Vicky P; we will learn a few mixed media techniques including ink blending, creating borders and composition.
Craft supplies you need to create an ATC:
Materials:
- Stamperia Volume paste
- White card – 58mm x 82mm
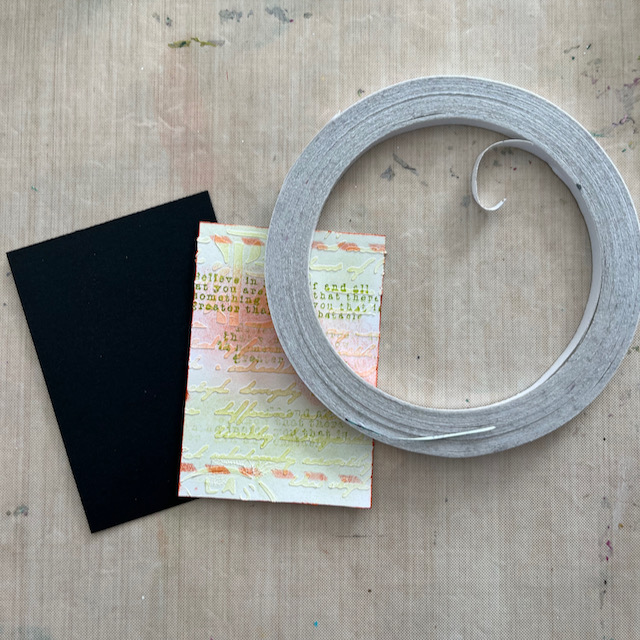
- Black card – 2 1/2 x 3 1/2 [63mm x 88mm]
- Printed Words (foiled) or quote
- Flower & leaf from the PINK ephemera pack
Tools:
- Stencil – Create Happiness by Stamperia
- Archival Mini Inks – range of colours
- Ink Blending tool
- Double sided tape
- Acrylic stamp blocks
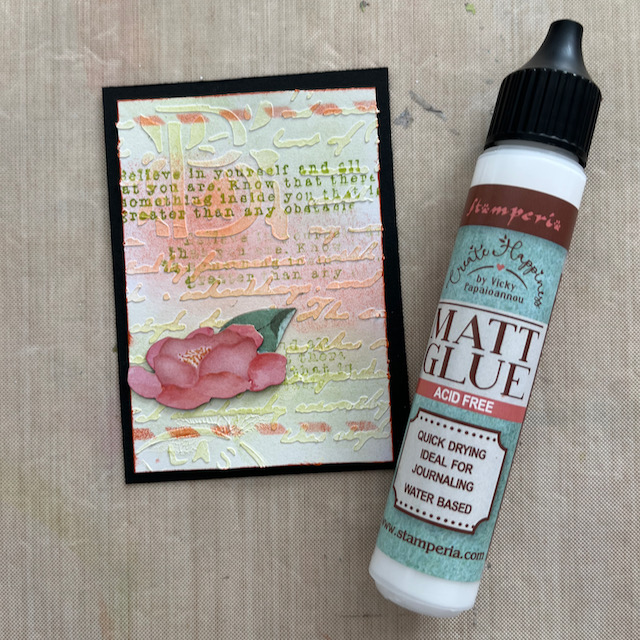
- Create Happiness Glue
- Baby wipes / Craft mat
- Stencils – border
- Stamp Set – Create Happiness by Stamperia
Step by step instructions to create an ATC
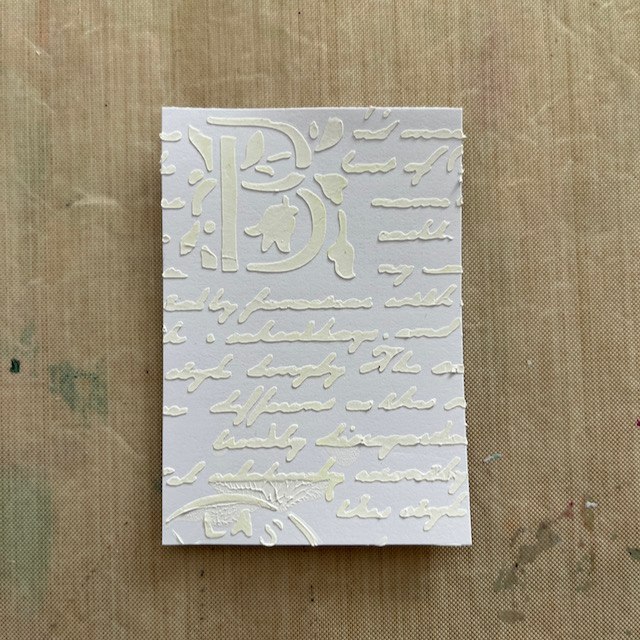
Using a palette knife, spread volume paste through a stencil onto white card. Set aside to dry.
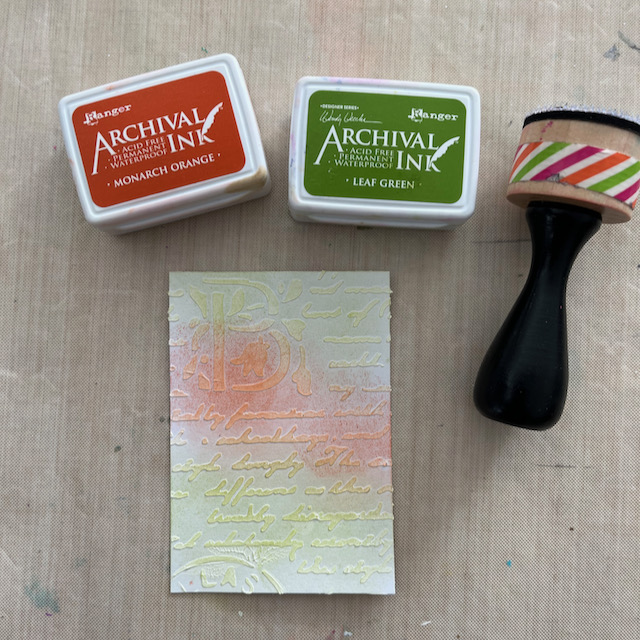
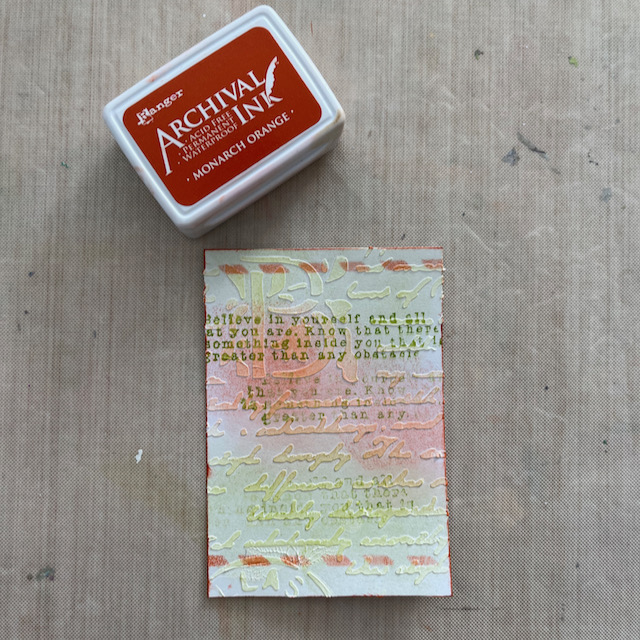
Choose two inks. Using the blending tool, apply two inks to white ATC.
Choose 1 stamp. Stamp in three places, without reinking with one ink.
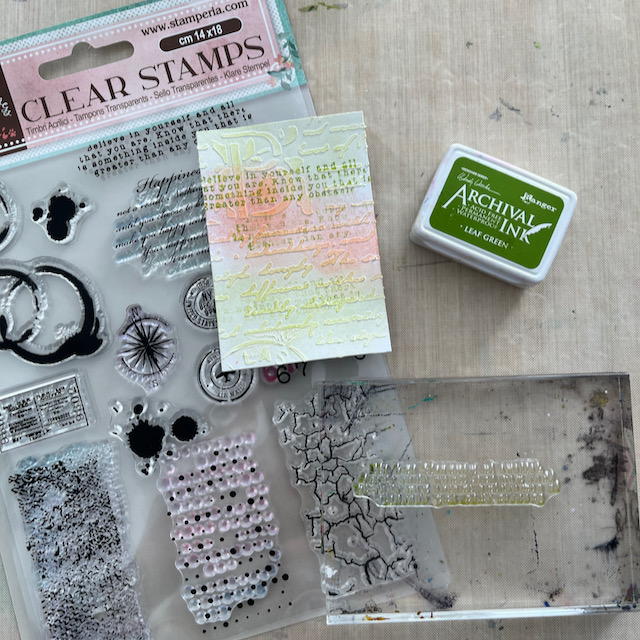
Choose a border stencil. Add top and bottom border with stencil and second ink.
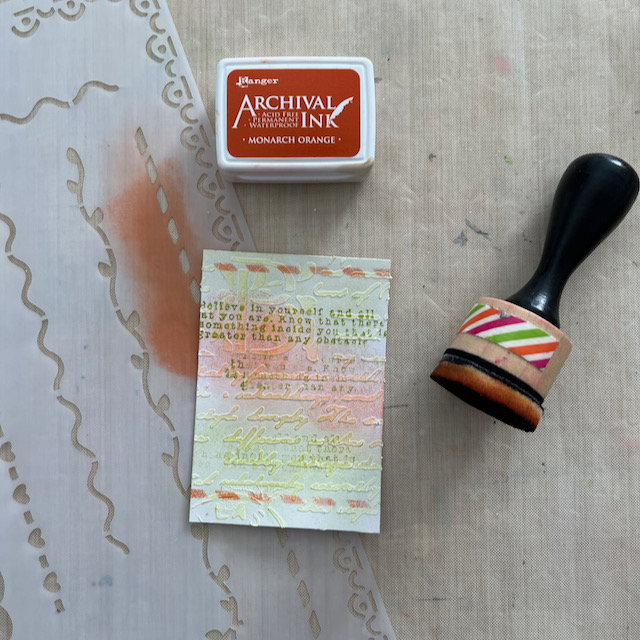
With same ink, apply direct to paper and edge white card, giving the piece a border.
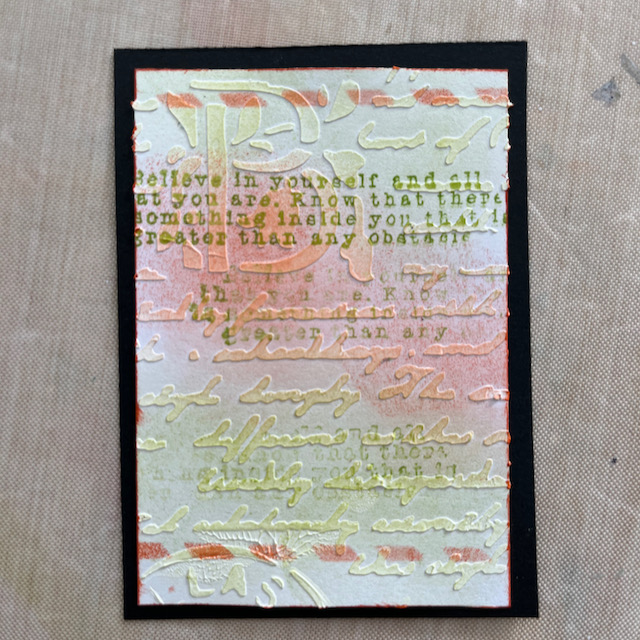
Use double sided tape to stick white card onto black card [2 1/2 ” x 3 ½”]
The base of ATC is complete.
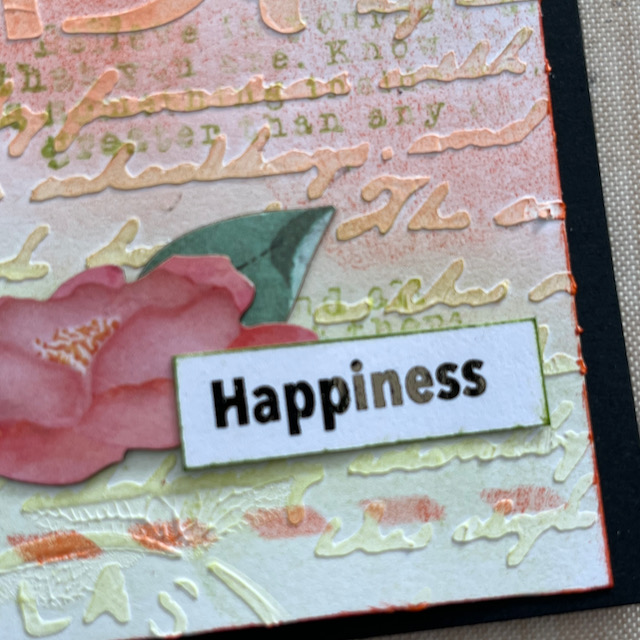
Chose a flower and a leaf from the collection. Stick with glue into bottom third of ATC [only need a little glue]
Chose a word or quote. Ink border with first ink colour.
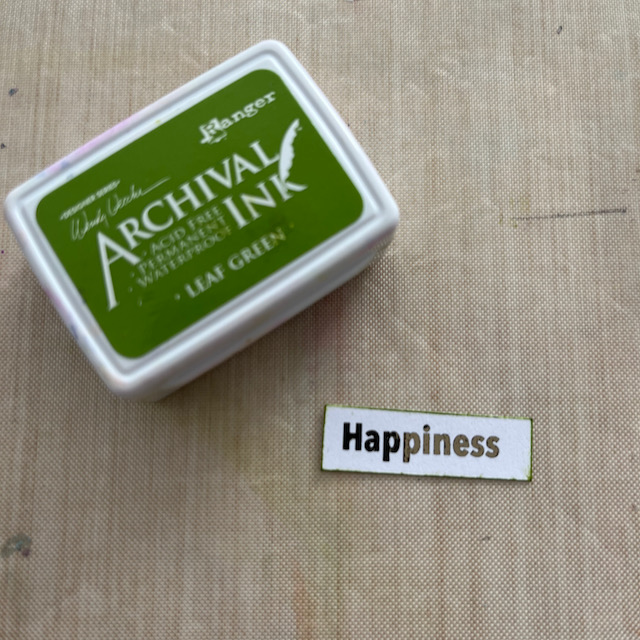
Stick your word on with double sided tape.
Your Vicky P inspired ATC is complete
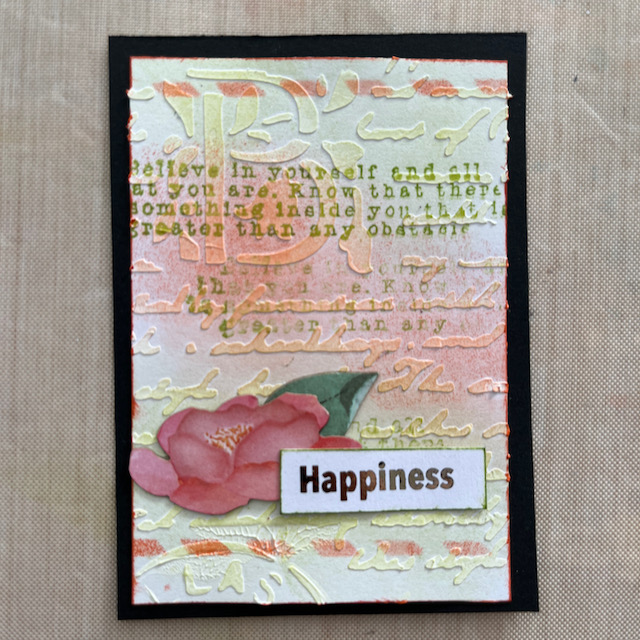
I hope you enjoyed creating your Vicky P inspired ATC, adding texture to volume paste through a stencil, blending inks and using stamps and stencils to add more mixed media layers. Then we embellished the ATC with the flower die cuts and a foiled word, considering the composition of the layout with the Rule of Thirds.
You can see our full Stamperia Create Happiness range by Vicky P on the Mixed Media Art website or in our store in Mount Waverley


Recent Comments