This article is written by Michelle Brown
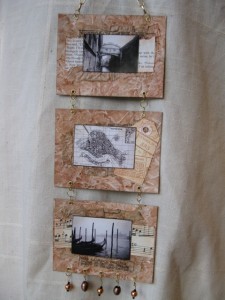
Over the last few weeks we have covered the tools and skills you need to add jewellery elements to your Mixed Media Artwork. Here we bring all of those together to create this wall hanging.
~*~*~*~*~*~*~*~*~*~*~*~*~*~*~*~*~*~*~*~*~*~*~*~*~*~*~*~*~*~*~*~*~*~*~
Materials you will need:
- Background card, decorated to suit theme
- Eyelets (15)
- Jump rings (19)
- Chain (20cm / 8″)
- Head pins (5)
- Beads
- Ephemera, tags and images to decorate
Tools you will need:
- Ruler & pencil
- Stamps & ink
- Hole punch & Hammer with mat
- Eyelet setter
- Pliers – flat nosed and pointy nosed
- PVA glue
- Inking sponge and brush
~*~*~*~*~*~*~*~*~*~*~*~*~*~*~*~*~*~*~*~*~*~*~*~*~*~*~*~*~*~*~*~*~*~*~
1. Cut three panels of your decorated card (12cm x 9cm or 4 3/4″ x 3 1/2″). Put them in order and lightly number them 1, 2 & 3 in pencil; this will help keep them in order.
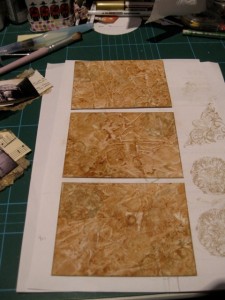
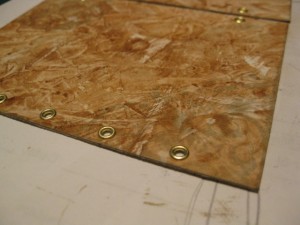
2. Lightly mark where the eyelets will go. As they need to be in pairs, I have marked them that way. The exact location will depend on the size of your eyelets and jump rings. Here I can in 2cm from the outer edge and up 0.5cm.
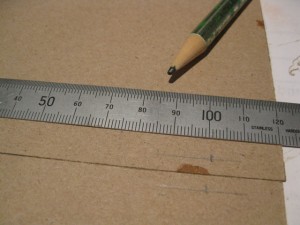
Across the bottom where the beads will be attached, mark 5 places; one in the middle, in 2cm from each side and in 4cm from each side
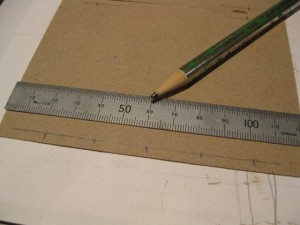
3. Punch holes using a punch and hammer or crop-o-dile
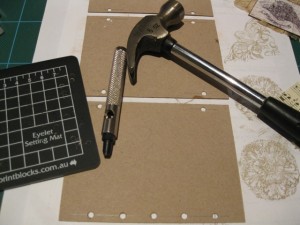
Set eyelets, taking your time. Put the three panels back into order when finished.
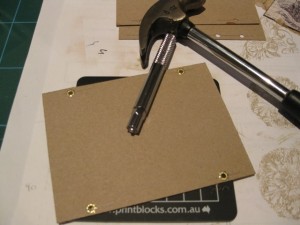
4. I decided to join the panel together before adding the ephemera and images. You can do it either way.
To join the panel together we need three jump rings; an odd number is needed to make sure both panels will sit parallel, as each ring will sit at 90 degrees
5. Insert the jump rings into the eyelets, in both sides of the two panels
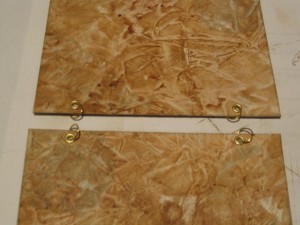
6. Take two panels, back to back to insert the third jump ring.
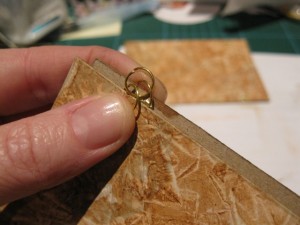
Check it will sit neatly before closing it up and that you haven’t got the rings twisted. Close up jump with with pliers
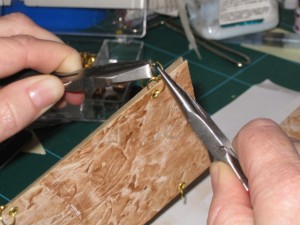
Now we have the two panels joined.
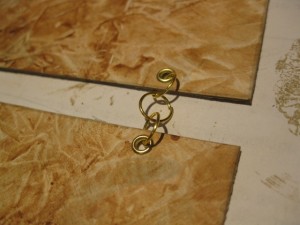
Repeat with other eyelets pairs
7. Add chain arose the top of the hanging, using two jump rings to attach the chain to the eyelets
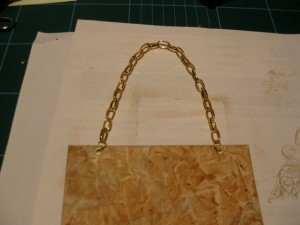
8. Now we can attached the beads across the bottom.
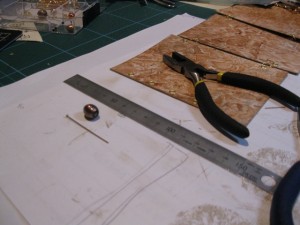
Prepare your beads on the headpins as shown previously. This is fiddly and frustrating, so make sure you have a few extra head pins in case you need to start again.
9. Attach the beads on headpins to the bottom panel with jump rings
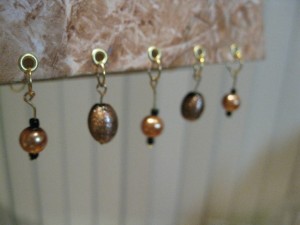
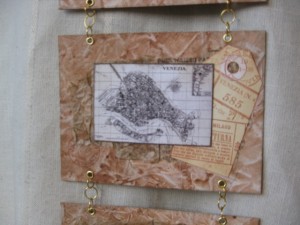
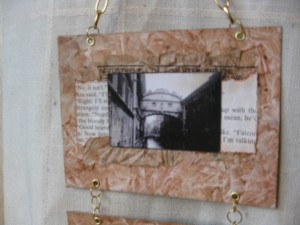
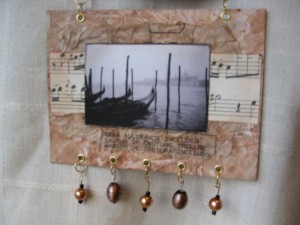
10. The base of your wall hanging is complete. Now you can decorate it with ephemera, tags, stamping and images.
Here I have used:
- Ephemera – music, book page and dress pattern tissue
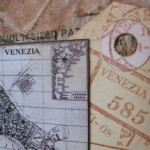
- Images from the Venetian Montage by Darkroom Door
- Stamps to compliment my Venetian theme by Collections & Venezia plate by Oxford Impressions
- Inks – Archival Sepia & Tim Holtz Distress Ink in Frayed Burlap
Sepia ink was used to stamp manilla tag and edge the music and book page.
Frayed burlap was used to edge the images and brushed across scrunched tissue.
All elements were glued with PVA glue.
~*~*~*~*~*~*~*~*~*~*~*~*~*~*~*~*~*~*~*~*
Now the wall hanging is complete.
We do hope you have enjoyed out series on adding jewellery elements to you mixed media artwork.
Happy Creating!
.
.
.



Recent Comments