~ * ~
This article is written by Terri Sproul
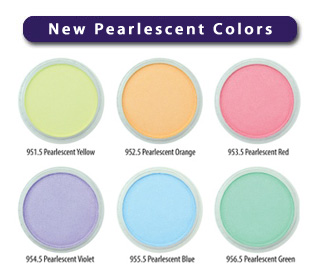
Pan Pastels are Artists color pastels with over 80 color to choose from. Their latest colors include six pearlescent colors.
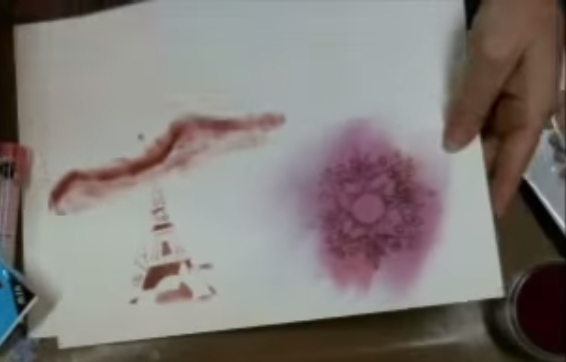
You can mix, blend, use with stencils, stamps and much more. These Artists Color Pastels can be used just like you use paint. As a Mixed Media artist you will not be able to put these Pans down, from Canvas, Art journals and stamping each day will be a new adventure.
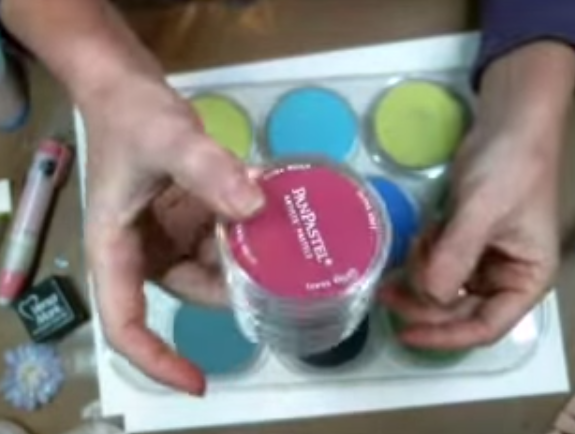
In the video below, I run through some of the pan pastel features, showing you how they can be stored, as well as showing you some of the techniques you can do with the Pan pastels. Here I have used my art journal but these techniques can be applied to many different mixed media projects.
For further inspiration, you can check out the website for more video on how to use them at http://www.panpastels.com
I host a live Art Journal Show on Tuesday nights and here is a video on a page I did using Pan Pastels:
Hope you enjoy my review on Pan Pastels.
Thanks for joining me, remember to like us on Facebook CreatingMixedMediaArt and leave me a comment please…
~*~*~*~*~*~*~*~*~*~*~*~*~*~*~*~*~*~*~*~*~*~*~*~*~
Terri Sproul is a CHA desinger and a Mixed Media Artist with her own line of stamps with Sincity Stamps and own paint line with Sakura Hobby Crafts. She and her husband have the pleasure of living on Palomar Mountain, in San Diego county. She is teaching an online live show on Tuesday night on her youtube channel
You can see more of her work at terrisproul.blogspot.com

~*~*~*~*~*~*~*~*~*~*~*~*~*~*~*~*~*~*~*~*~*~*~*~*~
Disclosure: These products were provided by Colorfin LLC for the purpose of review. All opinions are that of the MixedMediaArt team.
.
.


Recent Comments