~ * ~
This article is written by Melanie Statnick
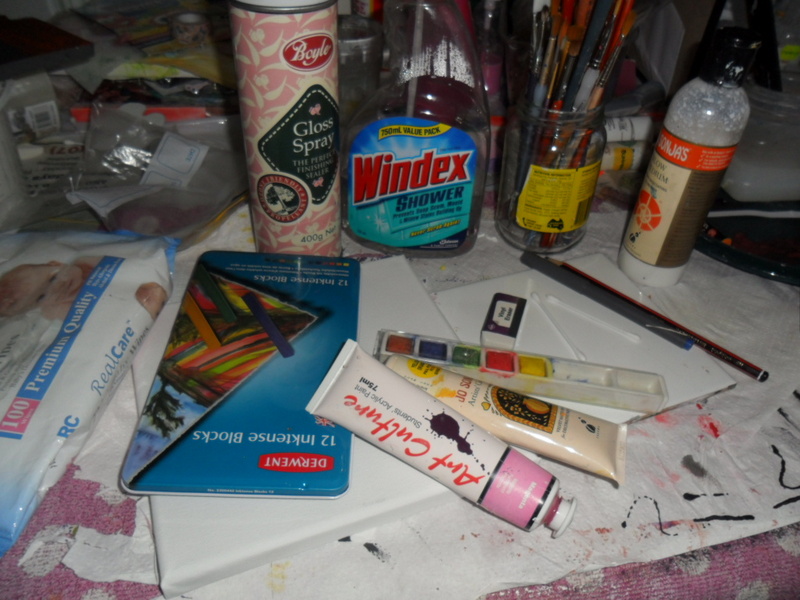
Supply list:
- Gel medium
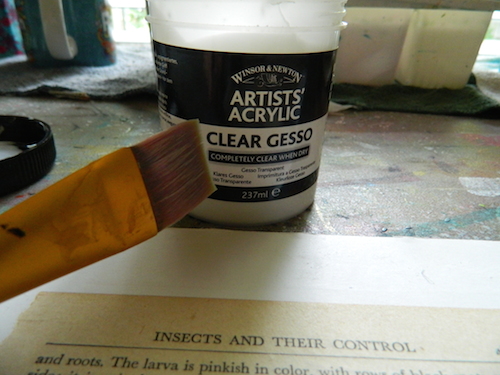
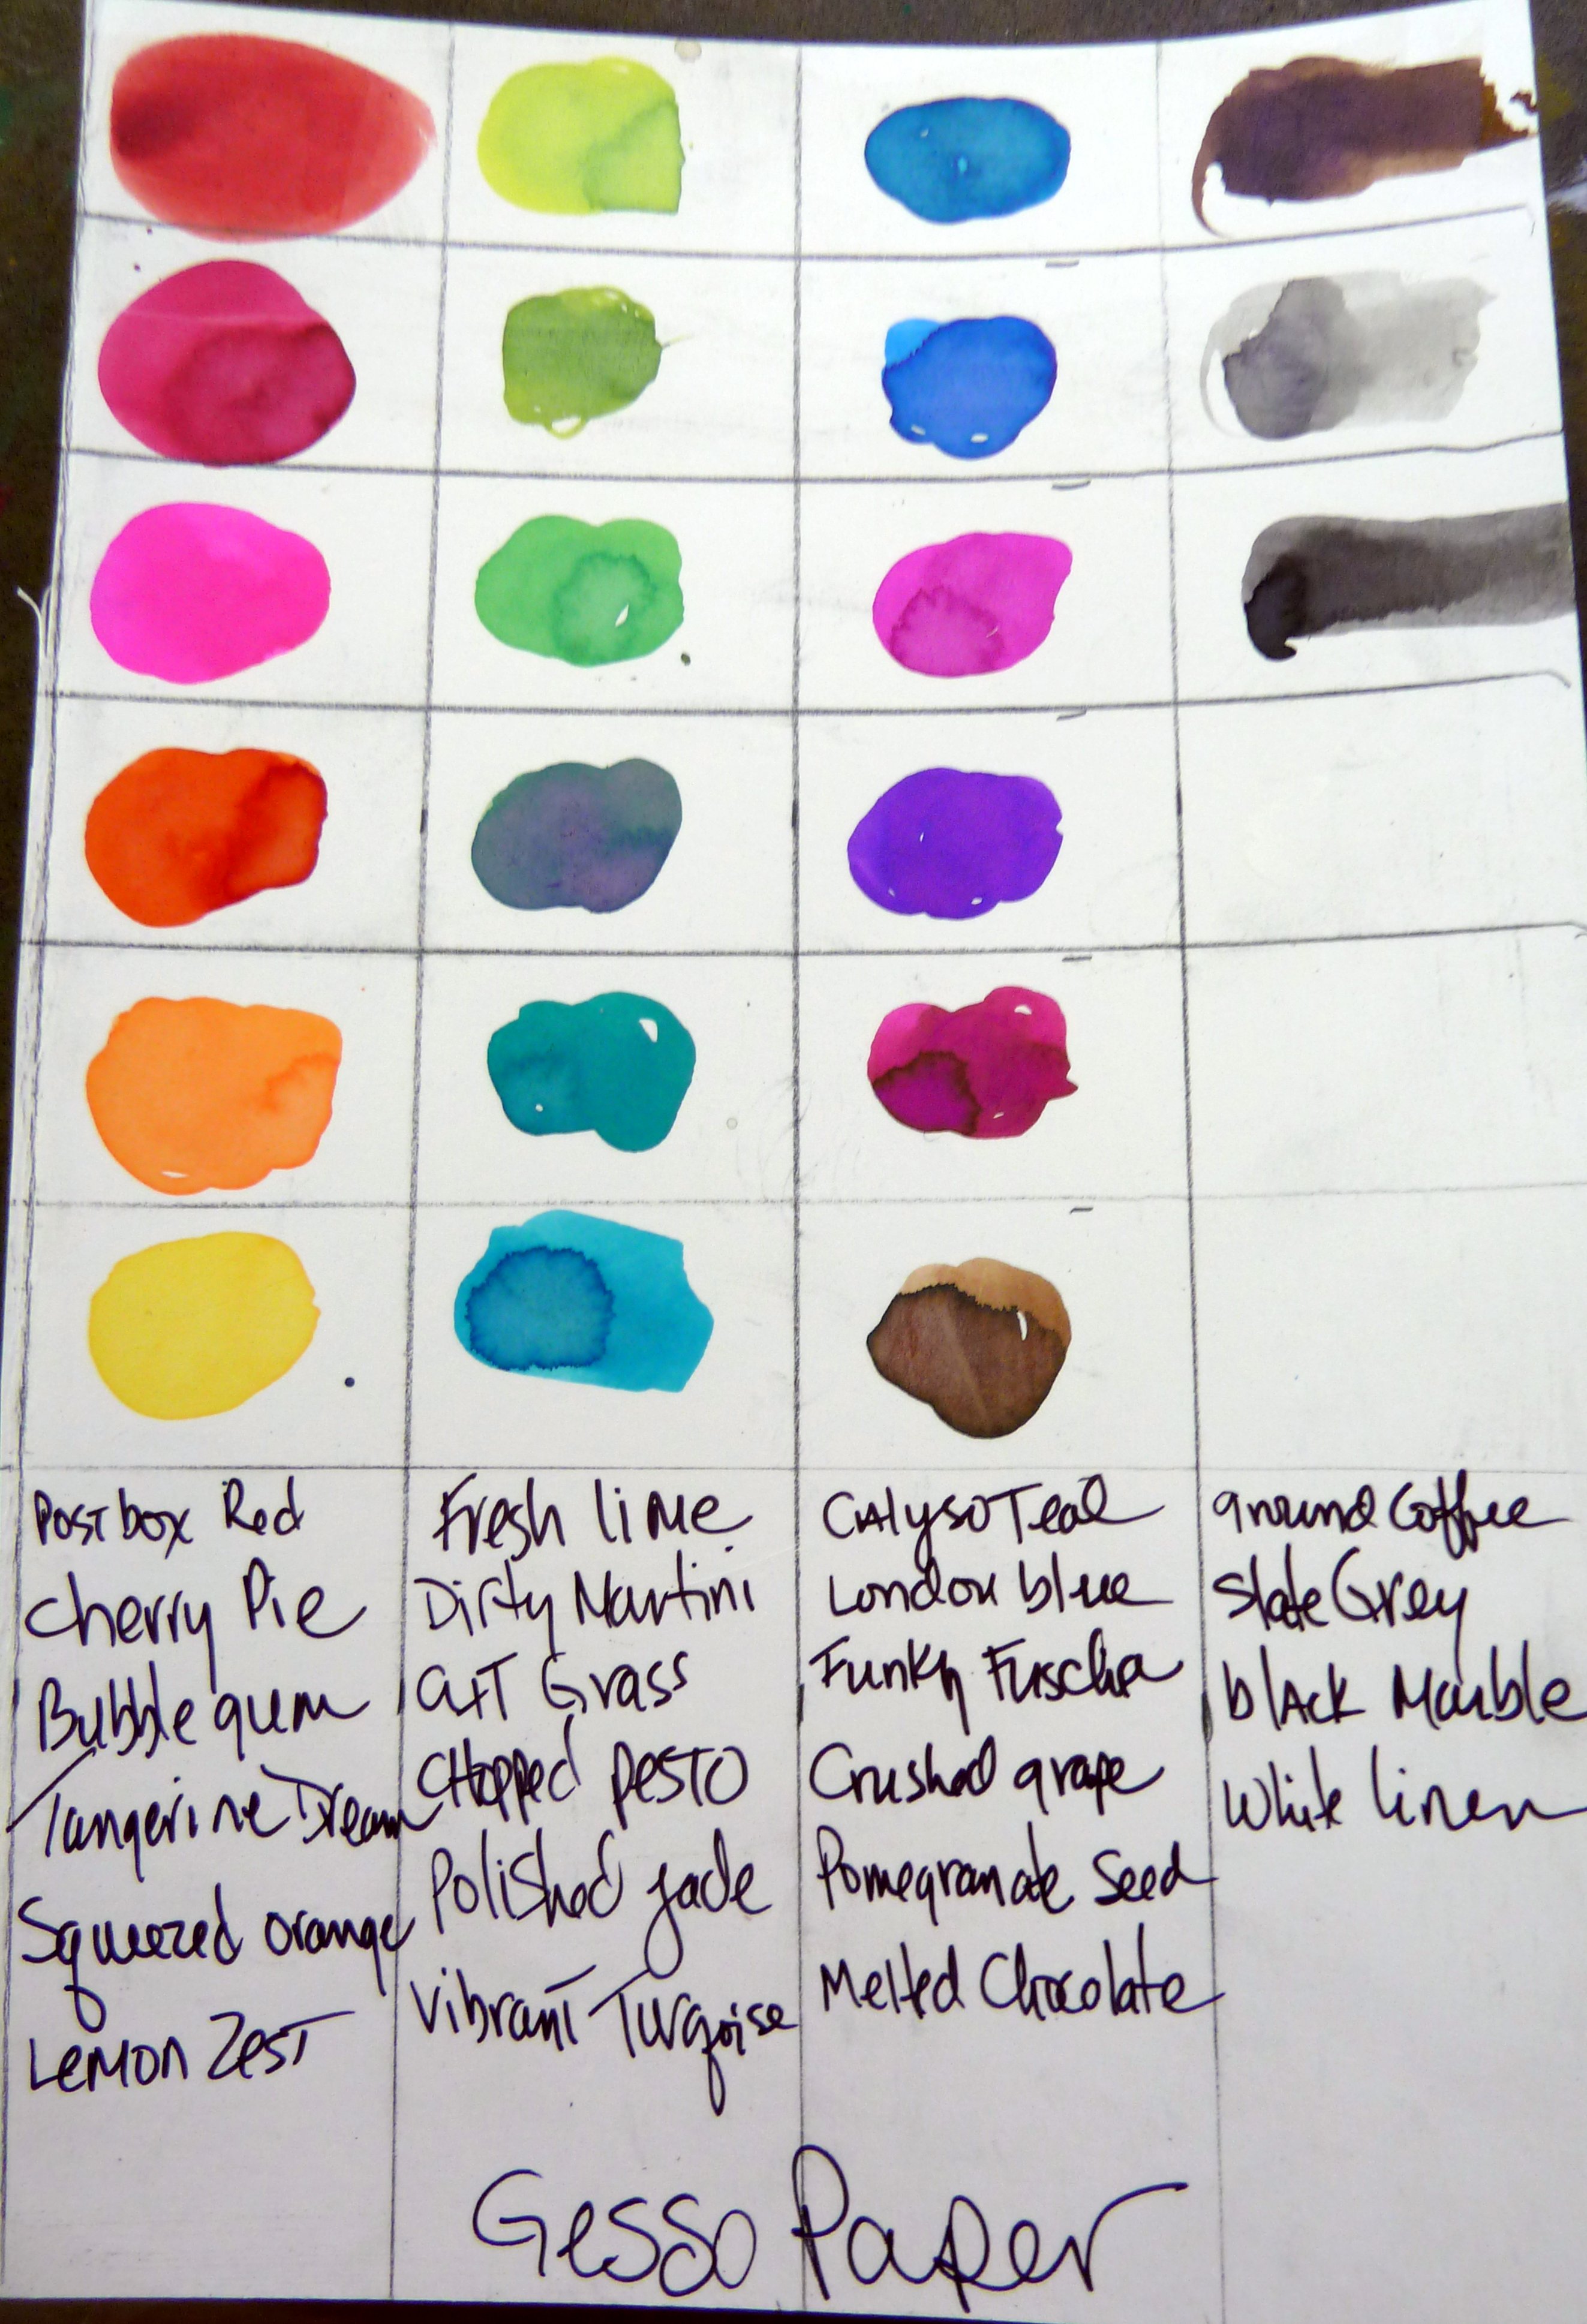
- Clear Gesso
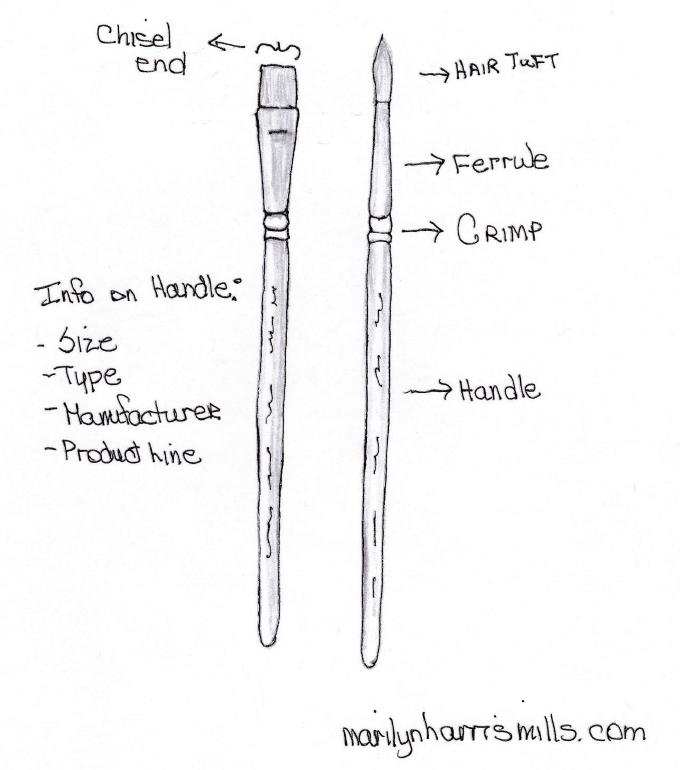
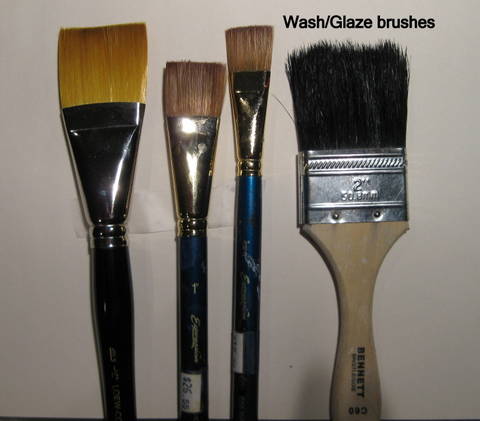
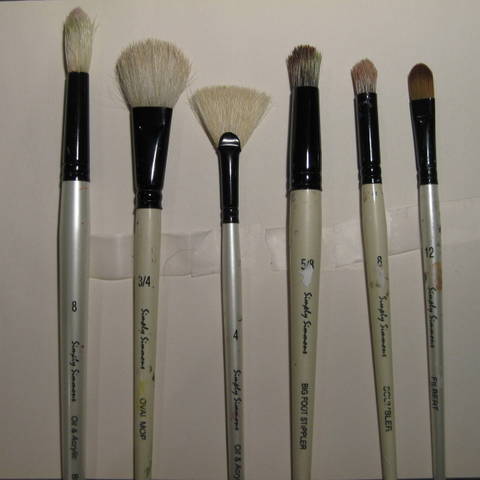
- Paint Brush
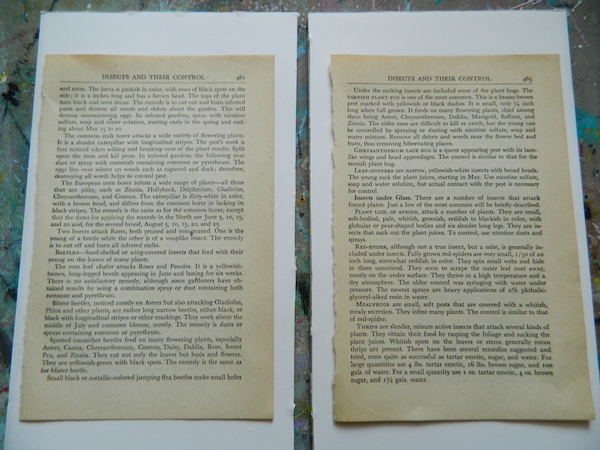
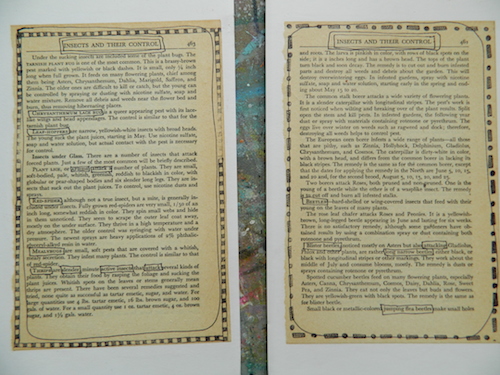
- Old papers from textbook
- Foam board
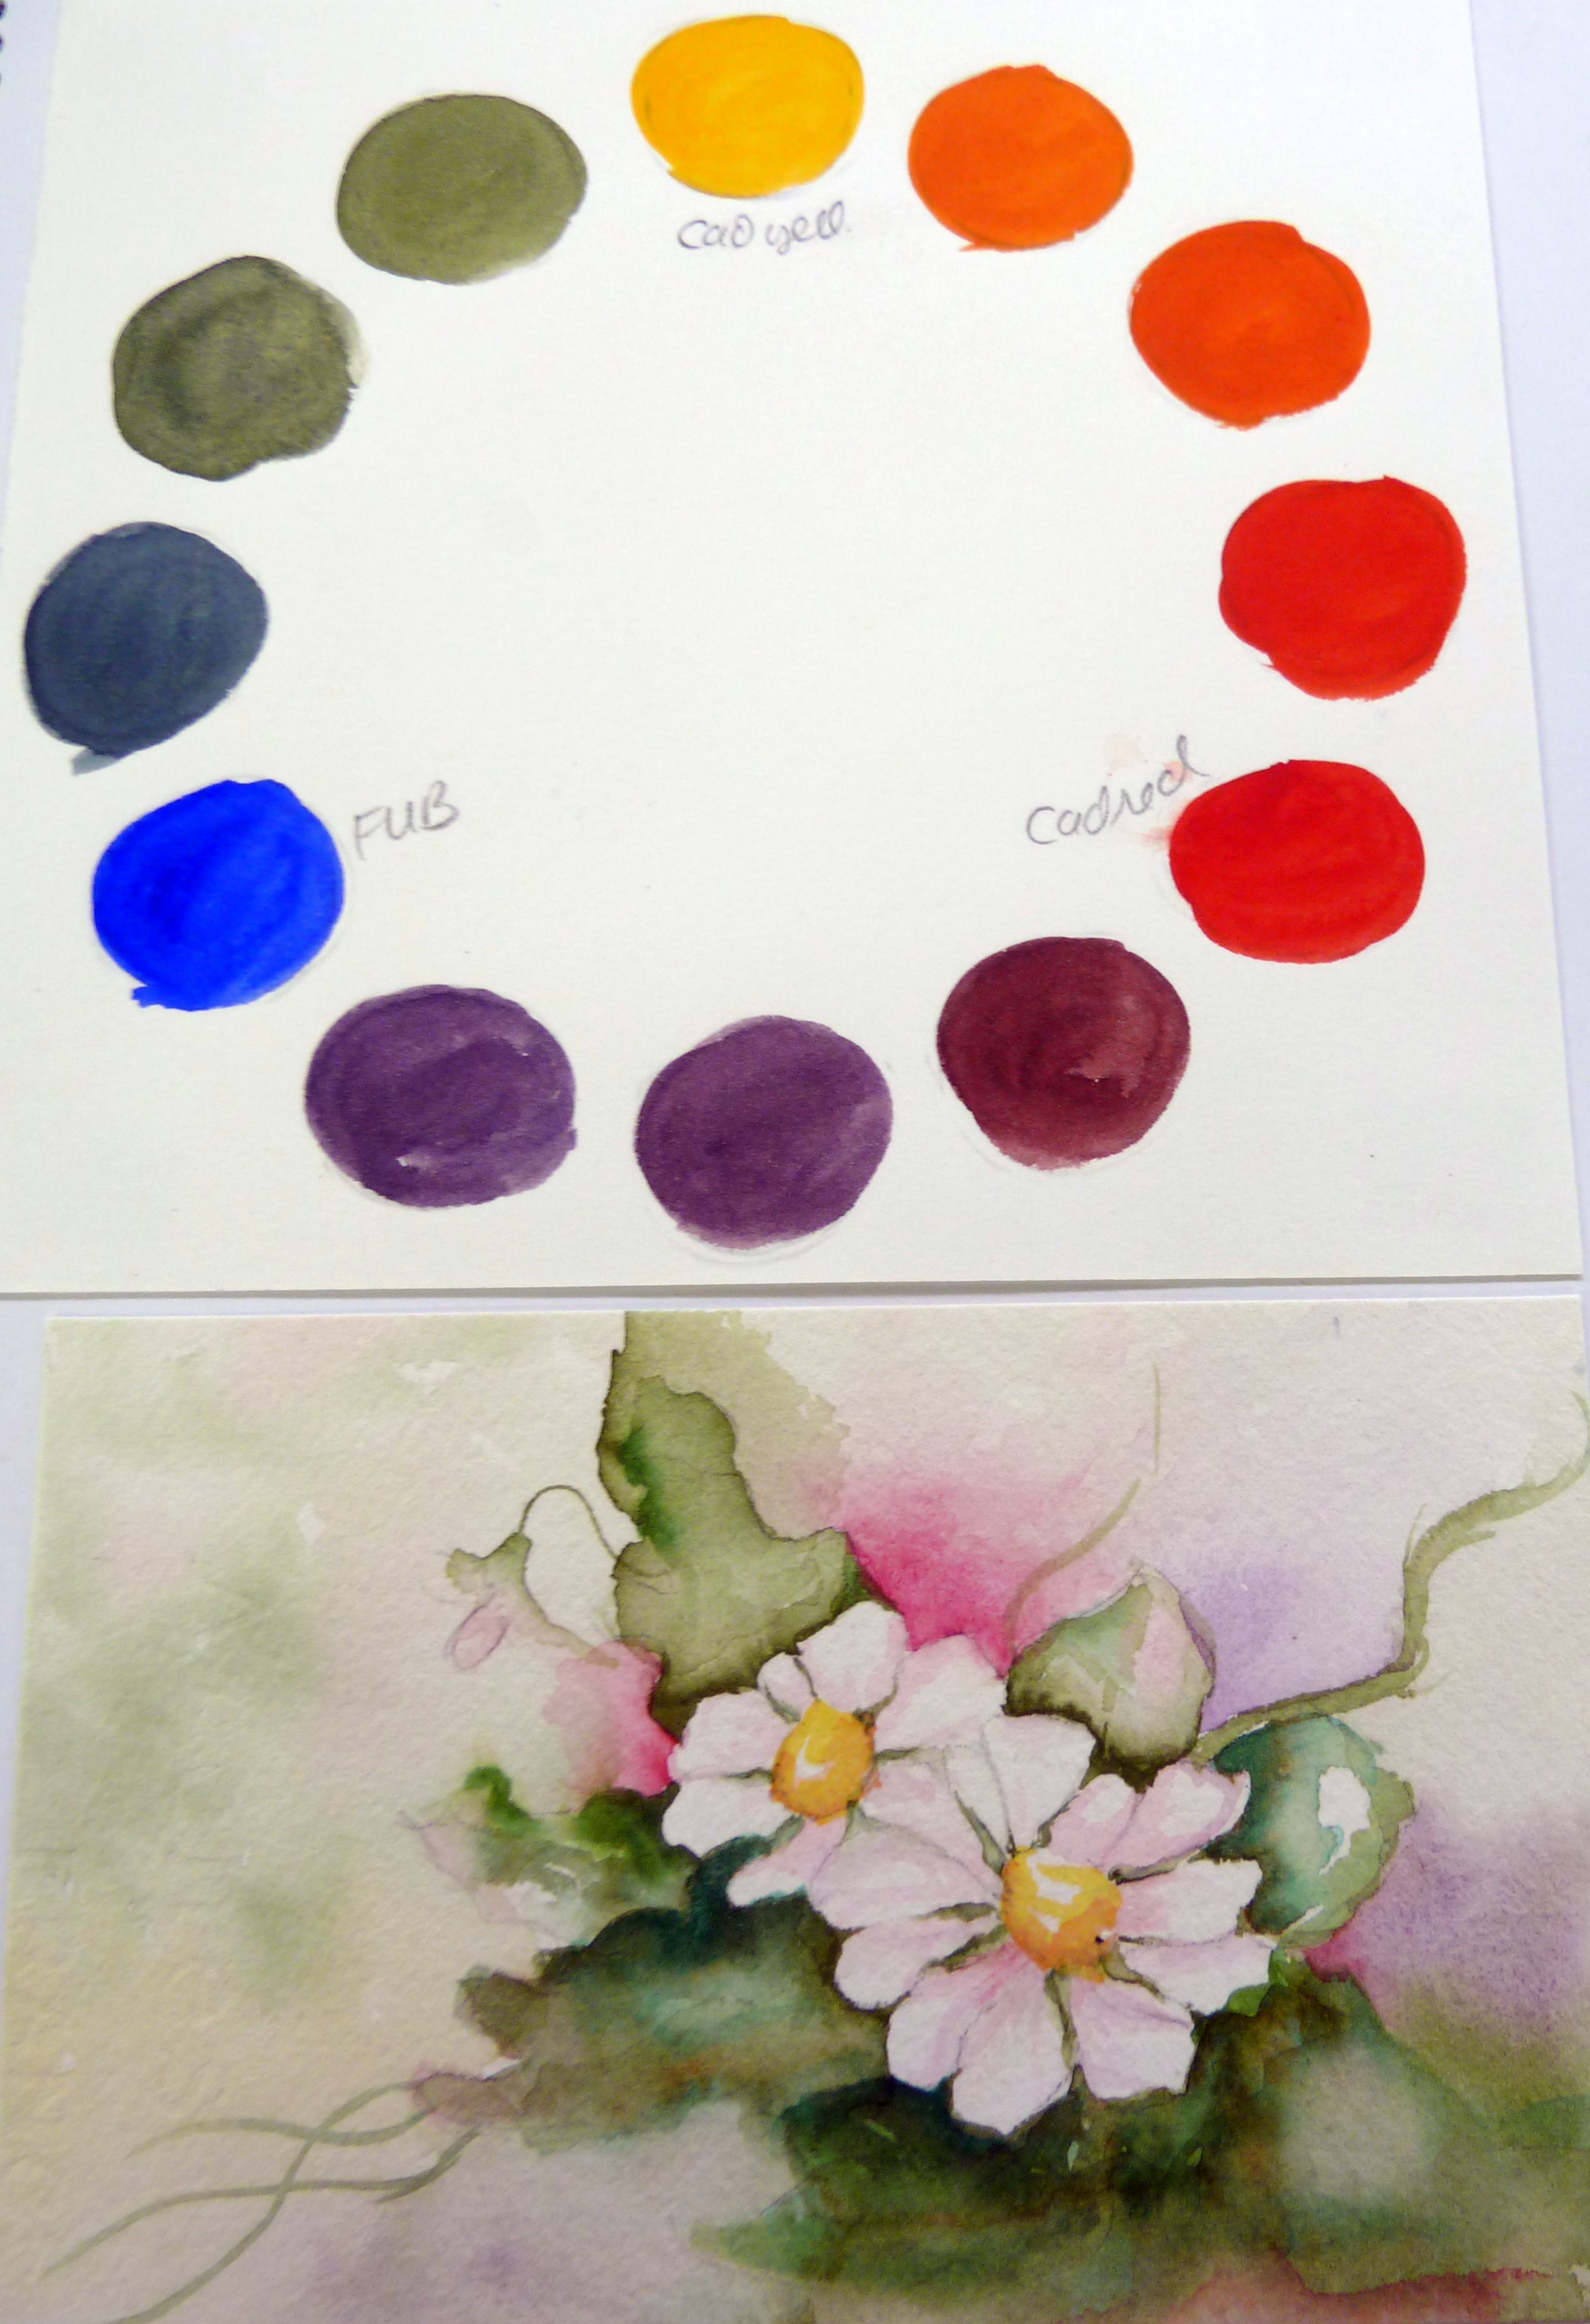
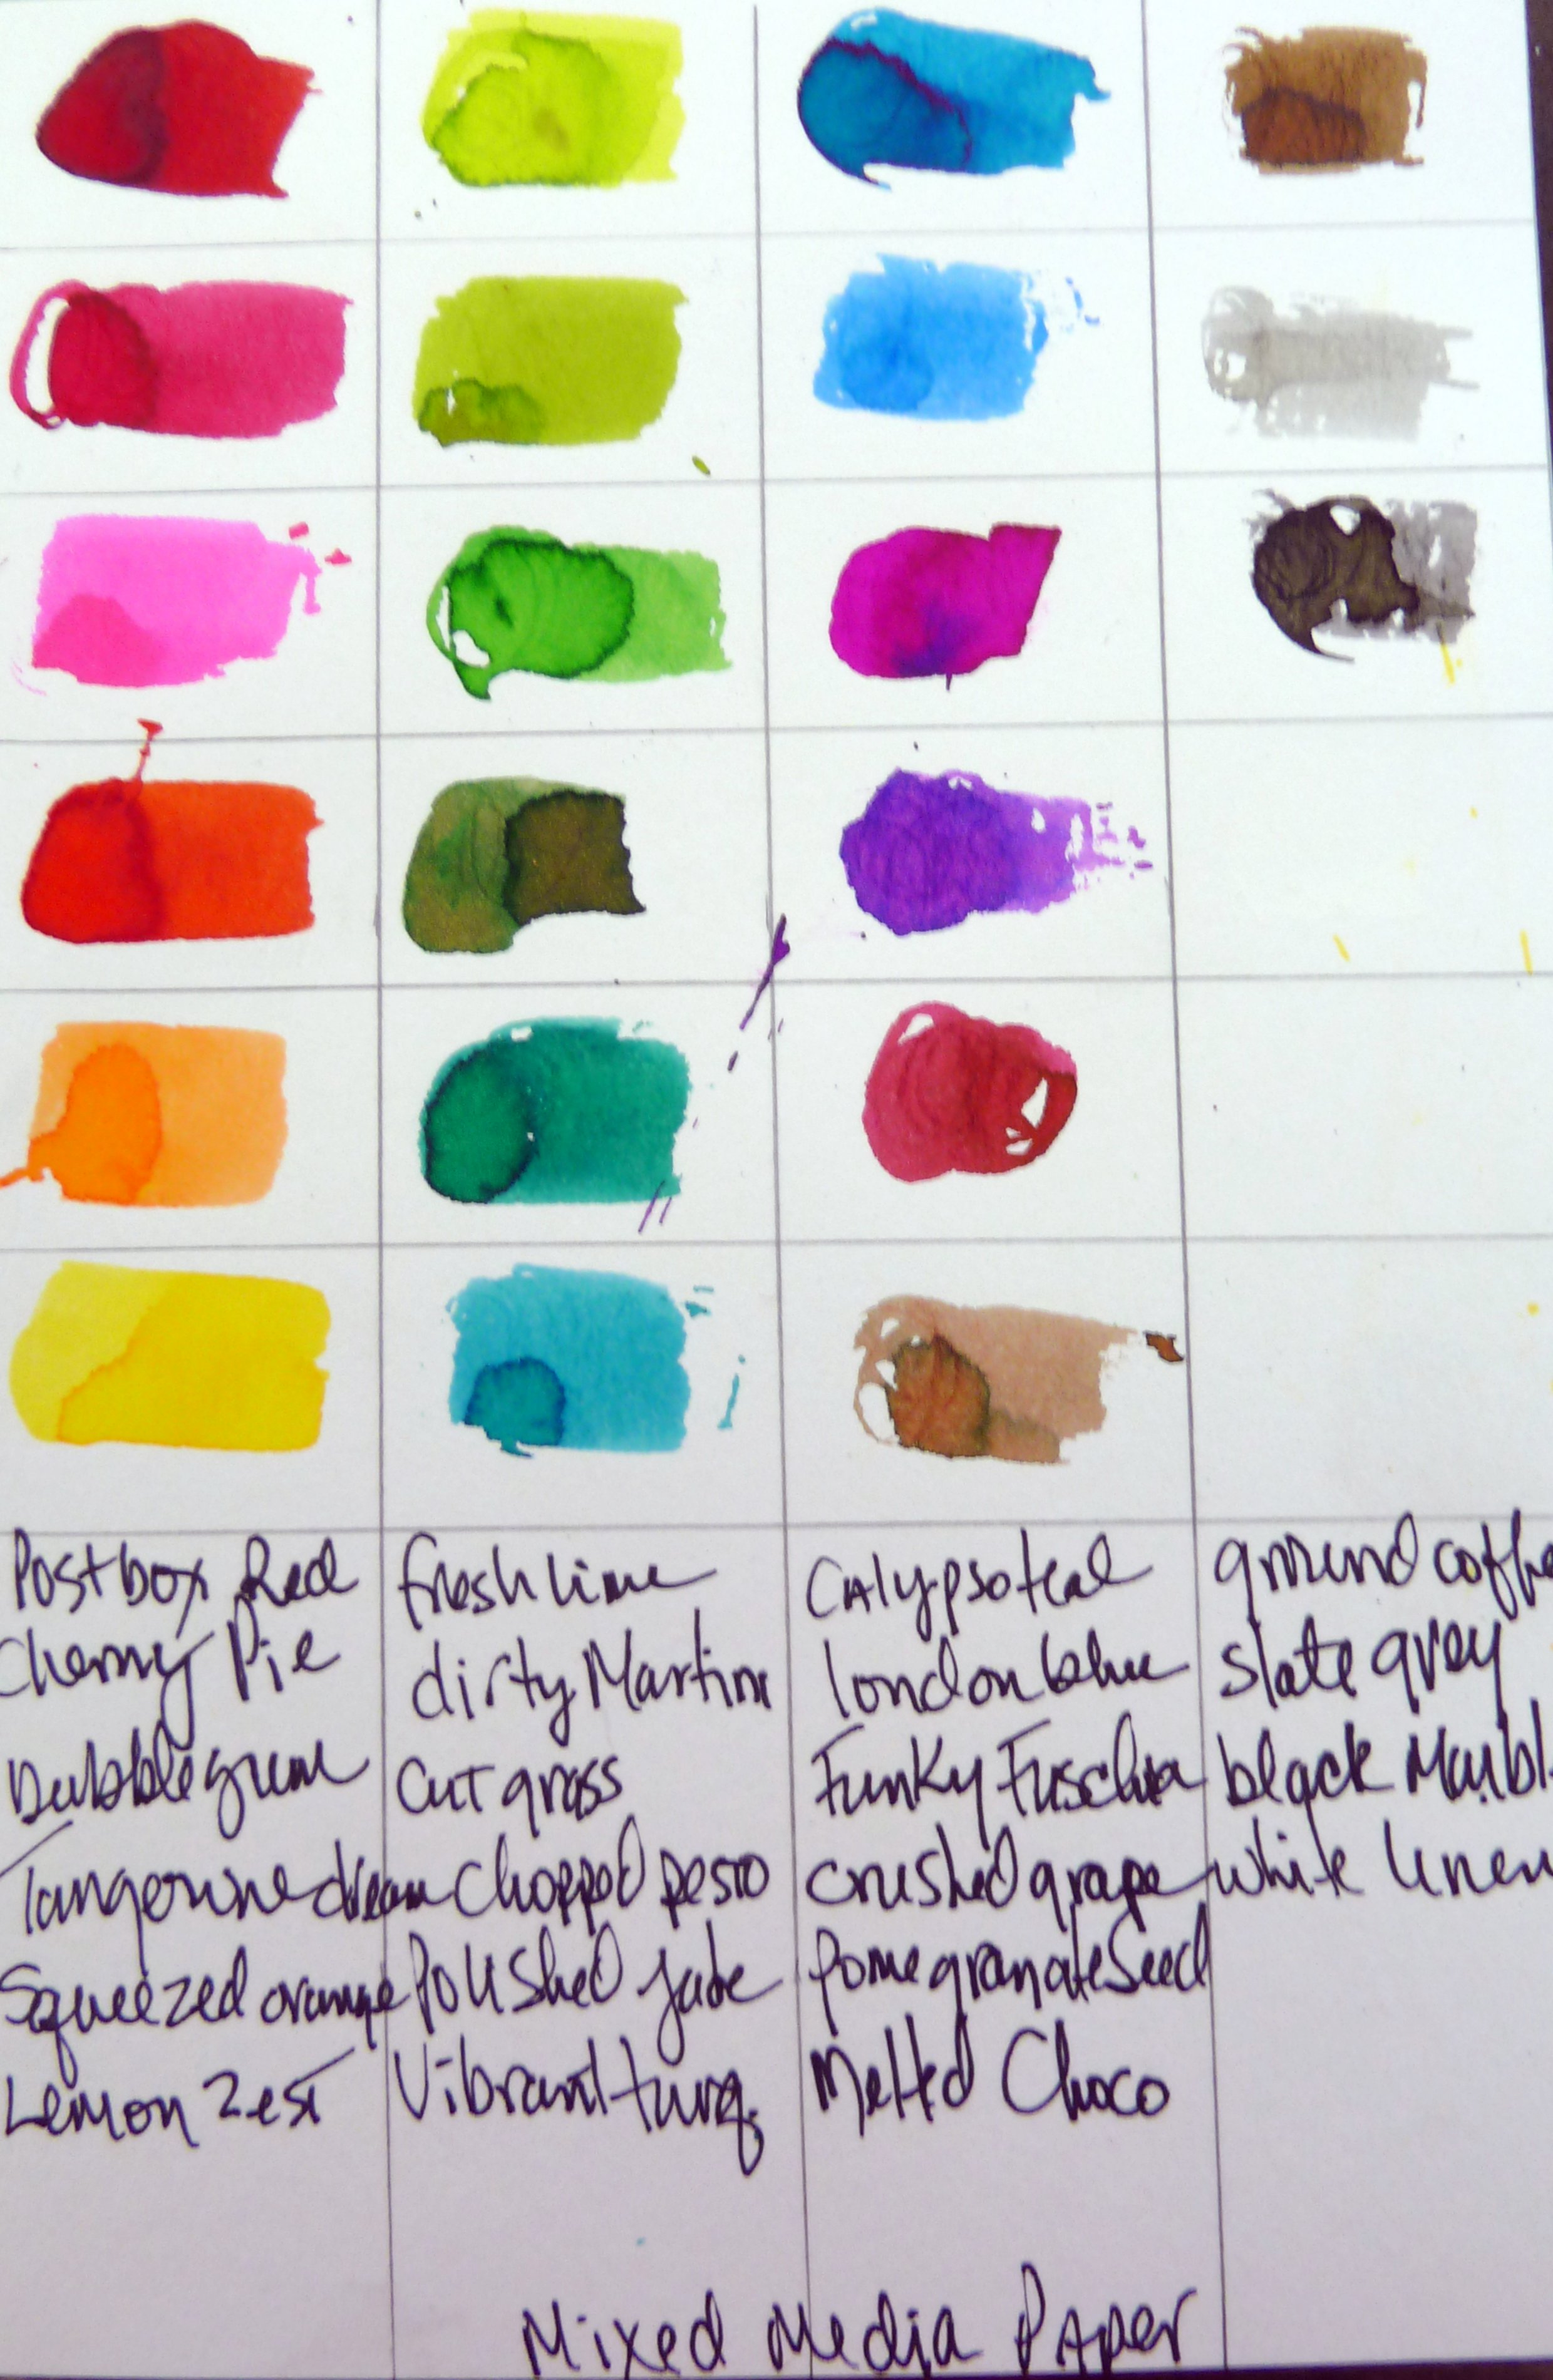
- Watercolors
- Micron/Copic pen
- White Uniball pen (signo)
- Pencil
- Eraser
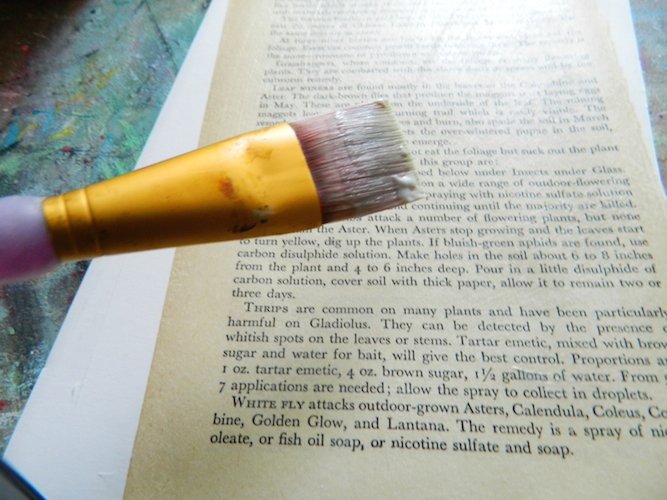
Cut foam board to 8×10. Using gel medium cover one side of old paper taking care to get each corner and the sides. Once covered, flip glued side down to foam board and use brayer to roll flat and to get out any bubbles or folds ion the paper. You will only need a thin layer. This is old paper and going over it too many times with the brayer may cause some tearing. After drying use the clear gesso to prep you surface to accept the watercolor. This will dry clear and leave a “tooth” texture to the paper that will feel somewhat like sand paper.
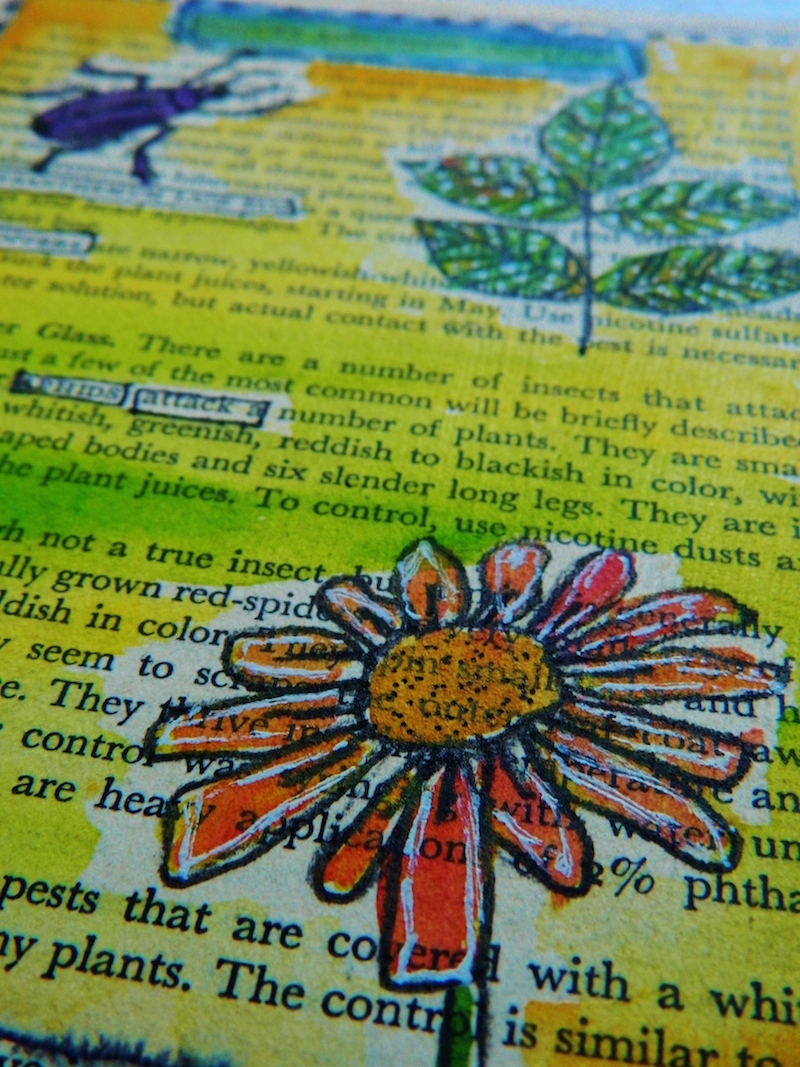
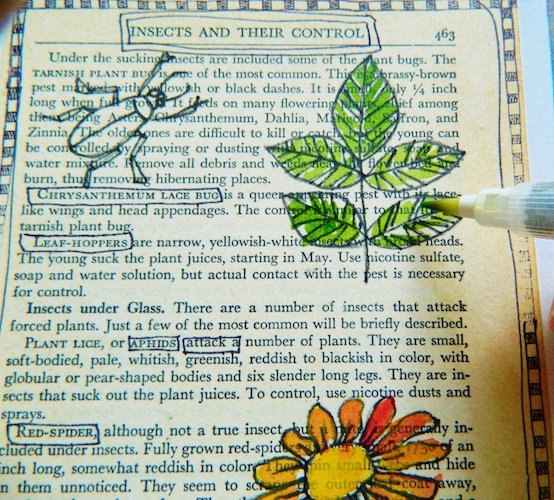
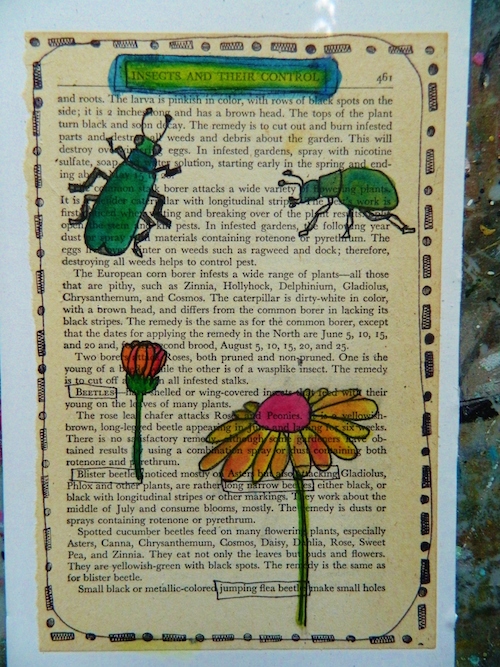
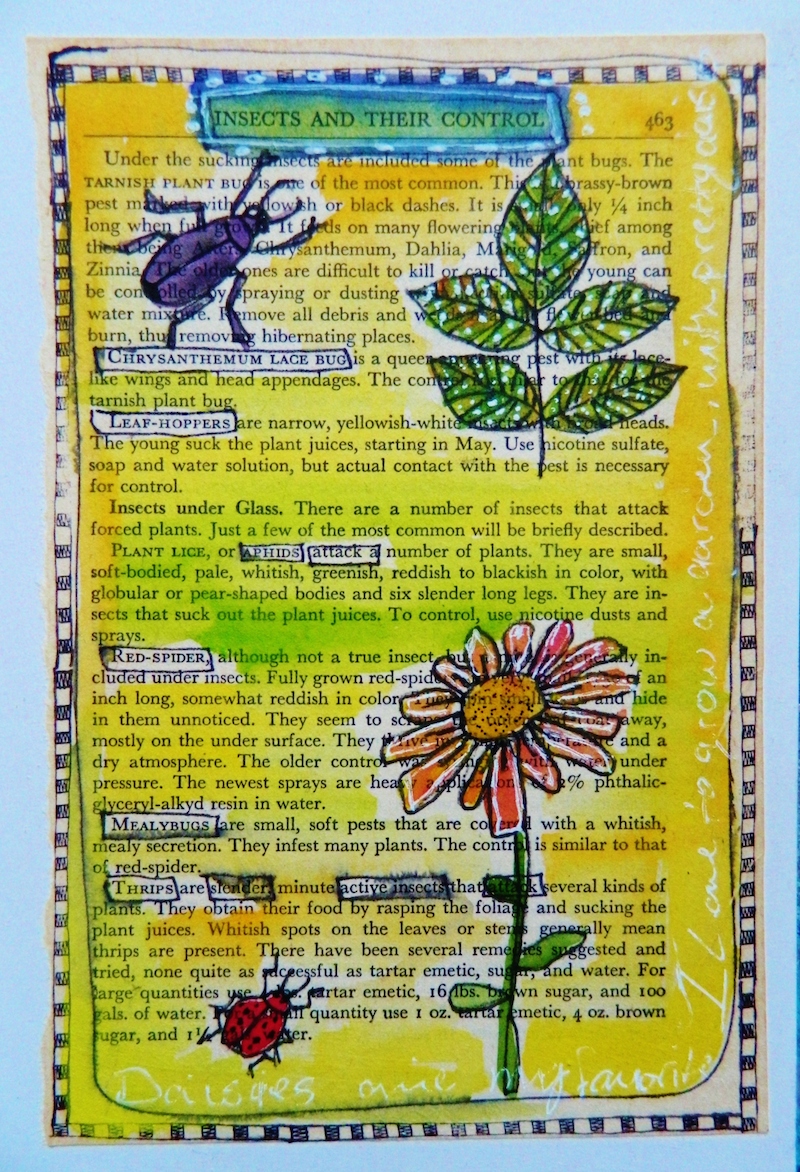
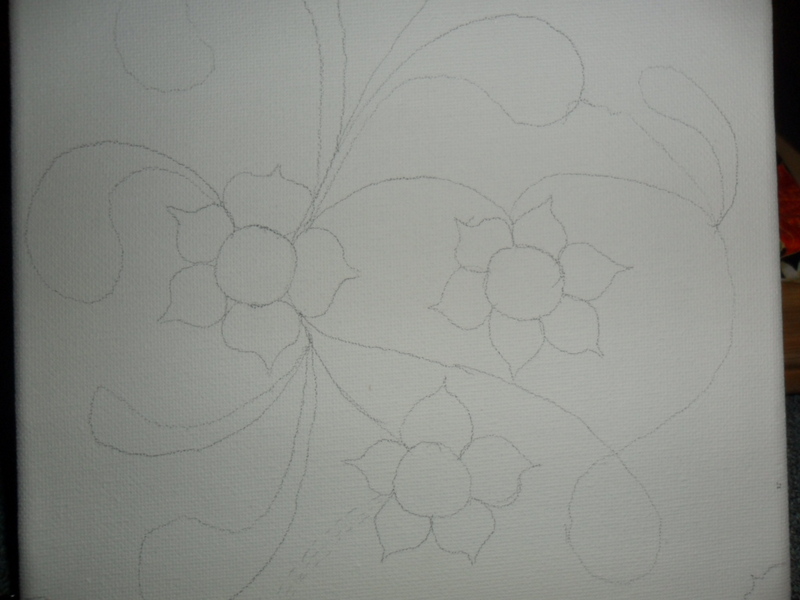
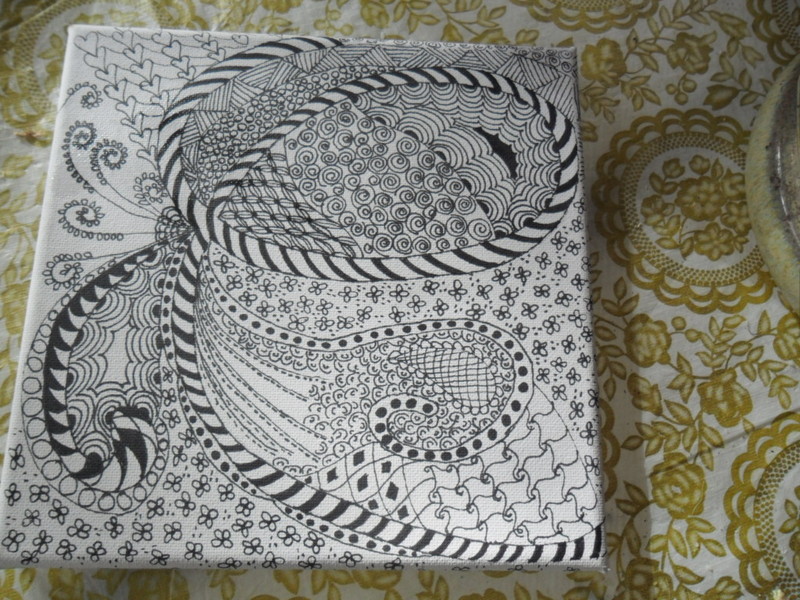
When the gesso is dry you can draw a boarder around your paper and begin to draw your pictures where and what you like. The pencil may show up a bit darker on the gesso surface. Go over your drawings with a micron pen and white gel pen before you add your watercolors.
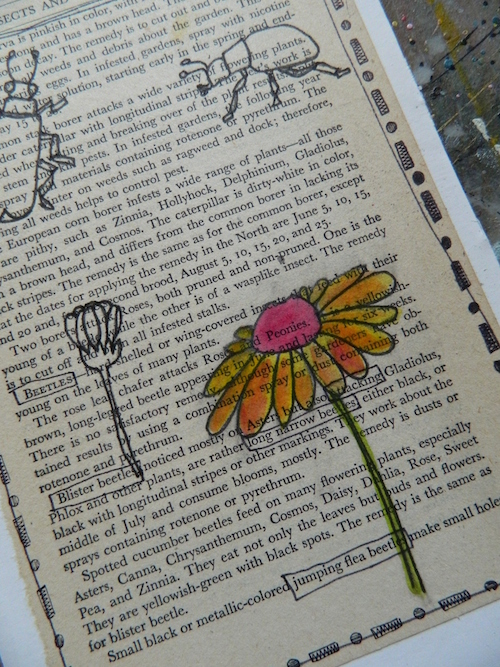
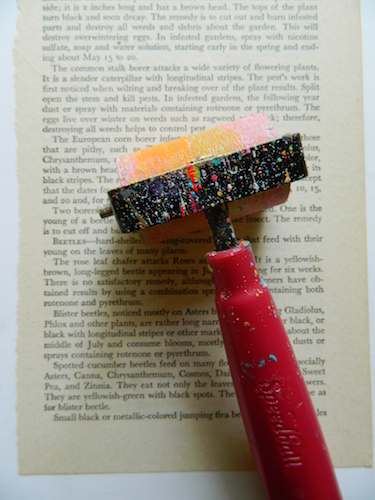
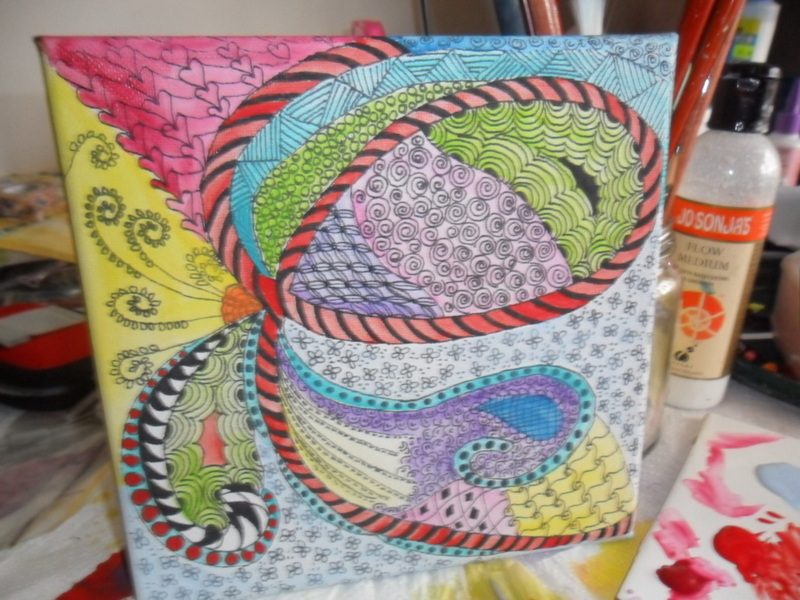
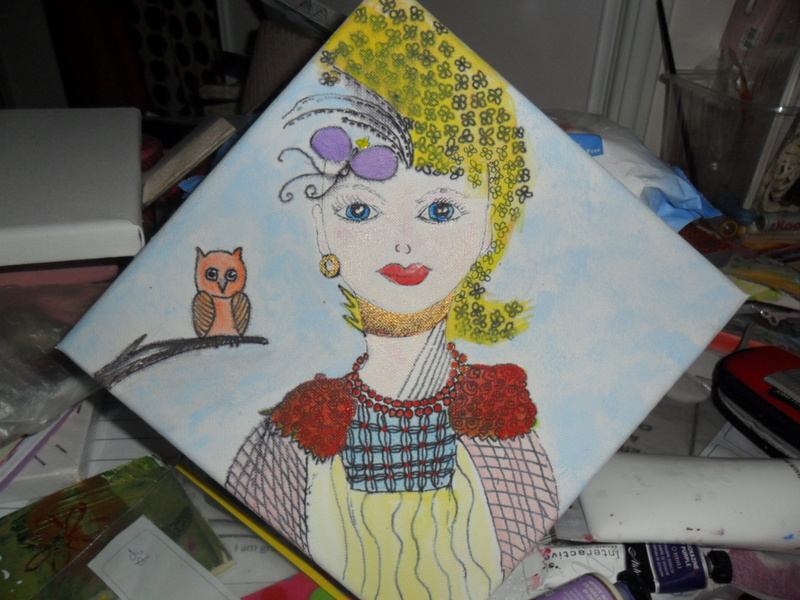
Your drawings are ready for the watercolor. You can paint just your designs and leave the background plain or paint and splatter it all.
~*~*~*~*~*~*~*~*~*~*~*~*~*~*~*~*~*~*~*~*~*~*~*~*~
Melanie Statnick is a published artist/writer out of North Carolina. Melanie creates art daily from her private studio. Her style artwork can be found in art galleries and shops extensively in NC with international private collections.
~*~*~*~*~*~*~*~*~*~*~*~*~*~*~*~*~*~*~*~*~*~*~*~*~
.
.


Recent Comments