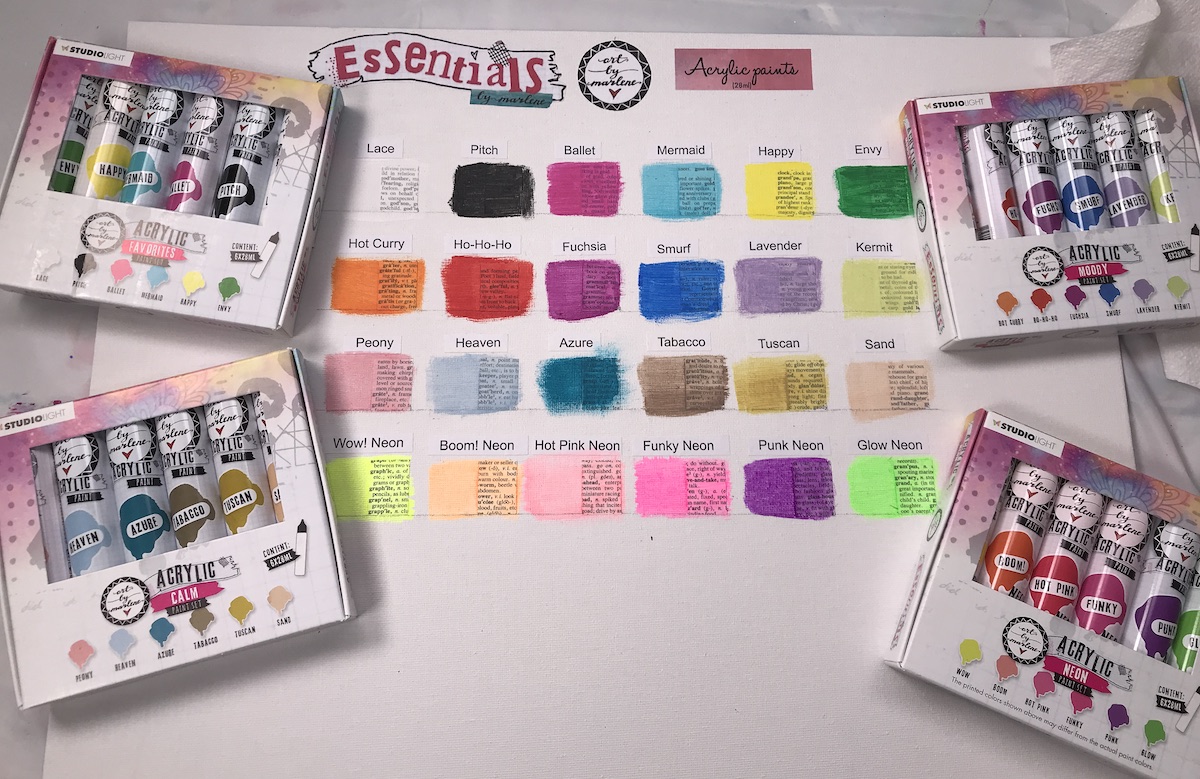
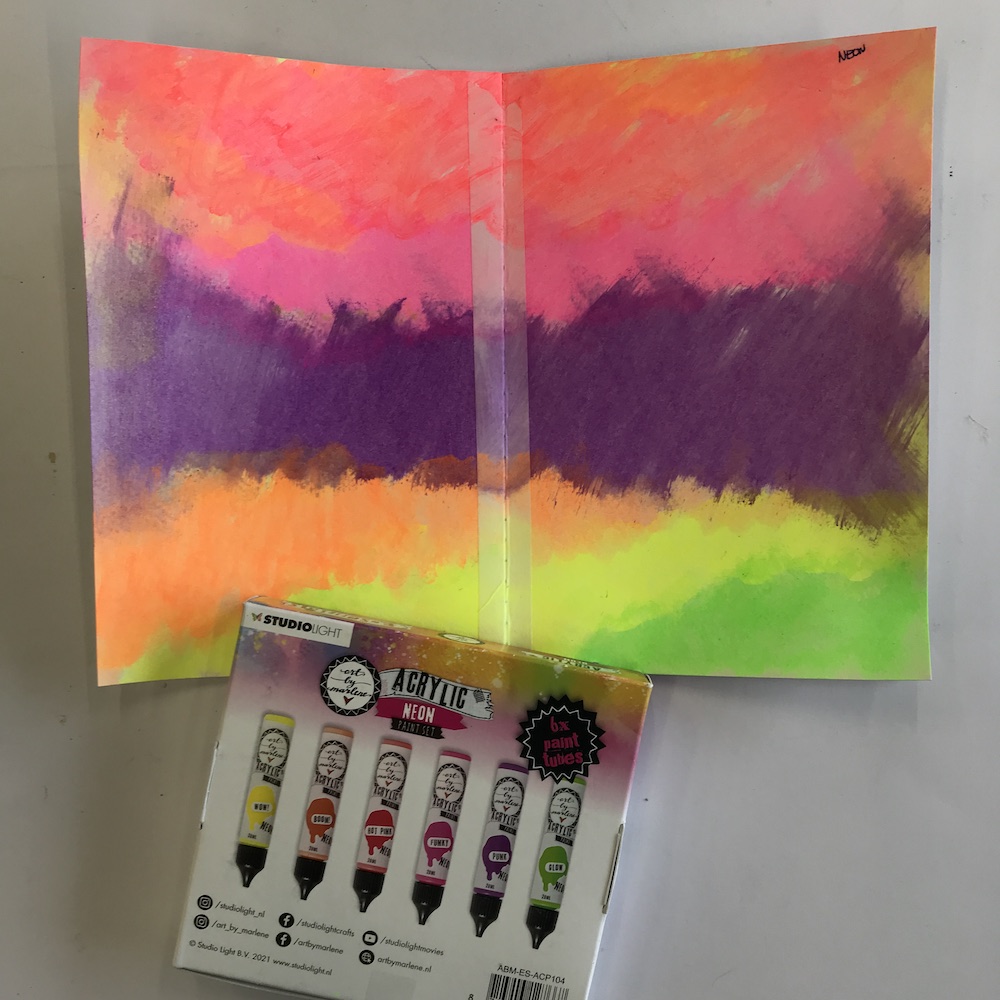
Art by Marlene and Studio Light have released a new range of acrylic paints! And they have just arrived at the Mixed Media Art Studio, Melbourne, Australia. Michelle takes you through the colours in each of the 4 sets, and then swatches each colour onto a display board, showing you the colour and transparency of each paint. Colour swatching your new paints is a great way to get to know your craft supplies, and helps creating layers in your mixed media canvas or art journal.
Materials List
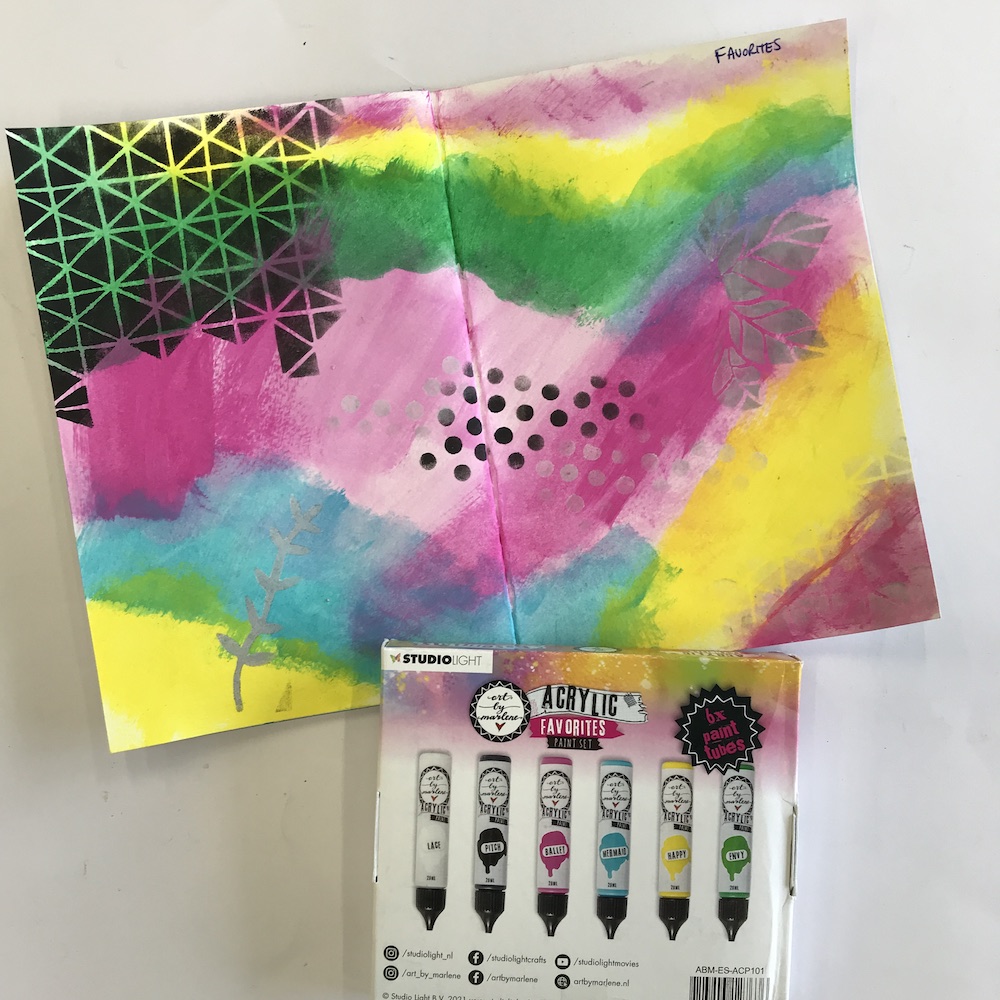
- Art by Marlene Favorites Set
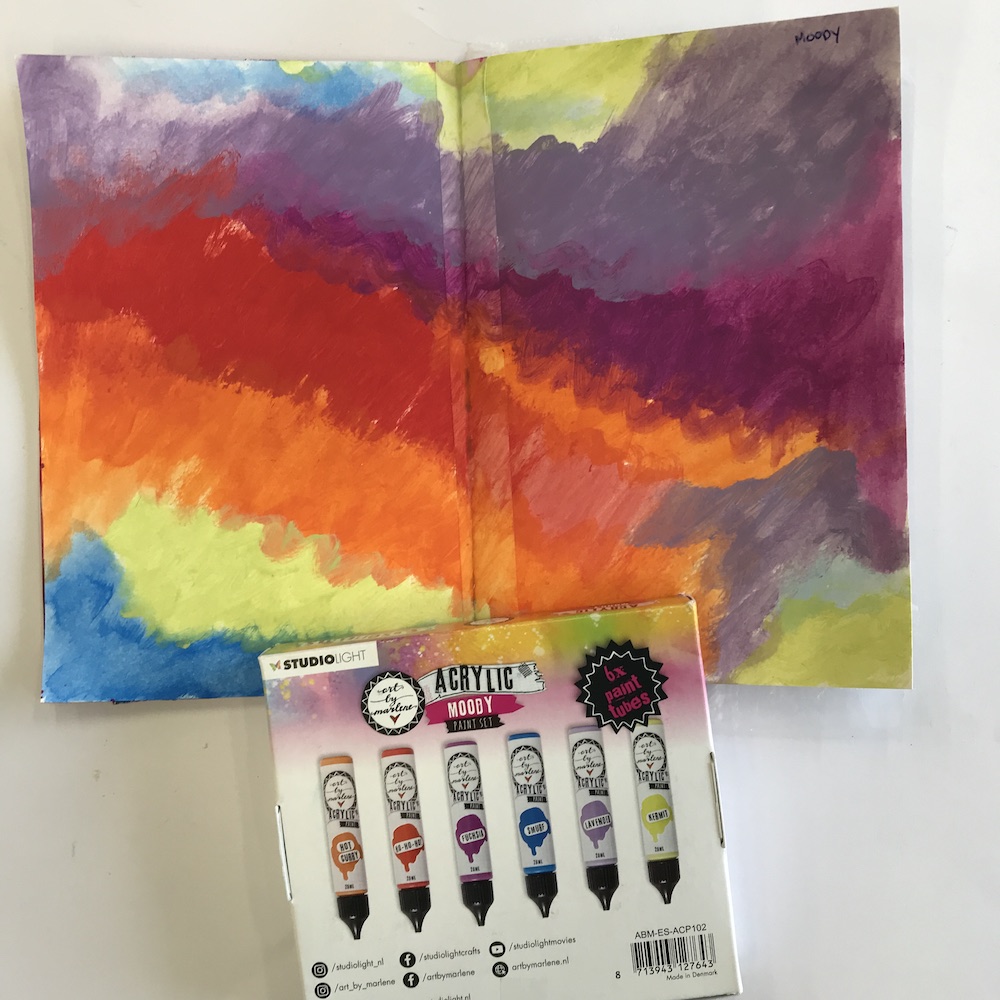
- Art by Marlene Moody set
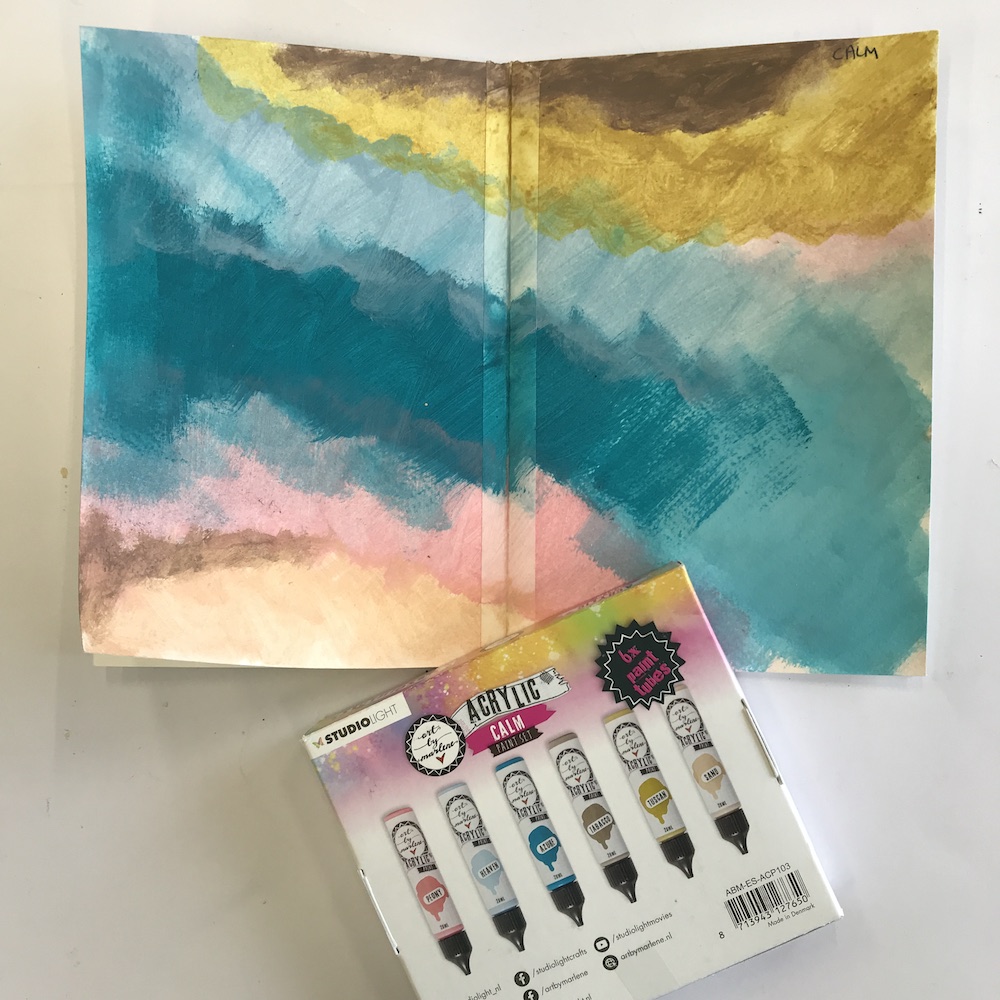
- Art by Marlene Calm set
- Art by Marlene Neon set
- Individual paint tubes
- Art by Marlene Rainbow Art Journal
- Dina Wakley paint brushes, set of 4
You can see the full range of craft supplies and art journals at Mixed Media Art Studio online store


Recent Comments