Join Michelle in this video as we break out that CHIPBOARD STASH and add colour to our chipboard embellishments for our mixed media projects, art journaling and more. Michelle runs through the different types of chipboard, using gesso to create a good foundation.
Then she demonstrates four different ways to add colour to your embellishments, making sure they match your art journal background or mixed media canvas perfectly!
It’s so easy to collect craft supplies and NOT use them but with a few hints and tips like these, you will be ready to get the chipboard out of your stash and put it to good use!
Materials list:
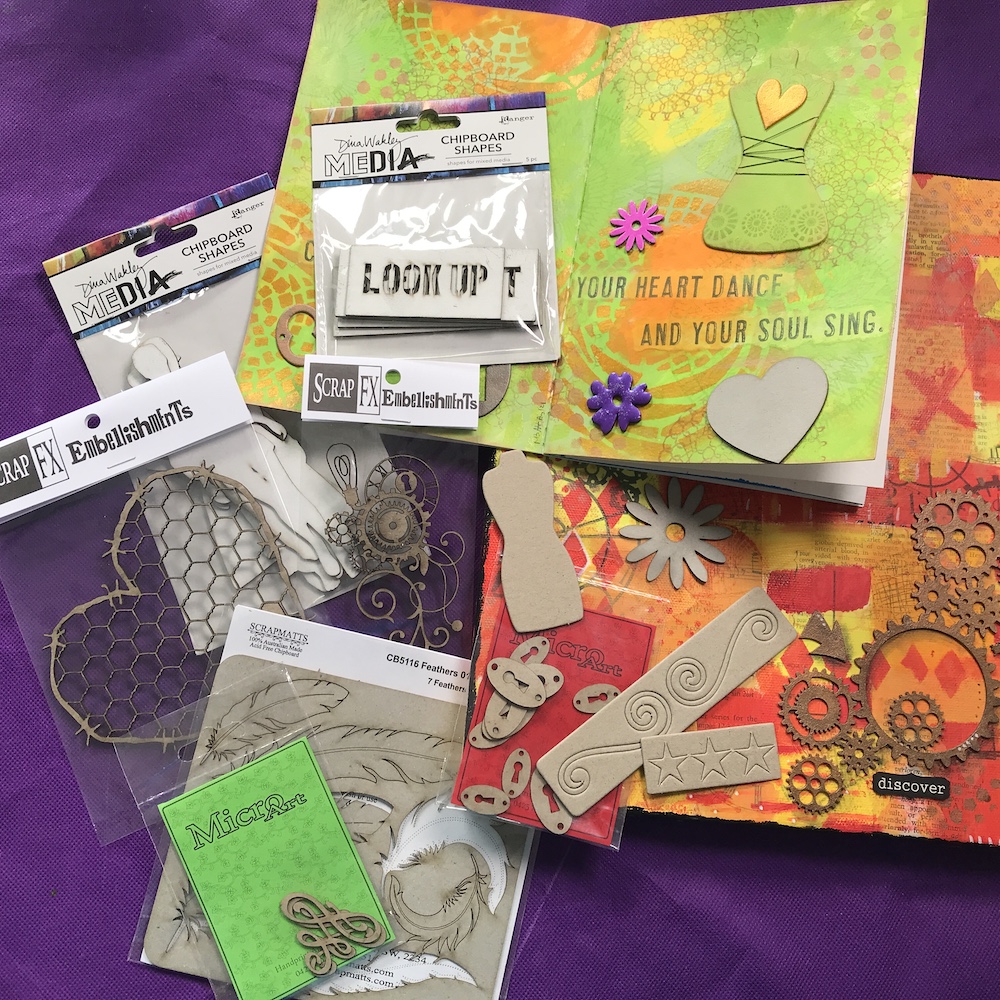
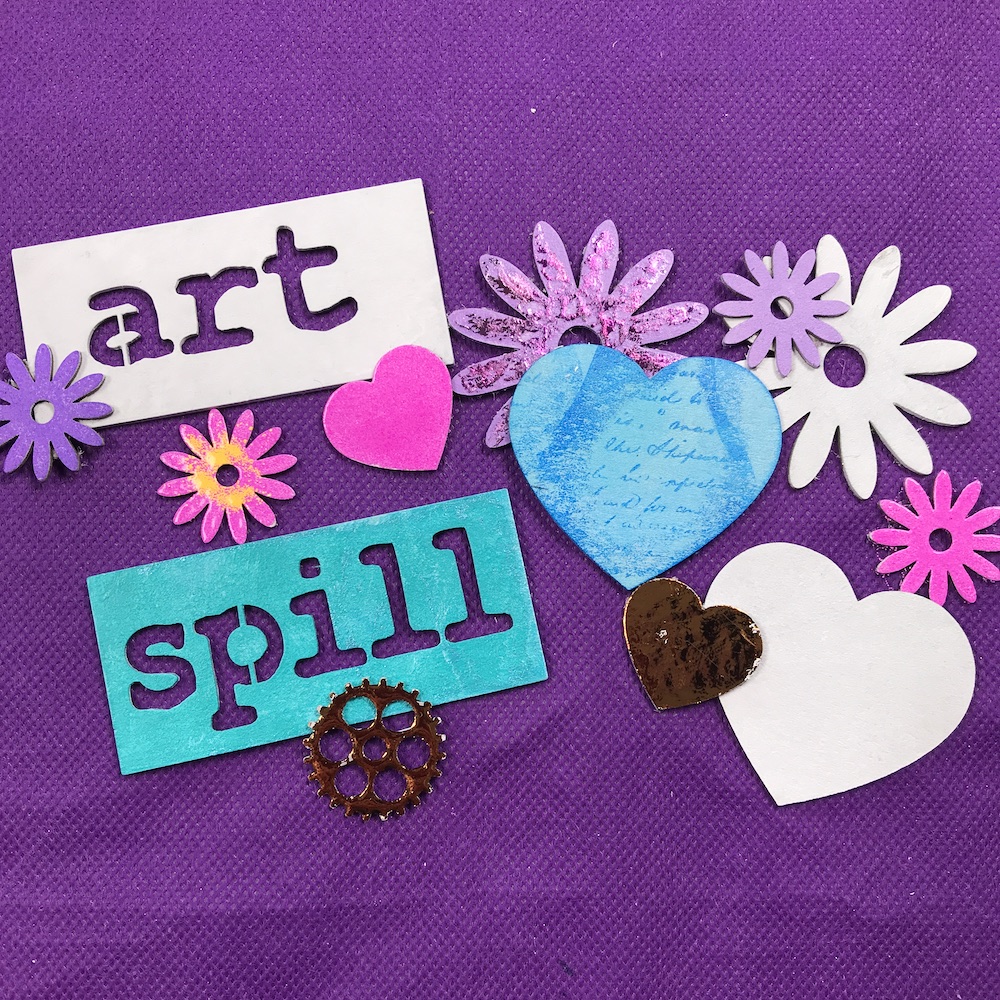
- ScrapFX chipboard
- Dina Wakley chipboard
- Scrapmatts chipboard
- Other chipboard mentioned but no longer available: Collections & Handiprint Stamps
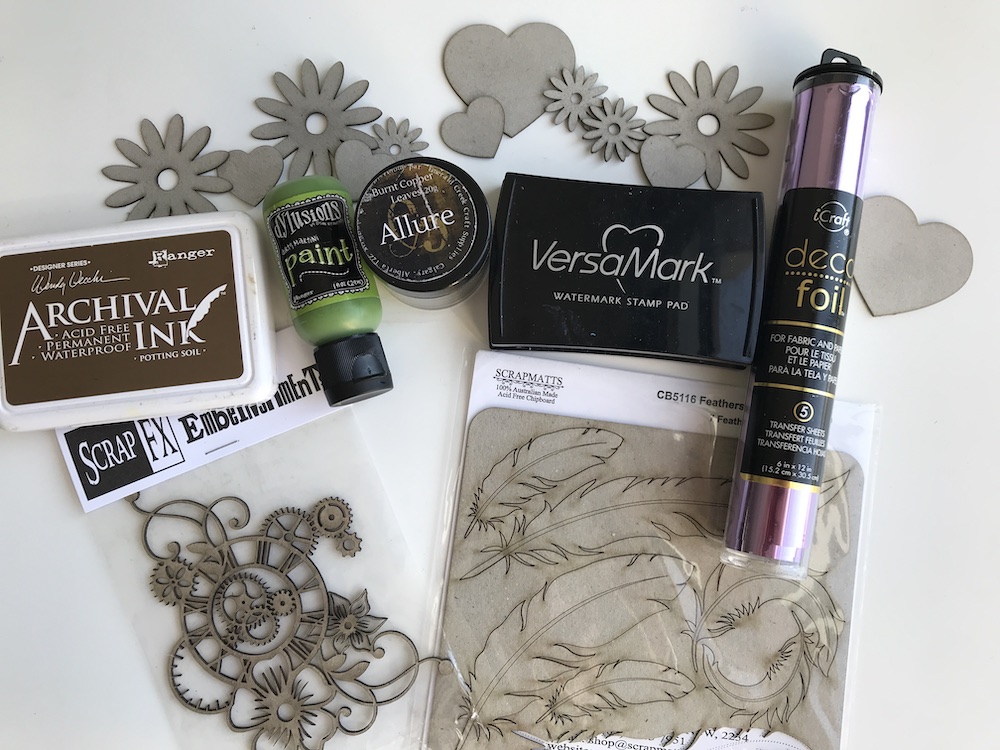
- Mont Marte Gesso
- Sponges
- Dylusions paints
- Ranger Archival inks
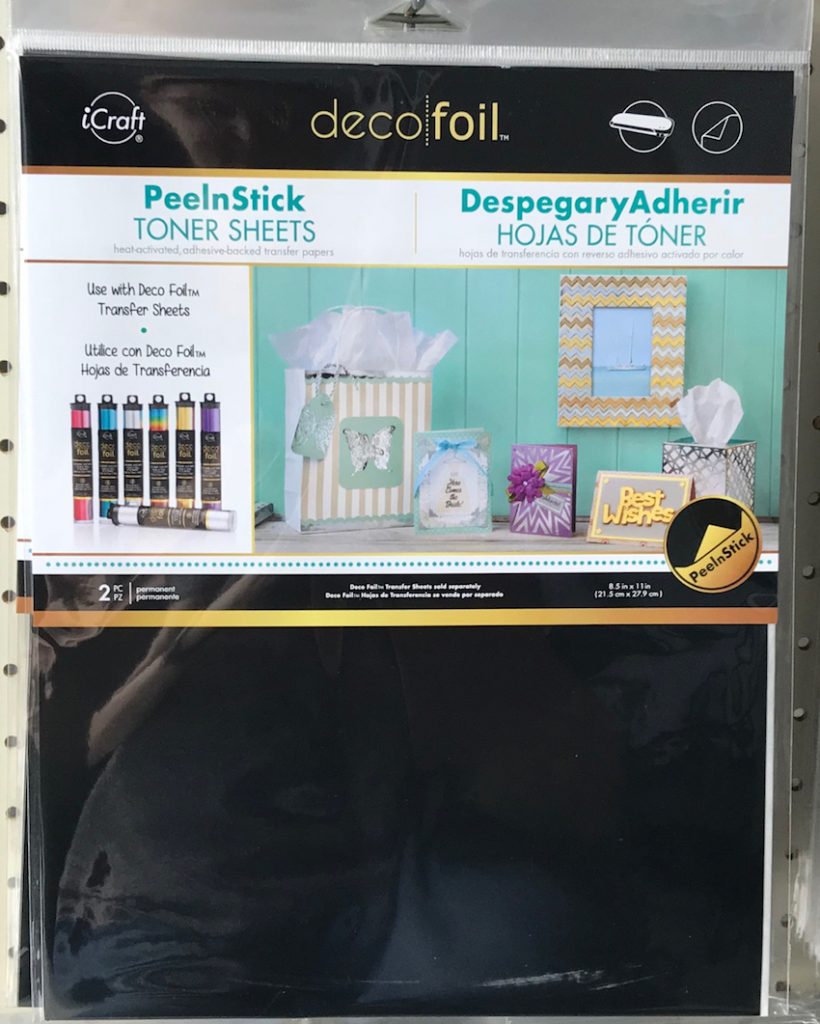
- Decofoil Foils
- DecoFoil Transfer Gel Duo
- Versamark ink pad
- Emerald Creek embossing powders


Recent Comments