One Altered Domino, Many Holiday Uses

~ * ~

This article is written by Shari Welch

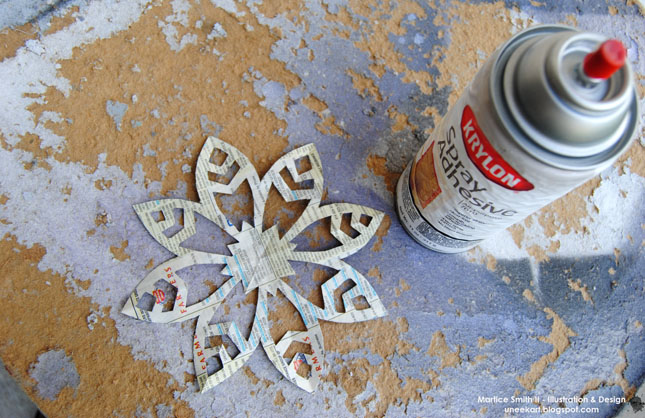
We all get so busy around the holidays, but we can still add a little handmade charm to your gift giving. I am hoping this project will inspire you to make a little something for your friends and loved ones. It’s simple but a gift they will always remember.

This altered domino project is simple and can be used in many ways.

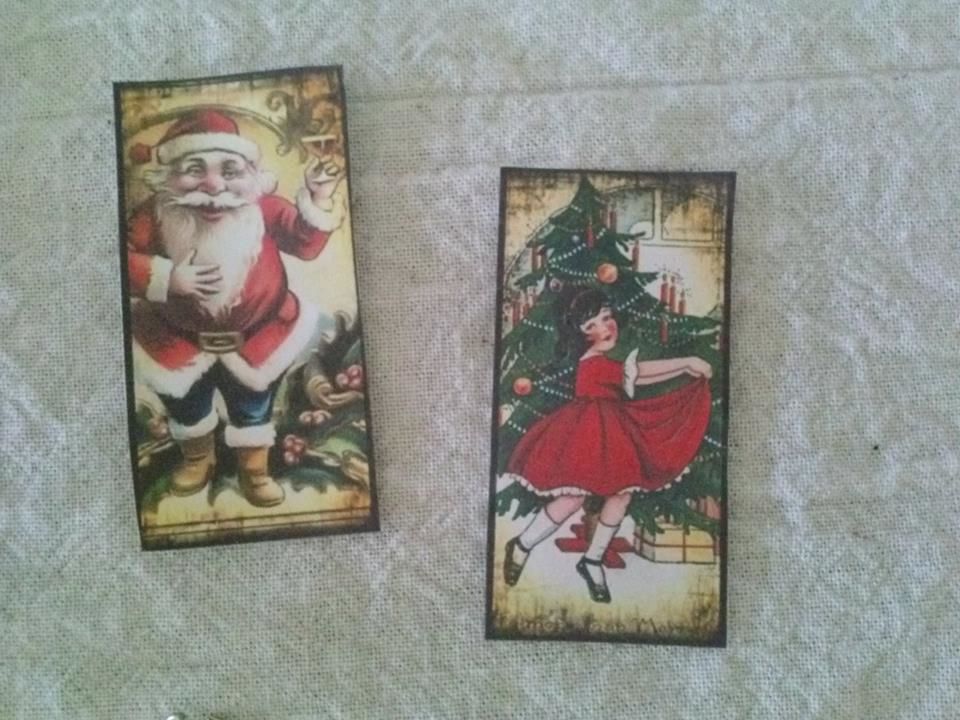
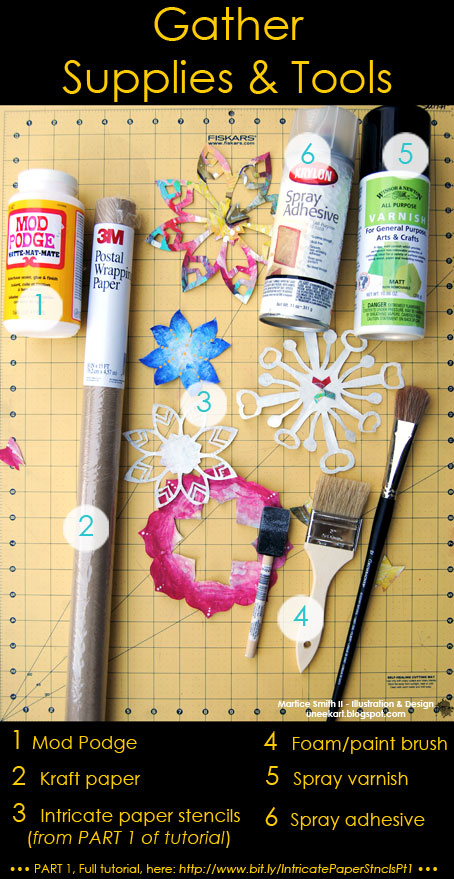
You will need to find images that will fit on your domino.

To save time I used an online company that sells images you can download and use right away. Another plus is they are already sized for my project. My favorite place to buy these images is Retro Cafe Art; they have a range of 1” x 2” Domino sized images, in a range of themes. You can buy the file to download immediately or have them posted to you on a range of mediums.

Shari Welch creates these domino handmade gifts

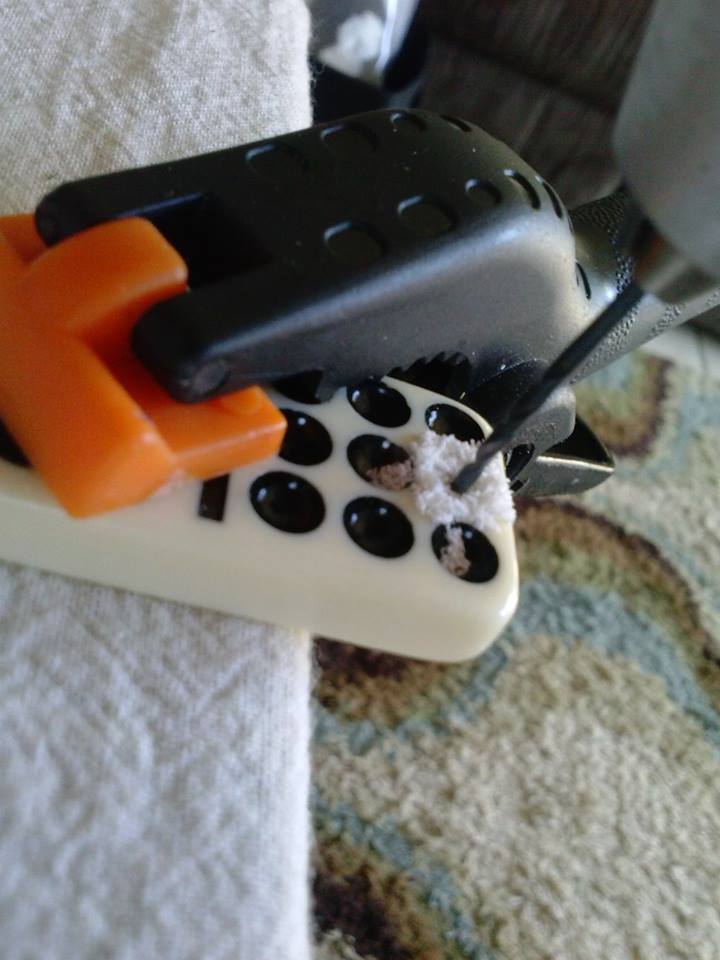
Attach the domino, dotted side up, with a clamp to a flat table surface leaving some hanging over the edge. Use a hand drill with a small bit and drill a hole through the dot of the domino. Please use appropriate safety precautions here!

Shari Welch creates these domino handmade gifts

Make a few sets of stringed beads. Attach bakers twine to the one you will be wanting to use as the top and set aside.

Shari Welch creates these domino handmade gifts

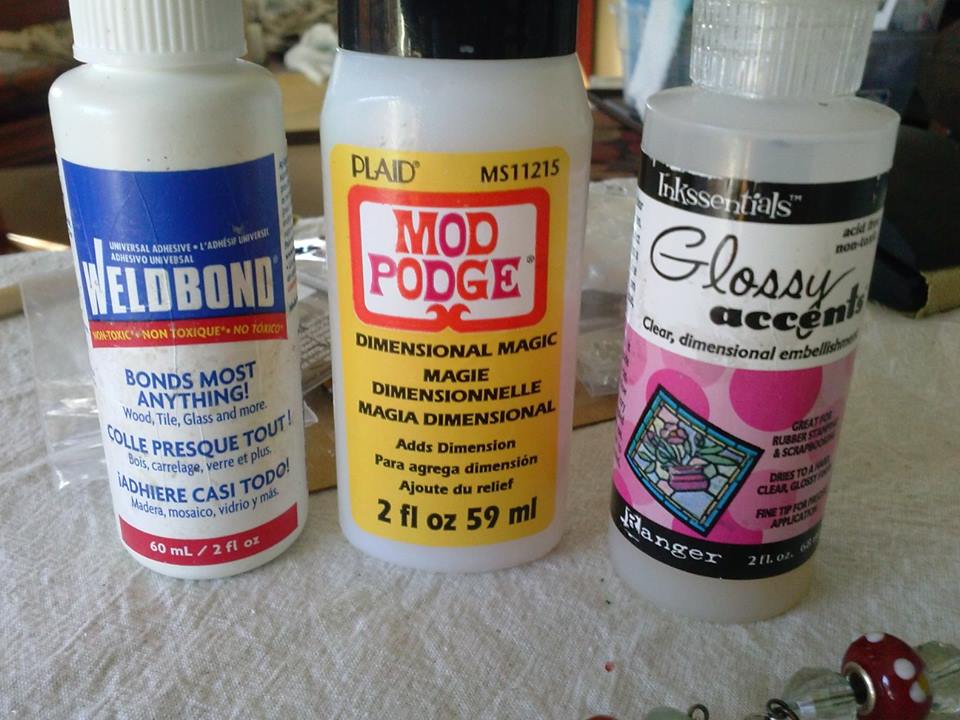
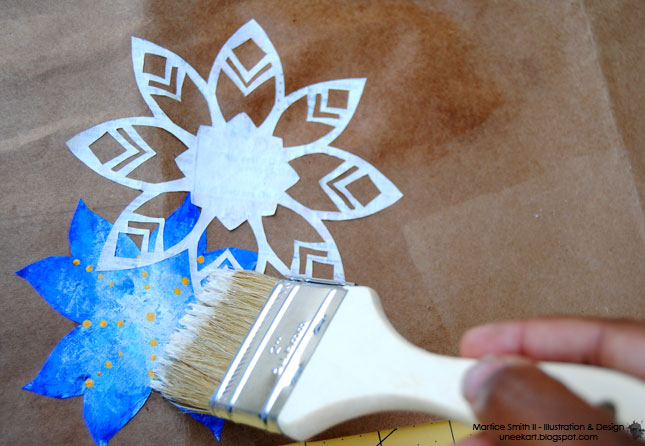
Use glue to attach the paper to the domino, let dry, then add a dimensional effect product over the top of your paper surface. I have used glossy accents and dimensional magic with good results. Leave them sit to dry completely!

Shari Welch creates these domino handmade gifts

Insert a ring through the top hole in the domino

Shari Welch creates these domino handmade gifts

Attach the beads onto the domino and you are done.

Shari Welch creates these domino handmade gifts

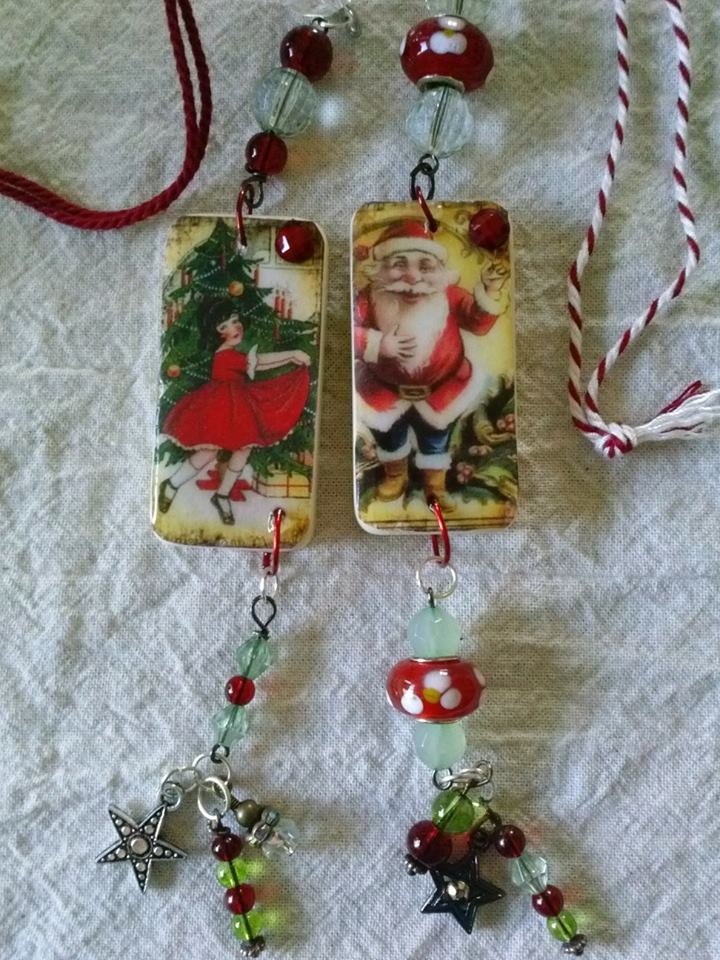
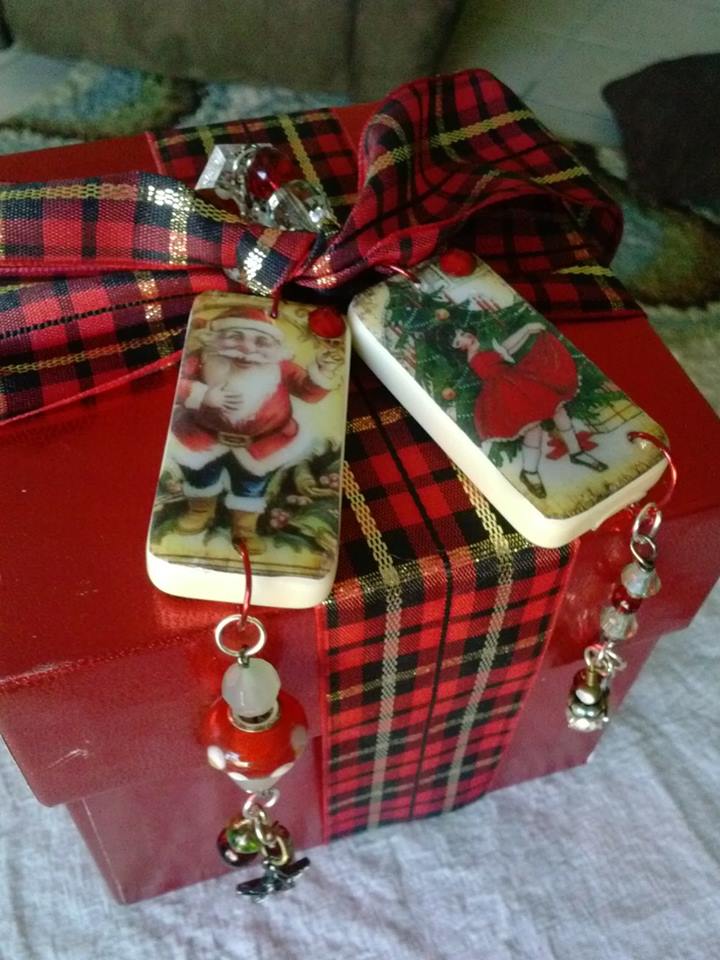
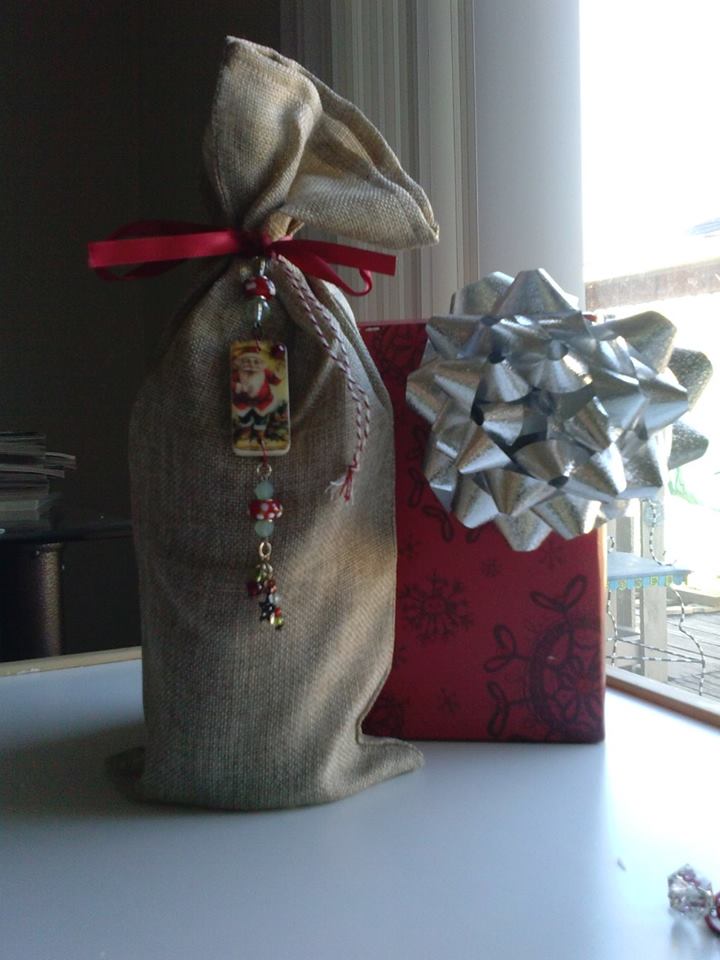
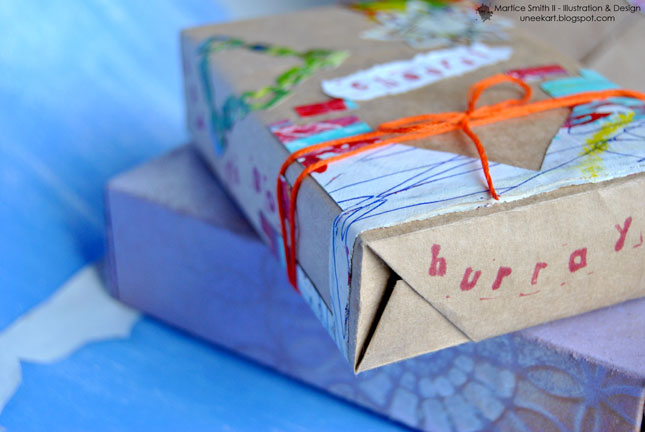
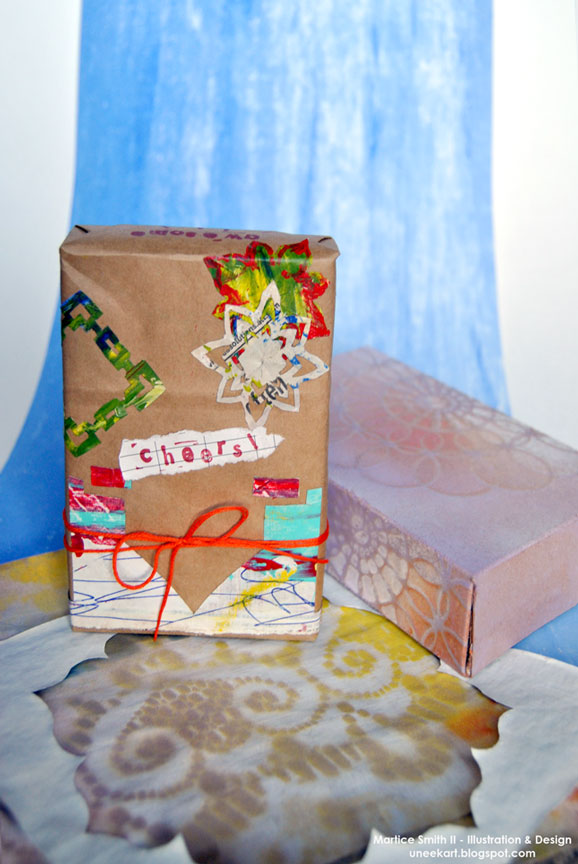
Below I have shown two different uses. The first for an ornament, on a gift box, and attached to a wine bottle bag.

Shari Welch creates these domino handmade gifts

Shari Welch creates these domino handmade gifts

~*~*~*~*~*~*~*~*~*~*~*~*~*~*~*~*~*~*~*~*~*~*~*~*~

Shari Welch is a mixed media artist living in Denton Texas. She is known for using reuse and recycle materials in her artwork. She volunteers for SCRAP Denton where she is on the education committee, teaches workshops, art camps, and performs art demos. She is passionate about mixed media art and enjoys helping others discover their creativity. 
Shari studied graphic design in Portland, Oregon before moving to Denton. Besides writing for mixed media art, she is currently a blogger for DecoArt, was featured in Mixed Media May, and has been in a number of art shows in her hometown of Denton including GDAC “It’s in the bag”, Thirty for thirty art show, and 3arthwurks gallery show.

You can see more of Shari’s artwork at www.facebook.com/my.altered.life and on her blog shariwelch.blogspot.com

~*~*~*~*~*~*~*~*~*~*~*~*~*~*~*~*~*~*~*~*~*~*~*~*~

.

.

Courageous Corrugated Cardboard

~*~

This article was written by Kim Kelley

Are you one of those types of people who save everything, just in case you may be able to use it one day? I know I am. Of course half the time I put it away somewhere and forget where I put it! For whatever reason, I have gotten into the habit of saving boxes. I will use them for the standard stuff of course; shipping, and storing stuff, but I also will cut them up and use them to pop up parts of a project or to back a page I create.

Using recycled cardboard, Kim Kelley make this handmade gift wall hanging

Today I am going to show you a wall hanging I made using some of that recycled cardboard. I got the idea for this project from Gabrielle Pollacco and a picture she posted on Pinterest.

For this project I cut flaps from a box into 3 6” x 6” squares, added holes to attach them together and in several places peeled some of the paper back to show the corrugated insides.

Using recycled cardboard, Kim Kelley has created this cute mixed media wall hangingCorrugated Cardboard

Using recycled cardboard, Kim Kelley has created this cute mixed media wall hangingCorrugated Cardboard Peeled

Wanting a soft color palette I went with light greens and browns, going off the color of the cardboard. Honestly I did not have a specific layout in mind, just knew colors and embellishments I wanted added. I used some brown ink on the edges and some gesso with a damask stencil here and there to get some texture. Used brown twine to attach them all together and here is what I came up with.

First Panel

Using recycled cardboard, Kim Kelley has created this cute mixed media wall hanging

Second Panel

Using recycled cardboard, Kim Kelley has created this cute mixed media wall hanging

Third Panel

Using recycled cardboard, Kim Kelley has created this cute mixed media wall hanging

All Together

Using recycled cardboard, Kim Kelley has created this cute mixed media wall hanging

The birdcage is from Dusty Attic, the flowers are from Prima,  and the papers are from DCWV. I chose one of my favorite scriptures for the center panel…Deuteronomy 31:6…”Be strong and courageous. Do not be afraid or terrified because of them, for the Lord your God goes with you; he will never leave you nor forsake you.”

Life is short, do something creative everyday!

~*~*~*~*~*~*~*~*~*~*~*~*~*~*~*~*~*~*~*~*~*~*~*~*~

Kim Kelley is borderline obsessive about her crafting and her art. She loves mixed media art because you are free to go beyond your comfort zone, using your imagination and exploring an anything goes mind set. Kim loves to learn and explore new techniques and hopes that any art she creates leads someone to find their inner creative artist!

Sites: itsallaboutcrafting.blogspot.com and www.facebook.com/kimscraftyconcepts

~*~*~*~*~*~*~*~*~*~*~*~*~*~*~*~*~*~*~*~*~*~*~*~*~

.

.

Mixed Media Bookmarks

~ * ~

This article was written by Tamara Dinius

Add ribbon to complete your project

In this video, you can complete several bookmarks using mixed media techniques on watercolor paper. By using one large sheet, you can have fun decorating one sheet and then cutting in up into many pieces. You will be ready for summer reading and have a few extras for gift giving.

Follow along and complete a layout in less than 10 minutes (plus drying time)

The layout was completed using a range of moulding pastes and other similar products, Derwent Inktense blocks Dylusion Sprays, Liquitex Acrylic Inks, stamps, stencils and papers, as well as other items.

Add texture by applying scrapbook paper of your choice. Additional depth is achieved by adding white acrylic paint through a stencil of your choice.

Adding layers and color

~*~*~*~*~*~*~*~*~*~*~*~*~*~*~*~*~*~*~*~*~*~*~*~*~

Tamara Dinius lives in the Pacific Northwest with her husband and chocolate lab. She has two grown daughters who make her life meaningful. They support her, ground her, embrace her, and are amazing people in their own right.

Her love for mixed media has taken over most aspects of her creative journey. She believes mixed media allows for a broad range of styles and anyone can find success in this form of artistic expression.

You can find more of Tamara’s work, and on her website countrycraftersusa.com, Etsy shop,  or via her Facebook

~*~*~*~*~*~*~*~*~*~*~*~*~*~*~*~*~*~*~*~*~*~*~*~*~

.

.

Intricate Paper Stencils, PART 2: Gift Wrap

This article was written by Martice Smith II

Martice Smith II demonstrates how to make your own gift wrap using intricate, paper stencils

Make the stencils, first! PART 1 of this tutorial can be found here.

Gather Supplies & Tools

Gather supplies and tools

If you have used watercolors, water-soluble pencil or any other water-based mediums on the stencils you created, go ahead and spray 1-2 light coatings of varnish (matte or gloss; it’s your choice) to seal everything in and to prevent bleeding or mixing of colors on your stencils.

1. Position stencils onto kraft paper 

Position stencils onto kraft paper

Unless your stencils are very large, there’s no need to work on large areas for this step. You will be able to control your work surface much easier if you’re able to work in manageable sections, at a time.

Try a layered look by overlapping the stencils.

Don’t clutter too many of your intricate paper stencils in one area. It’s ok to leave some larger areas of kraft paper!

2.  Apply spray adhesive

Apply spray adhesive

Do this step outdoors, as the fumes are very strong and can be harmful or cause irritation to eyes and throat.

On a separate work table, turn over 2 or 3 stencils so that the ‘wrong’ side (the side with no paint) is facing up. Spray each stencil, individually, with an even layer of adhesive. (Sometimes, I allow the spray adhesive to sit on the stencil for about 3 seconds. This will create a stronger bond to the paper.)

Gently place the stencil onto the kraft paper.

Use light pressure from the palm of your hand of fingers to flatten the raised areas of the stencil.

3.  Brush on decoupage medium

09May_MFS_IntricatePaperStencils_PART2_GiftWrap-Pic5

Take your large, bristle brush or a foam brush and generously apply Mod Podge® directly to the stencils.

Depending on the design and delicacy of your paper stencil, spread the Mod Podge®, working from the center, then out to the tips.

4.  Let dry, then trim excess

This step is very important! You need to allow the Mod Podge® to dry completely.

Drying time will vary, depending on how many layers you applied, but a good 15 minutes should be fine.

TIP: If any of your stencils are extending beyond the kraft paper, use scissors to cut off the excess. (Yes, you can use these pieces, too! Go ahead and glue them down.)

5.  Repeat or re-roll

If you like what you see so far, continue adding more of your intricate paper stencils.

When you are done, you can cut off what you need to wrap a package or you can re-roll the kraft paper until you’re ready to start again, later.

Now go wrap some gifts!!

Now you're ready to wrap some gifts!

Now you're ready to wrap some gifts!

Great for mail art packages, too!

Would you like to try 10 more stencil designs? If you’re interested, you can sign up to receive “10 NEW Intricate Paper Stencil Designs”, a free e-book that showcases more of these stunning designs…click here to sign-up to the Uneek Art Letter to get access to download this pdf! (Courtesy of Martice Smith II – Illustration & Design Studio)

~*~*~*~*~*~*~*~*~*~*~*~*~*~*~*~*~*~*~*~*~*~*~*~*~

Author bio:

Mixed-media illustrator and designer Martice Smith II

Martice Smith II is creative director of Martice Smith II – Illustration & Design Studio, based in Kansas City, Missouri and owner of Uneek Art Boutique. She established herself as a freelance Illustrator and graphic designer after receiving her Bachelor of Arts Degree.

Martice also contributes as an article writer for the Creating Mixed Media Art website.

You can see more of her work via her Facebook page or her blog. She invites you to join her monthly newsletter, Uneek Art Letter, for art biz tips, advice and free digital goodies!

~*~*~*~*~*~*~*~*~*~*~*~*~*~*~*~*~*~*~*~*~*~*~*~*~

.

.