Introduction:
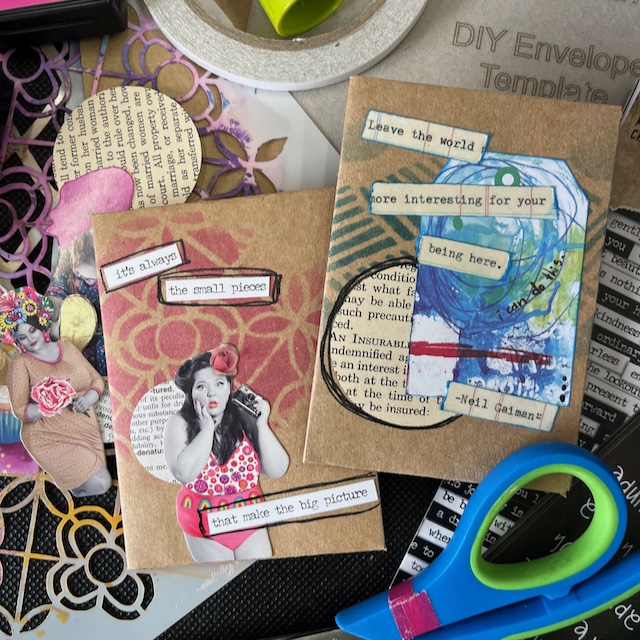
Create this cute little ATC folder with our envelope template and kraft paper, then decorate with a few mixed media techniques.
What you need:
- A4 kraft paper – 210mm x 297m
- Scissors
- Pencil
- Ephemera
- MMA C6 Envelope template
- Ruler
- Stencil
- Foam tool & sponges
- Focal image
- Sticky Quotes
- Glue Stick
- Dina Wakley Neon Scribble Sticks
- Life of colour black
- Circle punches – 40mm & 32mm
Mixed media ATC folder instructions:
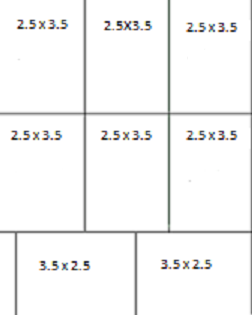
| Trace and cut out envelope | 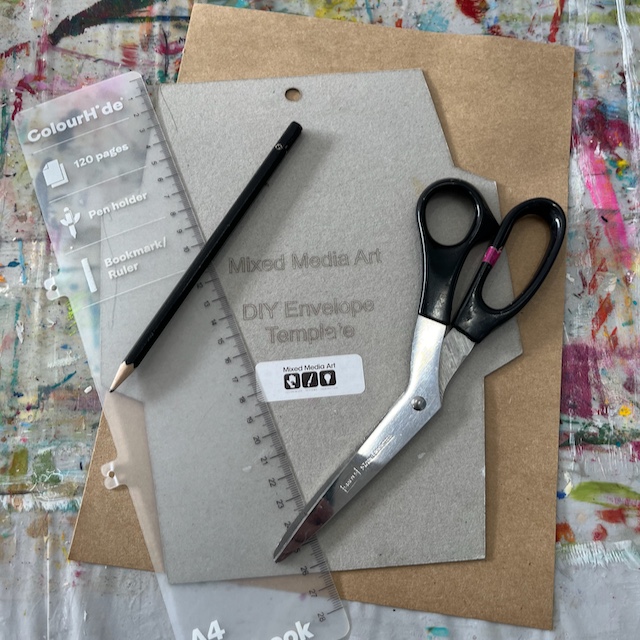 |
| Fold, with big flap on top | 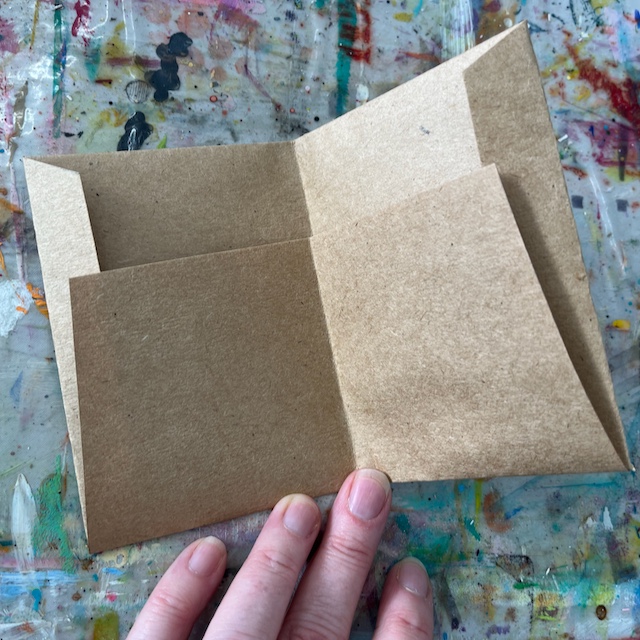 |
| Fold in half and punch half circle | 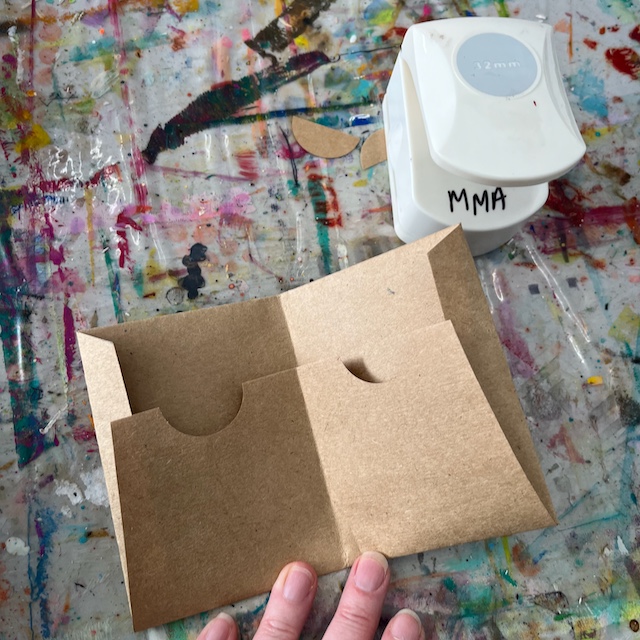 |
| Glue down short flap | 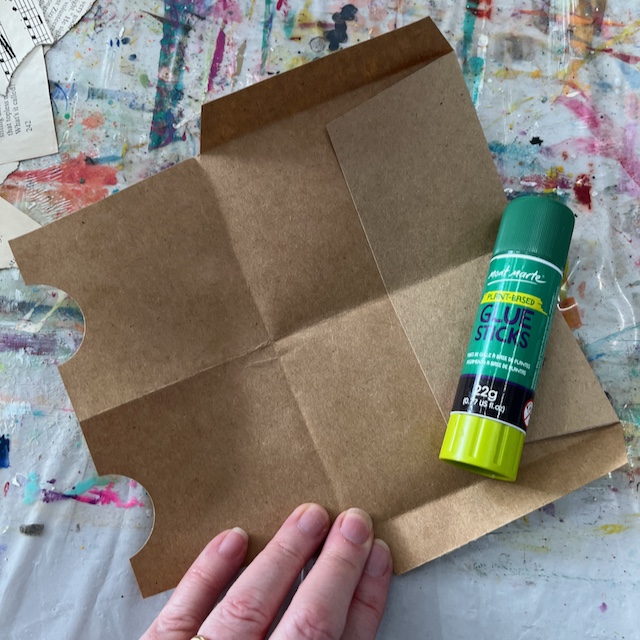 |
| Add a little glue to the sides of the front flap; keep to the edges. | 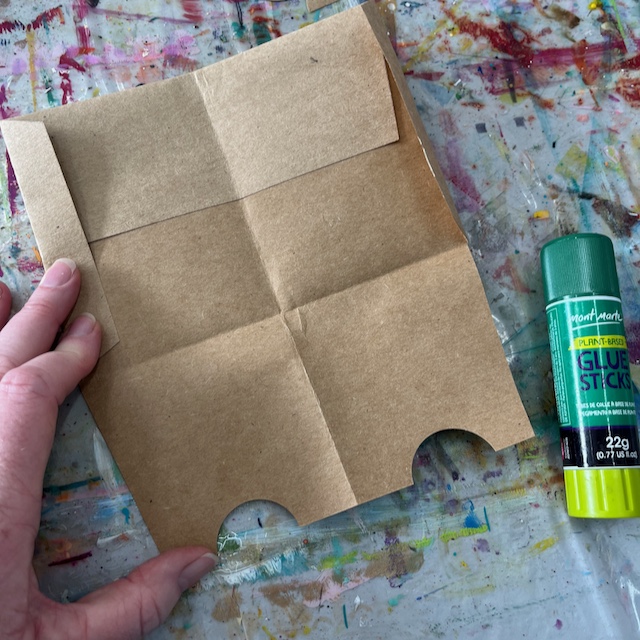 |
| Fold in side flaps and add front flap on top. |  |
| Folder assembled |  |
| Ready to decorate | 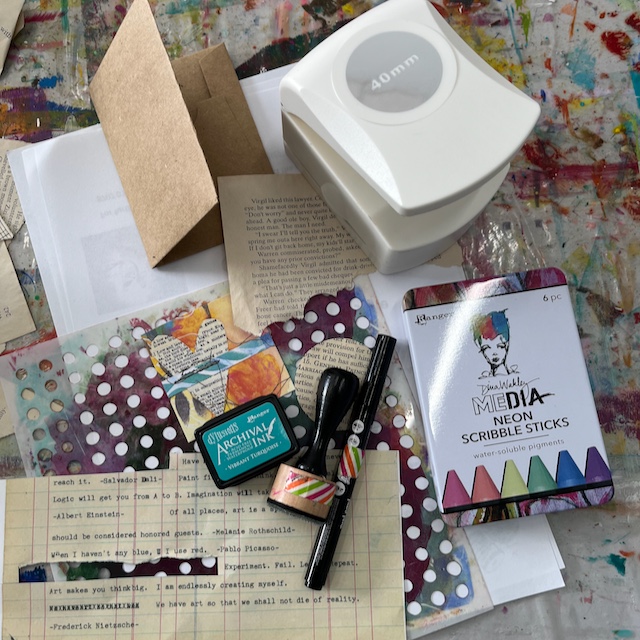 |
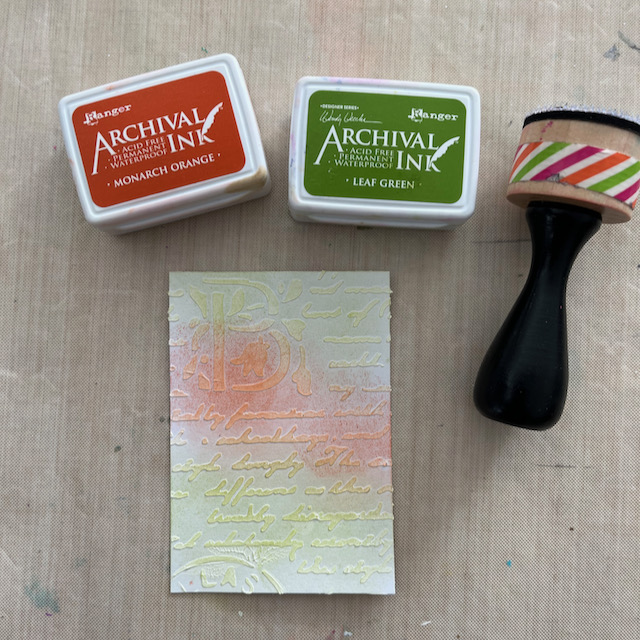
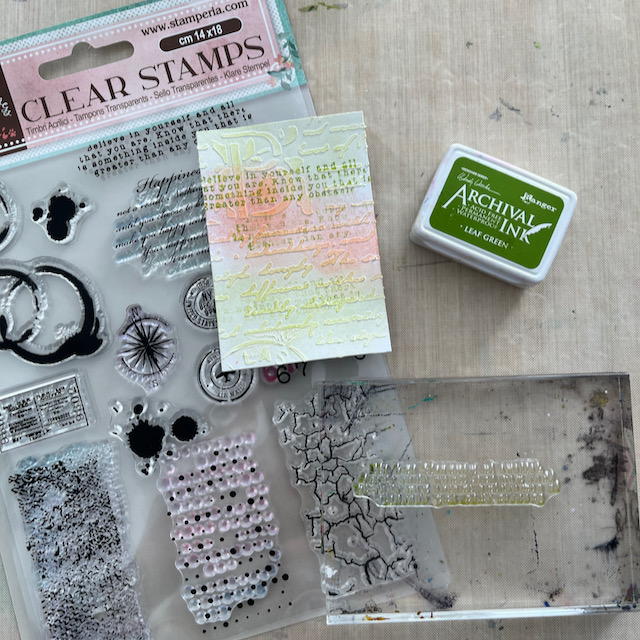
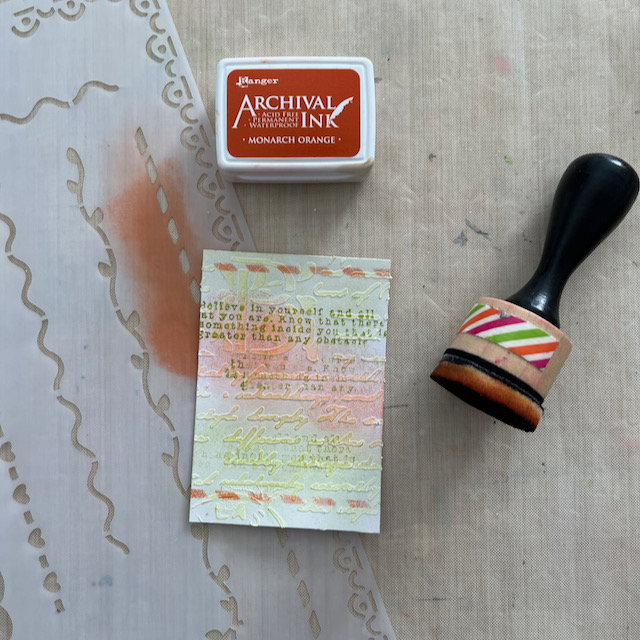
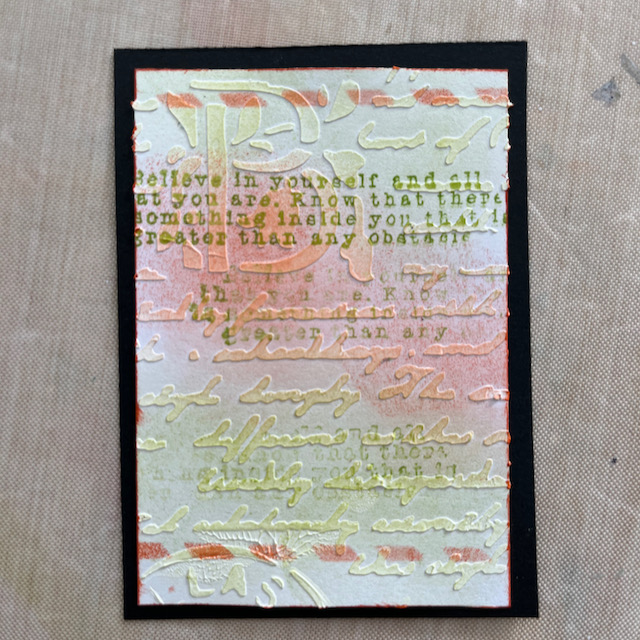
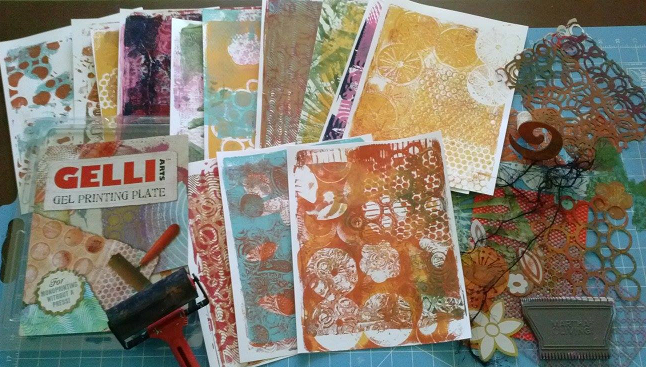
| Using your favourite stencil, stencil across the middle third of your folder, using the ink of your choice |  |
| Punch circle from ephemera. Glue to front as shown and draw scribble circles with black marker |  |
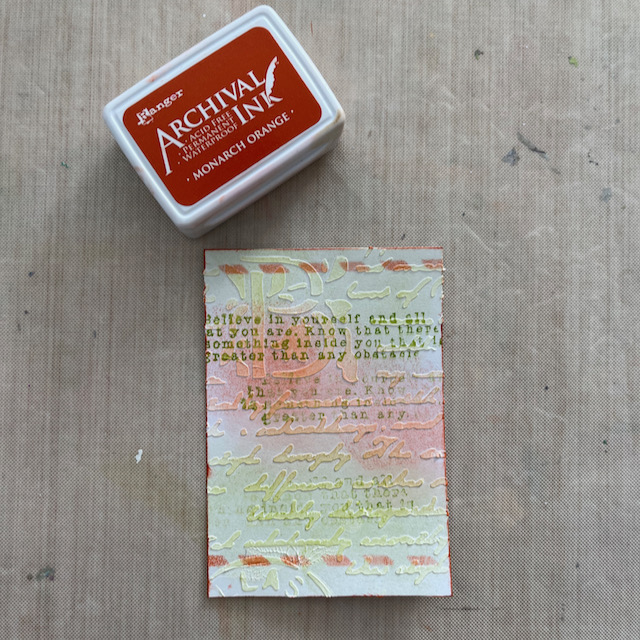
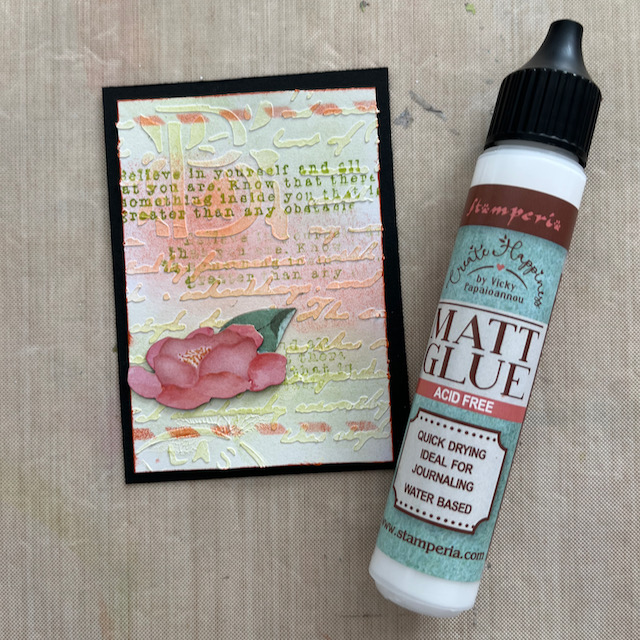
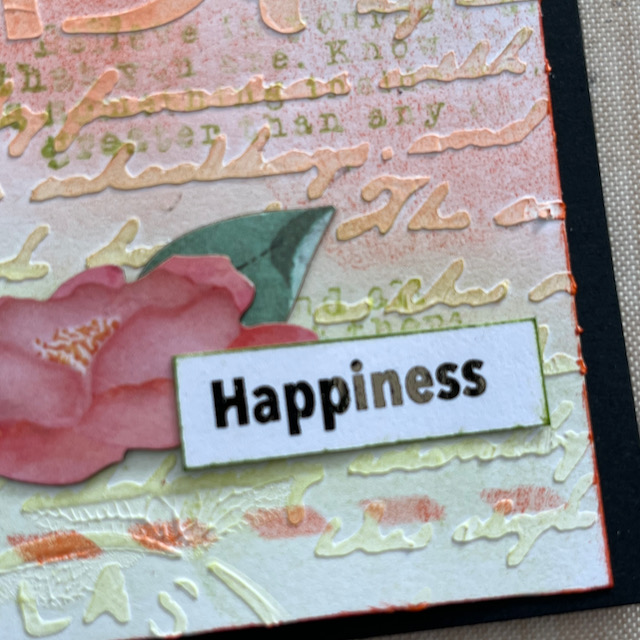
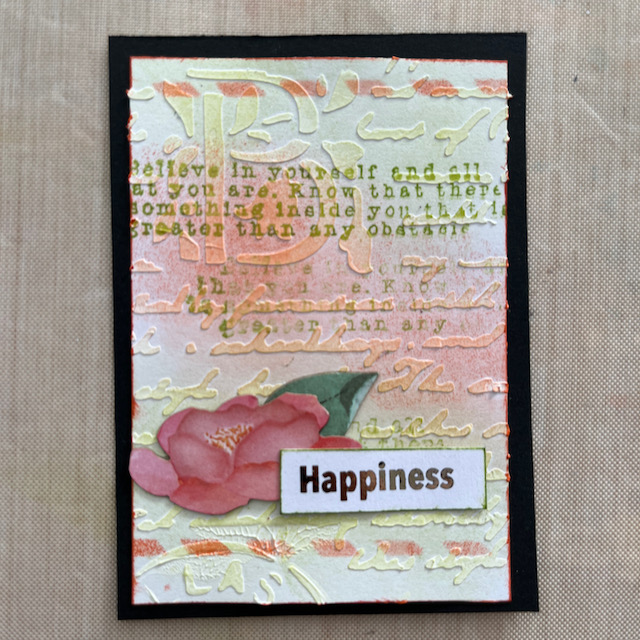
| Add focal image [You may need to trim and edge with ink, if you prefer] | 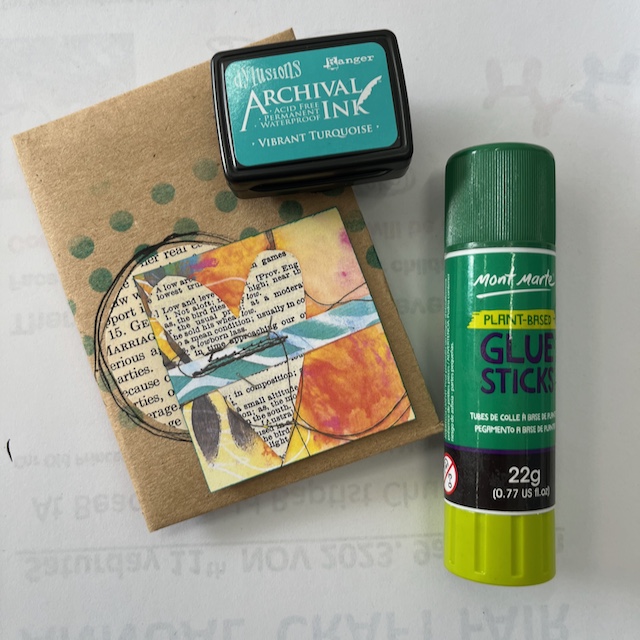 |
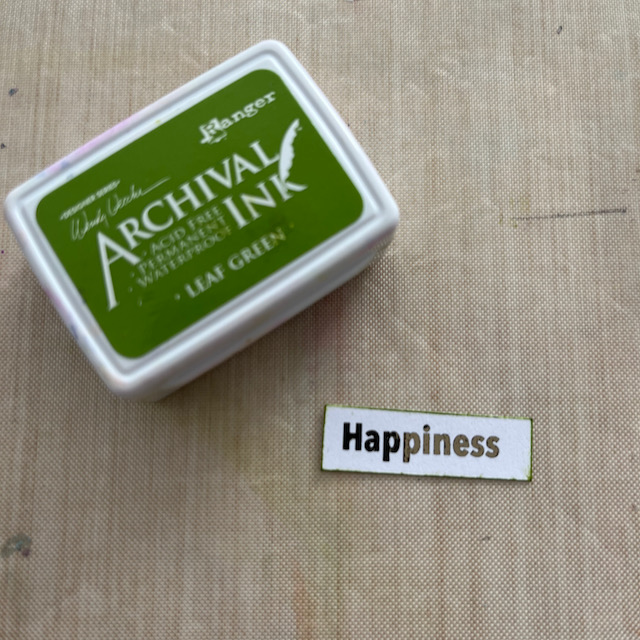
| Add quote | 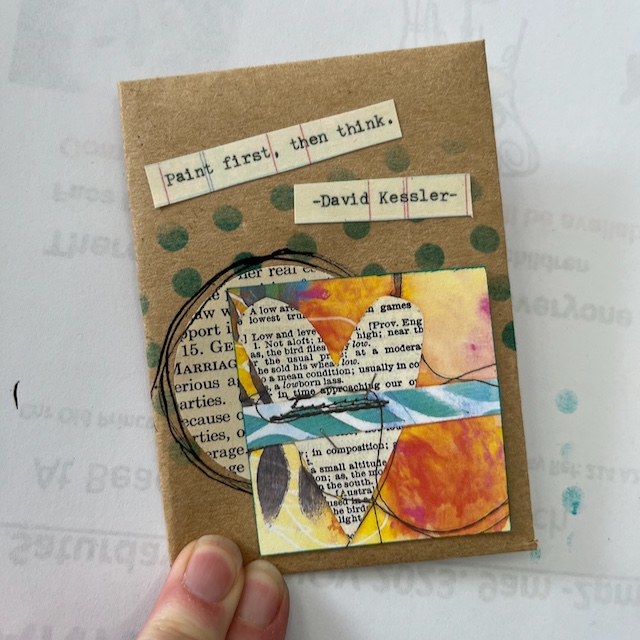 |
| Add highlights with Scribble Sticks | 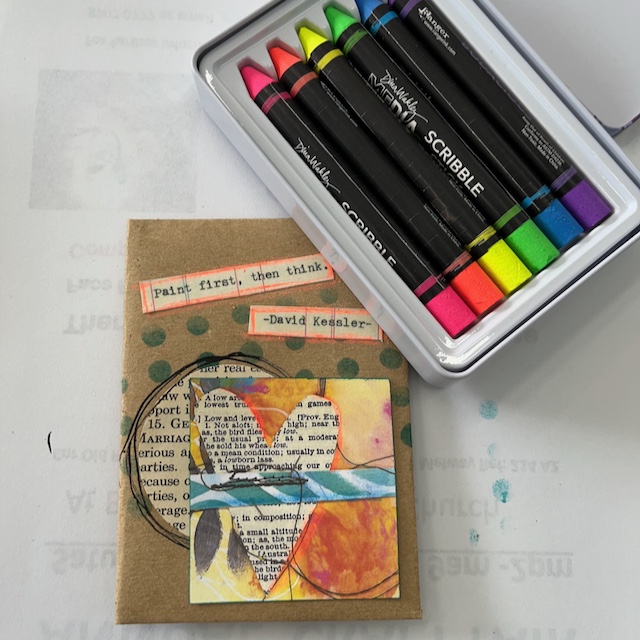 |
| Your ATC Folder is finished | |
Ideas and alternatives:
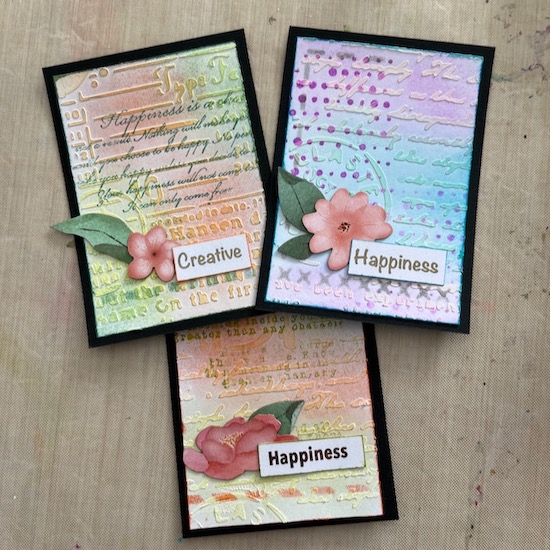
- Make 3 and joint together into a booklet
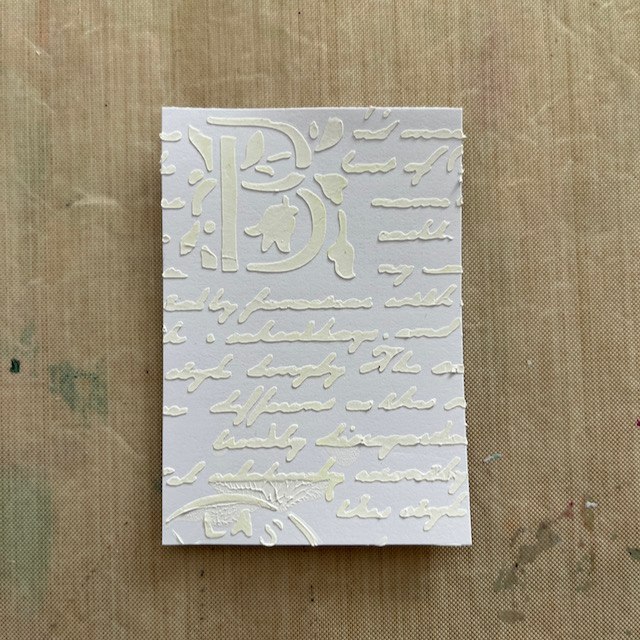
- Use different paper for the folder: use old scrapbooking papers


Recent Comments